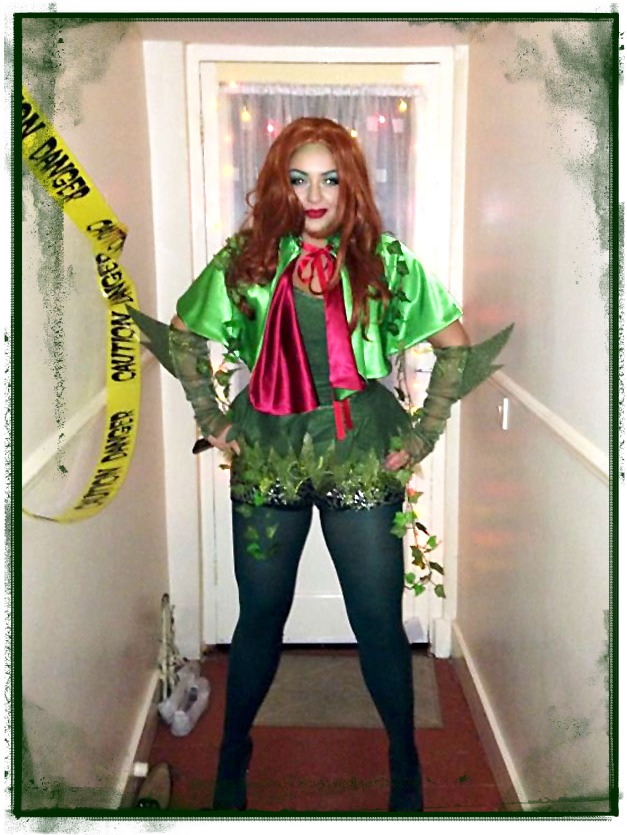
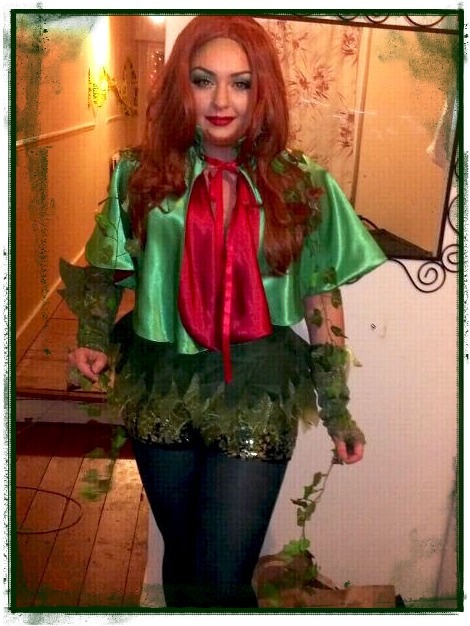
Meet my biggest little girl! Hardly a villain but seriously rocking the whole Poison Ivy thing!
It’s not often I get asked to contribute to her wardrobe. It is in fact never! So I was very honoured by the request to make a capelet for her Halloween costume. Yes I know this is a bit late in the day, soz, but I wasn’t allowed a sneak preview on the day (something to do with me being an embarrassing mum at her last party I would think!) and had to wait patiently for photographic evidence so I could share it with you.
It was a very fun and quick project and even ‘biggest little’ was impressed! If you knew her like I do you would know how amazing that is!
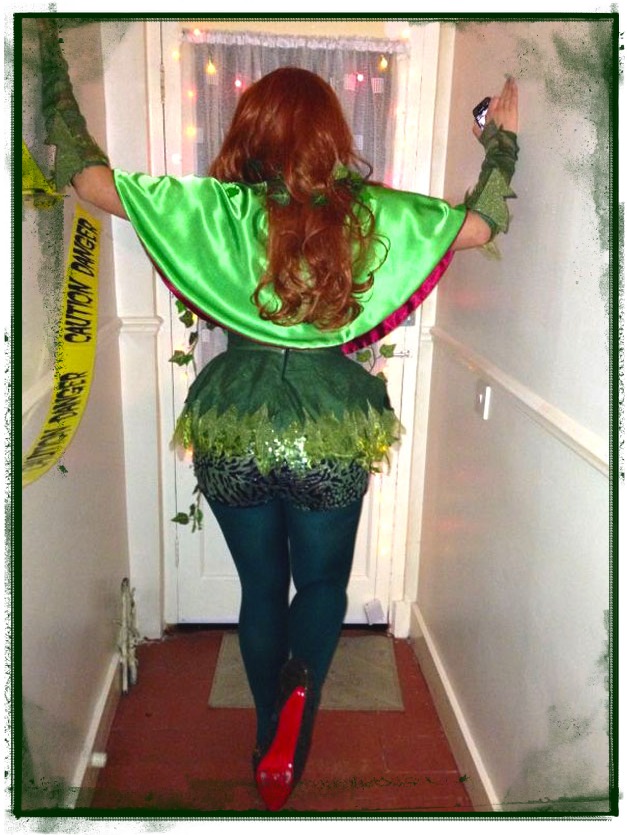
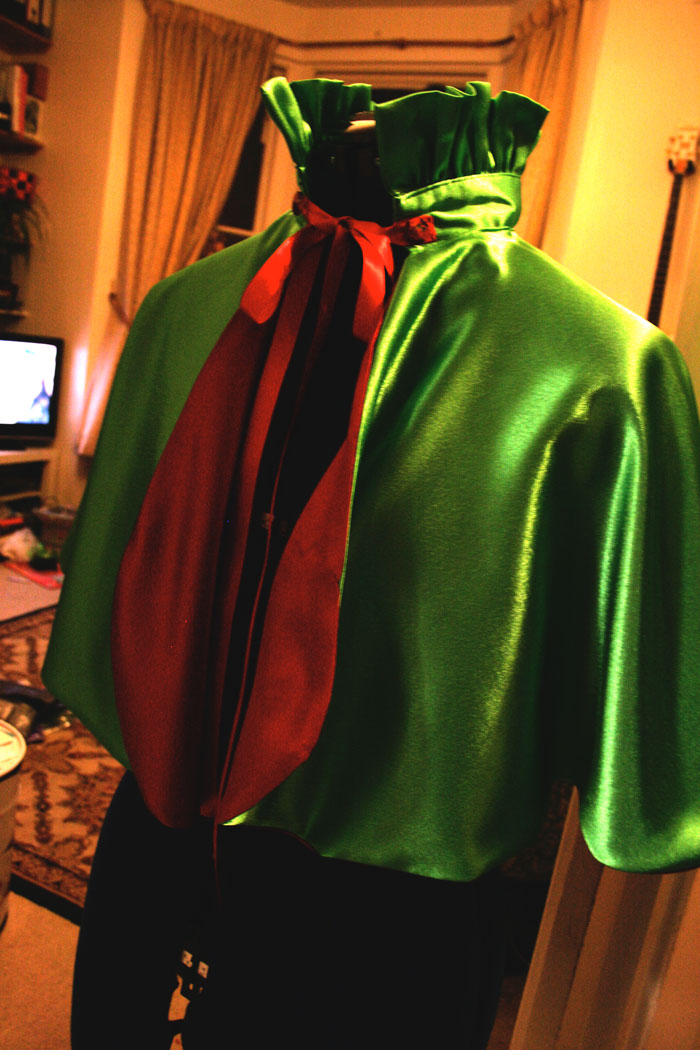
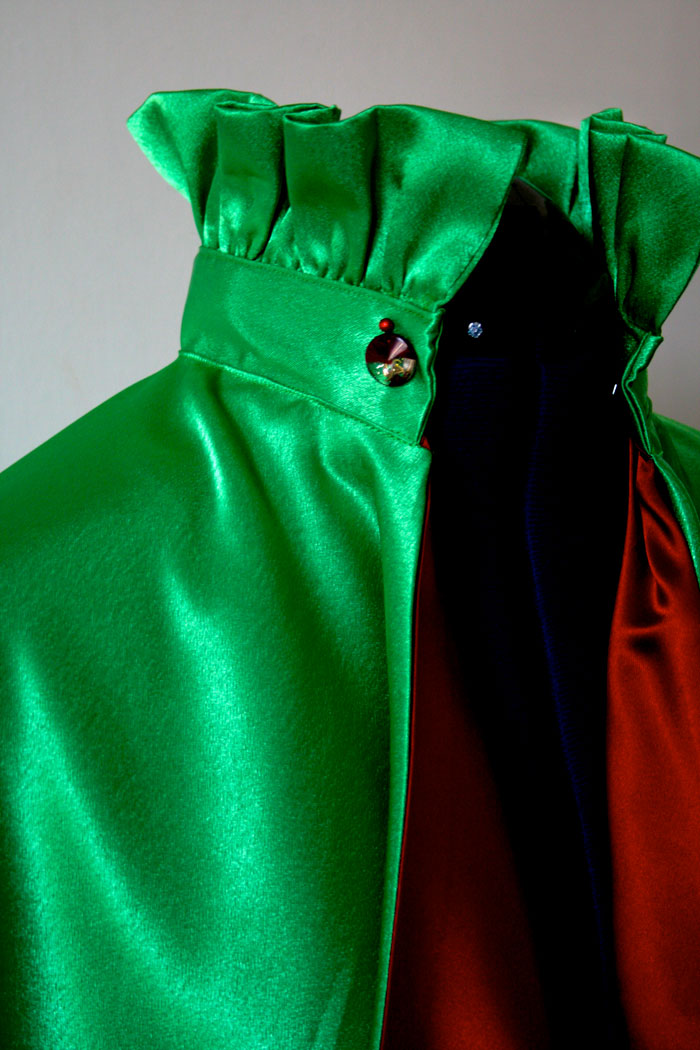
Here’s a better picture of the stand-up collar. You cant see it for all the red luscious locks!
The exterior is a bright green poly satin fabric with red satin lining and I used some glitzy buttons at the neck to cover the ends of the ribbon. Should have sewn them in the collar stand really!
It was a very simple project for quite an effective fancy dress accessory…
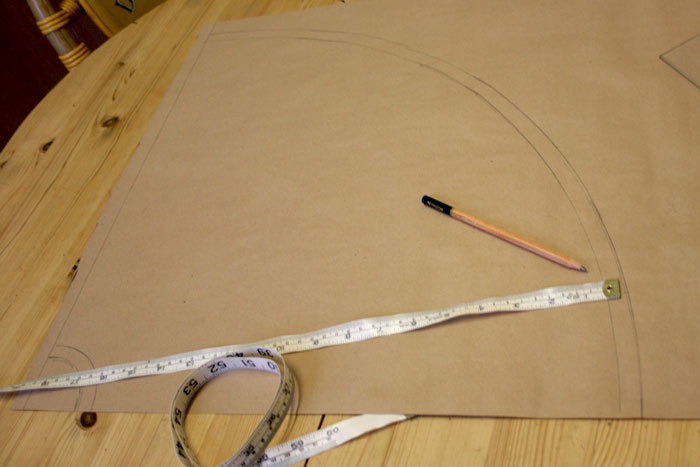
First I measured the neck (plus ease) and the measurement from the neck, over the shoulder to just below the elbow. Using Pi (22/7) I worked out the radius to draw the neck hole and from that circumference I could mark the length of the capelet and draw the circumference at the hem (plus SA)
Have you ever wondered what that little hole is for at the end of your tape measure? Well I sure have found a use. If you position and hold down the tape measure at the distance required, on the centre point, or corner of your paper, you can put the point of a pencil in the hole at the other end and draw the arc of the circle. Its not as accurate as a compass but I don’t have a set of compasses that large and this method was good enough!
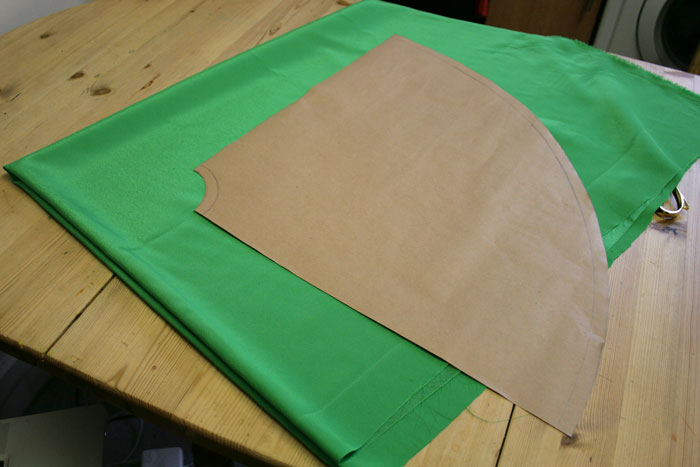
I folded the fabric into quarters and pinned the pattern, making sure it was butted to both adjacent sides.
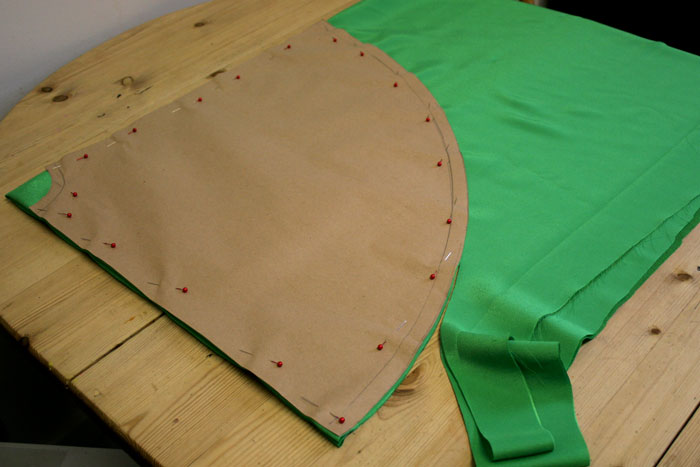 I did the same with the lining and cut out. This is not my favourite fabric to work with, I hasten to add!
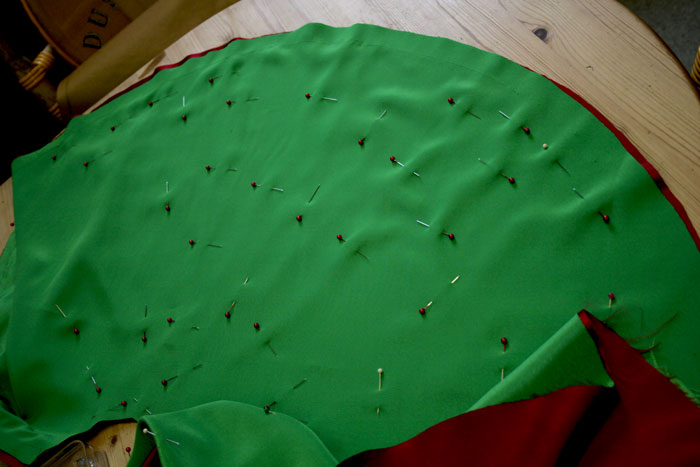
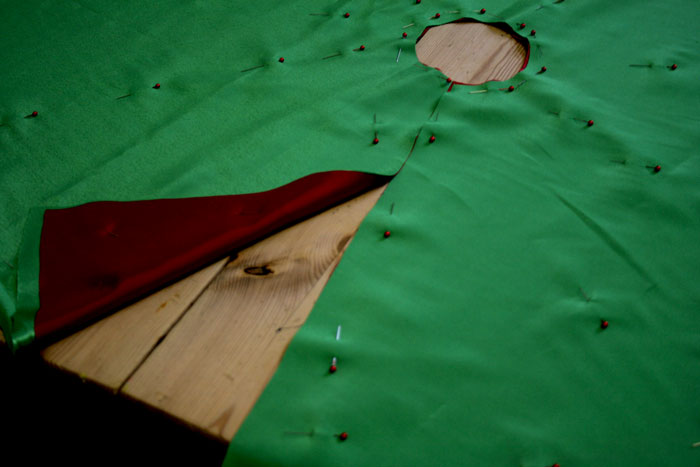
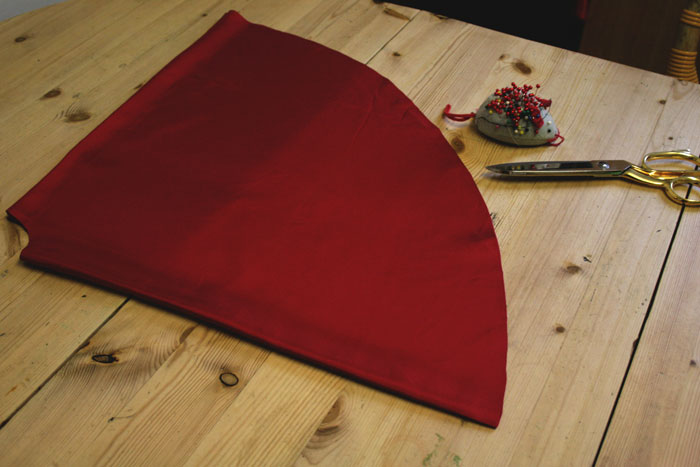 Next up, I pinned the self to the lining, right sides together, using lots and lots of pins. I am telling you, this is soooo not my favourite fabric to work with. It slipped and slid all over the place!
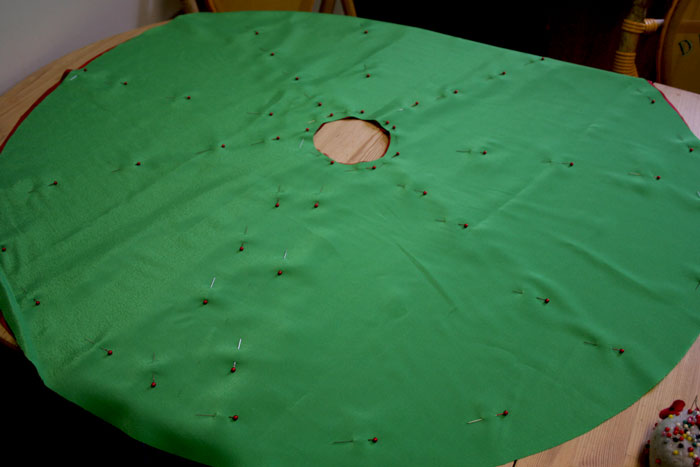 Then I cut the front opening. You can see just how far out I was with the cutting/positioning of this slippery stuff!
But I saved the situation with a genius idea to round off the corners! And note my next exclusive dressmaking tool…. a dinner plate!
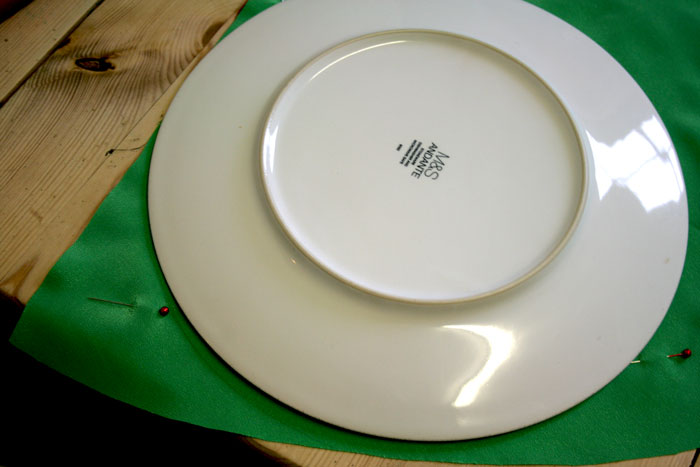 I stuck in some more pins before I attempted to sew around the base hem and up the front openings. But it still took 3 or 4 attempts. It was like a couple of magnets repelling against each other!
 I left the neckline open while I constructed the collar. First I made the collar stand. The measurement for which was the neck measurement (plus ease) by 5 inches (I think!)
I folded it in half, lengthwise and applied fusible interfacing to one side.
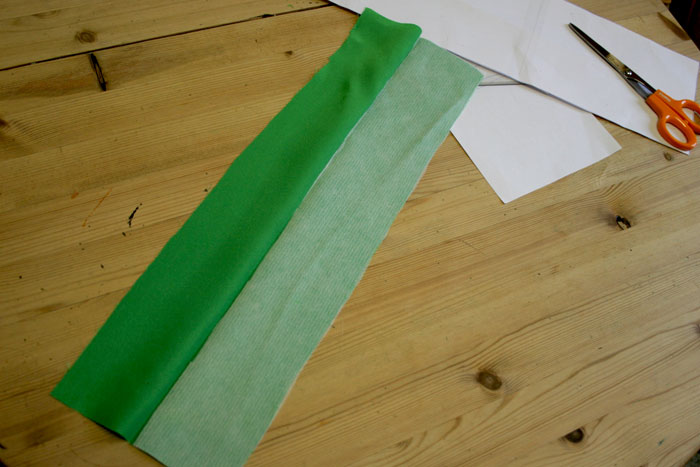 To make the ruffle, I cut a strip the same width only twice as long, folded, pressed and seamed the short ends, right sides facing. I gathered the raw edges to the same length as the collar stand.
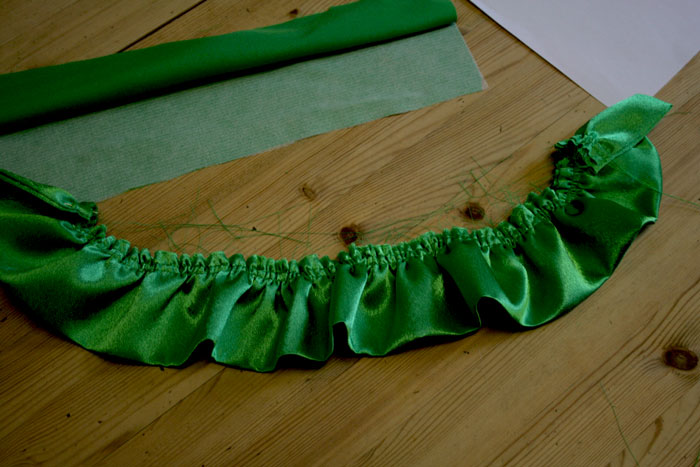 I don’t have pics for the next stage but hopefully it will make sense. I sewed the short ends of the collar stand together and turned right side out. Matching raw edges, I pinned the ruffle to one side of the collar stand, right sides together, careful not to catch the underside.
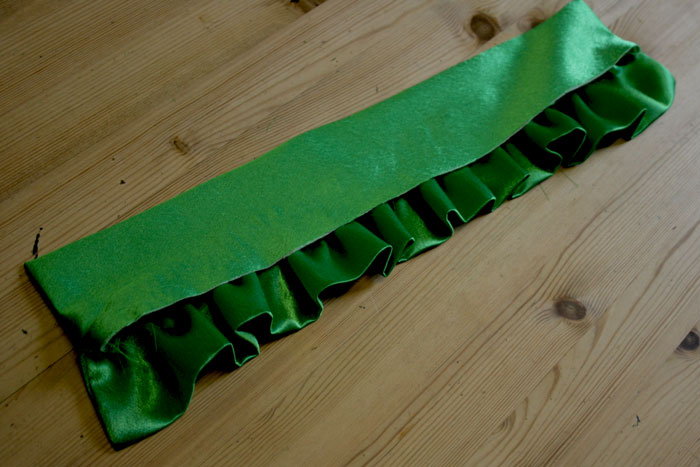 I turned the ruffle up, hiding the raw edges inside and gave it a press to keep it in place. I then folded in the seam allowance from the remaining side and topstitched in place.
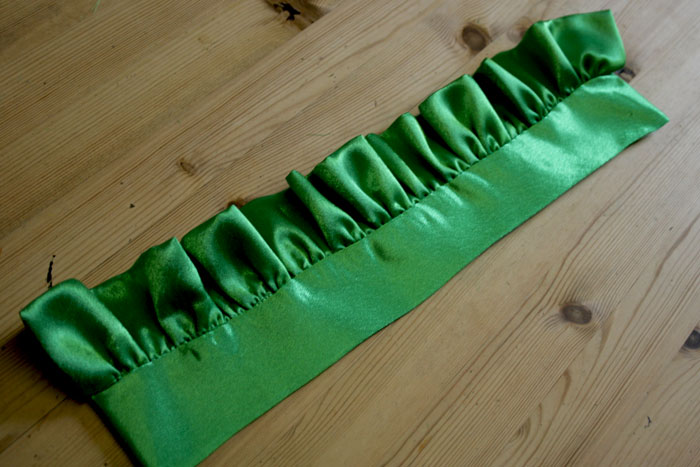 Again I am missing a few pics, but to finish off I sewed the base of the collar stand (the folded edge), right sides facing, to the neckline of the self side of the cape. I then folded and pressed in the seam allowance on the lining and top stitched to the other side of the collar, very close to the edge.
Buttons and ribbons were then sewn in place.
Hope this gives you some insight. So sorry for the missing pics. I will be more diligent with my tutes next time!
This is indeed a very fun and quick make… but I would advise a woven fabric just for sanity’s sake!



Clever chicken! x
Thanks, lovely x
Wow! She’s so cool!
Ha ha… She will love that, Sharon! x
Ooooh, spectacular! A fierce-looking cape, costume and wearer! Love the fancy curve template…I have a similar range of templates…and use them exactly the same way 😉
Thanks CherryPix! I do actually posess a flexible curve but the plate always does the trick better! 🙂
Yowza! Great cape! Great looking girl! Thanks for sharing!
How fun!
Indeed! Never a dull moment!
She looks *amazing*, well done on the cape! I love your hint about using the hole in the tape measure…never thought of that! I always used a string tied to a pencil, but this has the added benefit of measuring at the same time…clever! I love the stand up collar too. And nice use of the dinner plate – I use a wooden spoon as a ‘point presser’…much cheaper 😛
Thanks Kat. There’s joy in being resourceful… and pennies saved, like you say! 🙂
Totally agree 🙂
Well done, she looks pretty cool!
Thanks Anne. She has her moments! 😉
I’m sure the time will come when I need to make a capelet (!?!) and I will definitely be back to follow your tutorial. I also never thought about the hole at the end of the tape measure either so another good tip.
Biggest Little looks amazing, by the way.
lol… you never know!!! Thanks Lynn 🙂
she looks amazing! fab work… i think halloween is your forte!
Very clever work – it looks great, and what a great costume all around! I wouldn’t have guessed you could have a daughter so grown up – she is beautiful 🙂
That shiny stuff sure is a pain to work with. Great job.
Awesome cape, kudos for designing it too…
Very clever. This pattern could be used to make a nice little wool cape I gather. Thanks for the pics!
Can I borrow just a thimbles worth of your talent dammit!!! You are AMAZING! I know you get sick of me saying it but..wowza.
Cute costume idea!
cute! i totally want to make one now
Hey this is great, seeing it in a velvet or with a little fur trim for the up and coming festivities! your girl is a cutie btw
Wow! Seriously, WOW! Great costume, being the mother of a teenager myself, I do understand their reluctance to express their gratitude for the things we do. 😉 I bet this was a show stopper!
Beth
Very cute!!
Fabulous costume!
Costumes are about the only thing MY teenager “allows” me to make for her at the moment. She NEVER says she likes them until she has the seal of approval from her FB friends. Only then am I cool. I actually believe there will be a need for this design for some school thing and I appreciate your putting it up, especially showing how annoying the slippery bits are (she thinks I fake the difficulties to get out of working with that sort of satiny mess).
Always appreciate your posts, so keep them coming!