Now you get to see me on YouTube Telly!

Why I finally started a YouTube channel after years of putting it off

I have forever wanted to start a YouTube channel ever since I signed up in 2011. But I held myself back with all the usual excuses… not enough room, not enough quiet, not enough equipment… They might have been valid enough reasons to start with, but the more I’ve learned about workarounds, it turns out all you really need is motivation and a sprinkle of creativity.

Thumbnail of my first youtube video called The Dress that got me out of a sewing funk!

Instead, I focused my creative energy on Instagram and the occasional blog post here and there. (I have been very lapsed of late, but I’m hoping to make myself more accountable!).

Why I’ve Fallen Out of Love with Instagram

My relationship with Instagram has changed. All of a sudden, it seems. I was so immersed in posting and commenting and curating my feed that I hardly came up for air, and I absolutely loved it. But if I’m honest, like a lot of people, I’ve become a bit burned out.

I’m not sure if it’s because I’ve got so much else going on and it’s just one more thing to contend with, but it feels like the pace of it has sped up before my eyes. I feel like I don’t get a chance to savour a project anywhere near enough before it’s time to move on. And I’m finding it stressful.

I’m pretty sure that scrolling was enjoyable in the beginning. But now it seems that every piece of content is a fight for relevance and advertising, of course. Added to that, the trends, both music and presentation, are soooo annoying.

I’ve come to write a blog post this morning because I need a bit of a reset. This is pretty much where I started, after all. This is where the creativity not only involved the project I was talking about, but stories shot from the hip as well. And I miss that.

There’s only so many words you can fit into an Insta caption, and the chances are they might never be read or, if they are, they’ll just glide down the grid within minutes. Right this minute, I am already feeling that cosy cuddle of creativity as I tap away. And in writing, I’ve become aware of just how beneficial it is for my brain.

Thumbnail of one of my YouTube videos called "Im getting paid for Brain Gains!"

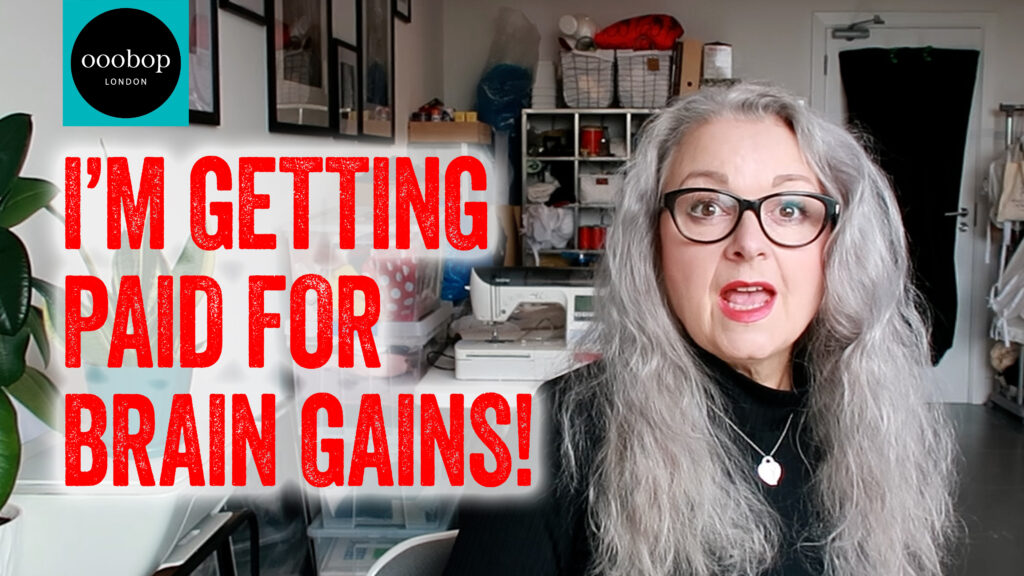
The moment I start, either on the keys or, if I’m feeling fancy, with fountain pen to paper, I feel an instantaneous wake-up of creative sparkles. Morning pages should really turn into blog pages, but I don’t really want to declare that just yet, as I am master of rebelling against my own rules!

I’m not about to leave Instagram. I have built up a lovely following, and one I truly enjoy connecting with, but I feel an energy shift back to what has always worked for me, along with something new.

That something new is indeed my new little channel on YouTube.

The Real Reason I Started a YouTube Channel

If I’m honest, the main reason for me wanting to broadcast was to get over myself. I’m notoriously anxious when I speak in front of people. I have an essential tremor which is massively triggered by speaking in public. The obvious thing is, of course, to avoid doing things that set off such extreme reactions, but the never-let-it-lie in me won’t allow me to do that. And the older I get, the more determined I am to conquer all that I’m crap at!

It’s a bit of a cheat, of course, because I’m not actually people-facing – I’m shielded by the screen of my front-facing camera. But I imagine that I’m talking to actual people. It took me forever to record the first video because my words would falter. I would forget what I was going to say every step of the way, just like when I’m talking to groups of people I don’t know.

But I’m on video number six now, and it already feels more comfortable, and I’m really enjoying the process.

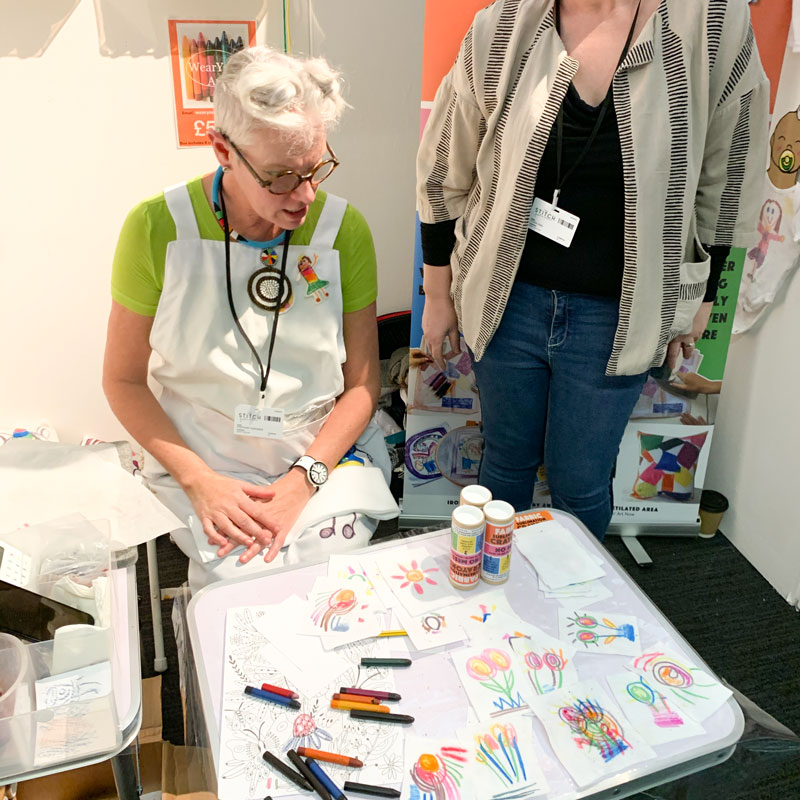
For context, since joining an art community, I often have to talk to people I don’t know. One of the terms of my rental contract is that I must host studio talks and present my work at open studios, for instance.

Thumbnail for my YouTube video called : A week of ARt Medicine

I knew it would be hard, and I know it sounds super dramatic, but the prospect of doing things like that makes me feel physically sick, and I start shaking just thinking about it. I am so over my ridiculous reactions that this presented an ideal opportunity to face them and get better at dealing with them.

Learning to Talk on Camera

I feel like things have improved from where I started, but talking on camera and telling my stories is another level of practice. I’m pretty sure that talking about myself layers on another level of anxiety. If I talked about someone else’s life or work, for instance, it would be way easier, I’m sure!

My channel is currently more of the chatty kind. Long-form videos of an indepth tutorial nature might have to be parked for now, but I will be still giving backstory and insights into construction, along with tips and tricks for both art and sewing based subjects, in the meantime.

Thumbnail for my YouTube Video called: Plaid Vs tartan - wait, there's a difference?! And why Chanel would hate my dress!

Much as I love writing, I’ve realised that video is my preferred platform for showcasing behind-the-scenes moments, delivering visual vibes, and allowing space for a much more realistic backstory to a project or point of view compared to a one-minute reel on Insta.

Aside from learning how to relax and present myself, I’ve had to teach myself how to edit – something I forgot to factor in when I first thought to start a channel – and I’ve really embraced building these new skills.

Luckily for me, as a graphic designer, I already have access to the full Adobe Creative Suite, which includes Premiere Pro, the perfect editing software I need to chop out all those ums and ahs and forgetful silent gaps! So, for transparency, don’t be fooled when I flow!

On one hand, it seems crazy to shoehorn something else into my already bonkersly busy week. Turns out shooting a five-to-ten-minute video can actually take up the best part of a day (two for the first video), and I will need at least another one to edit it.

But I’m clearly enjoying it all because no sooner have I posted one than I’m planning another. They will not be coming thick and fast, though, because I want them to be considered. I really do not want to end up down another path of rapid-fire rhetoric.

Thumbnail for my YouTube video called : The 80s called... they want it back!

I started the journey by dipping my big toe in first. I tentatively shared a short, which was a reused reel from my Instagram account. And it went down a treat.

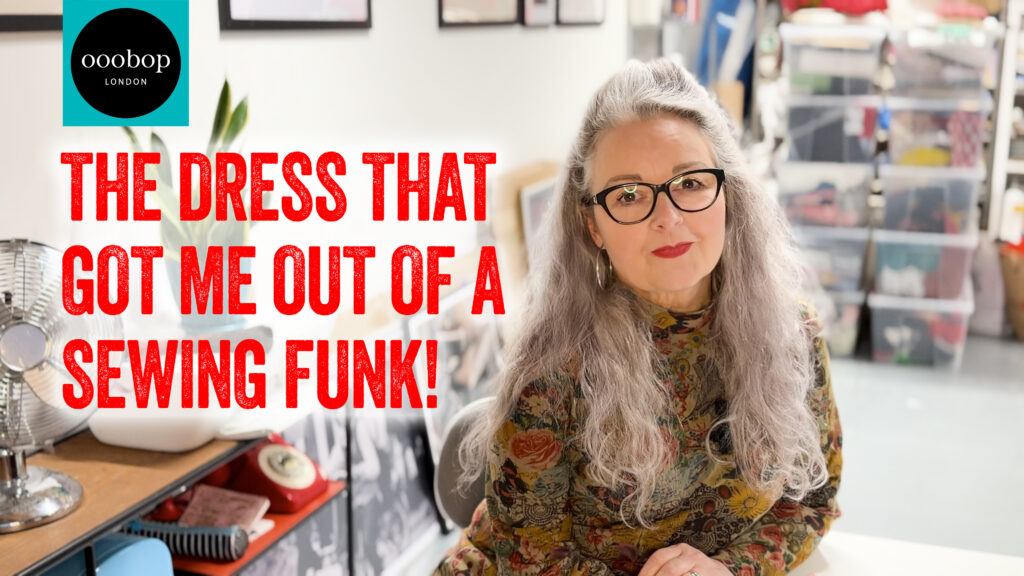
That gave me the confidence to post my first long-form video – a whole 5 minutes and 57 seconds of me talking – and nobody died!

Honestly, it took me so long to create, edit and upload. It was an eye-opener, and I have a renewed respect for all YouTube creators.

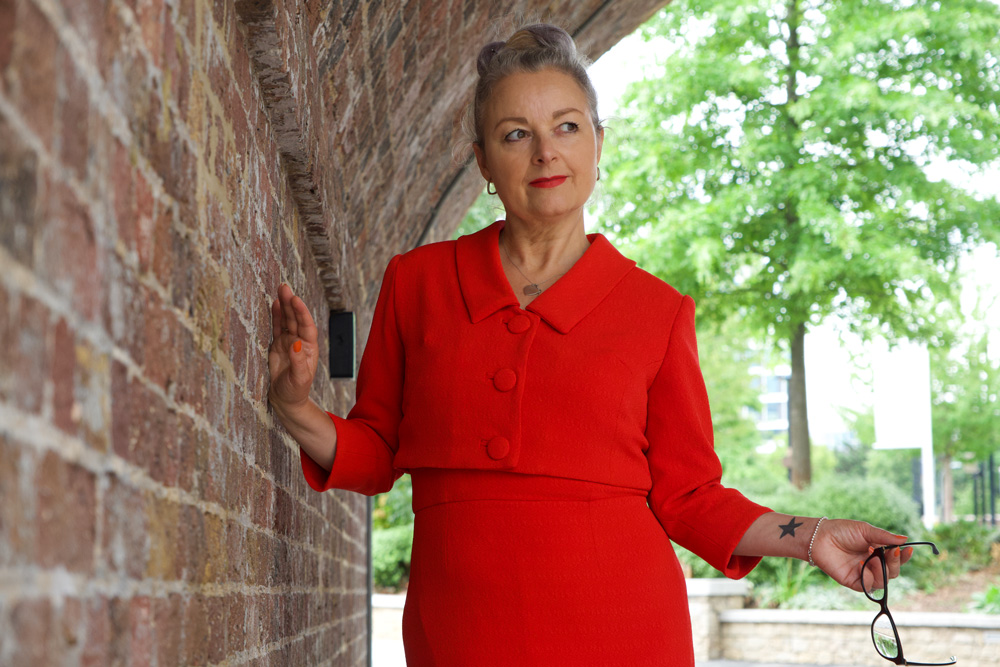
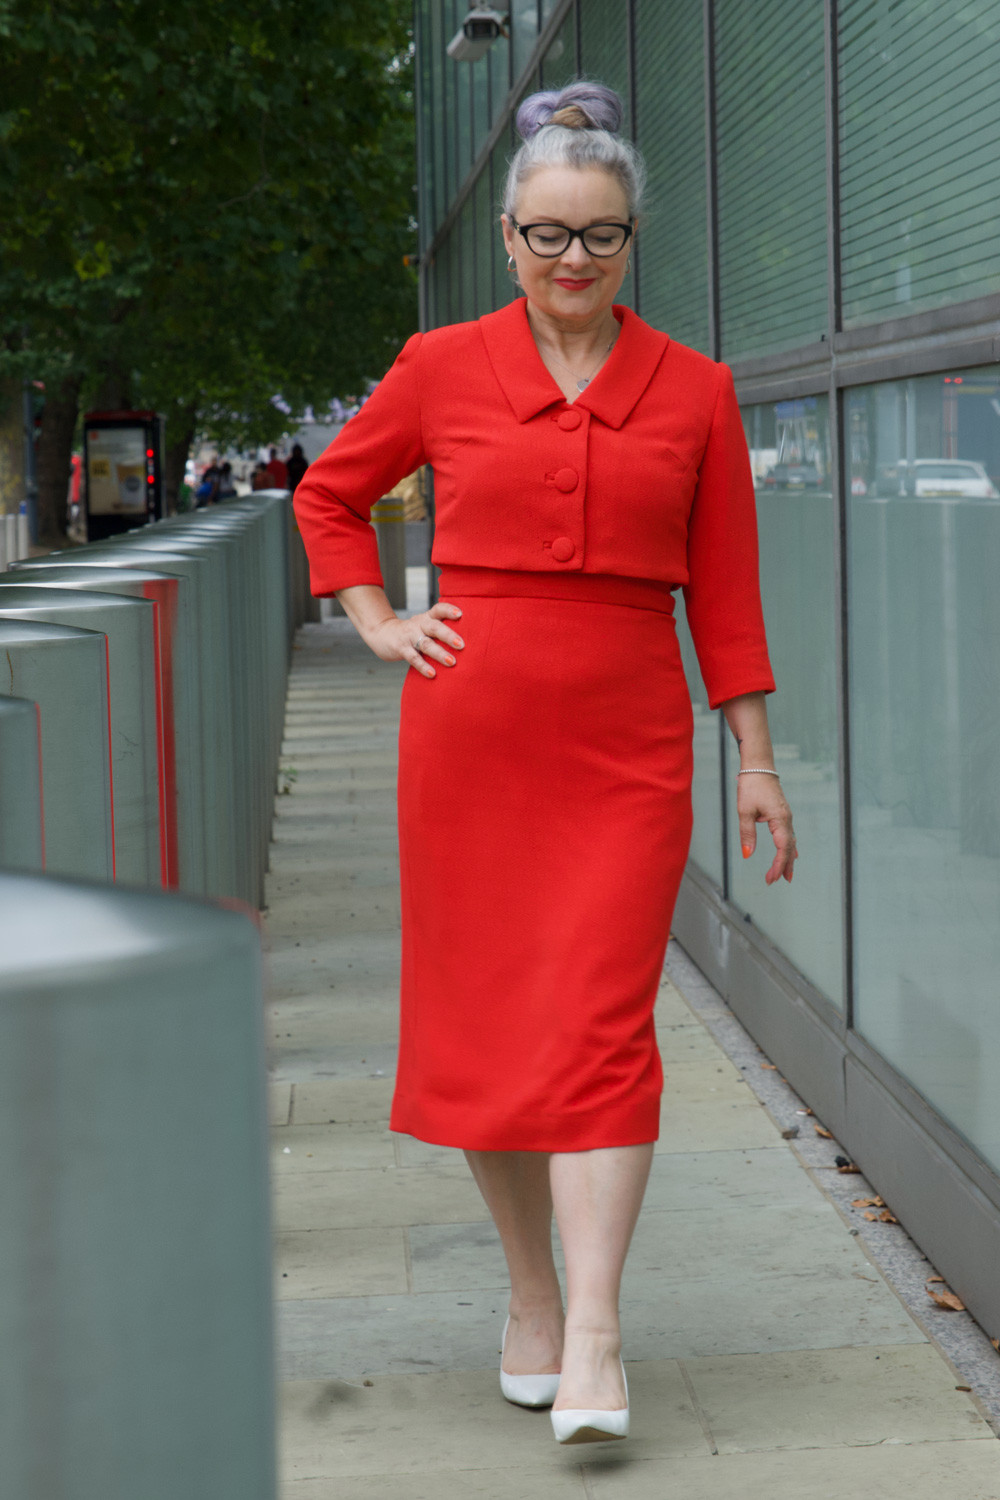
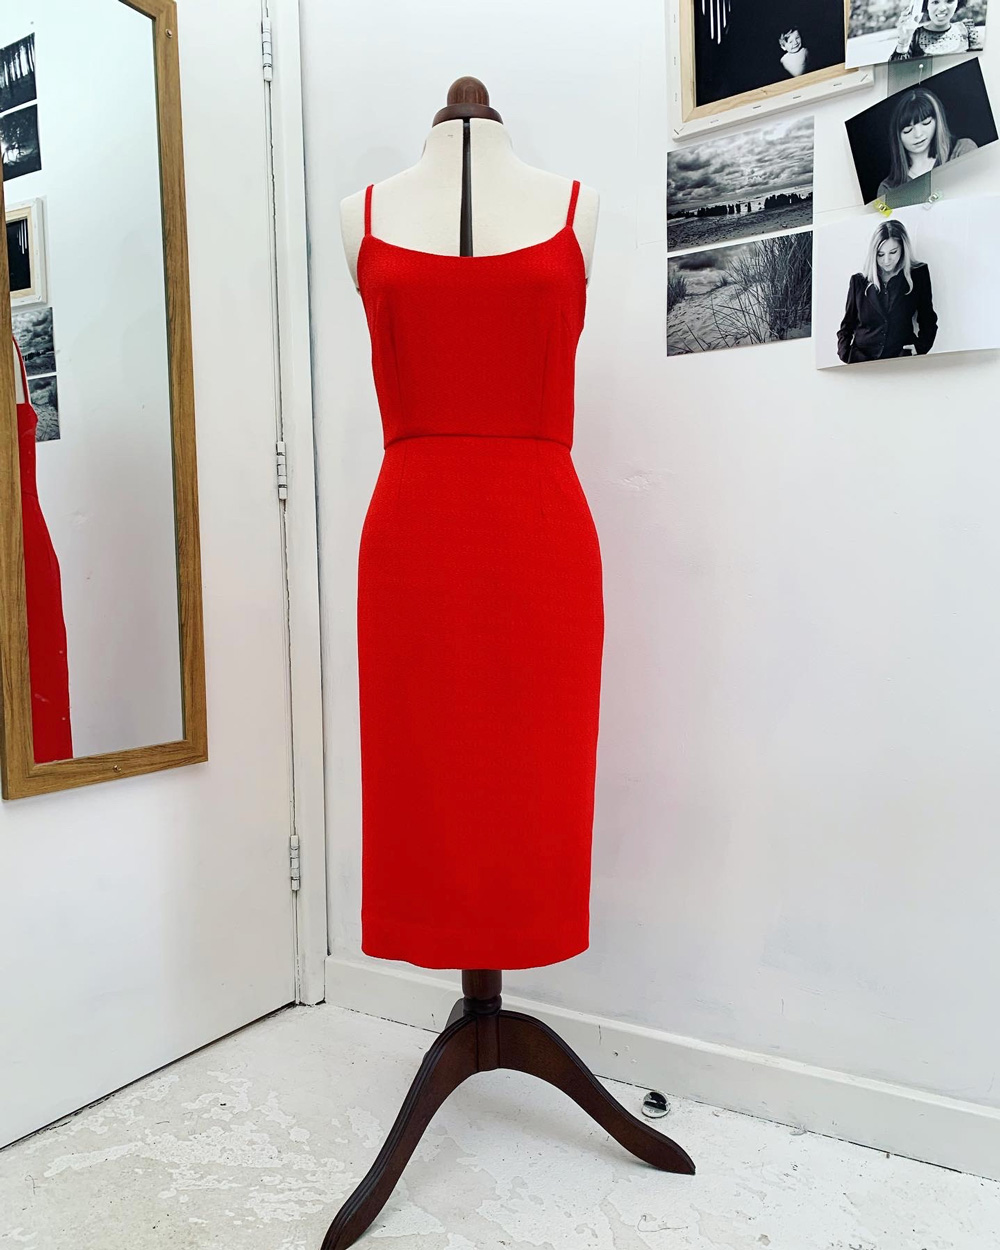
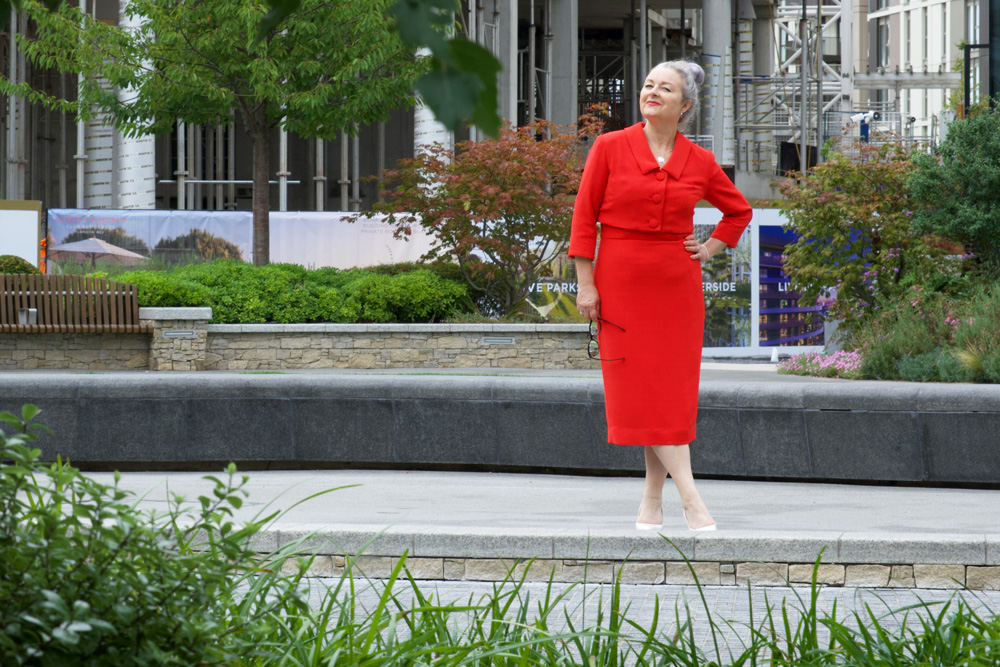
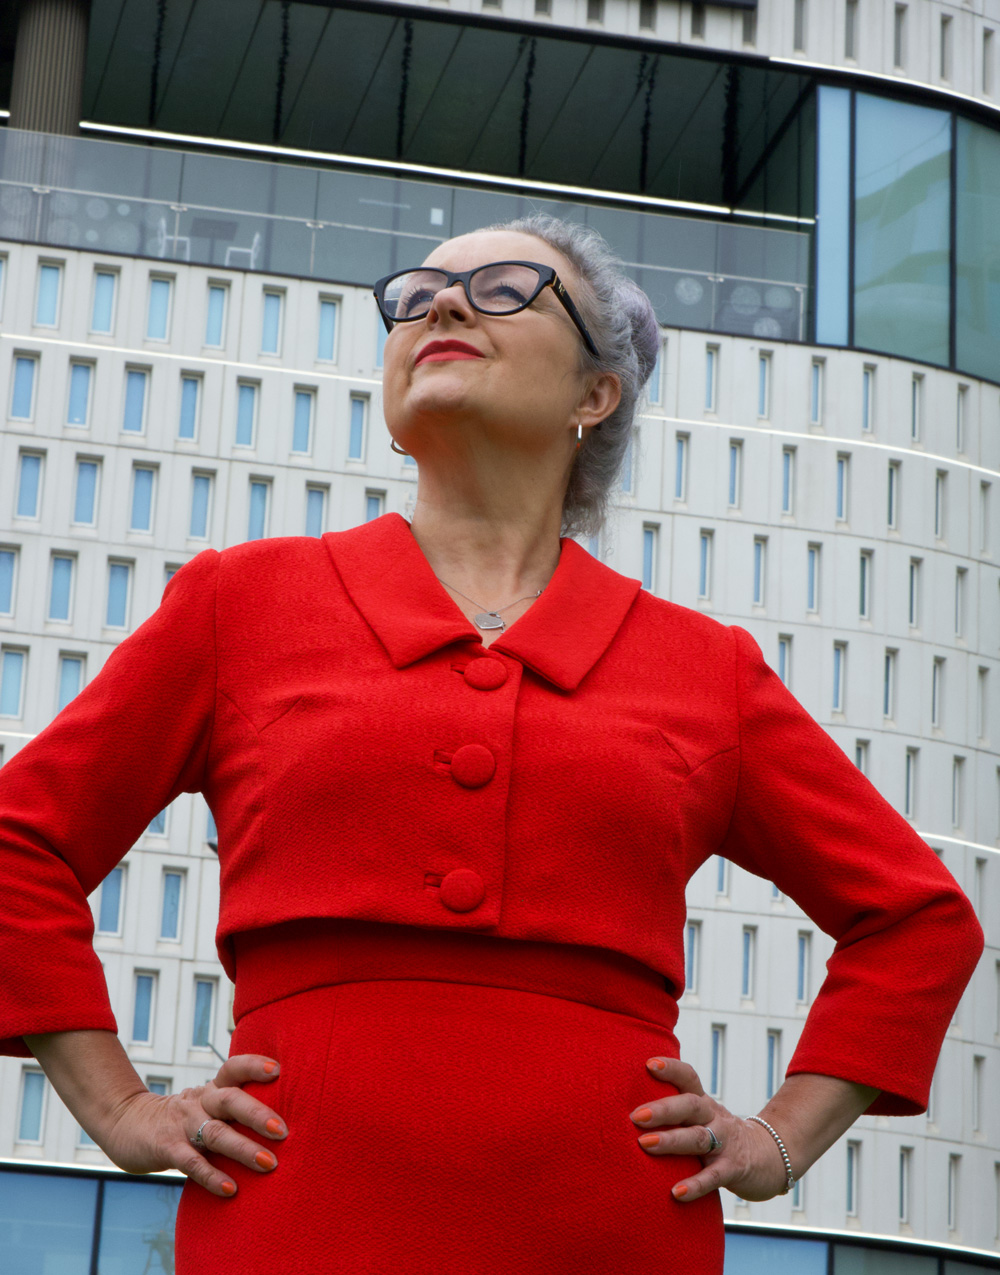
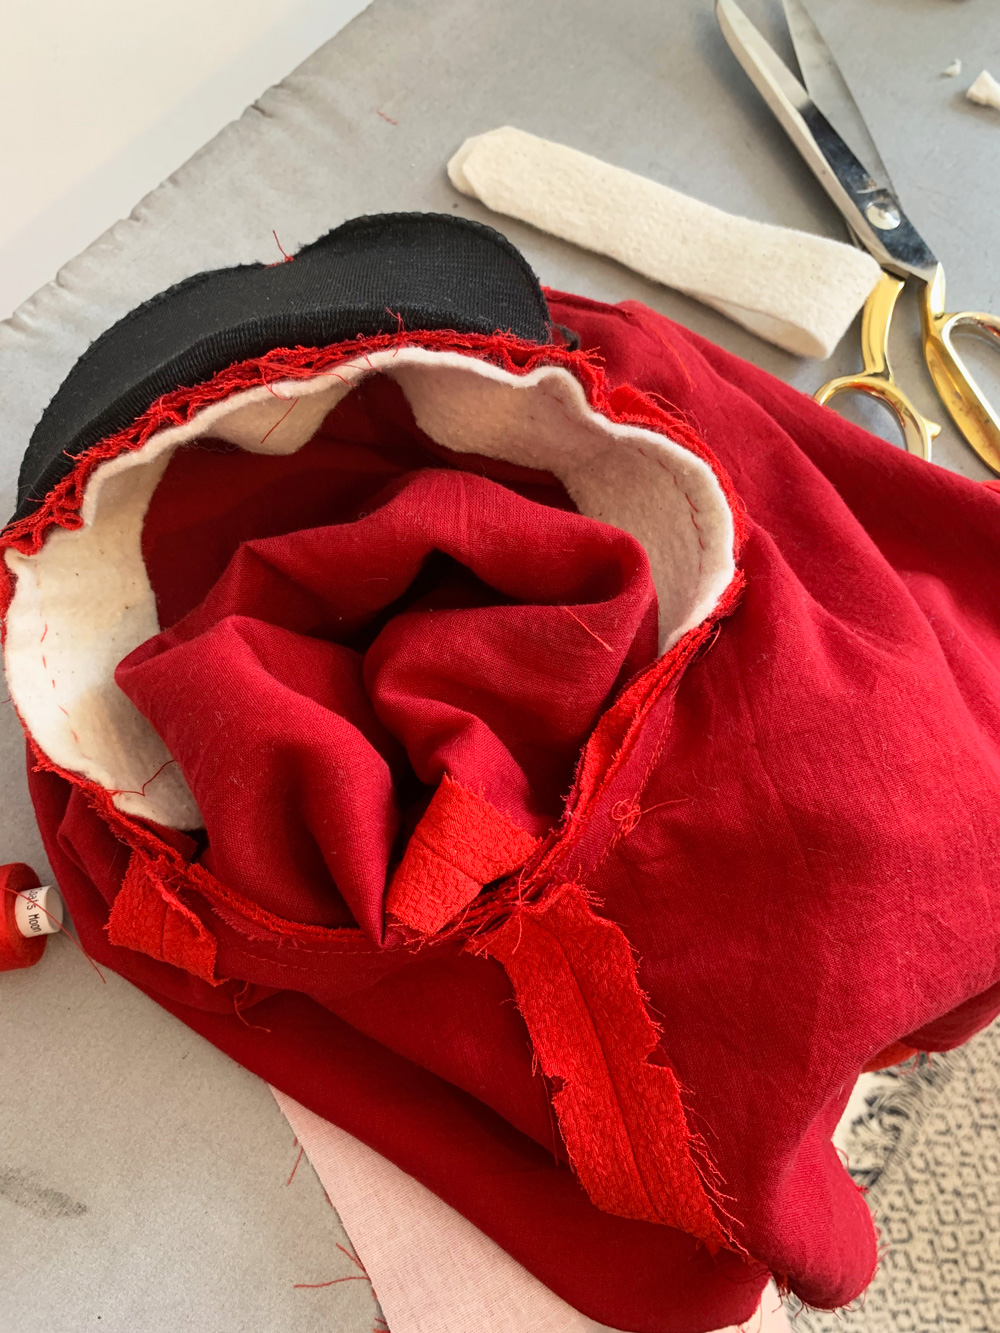
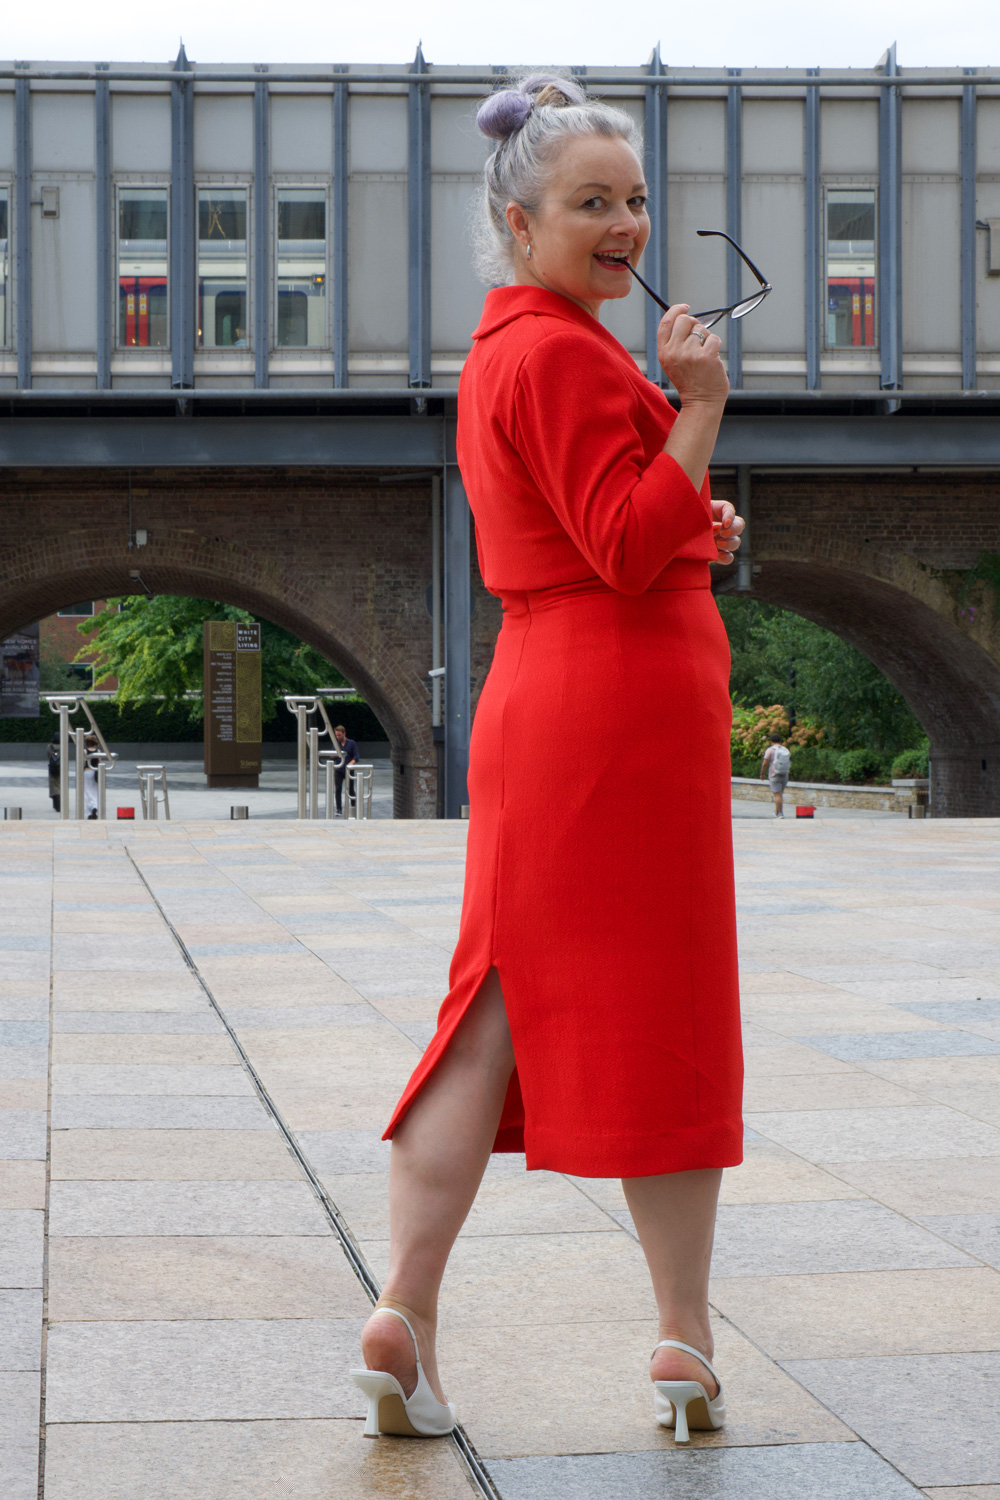
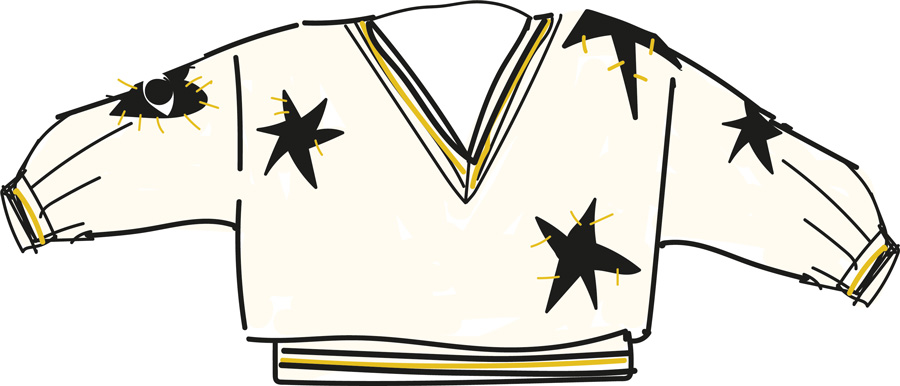
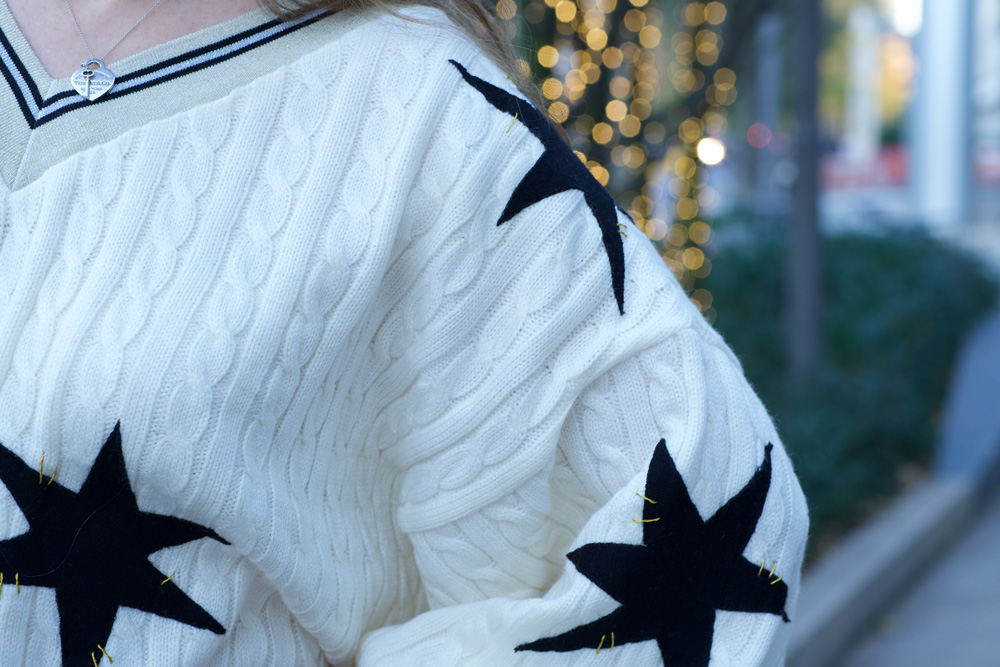
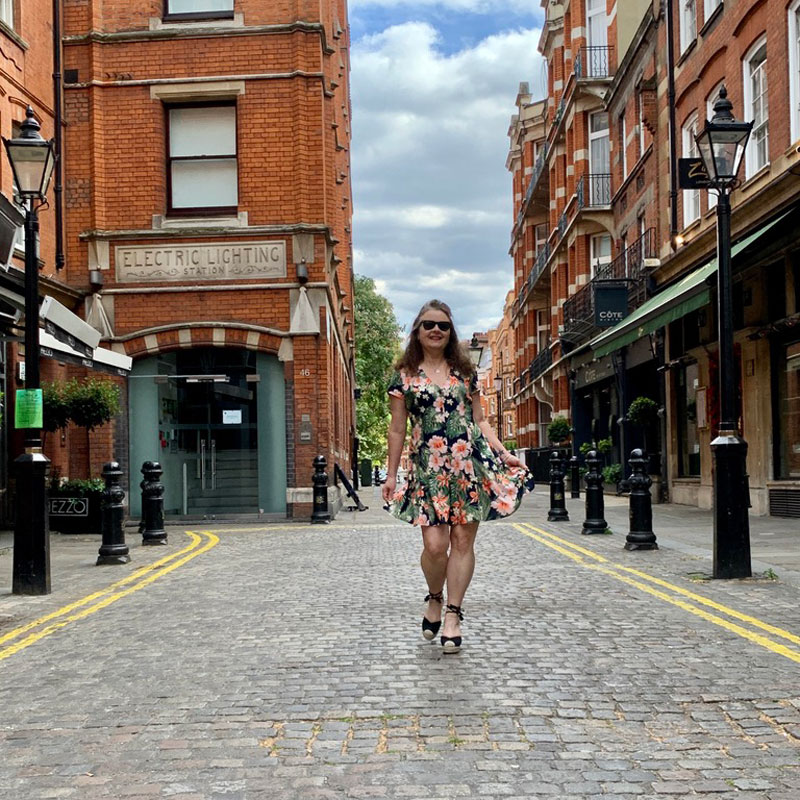
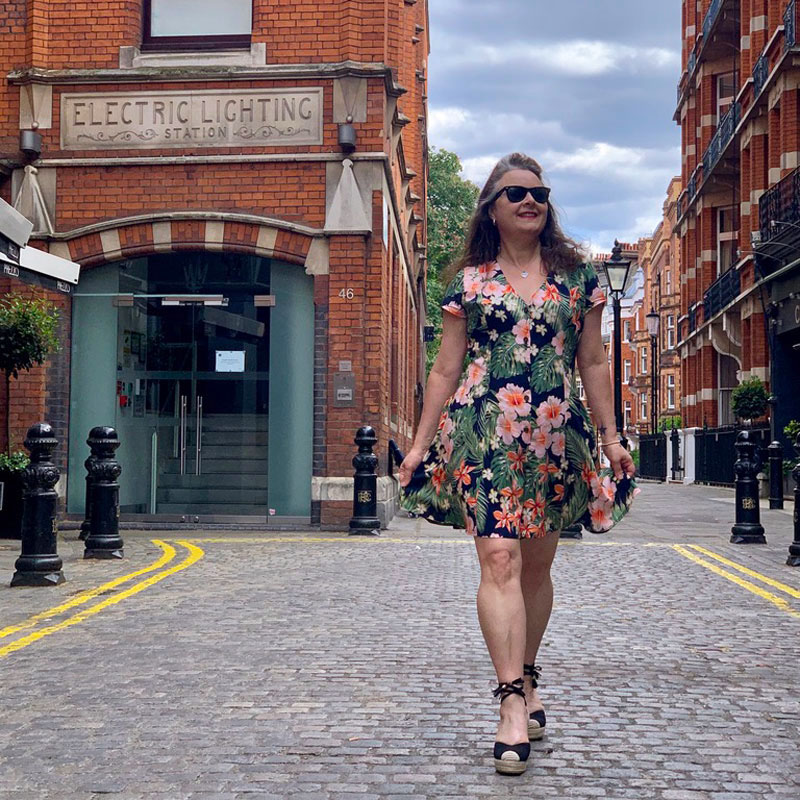
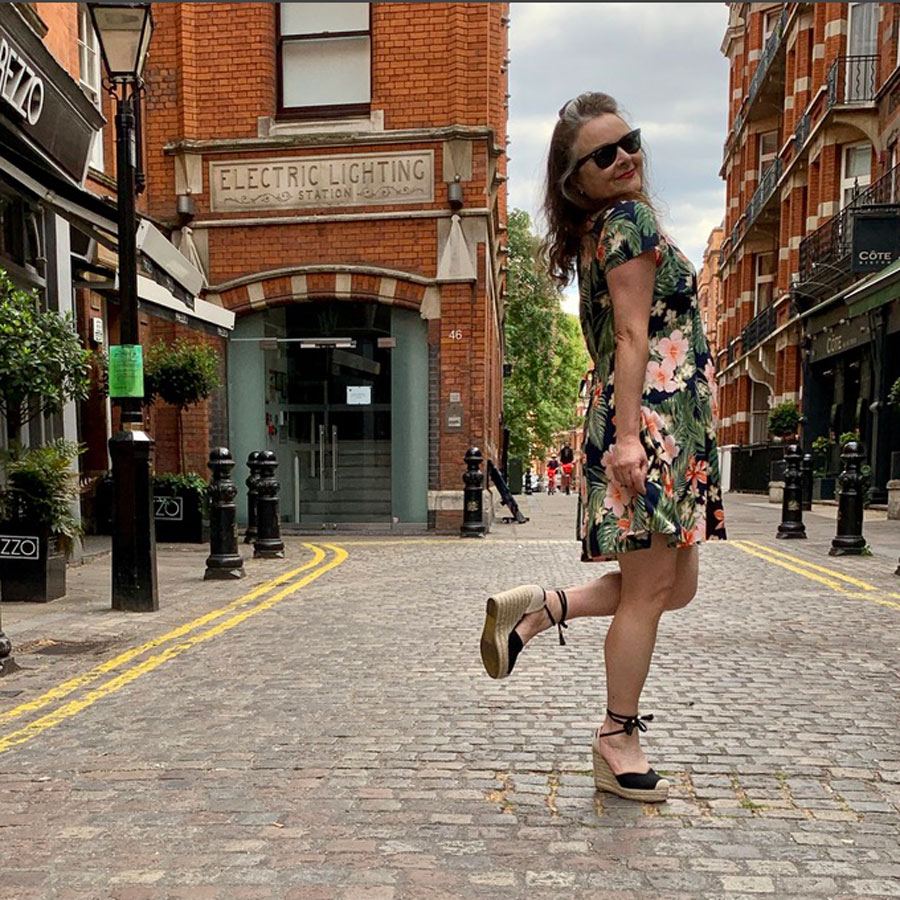
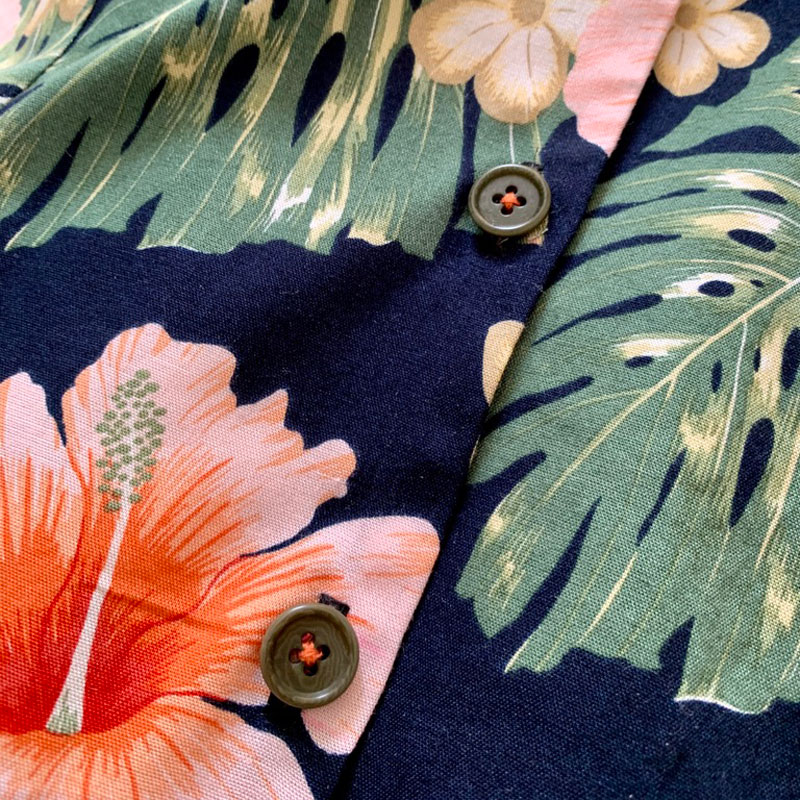
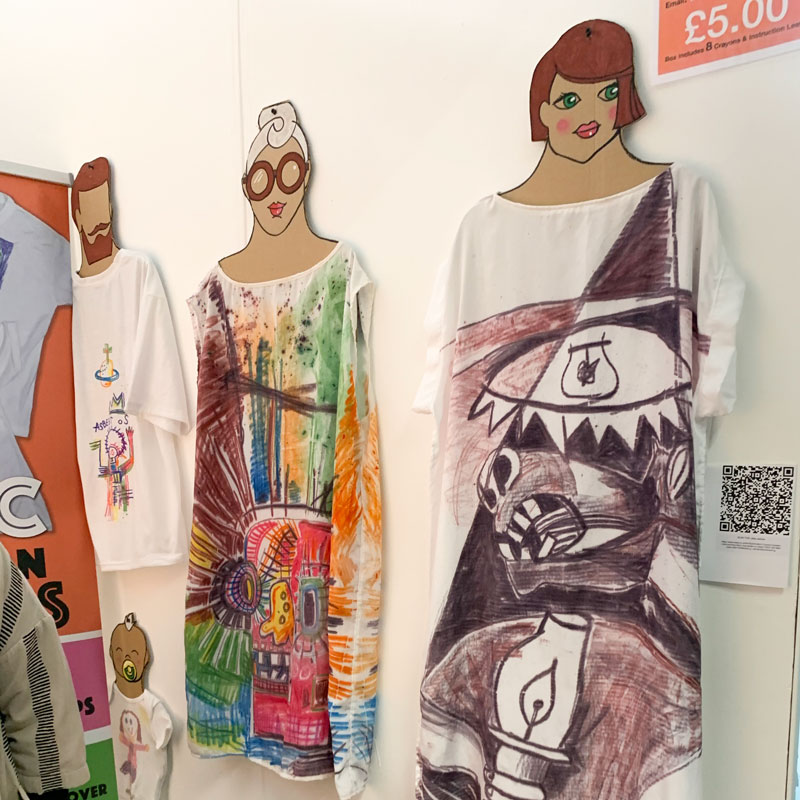
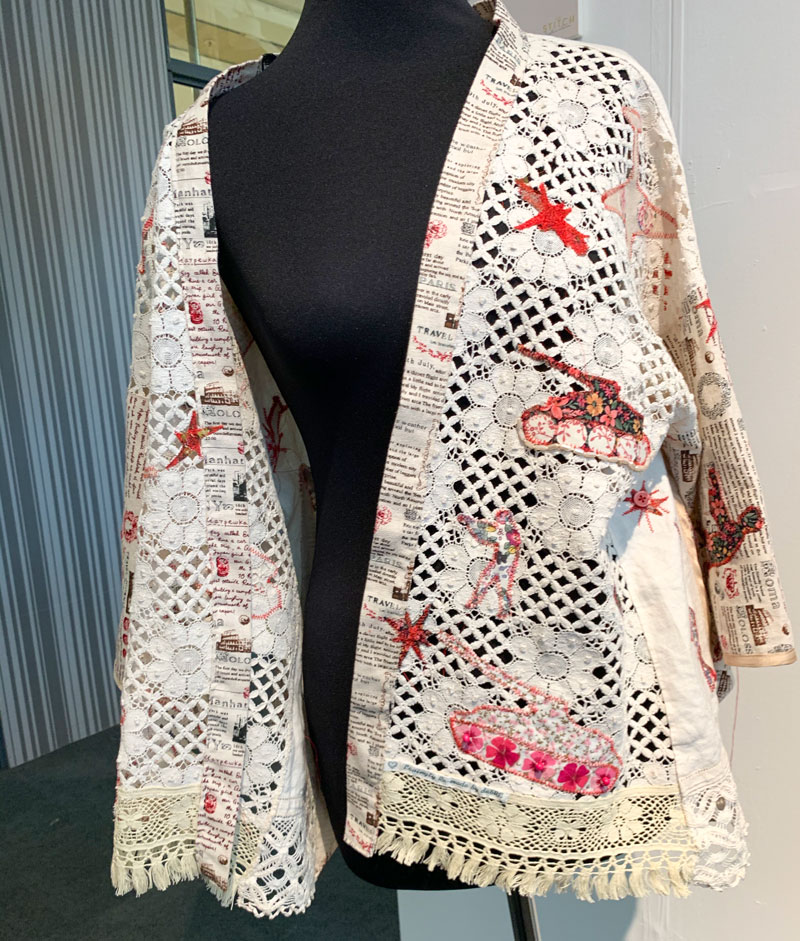
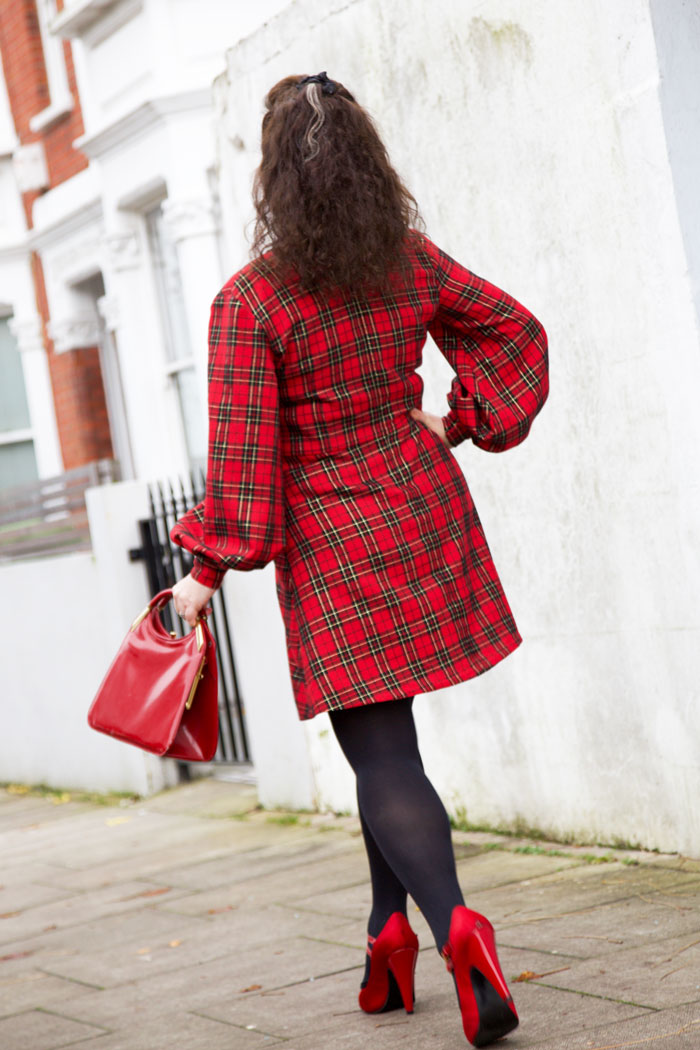
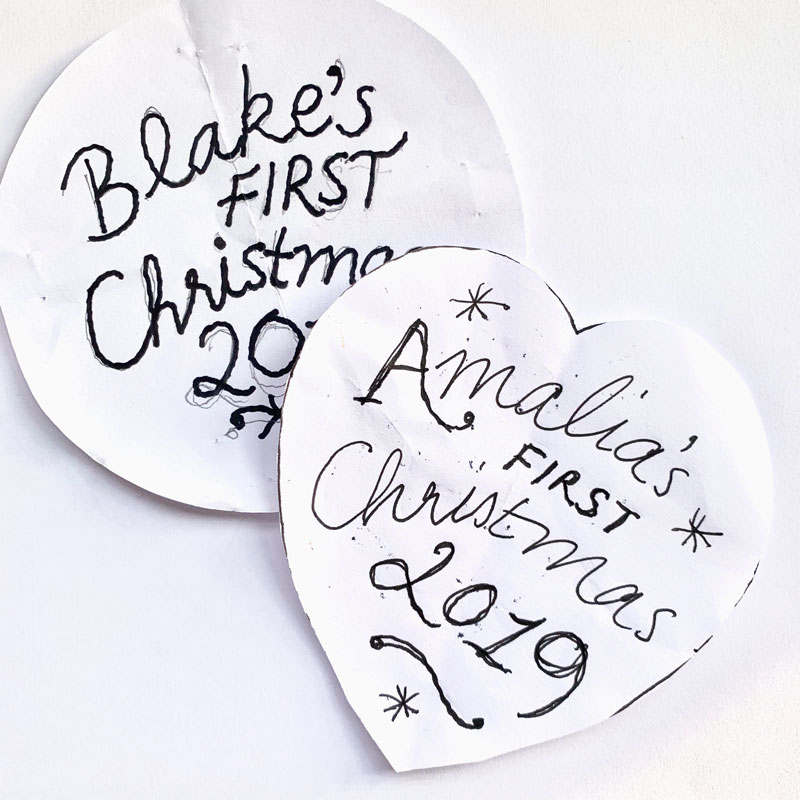
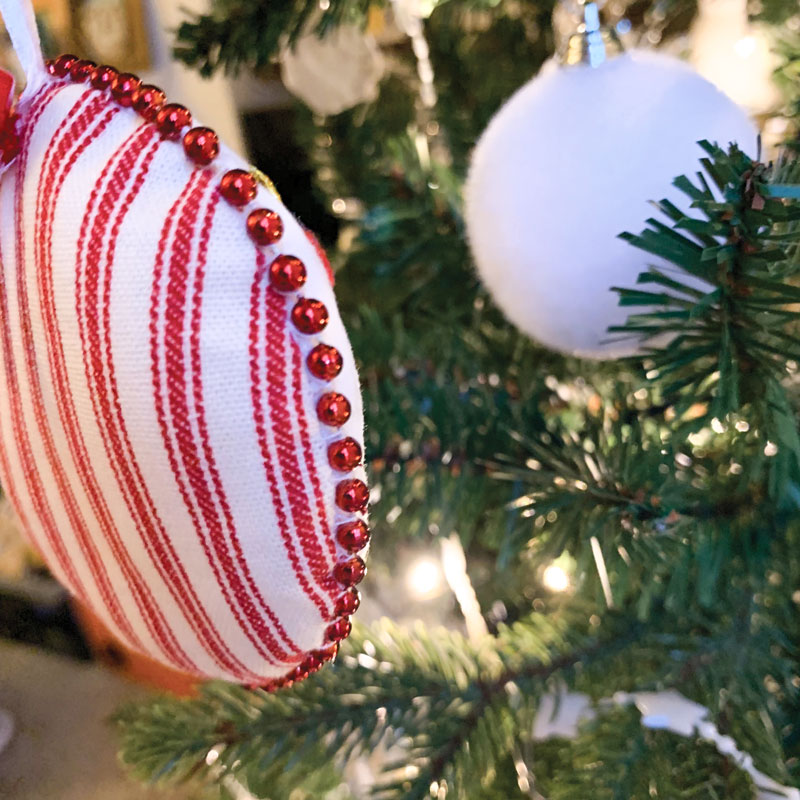
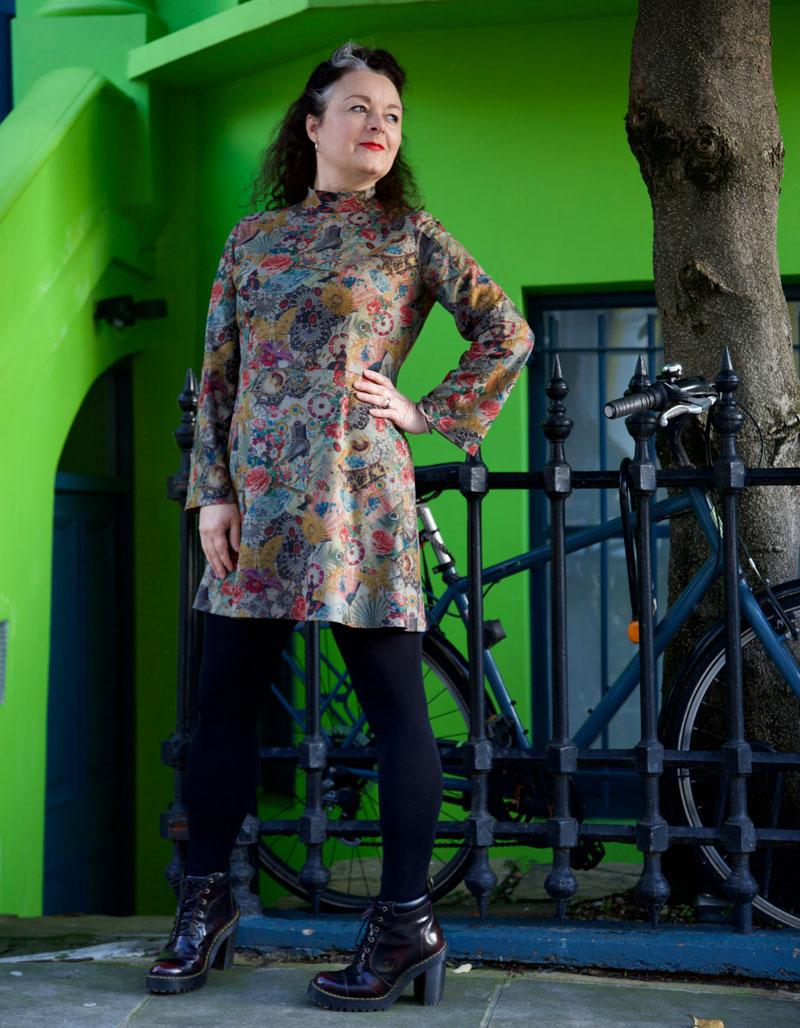
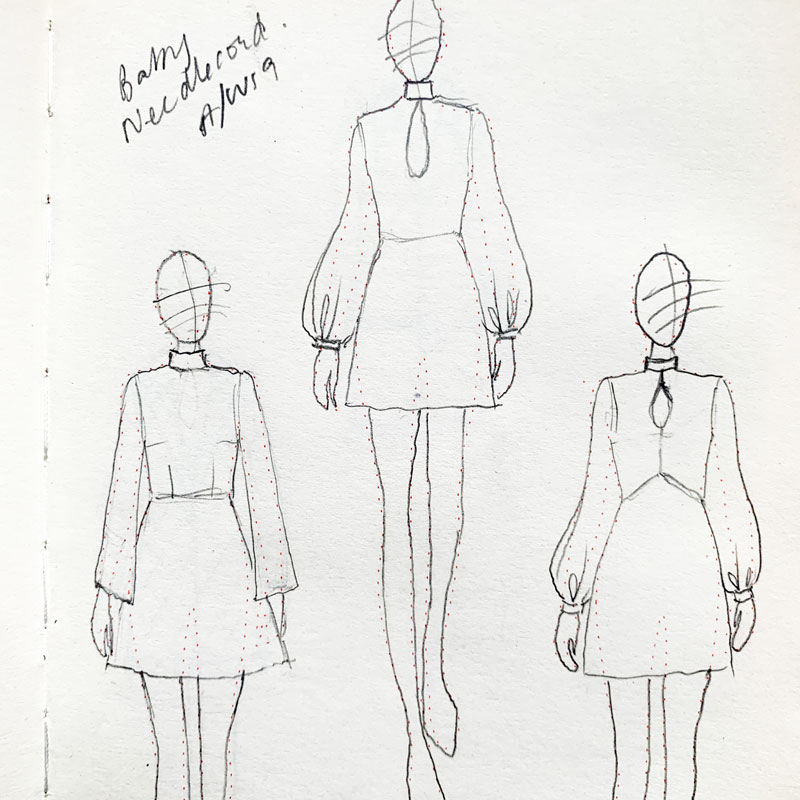
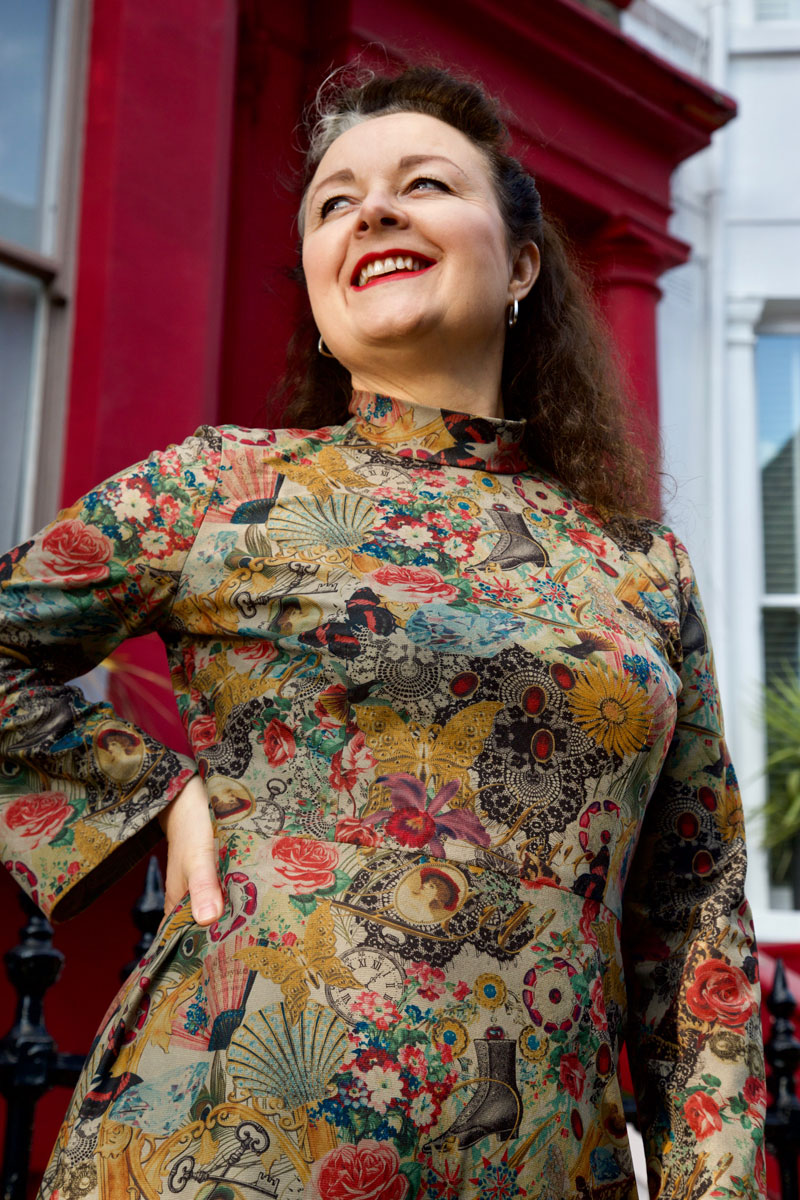
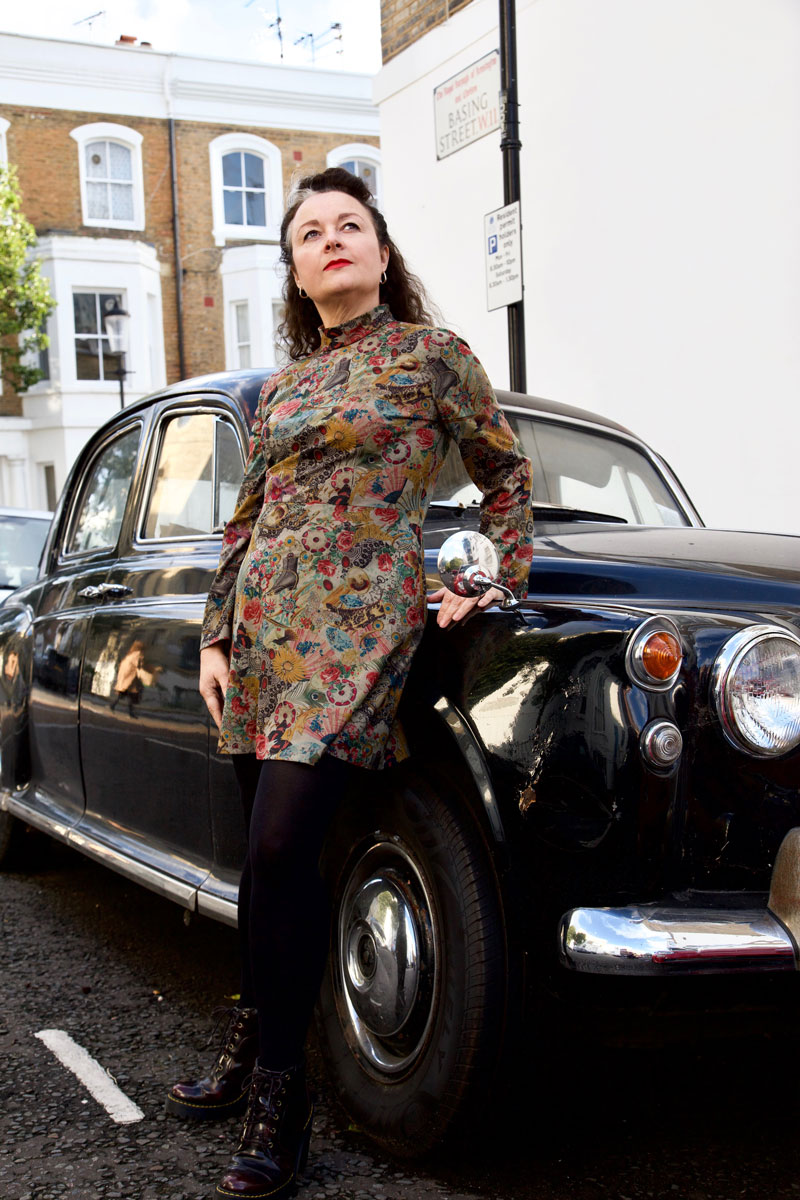
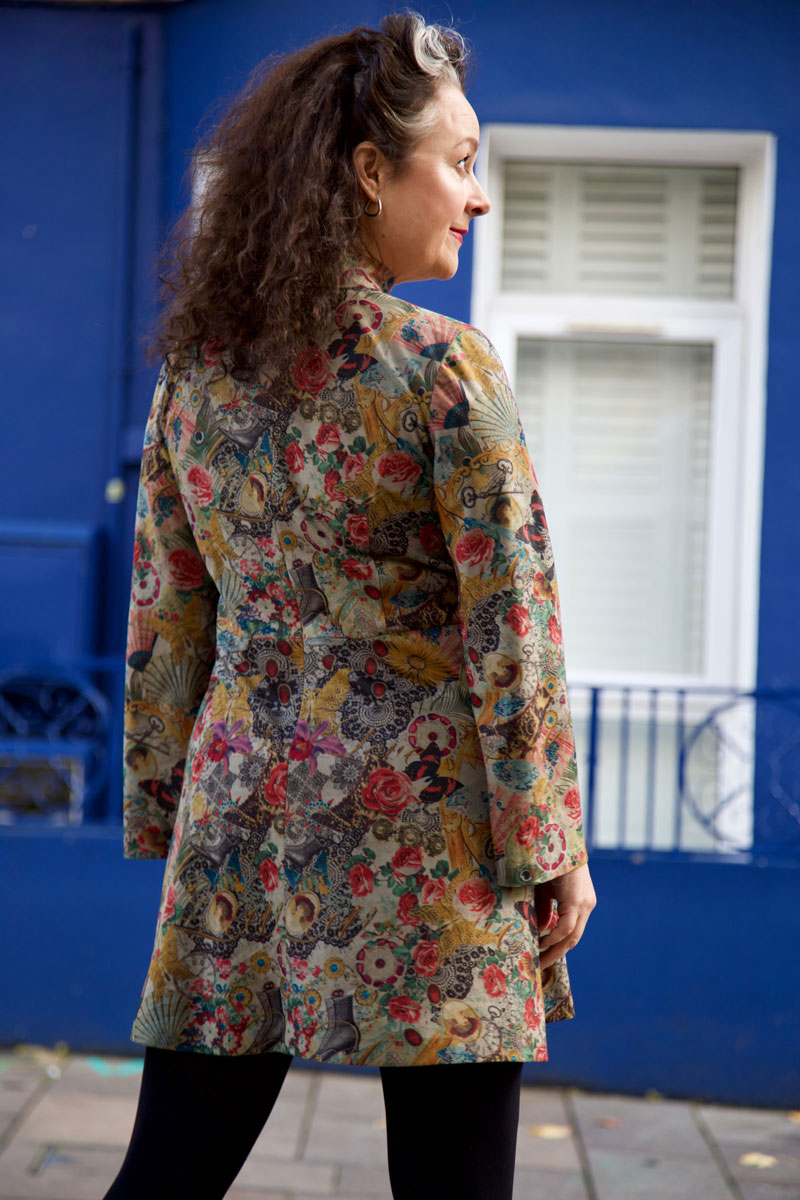
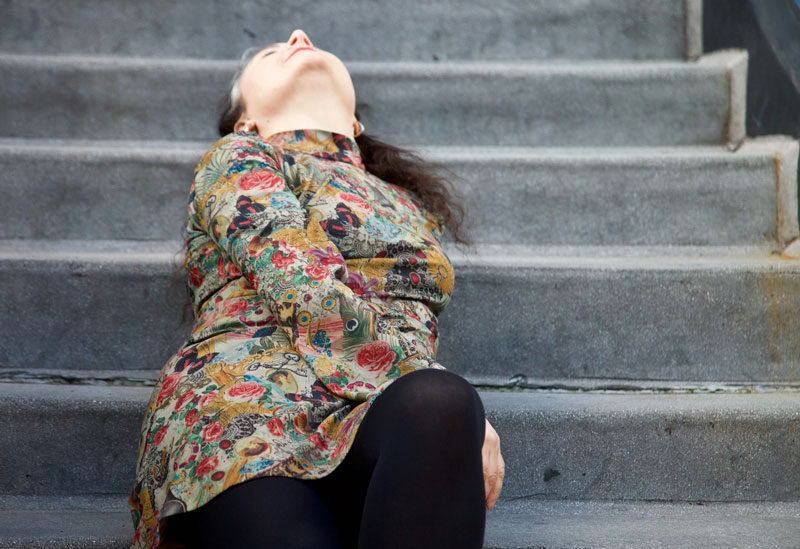
I talk about a thrifted dress that I first altered to be more me and then kept adding embroidery, beading and even screen-printed detail. The response was super encouraging. And already I’m feeling like this was a good move.

I already know at this point that this is the place I need to be to not only share the skills that need to be shared, but to revisit projects and give them the airtime they deserve.

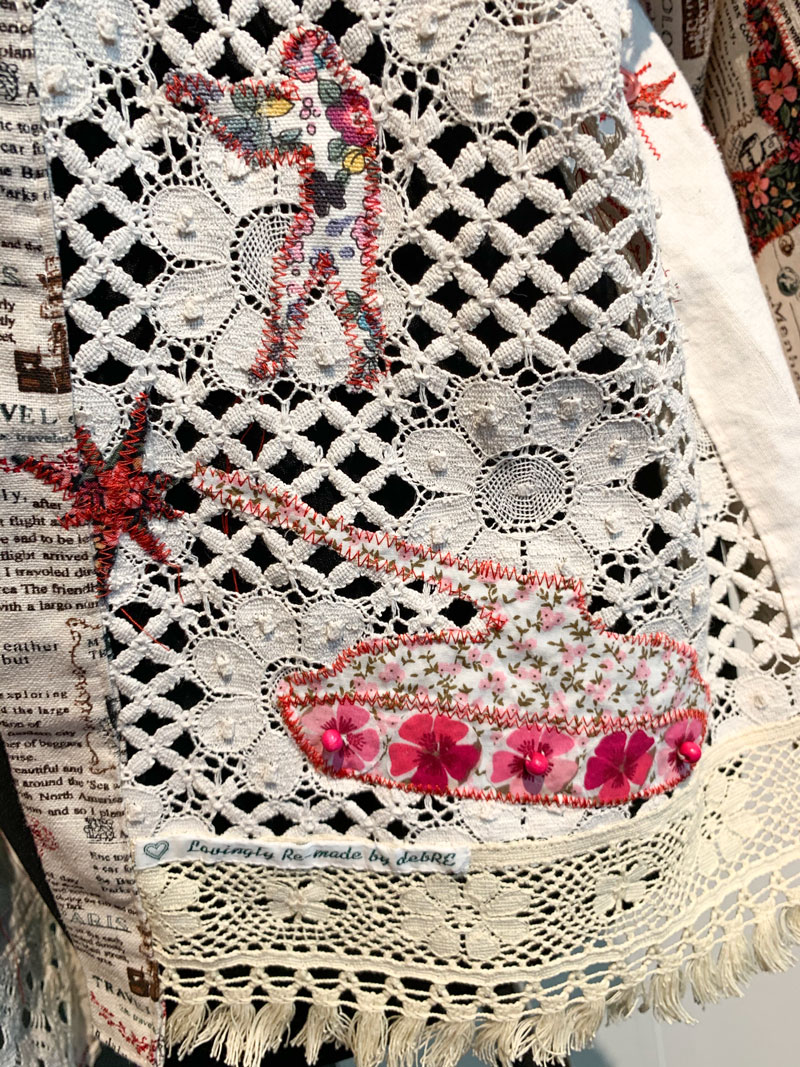
I put so much work into the things I sew and paint and draw; I so don’t want them to be destined for a tiny square with a tiny caption. I want close-ups, big-ups and documentation that doesn’t have to tiptoe around an algorithm.

Building a New Creative Community

I am just at the very beginning of building my new community. Interestingly, not many followers came over from Insta. I was at first surprised, since I have a following of nearly 6,000, but then I had to accept that I myself wasn’t really a regular follower of anyone on The Tube until I started posting content myself.

My usage was mostly when I wanted to find out how to do or make something, and I enjoyed being able to tap in and tap out without getting caught in a trap of silly scrolling. But I am slowly finding my tribe there too, and I’m already enjoying some interesting interaction. I’m sure it takes more than a couple of months for the systems to recognise a pattern of interest.

Thumbnail of my YouTube video called "Proper hand-sewn gloves"

I would love to know how you feel about YouTube. And how you feel about social media in general, really. Clearly, you are here reading my blog, and let me tell you just how much I appreciate you doing that. I know some of you have stuck with me for a very long time despite my sporadic show-ups, and I can’t thank you enough. It makes me feel like I’m pressing “publish” with a purpose!

Do you gravitate towards Instagram, or are you a Facebook fan? Are you an avid watcher of YouTube videos, or do you typically “tap in” like I once did?

And if you’re curious about this new chapter, you’re very welcome to pop over and have a look at what I’ve been up to on YouTube. No pressure, of course. I’m still finding my feet over there, but it would be lovely to know your thoughts and to have you along for the journey.

Button for readers to click and subscribe to my YouTube channel

The SOI Miriam dress and jacket I always knew I wanted

I’ve wanted to make a classic dress suit for as long as I can remember. And I own very, many original vintage patterns that would have been perfect, believe me. But an overriding anticipated disappointment in the result always held me back.

In fact its true to say I’ve altogether strayed away from vintage styles more recently, favouring an urge to be a bit more experimental instead. But I’ve never lost love for the classics. And when Lisa asked if I’d model for Sew Over It’s Vintage Dreaming collection I had to pinch myself. Every single garment of that Ebook is divine but the one look that took my breath away was Lisa in the pale blue polka dot Miriam set and Chantelle in the raspberry linen version. And I wanted it too!

There was something massively nostalgic about Sew Over It making a return to vintage. Because that’s where they were at when I discovered them, when indie pattern companies were brand new and it felt so refreshing to have exciting options outside of ‘the Big 4’ pattern companies, and is exactly the point at which I was keen on sewing all things 50s and 60s. The main benefits of modern vintage-style patterns are the more realistic and modern proportions of the body measurements and also the inclusion of multiple size options so you can grade very easily between 2 or more lines to get a perfect fit. Most of my 1950s patterns are generally an unprinted tissue template for a singular size only. And generally speaking don’t fit straight out of the packet!

And so it was such a joy to cut a straight size 12 for the Miriam set with no fitting adjustments at all! 

The dress came together so easily and relatively quickly. This is largely due to the simplicity of the design, but also the instructions are very clear and concise. The only step I skipped was for the adjustable straps. I just made sure the straps were exactly in the right place and the right length by pinning and trying on and adjusting … about 15 times before finally sewing in place!

I used a medium weight, red textured crepe from New Crafthouse (always delighted to use deadstock) bought with a voucher I won back in April at the Spring Fling party. Also delighted that I’ve used it up relatively quickly and it’s not languished in stash! I’m trying so hard to create better habits recently regarding my fabric choices, sources and usage. More about that soon.

The jacket involved a bit more work. But that was mostly my fault! Although the fabric was great for the dress – it’s got great drape and is very huggy at the same time – I had  a feeling it wasn’t going to have quite enough structure for a jacket so I needed to employ some extra techniques. 

For starters, I underlined all the pieces with a red cotton voile – a great suggestion by SOI. I also padded the shoulders and added some strips of cotton fleece for the sleeve heads. I remembered to take a photo of the inner workings this time. Not quite so pretty though!

I had a horrible feeling that machine buttonholes were going to give me grief. I couldn’t bear to get to ‘almost finished’ stage only to ruin it all with raggedy buttonholes so I set about making old-school bound ones. And boy did I forget quite how faffy they are to do. I trialled some before I did the real ones. Worth it in the long run but I think I near fainted by holding my breath through the entire process. 

Its worth noting the importance of having those welt sections on grain. They will fold better and press straighter and give a much better finish.

And once I’d finished the button holes it made total sense to make covered buttons too. Luckily I had inherited a bag of the button bases and the rubber pressing tool a while back. The size was a little larger than suggested but it worked just fine.

I completed the outfit in the nick of time to wear to my niece’s wedding and was so preoccupied I didn’t get any full length photos so all the thanks to Dan who took the time out to shoot these for me in and around where we work.

I just love how this suit makes me feel: mostly so grown up and properly dressed! It makes me walk tall and fills me with confidence. I got so many lovely comments from passing people, and that added to the feel good factor too! This is already a wardrobe bestie. And most probably will be for years to come.

An ooobop original jumper for all reasons!

I like that there’s never a strict order of process. Often I pick a pattern and go looking for the right fabric. Sometimes the other way round. Driven by need or pure desire but in this case it got changed up a bit more.

Diane from @Dreamcutsew was kindly giving away some fabric on Instagram and I just couldn’t pass up her wonderful piece of cable knit jersey. I didn’t have a Scooby what I was going to do with it – I didn’t even know this kind of fabric existed till then!

I considered a cushion cover, a hat, some gloves – even some slippers! (I still have a small piece left so this could still be an option) But it sat for sometime, perched on the top of my own stash until I had a flash of inspiration. And then it came – in the shape of a hashtag challenge: #magamsewalong (Make a Garment a Month) hosted by @suestoney and @sewing_in_spain. This month the theme #naturalnovember was set by guest host @gigi_made_it, and that really got the ball rolling.

I loved how free-range the brief was;

☑️ Make something from a natural fibre
Now I’m pretty sure there wasn’t a speck of natural fibre in that cable knit but I did have a raggedy moth-eaten merino wool jumper which met its demise in an accidental hot wash. I’ve no idea why I kept it but I’m jolly glad I did because I decided to add some black detail. I generally stick to the safety of any colour palette that involves black!

☑️ Choose a make reflecting the weather and rhythms of the season where you live
The weather was definitely a factor in my need for a jumper. I don’t have nearly enough and I can never find any I like that I can actually afford!

☑️ Make something in a nature-inspired print
I figured stars are pretty nature-inspired, aren’t they? And an appliqué is an acceptable swap out for a print.

☑️ Use earth-friendly, sustainable materials in your make
So the main fabric was a leftover piece from another sewist, the appliquéd bits were upcycled from an old jumper. The gold thread was a few leftover strands from a previous project and the only additional notion was the cuffing/ribbing that I bought from Minerva.com

☑️ Make something that totally expresses your natural true self, unconstrained by cultural norms or trends
I’ve been so wanting to make something that does just that. It harks back to my 80s days where I was probably the most experimental with my clothing. Big batwings and balloon skirts the lot! I actually had puffball shorts too!

☑️ A make that occurs without (much) effort. As always, interpret creatively and be natural

I freestyled the pattern. Based on a RTW jumper I already own and simplified further. No shaping for armholes and rectangles for sleeves gathered in at the cuff. That meant less waste too! I shaped the shoulders slightly and cut a V neck but the back piece is fundamentally a rectangle also.

The project began with a very rough sketch! Please do not judge my Adobe Illustrator skills on this sketch alone – I might never work again!

Once the main pieces were cut out, I began by stabilising the shoulder seams. Even though it was going to have a relaxed drop shoulder I still didn’t want it to stretch out. After sewing the front to the back along the shoulders I added the cuffing along the neckline. Incidentally I used a wide shallow zigzag stitch on my regular machine throughout and then overlocked the edges for a smaller neater finished edge.

To make the appliqué shapes I first fused some doublesided fusible stabilizer to the black jumper pieces (sans moth holes) and then cut the shapes. I ironed the pieces to the front of the jumper and to the sleeves while they were flat. I then handstitched all round with a tiny blanket stitch. I’m still not entirely sure how the points of the stars will hold up over time but we’ll see. The big gold stitches are purely for decoration and to complement the glittery gold stripe of the ribbing.

When all the pieces were in place, I closed up the underarm and side seams. I gathered the wrists of the sleeves by hand with reasonably big stitches and then stretched the cuffing to fit, sewing right sides together. I did worry that it might be a bit bulky but it doesn’t feel uncomfortable at all. Just extra warm… and that’s totally fine with me. I can’t stand the cold!

The final step was to add the ribbing to the hem. I really like the contrast of the stripe and the added glitter just makes it pop!

I really loved the whole process from hatching the idea to wearing the finished jumper! It feels so great to be wearing something that is totally unique and totally me. And all thanks to my Insta fam.

I’d like to say this is my new way of working. I’d so love to get even more creative and original about all that I make and I will, in time, but I’ve already got an indie pattern in mind for my next dress. One I’ve never tried before. Watch this space to find out more!

Dan of course is behind the lens of these super shots… we took a 5 minute walk up the road where he’d already planned to factor in some twinkly lights. He is so very good at this and I’m so grateful but also aware that he’s getting more photography gigs of late, so I better keep that leash tight!!

Happy weekend everyone!

Tropical Shelby

ooobop shelby romper in tropical print
What bliss, when you have precious little time to play with, but you have a sewing pattern that you know fits straight out of the packet! I’m back again with another True Bias Shelby Romper suit. And I love it just as much as the star version… don’t make me choose!

The fabric is a beautiful quality viscose from SewSewSew. Once again the sewing community came to my aid when I asked if anyone knew where I could get my hands on some tropical print. And Amy from Almond Rock so kindly pointed me in exactly the right direction

Tropical print version of True Bias Shelby Romper

I feel all ‘holiday’ in this one, ditching the Docs for a pair of espadrilles. Believe it or not, I’ve never owned a pair owing to my fat feet and inability to squeeze my toots into them. But Asos have a wide-fitting shoe section and I thought I’d give them a shot. Mostly very happy, especially with the fit. I just have to learn to walk in them and keep my heels from lifting out. Any tips?

Ooobop Shelby Romper

Despite having a mahoosive collection of salvaged and inherited buttons, I still couldn’t muster up five that were just right, so I bought from a seller on Ebay Number-Sixty – who have a huge selection of buttons at very reasonable prices. You can’t really see from the photo but they are olive green with subtle swirls and following the last episode of The Great British Sewing Bee, I was totally inspired by one of the contestants, Nicole,  to sew them on with a pop of contrasting orange thread.

close up of buttons sewn on with orange thread

There was one little tip I forgot to share last time which is so helpful. The instructions advise to stitch in the ditch on top of the shoulder seams and centre back seam to secure the facing piece down. I can’t believe up until now I have been painstakingly handstitching the facing to the seams. This advice will be carried through to all my projects where applicable. It’s so much more effective. And quicker!

I really do love this pattern – the ease at which it sews up right through to finished romper suit. It truly is so much fun to wear. So much so that I can’t wait for my next order of fabric to arrive so I can make my next one. Haha… I make no apologies. It really is that good!

ooobop Shelby Romper

Lovely photos of course by Daniel Selway


The Stitch Festival 2020 – my highlights

  • The Stitch Festival 2020

I don’t know about you but this year has been a slow starter for me. Full on with actual work but slow to get sewing, not a lot of space or energy to glean inspiration or motivation. But a trip to The Stitch Festival last week was just the ticket!

Like many others I was a bit confused by the rebrand – Previously named the Spring Knitting and Stitching Show, which was a bit of a mouthful to be honest – apparently it’s been changed to distinguish it from The Knitting and Stitching Shows later on in the year.

This year’s Stitch Festival ran from Thursday 25th until Sunday 28th February and was held at the Business Design Centre in Islington. Just a short tube ride for me but apparently easy enough for everyone I met travelling from further afield.

I went without a plan and especially planned not to buy fabric.

But with minutes of arrival, I found myself fondling some awesome vintage bark cloth fabric at stand H49: Olive Road London.

Olive Road Fabrics
Fabrics on sale at the Olive Road stall

I didn’t realise it was genuine vintage at first and was about to kick off when I saw exactly the same curtain fabric I’d purchased in Brighton 5 years ago which I made into a Capital Chic Martini dress. For a split second I really thought I had mistakenly bought a modern take on a vintage fabric – that I’d been sold fake vintage! And then the lovely stall holder reassured me it was genuine and we had a good chat about how it must have been as super popular then as it is now!  I wanted all her bark cloth, especially a small piece of rose print that caught my eye just as I was moving on.

Soon after I waved to Tilly on her cute little stall. Always so cute. And always so busy. It was delightful to catch up with her at her recent book launch party for Make It Simple , so I didn’t feel quite so cheated of chat!

Tilly and the Buttons stall

It was impossible to avert eyes at the fabric stalls. They were many and they were all fabulous. I particularly loved how The Textile Centre displayed their fabrics, deliciously draped on hanging mannequins. And some at just £5 per metre. Such a tease. One of the few things that holds me back from buying is that I must have a plan before I go adding aimlessly to my stash. I loved that black and green wiggle-dress fabric on the corner but I was ridiculously restrained.

The Textile Centre stall

In fact I was so proud of my power to refrain until I chanced upon M. Rosenberg & Son‘s stall. Gets me every time. One of my favourite purchases from them was the sparkly dog-tooth I used for my vintage Butterick coat. And their powers of lure was just as strong this year. How on earth was I supposed to walk past this?!:

Dolce and Gabbana fabric at M Rosenberg's stall
Dolce and Gabbana fabric at M Rosenberg’s stall

I didn’t of course. Just as I stopped to take a closer look, I heard my name called across the other side of the stall. I looked up and was so excited to see Dibs Maxwell who I first met very many years ago, online at Dibs and the Machine. She now sells specially selected and stunning fabric at Selvedge and Bolts. Defo worth a browse! She fought her way round to my side and we hugged a big hug! No photo sadly to display we just carried on from where we left off, chatting and laughing (always laughing) And then she made me buy the fabric!!

We wandered over to see Sew Me Sunshine and The Foldline who shared a stall together. They too were chocca with customers so we said our hellos and terra’s and went on our merry way.

Sew Me Sunshine and The Foldline

I wandered a little more in search of an expanding sewing gauge. But I couldn’t find one for looking. What I did want more at this point was a little sit down and a bite to eat. The cafe area looked fab with lots of healthy and delicious options but I tend to bring my own to events like this. Basically so I can skip the queue and guarantee I will get a truly plant-based option, not one that’s had the cheese flipped out of it! I sat on the mezzanine level along with like-minded visitors, looking down on the visitors buzzing around on the various levels and planned my next move.

I noticed that John Scott (John Scott Sewing World) was about to do a talk in the next half hour so I took a seat near the front of the hall and stroked my D&G fabric while I waited. I really didn’t expect the hilarity and the fun that followed. I recognised John but I can’t say I really knew that much about him at that point. Within seconds I was in stitches hearing about his stories in the film and TV industry. He really is an amazing story teller.

I loved hearing how his signature bridal wear included beading as much on the back if not more than on the front of a wedding gown, given that most of the photo opportunities involve the back view of a bride when she is talking to her guests!

I gasped when he told of the ballgown that he made for his mother to wear to a party and that was spotted by Princess Margaret across the room. She asked who the designer was and that’s how John began making couture dresses for the Royals. Hilariously, his parents were still largely unimpressed that he was a dress designer at that point and only started coming round when they saw his name among the credits of a Bond movie. But the acceptance came when after all the big blockbuster films – like Tomb Raider, Love Actually, and Notting Hill and all the TV shows, including the Catherine Cookson epics and Poirot (whereby all the costumes were made authentically to 1920s and 1930s fashions) – he joined Richard and Judy for a slot as the resident fashion expert on This Morning and stayed for 10 years! Now his mum was truly proud and told all her friends!

Seriously I could have listened to John all day. He was so uplifting. I felt like I’d been having a chat with an old friend. Plus I got a cheeky photo with him afterwards!

Cheeky hug with John Scott

I left the talk inspired and hanging on to Johns best bit of advice to ‘let the universe guide you’.  I generally do that but I loved that he reinforced the mission!

Next stop was a little stall run by Stef at Wear Your Art. She was demonstrating her brilliant dye sublimation crayons. I’ve never seen these before and I was blown away with how vividly they transferred to fabric.

Stef from Wear Your Art

There are two processes: the first is to draw a design on paper, place it face down on the fabric and the iron on the reverse to transfer. The second is to draw directly onto the fabric, place a protective piece of paper on top and then iron to fix design in place. The latter results in a richer colour especially if the fabric is man made. It works on natural fibres too but not quite as vividly.

Wear Your Art dresses

 I can’t wait to use my crayons to create a truly original piece of art to wear! If you fancy some too and didn’t grab a pack at the Stitch Fest you can order a set from Ebay here.

Nearby I spied the entries for the Stitch Festival Dressmaking Competition and I was so impressed with the entries. I picked three faves . . .

This is Weapons of Mass Reconstruction by Debra Wade:

Debra Wade dressmaking competition entry
Weapons of Mass Destruction by Debra Wade

She based the shape on the simple classic Kimono. The theme was inspired by Afghan war rugs, Russian tanks (named after flowers) and the patchwork reflected rebuilding over scars of terrorism.

It incorporated the contrast of delicate fabric and brutal imagery in a way that was both camouflaged and pretty.

Appliqué detail
Appliqué detail

No pattern was used and the materials were mostly reclaimed linen and cotton, tablecloths, clothing and curtains. I just loved the concept and the end result.

10.4tog jacket by Gillian Foster:

Duvet jacket by Gillian Foster

No pattern was used for Gillian Fosters 10.4 jacket either. She set about combining her love of watercolour painting, freeform stitching and a reclaimed duvet to create her masterpiece. I’m so fired up to be more free with my sewing already – oh the possibilities!

I also loved this outfit by Hannah Gait.

Eveningwear by Hannah Gait

It was part of her graduate collection inspired by the blues of a midnight garden: using wool and silk fabrics with an embroidered vine design of her own. I’m not sure it befitted the evening-wear category but I would certainly wear this outfit at any time of the day.

A little wander on from here led me to a small collection of garments by Swanky Modes I had a quick look and a read before I went in to hear Esme Young talk.

Swanky Modes collection

It was lovely to hear Esme talk about her life and work. I knew nothing about Swanky Modes, the 70s Camden boutique she set up with her St. Martins Graduate friends, Judy Dewsbury, Melanie Herberfield and Willie Walters. So fascinating and inspiring to hear how they set about, creating crazy one-off outfits from bedding and shower curtains and practically anything they could get their hands on.

Esme Young talked about her life and works

The small selection of costumes on display included 

  • The Pyjamas from Bridget Jones
  • Dale Winton’s luxe suit from Trainspotting 2
  • The nurses outfit from Trainspotting 2

Dale Winton and Rachael Flemming in Trainspotting2

    • Dale Winton and Rachael Flemming in Trainspotting2
  • The Padlock dress worn by Grace Jones
  • The amorphous dress created by Esme’s fashion brand Swanky Modes
  • Daywear from the Swanky Modes label

Just as I was leaving the lecture theatre I spied Susan Young from SusanYoungSewing and ambassador for SewOver50 across the room. Always a treat to bump into your sewing friends but not least of all when they introduce you to two very lovely Sewing Bee contestants: Janet Pool and Juliet Uzor. I bloody love the sewing community!

I’m buzzing at this point. I can’t believe that a single ticket not only gave access to such a massive selection of quality stalls to buy from but also quality talks and demos a-plenty with a familiar face or ten to bump into along the way!

I wasn’t quite finished yet. I hovered around some more cool looking demos – embroidery and crochet – before I was drawn into the marvellous space hosted by King’s Ely Independent School, Cambridge.

Kings Ely Independent School, Cambridge

The display was an amazing array of A-level textile students’ work. I was literally blown away with the high level of concepts and craftsmanship. The first one that caught my eye was entitled A Sense of Place by Katherine Wood:

A Sense of Place by Katherine Wood

I loved the mossy textures and fantasy woodland vibe along with the dripping threads and natural earthy colour tones.

I spoke to one of the school’s retired tutors who was delighted to show me around the exhibits. She was so proud of the student’s work and rightly so.

Photographing the gorgeous garments by Kings Ely students
Me, photographing the gorgeous garments by Kings Ely students

Elizabeth Charlton Movement and Transformation

Lottie Webster Movement and Transformation

The passion for their subject was evident in the carefully chosen materials and colours and not least of all, workmanship. I couldn’t take my eyes off this coat of printed and embroidered hessian patchwork pieces. So original and so impressive.

Rebecca Keene coat
Rebecca Keene coat

And then this stunning dress … with a ruff no less. I do love a ruff. Such fabulous colour and textures formed with well considered placement of organza and chiffon and the copper metalic threads reflected the light so brilliantly. I really want to make a dress with a ruff now.

Dress with Ruff by Beatrice Whymark

Thank you Kings Ely School, for such an awesome and motivating feast for the eyes. You are all very talented artists and designers and I will be waiting patiently for the day I see your names in lights and telling all that I saw your work first at The Stitch Festival 2020!

Believe it or not there was much more to see and do but sadly I have to end here. I’m as exhausted writing this as I was at the end of my day at the festival! I left with a couple of hours to spare, buzzing with new ideas, more motivated than ever and clutching my bag of stunning D&G fabric.

Thank you Stitch Festival 2020. I had a blast!

Camp collar shirt

selfdrafted camp collar shirt

Did I imagine that Christmas and New Year break? Feels like it happened a lifetime ago… can I scroll back a few weeks pleeeease – it’s all a bit too much already! Any one else feeling the same?

I know I mustn’t complain. Too much work is the least of concerns for a freelancer. I’m just craving a sewing project soooo much! There’s so many in my head I’m literally going to burst if I don’t get to make at least one of them soon.

front view of shirt

But it’s dark now… and I’m exhausted – story of my life. So I’ll just settle for a little fix from blogging a recently-made shirt for now.

I already had this animal print cotton fabric in stash and it was just enough to rehearse a new self-drafted design. One of the upsides of designing my patterns digitally is that I can test a pattern layout on computer screen to see how much fabric I’ll be needing. And also plan the positioning of pieces for minimum waste without having to crawl around the living room floor ‘playing giant Tetris’ while the fam barks at me to get out of the way of the telly – I don’t have a proper cutting table, see.

Side view of camp collar shirt

My recent self-drafted adventures have included a 70s style dress with flared sleeves and a Christmas Dress with bishop sleeves. Both of which use the same bodice block and knowing it worked both times meant I just had to add a bit of extra ease, add a button extension and lengthen to the hipline for a great fitting shirt. The sleeves would be simpler than both trialled before, and I found a great video tutorial on Bluprint to draft a one-piece collar. So what could go wrong?

Well this is where I classically mess up because I try and run before I can walk. I’ve never actually made up a straightforward self-drafted sleeve for myself yet. Just flared ones in both cases. So there was never any trouble with fit. But as my block stands, it’s too tight. Luckily I had my suspicions and made one sleeve up in calico to check first. Lord knows where I went wrong. But I seriously must have got lucky previously! To rectify (badly) I have slashed and spread to the sleeve cap. And it works, kind of. But it is still a bit snug. In fact it’s a bit too tight under the pits too so I need a revisit to this pattern before I make another.

Back view of shirt

I’m going to lower the underarm point and redraft that sleeve with less haste (read less excitement) and less speed! Because I’ve got more plans going forward and I’m going to need those pattern pieces spot on!

The collar worked out perfectly. It’s a camp or Hawaiian collar, so Suzy Furer told me on the Bluprint video tutorial. Basically a collar and stand, all in one. I did check out another tutorial on YouTube for the construction. It was kind of obvious but I just needed some reassurance.

hawaiian collar

Suzy advised to ditch the waist darts front and back but I really quite like the fitted aspect of it and I’m convinced that if I lower the armscye by half an inch or so more and sort the sleeves out it will be a much more comfortable fit.

So the consensus is that it’s not the greatest self-drafted shirt in the world but it’s a great starting point and I’m looking forward to a new and improved one. Might have to buy some new fabric though… I’m feeling stripes!

Have you kicked off the New Year with a new project yet? Pray tell. I’ll do my best not to get too jealous!

Operation Christmas Dress complete!

handmade tartan dress with teardrop opening

Hopes were fading to get this dress finished on time for Christmas Day. But the sewing gods were looking down on me, somewhat favourably and I sewed them cuff poppers on quite literally at the stroke of midnight on Christmas Eve.

Oh how I love ‘the night before Christmas’ – When all the shops are shut and there’s nothing more to be got. The street outside is quiet; the Christmas tree lights twinkle at their brightest and that sweet little shot of sherry slips slowly down the hatch! Perfect time of year to have some hand sewing going on in front of a festive telly-box movie, too!

Tartan Christmas dress front

This dress is most definitely worthy of an ooobop original issue number 2. The turtle neck dress I recently made almost had a tear drop neckline but in an effort to walk before I could run, I saved it for this time.

The process was exactly the same:

  • I dreamt the design
  • I drew it in my Fashionary sketch book
  • I self-drafted the pieces from my previously created blocks, using Adobe Illustrator
  • Printed and tiled the pattern pieces
  • And sewed up the finished article.

This is proving to be my favourite method of dressmaking to date! That said, I’ve got so much still to learn and I’m anticipating some frustrating times ahead so I’ll still be checking out Indi and vintage sewing patterns when I need some respite!

To edge the teardrop – thus avoid lining or facing – I dug out and dusted off the bias tape maker. To be fair I don’t think its much quicker than the manual ironing method but it’s a bit more fun… when it works!

Close up detail of teardrop opening

I’ve messed up many a time binding edges so this time I knew to start with sewing the right side of the binding to the wrong side of edge of the teardrop opening. I used my quarter inch foot for a consistent seam and took it real slow. Any unevenness is corrected when the binding is pressed in position to the front. (It doesn’t matter if it’s a bit wonky on the back because it won’t be seen. The entire reason for starting on the back!) I then clipped the seam in the curved areas before slowly and carefully top-stitching close to the edge on the right side to finish the binding, where it does matter! That final press is so satisfying.

I then used two more folded bias strips to bind the neckline from back to front, concealing the top edges of the teardrop, and continuing the topstitch to the ends to form the ties. I sewed across the ends of the ties to prevent too much fraying. I’m happy for it to fray a little.

Now lets talk bishop sleeves – Lovely big billowy bishop sleeves! They’re a bit trendy at the moment but to be fair they’ve never been out of favour in my fashion world!

close up of sleeve and cuff

I took my sleeve block piece and similarly to how I flared it last time, created 4 slash points and spread the pieces till the width was a little more than thrice my cuff measurement. I didn’t deduct the length of the cuff from the sleeve as I wanted the fullness to overlap the cuff which it kind of does but the structure in the fabric doesn’t really make it perform as it did in my head!

The cuff is sewn akin to the binding to hide the seam and there’s a small overlap for the poppers.

Walking in my new dress

I really want to rehearse another, even more fuller bishop sleeve on a blouse made with a lighter viscose. Just to see how differently it behaves. I really want to add some lovely button loops and buttons to the cuffs too which I didn’t do here mostly because of time restraints, hence the poppers!

The rest of the dress is constructed the same as the turtle neck one: inserting an invisible zip in the back. And I must add how chuffed I was at just how invisible it turned out with all those checks matching up either side.

Back view of dress

After all that work I didn’t wear it on Christmas Day. I decided to spare it from the cooking splashes and wine spillages and wore it out on Boxing Day instead. Despite it’s festive feel, I will be wearing this dress at every other time of the year and occasion for when tights and sleeves are necessary. The fabric is 100% cotton except for the metallic gold thread and is so comfy to wear. Not surprising that I debated using the fabric for PJs initially!

striding out in my new tartan dress

It carries a lovely little memory too as I purchased the fabric on a sewing blogger meet up organised by @ClaireSews for when @liblib came to visit all the way from Austraila. We chatted over coffee and shopped our little hearts out in the Goldhawk Road. I wasn’t supposed to be buying more but @ella_yvonne convinced me it had my name on it! Always such a treat to meet like-minded sewists IRL.

I’m not holding much hope for completing anything new before New Year so I’ll take this opportunity to wish you all a fabulous, creative and healthy 2020.

All the very best of wishes and lots of love from Janene xxx

Treasures for my Treasures

Amelias first tree decoration

In a few days time I’ll be wondering why on earth I didn’t make all my Christmas presents. All that joy that could have been had by hand-crafting beautifully personalised gifts for all my friends and family yet instead I chose to race around stinking hot, over perfumed shopping malls for expensive and ‘box-ticking’ presents. But as I sit, still with a work to-do list up to my ears, I’m currently fully aware why I didn’t quite get round to it!

I did at least manage to rustle up two little decorations for two of my favourite little people – my grandchildren!

Blakes first christmas tree decoration

This is their first Christmas on planet earth and my first Christmas as a Nanna! And boy am I loving it!

My Christmas tree is filled with decorations either gifted by others or that have been bought at Christmas Fayres in good company. And every year I dec the tree the memories all come flooding back. And I loved the thought that a personalised tree decoration might be a ritual of sorts or a cute keepsake at the very least for Amalia and Blake.

I’d love to report that I stuck to my sustainability guns for not buying new fabric and used leftovers instead. But that would be a complete lie. I couldn’t fight the the vision of lovely linen and festive …. ticking!  It just works, right?! I did reclaim some ribbon and rooted around the button tin for the perfect vintage buttons, though.

Amalia first Christmas memento reverse

And if you are interested in the process for these little decs …

The lettering is my handwriting. I perfected it at first on paper within the confines of a heartshape for Amelia and a circle for Blake before tracing onto Solvy water soluble stabiliser. I love this stuff. It’s so much fun! There’s a link to buy this below but you could also use a transfer pencil if you had one to hand. That will wash away too. Anything that doesn’t leave a mark on the finished article.

template for lettering

I then placed the Solvy with the wording on top of the plain linen and then sandwiched them between the embroidery hoops, tightening enough so there is no movement but not too much to stretch the fabric. It just helps to achieve more even stitches and less puckers.

Mostly I used a chainstitch and stem stitches in places using 3 strands of red embroidery thread. Gold metalic embroidery thread for the stars on Blake’s one.

Front of Amalias tree decoration

Once the design was finished I washed away the stabiliser with cold water, patted dry with a tea-towel and finished the drying process by ironing.

My paper template then served as a pattern piece to centralise the design and cut the shape around the lettering allowing an extra quarter of an inch for seam allowance. I cut a matching piece for the reverse.

With right sides together I seamed all round, leaving a small gap for turning and clipped the seams for smoother curves.

Polyester toy filling was pushed into the seams before I steamed them for extra smoothness! One they were filled I slip-stitched the opening closed.

I found the red metallic beaded trim at Sarah’s Haberdashery stall in Shepherds Bush Market and I oversewed it along the seam line.

detail of the red metallic beading

Finally I used a length of ribbon for the loop and sewed it in position on the reverse, adding a little vintage button in both instances to cover the stitches.

I savoured every little wonky stitch of this project, as I reminisced at how much has happened this year. I’m so very proud of my children, and what they have become. And my heart is literally bursting with love for my ever increasing family (bffs included) and what they mean to me. I do hope my little treasures will cherish these as they grow older nearly as much as I’ve loved making them!

Reverse of circular decoration

So how did you all fare with making gifts this year? Or did you get caught up in the rat race like me? Let me know how you wrestle with your conscience and please give me tips how I can be more productive next year.

In the meantime I would like to thank each and every one of you for sticking with my sporadic posts. It means a lot to still have you reading them and I’m forever grateful for all your lovely comments and continuing support.

Wishing you all the very loveliest of Christmases and the bestest of New Years ever. See you on the other side!

Love Janene xxx

Materials mentioned (affiliate links):

Tools mentioned (affiliate links):

Double Pinwheel quilt block

Double Pinwheel quilt block


This is my latest quilt block from The Art of Quiliting magazine, issue33. This is the Double Pinwheel or Beginner’s Joy. There appears to be a few different designs of the same name when I did an online search but the fundamental  elements of a small pinwheel within a larger pinwheel remains constant.

Switching the dark and light toned fabrics allegedly makes the sails revolve in opposing directions although I can’t really see it in this one!

The order of events were to stitch together the green gingham patches with the small white triangles and then stitch the red floral pieces to the small crimson triangles. These triangles were then joined along their diagonal edges to make the four quarters of the block. The four quarters are laid in their final positions so that the pinwheel appears to be rotating clockwise and then pinned together and sewn in two pairs along the centre seams. Finally the two halves are sewn together with the final seam pressed open.

I fully intended to show this one as step by step process but completely forgot. Will try to do that with the next block – block 27 which is  a simple but cute nine-patch and a little rest from all those points!

Name: Double Pinwheel or Beginner’s Joy
History: Beginners Joy was first recorded in the early 20th century and apparently reflects the maker’s delight in joining the 16 pieces together accurately… I get that!
No. of pieces: 16

Progress report:

Block 1: The Double Four Patch
Block 2: The Whirlwind
Block 3: The Sailboat
Block 4: The Shoo-fly
Block 5: The Trafalgar
Block 6: The Windmill
Block 7: The Chequer Square
Block 8: The Diamond Square
Block 9: The Cactus Pot
Block 10: The Sawtooth Star
Block 11: To come!
Block 12: The Windmill Sails block
Block 13: The Basket of Flowers block
Block 14: Susannah
Block 15: Road to Oklhahoma
Block 16: Chequer Star
Block 17: Nelson’s Victory
Block 18: Fair and Square
Block 19: Diamond Pinwheel
Block 20: Whirligig
Block 21: Old Maid’s Puzzle
Block 22: Whirlwind Square
Block 23: Windblown Square
Block 24: Basket of Flowers block revisited
Block 25: Churn Dash
Block 26: Windmill Square
Block 29: The Windmill Sails block
Block 30:  Double Pinwheel

Ooobop original 70s style dress

ooobop original 70s style dress

The thing I love most about sewing is the eternal learning curve. I will always be on a joyful journey of discovery because there is no chance I will ever learn it all in my lifetime but with every little milestone I reach I get a little buzz of excitement which propels me to the next level and this little dress is prime example of my progress.

It might not be the most ground-breaking, couture class garment you’ve ever seen but its mine, all mine – an ooobop original

I dreamt it, I drew it, I drafted it, I sewed it.

sketches of the dress
Love drawing the possibilites in my Fashionary sketchbook

For sure, I’ve sewed and drafted for other people but never as successfully for myself. I’ve been bouncing between lessons on Craftsy’s Blueprint and instructions from various pattern-making books but it transpires the reason it took me longer to fit myself was my own dishonesty. Denial of my actual measurements. Reluctance to accept the differing pattern shapes to the examples given. Even cheating my measurements knowing it would look better if I nipped in certain stats. Desperate. IKR!

wearing ooobop original 70s style dress
Striking a pose in Notting Hill

And it just goes to show that you can’t cheat at maths. On the fourth attempt at a moulage (a close fitting blue print from which one adds ease to create a master sloper ) it bloody worked! I was so happy . Literally danced around the room in nowt but a pair of pants and the moulage for a good half hour. And then it dawned on me all the possibilities.

Classic pose with a classic car

But first I had to add ease to create the sloper. Another milestone reached as I’m getting much quicker and more efficient at drafting in Adobe Illustrator. Luckily I use this programme for my job as a graphic designer and can justify the substantial Adobe Creative Suite subscription. But it makes it all the more satisfying that I am getting untold extra benefits from its use. My space is so limited at home and the prospect of getting out and putting away all the giant drafting materials is exhausting in itself, before I’ve even put pencil to paper. Drawing patterns using my laptop and being able to store them digitally thereafter is literally life changing, for me!

Sloper created using Adobe Illustrator

Once I’d drafted the sloper, the only other piece left to draft was the turtle-neck collar. That was a case of simply measuring the neckline and cutting a bias rectangle piece to that length and 6″ wide. It was sewn like a bias binding around the neckline. I left the back edges open to insert a zipper to the top of the neckline then folded the facing part of the collar to the inside and finished by hand.

Striking a different pose with the classic car. Loving the silhouette
I do love the simple silhouette of this dress

I had originally planned an extravagant bishop-style sleeve but I didn’t think I’d have enough fabric for such indulgence, so I settled on a slightly flared sleeve instead – slashing and spreading my sleeve sloper from wrist to sleeve cap.

And while on the subject of fabric, let me tell you how I came by such a perfectly suited piece. Every now and then I venture out on a little sewing people meet-up. One of my favourites is  organised the London Stitchers Meet Up.  The last one I attended was held at The Blue Boat in Fulham and involved a fabric swap. Such a great idea to downsize that stash and to swap a piece or two that might not have plan attached, for something that triggers an instant course of action. Interestingly enough I had no plans on bringing any fabric back home. I’m trying to use what I have and not buy/acquire anything new but the stars instantaneously aligned when glanced over Giorgia’s shoulder to see it sat wantingly in the corner.  It was a beautifully soft baby needlecord (I think) with a vintage style montage print. I always maintain I’m more about texture than print but there are always exceptions to the rule. Thanks so much to Lauriane Loves Sewing for bringing it to the table. I do hope I’ve done it justice.

ooobop original 70s style dress

So why am I creating so much more work for myself when there are plenty nuff awesome patterns in the world? Each stage of sewing this dress confirmed what I good idea it was. The notches aligned perfectly. The bust darts hit where they were supposed to, the shoulders finished on my shoulder line. And I confess I stood and I stroked and I marvelled at how well they did, for quite some time.  No puckers, nuffink.

Marvelling at the inset of my sleeve caps

Add to that the waist sitting where it is meant to, no pooling in the small of my back and Bob is definitely my lobster! Gotta love it when an invisible zip becomes super evasive too!

Back view of dress with no pooling

Well I think that’s just enough of me blowing my own trumpet and time for me to big up the talents of my super lovely, supportive husband, Daniel. I’m always the first to run out of steam, just knowing there’ll be a hundred good shots even if I am pulling a stupid face in 50 percent of the contact sheet. But he always want’s just one more. And its always for good reason and I thank him from the bottom of my heart.

Lying on some steps in my 70s style dress
In response to ‘Just one More’!

And he’s available for booking. He loves an event. So good at capturing those  off the cuff, journalistic poses. So if you have an upcoming event and in need of a trusty photographer please do check out his portfolio here or contact him at danieljamesphotographic@gmail.com.

Thanks for swinging by. Your readership and comments mean the world to me and add so much to my journey. Wishing you all a gloriously productive weekend. xxx

Previous attempts at self-drafting: