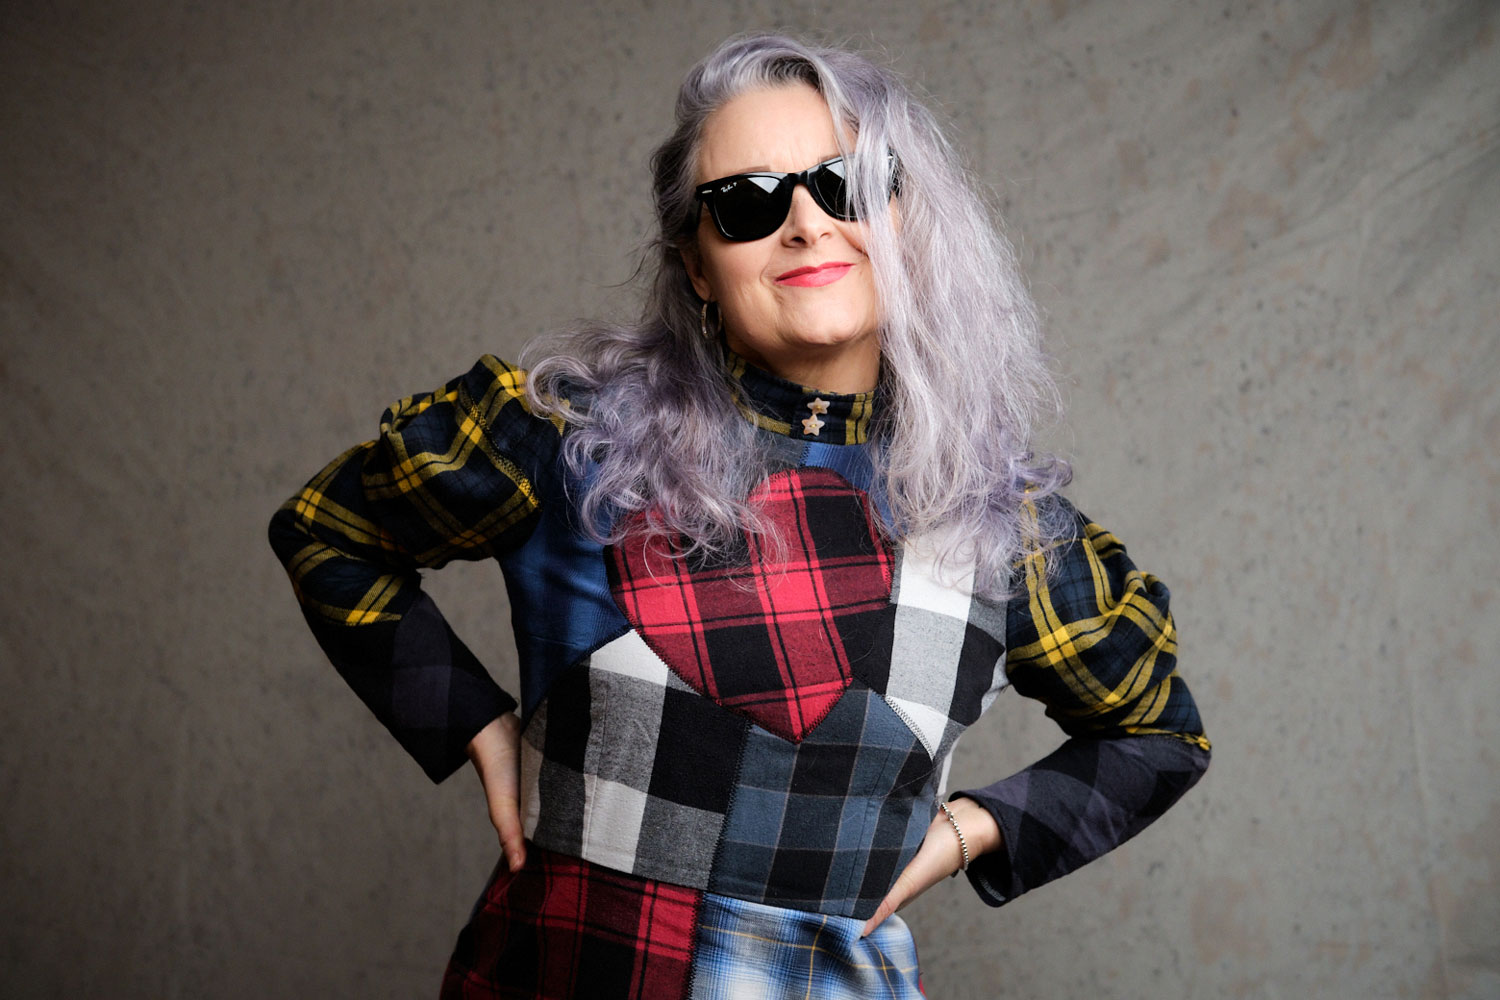
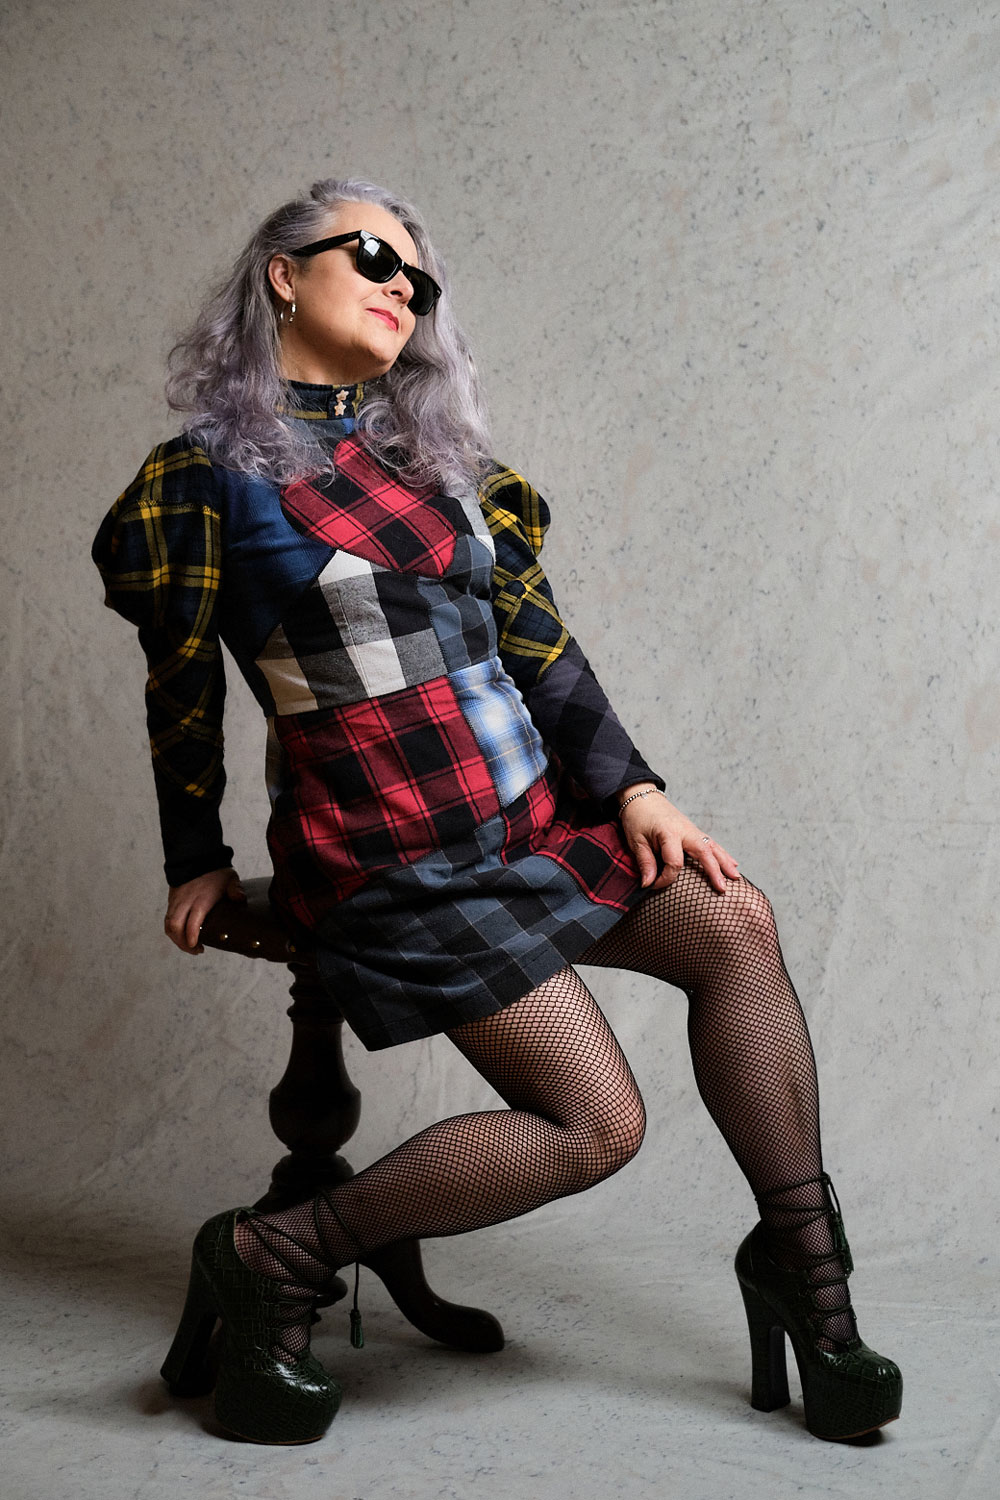
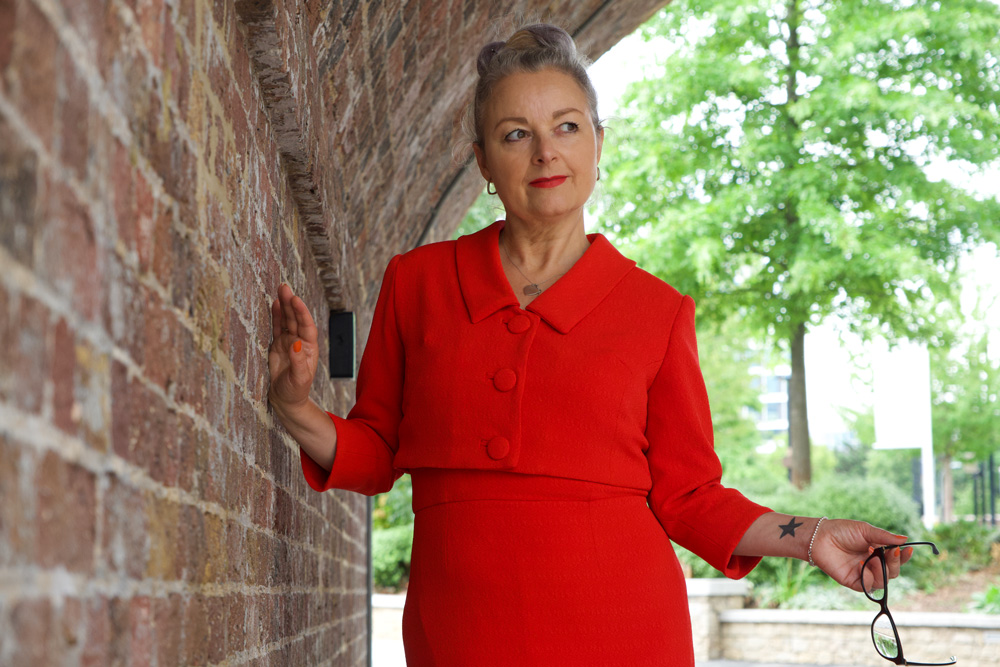
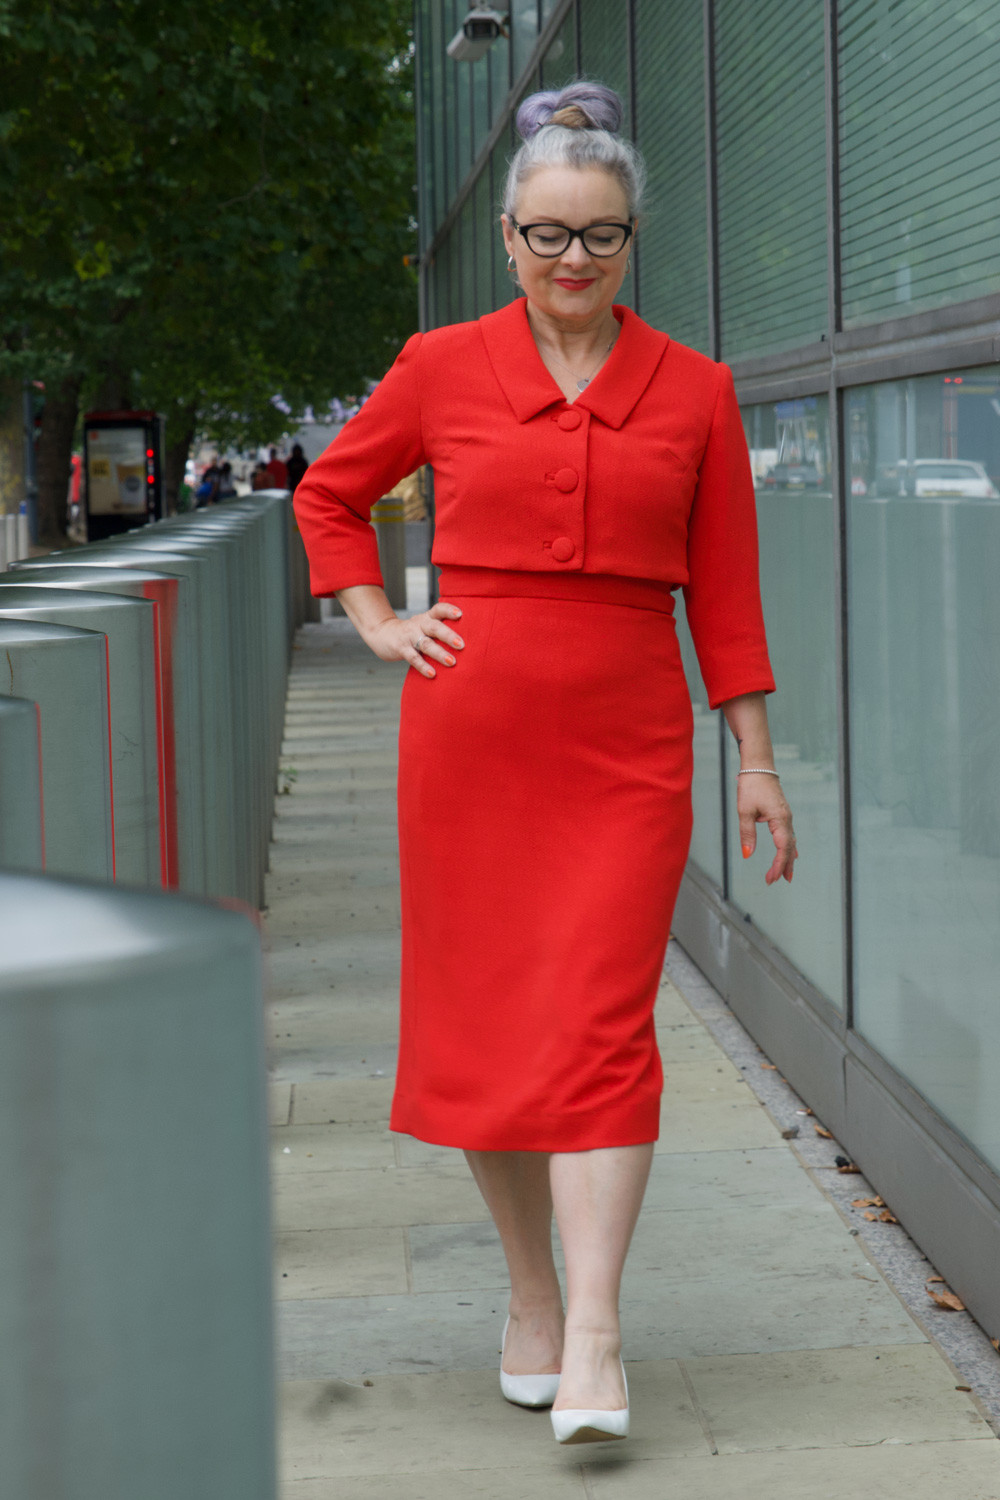
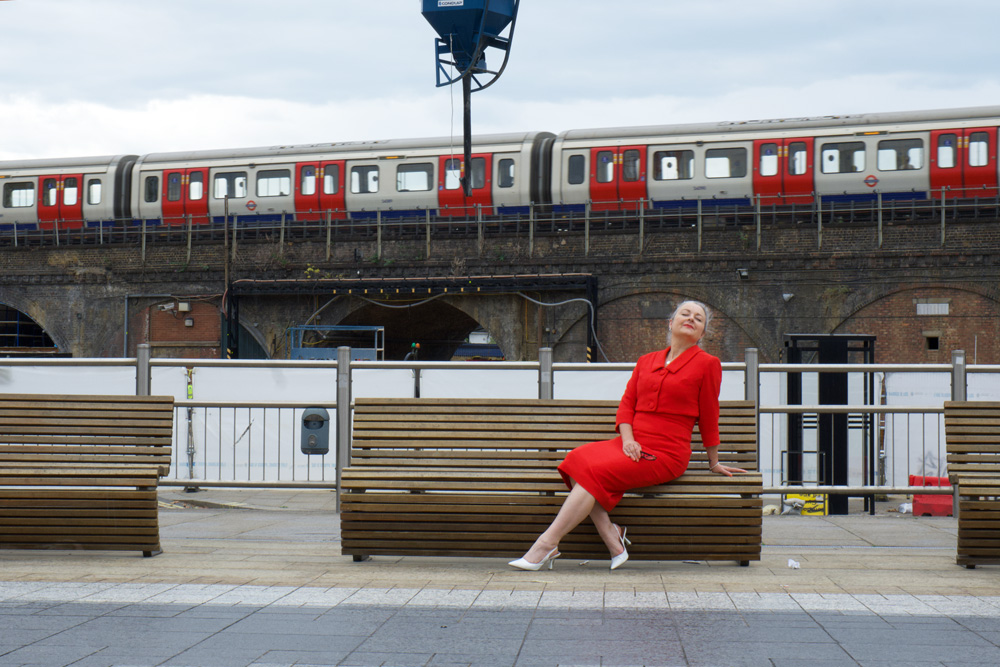
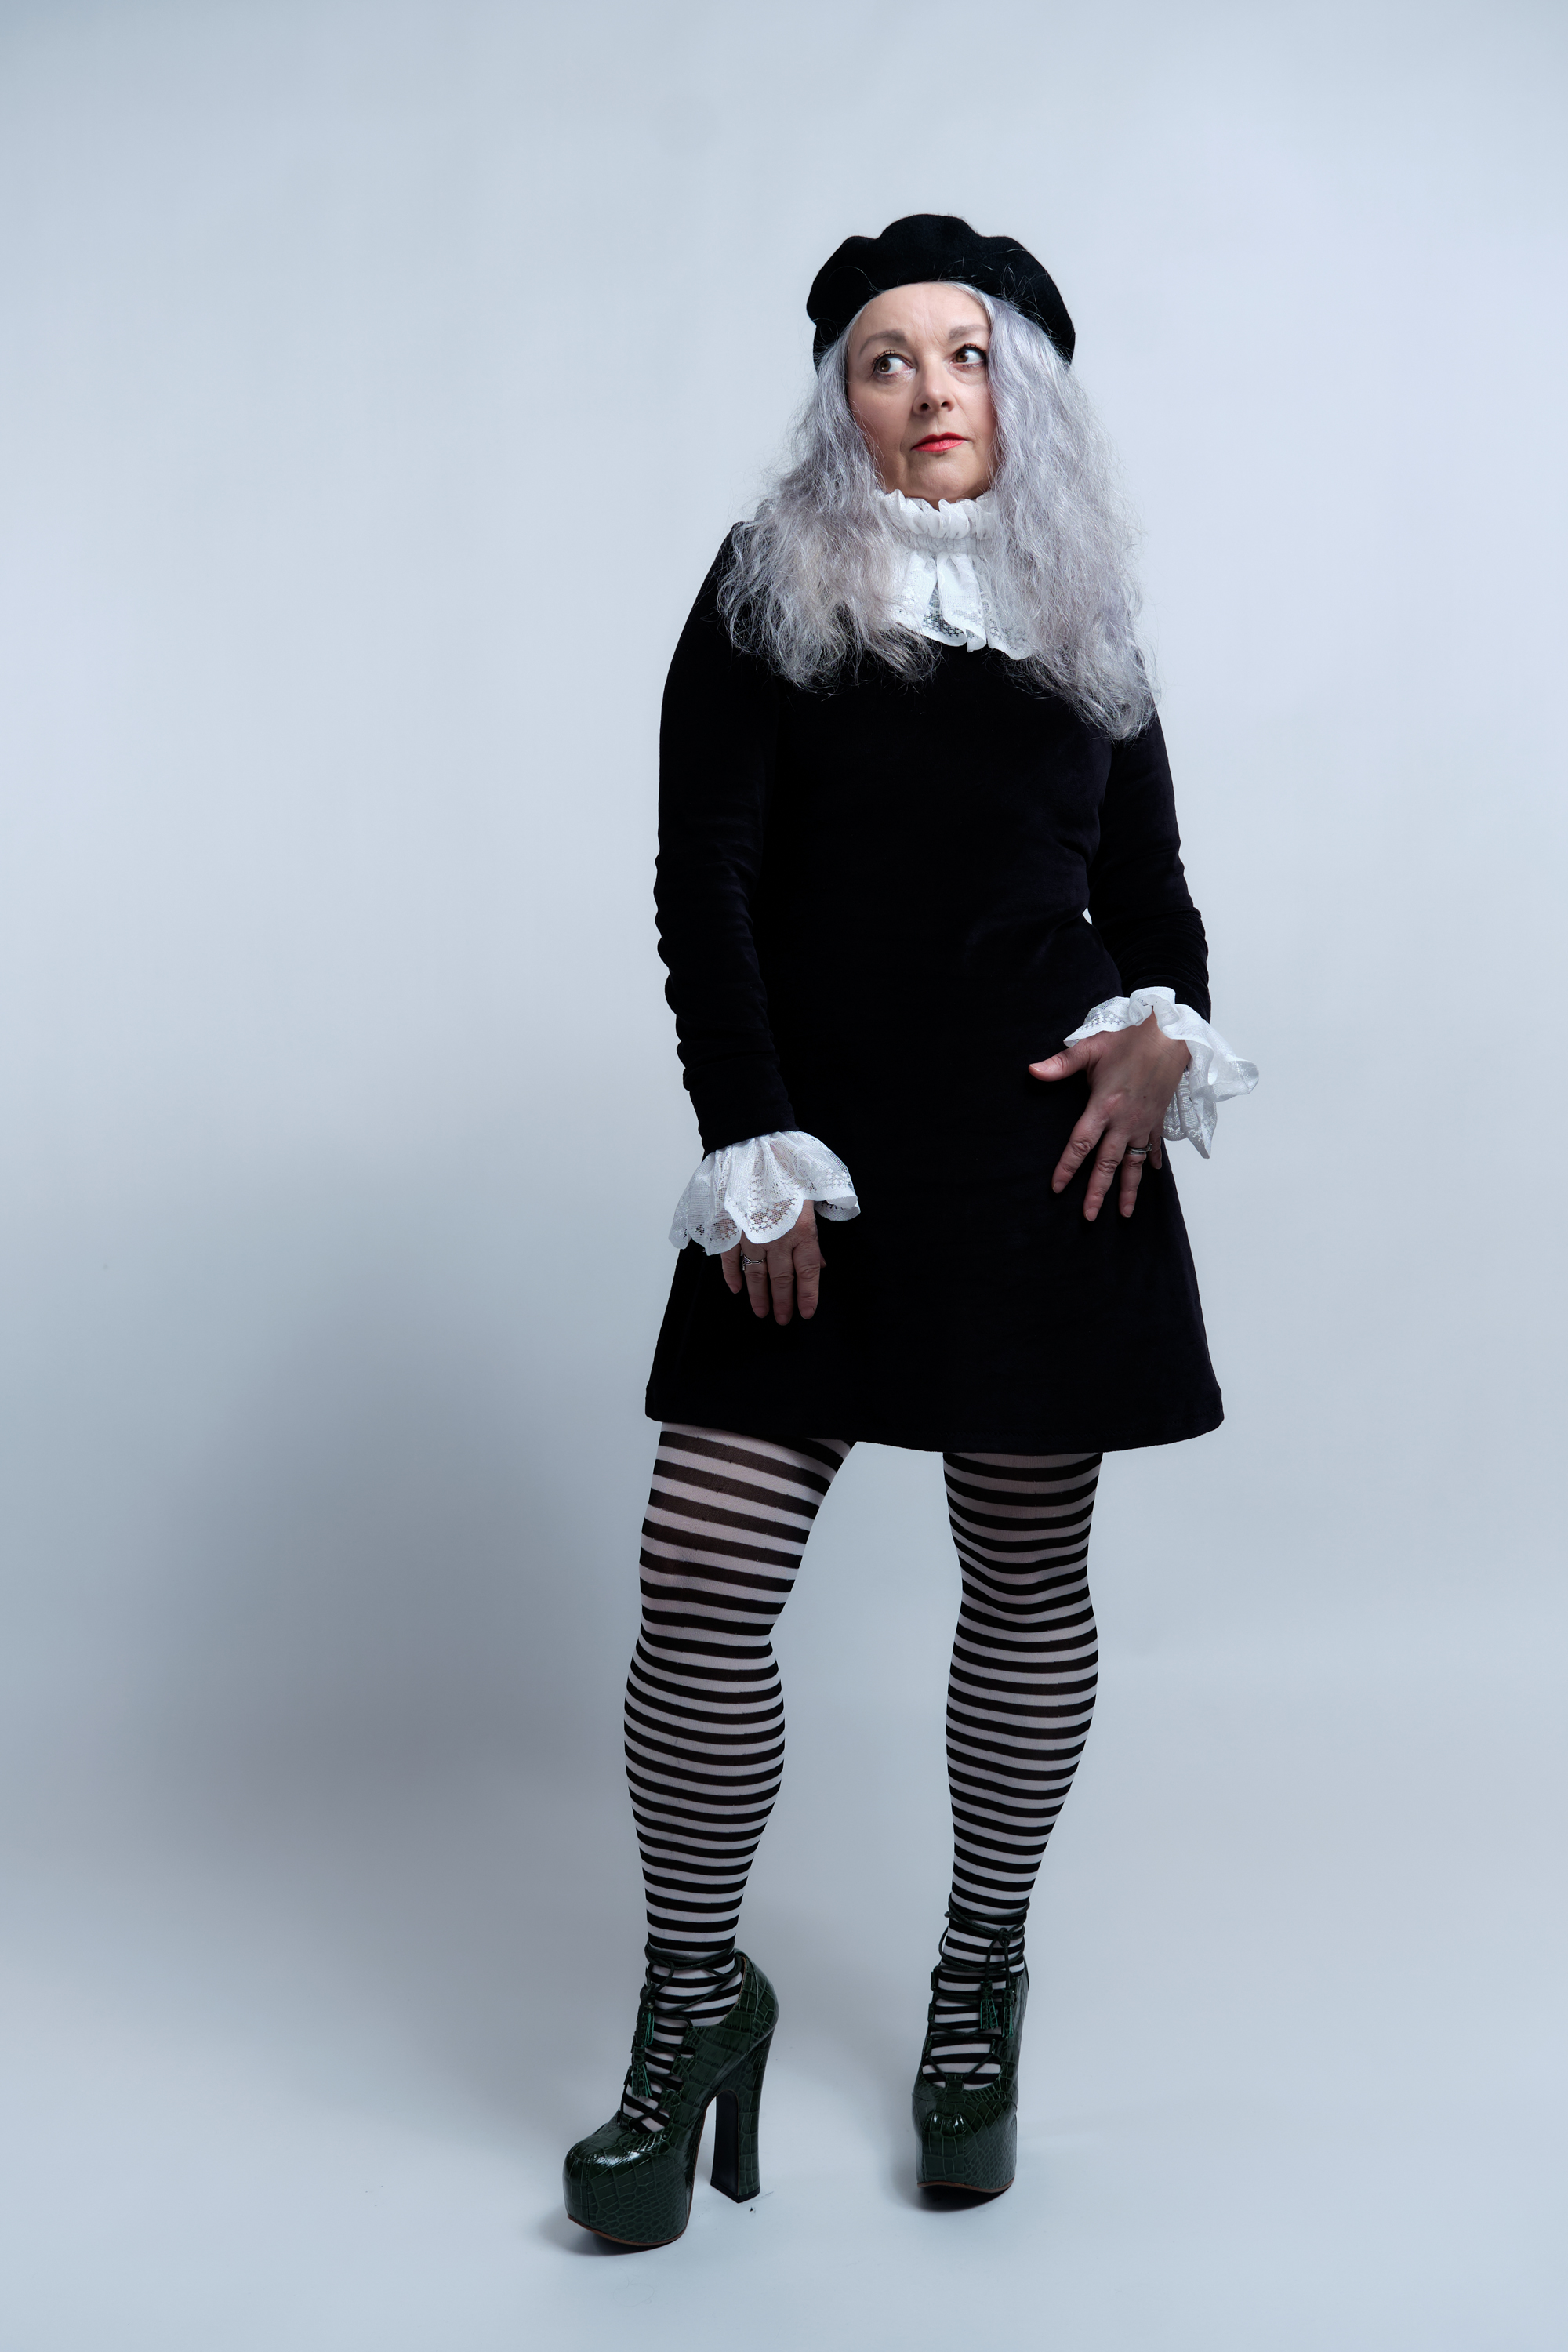
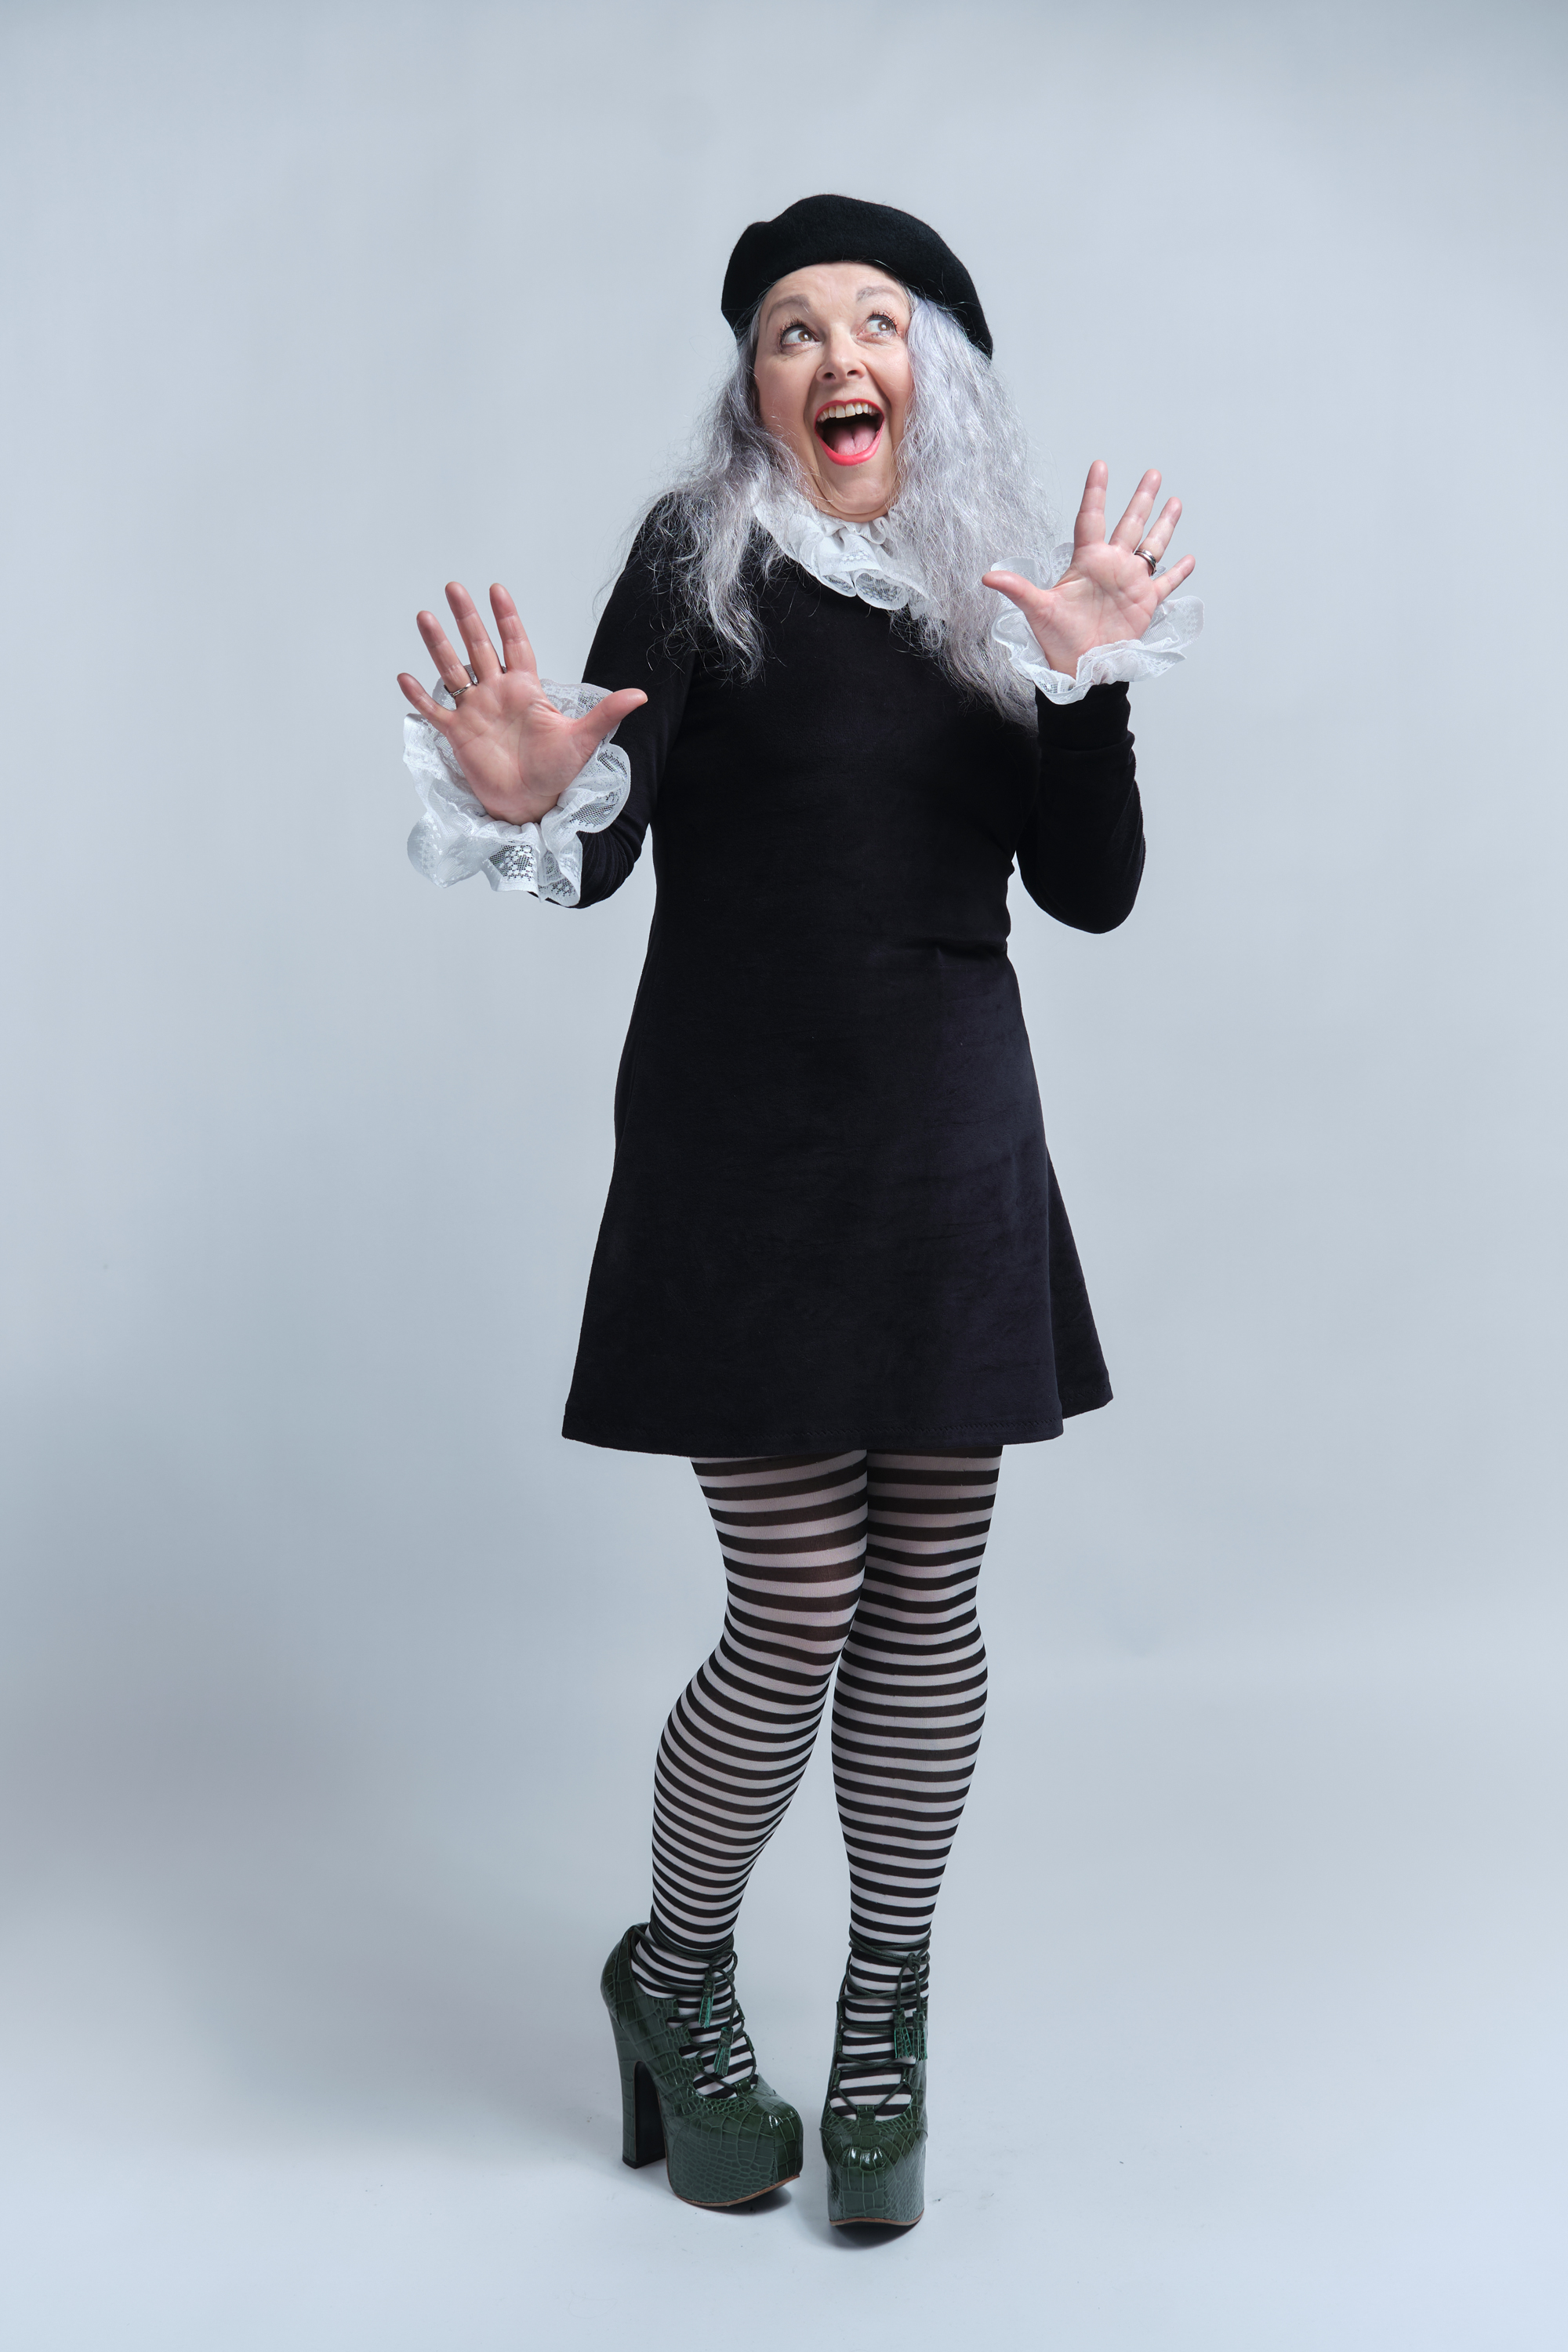
I don’t actually watch much telly these days, but my daughter managed to lure me into sitting down for Celebrity Traitors back in October (UK TV) and although I enjoyed it far more than I ever expected, I must confess that the plot very quickly became secondary to something far more pressing: my total and utter obsession with Claudia Winkleman’s wardrobe. The drama was riveting, yes, but oh those outfits! So when the Minerva Maker call-out appeared in my inbox, I didn’t even hesitate. I went straight for the black velour. I had absolutely no idea what I was going to sew at that point, only that I desperately wanted to channel my inner Claudia. Fringe not included. But I wont lie – I did think about it!
This project also marks something of a return for me to Minerva Maker posts. I’m an ambassador for Minerva, which means I receive complimentary fabric in exchange for an honest review and a blog post on their site which is a collaboration I genuinely value and enjoy. Over the past while, though, I’ve been working almost exclusively with reclaimed and second-hand fabrics, and with no urgent need for new clothes myself (the wardrobe is full, the guilt is real), it’s been a wee while since I last took part. This particular fabric felt like the perfect way back in: thoughtful, considered, and something I knew I would wear rather than admire briefly before shoving it to the back of the cupboard.
These days I’m pretty restrained with what I buy. I’ve become much more intentional, especially about fabrics, and natural fibres are climbing rapidly up my priority list. If something new is coming into my space, I want it to really earn its place. The high cotton content in this velour made the choosing much easier. When the parcel arrived, my first step was, of course, a prewash. Anything with 80% cotton is almost certainly going to shrink a touch, and I prefer to let that drama happen before I’ve lovingly cut into it. I didn’t actually measure how much it did (if it did), but I can say – with genuine surprise – that after a 40° wash there was no loss of colour, quality, or softness. That almost never happens with solid black fabrics, which usually seize the first opportunity to fade or streak.
The remaining 20% elastane gives the fabric it’s 55% crosswise stretch, which feels accurate, and the recovery is surprisingly good too. It has that lovely plush feel without being overly heavy or oppressive, and it behaved impeccably under the machine. Velour can sometimes feel like it’s trying to escape in all directions at once, so I used a walking foot and this one stayed put, behaved itself, and didn’t once try to ruin my evening. High praise, honestly.
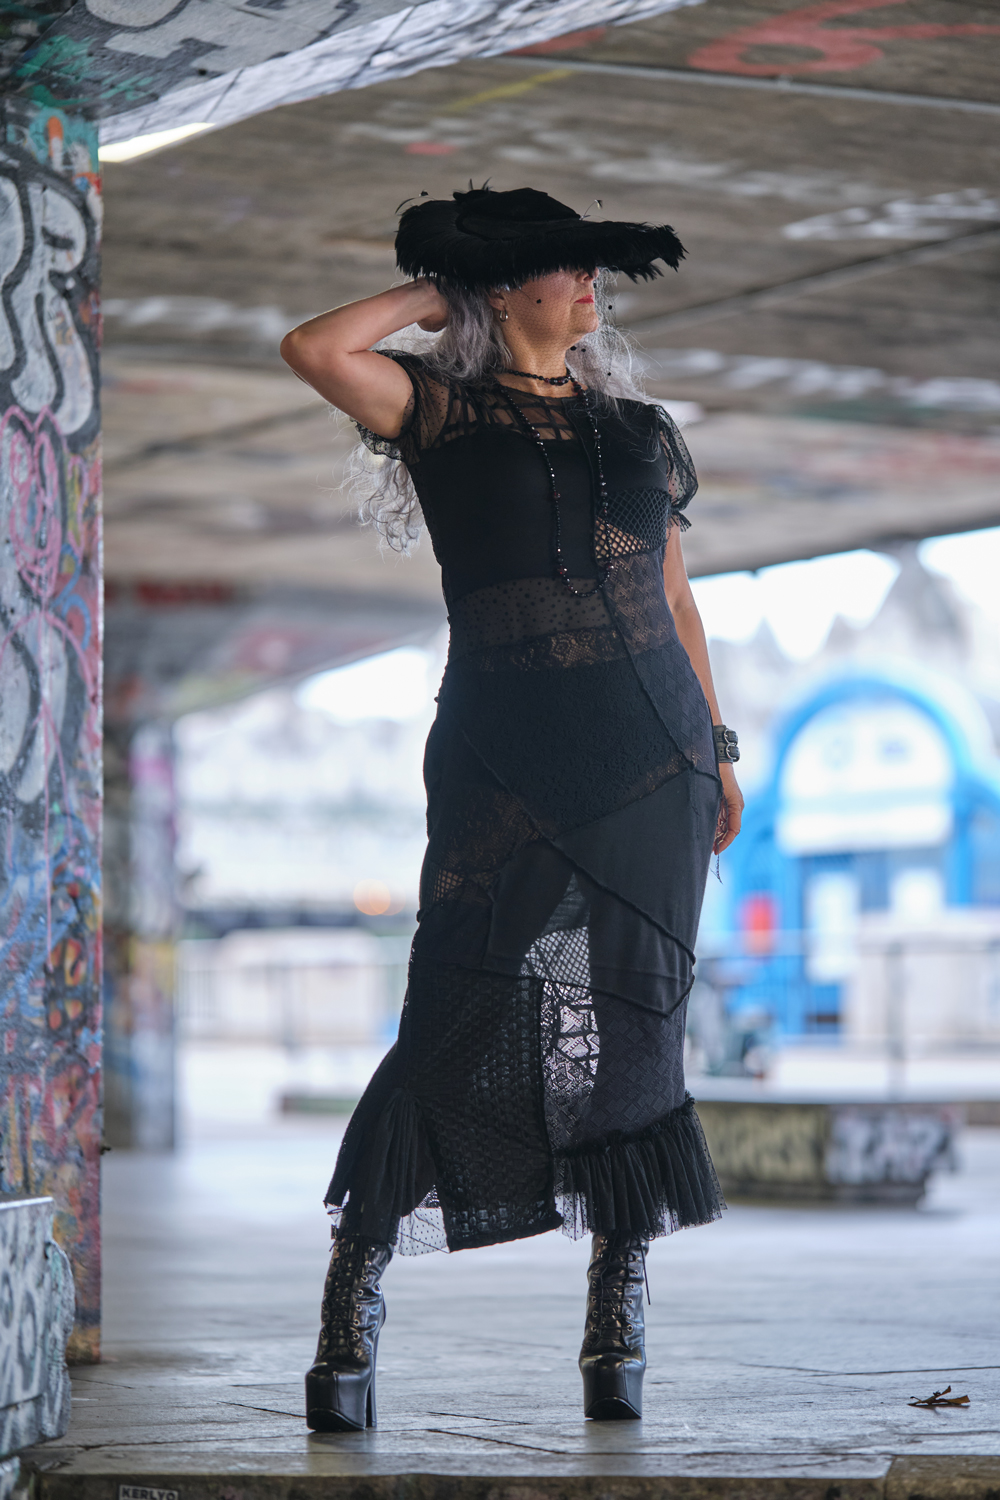
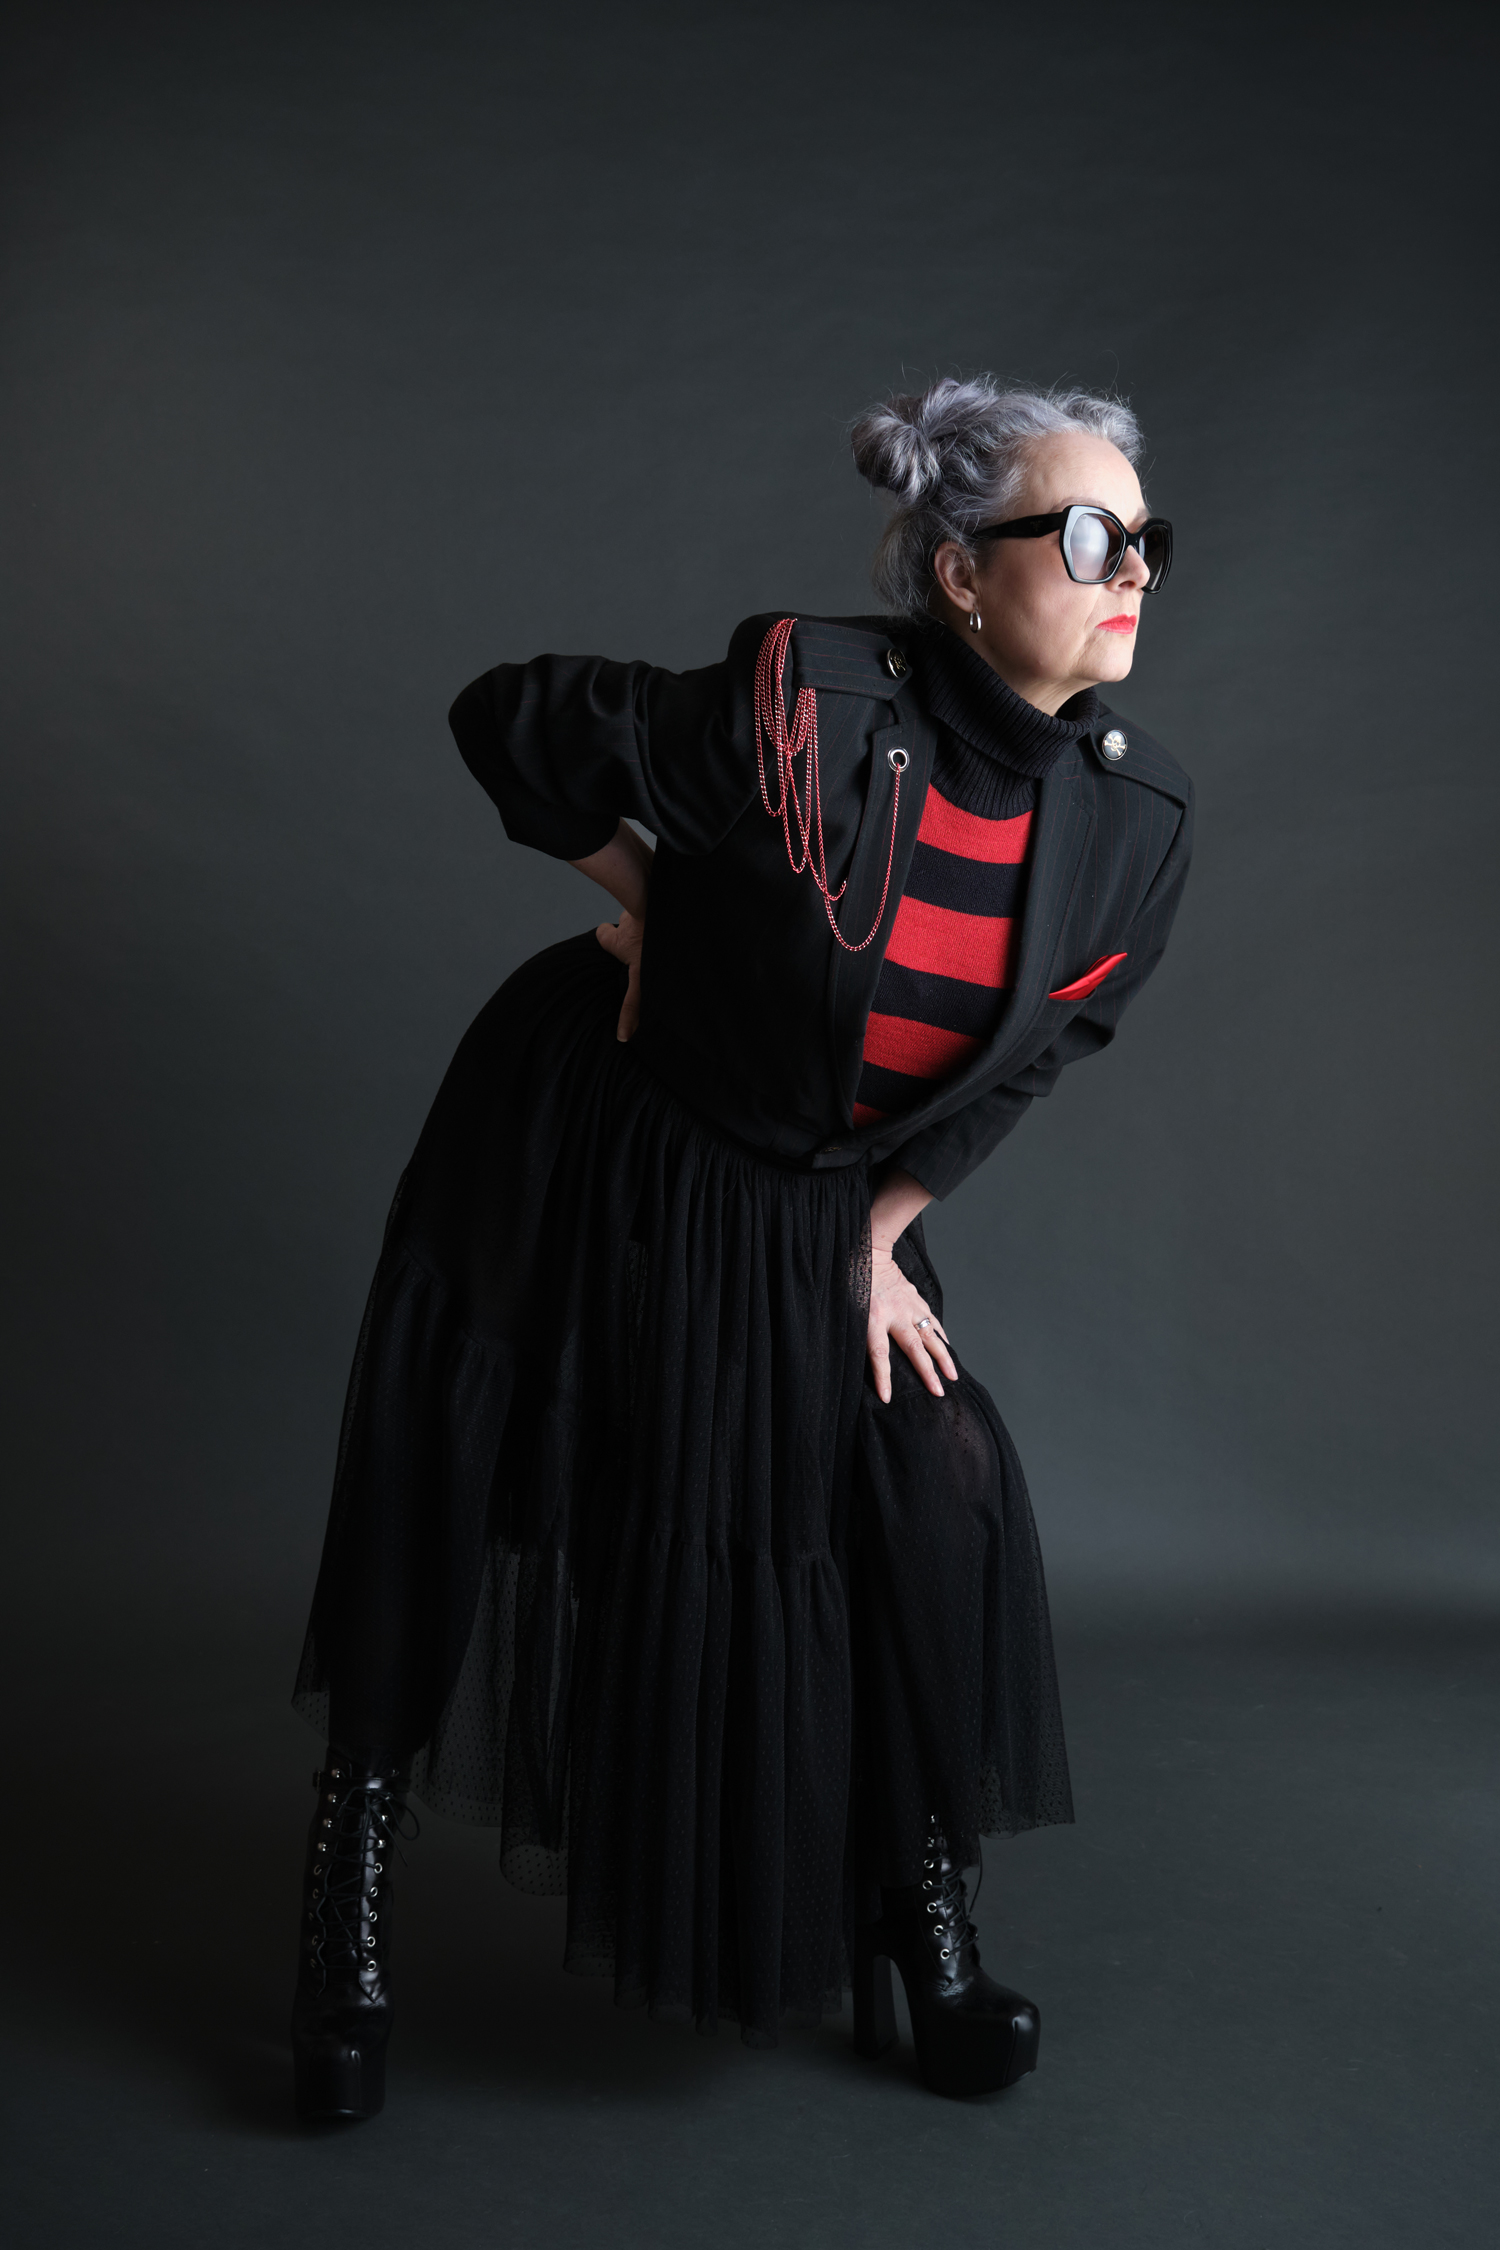
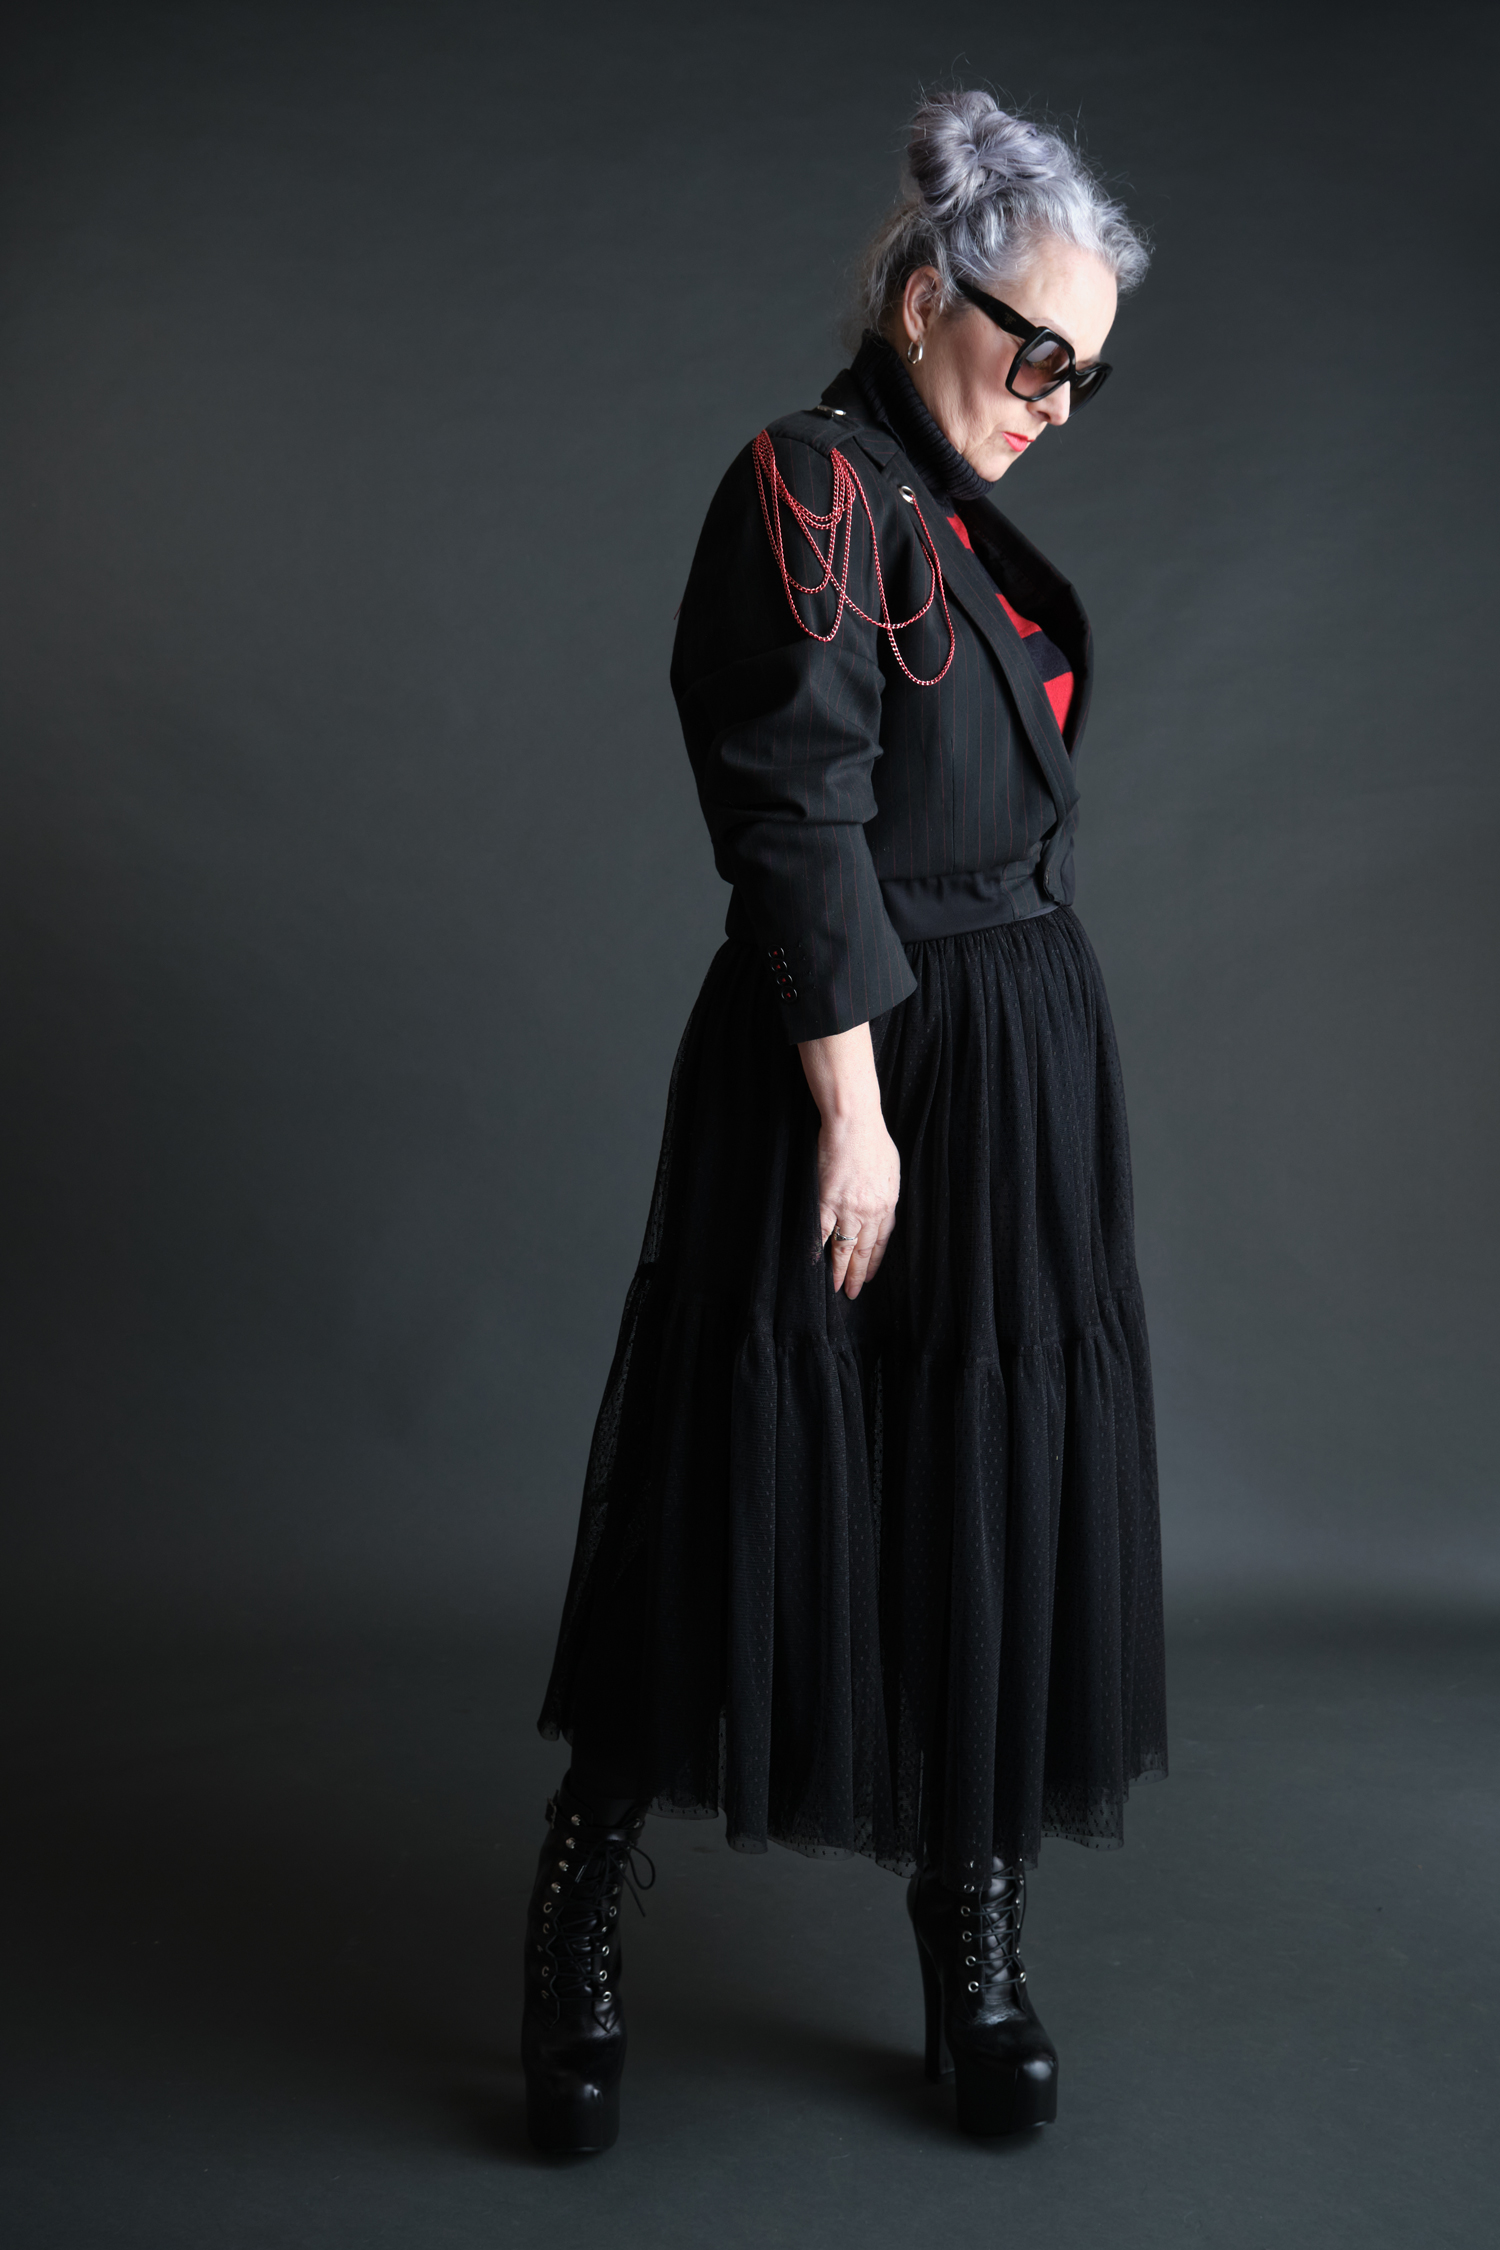
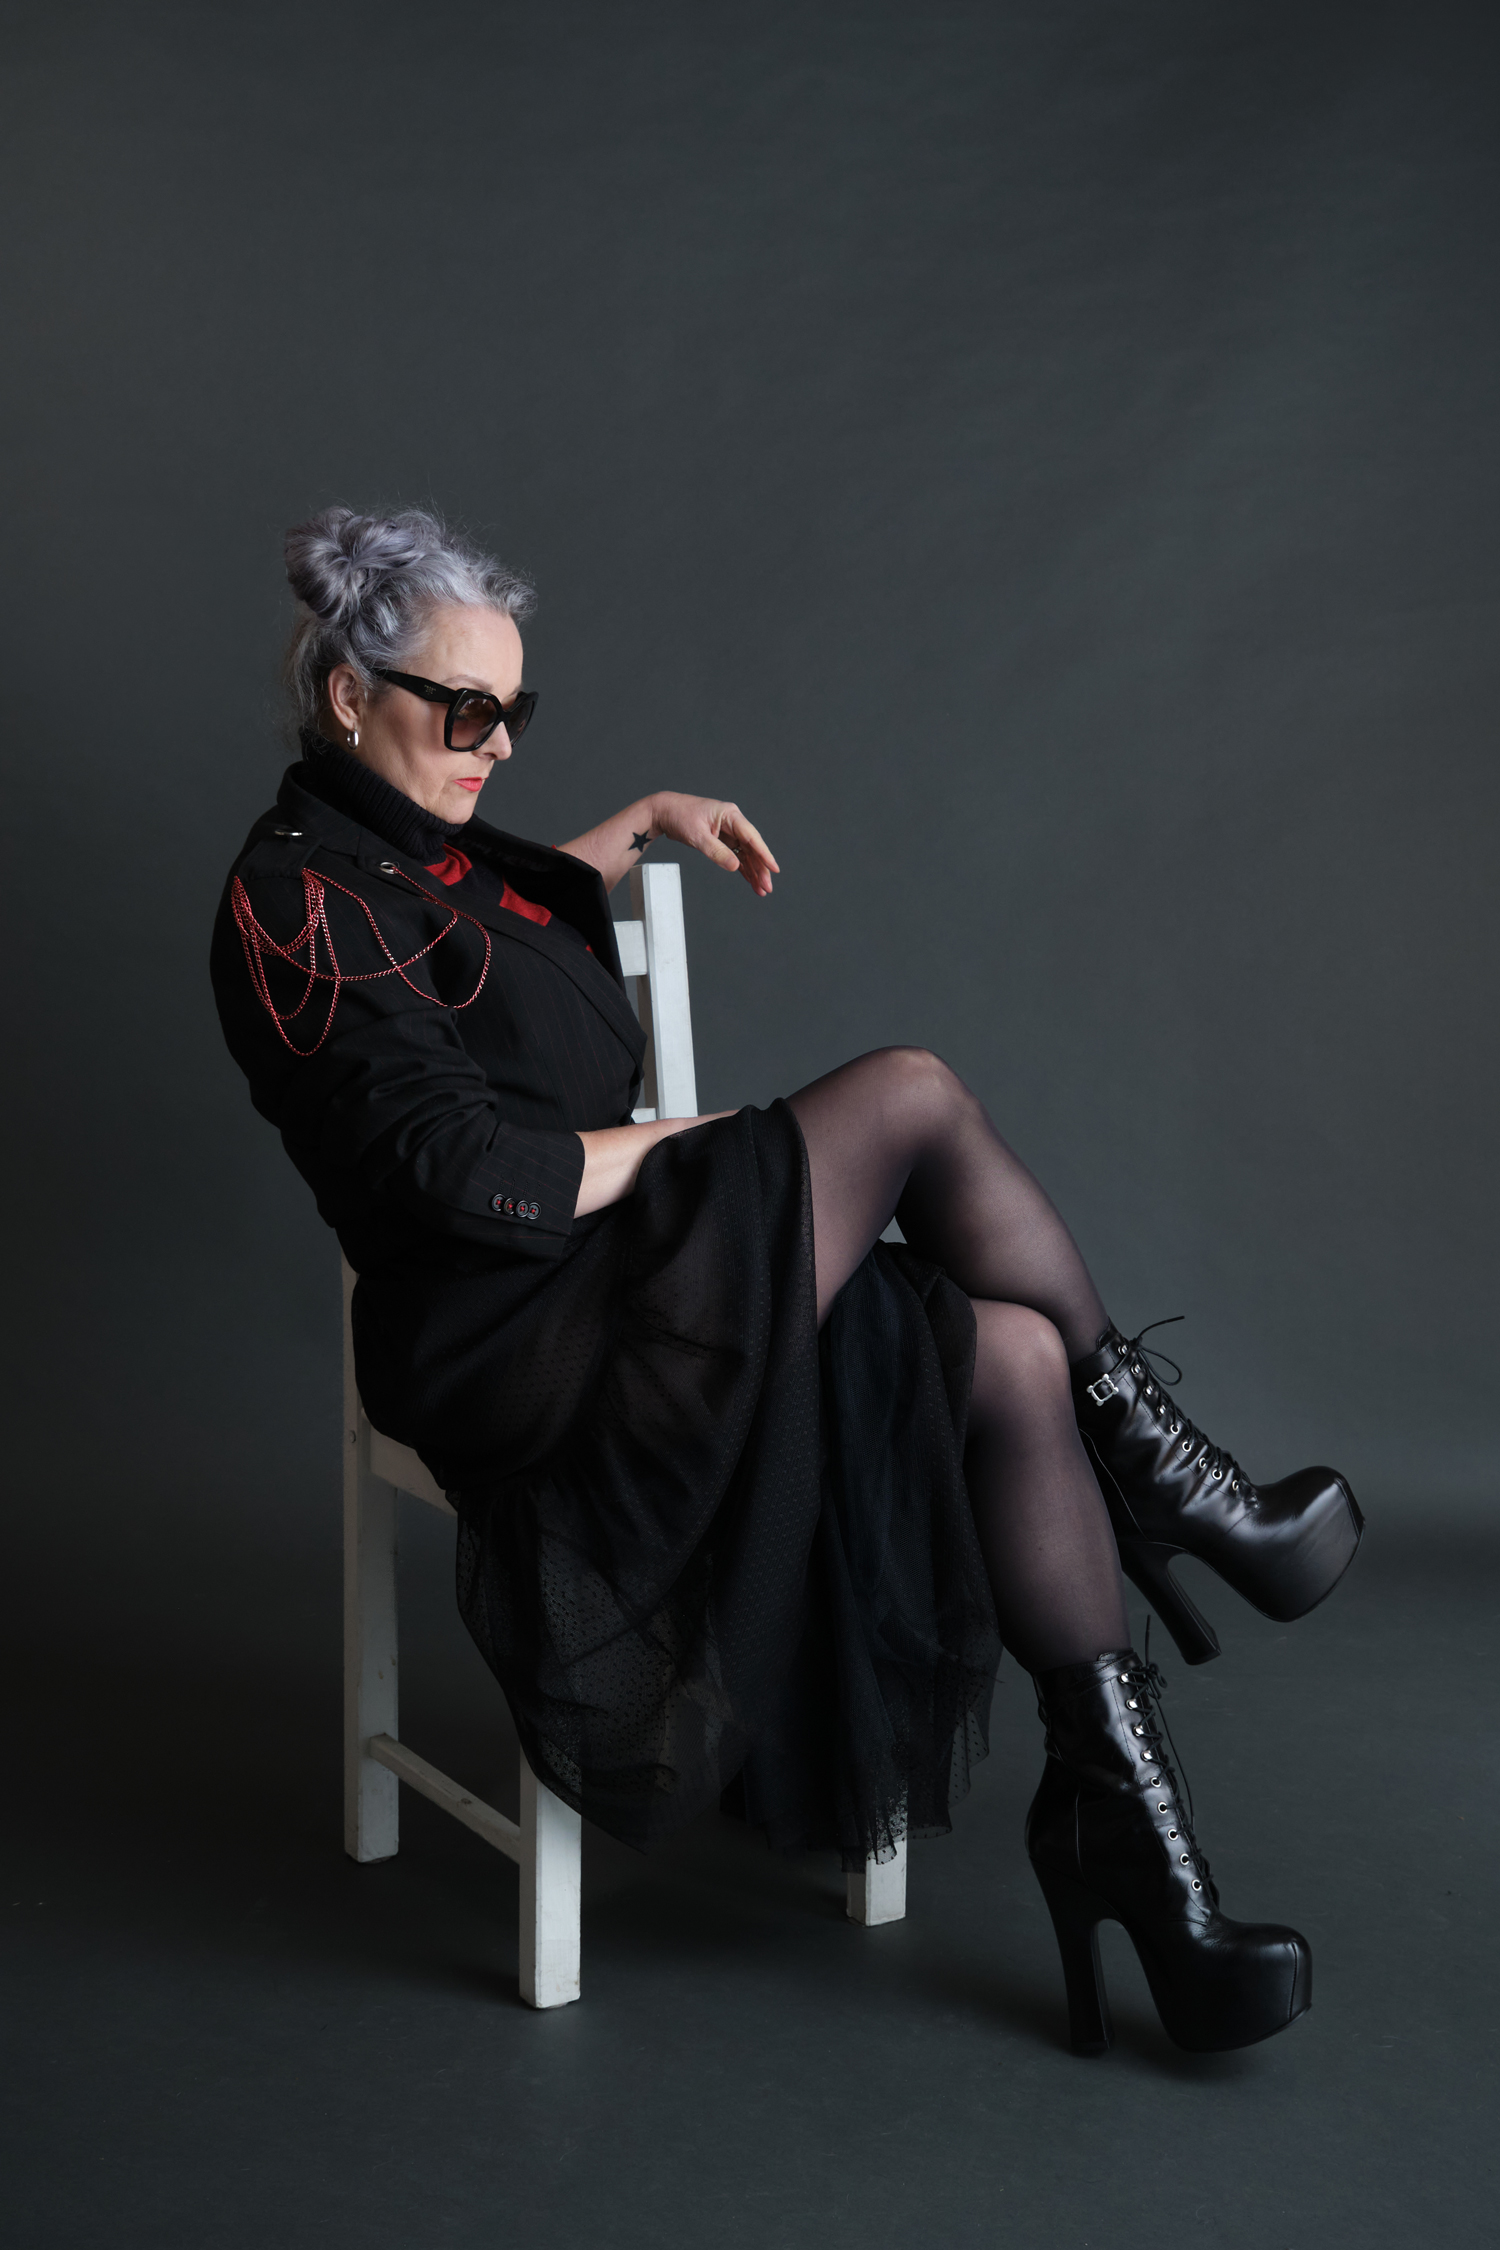
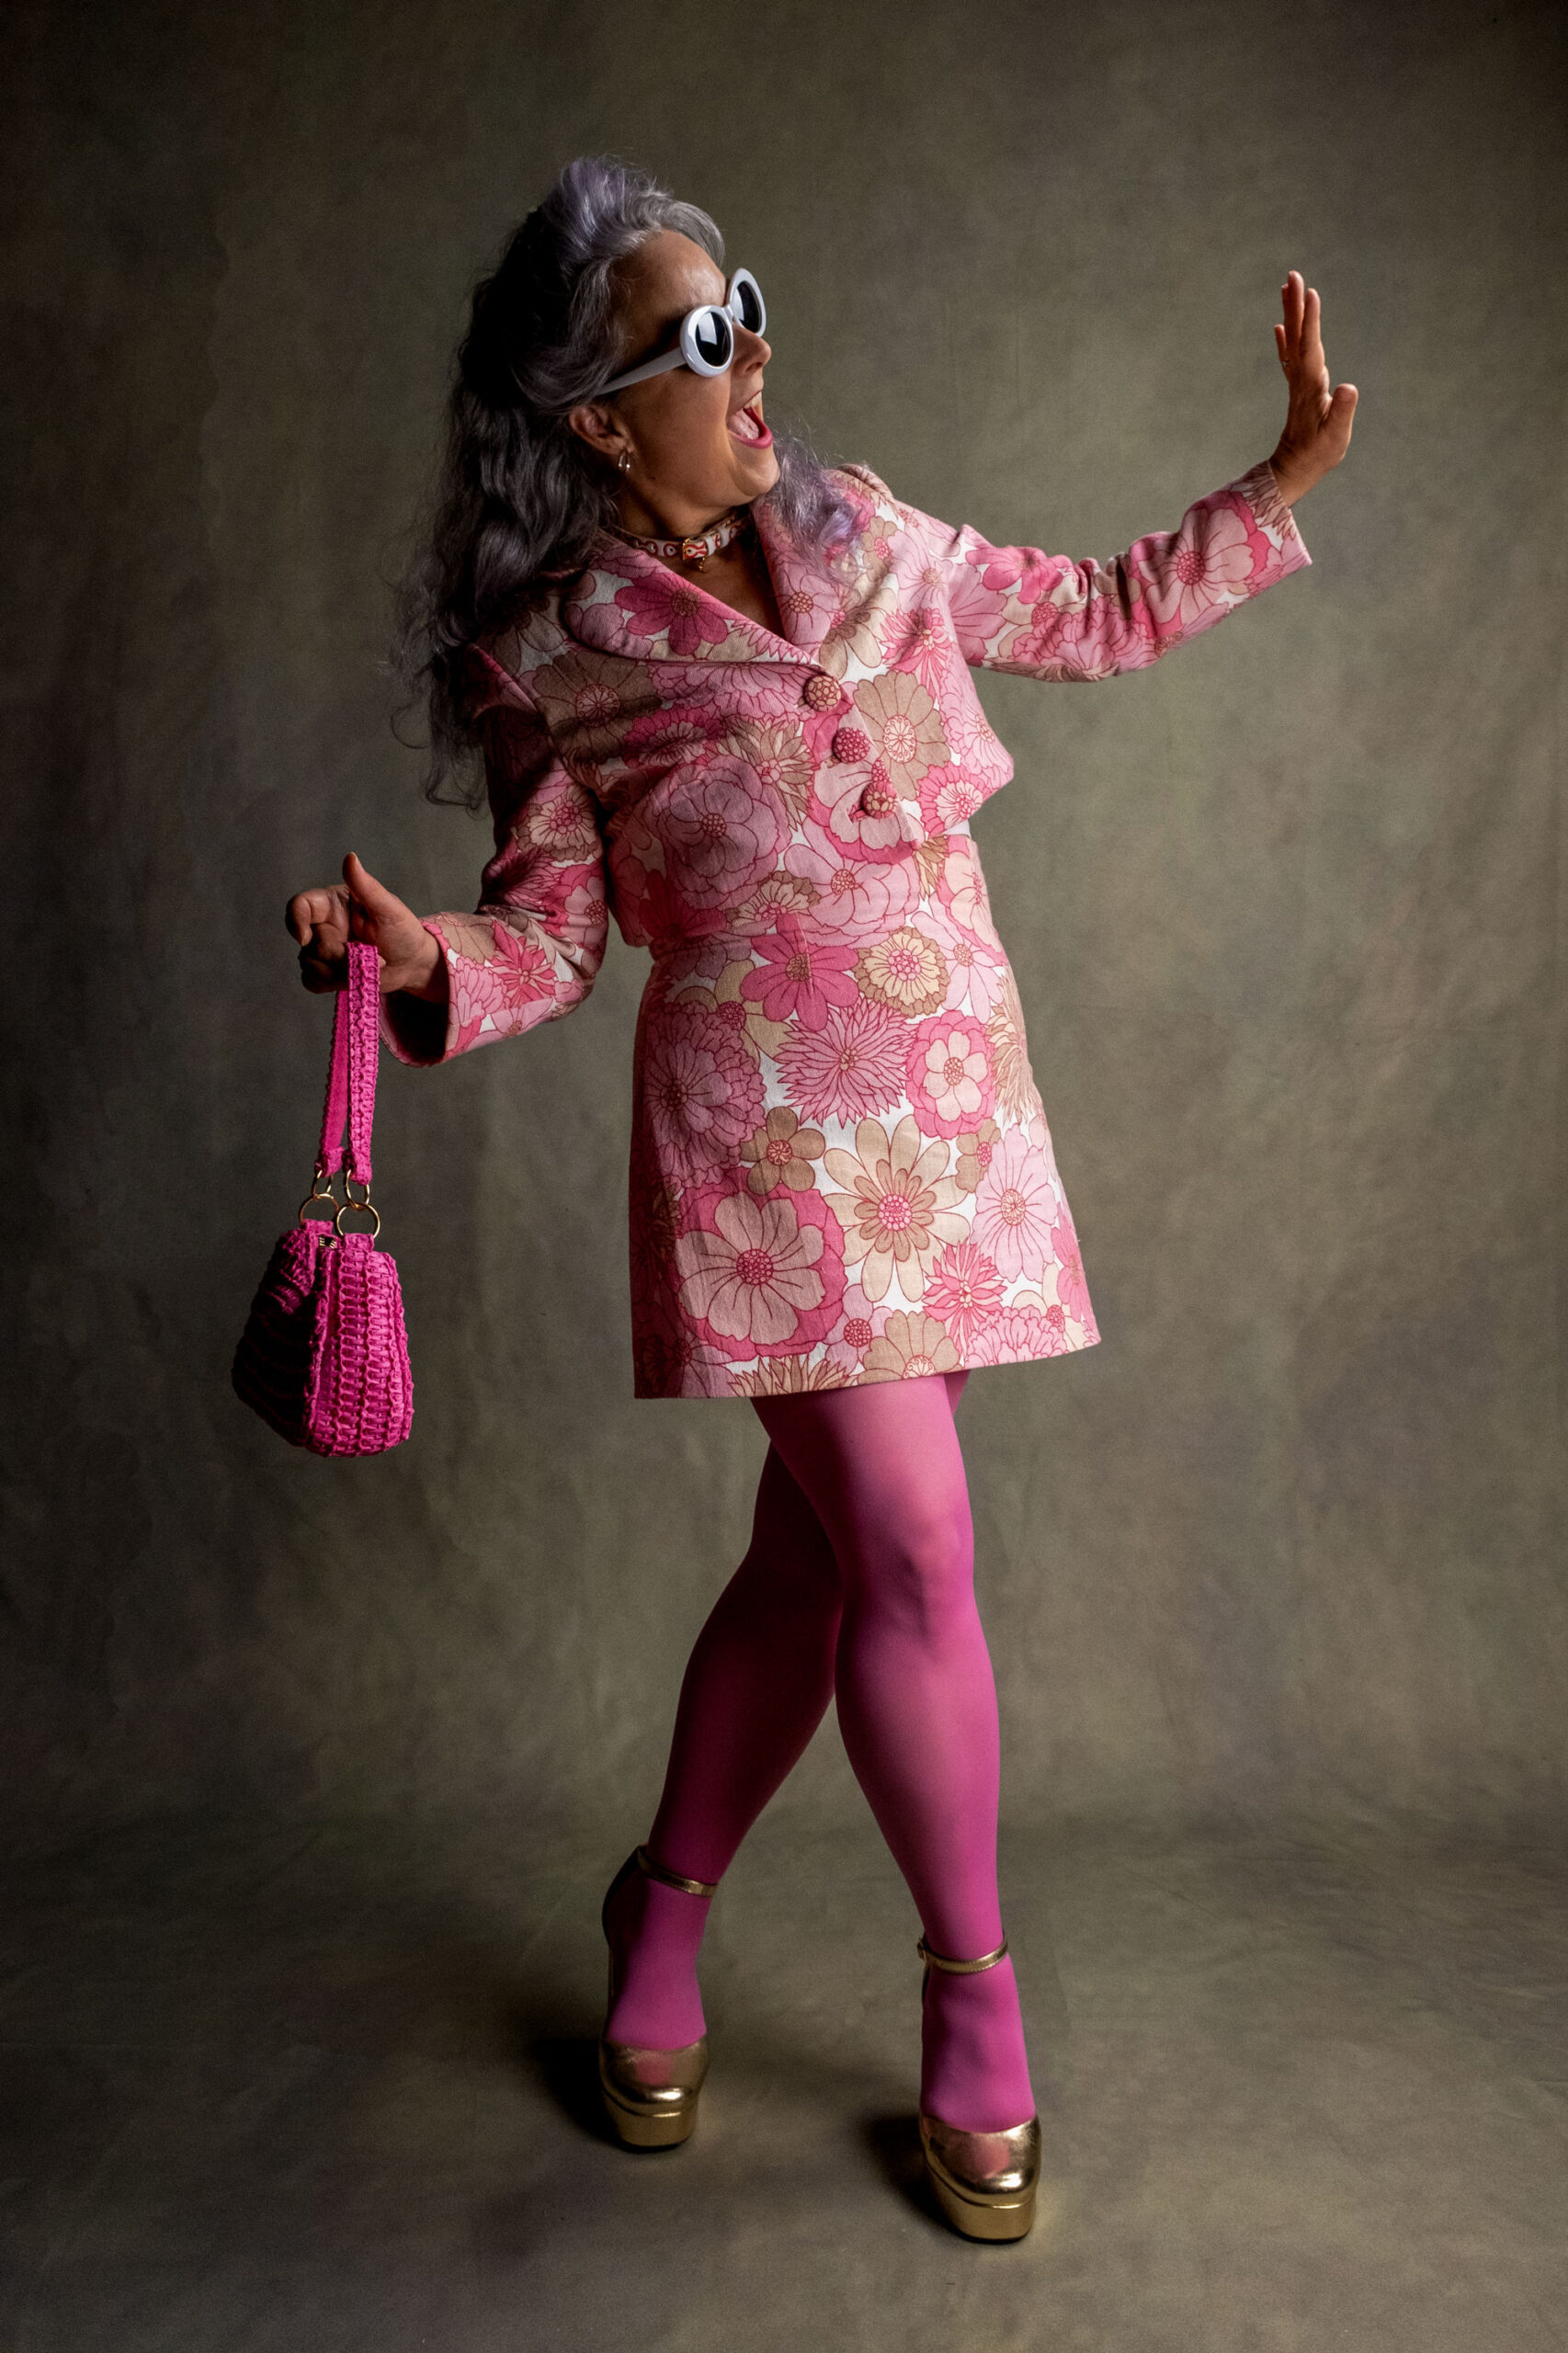
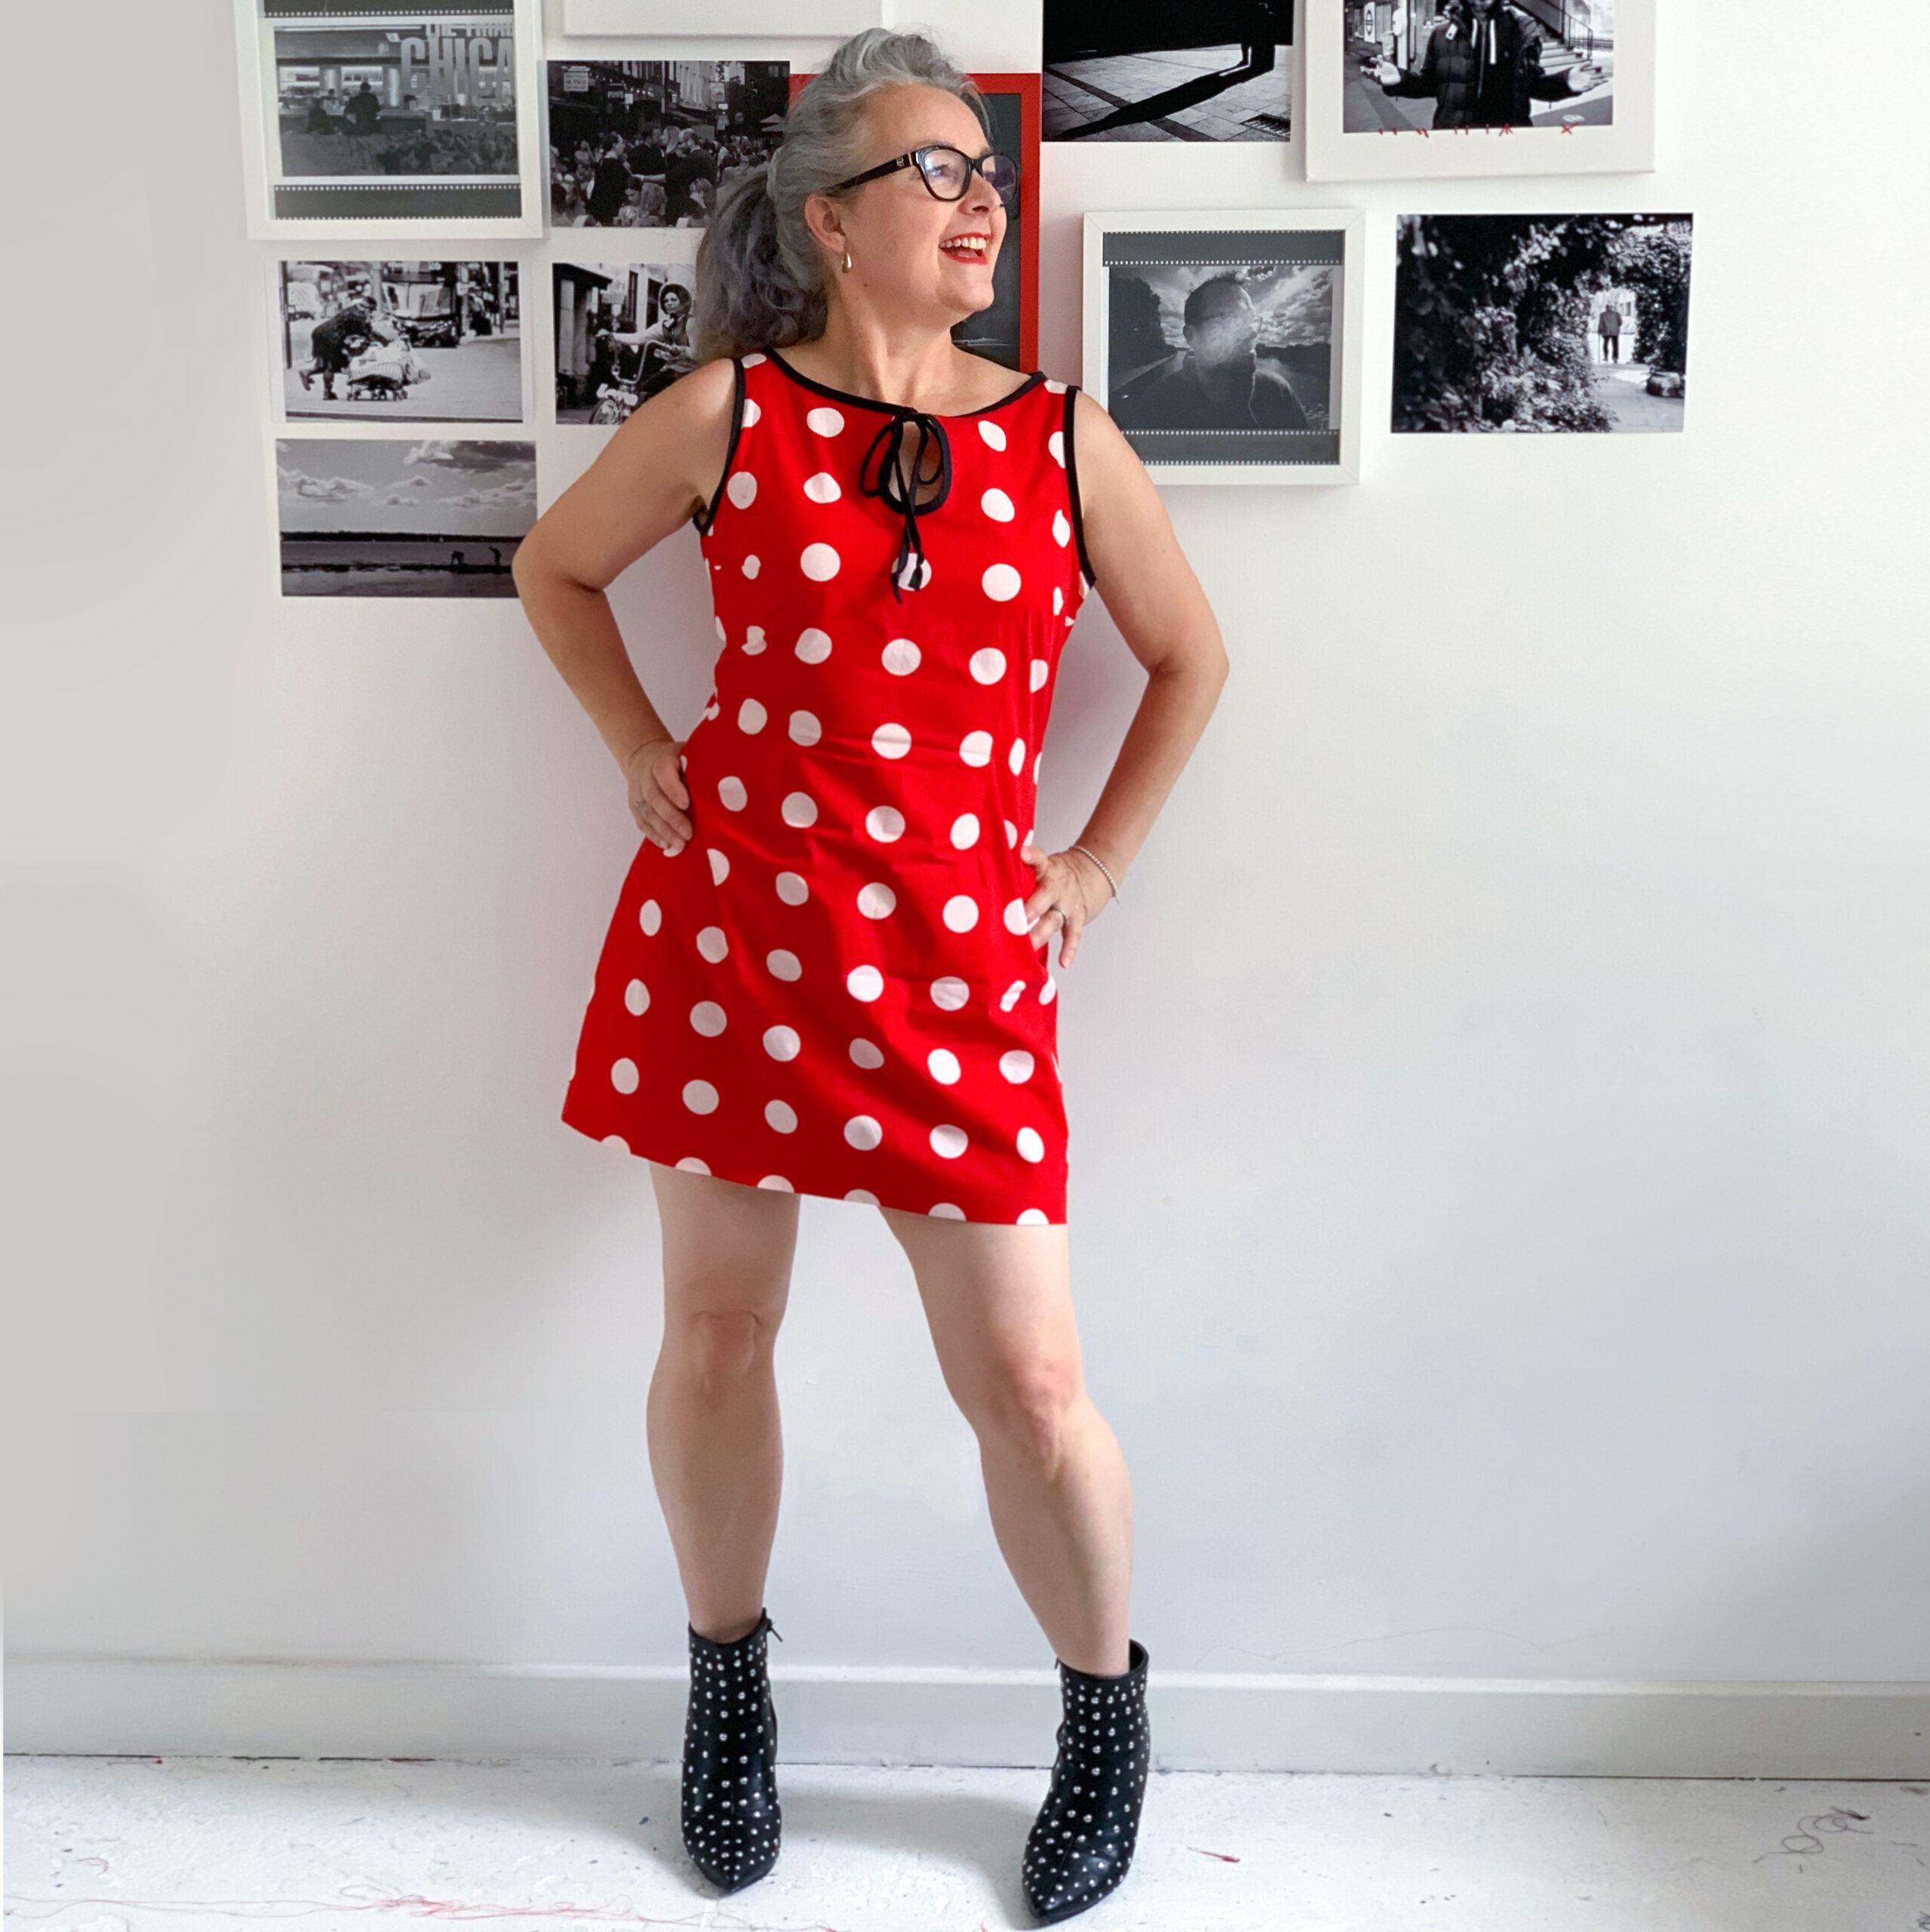
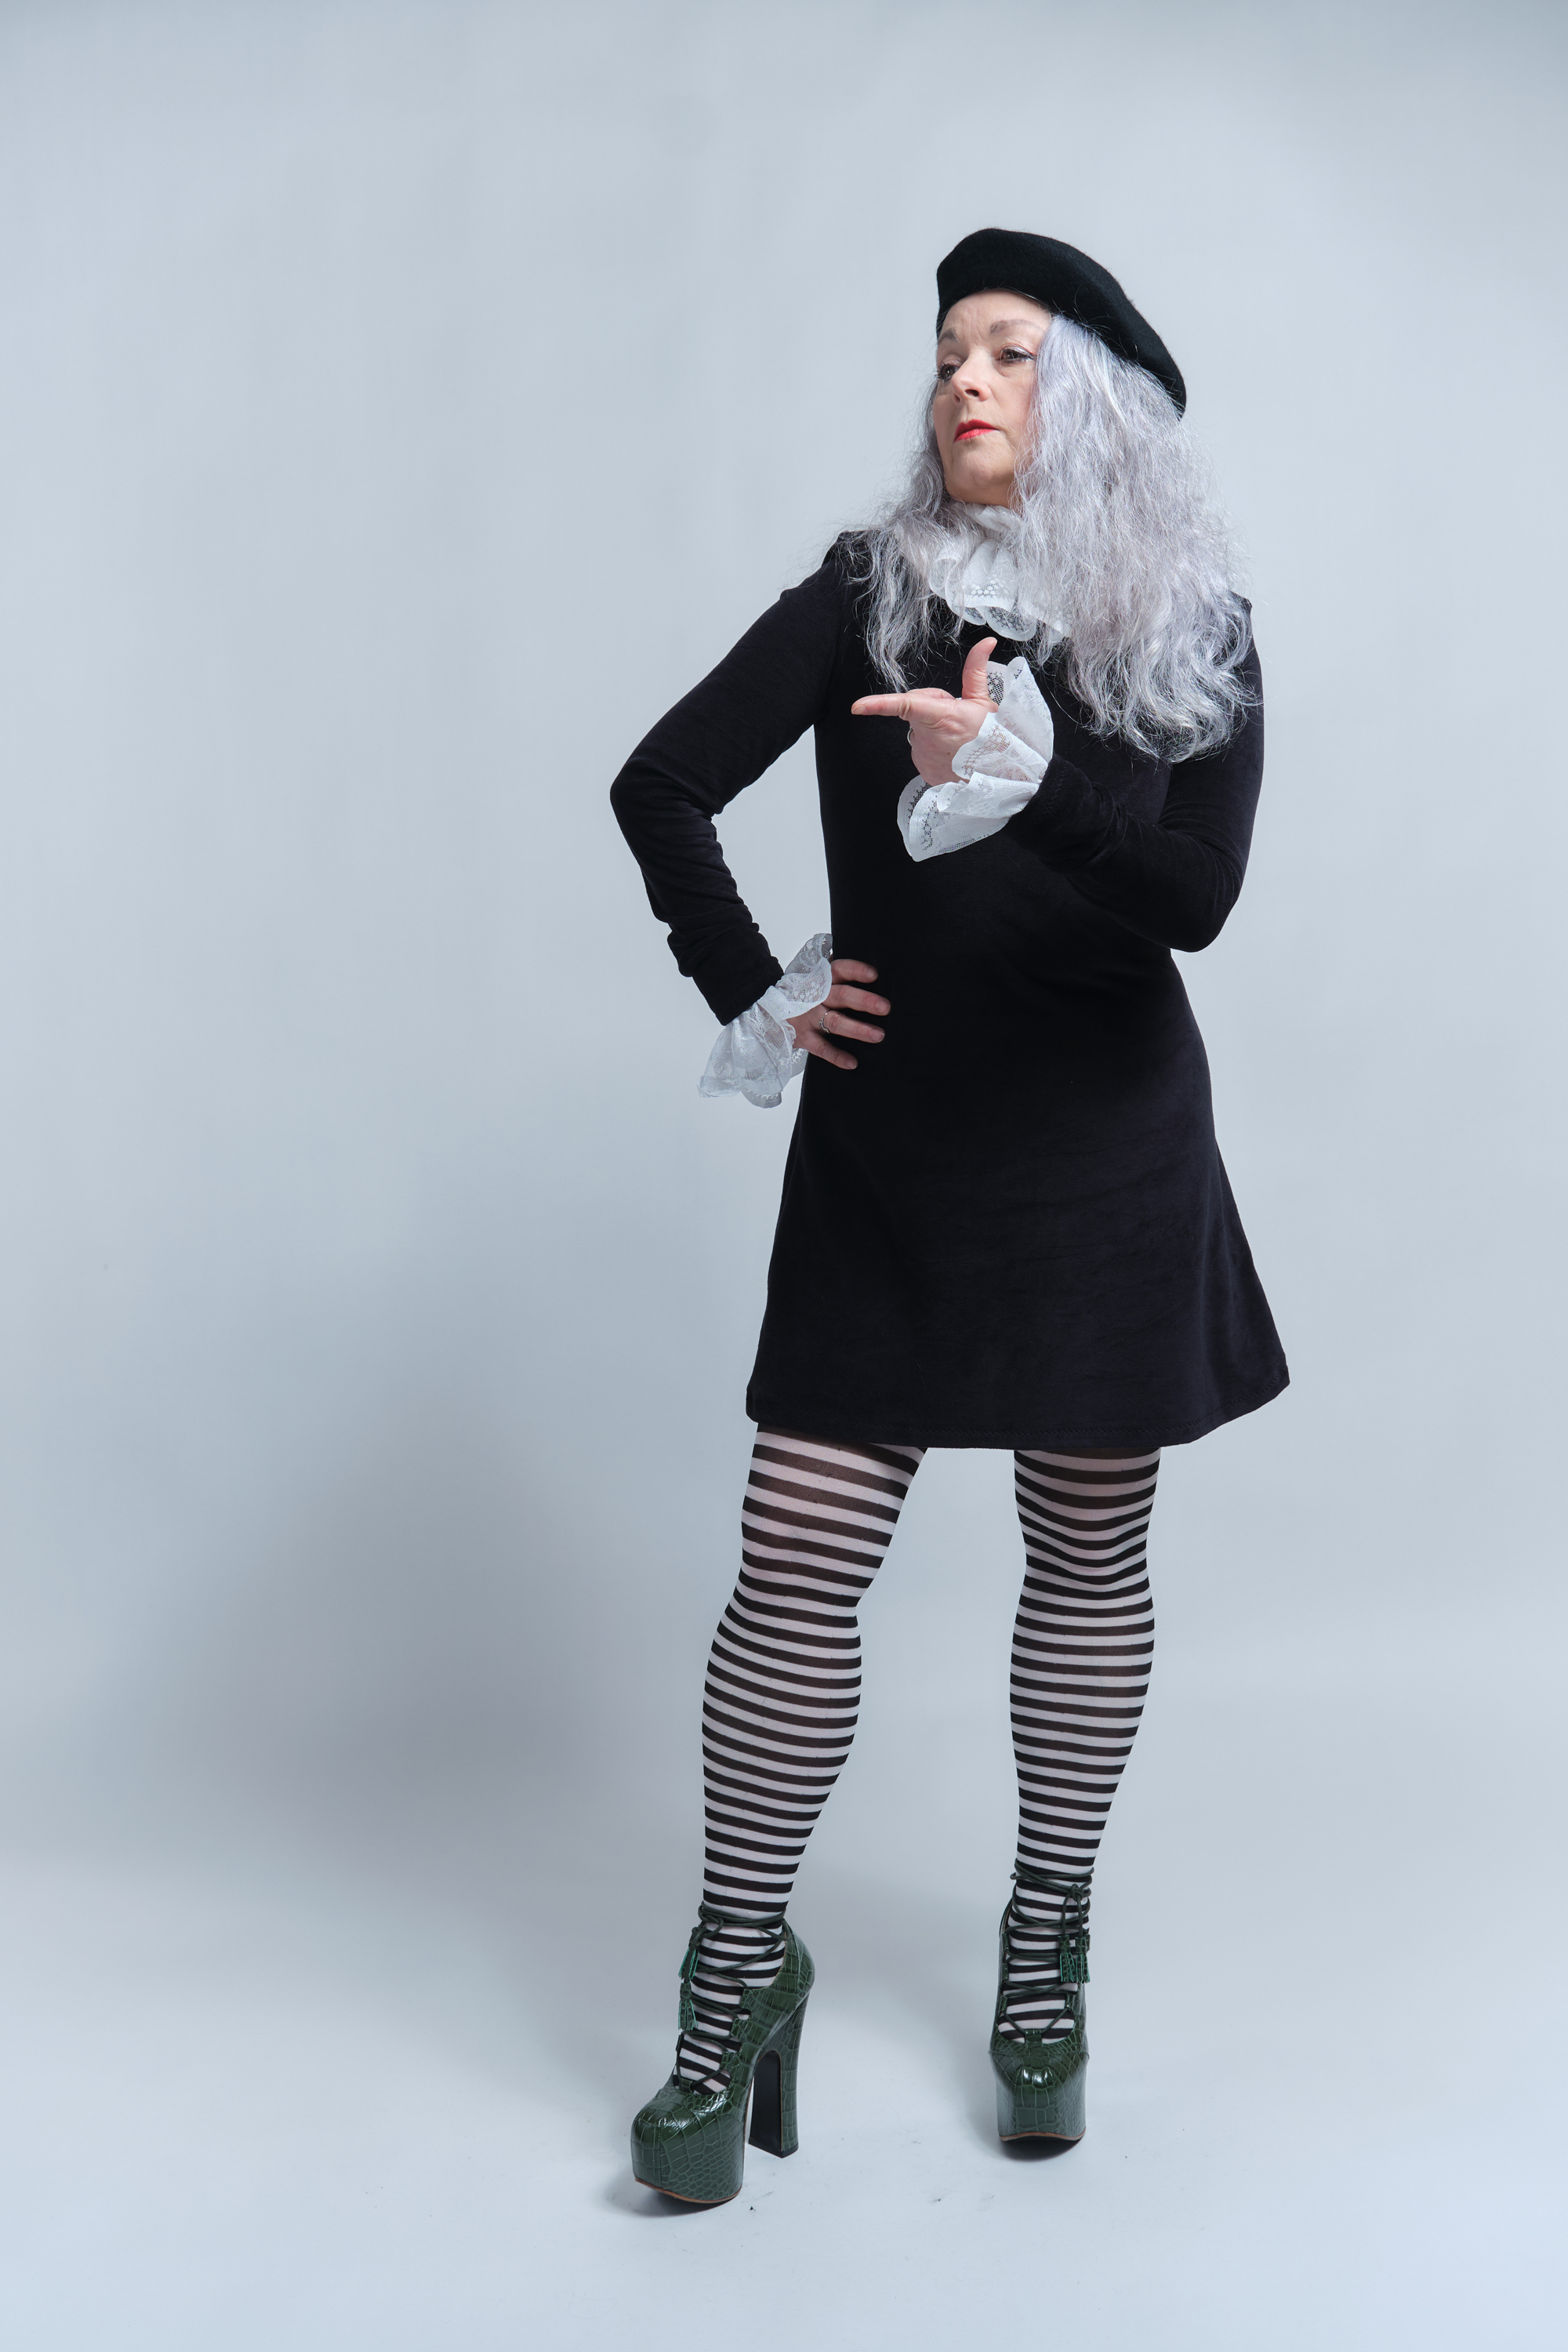
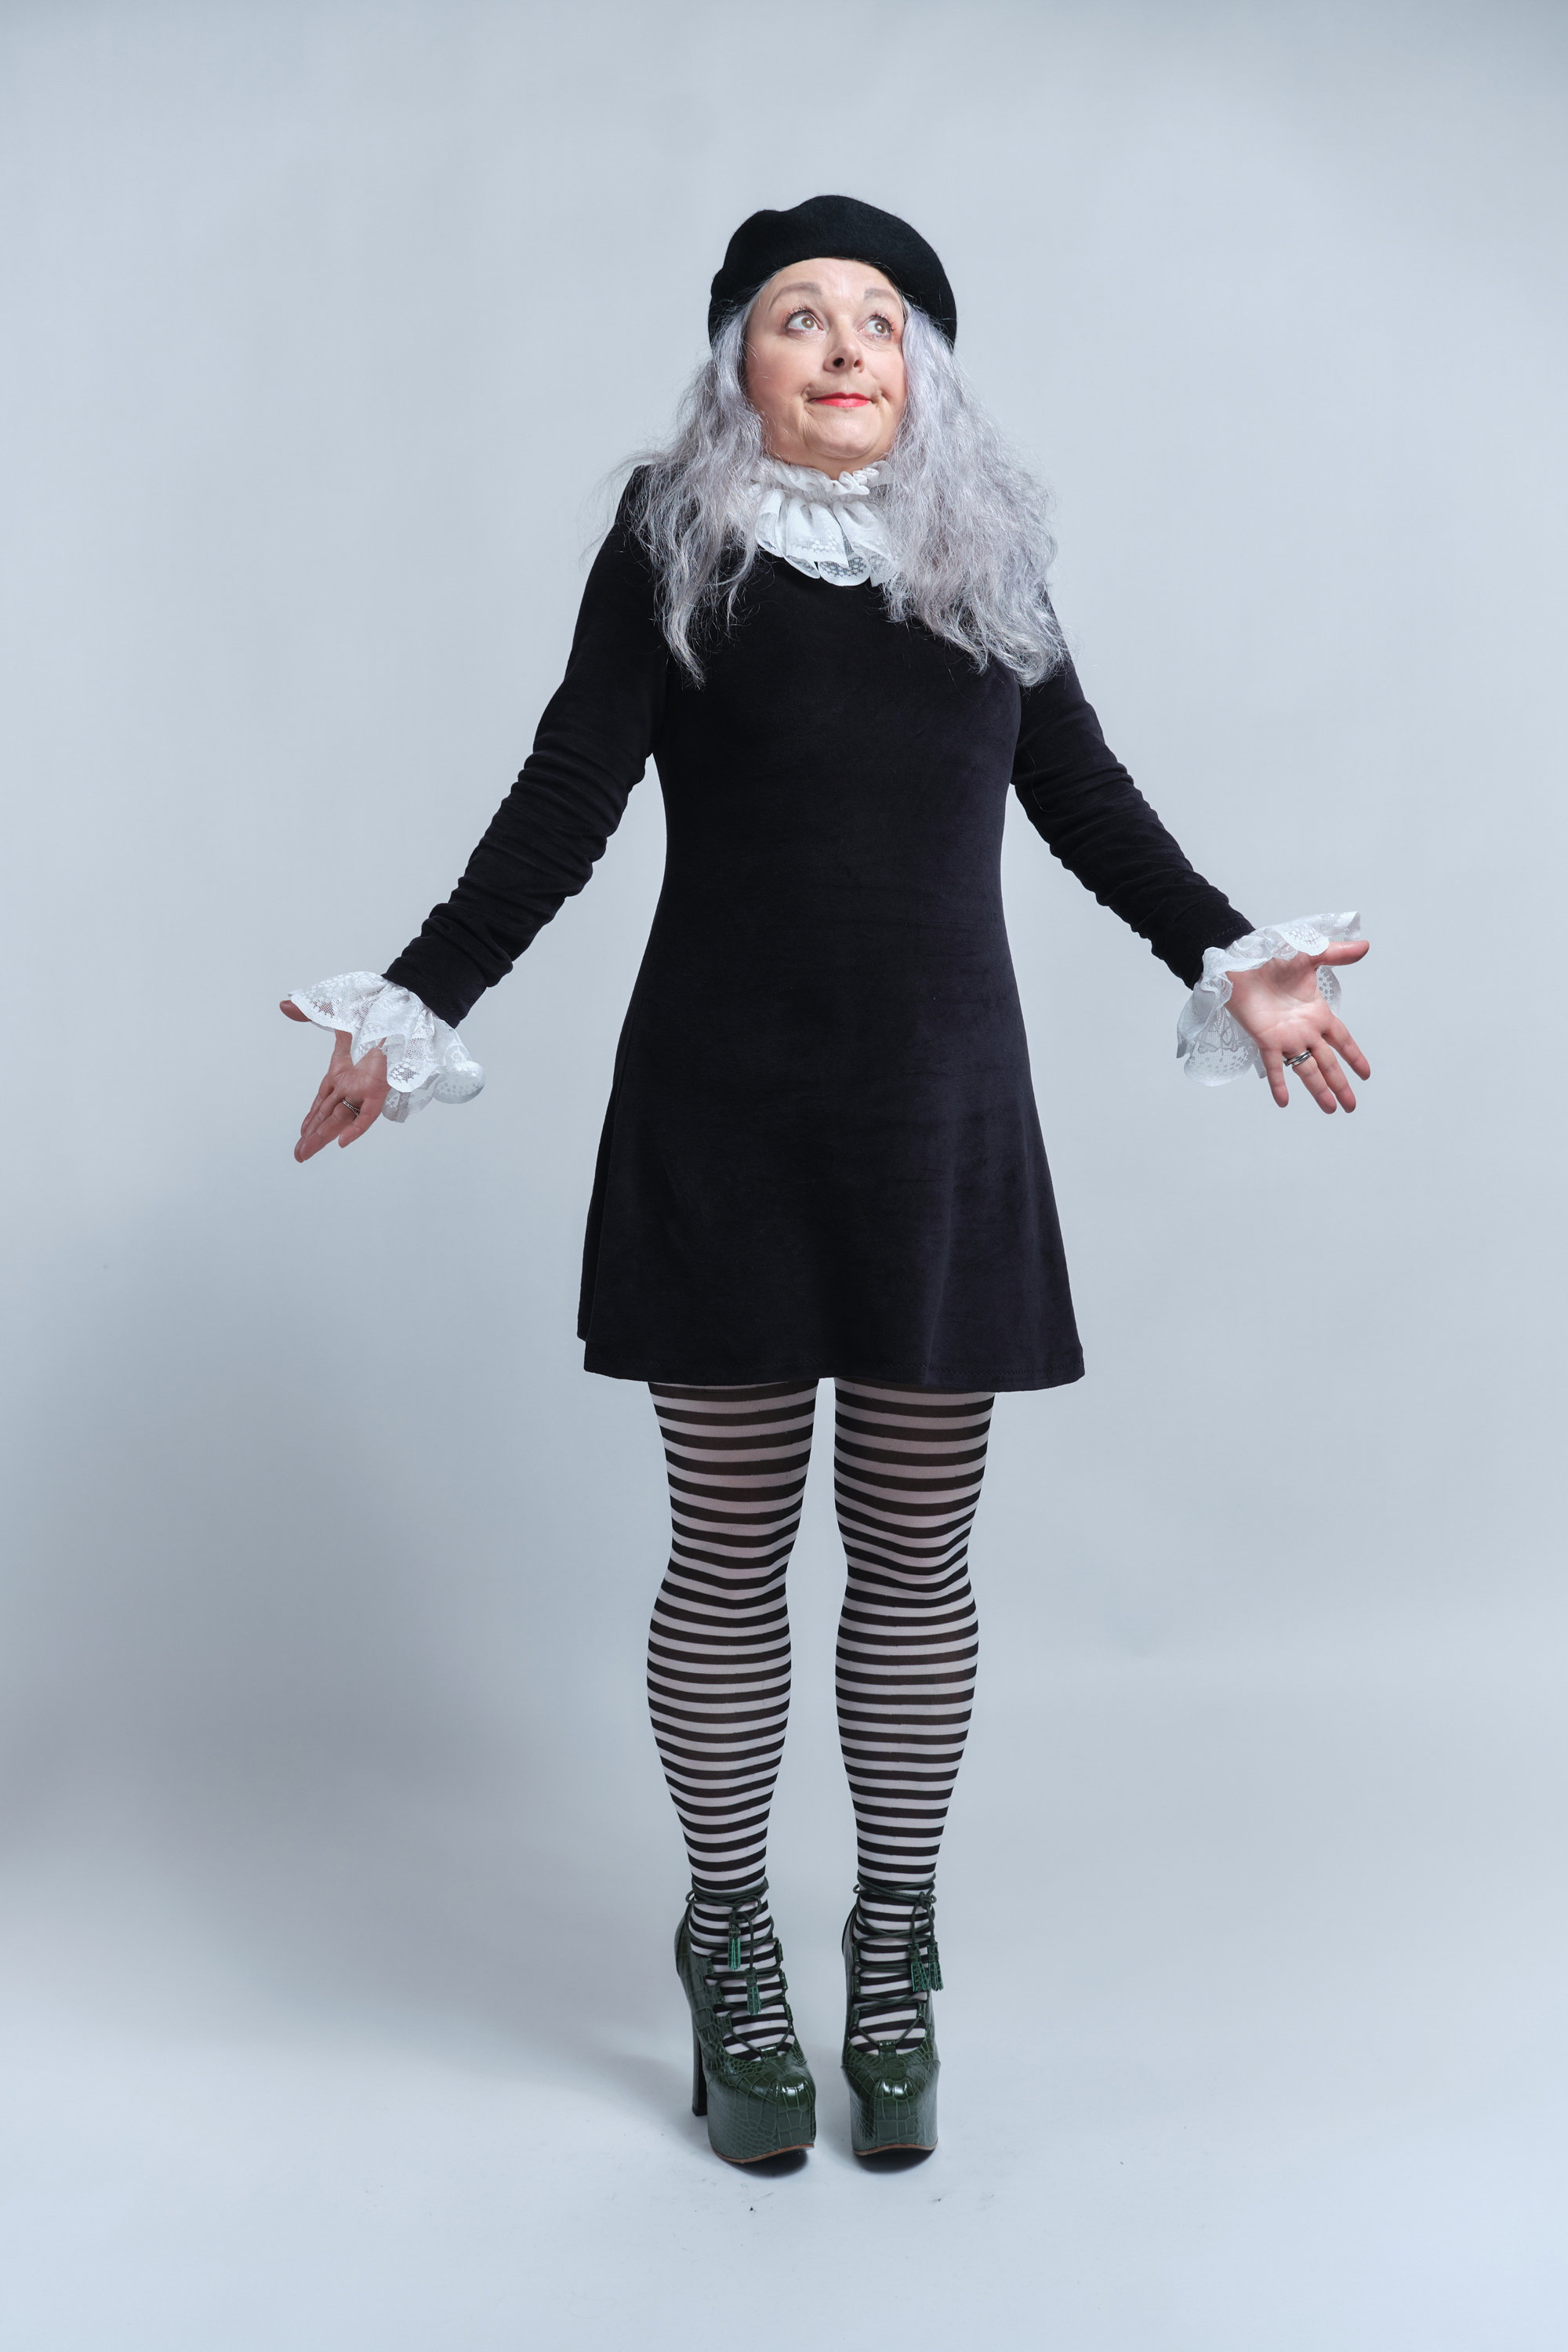
The obvious choice for velour is a lounge set, and I did briefly imagine myself swanning about the house in coordinated comfort. But with a mission to be more Claudia, it was clear the fabric wanted to be a dress. Something simple but with presence and versatility. Time is of the essence at this time of year, so I needed a speedy sew rather than an epic involving seventeen toiles and an identity crisis. I turned to my reliable self-drafted knit block, flared out the side seams, and created a very simple, very wearable dress. No zip, no buttons, just pull it on and go. Exactly the sort of garment that makes you feel smug about your life choices.
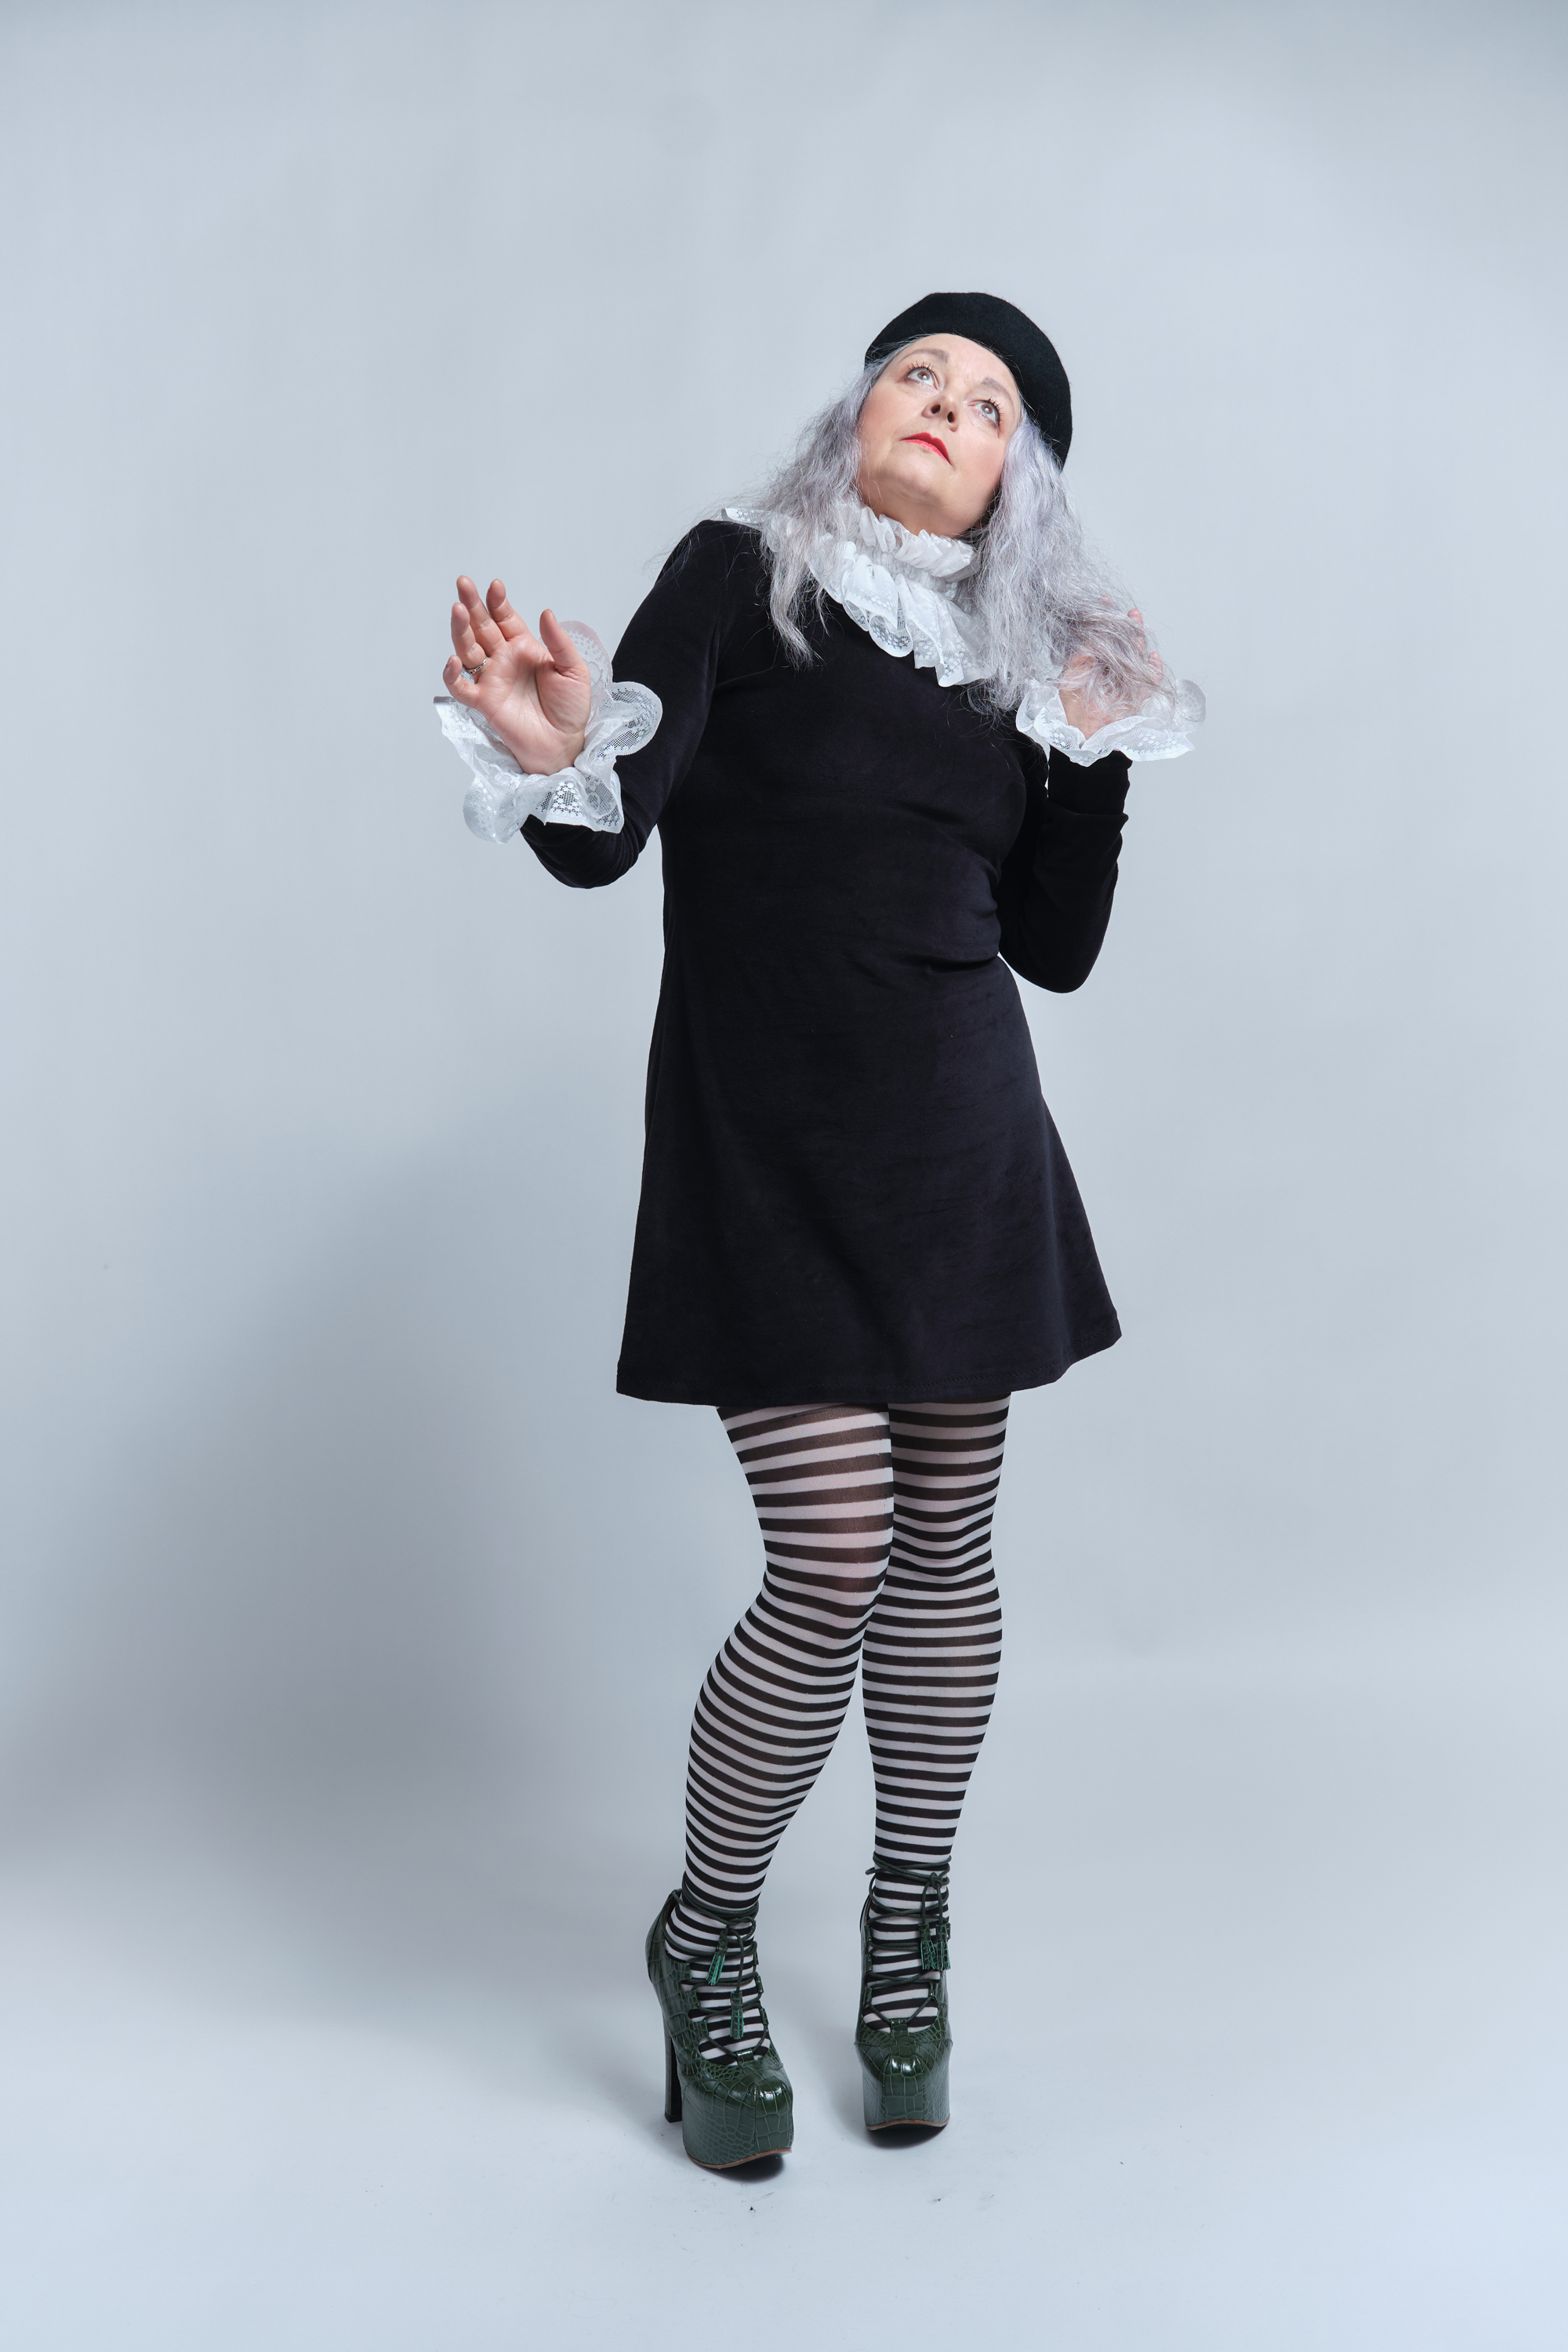
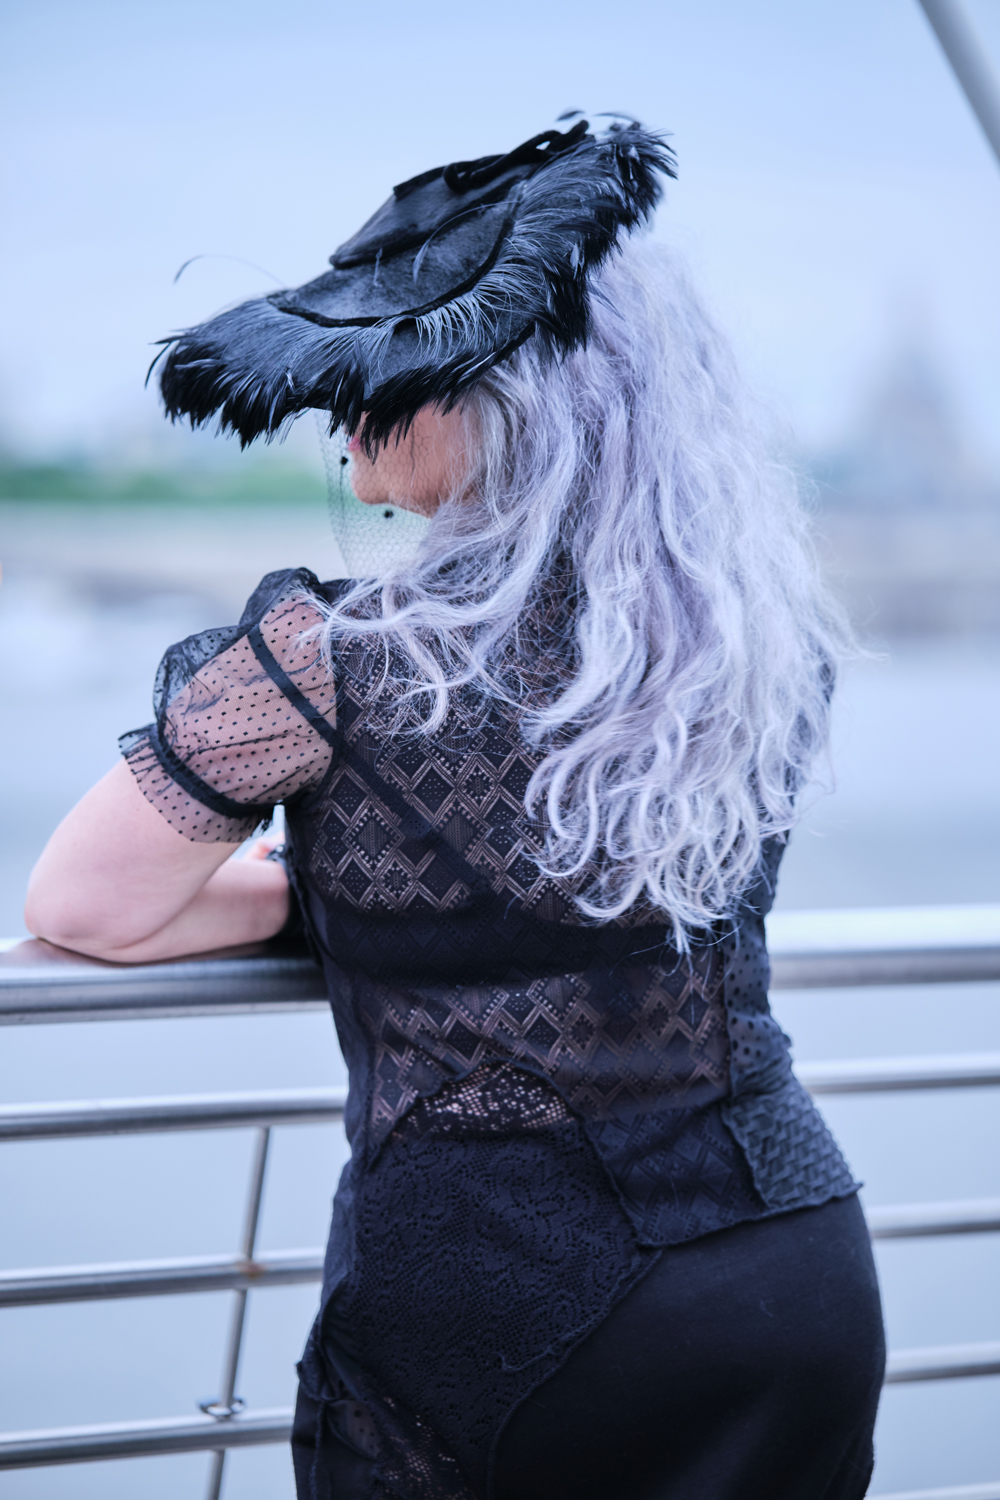
That said, I did get a bit enthusiastic with the jewel neckline and slightly underestimated the size of my own head, which is a recurring theme in my sewing life. There is now a mildly comedic moment as I wrestle it on and a brief pause where commitment is required. Once it’s over my ears it’s absolutely fine, but the neighbours may have questions if they’re watching. But we’ll not dwell on that too much.
Sewing it was genuinely joyful. I could have whizzed the whole thing through the overlocker, but I always get cold feet about sewing and trimming in one go in case something needs adjusting. I would surely weep if I trimmed before trying on and it needed to be a tad bigger. So I stitched it together with a lightning bolt stitch – lengthened slightly so I could unpick easily if necessary – then once I was happy with the fit, I ran the seams through the overlocker for a tidy finish. It’s a slightly cautious approach, but it keeps my stress levels low and my language reigned in.
I considered using a twin needle for the hem but honestly? I couldn’t be bothered threading the second spool. Sometimes we must choose our battles. A zigzag did the job perfectly, with plenty of stretch and a neat enough finish for this fabric. Zero regrets, zero points lost, and no muttering under my breath – always a win.
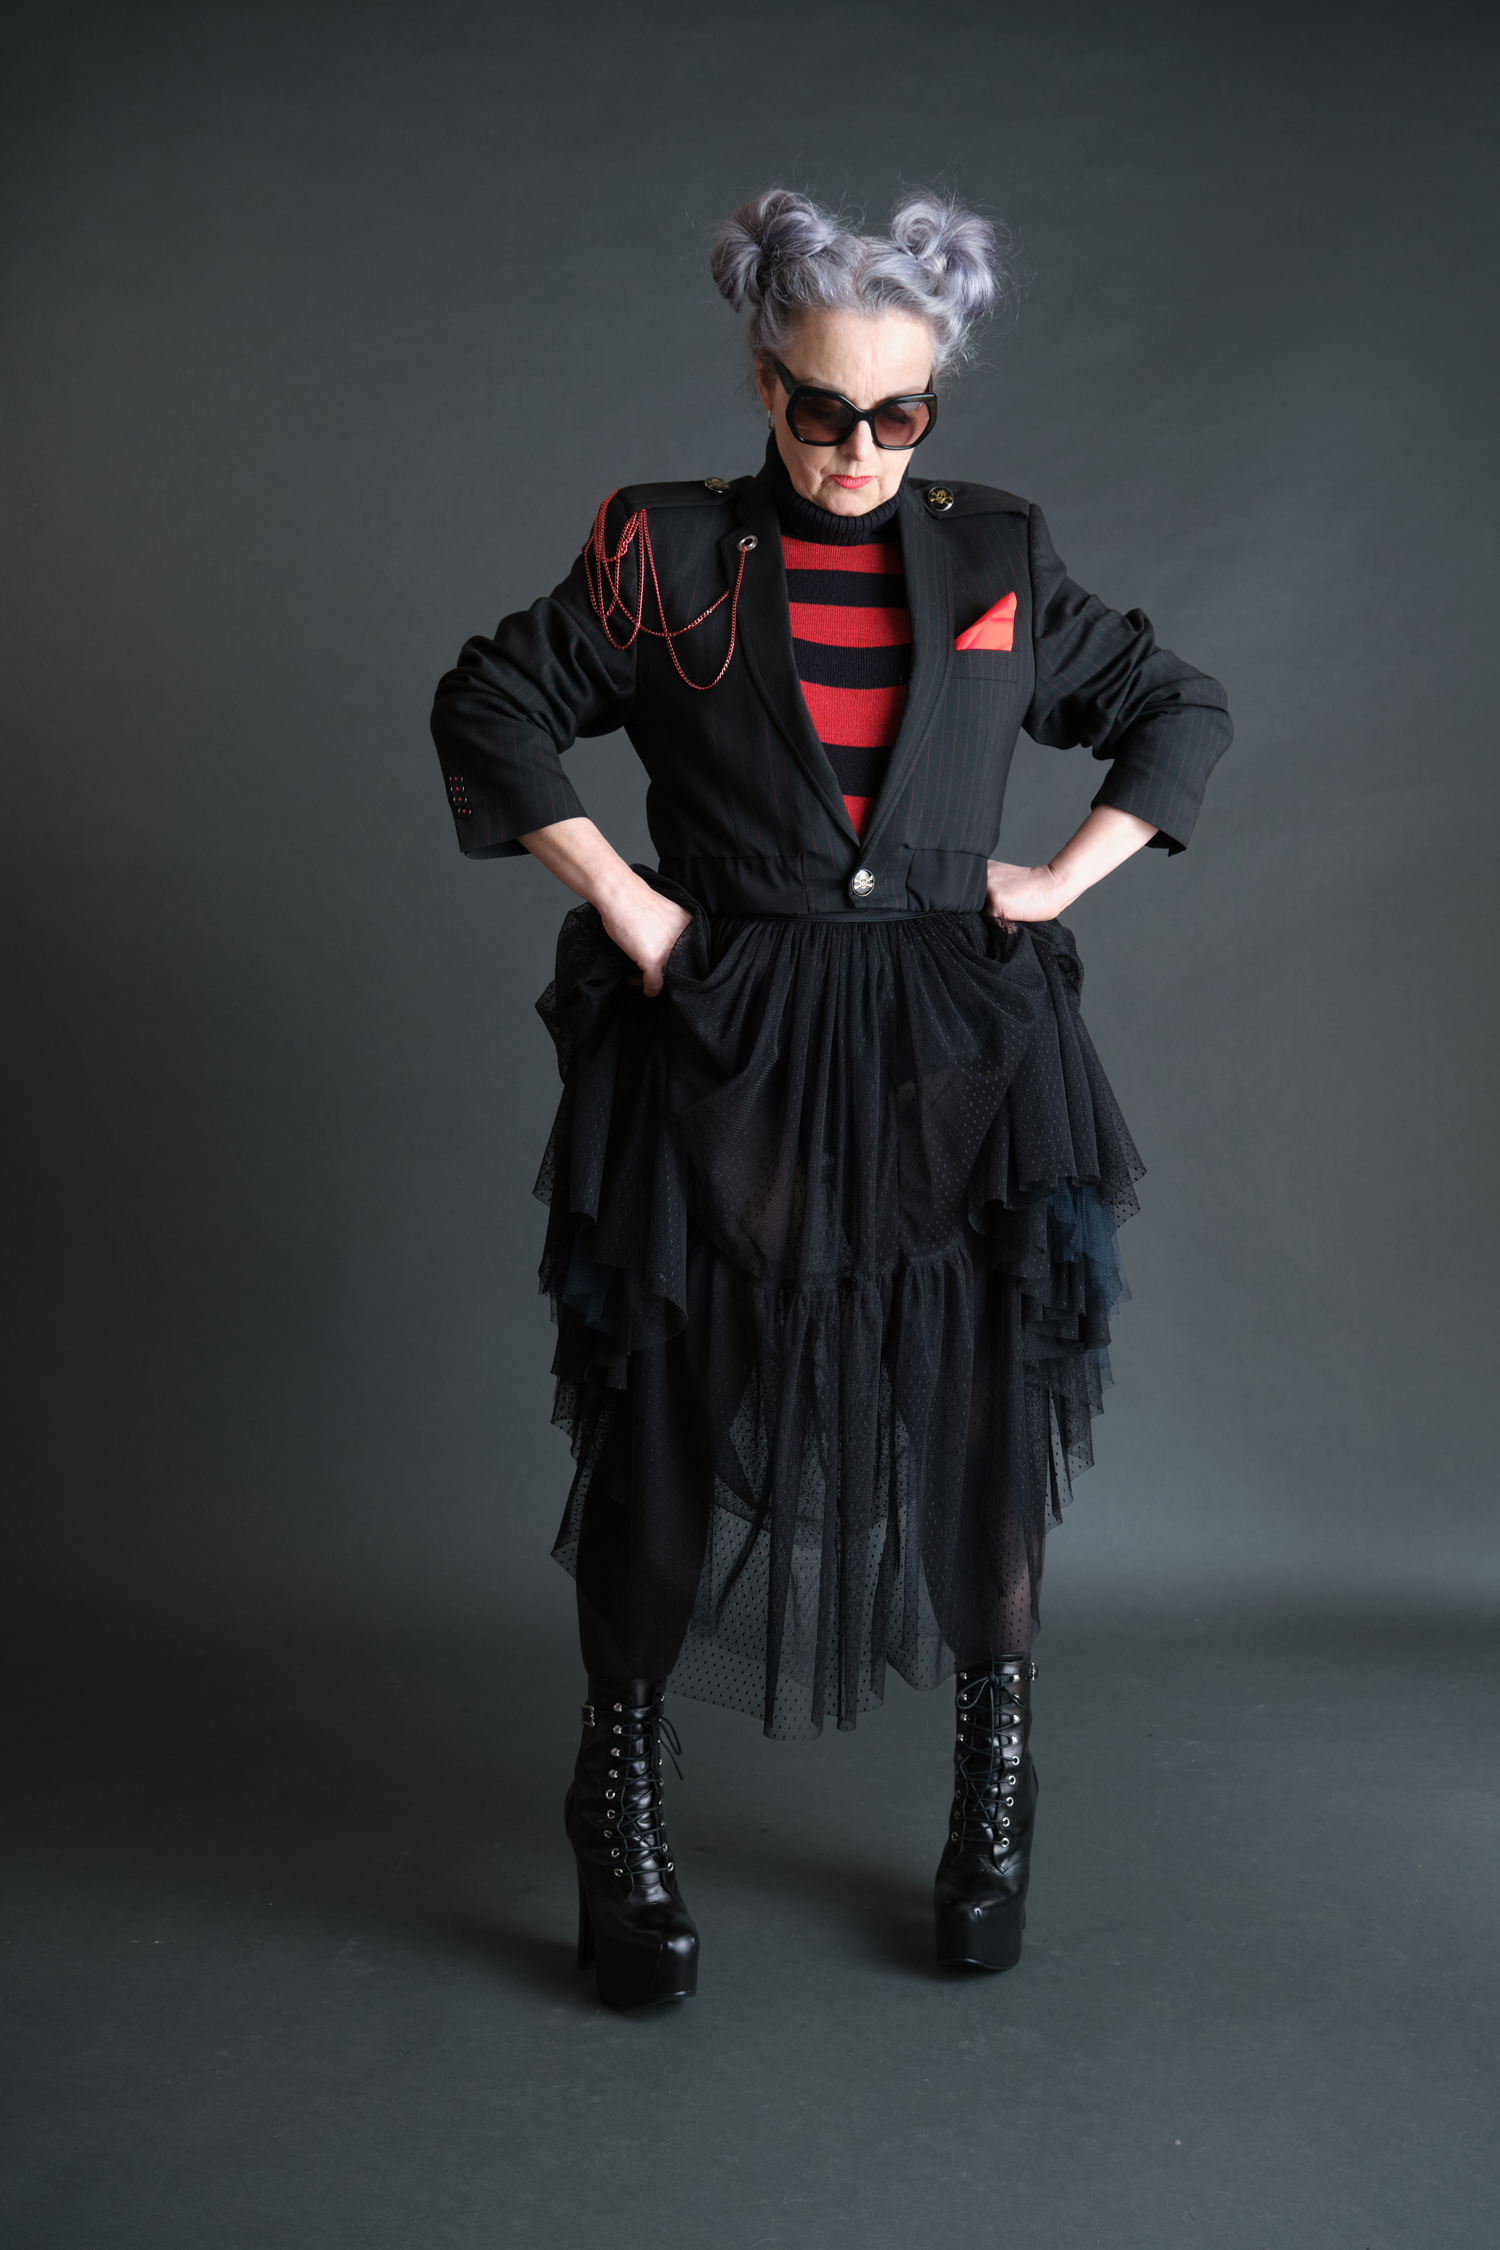
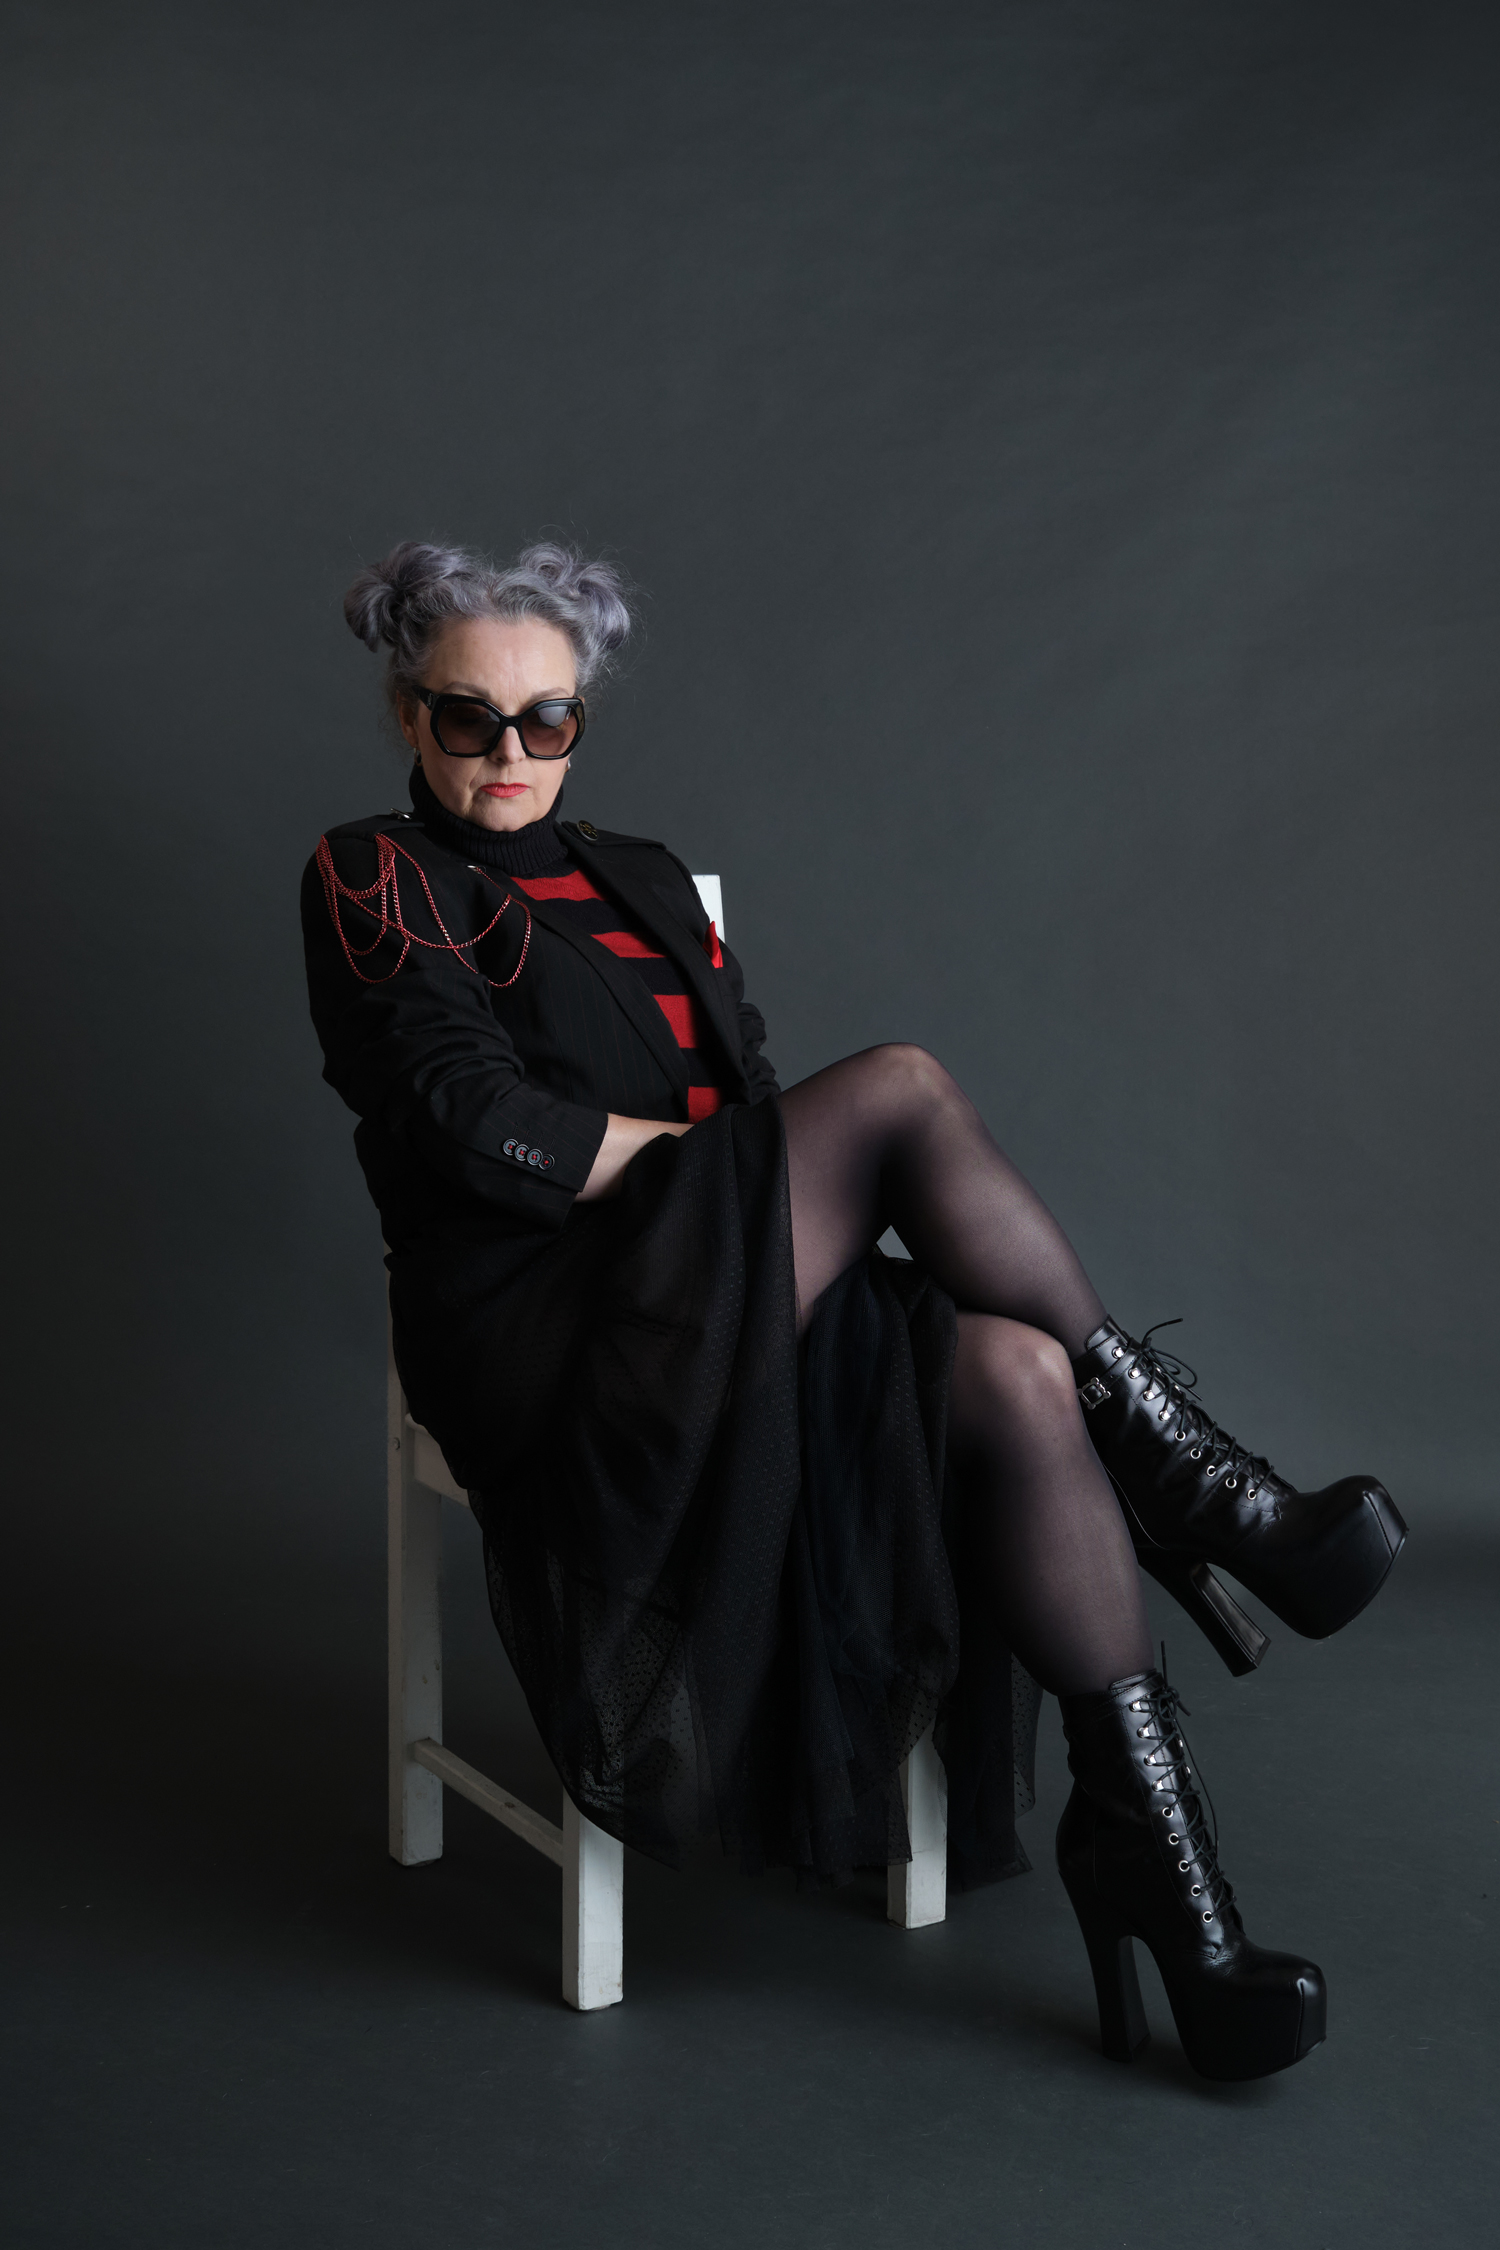
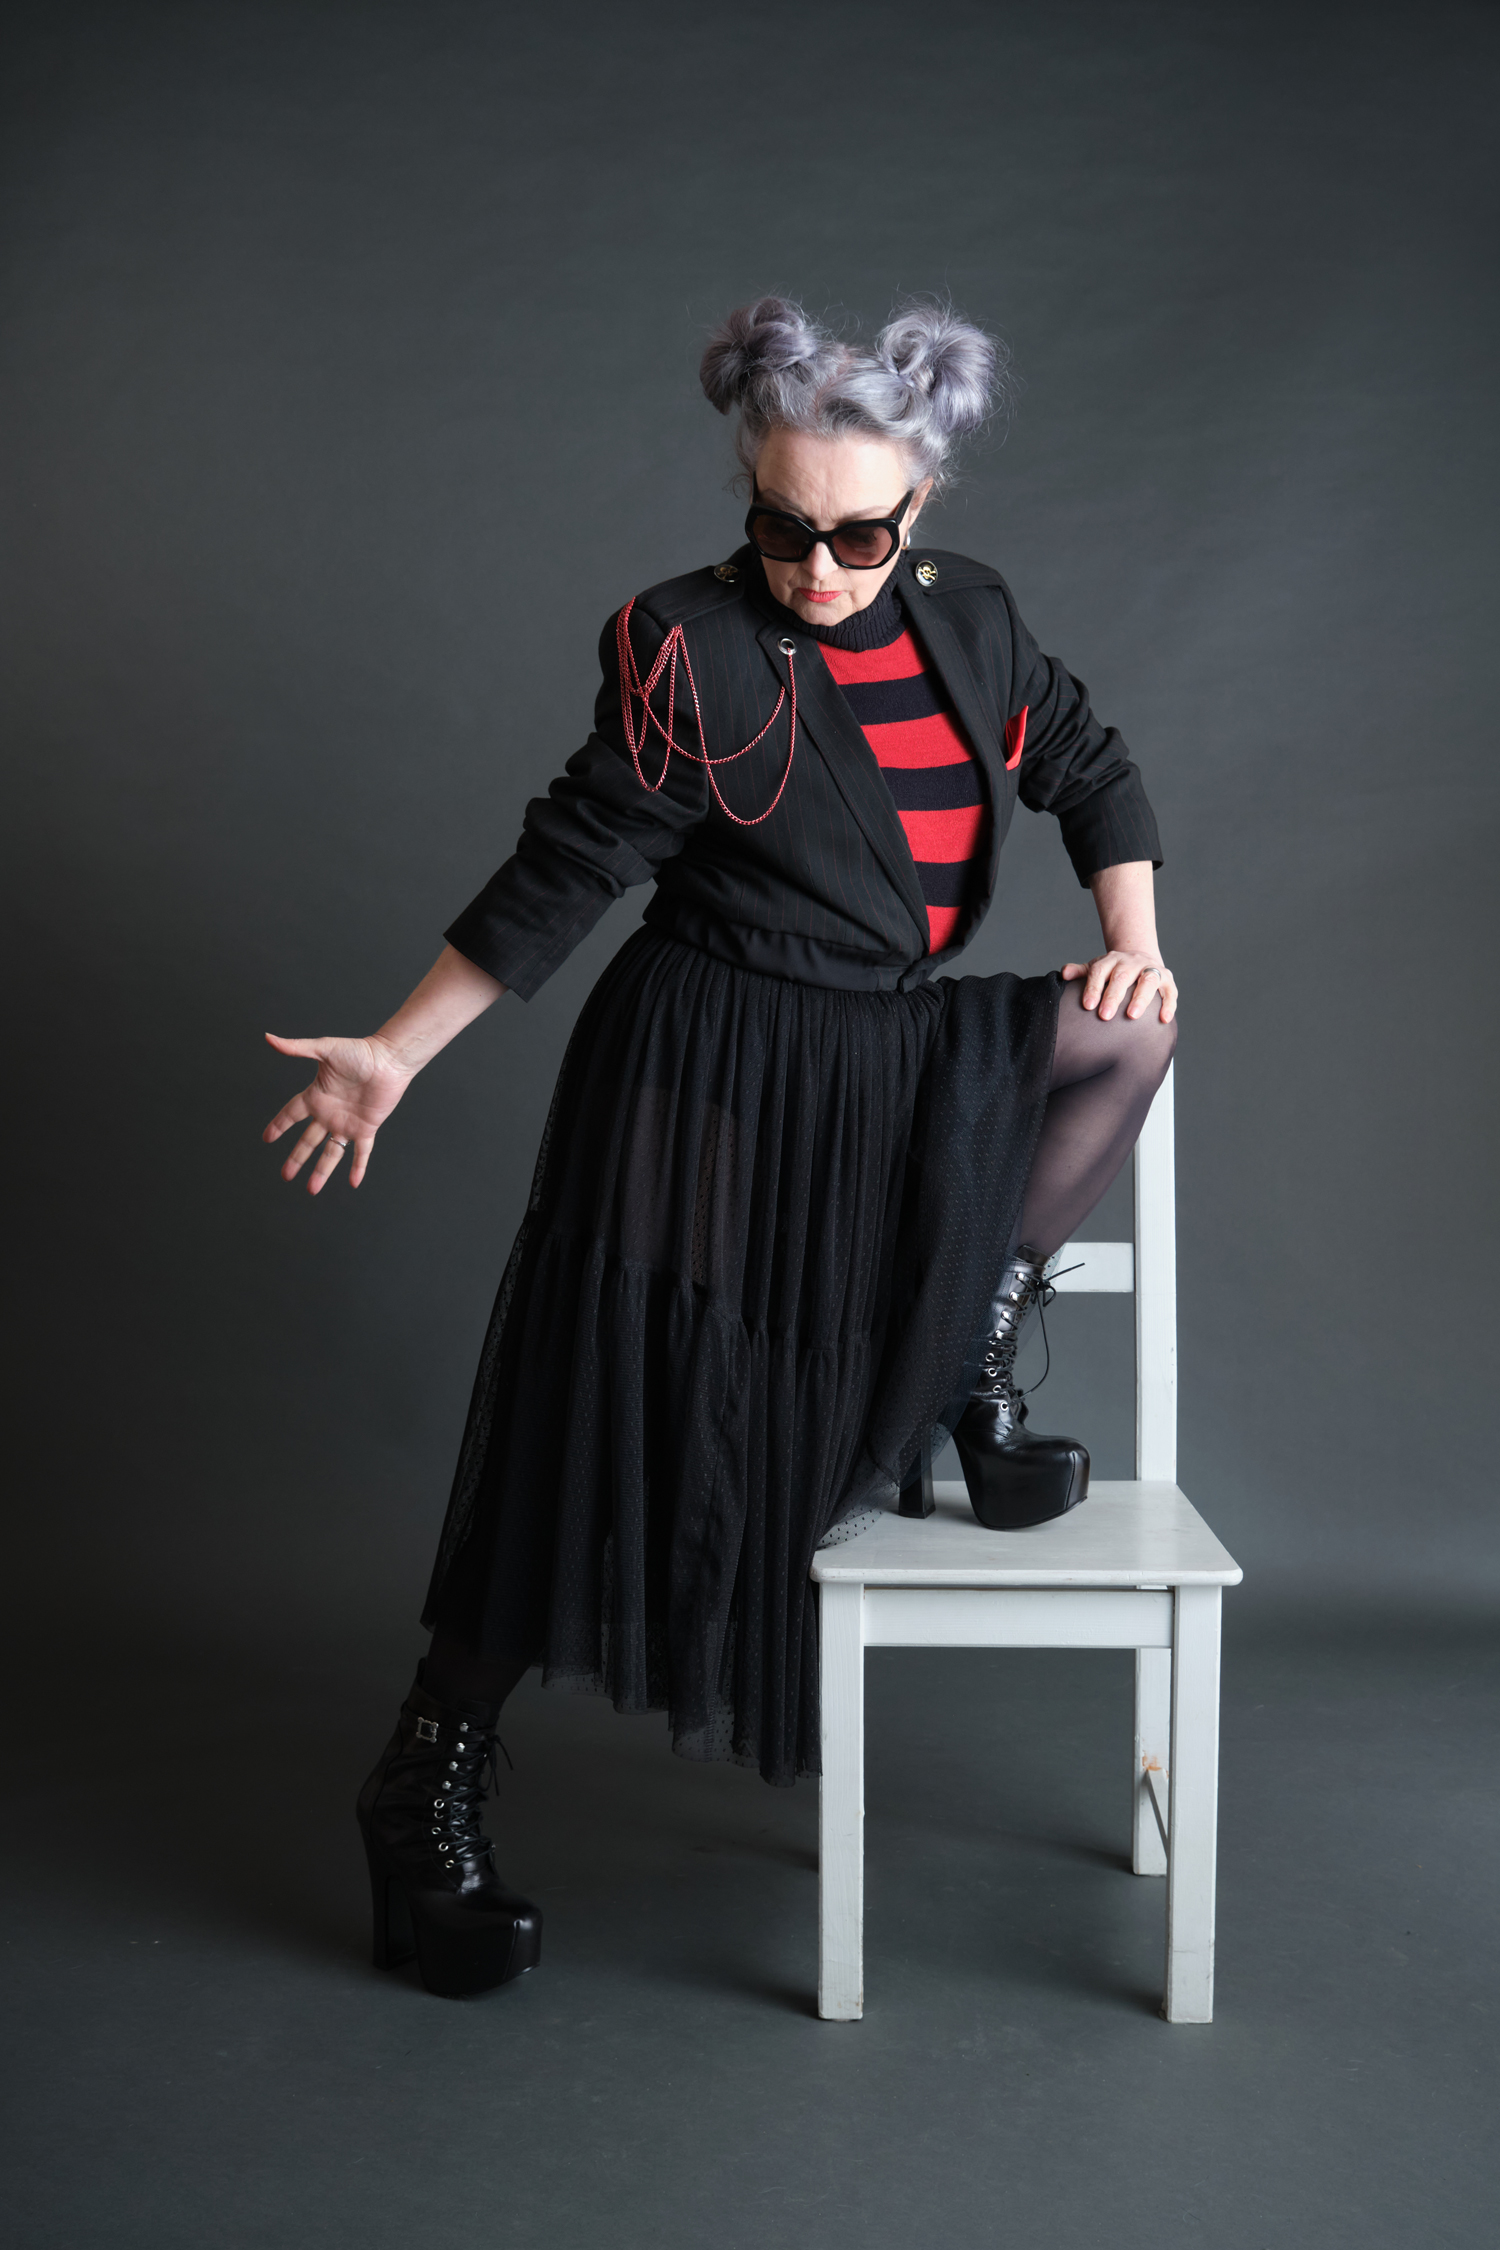
Oh and I sharpened the shoulders in this one with some padding for a little elevation. The 80s are always calling me about something!
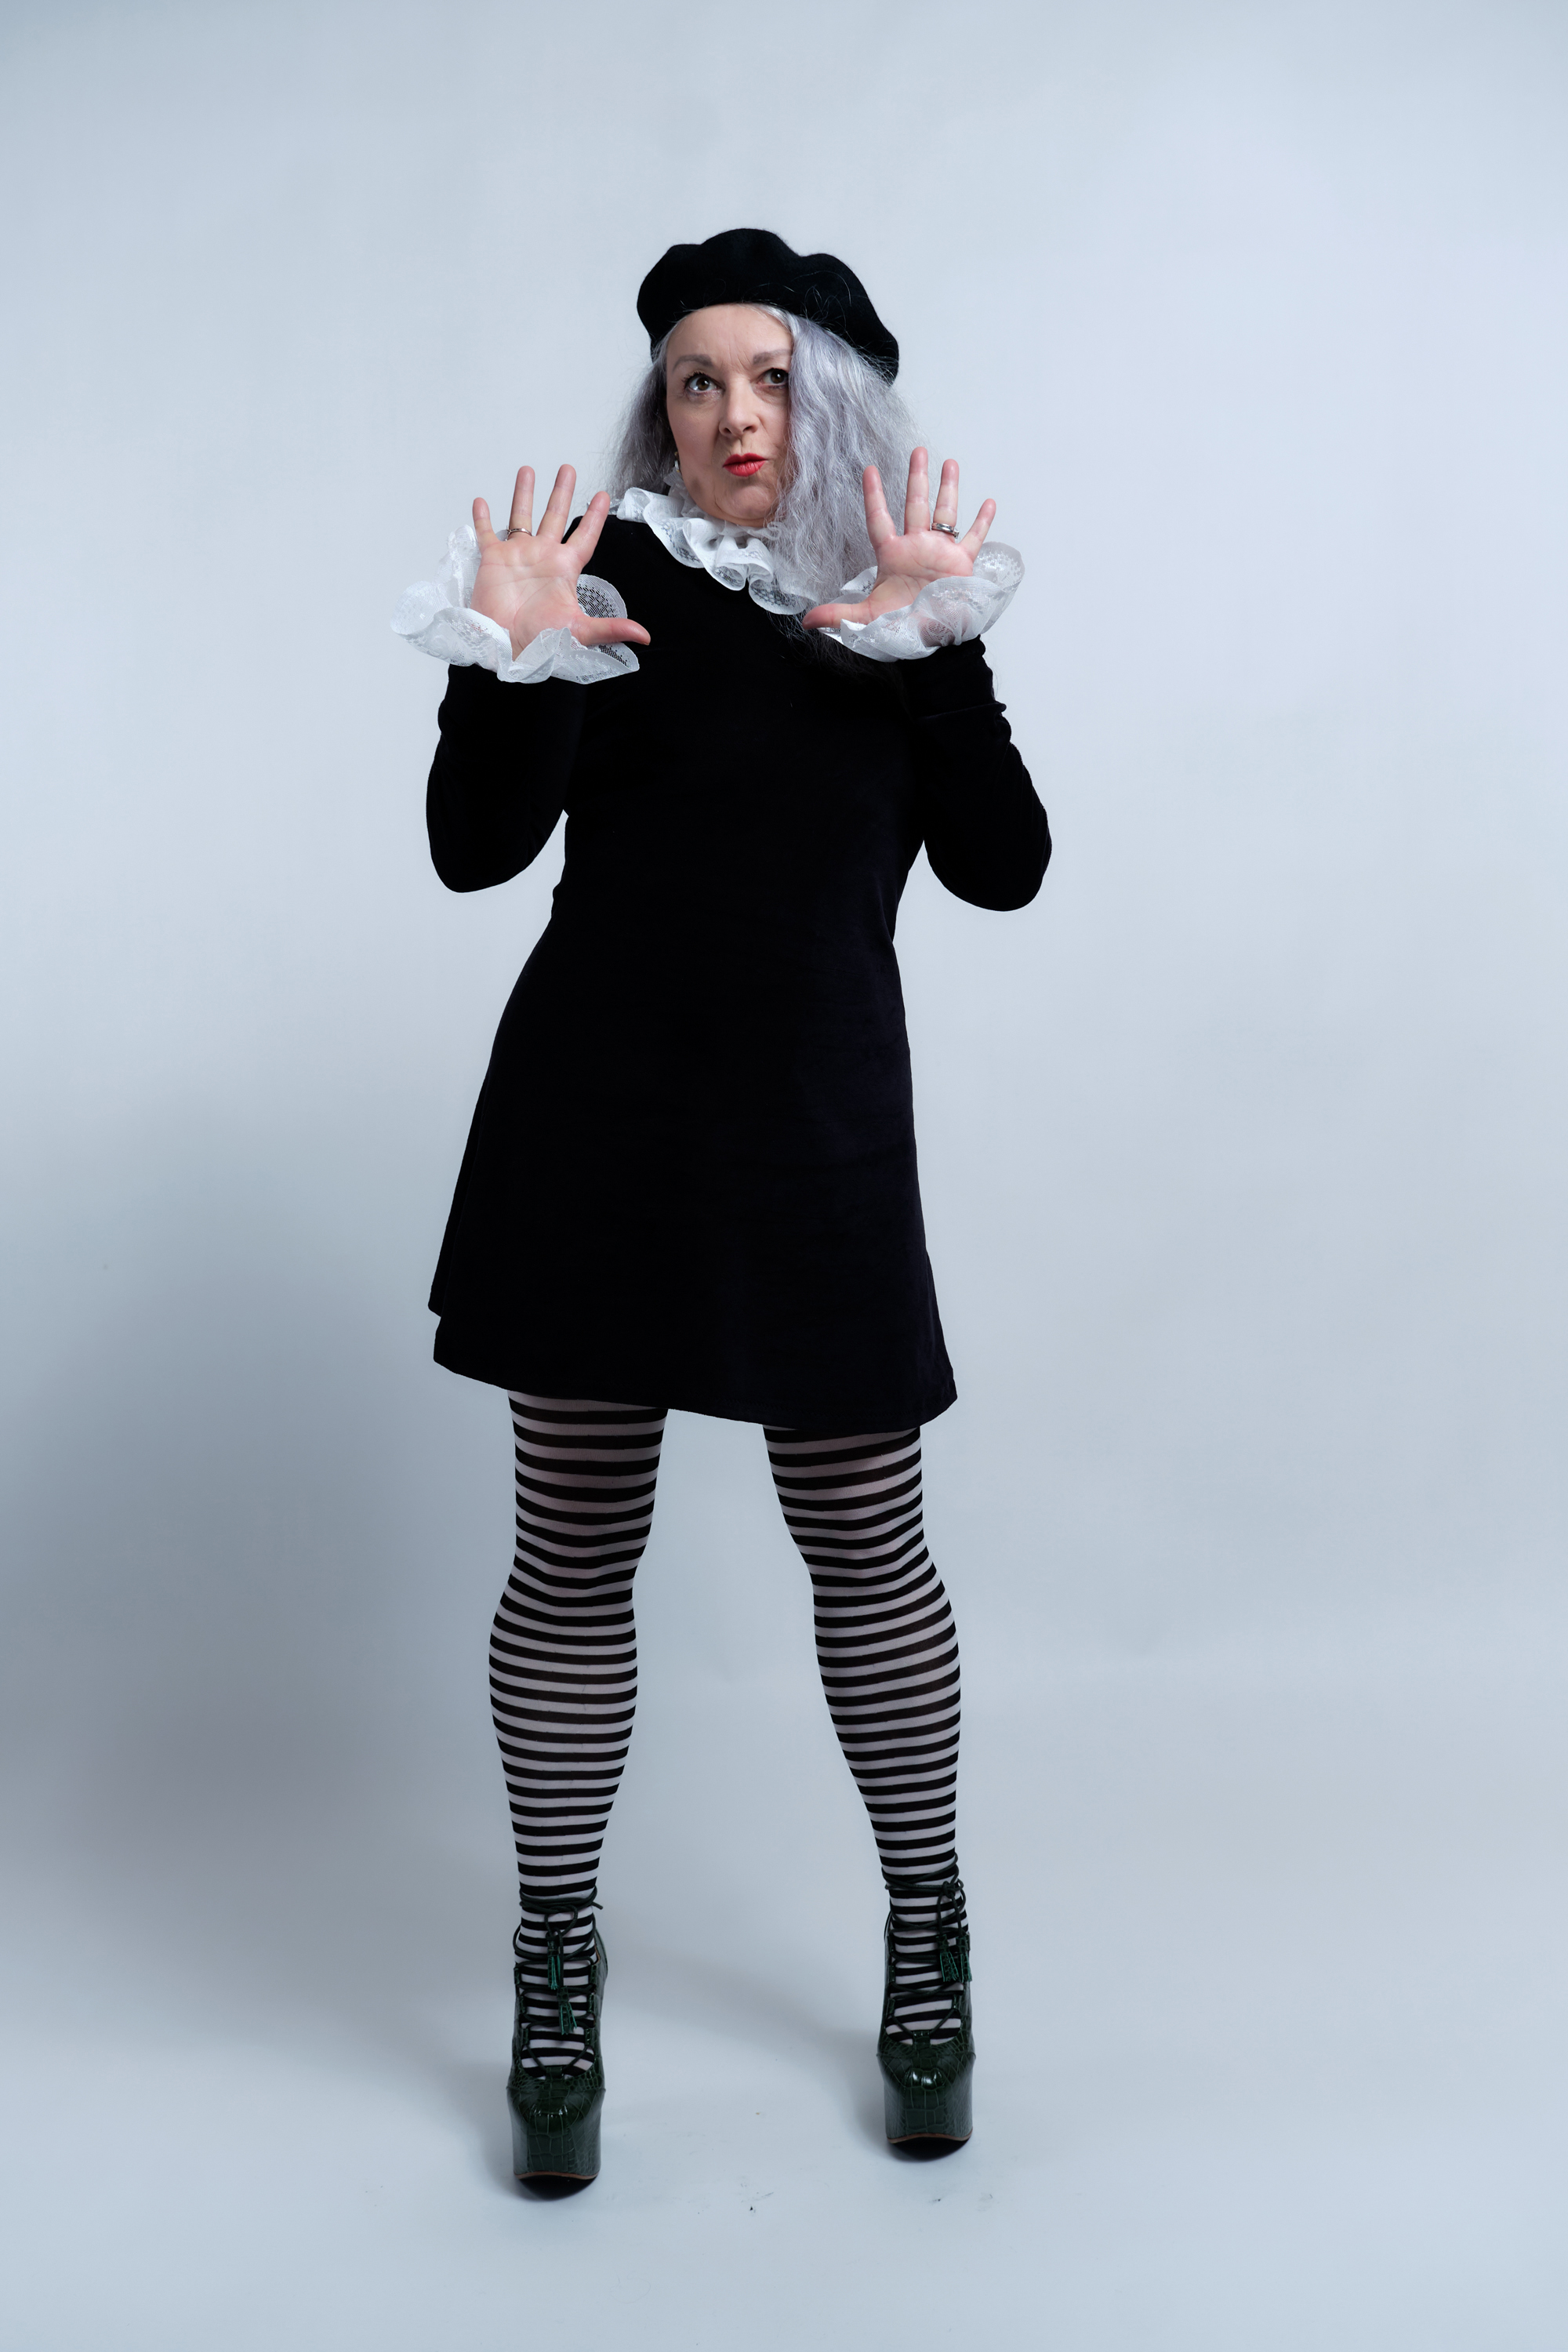
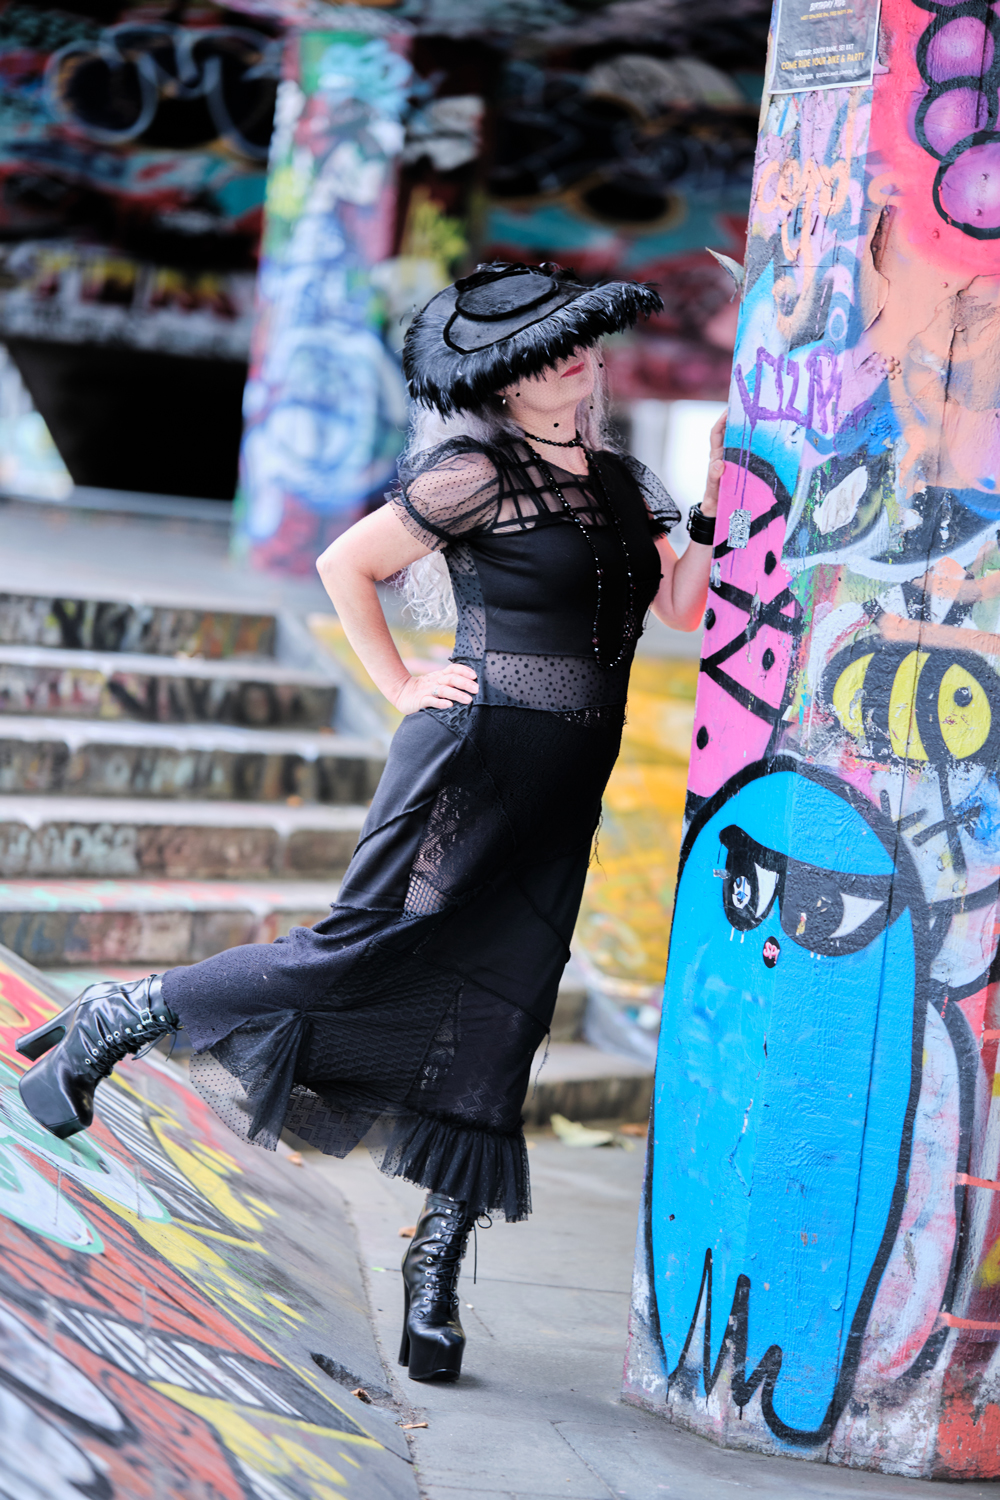
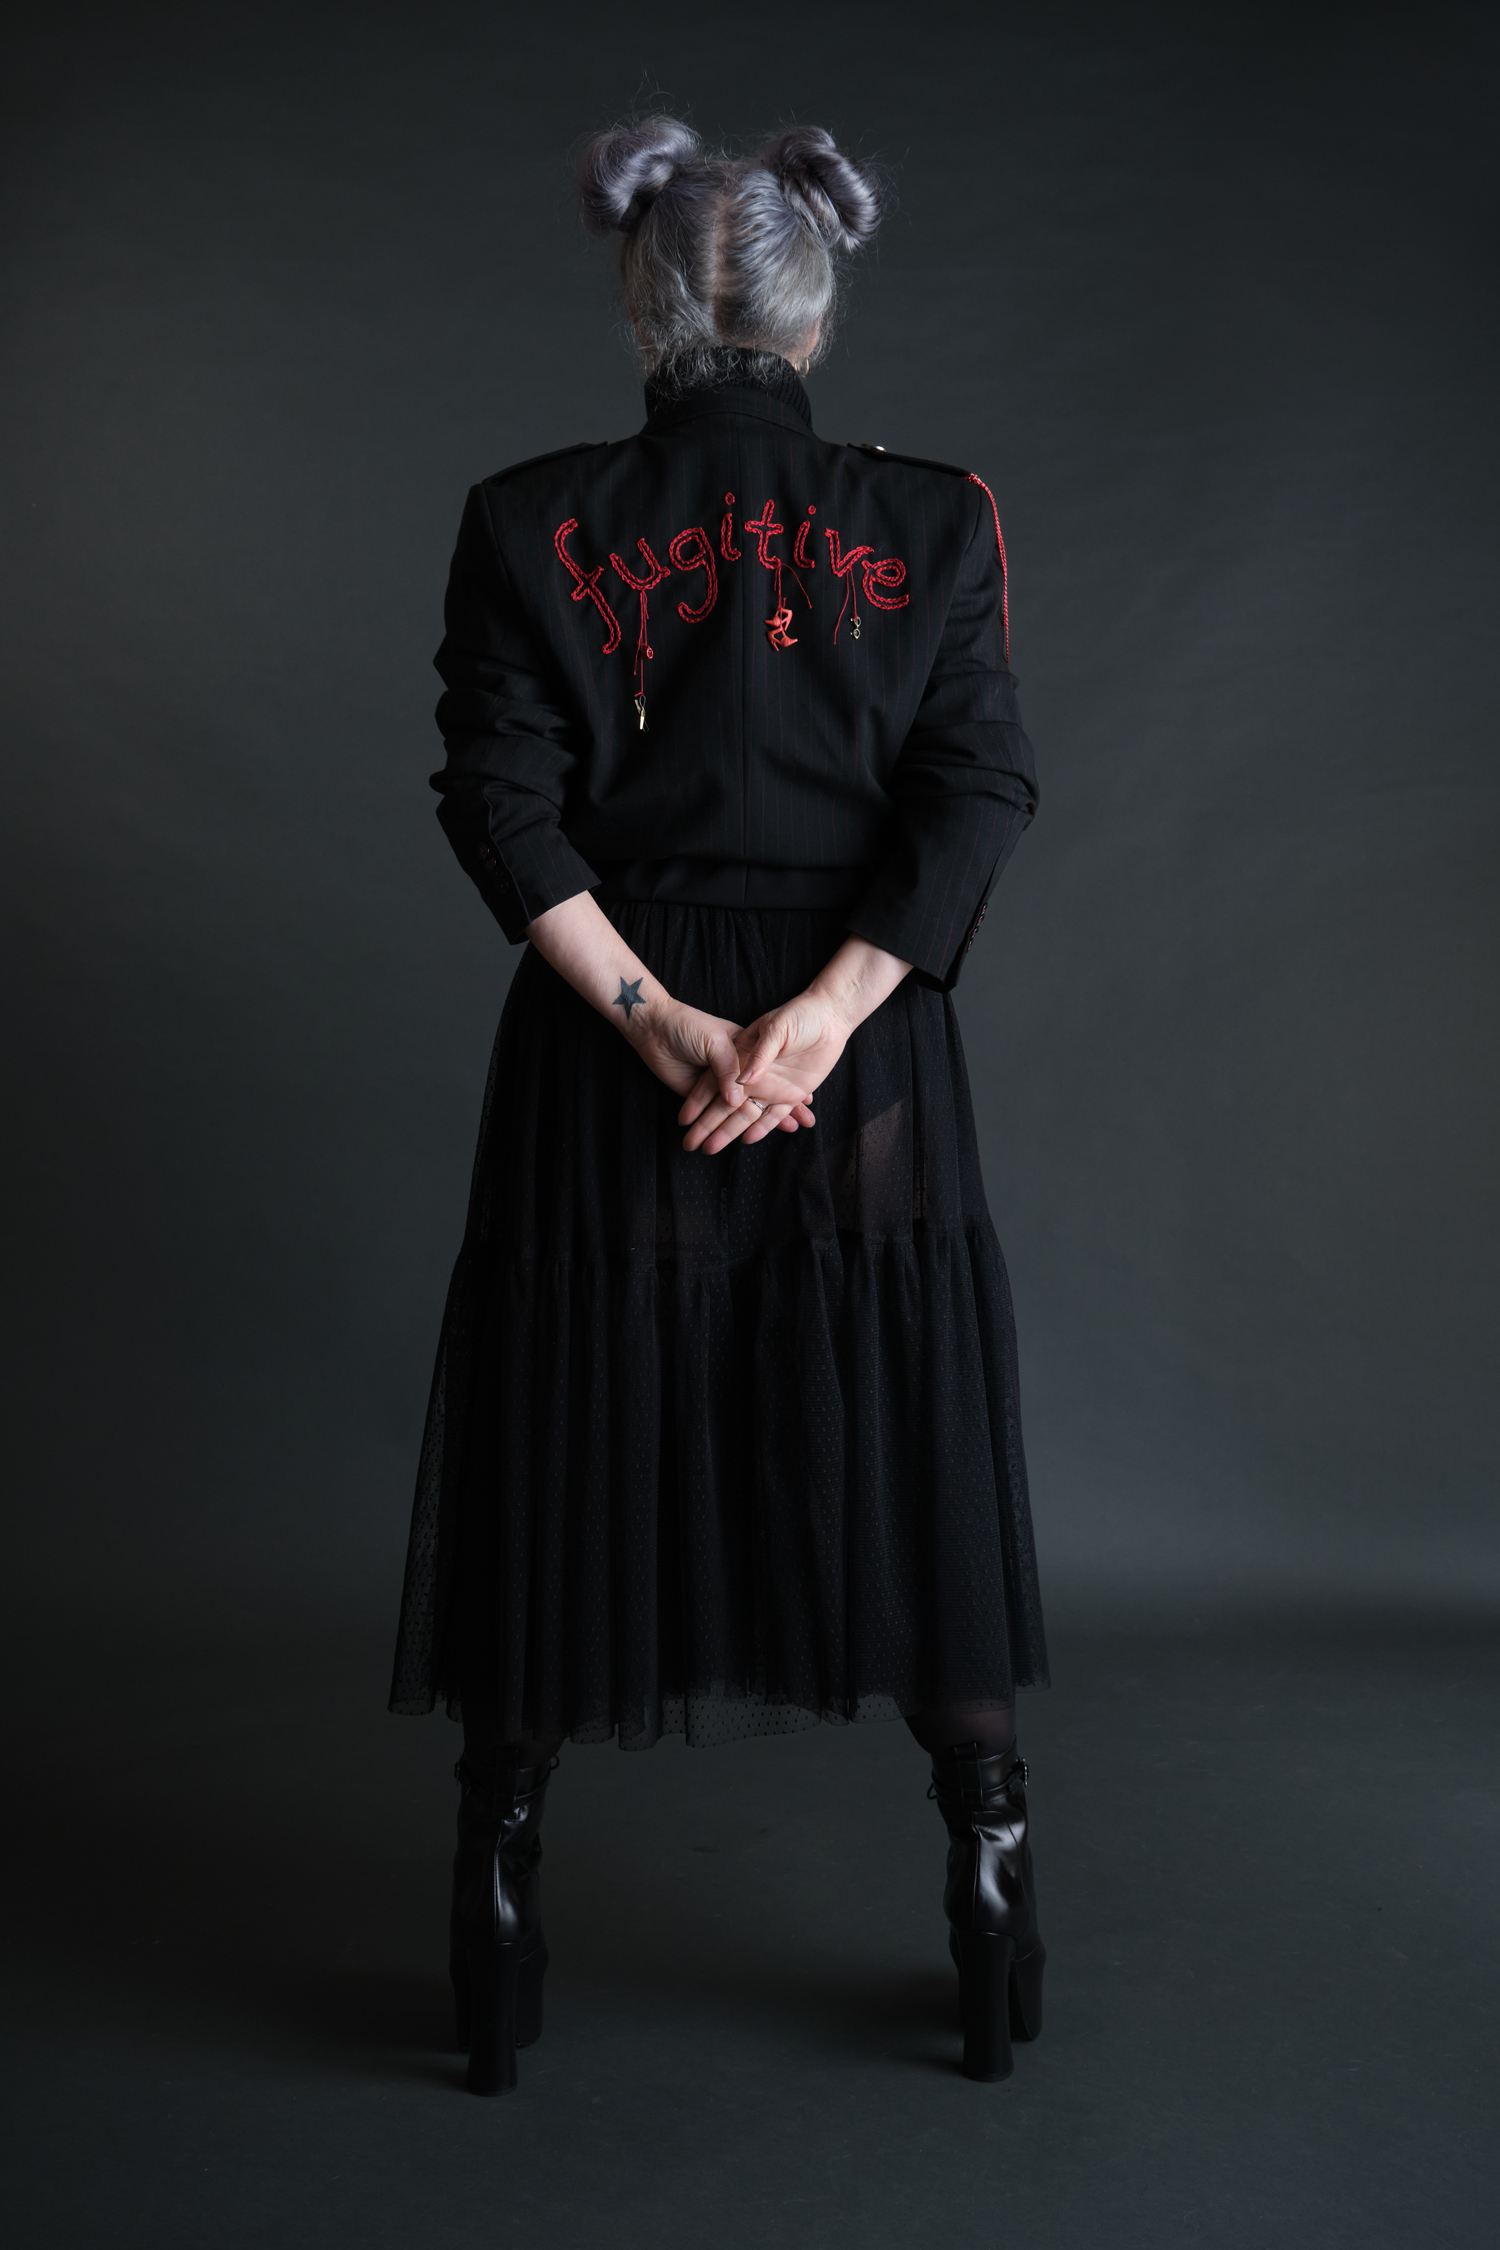
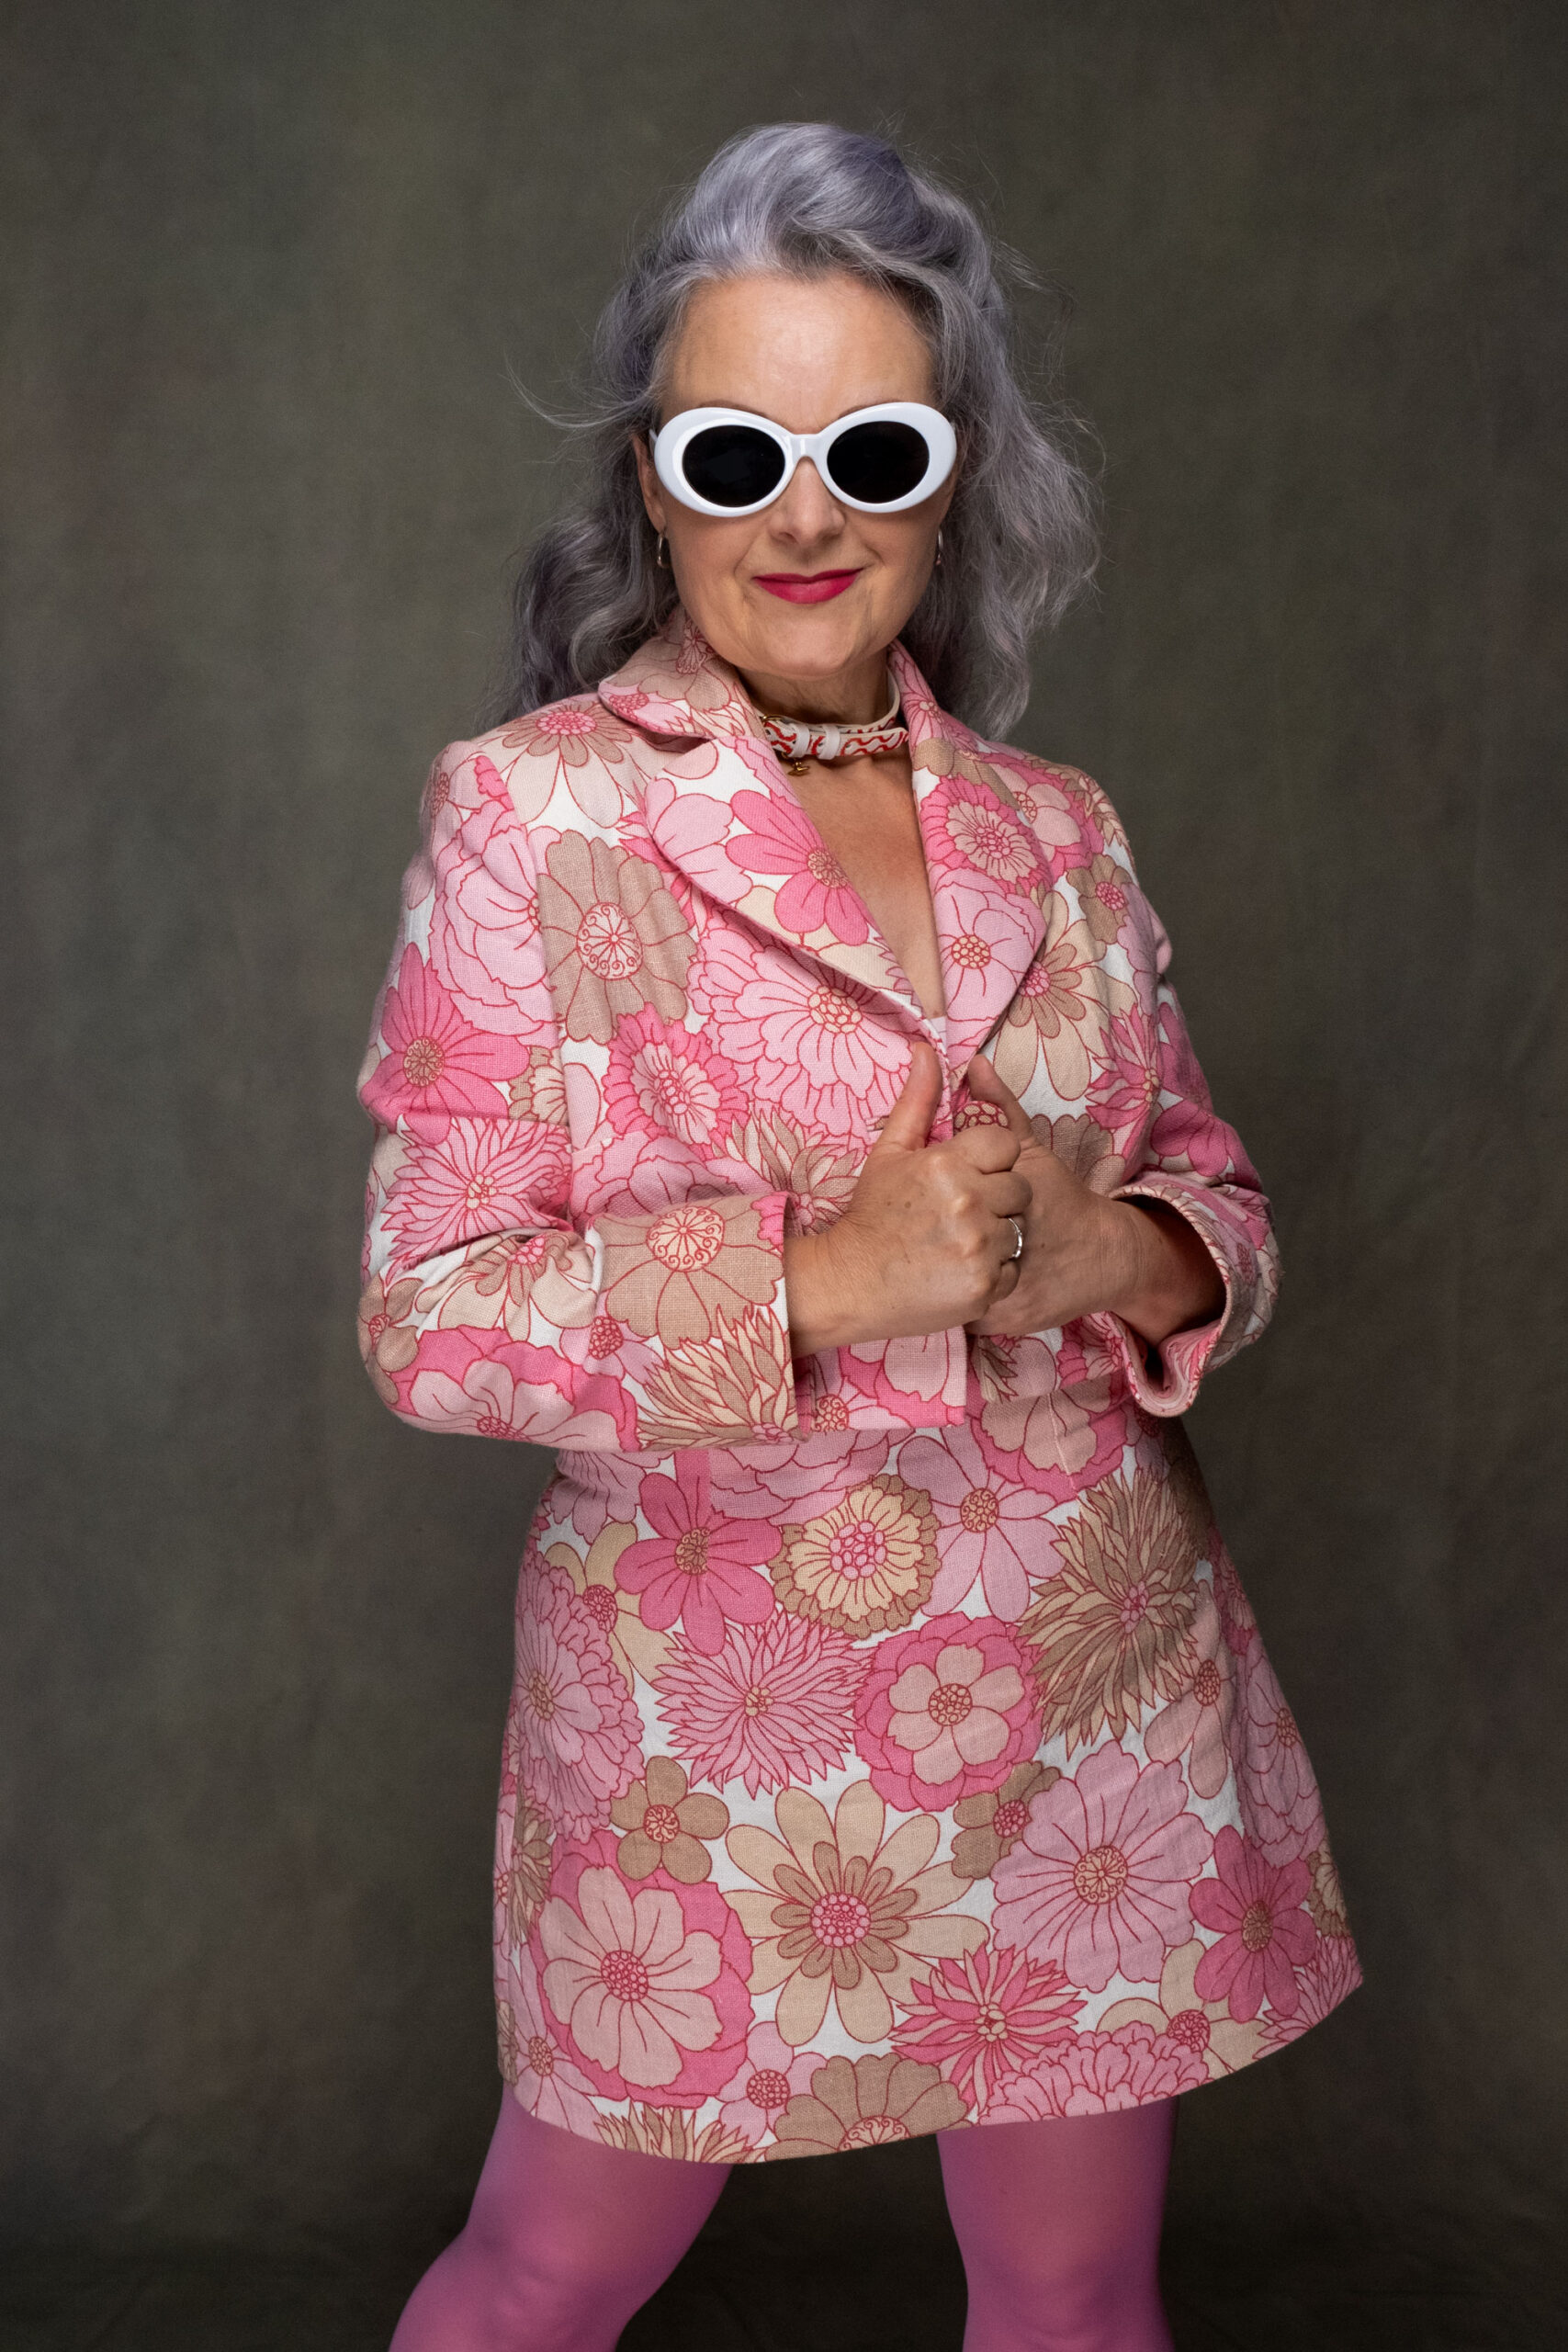
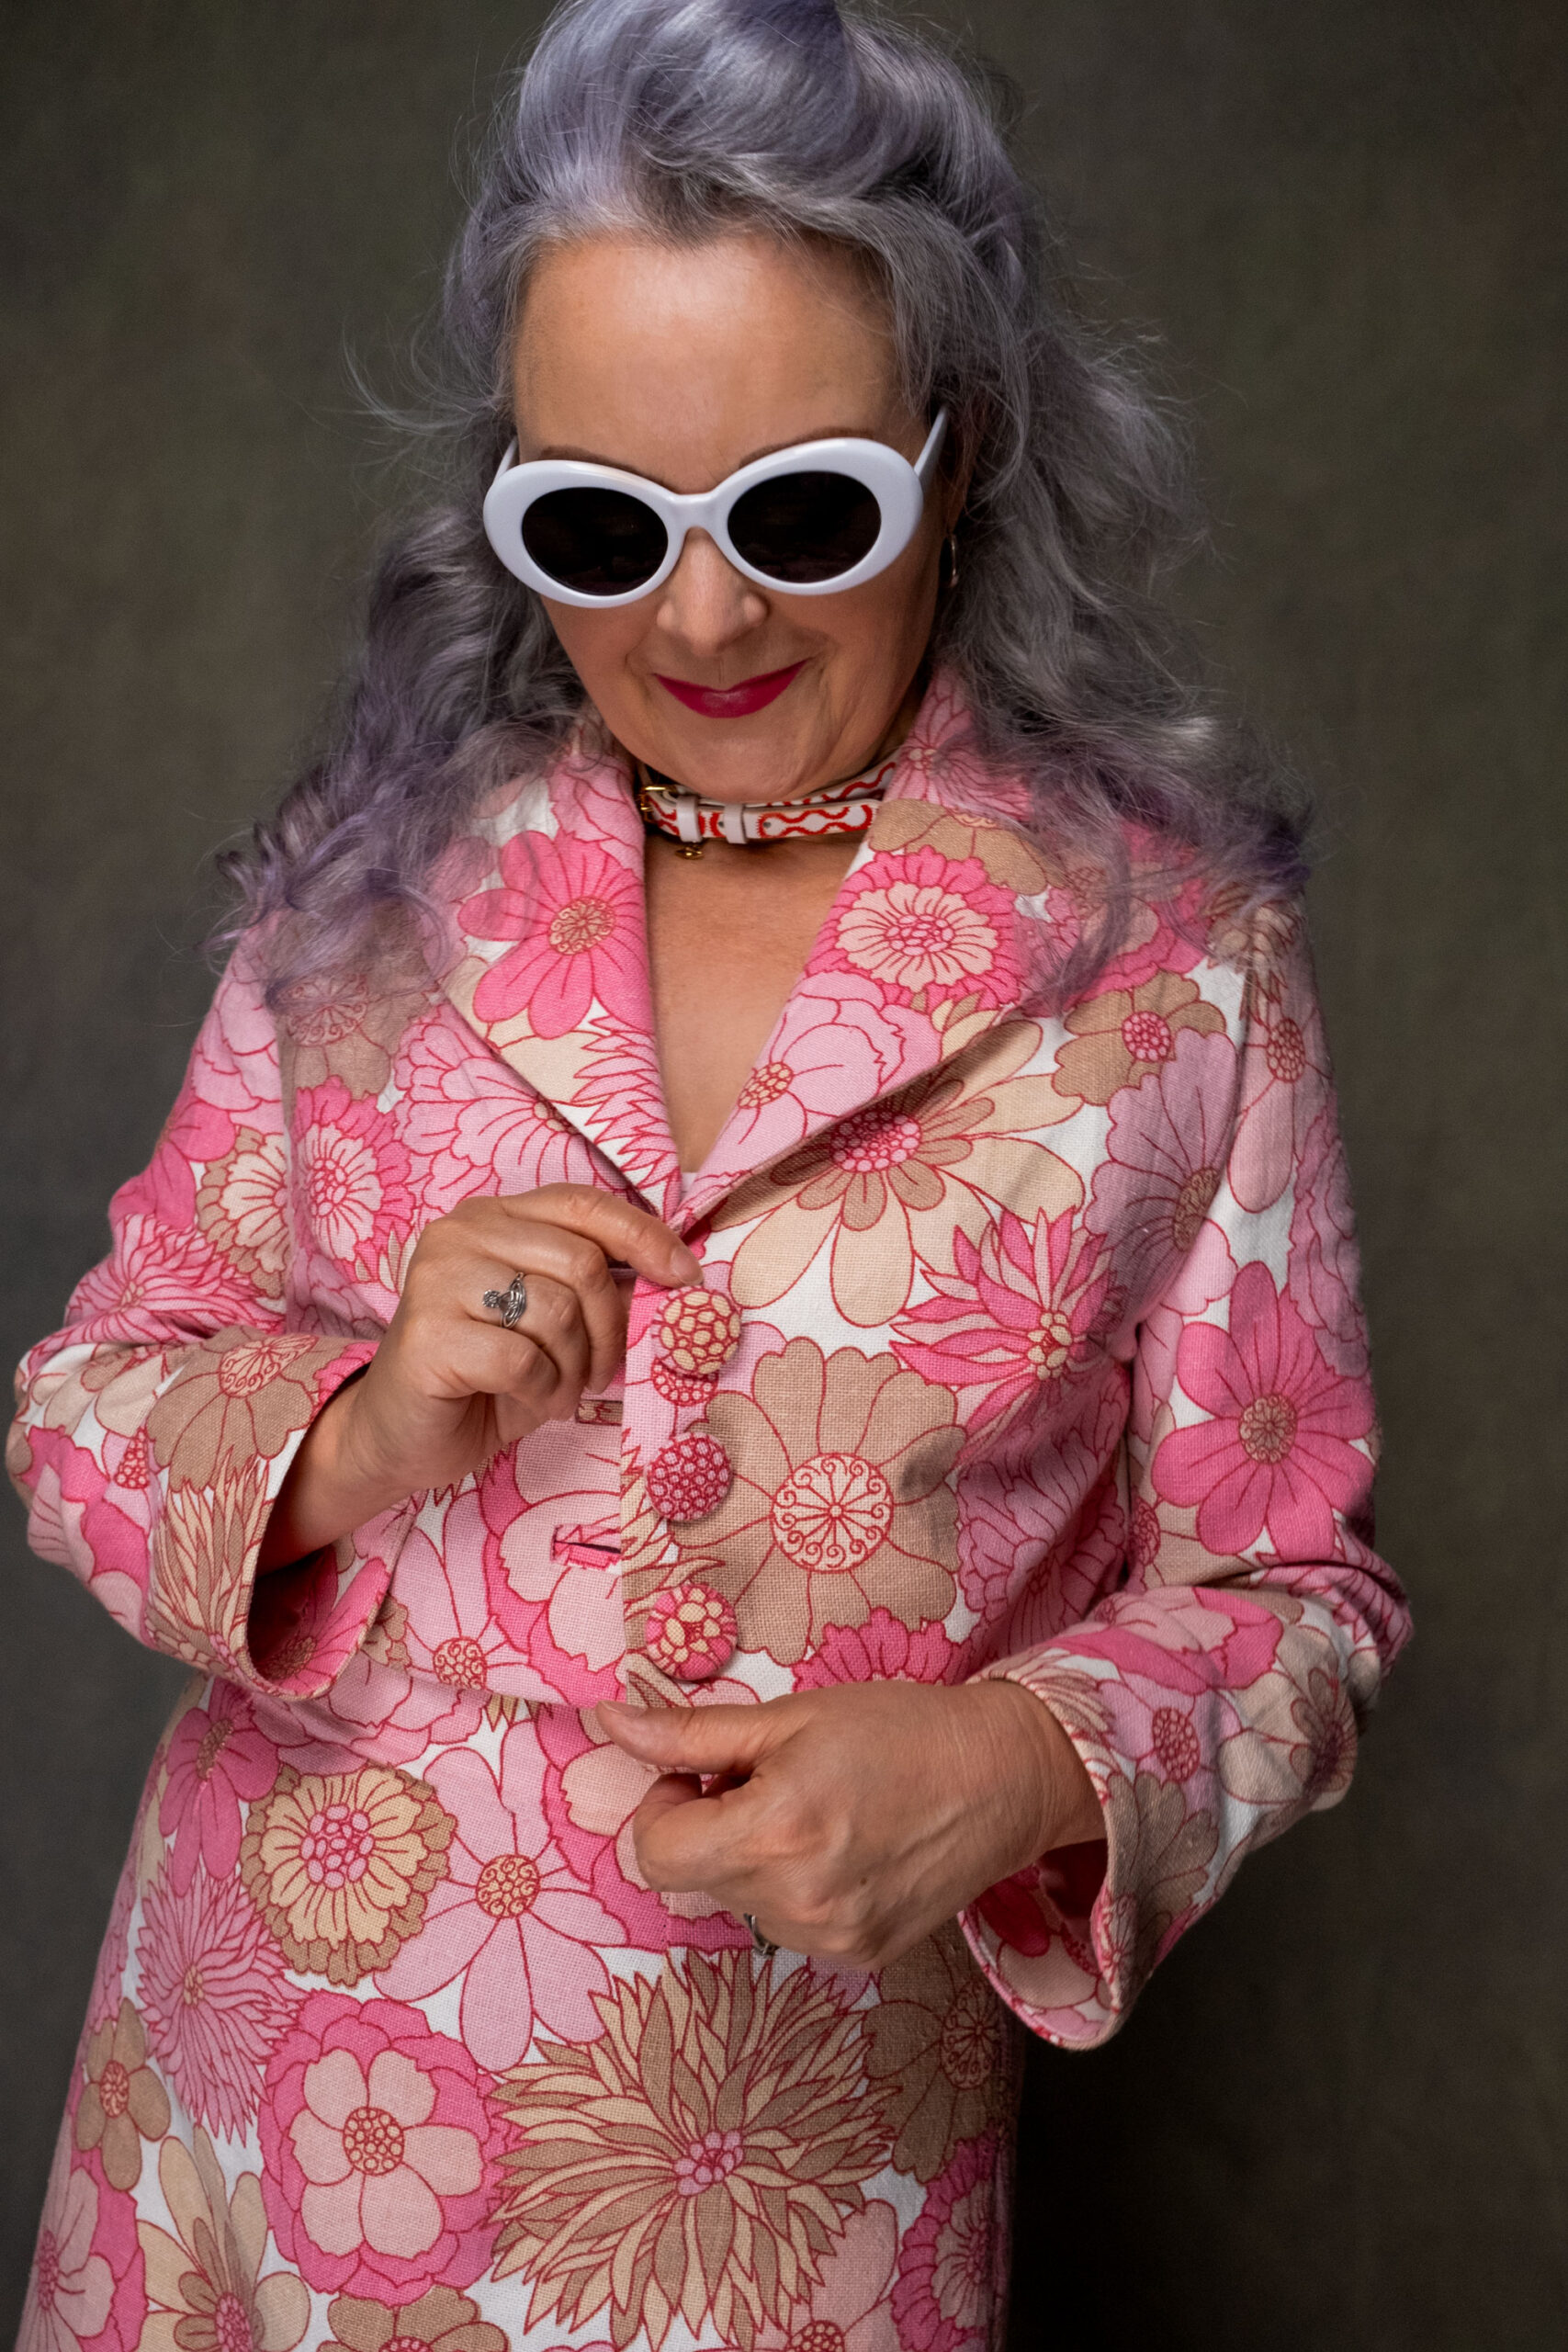
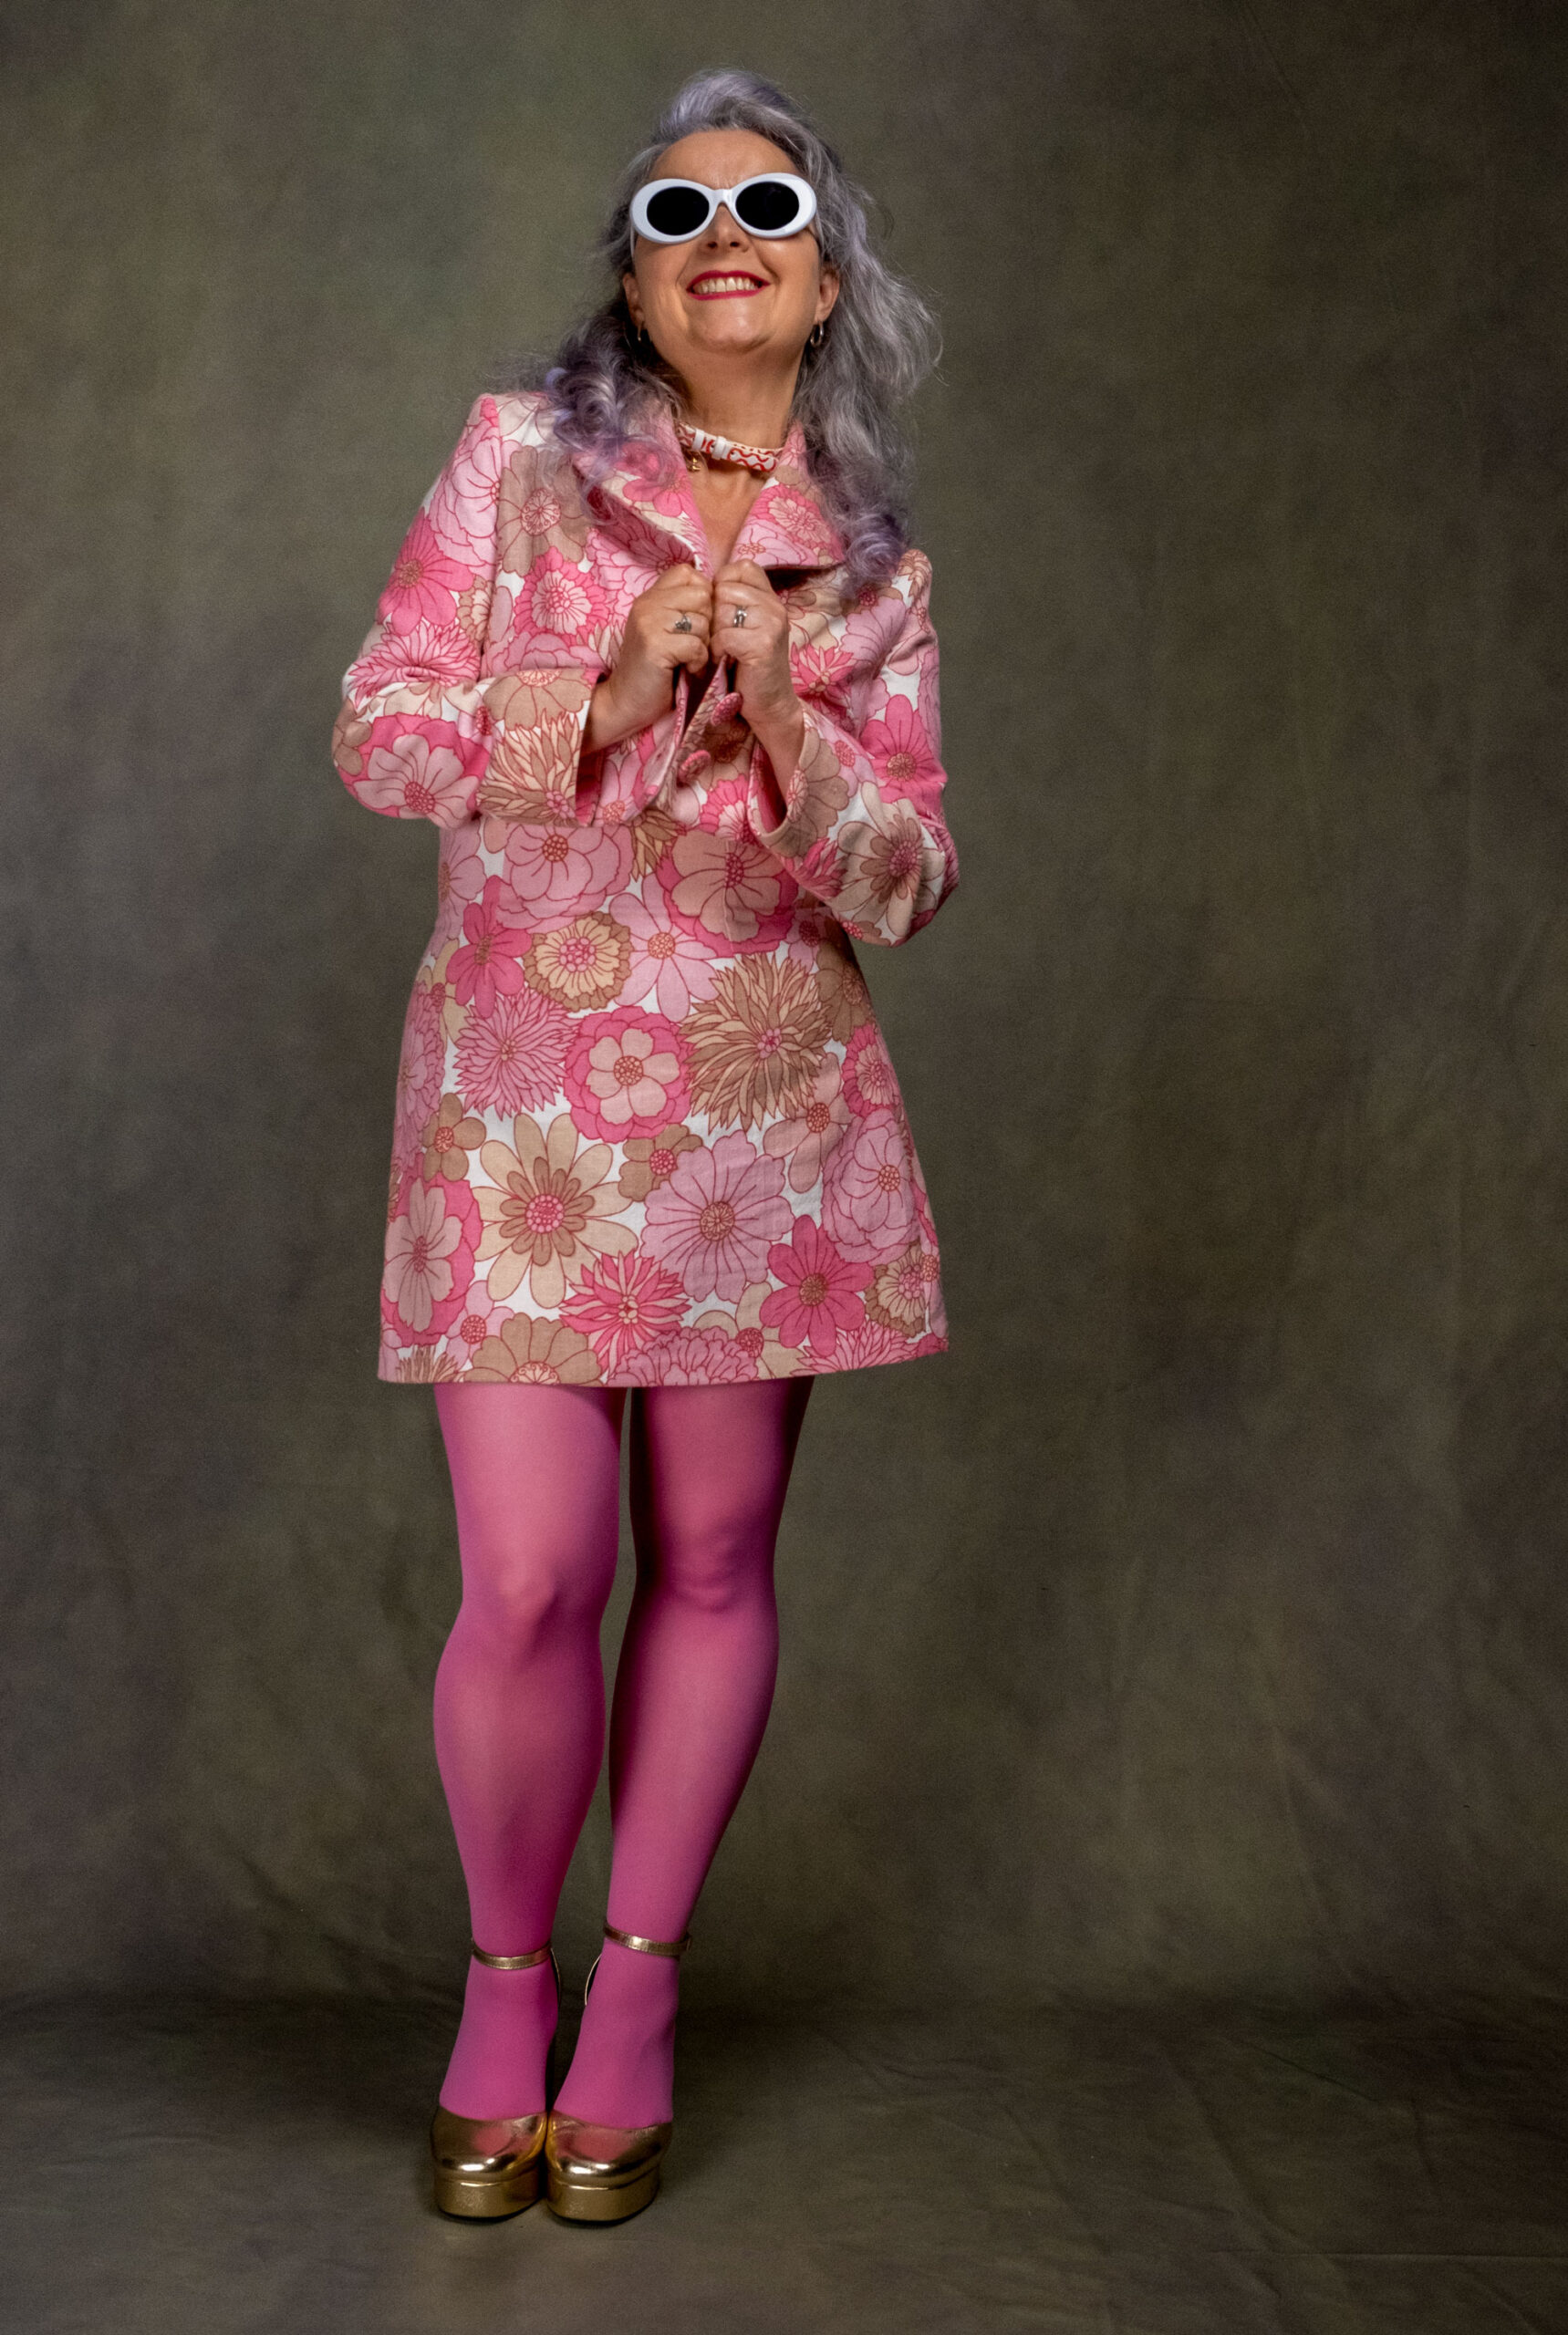
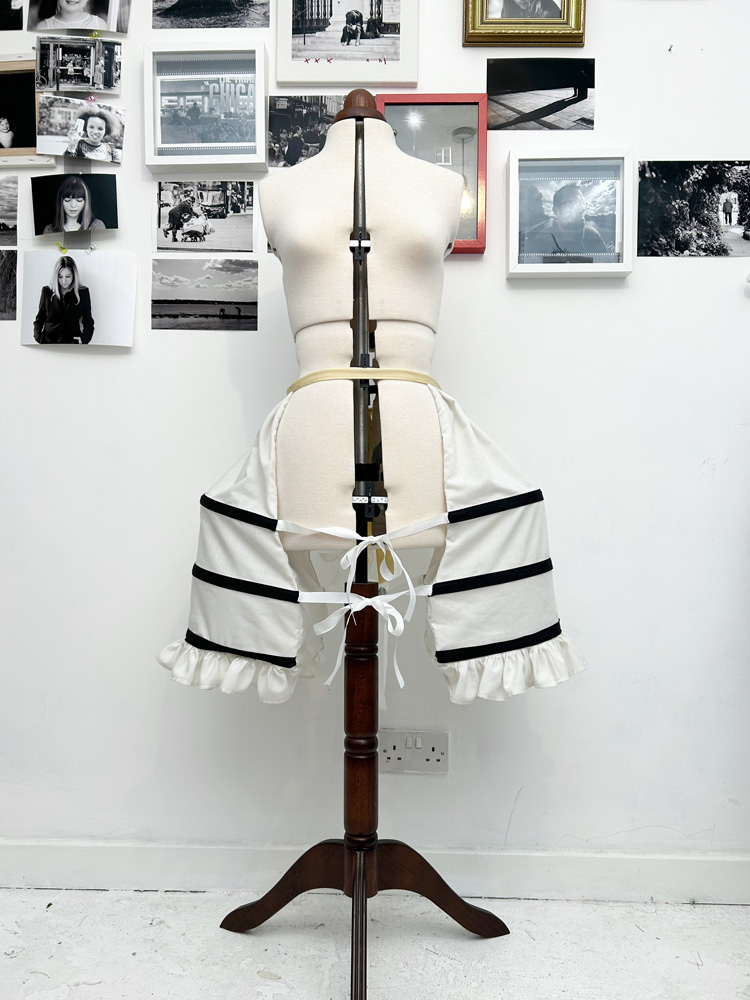
And for those eagle-eyed followers of my Instagram account: yes, this is indeed my upcycled detachable collar from the ‘Imposter Syndrome dress’, fashioned from a disused net curtain. The scalloped edge practically begged to become a ruff, and who am I to deny destiny? I had enough fabric left to create matching cuffs, this time using elastic in a casing instead of ribbon ties. They’re quicker to put on, comfier, and far less likely to trail through your dinner. The plan is to make several interchangeable collar-and-cuff sets to dress up this very simple dress depending on my mood, the occasion, or the level of drama I feel is required that day.
Quite what the occasion is for this particular look, I’m not entirely certain. Somewhere between a Marcel Marceau homage and a Wednesday Addams wannabe party. It’s dramatic, slightly ridiculous, but deeply satisfying. Sorry Claudia. I tried! The beauty of a very plain base dress is that it becomes a blank canvas for this sort of nonsense, and I love garments that can shapeshift like that.
Next on the agenda are a big 70s-style collar and cuffs. Maybe even an old-fashioned dicky or two, because if you’re going to commit, you might as well commit fully. This dress is going to be an absolute joy to style in all sorts of directions, and I have a feeling it’s only the beginning.
Before I wrap up, a huge thank you is due to my Daniel, who took these photographs. I should really do a post about the gorgeous new studio we now share. We did this session in one evening and it was his first full-length person shoot in the space since we moved in. The studio serves his photography, my graphic design work and sewing, and we’re hoping to run some workshops here soon too. There’s loads of space and a massive window that floods the room with beautiful natural light, which always makes everything better.