
What a gorgeous day it was in London today. I couldn’t believe that I actually didn’t need a coat for the first time this year. I can even feel a little after-sun tingle on my skin.
And what perfect timing I might add, to showcase my first summer dress of 2013!
 My Mister and I, along with our trusty assistant, LMO, decided to take a walk over Hammersmith Bridge to take the photos. And to stop for some lovely lunch at The Bridge in Barnes. (highly recommended, I might add!)
Hammersmith Bridge is my favourite bridge of all. A Shame we didn’t get any of it in its entirety but if you Google it, there are a gazillion great pictures of it out there.

What I didn’t know about it was that there are some ‘viewing benches’ on the bridge itself. Scarily placed right up to the roadside but with such a lovely view of the river. And obvs a great place to take a picture!
 Amazing how much prettier the Thames looks when there’s a bit of sunshine!


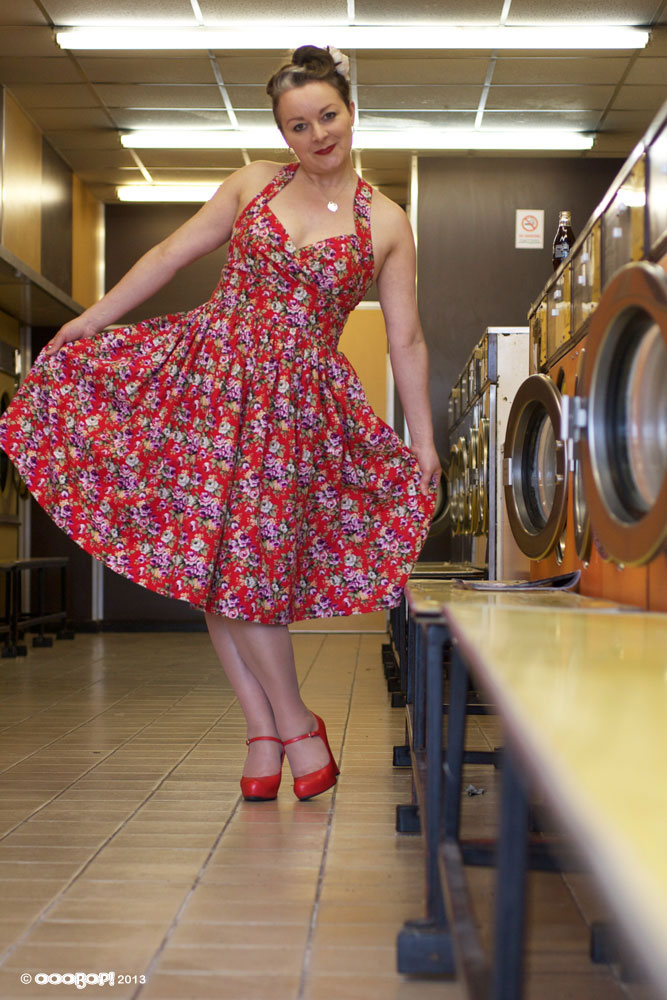
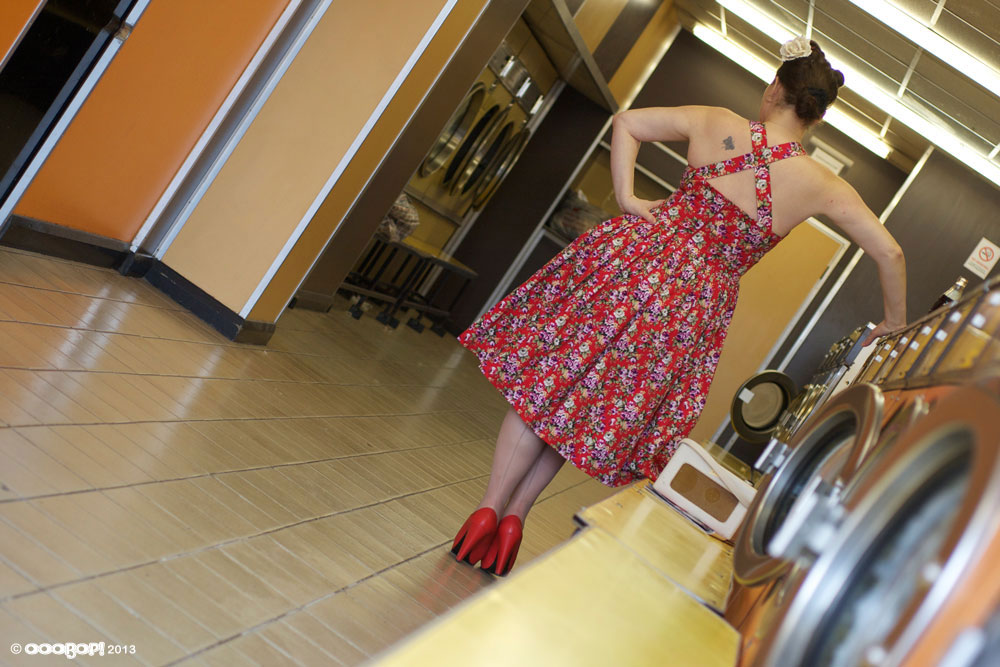
From Hammersmith Bridge Mr Ooobop insisted we take some shots in the Launderette. Not the most glamourous of locations but I’m so happy that it helped to project the vintage feel of the dress.

The dress itself is half derived from Simplicity 2442. I used this pattern for the bodice section:
 I was the lucky recipient of this, plus a whole bunch of other goodies from Sew Magazine when I won Star Letter, back in October 2011. You can see the generous prize haul here.
I did have my doubts concerning gaping necklines and dodgy pleat placements but all it took to get over the fear was one toile, which also helped to reassure that it wasn’t going to take too long to whip up either. I can’t say exactly how long it took because I have been sewing in such little bursts over the last few weeks, in between shed loads of work.
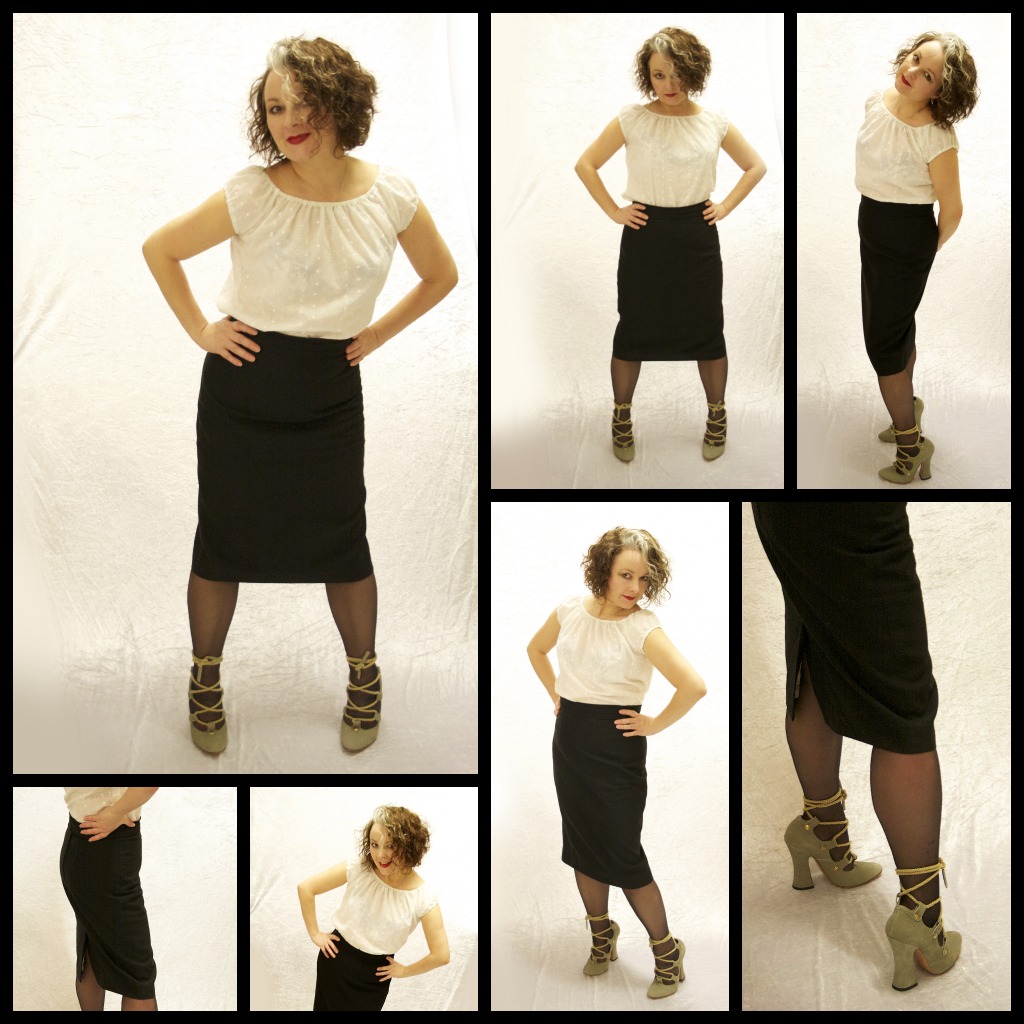
I love the crossover straps at the back but I must find me a decent strapless bra. I’ve just tucked in the straps of my regular bra so they don’t show. But there was a going concern that it would end up round my waist at one point!

This pic is Mr O’s fave. Personally I think I look a little psychotic!

After much deliberation, mostly on Twitter, I decided to add a dirndl skirt to the bodice. I didn’t like how the suggested skirt was neither full nor straight. I felt it wasn’t extreme enough for the fabric I’d chosen or the vintage vibe that I wanted. I considered a circle skirt and nearly went for that, fearing too much bulk around my waist but I needed more than 3m to achieve that.

A dirndl still gives a great shape. I think you just have to make sure that the bodice is not too long otherwise the fullness sits over the belly and that’s not a good look on anyone!

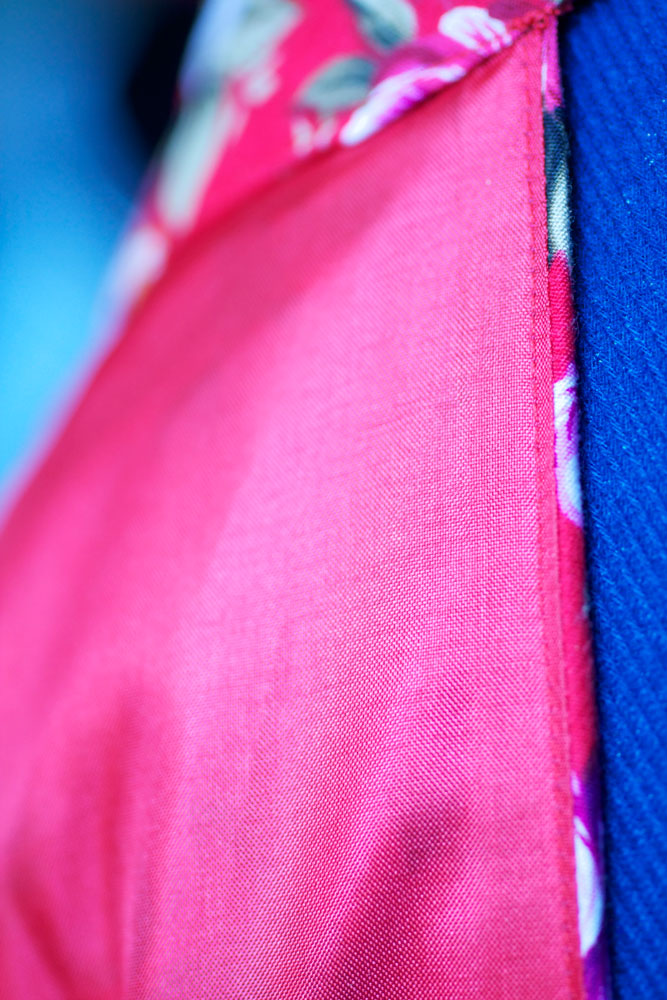
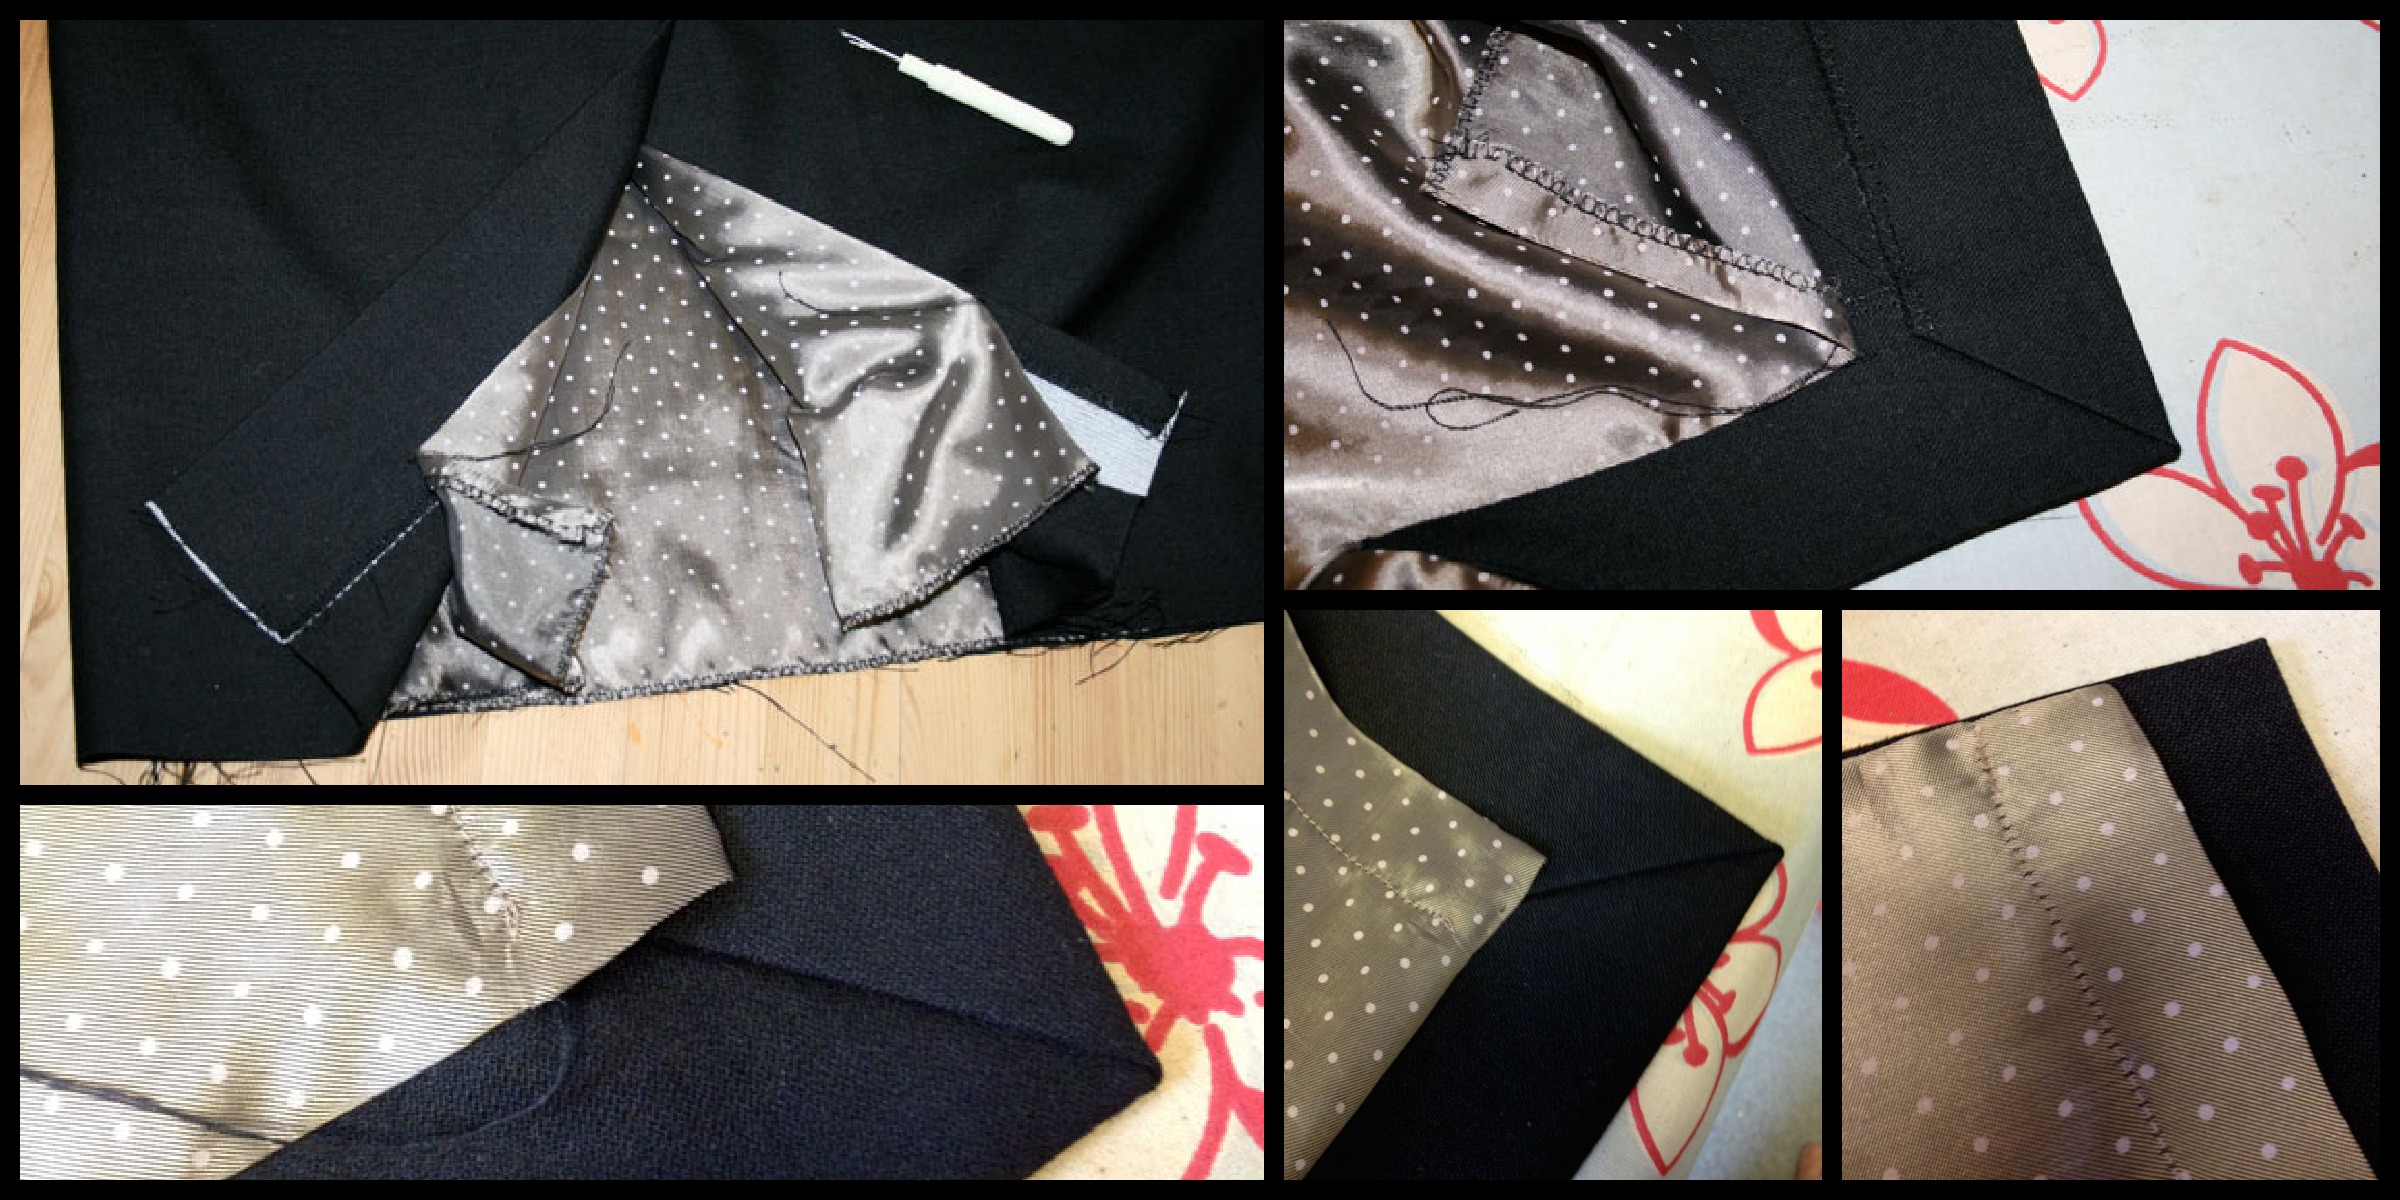
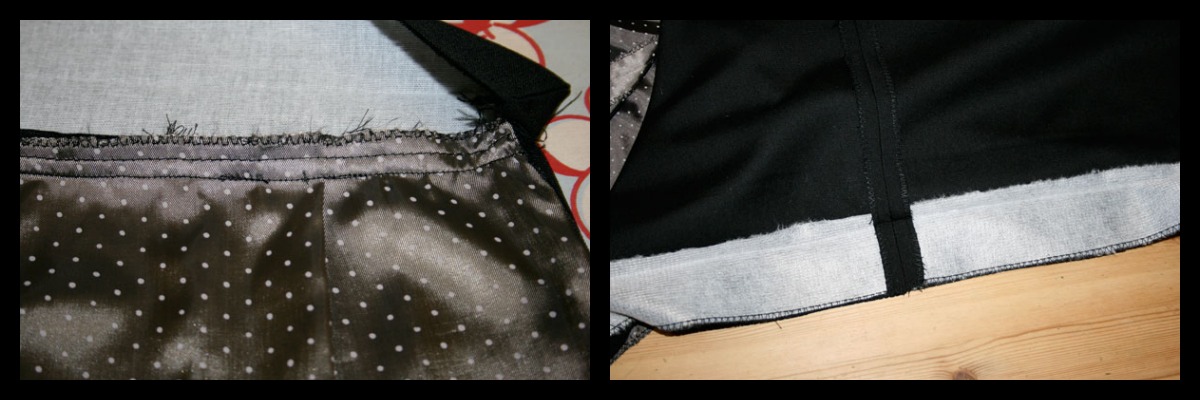
I lined the whole dress in red. I wasn’t going to line the skirt section at first but I remembered how, as full as skirts are, if they are made of cotton they cling like Billy-o to your tights! I also added a bit of ease in the depth of the midriff lining to prevent the outer fabric of the midriff from puckering.

I also took great care in under-stitching the lining on the bodice top edge so it didn’t peek out.
I’m so happy with how this dress turned out. The bodice fits and feels great. Can’t wait to try with a circle skirt and perhaps even a long evening dress in some silk velvet? As if my list isn’t long enough!!
I can’t possibly round off this post without a shout out to the amazing Dolly Clacket. She without doubt has been a massive inspiration whilst I’ve been dreaming up this dress. If you haven’t had the pleasure of seeing her wonderful 50s style tea dresses, hop over and have an oggle. They are gorgeous!


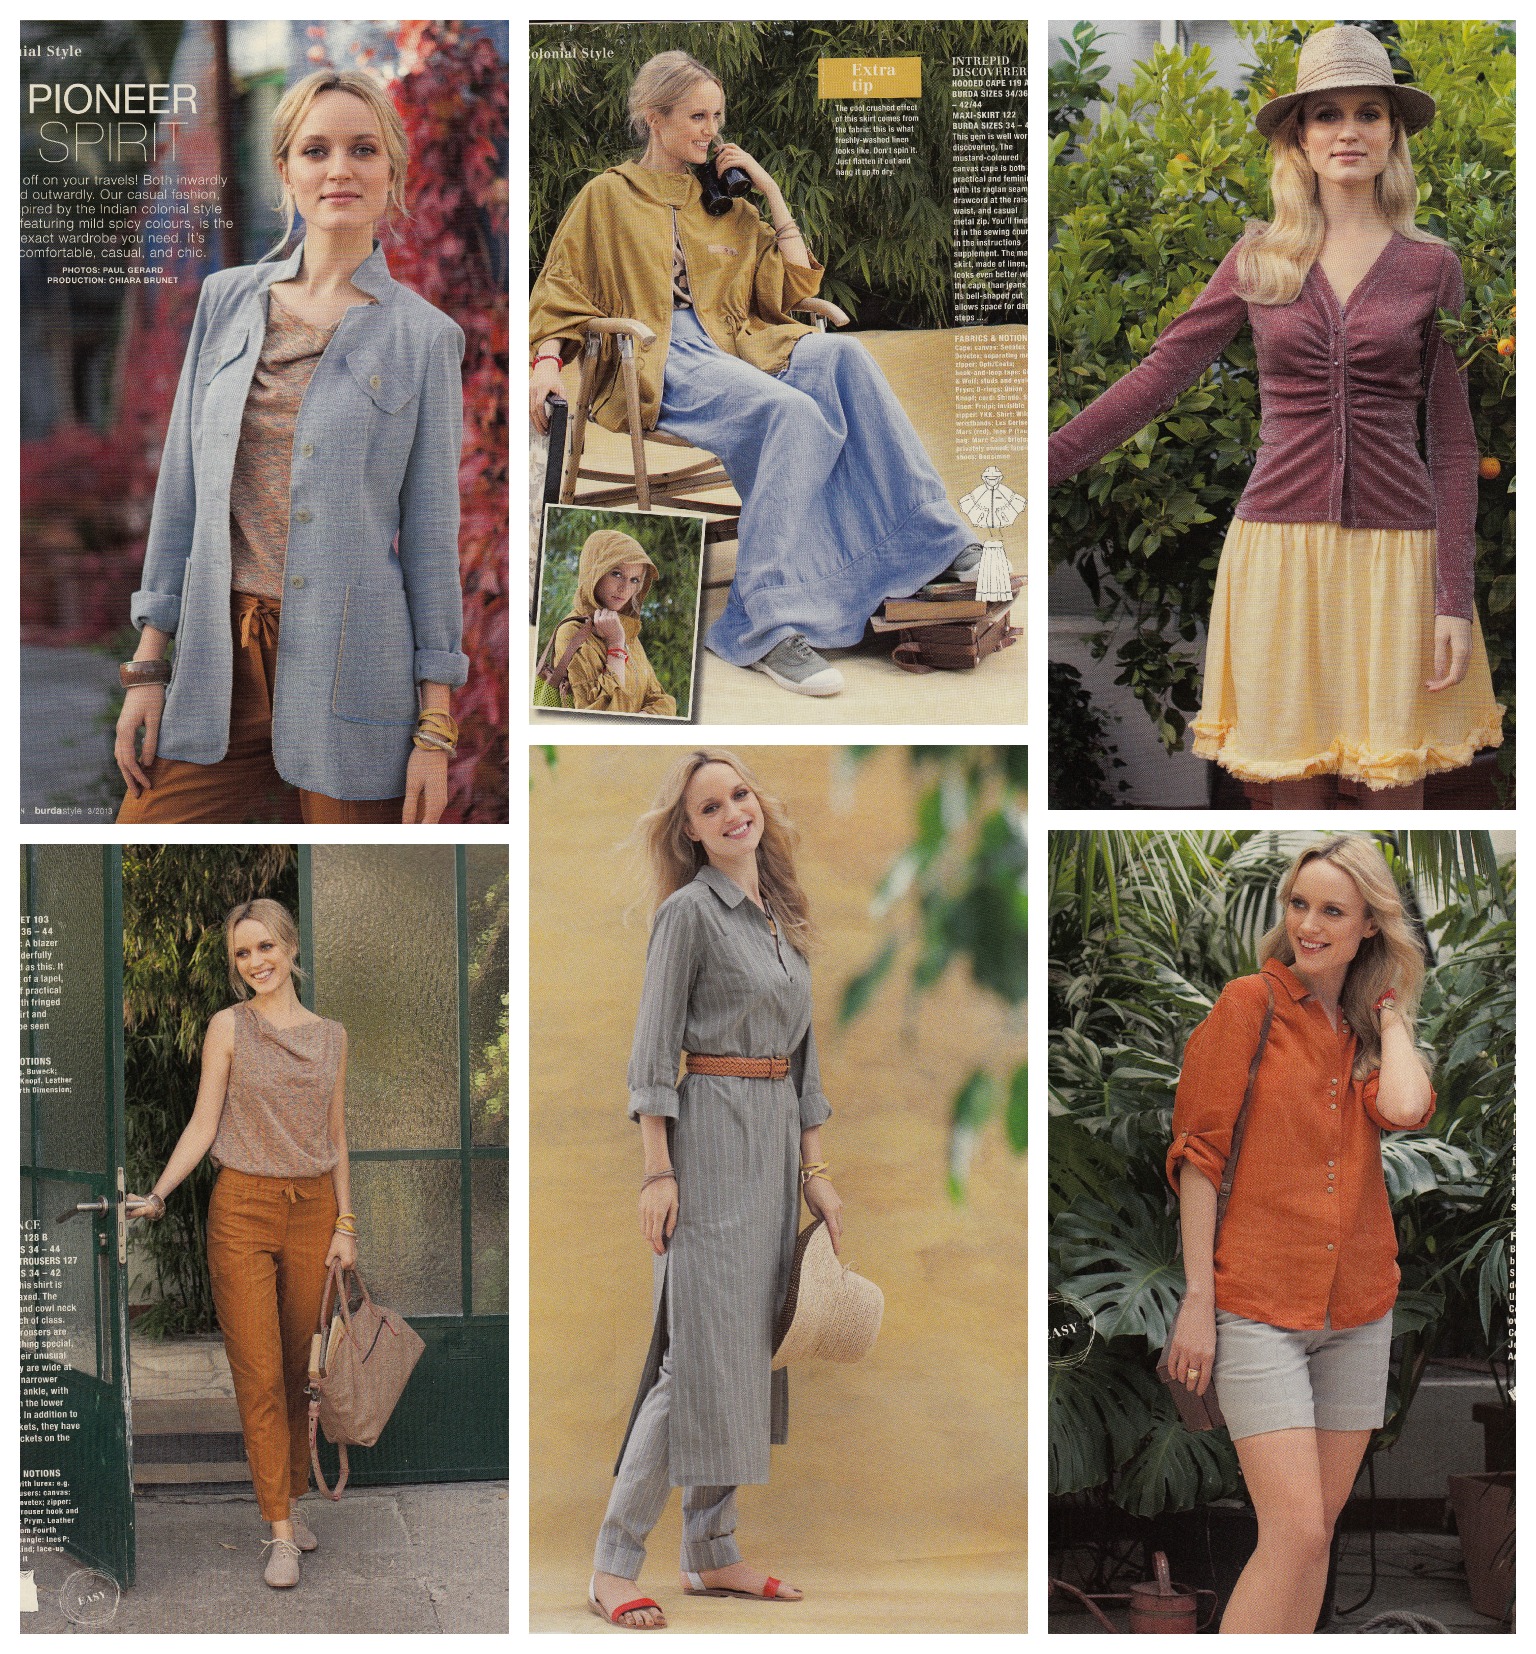


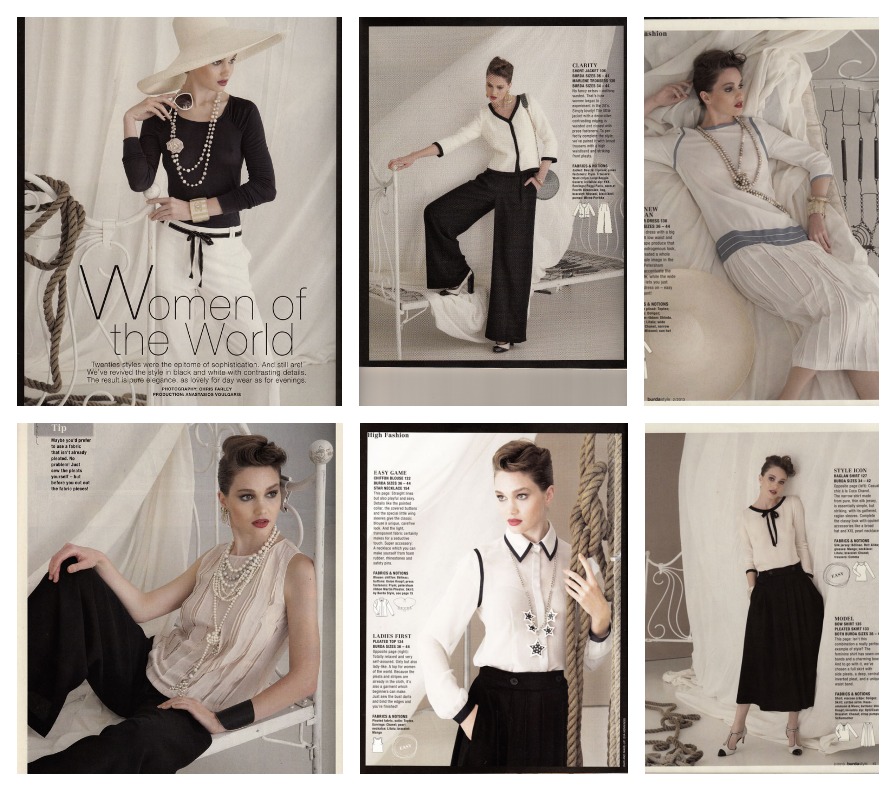


 There were a couple in this section that left me a little more hopeful. Gosh I am being so negative, soz! Strange though because I don’t really do strides or leggings but quite fancy a pair of leather ones, Given my determination to grow old disgracefully! Still not very partyish though.
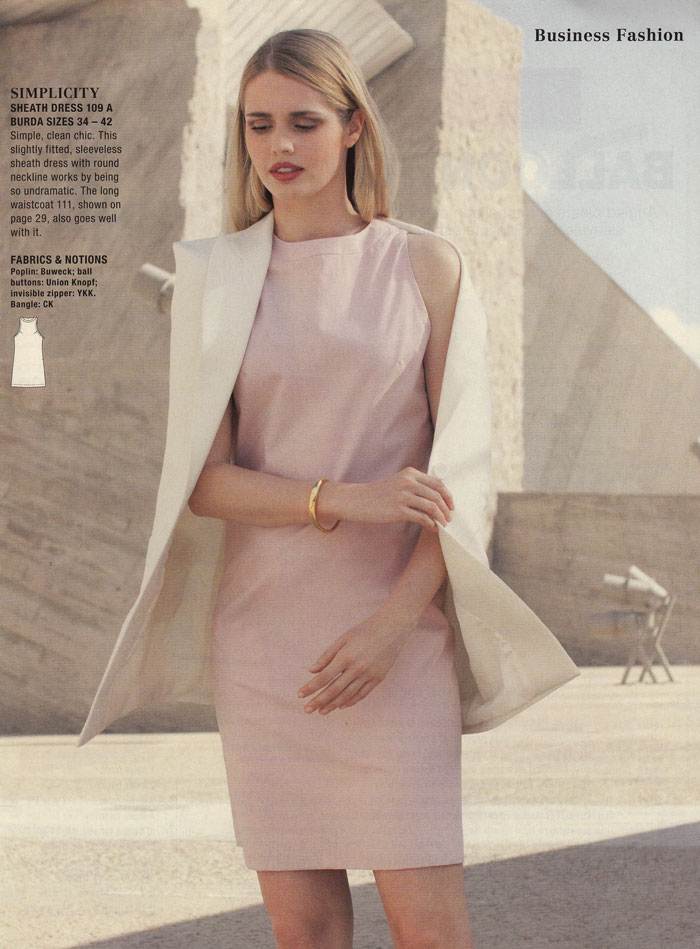
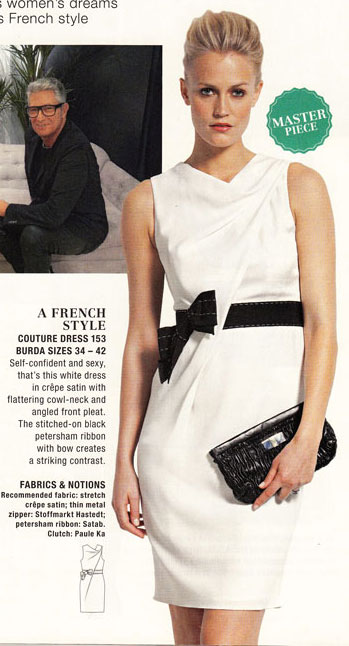
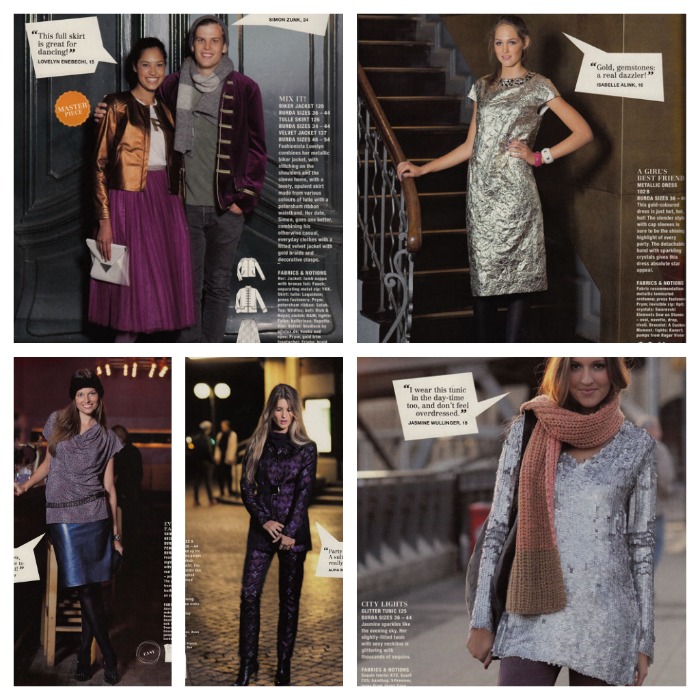
 But hang on. Here we go. This is far more up my street. A section entitled the Aenne Burda Collection. Five reinterpreted dresses and a coat from the 50’s and 60’s. And I love each and every one of them! Though I really want the button band on the pink dress to be narrower. I don’t need my midriff highlighted quite so much!
 Loungewear, leisurewear, sporty home knits, whatever… not really a fan of such garments. Even though I could be accused of hypochrisy as I sit here, sniffling in my sloppy pjs and age-old baggy T!

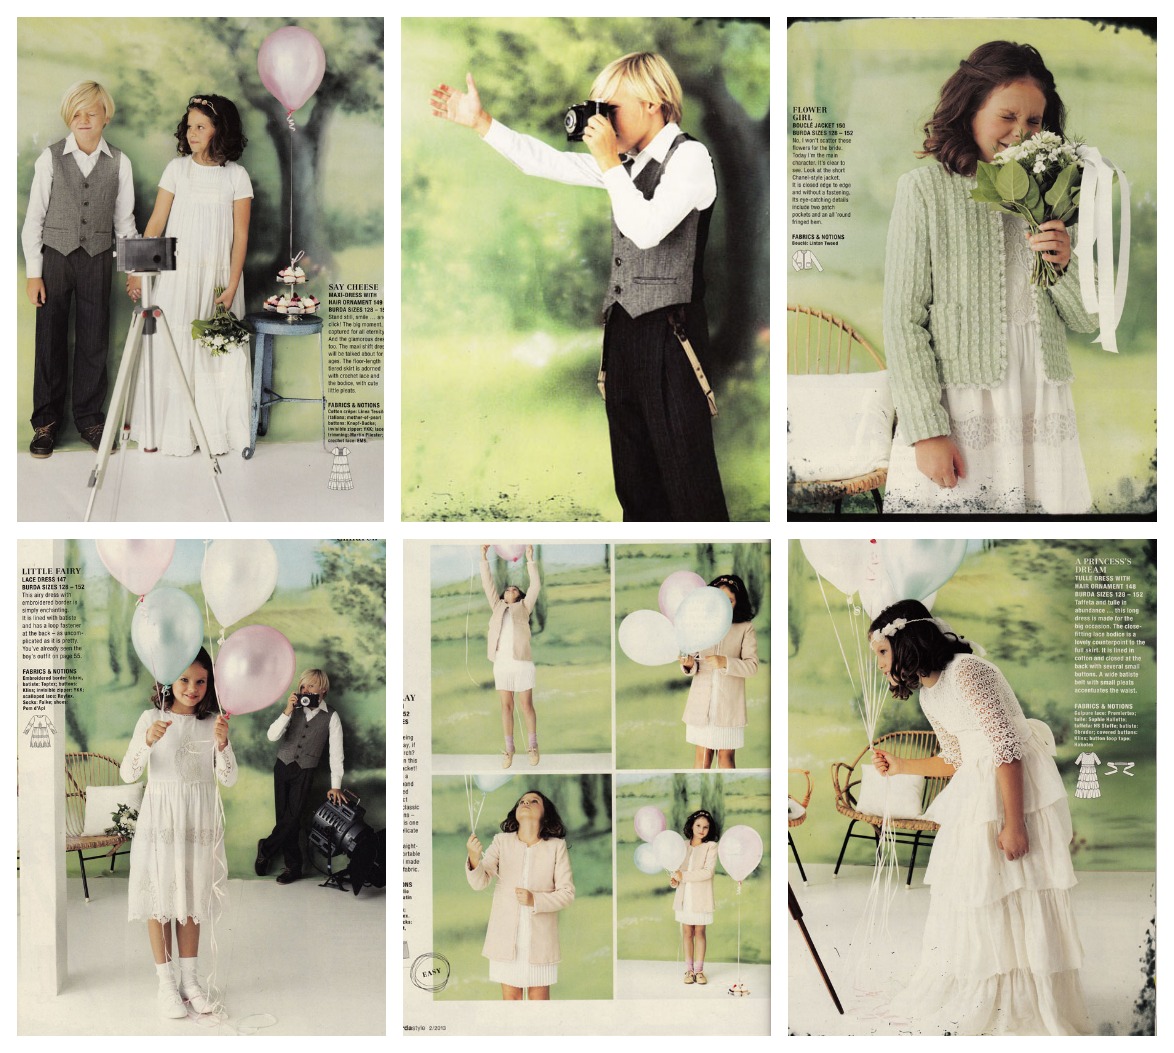
 There are lots of lovely little crafty projects in this issue too, like detatchable collars, a bead-embroidered neck band, bejewelled bangles and shoes plus these adorable teddies made from recycled jumpers and blankets. No actual pattern for these but the instructions and inspiration is all that is necessary.
 Well in case I don’t touch base before the new year, here’s wishing you all a fabulous 2013. Thank you for faithfully sticking with me and for all your wonderful comments. It is already so difficult to remember life pre-ooobop! I’m hoping to get more stealthlike in my attempt at stealing sewing time in the new year and so be much more productive. But what good would that be without having you lovely lot to share it with.


