Curtain call for the Dressmaker’s Ballgown

Gold damask ballgown front of York Watergate

The Dressmaker’s Ball is an amazing annual event hosted by Crafty Sew and So in Leicester and presents a perfect opportunity to sew and wear whatever you damn like.

A free brief is pretty much unheard of in my work as a graphic designer. There are always rules – a style guide and house styles to abide by at the very least and so it is very refreshing indeed to be granted such freedom to create. Until of course, you start weighing up the possibilities which are endless!

Gold damask ballgown front of York Watergate

One thing I was sure of was that mine was going to be self-drafted. I decided earlier this year that if I’m ever to get really good at designing and pattern-drafting, I would need to practise it a lot more – figures, right?! So that narrowed things down a bit (not)! Secondly, knowing the chances of me going to another ball quite so soon after, or even wanting to wear the same dress twice in any chase, were pretty slim, I wanted to make sure my fabric choice was a sustainable one.

Weirdly enough as I sketched out my design, I did imagine a damask curtaining of sorts. I just didn’t know I was literally going to strike gold in my local charity shop!

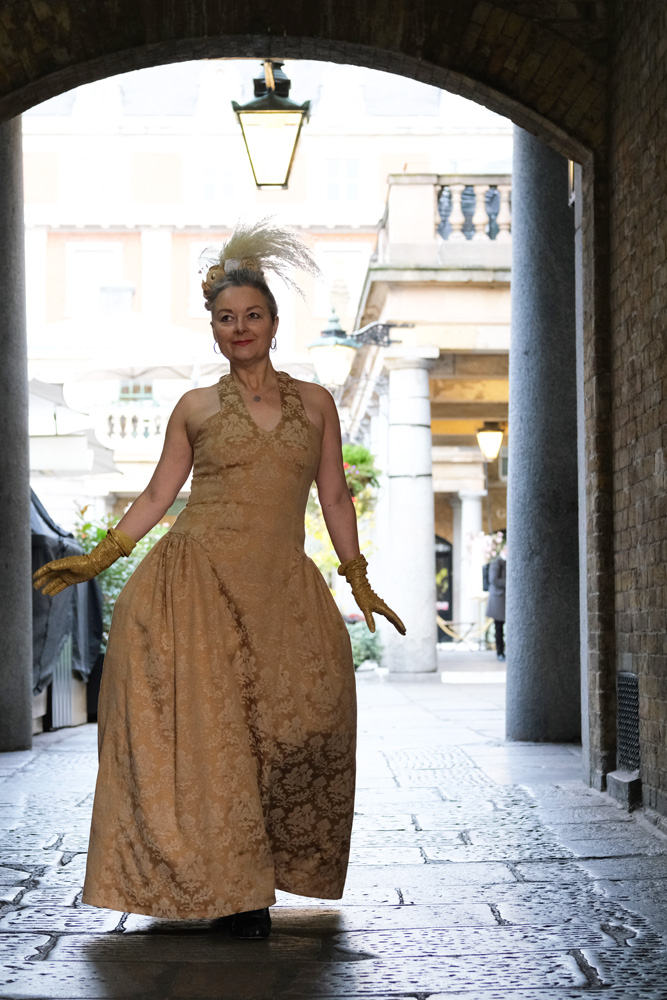
One pair of vintage gold damask curtains = £6 – Just enough fabric for a ball gown it transpires!

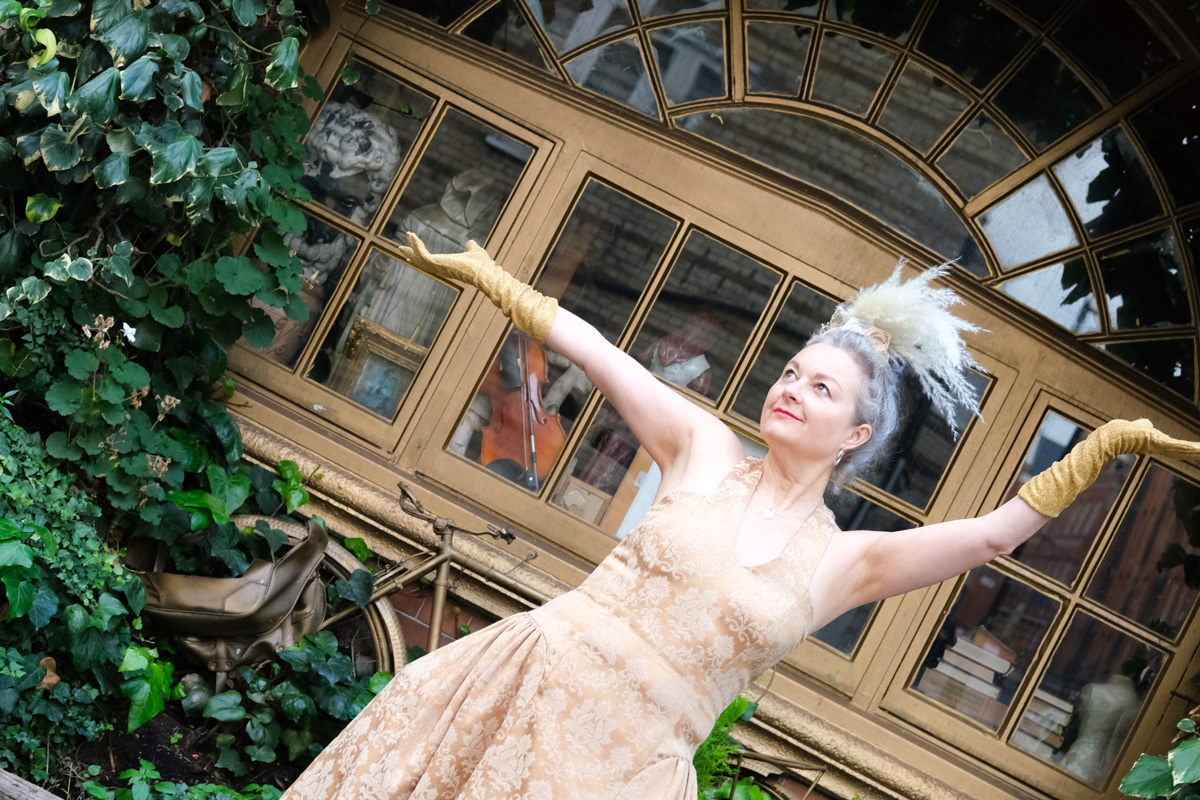
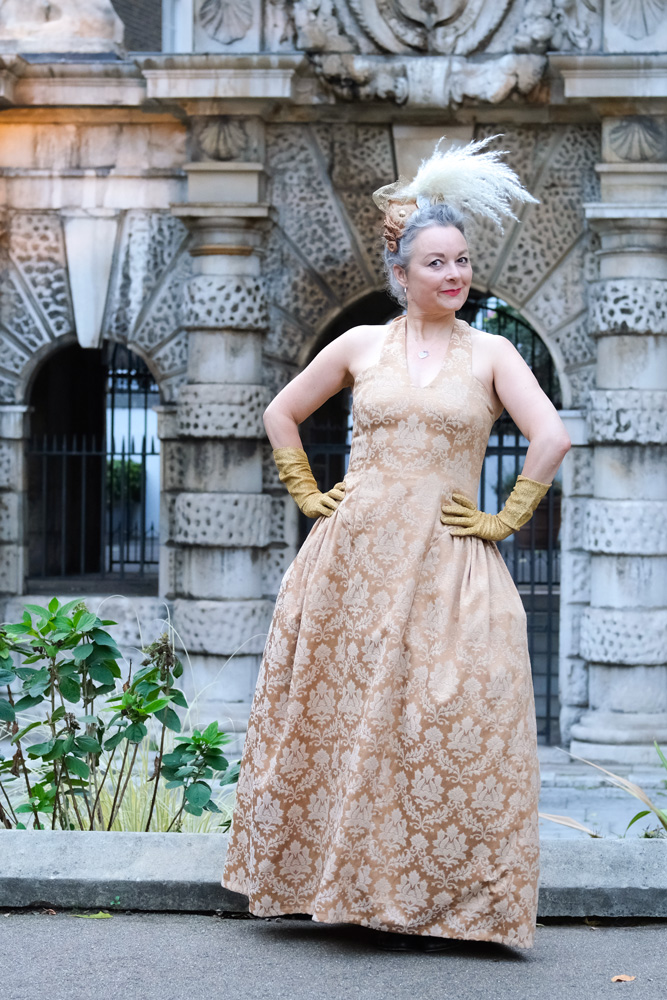
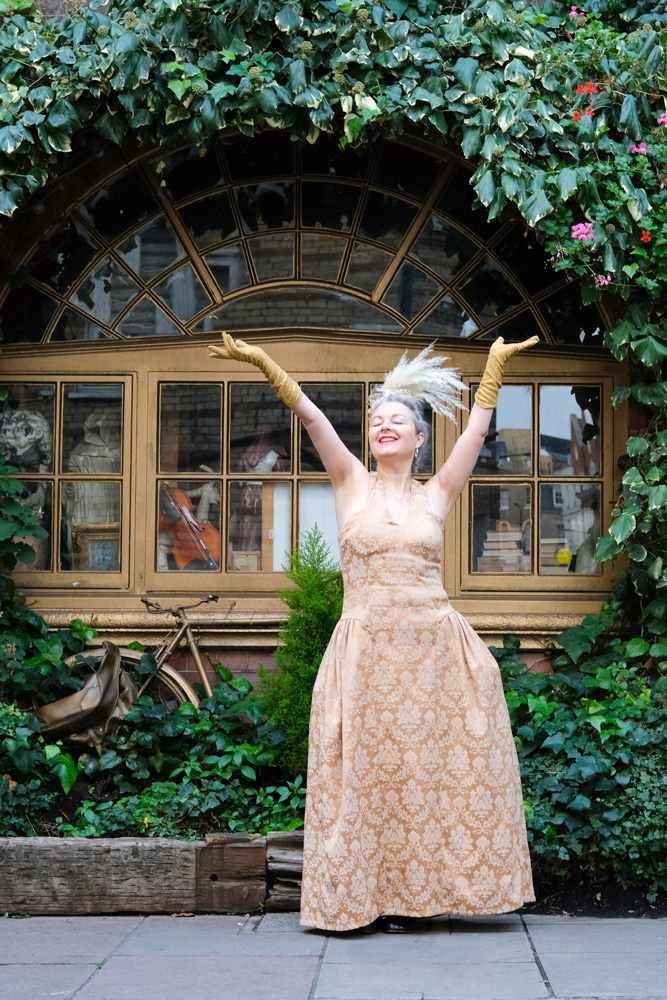
The design started out as a summer halter neck dress which I designed and made last year. I basically hacked the hip sections to create a silhouette similar to dresses of the 1700s. I can’t tell you why. I just did! Although if there was ever a wardrobe I could covet, it would most definitely belong to Marie Antoinette!

Gold damask ballgown outisde The Nell Gwynne Tavern

The styling of the dress was nailed quite soon and sewing it up was a relatively simple task, too but it was evident I needed some ‘scaffolding’ of sorts to make great shapes. There’s a lot of weight hinging on that halter neck and from past experience wearing my summer version, the back sags with its lack of support. So I created boning channels on the back and side seams to help it stay upright. I used plastic coated steel bones for no other reason other than I wanted to try something other than Rigilene. And I think I made totally the right choice. It felt very grown up to be cutting and filing them and sliding them in place. And I’m sure I’ll be finding more excuses to use them again soon.

Gold damask ballgown in Covent Garden

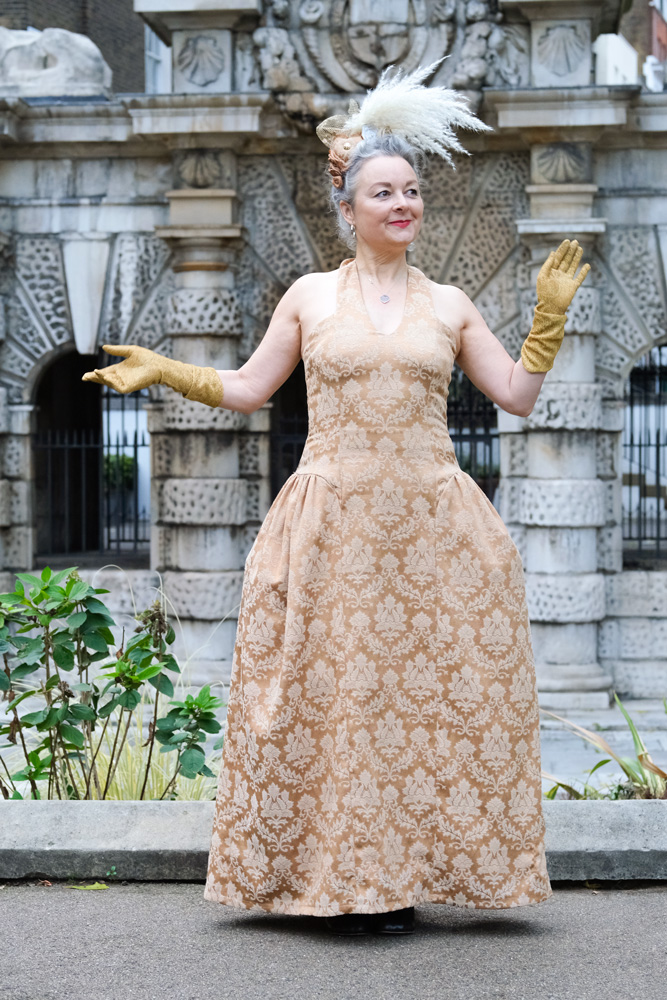
And then of course I had to find a way to give some body to those hip sections!

I first tried to gather some doubled-over strips of double organza and sewed to the curved upper seam, in a similar way that I did with the puffed sleeves on my Alice in Wonderland dress. I didn’t get round to blogging that but here’s a link to my Insta reel which explains it a little. This method gave a little boost but ultimately, the weight of the curtain fabric just flattened it down.

The second experiment was very nearly the one I settled on, which was to use sections of crinoline. I found it in Classic Textiles in Goldhawk Road – I had no idea you could buy it by the metre. And I wasn’t entirely sure this was what it was for, but I tried to make gathered side panels again to sew along that top curved edge of the side sections. It was in need of boning too.

I mean it was ok but made the dress very difficult to fold without hard-creasing the crin. Plus, it was very scratchy and would need another layer of lining at least. I just knew I could do better. There had to be a way. And then the penny dropped that I just had to go trad with full on 18th century panniers!

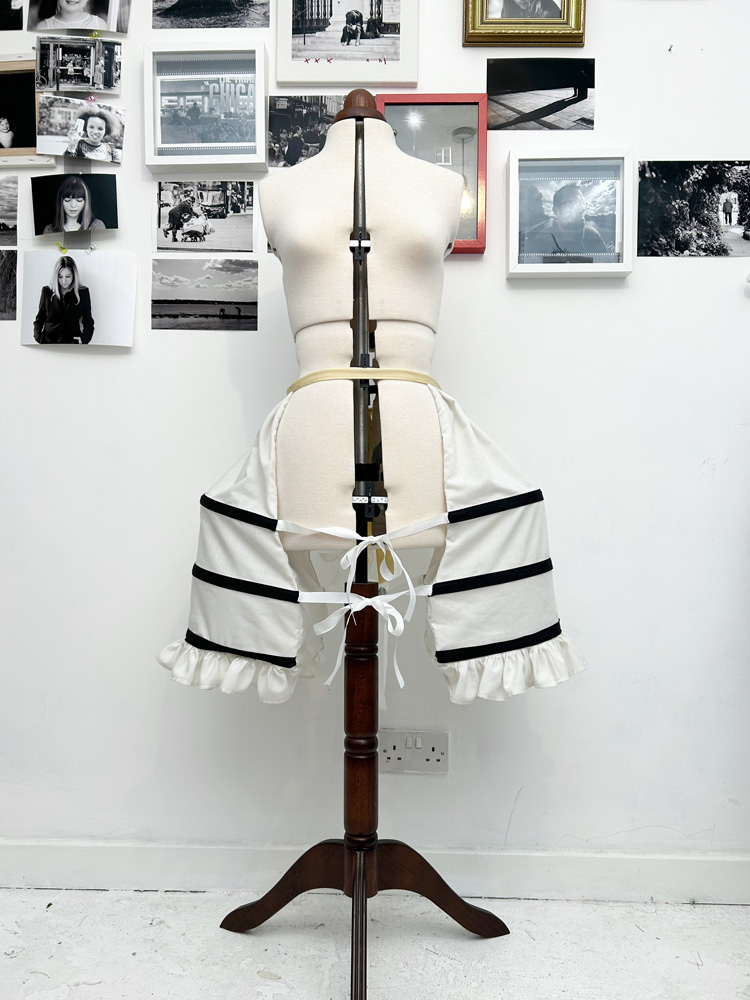
I Googled and YouTubed until I’d gleaned enough know-how to draft and sew a pair of pannier pockets from the leftover lining of the curtains. I already had some black bias binding, some white ribbon and some herringbone tape in stash so I thankfully didn’t have to fork out for any more materials. Not that I spent much on the curtains anyway!

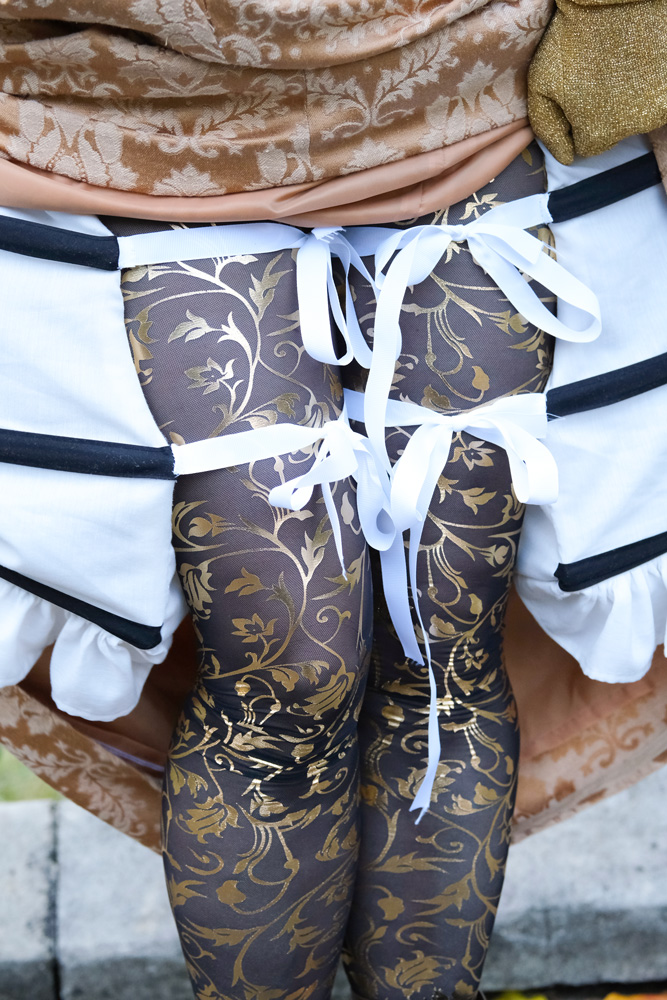
There are three horizontal boning channels formed by the black tape, the top one is slightly shorter to create a gradual slope up to the hip and the whole ‘device’ ties around my waist and around each leg. Well, to be fair, it was Dan who suggested I tie the ribbons round my legs because for the do itself, I tied the front ones in front and the back ones in the back and it worked fine but restricted movement a little, especially going up and down the stairs but toilet trips were infinitely easier with this method!

I did end up lining the skirt section. And Im glad I did because it created a little buffer between the understructure and the fabric, smoothing out some lines and also made it feel more special to swoosh about in. I attached the section seams of the lining to the main fabric with French tacks to keep it from twisting round. That was a fun thing to do in the hotel room earlier in the day!

Gold damask ballgown in Covent Garden

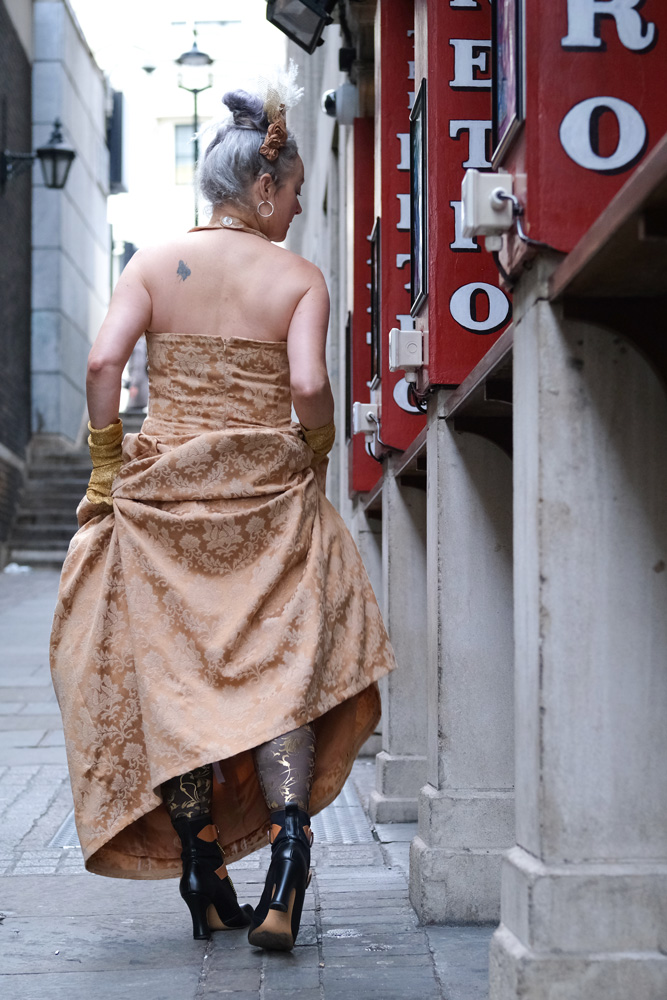
The panniers are collapsible by the way, and fold flat which made for easy transportation to the ball and the dress itself didn’t even need an iron when I took it out of the case

Gold damask ballgown outside the Sarastro

I’ve shown a few in situ photos on insta and I’m sure the official event shots will be ready soon but I so wanted `Dan to do a separate London Shoot and I’m so pleased I manage to grab him for a session before he went away for work again and we are so very lucky that London presents so many wonderful locations for us to choose from. It turned out to be quite the history lesson too!

Gold damask ballgown outside the Sarastro

The first location was in front of York Watergate, once the river entrance to the Duke of Buckingham’s London mansion, and now stranded some distance from the water in Victoria Embankment Gardens. The impressive watergate is just a short walk into the gardens from Embankment tube station and was built in 1626. 

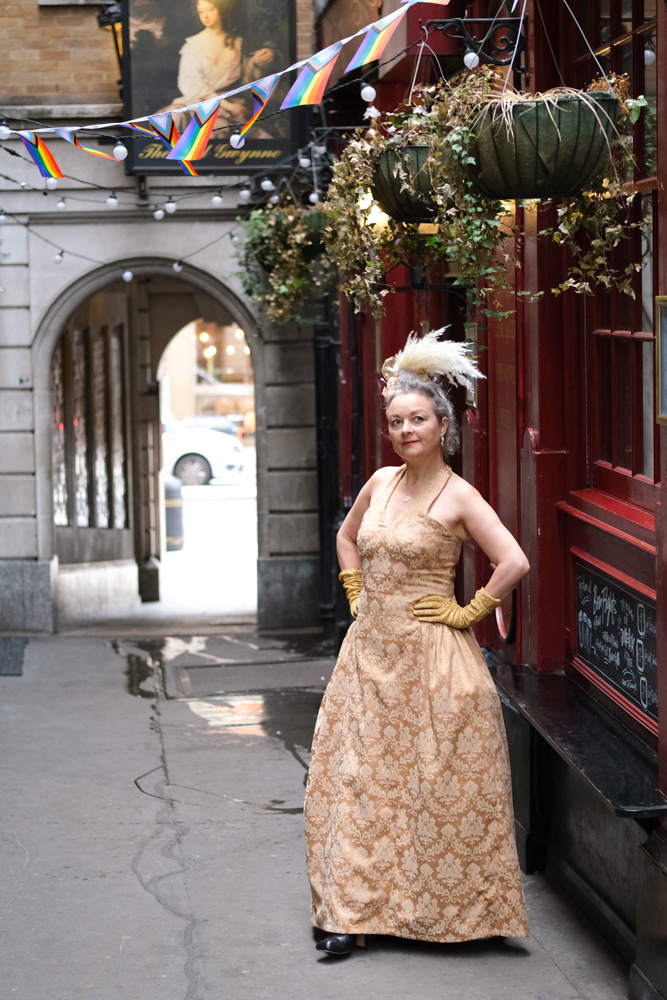
The second, outside the Nell Gwynne Tavern: Built on the site of the Old Bull Inn, It was named after the infamous mistress of Charles II. Nell, born and raised in the locality at St Martin in the Fields, sold fruit in the nearby Covent Garden market before gaining fame as an actress on the Drury Lane stage. Samuel Pepys describes seeing “the mighty pretty Nell” on his way to the Strand in 1667.

Next we went to Covent Garden which has been in existence since the early 1600s too!

Gold damask ballgown outside the Sarastro

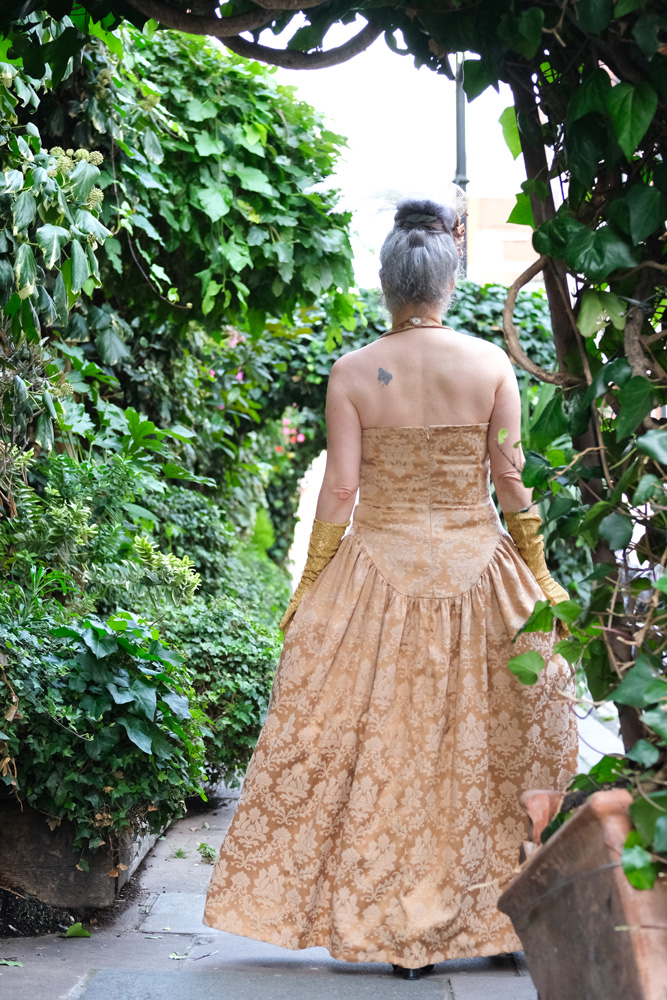
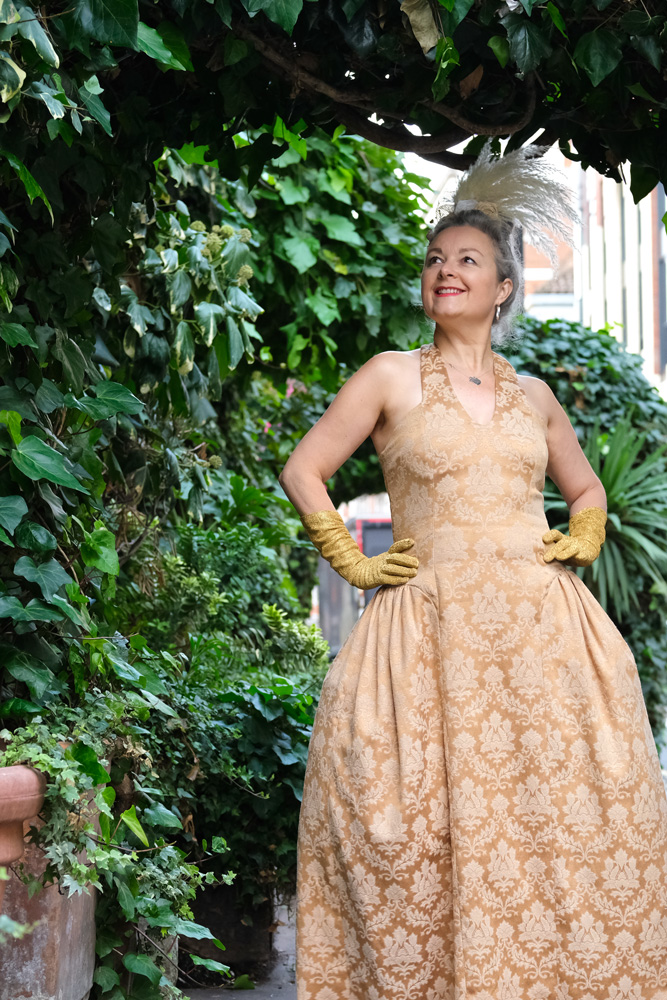
The leafy shots above were taken outside Sarastro restaurant in Drury Lane. I went there years ago and it was an amazing feast for the eyes! Outside presents curiosity shop styled windows, framed in gold. Inside is the stuff of theatre dreams!

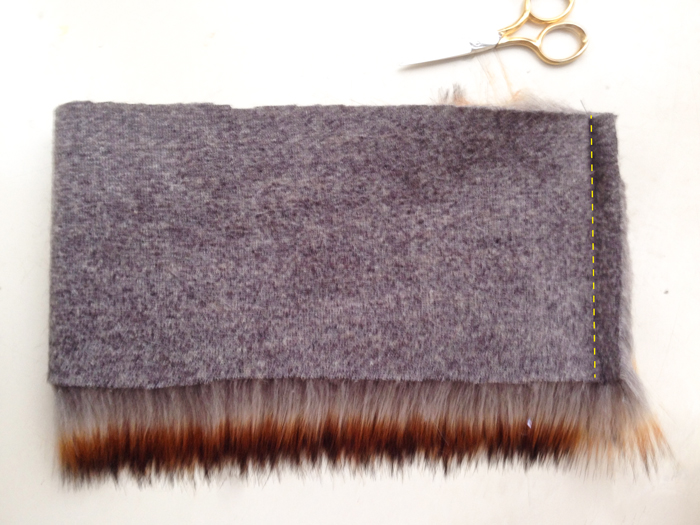
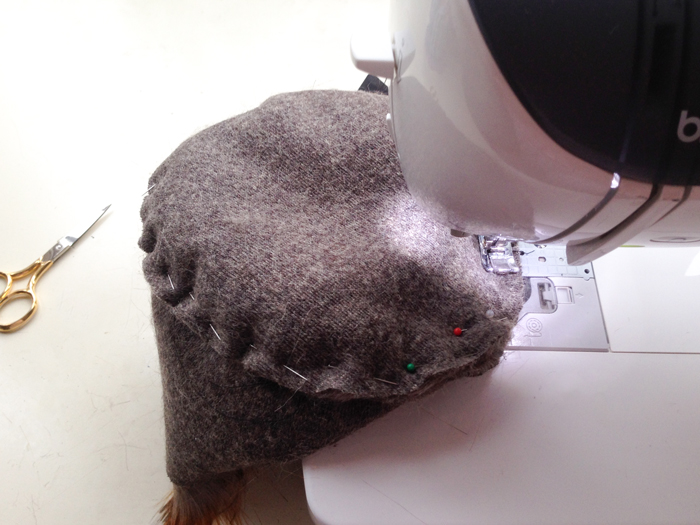
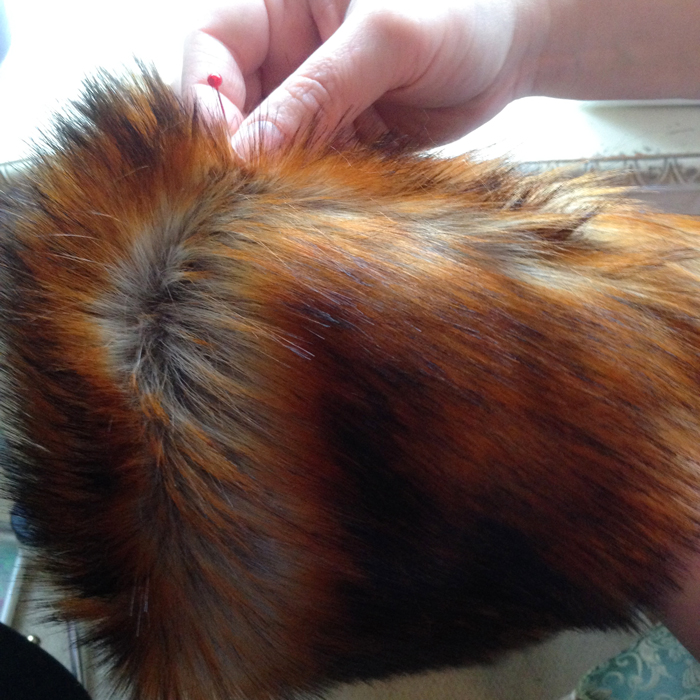
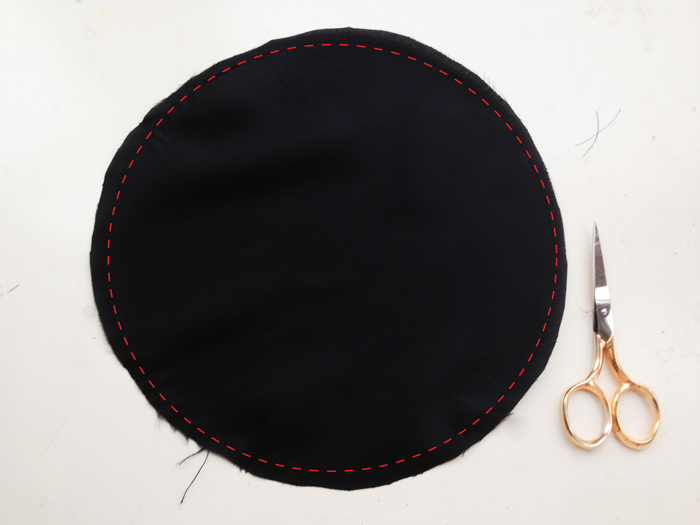
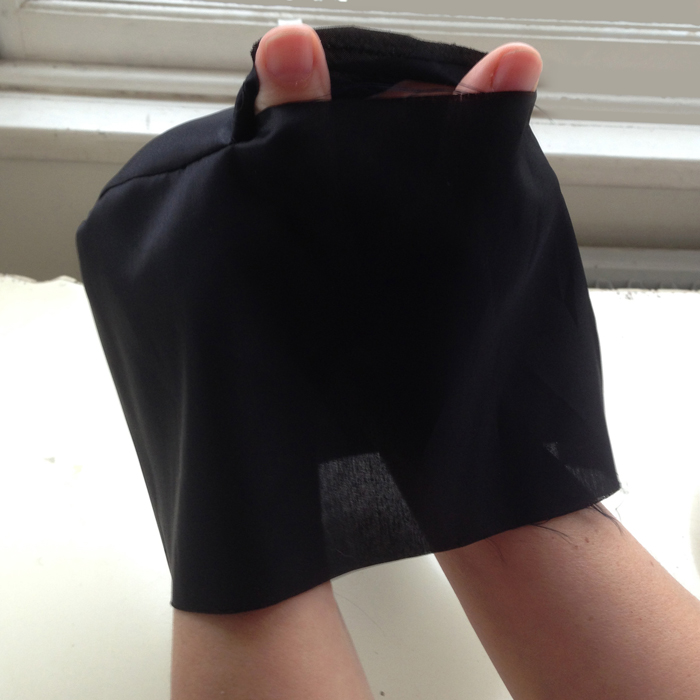
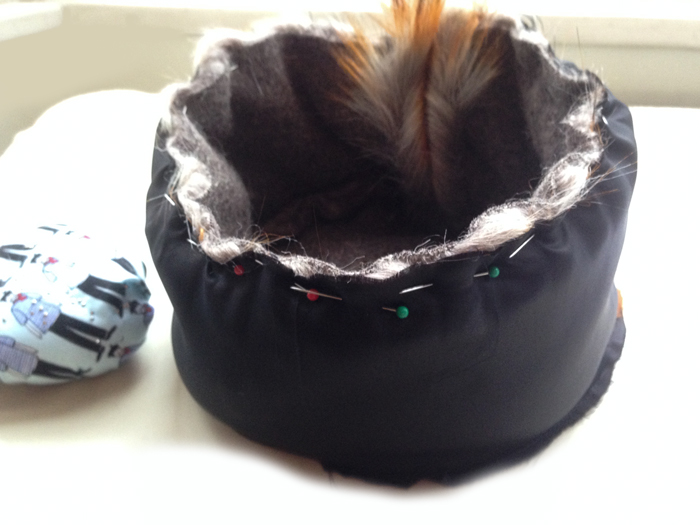
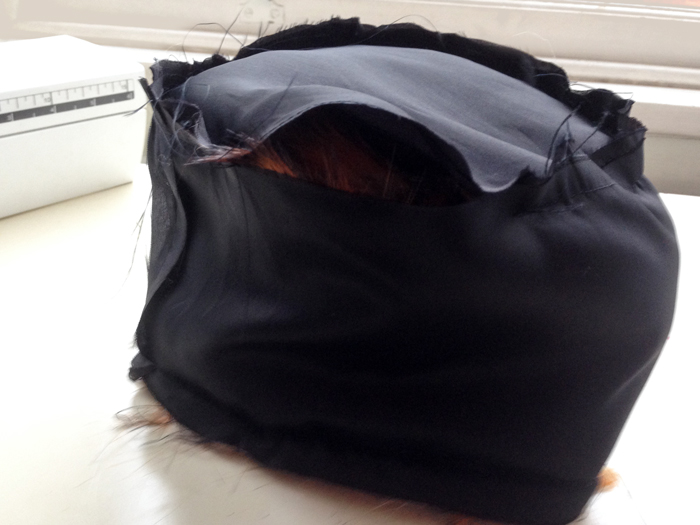
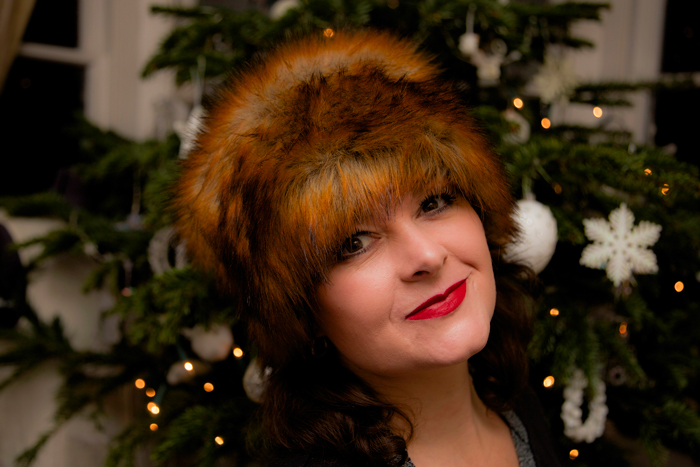
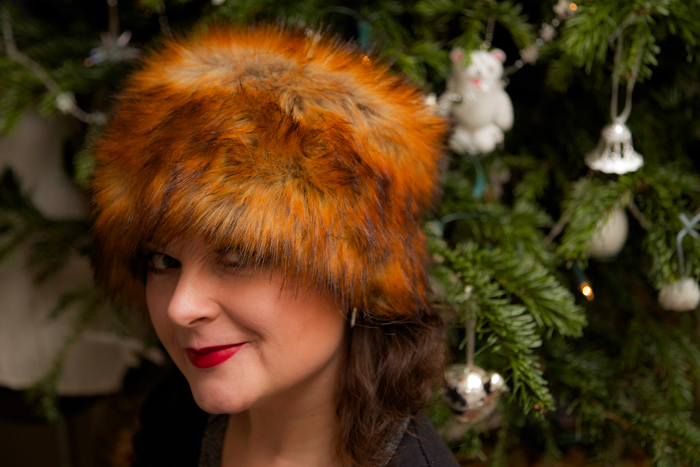
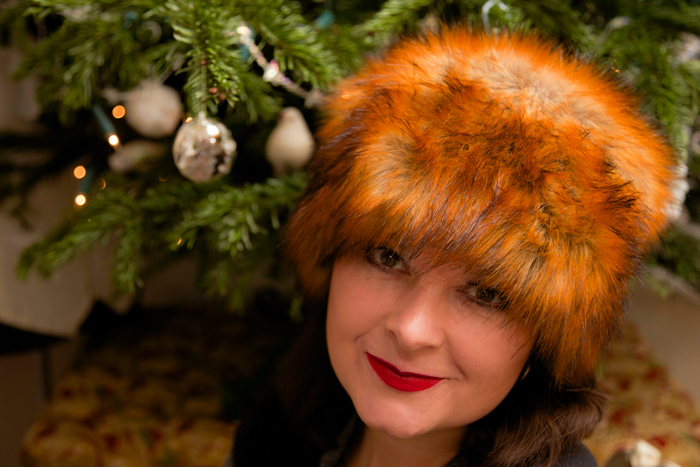
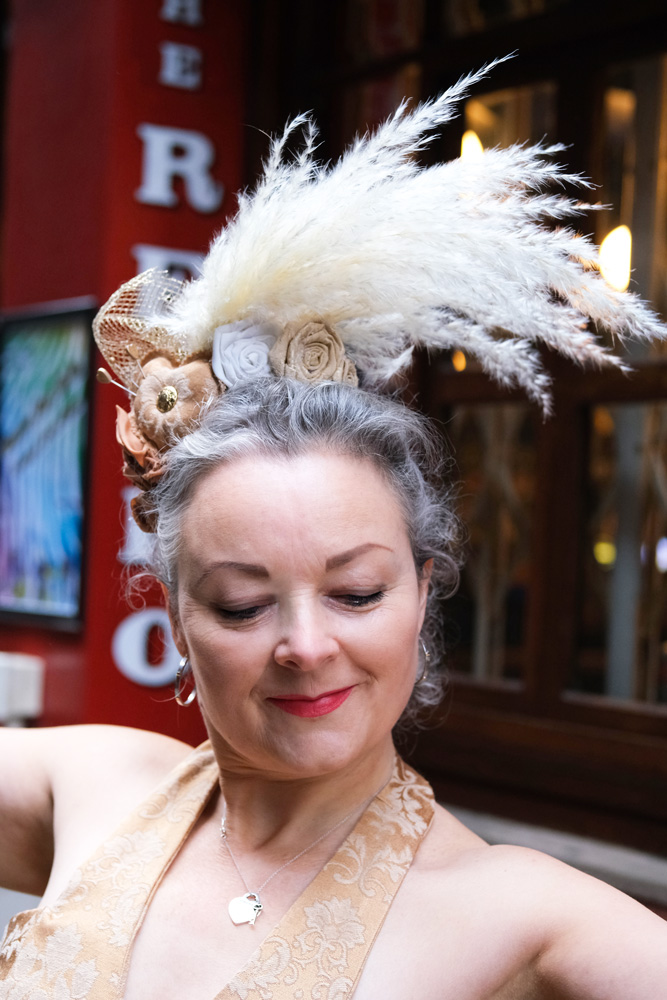
Before I sign off I must also mention my headpeice, hat, fascinator… I still don’t know the correct way to adddress it. But I made it. And I’m proud of it. And it was also formed from materials I already had to hand, ticking that sustainability box once more!

The plume is actually a piece of Pampass grass that I snaffled from the studio garden! The heart shaped pincushion is made from the leftover scraps of the dress, stuffed with overlocked offcuts and adorned with a gold lonesome vintage button from stash. I sprayed the pin heads gold, of course. The remaining flowers are made from scraps of the dress and lining fabric and the gold netting is also reclaimed.

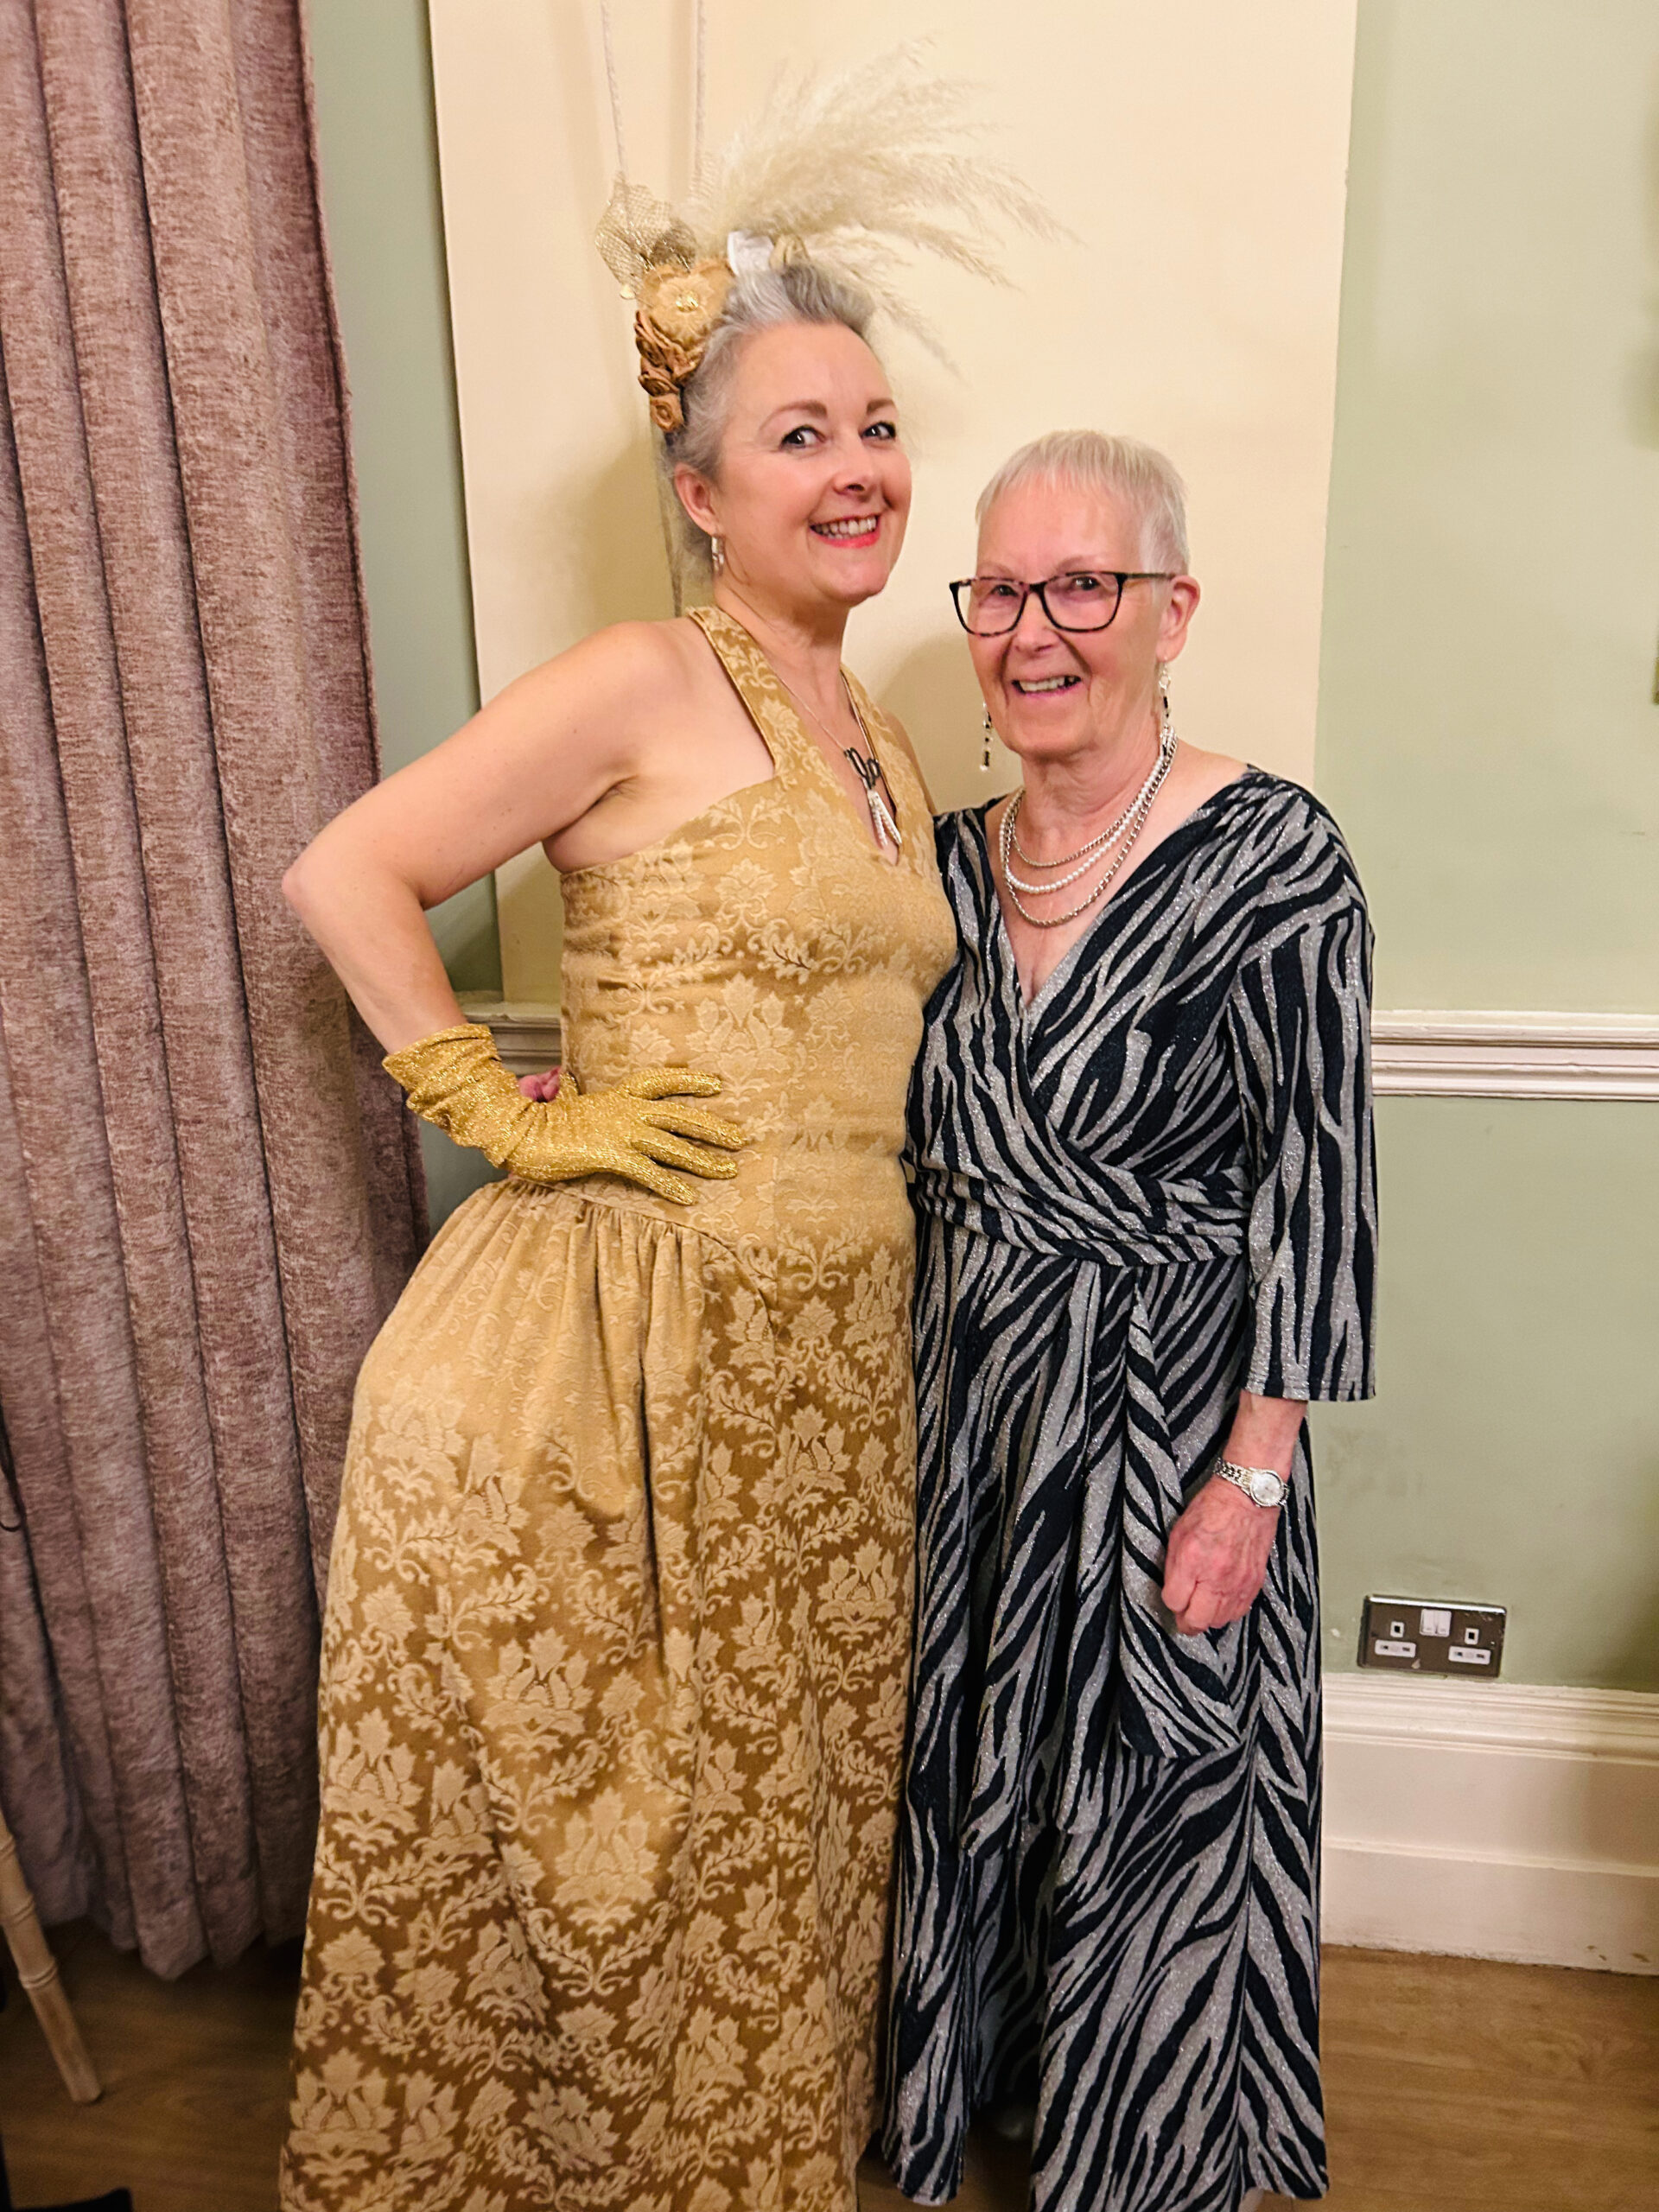
I must also include this photo of me and my mum, taken at the ball. She is the reason I sew. I’m so privileged to have inherited so many skills from her and I’m so proud that at 80 years young she is still sewing and finally took some time out of making for everyone else to make herself a gorgeous gown too.

And all that remains to be said is thank you. If indeed you reached the end of this marathon post. Or even if you didn’t, I totally appreciate your time and support. If you have any thoughts or questions please leave them in the comment box below and I will very happily get back to you. I can talk about this outfit till the cows come home. Just in case you didn’t gather that already!

Make your own Zhivago-inspired fur hat: FREE pattern download

make your own fur hat free patternquick sewing projectHappy new year lovely followers!

I’m so delighted to share this pattern with you as my first post of 2015. It’s a timeless, vintage-style fur hat that will keep you warm and toasty in the most stylish way possible! And it’s a real quick project to sew up for that quick sewing fix when time isn’t on your side!

It really is so super easy to make. Just download and print out the FREE_fur_hat_pattern and follow these few simple instructions. The hardest thing about this hat will be to get your hands on some quality fur of the faux kind!

The pattern corresponds to my head size which is 22.5 inches or 57 cm.
You may need to adjust the pattern to personalise the fit.

You will need:

  • 1/4 m of faux fur (retailers will only usually sell you 1/2m at a time but its often worth an ask!)
  • 1/4 m of lining fabric (or find some scraps in your stash)
  • coordinating thread
  • a vacuum cleaner to hoover up all the fluff!

Instructions:

  • Make sure you print out your FREE_fur_hat_pattern at actual size, and check with the test square (on page 4 of the pdf) that it has printed correctly. Cut out and paste the sheets together to match the layout on page 1 of the pdf. Complete the hat band and crown sections as full pieces as instructed on the pattern then cut out.

NOTE: Before you pin the pattern to your fur fabric, think about what direction you prefer the fur to lie. On this particular hat I made, the pile strokes downwards on the band, from the top of the crown, down towards my eyebrows! On the top circular piece, it strokes from front to back. Incidentally, the centre back of the hat is where the band is seamed.

TIP: When cutting your fur pieces, cut on the reverse and just snip carefully through the backing fabric so as not to cut through to the actual fur on the right side. You will achieve a much better finish on the seams.

  • Pin the pattern to your fur pieces and cut out, paying heed to the tip above.
  • Pin and cut out your lining pieces. It doesn’t matter for the circular lining piece but make sure the band is cut on a straight grain to avoid stretching.
  • Take your fur band piece and fold in half, right sides together. Pin the short ends together, making sure the fur is tucked inside, and stitch using a 1.5 cm seam allowance following the direction of the fur.

seam fur band

TIP: When sewing fur fabric, Increase your stitch length a little so prevent thread tangling.

  • Finger-press the seam open and hold in place with a couple of tacking stitches top and bottom of seam.
  • Pin the fur circular crown piece to the hat band, making sure the fur is tucked in and checking the direction of the fur is correct. See note above. Sew the seam using a 1.5 cm seam allowance.

pin and stitch crown to band
Pin and stitch crown to band

  • Turn right side out. Using a long craft pin (a normal pin or needle will do) drag it along the seam allowance to free the fur that has got caught in the seam.

picked trapped fur from seam with pin
Pick trapped fur from seam with pin

  • Now take your lining piece for the band, pin the short edges together as above and stitch with a regular stitch length and a 1.5 cm seam allowance. Press seam open.
  • Stay stitch the circular lining piece within the seam allowance, to prevent stretching.

Stay-stitch circular lining piece

  • Pin the lining piece for the crown along one edge of the band and seam together, leaving a about 4 inches / 10cm open for turning.

leave opening in lining
Leave opening in lining

  • With right sides together pin the rims of the lining and the fur hat together. Effectively the fur hat will be sitting inside the lining. Pin together, matching the two centre back seams and stitch along the entire edge, securing the stitching, beginning and end.

Sew lining to outer fabric
Pin and sew lining to outer fabric

  • Turn the hat to the right side through the opening left in the lining, and you’re almost done!

Turn hat to the right side through this opening

  • Pin the lining opening together, tucking in the seam allowance, and slip-stitch closed. With matching thread, obvs!

Slip stitch the to close the opening in the lining
Slip stitch to close the opening in the lining. With matching thread obvs!

Now all that is left to do is to don your new fancy fur hat, step out in the snow and hum the theme tune to Doctor Zhivago!

Please shout if anything is unclear. I’d be delighted to hear how you get on.

Faux Zhivago: handmade retro-style fur hat

handmade fur hat

I watched the film, Doctor Zhivago lots of years ago, snuggled up on the sofa with my mum. Can’t say I remember much about the plot but the music and the coats and the hats stayed with me for sure!

So when I found a crazy retro-style furry black hat in Oxfam, I knew I could and should shamelessly copy and create one of my own even if I didn’t have the lips to pull of a sultry pout, Julie Christie style.

So here is the Ooobop faux fur, Zhivagoesque, vintage-style hat that will laugh in the face of any Russian-style snowfall that threatens over the next few days.

handmade vintage style fur hat

I care not if my children walk ten paces behind me.

I care not if Mr O likens me to Rab C Nesbitt’s Wife.

And I care even less for all those sideways glances in the high street. They are just jealous eyes!

My ears are warm. My bad hair day is irrelevant. And Lara’s Theme tune is on loop!

handmade fur hat Doctor Zhivago style

The faux fox fur – I keep having to state faux because it actually feels too real to be faux! – was a bit pricey but it was a justified birthday spend up gifted by my lovely mum. I got it in A-One Fabrics in the Goldhawk Road and it is such good silky quality. Only needed half a metre and that was enough for a trial one that went wrong, this one which didn’t, and perhaps a matching fur muff to come! Do people even wear those nowadays?

I probably don’t need to declare that it was Mr O that took these fab photos – late last night, with next to no light but one of those god-awful energy saving bulbs and a few fairy twinkles. I certainly wouldn’t have had the patience. Very happy to sit with a glass of bubbly under the Christmas tree while he worked it though!

I was hoping to have a little tute prepared for you to accompany this post but that was serious wishful thinking on my behalf! Working on it nonetheless. And for anyone who fancies a furry head warmer like mine I’ll be posting a pattern and a tute next post, post-haste!

Till then lovely followers, I wish you all the loveliest of wishes; Wrap up warm, keep safe and beware the nutters on the road!  x

handmade fur hat

ooobop! Lucky Hat

lucky hat

I had the perfect sewing window today – Little Miss O at a party for 4 whole hours and a day far too chilly to hang outside for my liking!

But I wont dis the weather – that would be far too predictable for a Londoner – I will embrace it. And so I hatched  a plan to make a hat. I really don’t know how I get through every winter, convinced I don’t suit a hat, and freezing my poor little pixie ears off for the sake of not looking like (more of) an idiot!

So spurred on by the prospect of a toasty bonce coupled with an opportunity to make a minor stash bust but best of all, make a perfect showcase for one of my favourite buttons, the mini mission began!

lucky hat

Mr O had a similar hat – albeit a bit more manly! – so I set about drafting a pattern. I have quite a big head so this was another good reason to make one. If ever I find a hight street hat that I vaguely like, the chances are it will be too small!

Little Miss O found this button in a biscuit tin at a vintage fair in Islington last year. Just a single lonesome button with the word ‘Lucky’ on it. Could sure do with some of that ‘luck’ stuff right now so here’s hoping!

lucky button

It’s got an interesting stamp on the back but I can’t find any reference on line from where it might have come from.

lucky button

To create the decoration, I made a ‘yoyo’, my first one in fact! For those that don’t know,  a yoyo is a circle of fabric (in this case the circle that was cut out for my head hole!) gathered close to the outer edge and pulled tight. The raw edges are tucked inside and some reinforcement stitched sewn. Of course a statement button is a brilliant idea to cover up the scruffy bit in the middle. Velvet is not as manageable as cotton but a few needle pricks later, the result was very acceptable!

lucky hat decoration

I wore my new hat down to our ‘local’ for dinner tonight but didn’t take it off. I was a bit worried about the hat-hair issue. But hey, guess what happened when I took it off when I got home?! Hair looked better than it did pre-hat!

The outer fabric is a cotton velvet, wonderfully donated to me by a friend who was having a clear out. There are many more metres so I am contemplating a matching jacket! Contemplating I said!!

lucky hat

The inside is fully lined with a matching poly lining so it feels really neat. The band was machine stitched, right sides facing and then turned inside like giant bias trim and hand stitched to the seam line, using an uneven slip stitch. The stitches were quite small and sunk into the pile of the velvet so I am very pleased with the results.

I’m pretty sure this kind of hat will go with vintage or modern styles. Just need to make a few more in different colours!

Thanks to the wonderful Mr Ooobop! (of course) for the fabulous photos!