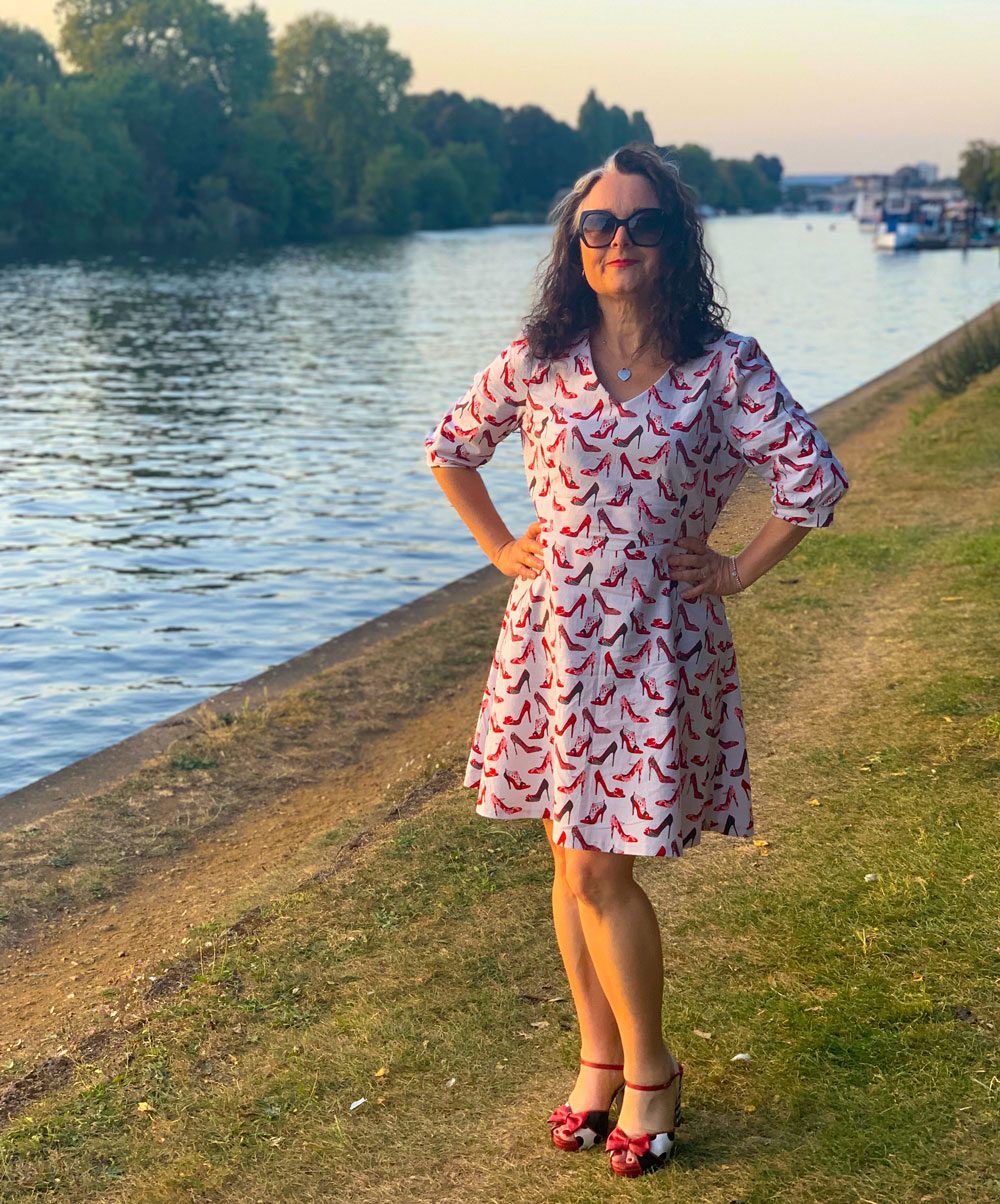
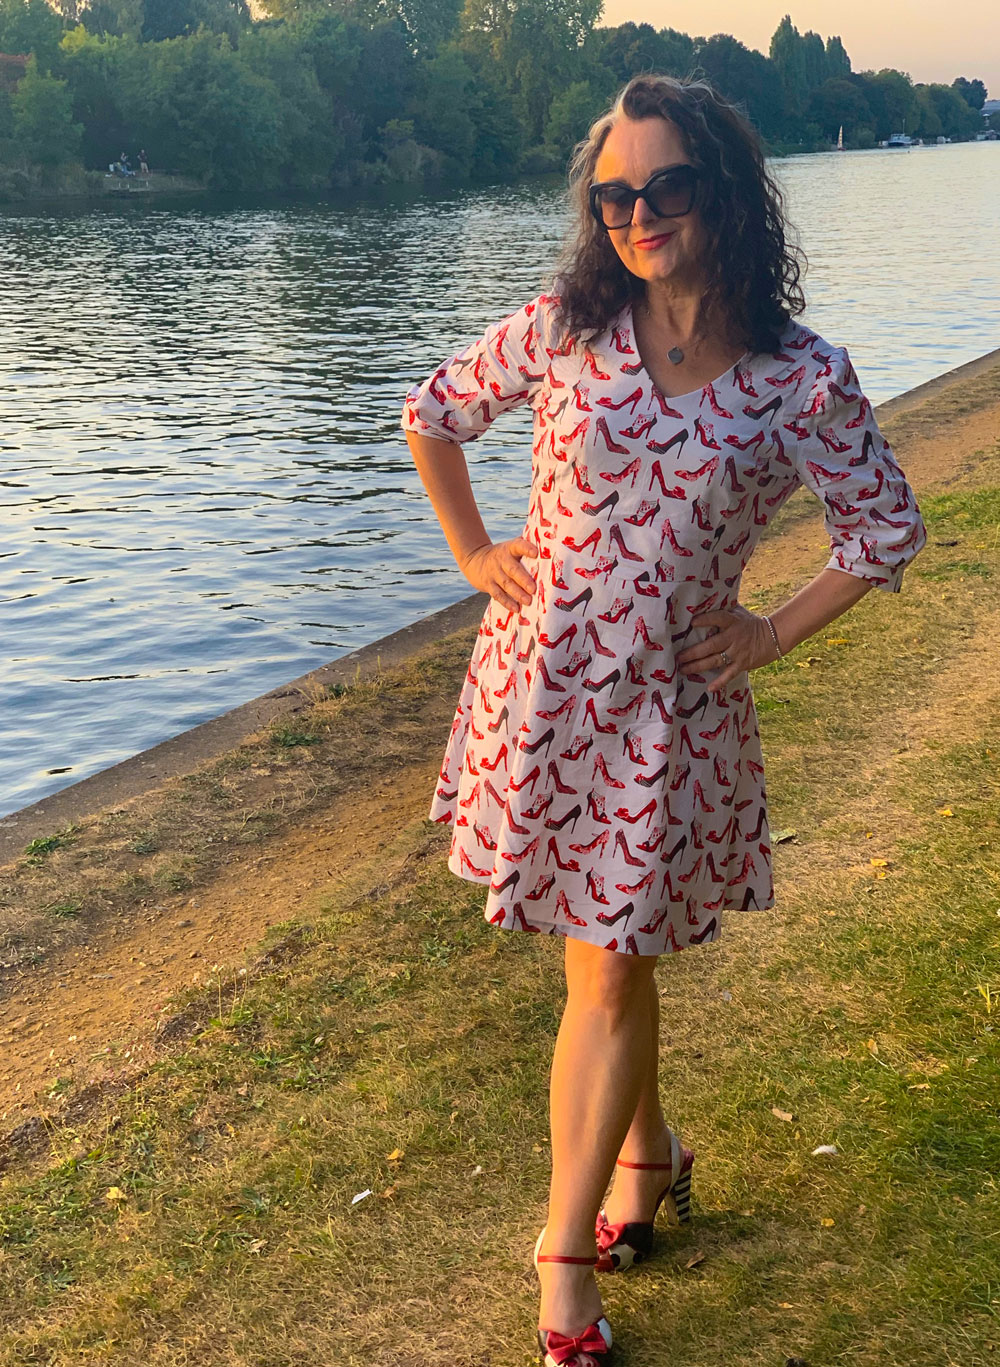
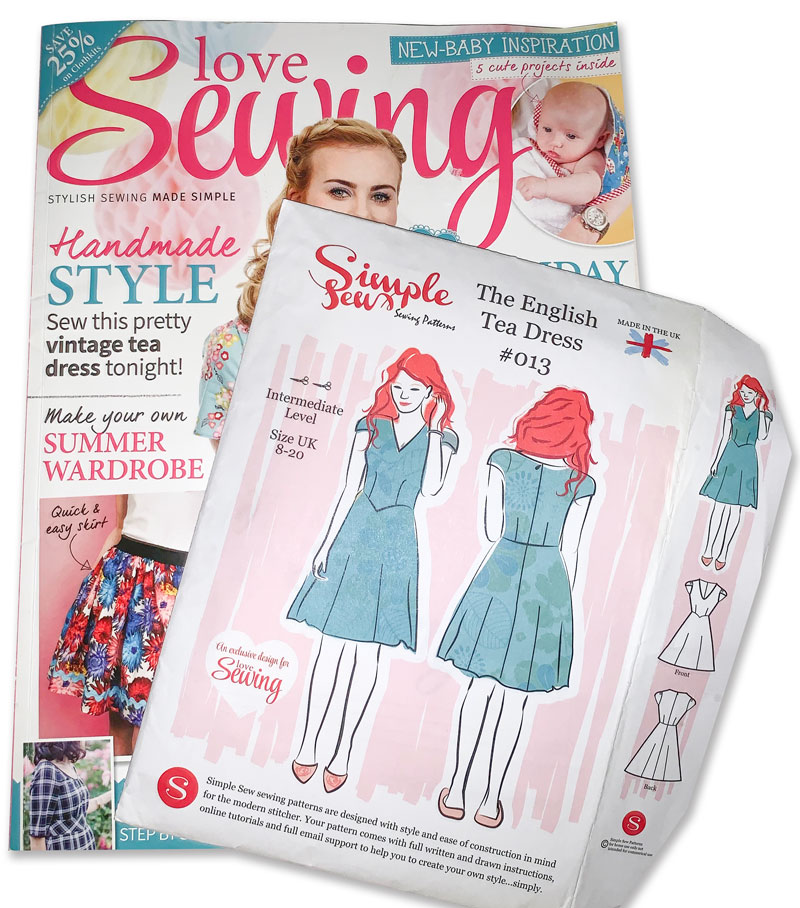
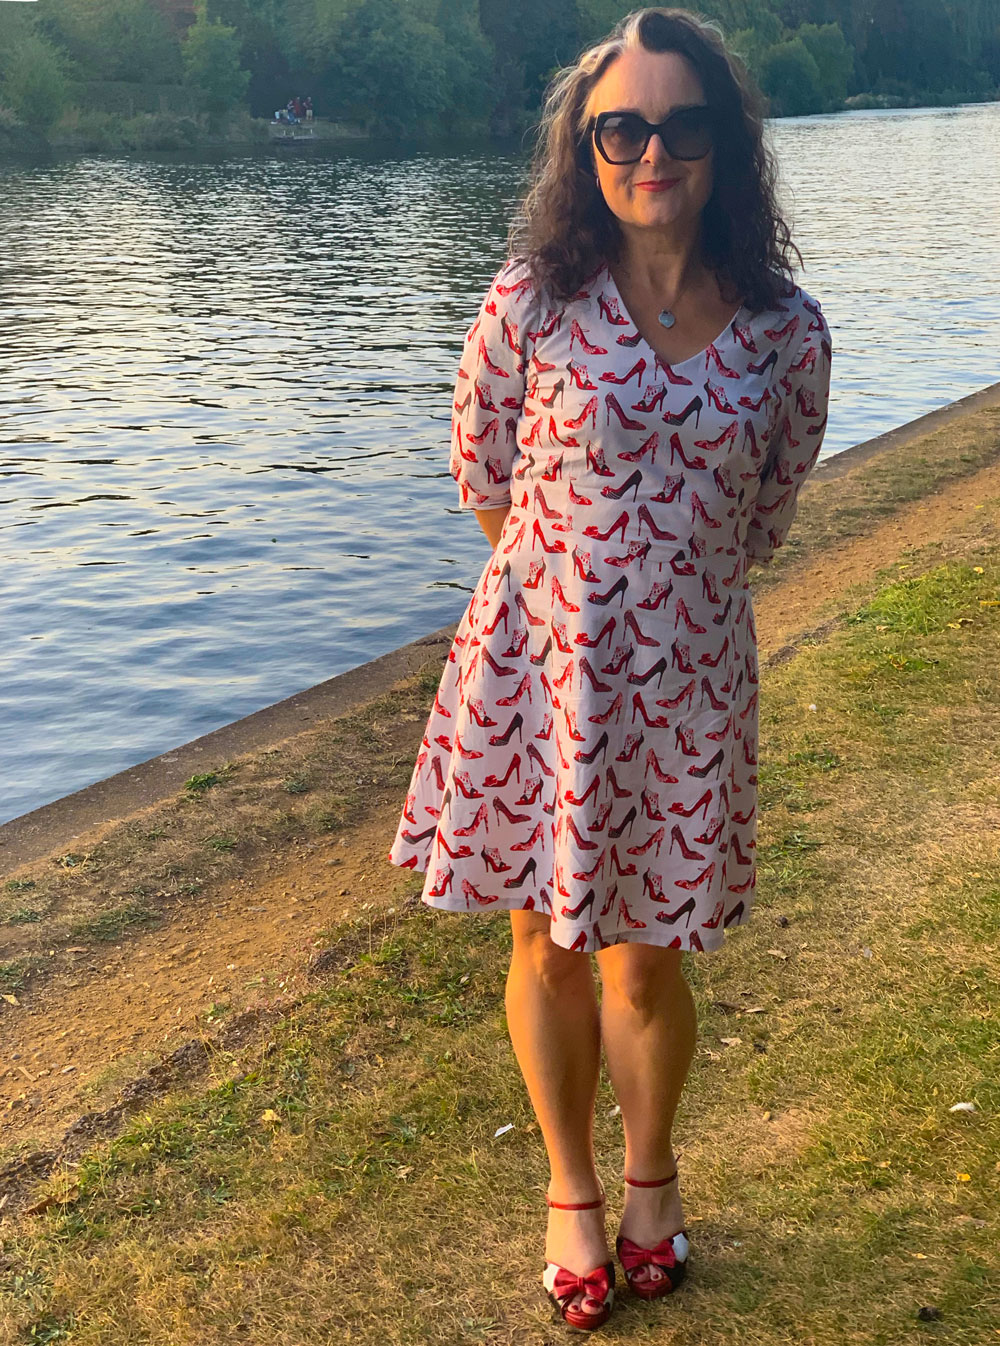
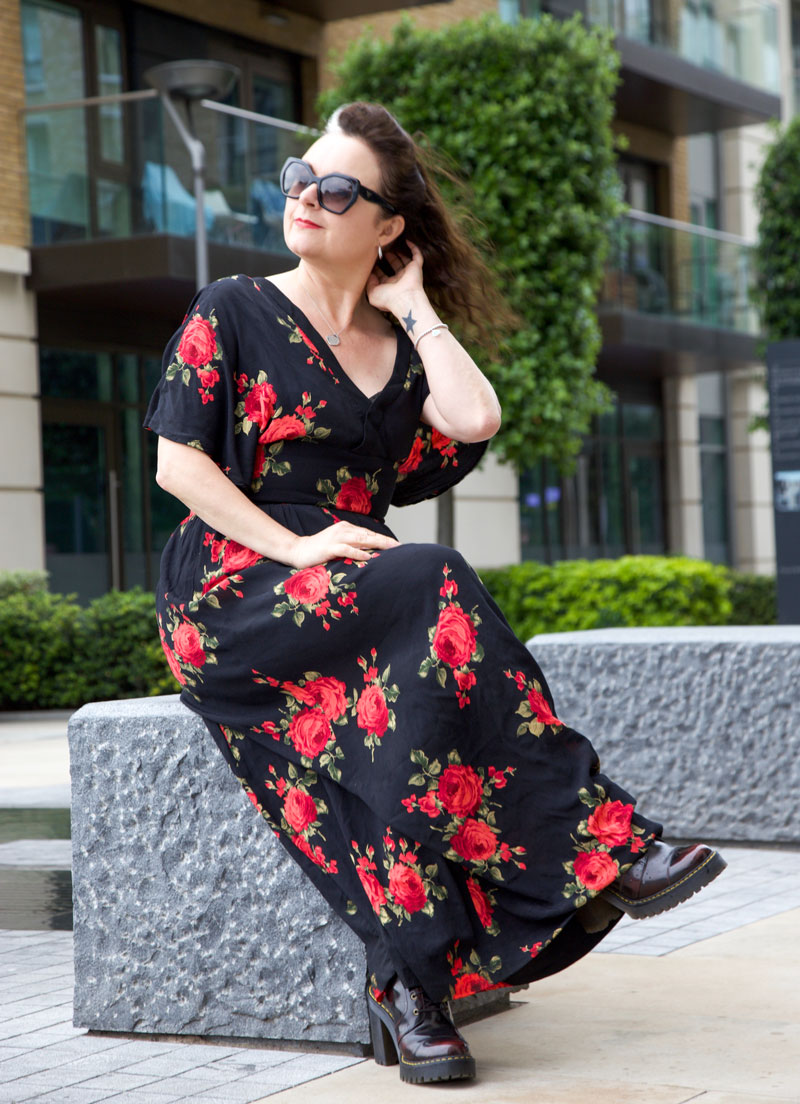
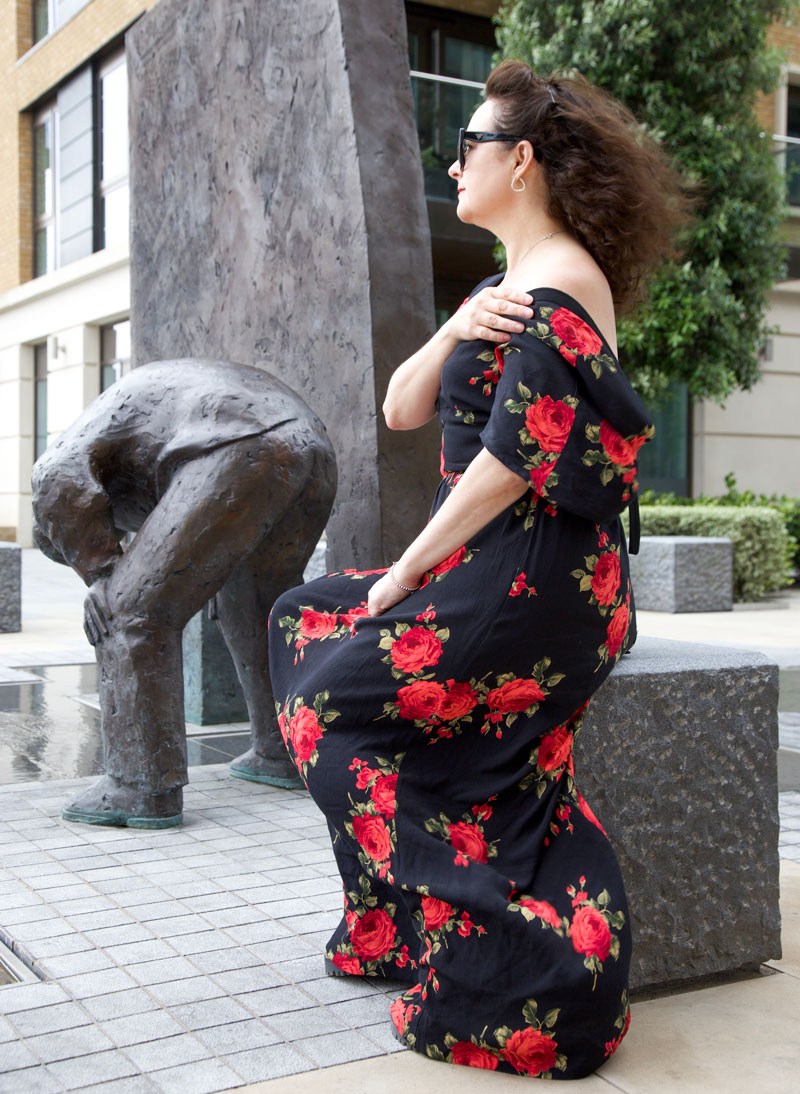
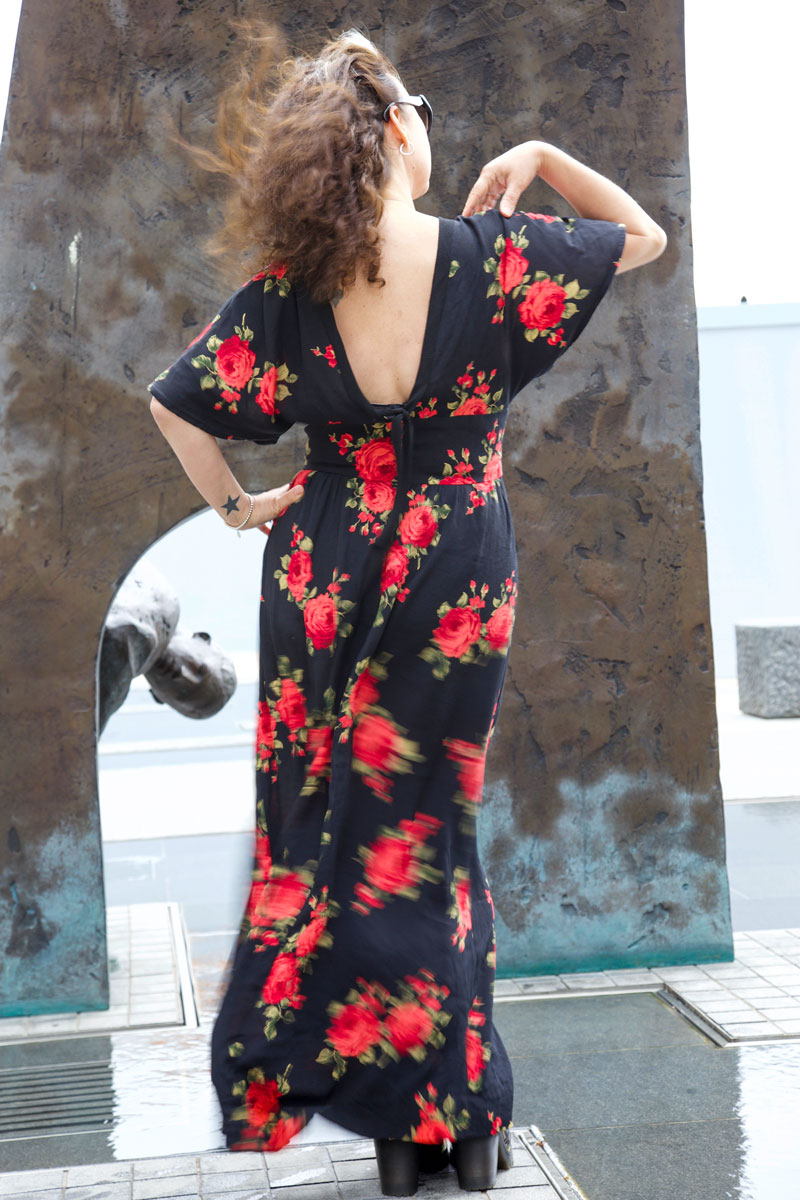
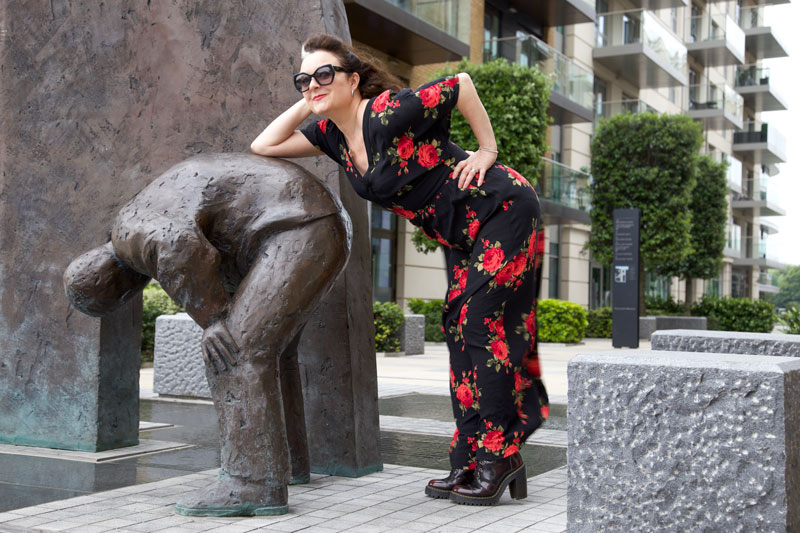
This was exactly the kind of pattern I was looking for when I was actually hunting for something else! I’d put it aside (read, under the sofa) as a not-so-taxing project for when I got a few hours down time. The back cover blurb was all-encouraging of this, too.
Like many other sewing people, I’ve been on a mission to work through my stash fabric before buying anything new, in the name of sustainability and also the hope of gaining some floor space in my bedroom!
And this dress pattern is perfect for all those 2m lengths I purchased. It requires 1.90m of 60″ fabric for all sizes 8-20 – sleeves and all – which is pretty damned economical really.
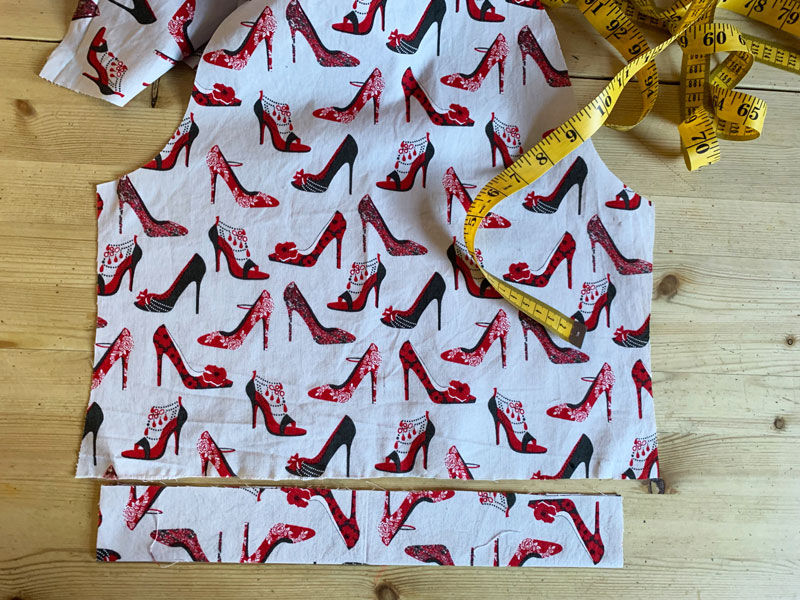
I had 2m of what I believed to be 45″ wide cotton fabric and that almost fitted the bill. I just had to shorten the skirt by 2inches to fit all the pieces on. Especially as I then found out that it was only 43″ wide. I’m guessing it shrunk in a prewash – better to have found out at this stage of the game though! But still I had to count my chickens that all the pieces fitted considering the direction of the design. Upside down shoes would have been disastrous!
All went swimmingly but I’m amazed at the lack of notches on the pattern pieces. There was one to mark the front sleeve placement and ordinarily that’s pretty crucial but in this instance the sleeve pattern folded near enough symmetrically so it wouldn’t have made a spot of difference.
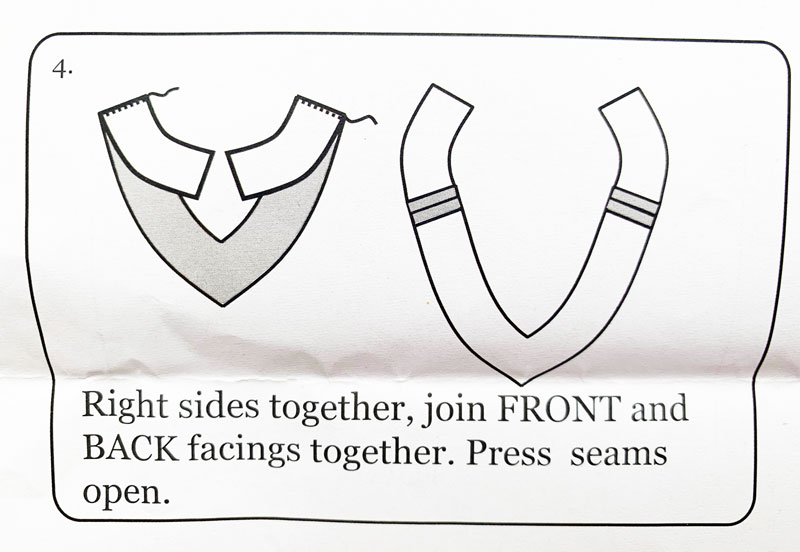
But that was it on the notch front! Piecing the front and back facings together had me thinking, which is a bit lucky as it prompted me to place over the bodice neckline to check I was sewing the pieces together the right way round. It would have been so much more helpful to have a marker on each of the shoulder seams.
TIP#1
Mark notches on the facing pieces so you remember to sew them the correct way round
And if I’m being picky (moi?!), the side seams of the skirt would have benefitted from a notch or two. They are bias-cut and hence a little stretchy so a midway marker would help prevent a potential pucker! I’ve marked mine for future use.
TIP #2
Align skirt pattern pieces at side seams and create notches for more accurate alignment
Adding to the facing part of the story – it was very useful and imperative actually, to include the snip at ‘X’ –the point of the V-neck. It did press nice and flat but I included 2 additional stages here:
TIP #3
Under-stitch the seam allowance to the facing to prevent it from rolling out at the neckline.
and then:
TIP #4
Hand stitch the facing to the shoulder seams to secure it in position stop it from popping out.
I’m being picky again. I know. But from past and bad experience, I can’t stand a flappy facing!
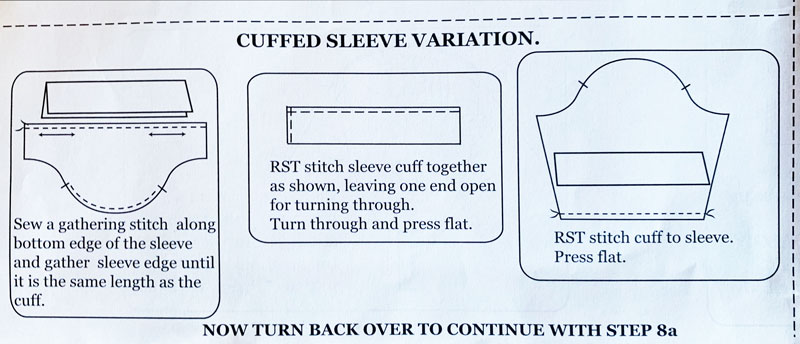
So all went well, despite lack of notches until I got to the sleeve section. And of course I wasn’t content to sew the options illustrated on the packet or in the accompanying issue of Love Sewing magazine (issue 15). Not only because I’m contrary but the 3rd non-illustrated nor photographed option was the best IMHO. The 3rd option being a half length, cuffed variety!
But, forgive me for being old and slow (and of course picky)… but how would you interpret these instructions?
Especially when the cuff was near enough the same length as the bottom of the sleeve. And yes I did double check I’d cut the correct sizes!
Bottom of sleeve not much wider than the cuff piece.
I spent way to much time thinking about this stage and then went off piste with this tip:
TIP #5
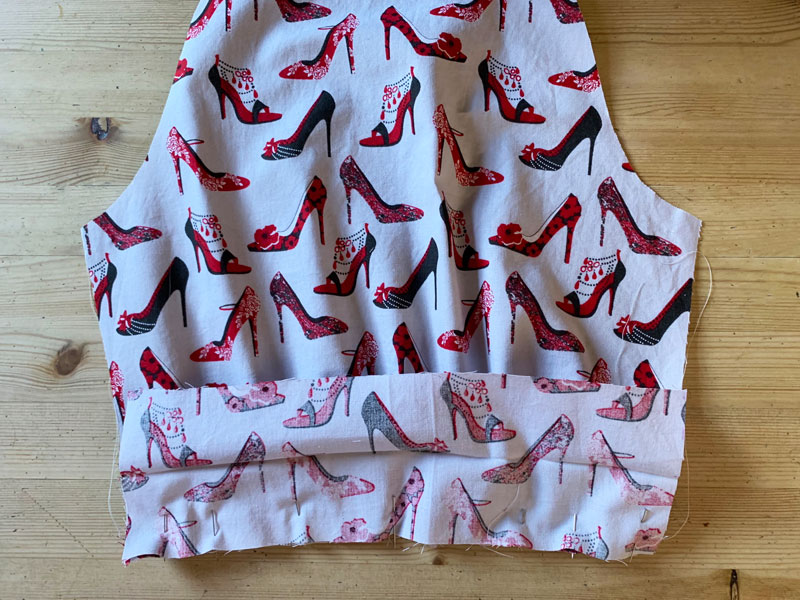
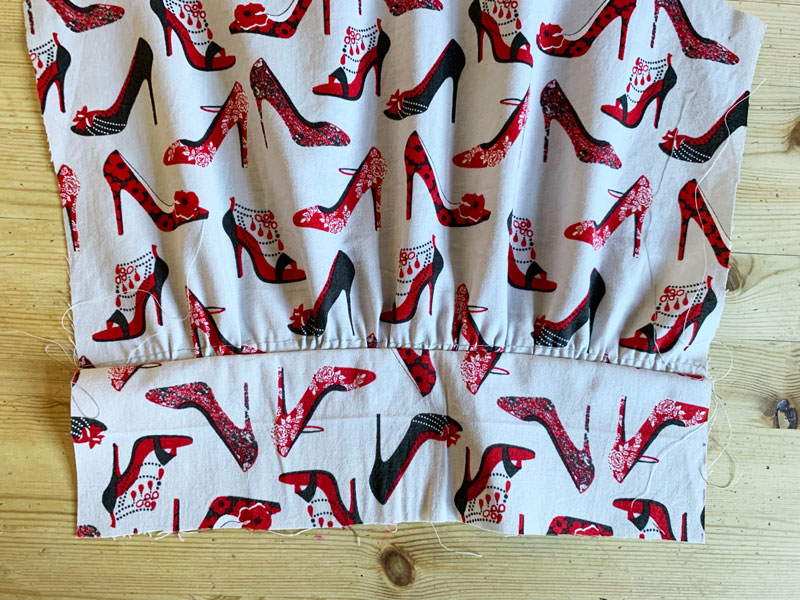
Measure your arm circumference, comfortably, just above your elbow and add 1.5cm seam allowance to each end. Trim cuff piece to this measurement. Press in half horizontally to crease the centre/ (ultimately the bottom) of the cuff. Gather the bottom of the sleeve as stated and sew right sides of the gathered edge to the right side of one raw edge of the cuff piece.
Cuff piece pinned to sleeve along raw edge. See the crease in the middle.Cuff sewn to sleeve. Spot the deliberate mistake!
Gather the sleeve head as instructed – although, having said that, it’s not really instructed from where and to where on the pattern piece, so I just mirrored the notch to the back and gathered between the two points. Sew the underarm sleeve seam all the way down to the bottom of the cuff. Press sleeve seam open. Press under 1.5cm on the remaining raw edge of the cuff and then fold the piece to the inside of the sleeve along the pre-pressed fold. Hand-stitch to the inside seam line to form a binding and finish the cuff. Remove gathering stitches and press.
Having worn this dress and seeing how the cuffs have curled, I might also use a light fusible interfacing to stabilise the cuff next time.
I hand finished the hemline of the skirt, of course. Just because a machined one would irritate me having invested so much time to go lazy at the last hurdle!
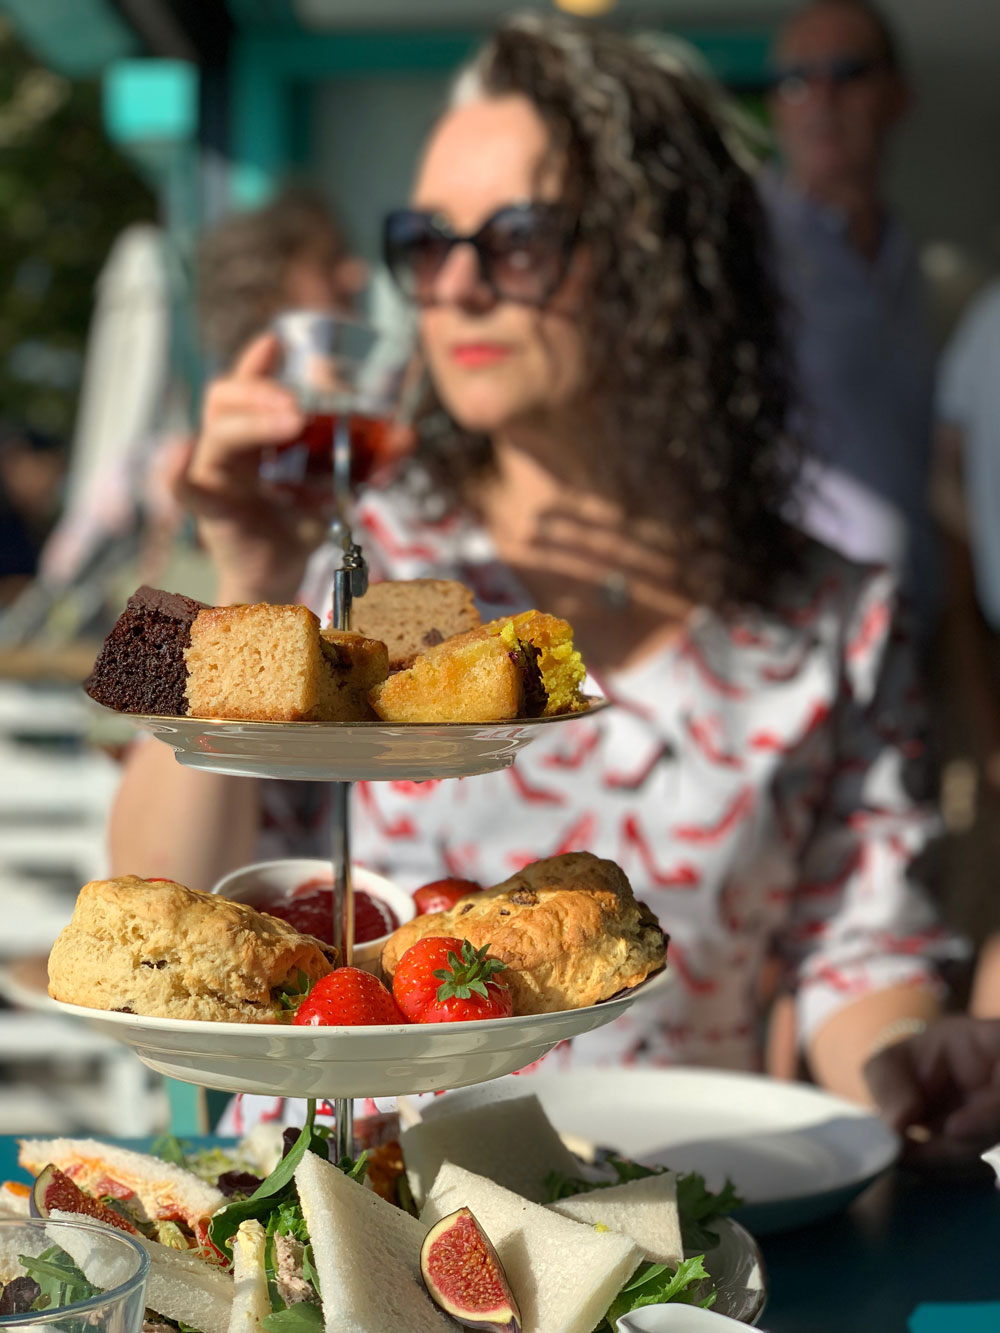
So where do you suppose I might have worn my English tea dress as soon as I made it? No prizes for guessing of course!
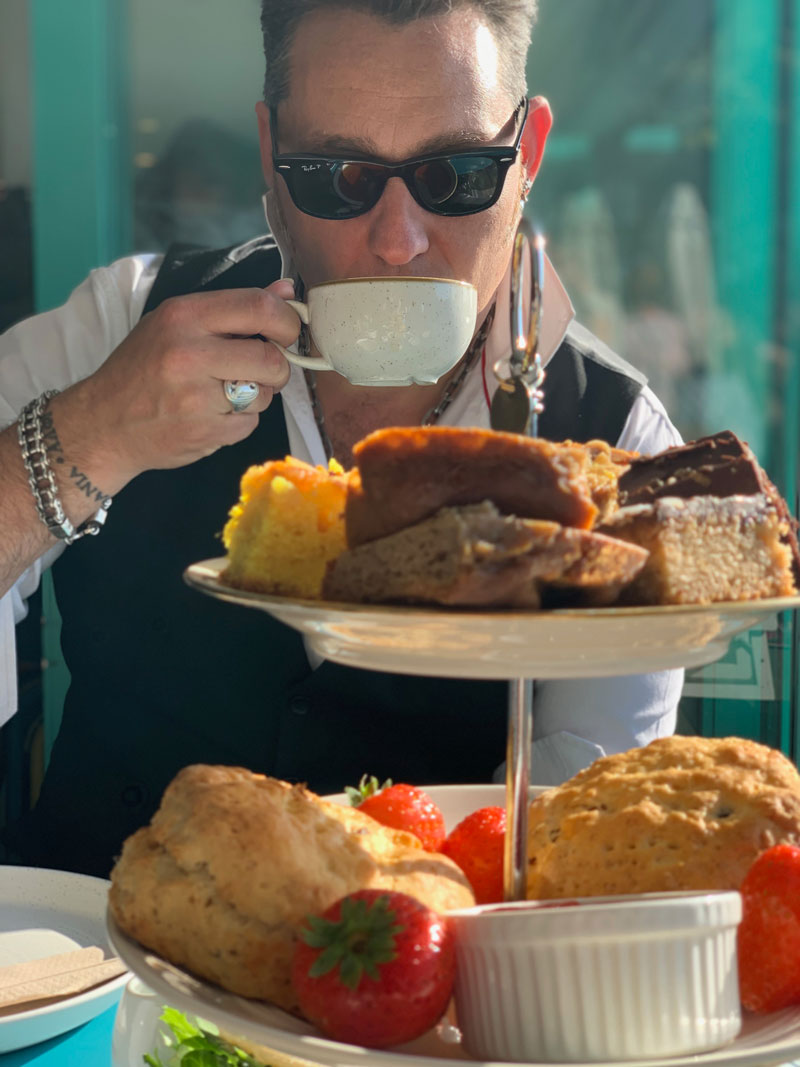
Vegan cream tea at The Ginger Bees cafe in Kingston-upon-Thames
Mr O and I went to The Ginger Bees cafe, Kingston-upon-thames riverside, for the most delicious vegan cream tea. Well, mine was vegan – Mr O went full on full cream!
Mr O enjoying his full on full cream, cream tea!
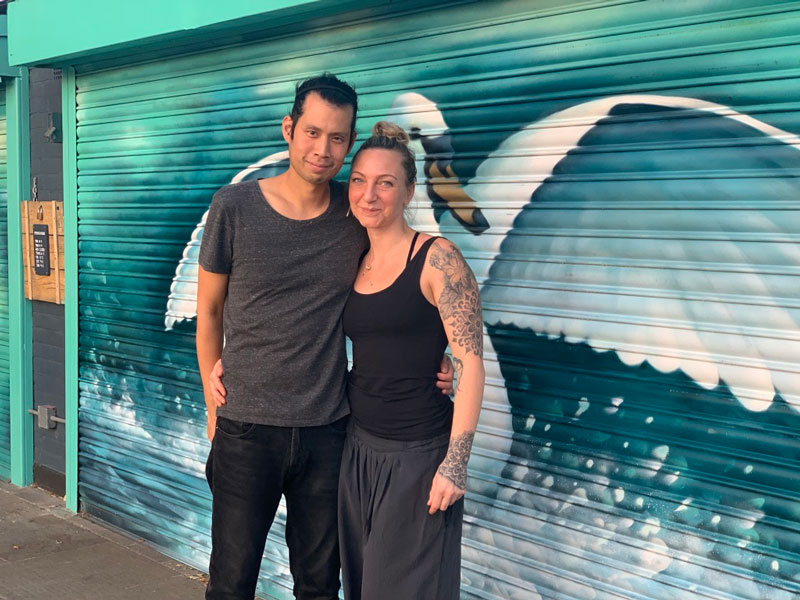
I booked the day before on recommendation and we were not disappointed. The lovely couple who bought the café just a year ago have something very special going on here. Thank you so much Gavin and Beth for looking after us. It was such a treat and the perfect occasion to showcase my new tea dress!
Beth and Gavin, owners of The Ginger Bees Cafe in Kingston-upon-Thames
There is joy to be had when you revisit a pattern that you know only needs a couple of tweaks. Even more joyous when the pieces have been sat in a basket, all cut out and are ready for a simple sew-together.
I’d almost forgotten about it. Though to be honest, the main reason for it sitting pretty was that I was unsure about the colour. I liked the pale blue, linen-like fabric when I scored it cheap all that time back from a closing-dowm sale in Ealing, but I just didn’t have a plan and so it took up residency in stash mountain for a very long time before it’s destiny was decided.
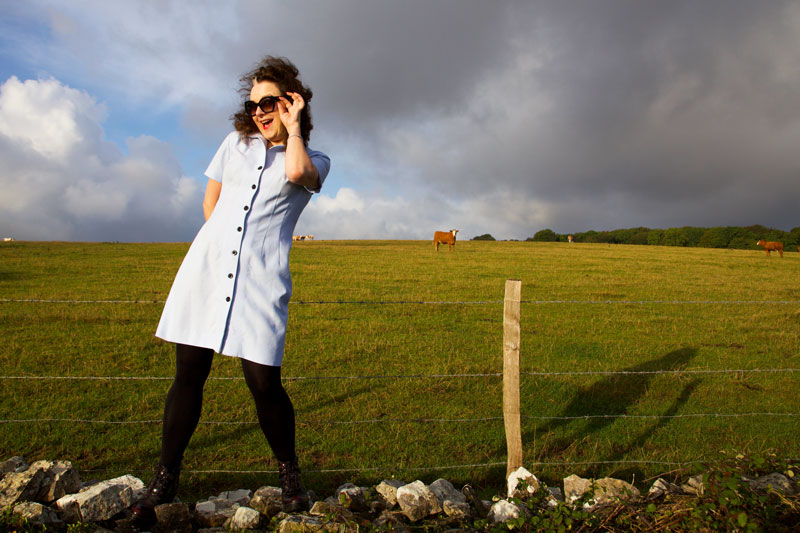
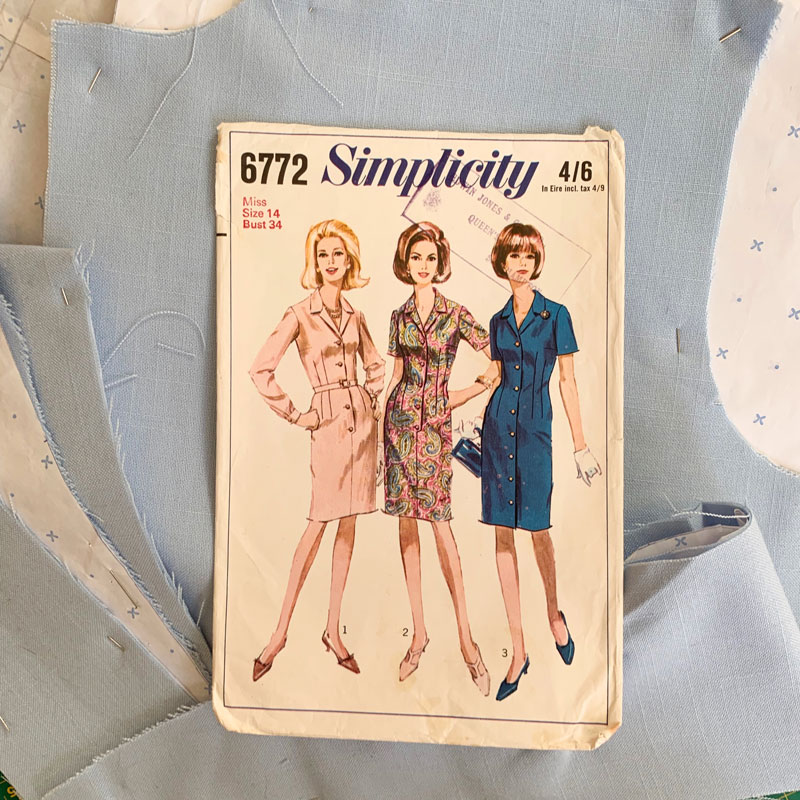
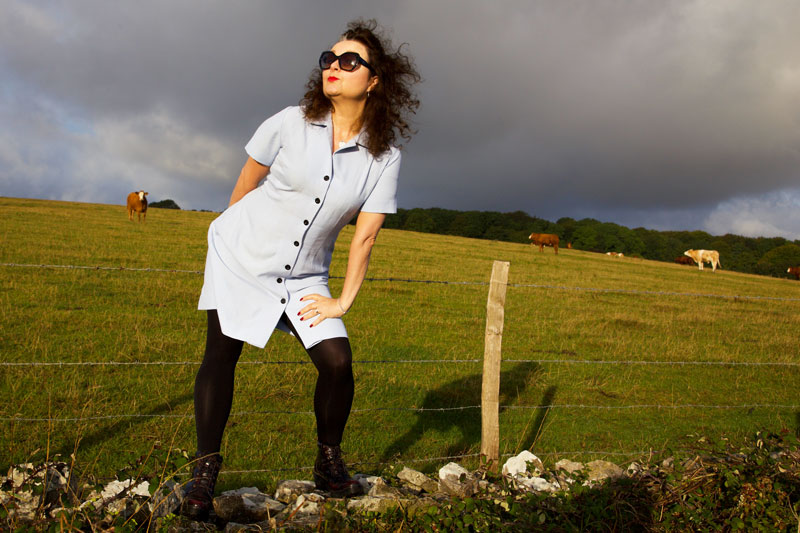
A little burst of consciousness about the wastefulness of my impulse buying spurred me into action to finish any WIPs before buying any more fabric and so I paired it with vintage Simplicity 6772 – one of my favourite vintage shirt dress patterns.
I used this pattern first in 2015 from suiting fabric – my worky shirtdress – which is perfect for an Autumnal wardrobe and it gets a lot of work-wear. This next version was going to be great for those warmer months.
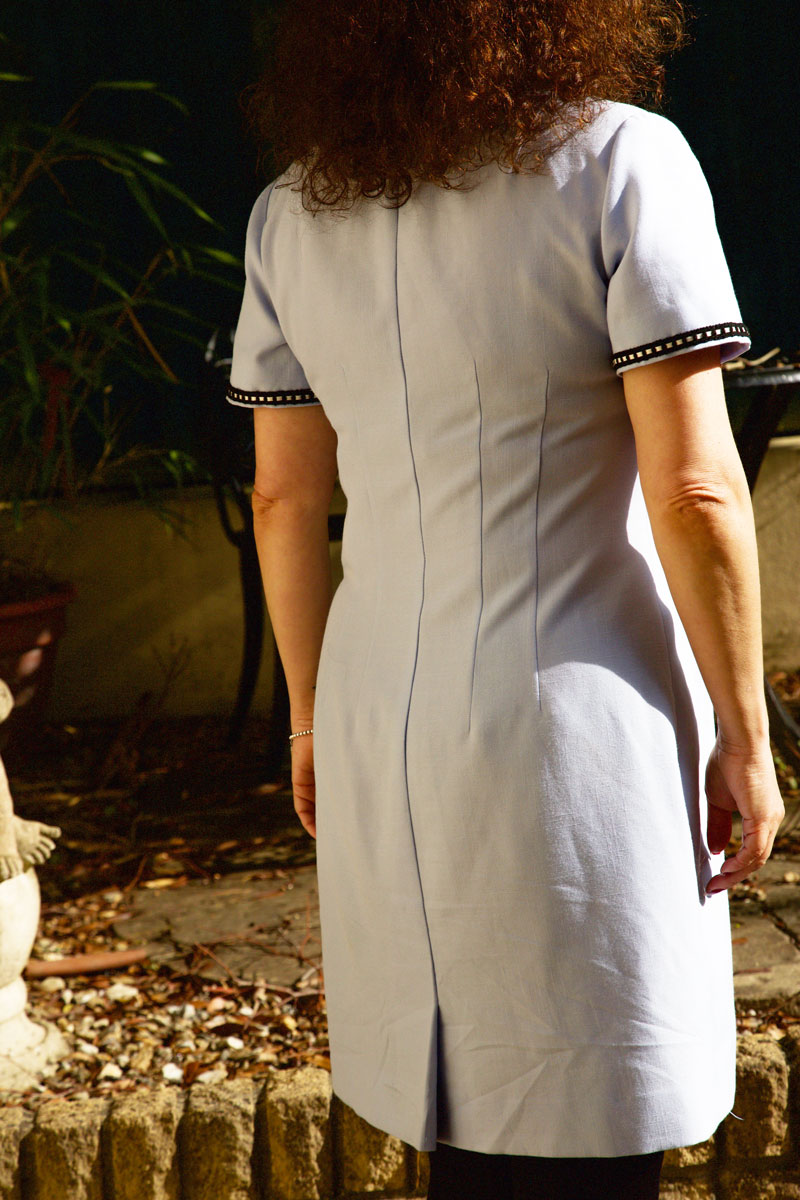
It sewed up beautifully. I took a smidge out of the ease of the sleeve head; shortened the hemline a little and I just loved the way it shaped up with all those darts. I used to hate sewing them but it really doesn’t bother me now especially when on realising how important they are for a great fit. It comes together pretty quickly, with no lining, and precious little hand sewing except for the hem and attaching the under-collar to the neckline.
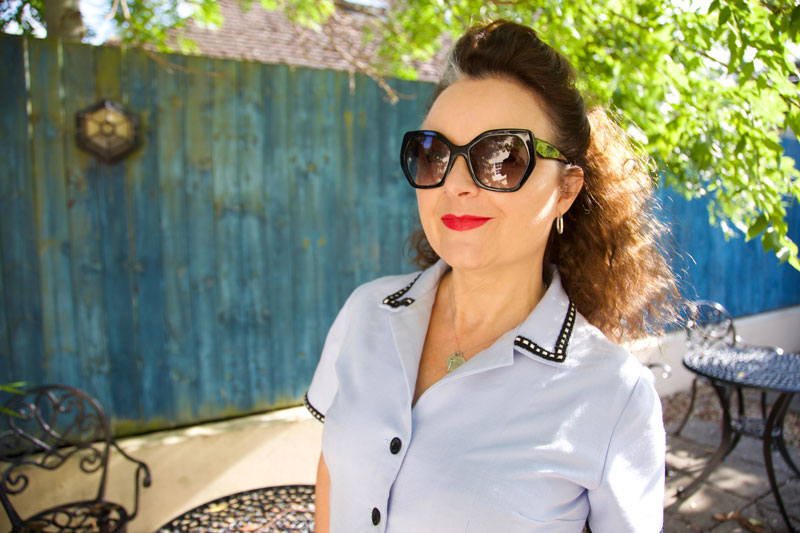
The only thing that bothered me with this pattern and fabric combo was that it looked a little ‘nursey’! I’m so not used to wearing light colours – my usual palette very much centres around red and black – and it was going to take a bit of getting used to, so I added some black buttons to subtract some of the ‘clinical’!
And I’ve been very happy wearing it until a ‘friend’ jokingly asked why I was dressed like a nurse. The cheek of it! Really struck a nerve and I was not best amused!
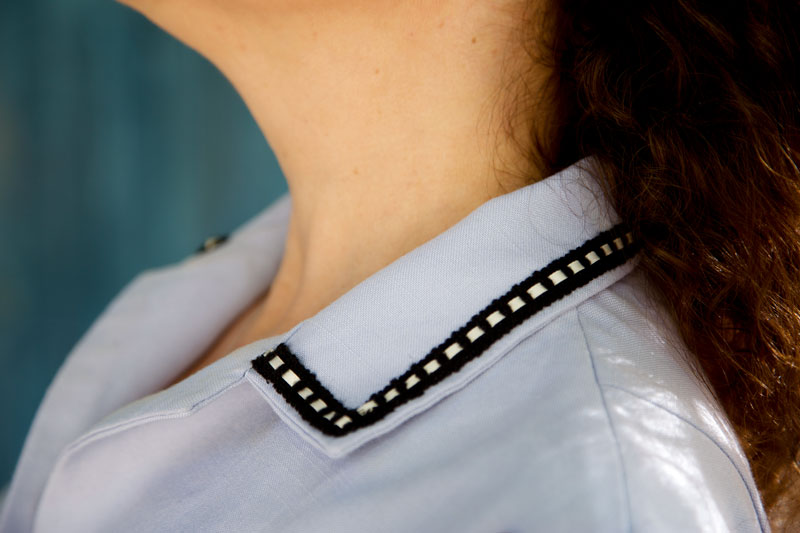
So, not to be defeated, I had a little rummage in the trim box and found some lovely ribbon-insert braid – just enough to edge the collar and sleeves.
I’ve just spent a lovely long weekend away in Devon with Mr O (hence the random poses in fields of cows) and this was a great little hand-sewing project to complete in the hotel room when those ominous black clouds did their thing outside.
And I’m really happy with the results. I think it’s a little less ‘care-worker’ and much more ’50’s diner waitress’ now. But that’s ok. I can live with that!
I’ve got more love for it now. Which is a good thing because this dress is so easy to wear and so flattering, IMHO! All thanks to some great pattern drafting and lots of perfectly placed darts.
The journey of this dress definitely provoked some thinking about my buying habits. My bad, bad buying habits where I’m swayed by a bargain and the belief that a cheap length of fabric will have an ideal use at some point. Unless it’s of fairly good quality and at the very least within my preferred range of colours, it’s not going to be put to use without compromise. And I don’t want compromise. It won’t feel right and that in itself will not be a fair exchange for all the hours of work invested. And also, I’m so over that ugly box tower of fabrics looming over my bed. Lesson learned… I hope!
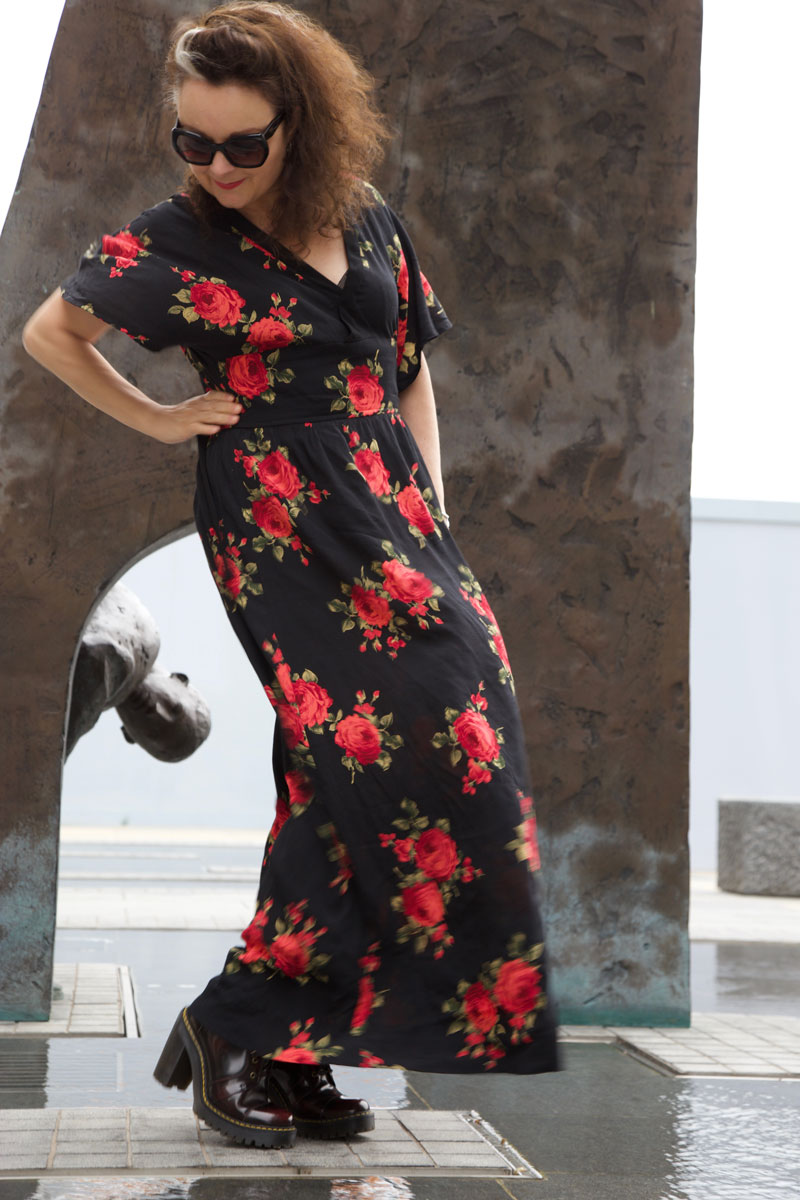
Now here’s a pattern that’s been hanging around in my stash for a considerable amount of time. And I’m so glad I held onto it because I knew it would do me proud one day.
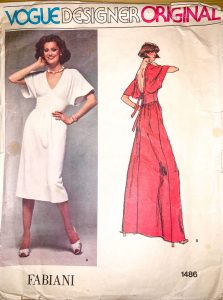
It’s a Vogue Designer Original by Alberto Fabiani allegedly from 1976. Though the shorter version A on the envelope could easily pass for 1980s.
Tickled by how the pattern envelope feels the need to help with the pronunciation of Fabiani’s name!
I love the simplicity of this dress. A speciality of Fabiani it seems. Cut-on sleeves; a ‘lightly’ gathered skirt; no lining; extension of neck-binding for ties.
I needed a dress to wear to my friend’s wedding and having made her wedding dress (yes, I promise that’s coming soon!) I didn’t have much time, brain-power or nerve left to deal with anything too complex. So this was the perfect pattern. Least I hoped it would be!
I had no fabric-shopping time either so it had to be made from stash. Surprisingly, for all it’s floor-sweeping sumptuousness it takes a mere 2.4m of 60 inch wide material. – Am I the only one who mixes metric and imperial?
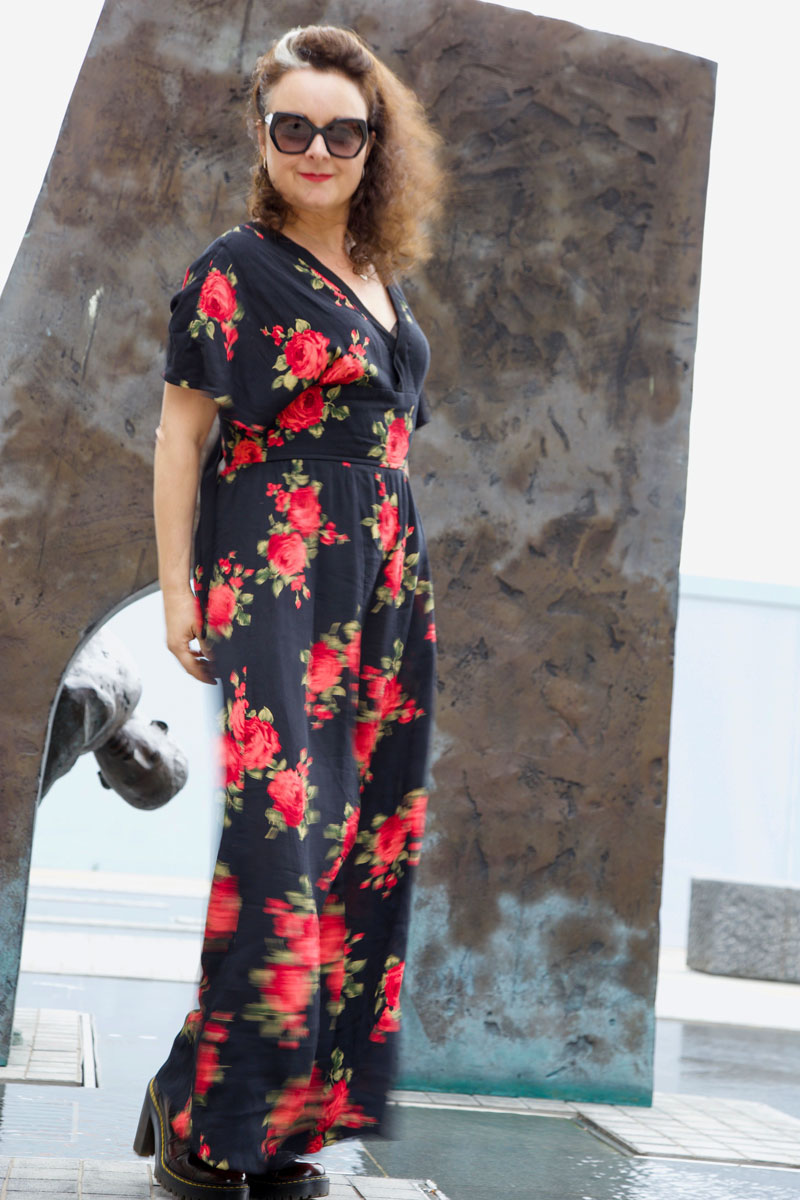
This gorgeous rose-print, poly crepe was literally screaming at me from The Textile Centre‘s stall at the Spring Knitting and Stitching Show earlier this year. It’s got the drapiest of drape but was super easy to sew. Pretty sure I only paid £5 a metre. And jolly lucky I had the nouse to buy 3 metres, not having had a plan for it and all.
In the past I have been cautious to trace and preserve my vintage patterns. Partly to preserve as near to perfect, the little packet of history that it is. And potentially so I can sell it on should I want to later. But this envelope wasn’t in such a good state to start with so I dove right in and slashed, spread and taped the original to meet my measurements. It felt a little barbaric but liberating at the same time. And hey, It’s still there for another making, all resized and ready.
So what were my findings?
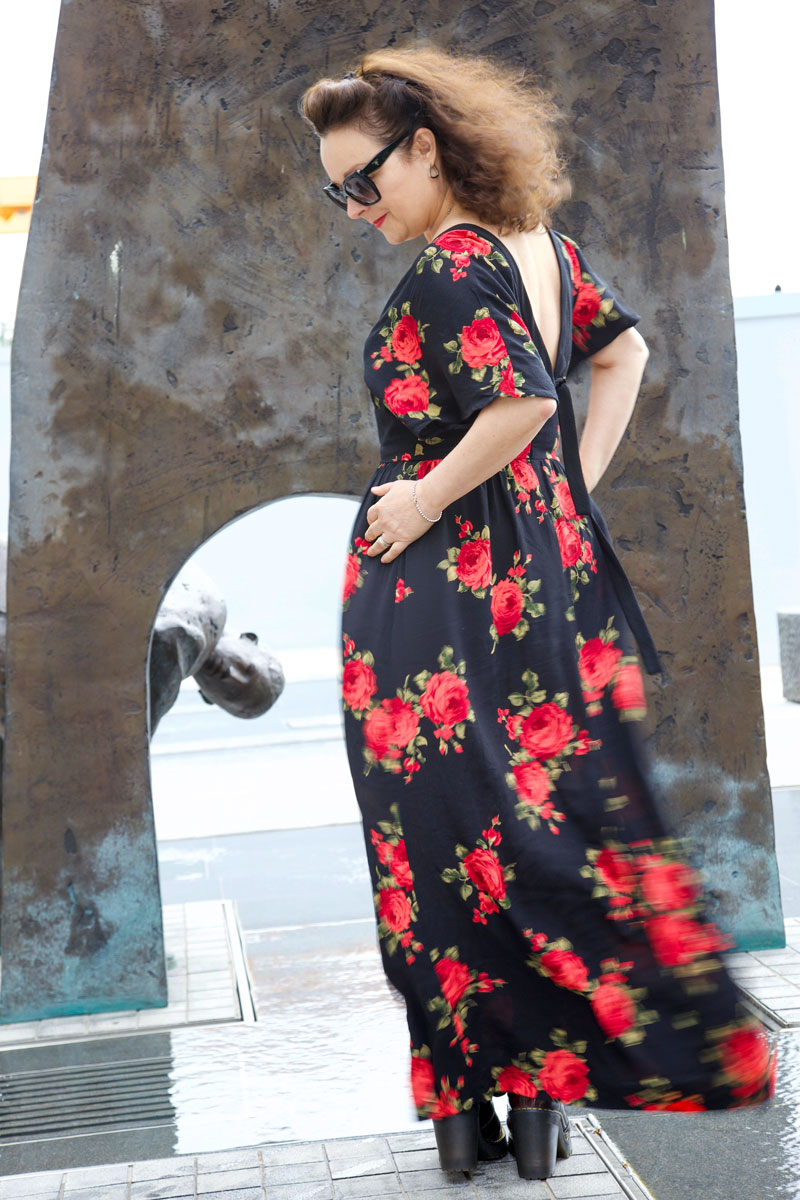
I threw this out to my Insta-audience to see who might pre-empt some pitfalls with the design. And of course they were blindingly obvious, lol! For such an accomplished designer, and ‘master tailor’ who created exquisite evening gowns for a living, you’d have thunk that Fah-bee-ahny would know what happens when you create a low ‘V’ neckline at the front along with a low ‘V’ back, especially with the ‘help’ from silky, drapey fabric. Let’s just say I was relieved to figure out what happens before I hit the dancefloor at the wedding! Or even as I walked into the church… can you imagine?!
So this was a first for me: some little fasteners attached to the inside shoulder seam to attach to my bra-strap. Just had to make sure the bra strap was tight enough not to slip down, lest… doesn’t bear thinking about!
I also sewed that front wrap section down because that in itself was an accident waiting to happen.
The sleeves were another issue. Absolutely love the style of them. Perfectly airy for the sunshiny day that it was. But I’m sure most of my dance moves involved arms by my side. Side-boob city and all that!
The only other thing, that’s not technically an issue, more of a ‘why would you even do that?’ – was the length of the straps at the back. They are an extension of the binding on the neckline but one extends about 3 times the length of the other. I checked and double checked the instructions, and the notches on the pattern pieces but that’s exactly as it’s intended. A design feature, possibly but… why?! I’m so irritated by it and will definitely make them both the same size if I make it again.
All issues aside. It worked perfectly for a wedding dress guest – sans fashion faux pas – and I’ve worn it again since to another wedding, recently. It’s so easy and comfortable to wear, hardly creases and works for both posh and boho-casual – winner, winner vintage dresser!
Returning to a sewing pattern you’ve worked with before is like turning to an old friend for advice and reassurance – you’re assured of the fit, the skills needed and prepped for pitfalls along the way. Mostly!
And if like me, you paid a pretty penny for the pattern, you’ll get immense satisfaction from apportioning the cost. I won Butterick 547 fair and square by charging straight in to this crazy bid war! So now the pattern only cost £25 for each coat which sits marginally better, lol!
I made the first version in 2014, truly believing it would be my forever coat – my dreamcoat – but sadly there was an issue with the fabric that I didn’t foresee. So I had to make another in something more stable.
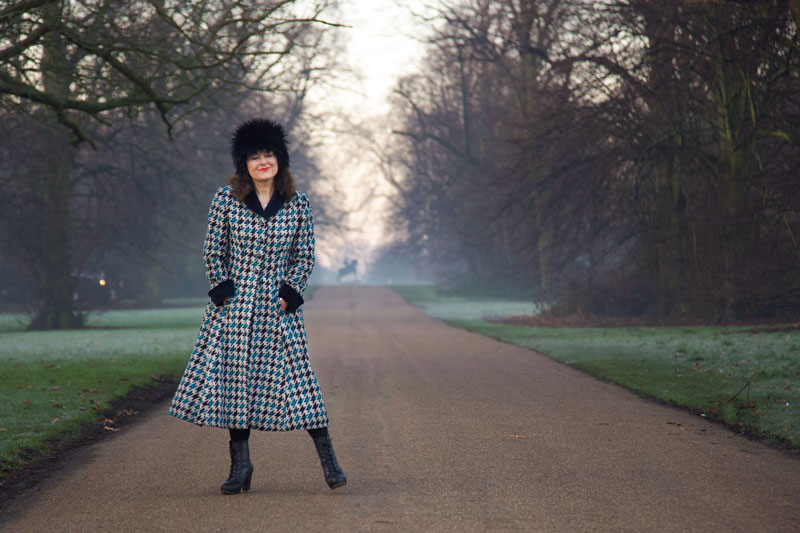
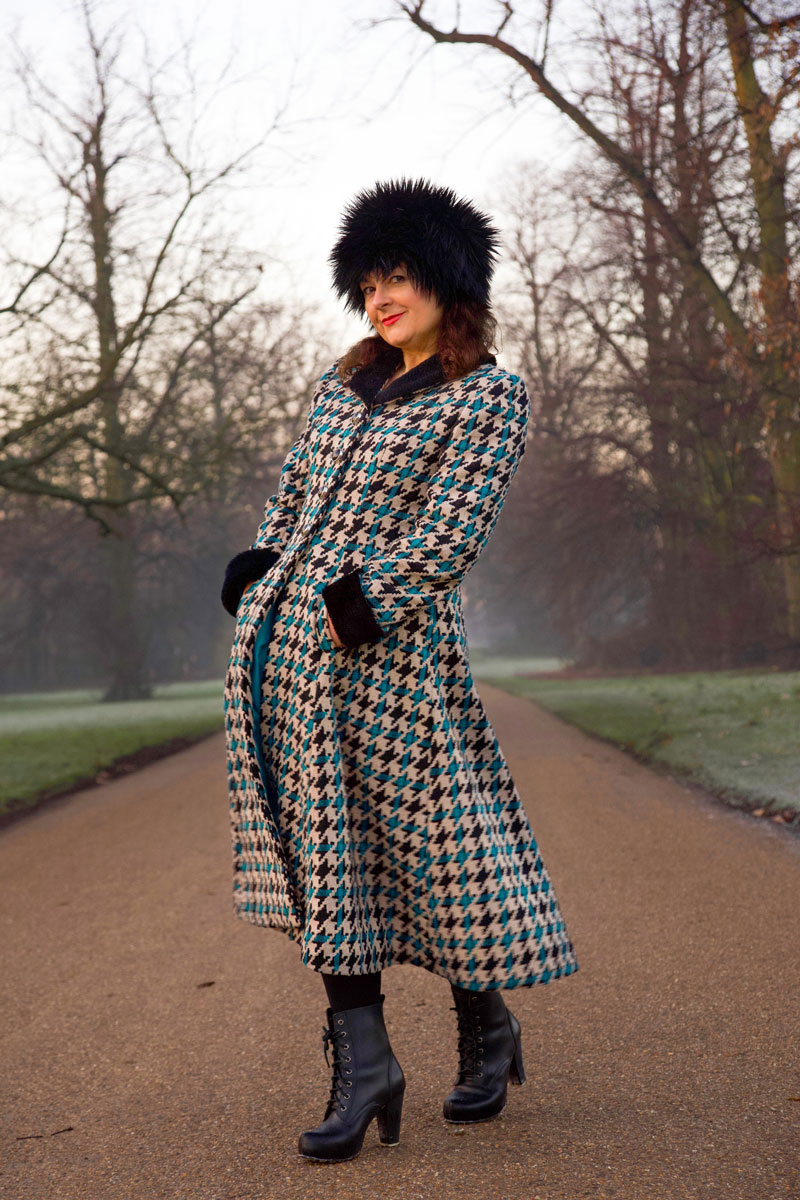
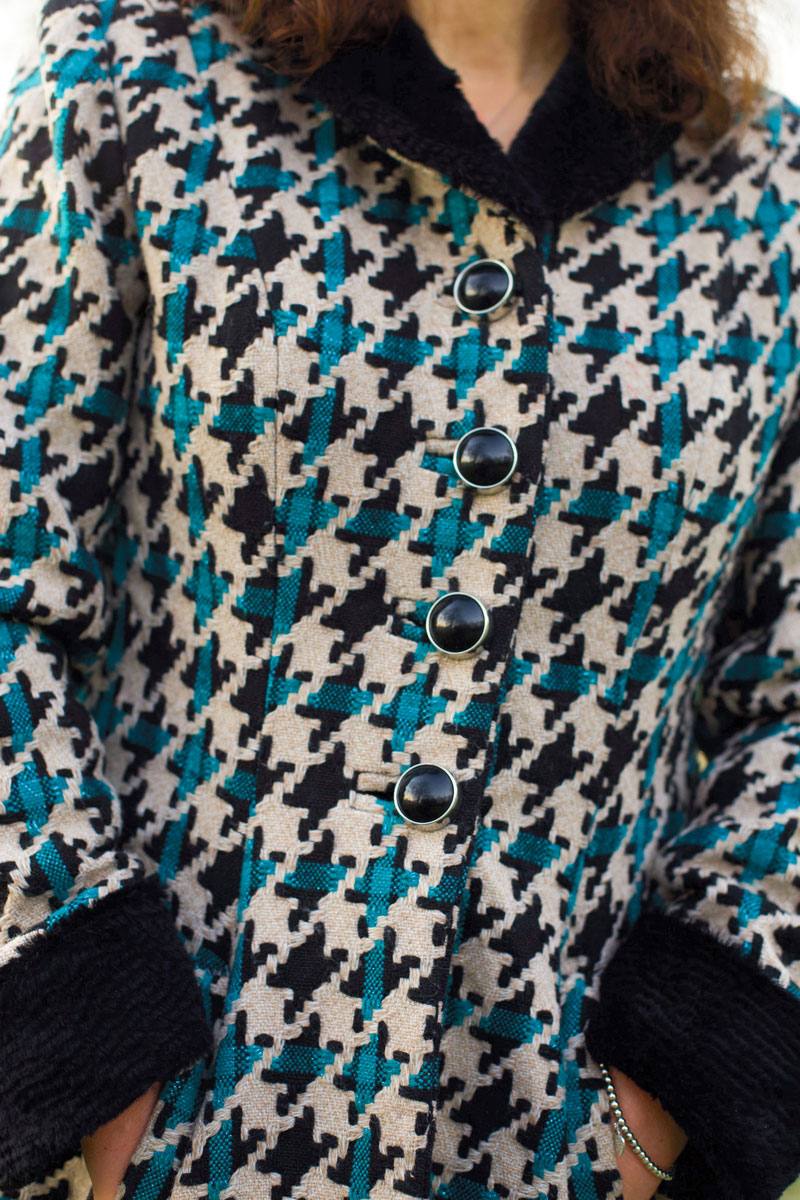
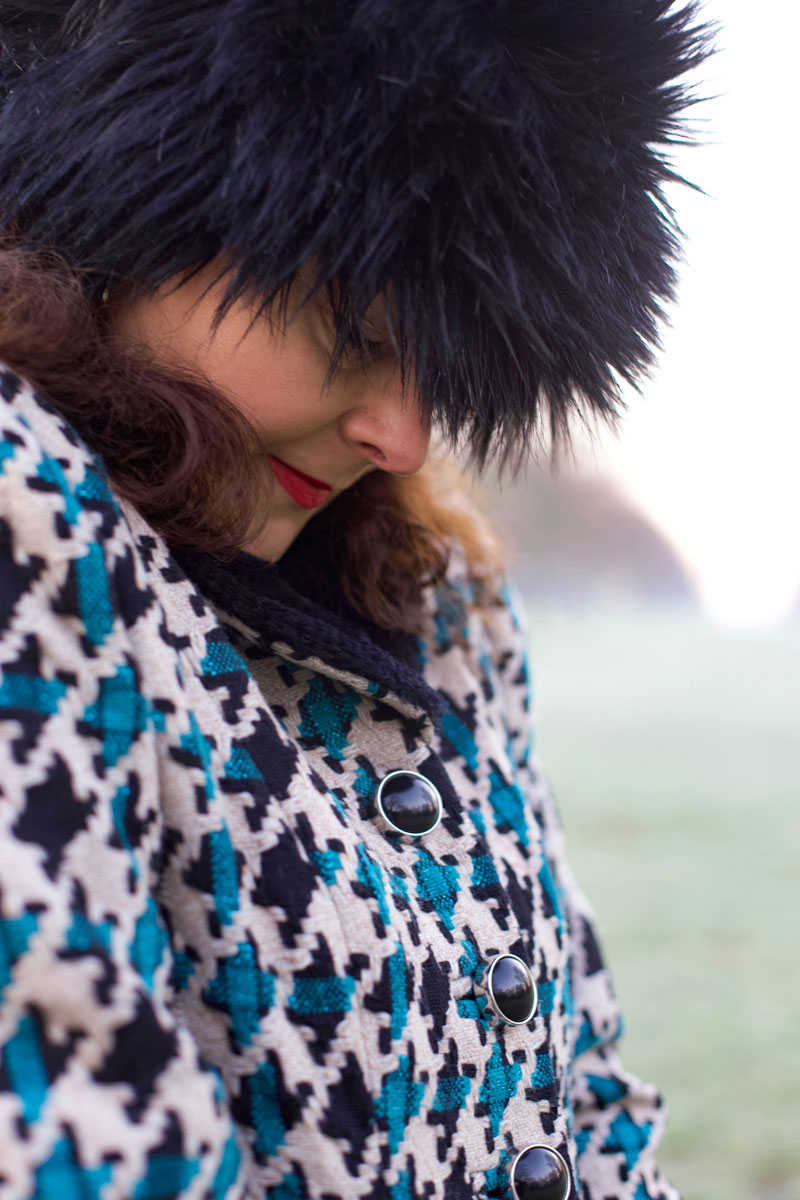
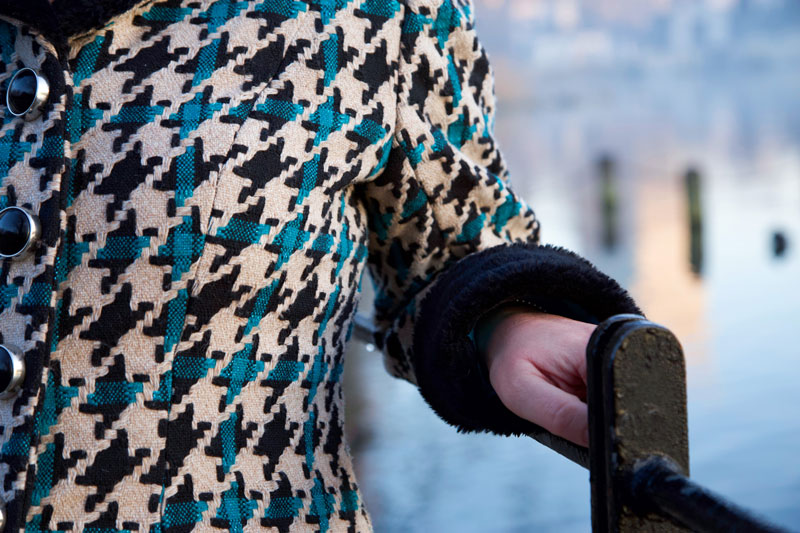
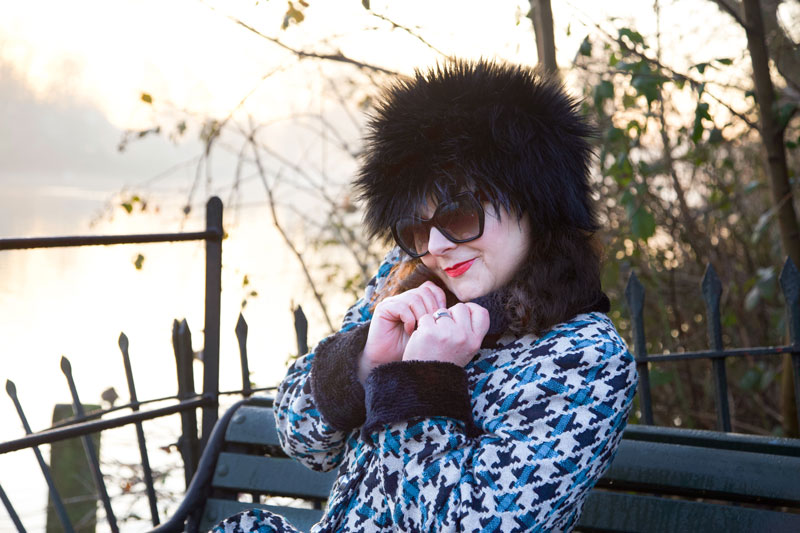
I found the ideal fabric at The Great British Sewing Bee Live show a couple of years back. Pretty sure the seller was M Rosenburg and Son . It’s a fabulous giant dogtooth with teal metallic highlights. It’s got a great weight and a great drape, and it’s stable weave means no stretching or kinking at the hemline.
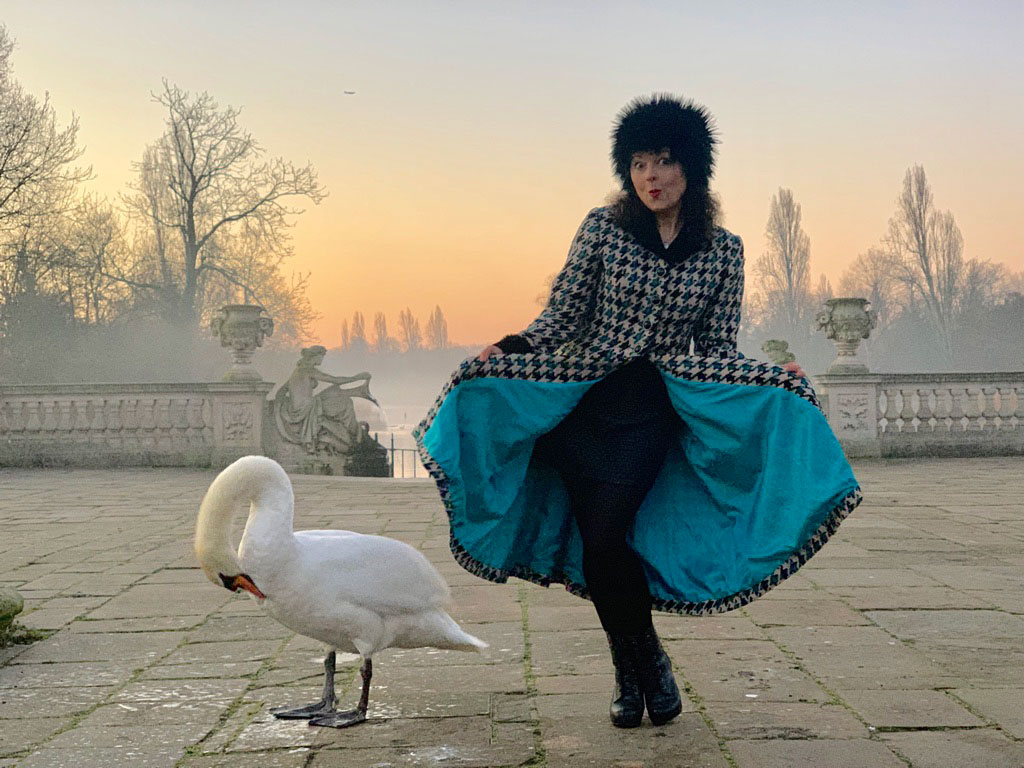
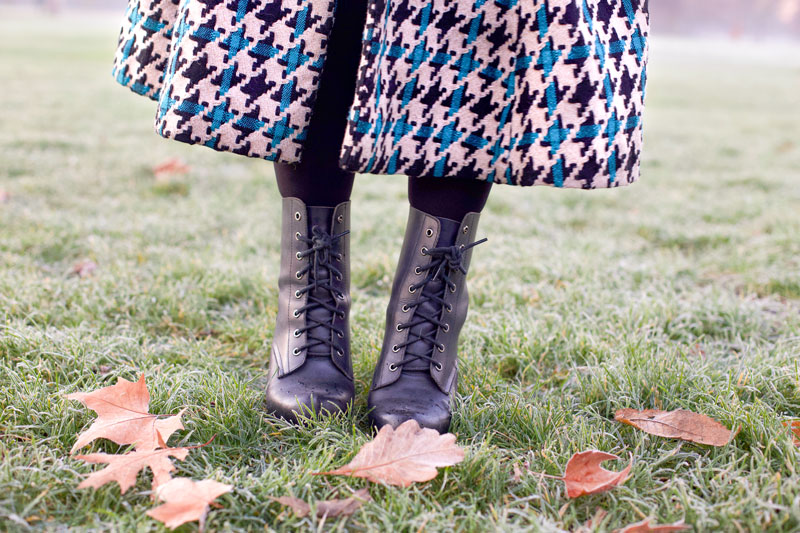
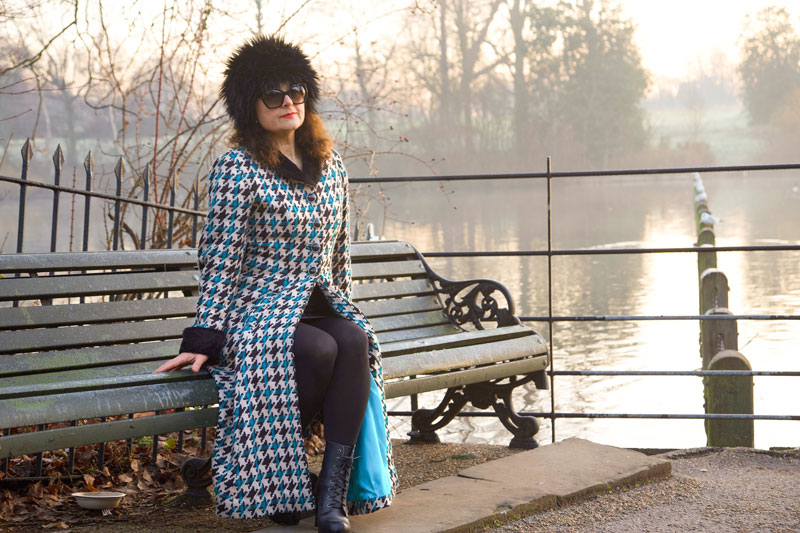
I just adore the fit – snug to the waist and lapping round my legs – the silhouette is truly 50s. Four buttons to the waist allows for the lower ‘skirt’ to separate as I walk along and a flash of the blue lining does everything to attract attention and some lovely comments.
Sewing the shell pieces was a breeze but I stalled when it came to the welt pockets and the button holes. They call for a little more concentration and I had to psyche myself up before cracking on with that stage. But I practised on scrap pieces to remind myself of the process. The main thing that worried me was the fraying of the fabric and those tiny welts for such thick fabric. But I remembered seeing how some bloggers employ the help of Prym Fray Check and it definitely helped. In fact ended up using it on all the inside seams too. I know the seams are all ultimately hidden by the lining but sealing those edges just reassured me that it will hold together over time. Nothing to do with an unthreadded overlocker and a dose of lazyitis, I assure you! I also invested in a Clover buttonhole cutter to cut the reverse of the bound buttonholes. I can’t tell you how satisfying that little crunch feels when it bites through the coating to create a perfectly straight line. No faffy snipping with pointy scissors any more!
I don’t usually go to that much effort for many of the garments I make but I have to say, it’s always worth it. Buttoning up this coat becomes quite the ceremony. Especially with those heavy vintage buttons … feels so good!
So actually, all the tricky bits were a breeze. But I shouldn’t have been so smug so soon as I had a minor meltdown about the sleeves. (Fat lot of good my old friend is!) I’d shortened them at least an inch too much the first time round and forgot to unfold that pleat in the pattern pieces for this time round. But I was inspired to use the leftover fur for some cuffs. I sewed them on with half the hem allowance and folded them back with an inch of the fluff to the inside (if that makes sense) and voila – the perfect length and actually a stylish feature to compliment the furry lapel. I can also fold them down to extend beyond my fingertips if I forget my gloves!
Most of all I loved all the hand-stitching on this coat. Sewing on the buttons. Sewing down the welt edges, sewing in the lining and catch-stitching the hem. I found it really satisfying and very relaxing. I just took my time and relished each stitch, very aware at how far I’ve come with finer stitches over the years. A marked difference from the whinges about it being such a chore the first time round.
I love that most people have no idea that this is sewn from a vintage pattern. Which verifies it’s classic style. It really is timeless and classy and at some point I will make it simply in black for a more formal occasion. And then I can apportion that pattern cost further!
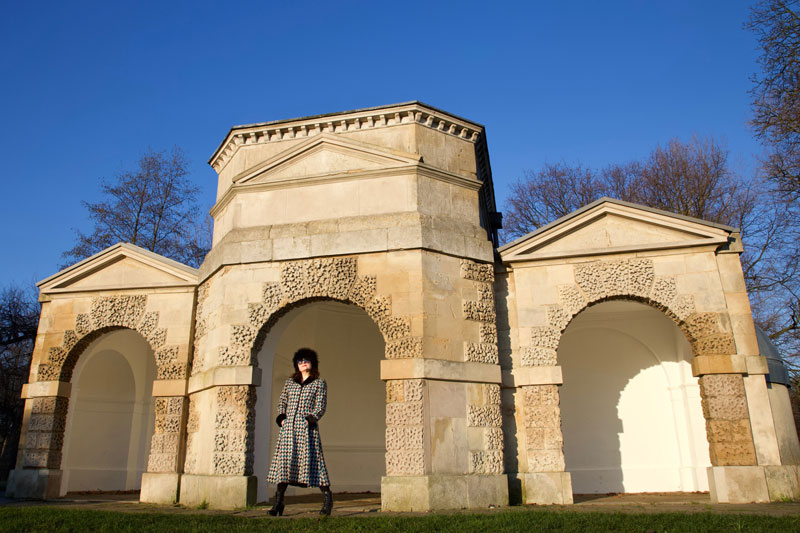
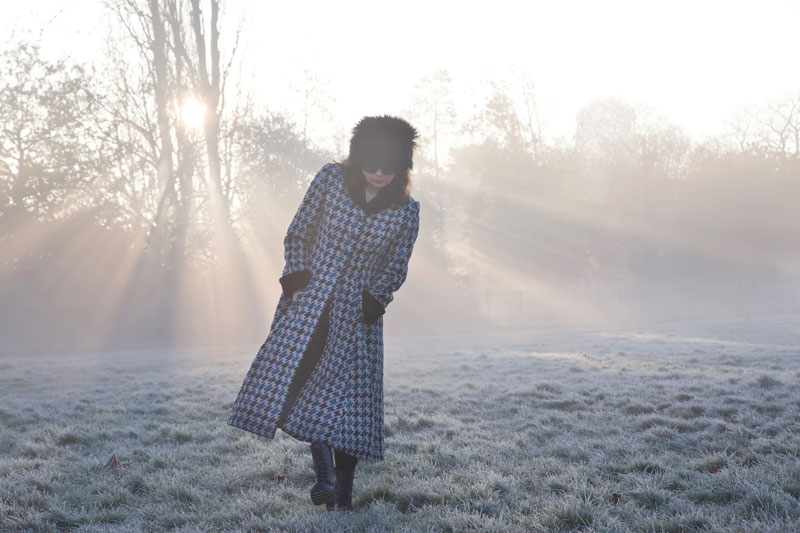
I’m so glad I made it in time for the cold snap. I really hate the cold so much and yet I’ve never got enough of the right clothes. Mainly because I am now completely allergic to buying RTW and I’d sooner sew than knit. But hey, the only numb part of me on the day we shot this coat was my toes!
And I have to address the photos of course, taken by my wonderful hubby – mostly known for his rock and roll bass playing but also a superstar behind the lens. You can see more of his photos at Daniel James Photographic. He was keen as mustard to get up and out before 6 in the morning, taking the bus to Kensington Gardens and walking to Hyde park before the sun rose. And it was glorious. So pretty and quite breathtaking as the mist rolled in from the Serpentine as the swans and the Mandarin ducks preened themselves in the golden rays. So magical.
I’ve had a Google to see if anyone else has made this coat up but so far have drawn a blank. Surely I can’t be the only one? Maybe that’s why I ended up paying the earth!
Thanks as always for popping by. Hope you’ve got some lovely plans lined up for the weekend. And I’ll look forward to bumping into some of you at the Spring Knitting and Stitching Show next week… eeek!
I first made this Vintage Vogue jacket and blogged it back in 2013 (see here) but somehow, sometime soon after, I managed to loose it! It’s still a total mystery. Quite possibly a drunken misplacement and if that was the case I’m so annoyed at myself. I hope sincerely that someone found it and loved it as much as I did.
But hey, the advantage of being a crazy sewing lady is that one can whip up another at will, right?
The pattern is a reprint of Vintage Vogue 1950s cape-like jacket.
It’s a great pattern and comes together really swiftly. Two backs (for a centre back seam) and two fronts with cut-on dolman sleeves and clever neckline darts that create a superbly structured stand up ‘collar’. There’s quite a lot of hand stitching inside but I actually enjoyed that bit. Not just because I took it to the park one sunny afternoon to finish off!
It helped of course that the fabric I chose – a remarkably cheap flocked, brocade-type of furnishing weight fabric from Dave the Drapers in Shepherds Bush Market – had the right amount of structure to hold that shape, but I was a bit worried throughout the process that there wasn’t quite enough drape for the swing back.
And there wasn’t really. It stuck out like a comedy shark fin! I should have taken a side view photo to prove that I wasn’t being a drama queen but I was so fixated on solving the problem and not throwing in the towel and instead of grabbing the camera, I grabbed my purse and dashed to the nearest charity shop in search of a weighty chain.
After all, that’s what Chanel did, right?
To be fair I’m sure House of Chanel has a special kind of chain and rules on how to sew it in – anybody know? I just stitched every other link with a couple of stitches for security and hey presto, it worked a treat!
Incidentally that picture above also shows the detail of the lining I bought from Oxfam. It was totally biding its stay in my stash for this immensely appropriate pairing!
As with anything you make twice, it’s always good to change things up a little. I felt the black frog fastenings I chose last time sunk shamefully into the fabric so I went for a contrasting gold set and matching metallic braid to edge the cuffs, second time round.
It was the best choice! This jacket is so much fun. I love the textures, the overall shape and the slightly bonkers nod to a Christmas drummer boy! I’m not saving it for best and I’m definitely not letting it out of my sight!
And finally, after two years of waiting in the wings, and following a match-made fabric and pattern eureka moment, my French Gypsy Dress is finished and worn already.
The pattern is by Sew La Di Da Vintage, and I knew I would love it but I could never quite decide on the fabric. The samples shown on the site and exhibited at the shows I’ve visited are so gorgeous I could never hope to get close. I love the packaging and the styling of all the patterns.
I found the fabric online at Minerva Crafts, which is unusual for me. I much prefer shopping in real life! I have to touch and feel and think about it and walk from shop to shop and talk about it with the assistants before I make a call. But when I found this beaut on a random scroll, I didn’t give a second thought to what it would feel like or indeed what it was for – I just loved the colours and the black background of course. It’s a stretch cotton sateen. Quite sturdy, moderate stretch and a great lack of creasibility!
Thing is, I didn’t connect to two to begin with. And when sometime after I considered pairing them I thought it would be too weighty for the gathered upper bodice and sleeves. Though I knew the skirt would totally benefit from a bit of weight and the silhouette would be awesome.
Then I got busy and all sewing plans were out the window until I got a free weekend. Woohoo! A whole undisturbed Saturday and after a pep talk with my mum it was full steam ahead. She basically said, “What are you so scared of? If it all goes pear shaped you can just get some more fabric.” Which is true of course, if not a little bit wasteful. And I could have tested on something else first but I had a window of opportunity and I wanted a new dress right there and then!
And I couldn’t be more pleased. It fits in all the right places, is flattering and comfortable too.
Construction-wise its really quite simple. The most complicated thing is taking time to make those bodice and sleeve gathers even. I know now after heaps of lazy and rushed gathering attempts in the past, that the key is to sew 2 rows of gathering stitches, either side of the intended seamline and there’s every chance your gathers will keep evenly distributed and pucker free.
I made the binding for the neck and sleeve edges from some leftover black duchesse satin. I was prepared to rip it off if it didn’t work because I wasn’t entirely sure if it was the right kind of fabric for the job. But it was. Just perfectly right, actually!
There is a length of elastic inside the bias casing that starts and ends on the back sleeve seams. This is such a great idea because it allows for the dress to be worn on or off the shoulders and keeps the back bodice pieces completely flat. Incidentally there are no darts in the back pieces of this dress. Instead, the instructions call for a brilliant fitting stage whereby the back seam is pinned to fit and marked with chalk or an erasable pen (you will need a partner for this). Then the seam is machine tacked and pressed open so the creased edges give the perfect guide for zip insertion. It’s such a cool stage of instruction and one that I am definitely going to consider using on future makes. Is this a typical vintage construction method, I wonder?
I’m so happy with the outcome. It brightened a very drizzly day and feels so great to wear. And better still, it’s another strike off my #makenine2018 – wahooo!
I might try poomfing the skirt more with a layered petticoat and styling it up with flowers in my hair. Definitely a contender for what to wear when the Frida Kahlo exhibition hits the V&A this year.
Well it’s back to work tomorrow. But I’ll be returning with a head full of plans. That’s the trouble with a bit of time off!
When Yasmin told me she was going to get married my squeal was enough to summon the local hounds. When she asked me if I would make dresses for her bridesmaids, I squeaked a more fearful ‘yes’… Silk, tafetta, yards of it. Pale expensive fabrics poofed up all over my… kitchen table? Not to mention the pressure of producing something nothing less than perfect for such an important occasion for such a special couple! My head was racing with all the awful possibilities…’Of course, I’d be delighted and honoured,’ surfed my quivered reply on the outbreath.
I’d been dreading the day someone asked me to make a bridesmaid dress. Not quite as much as being asked to make a wedding dress. But still, nothing more than fear of not being able to come up with the nothing-more-than-perfect goods. Nothing more than I deal with every day as a designer tbh. Isn’t self-doubt a wonderful thing?!
Cut to a coffee date and handover of a bag load of the prettiest Liberty Tana Lawn, Betsy D fabric in turquoise. I should have known better. No prom-girl-meets-fancy-princess dresses on the guestlist here. Instead three classic pretty little girl dresses were the order of the day. Something the girls could run around and happily play in and wear again afterwards.
I was so impressed with Yasmin’s vision, not to mention her wedding dress find at a vintage wedding fair. A gorgeous original 1940’s number with very little alteration needed. And the deco details she found on Ebay re the Jenny Packham hair accessory and the dress clips. Who knew about dress clips? Such a beautiful thing. Just. So. Yas!
So of course the bridesmaid dresses needed to be simple, floaty, proper little girl dresses with a polite nod to vintage. And before I got pen to paper, Yas had it in the bag and downloaded the patterns already: These pretty angel sleeve dresses from an indie seller on Etsy – Aesthetic Nest. Quite the perfect stage for Betsy D!
The ages of the girls were 7, 8 and 10. Having had two girls of my own I felt the need to raise a possible issue about potential tantrums should there be any objection to such prettiness. The last thing you want on your big day is a scowling child, head sucked into shoulders, begrudgingly following you up the aisle, curled toes gouging tram tracks in the parquet en route.
So, on consultation, the 10 year old unsurprisingly wanted something a bit cooler! But that was fine because the the alternative was gorgeous too. A little halter dress from Simplicity 8064, with peter pan collar and bow.
I didn’t get to meet the girls, and it was logistically impossible for the older one given she lives in the US but by the power of technology and good old Royal Mail we managed a virtual overseas fitting which thankfully only threw up the need to take some excess out of the back.
The style of the Angel sleeve dresses meant no real fitting dramas at all, save the length. Incidentally this pattern comes up really long and would have swamped the little ones. I sent a toile by post and it was returned with a safety pinned hem of 5 or more inches!
So when all alterations were factored in, I made the dress version of the angel sleeve dress for one of the girls and the top and skirt version for the other. So happy that they chose a slight difference in style. We couldn’t help but be persuaded by the addition of some pink pom pom trim found in the Goldhawk Road.
There was just enough to add to the ends of a blindfold for Piñata fun and games too!
The halter dress commanded no such pompom fun but instead a carefully selected vintage button and some coral pink cotton trim to frame the Liberty print so perfectly.
But I’m assured there was no lack of fun to be had whilst wearing it!
Oh the pride when Yas sent me the photos. It’s so good to look back on something with fresh eyes. I so admire her determination not to have felt the need to comply with convention – the word in itself is so boring and automated – and instead, that every little personally sourced, perfectly chosen, and lovingly stitched item added all the more personality and meaning to her very special day.
I am so chuffed to have been asked to make these dresses and even moreso to have kicked self-doubt into touch!
I’ve been neglecting my vintage patterns of late. But that did allow for some exciting rummaging and little squeals of delight when I found some treasures I’d completely forgotten about. And I just love that ‘aha moment’ when found pattern meets perfect stash fabric. Proper romance that is!
This is Blackmore So-Easy 9266. Not sure if it’s 50s or 60s as it’s not dated. The instructions were a little more explained compared to the last 40s Blackmore pattern I used but I enjoyed making both just the same.
I knew this dress wasn’t going to fit straight out of the packet. It was already too small and any dodgy fitting on this was going to shout from the rooftops. So it needed time and patience to grade it up properly and work through 3 toiles before I was ready to cut into the real stuff.
Once all the adjustments were transferred to the pattern pieces – grading up, shortening the back bodice substantially, taking out some excess from the overbust and increasing the waist – it was fundamentally a very easy to sew dress.
There’s no lining. The bodice is simply faced at the top edge. I must remember to tack this down in a couple of places on the inside, as the photos totally reveal how it peaks out at the back if it’s not poked in to start with.
I do so love recreating an original vintage dress but I should know by now how the drawings on the cover cheat so much! The skirt on the cover looks tapered and very fitted but in actual fact, not only is cut straight, it has a wide kick pleat allowance which gives the visual appearance of being even wider at the hemline.
I took it in quite substantially to arrive at this shape – like 4 inches each side seam! – and I sewed the kick pleat down too. I hated the granny hemline. Not flattering on my vertically challenged frame for sure. This does, however, mean that I have to walk very lady-like and in heels and therefore one helluva lot slower than normal. Not such a bad thing when for most of the time I’m rushing around like a lunatic with giant strides in Docs or trainers.
The fabric is bark cloth. Found in a little basement fabric shop in Waterloo ages ago. I love the texture so much, the colours are fabulous and it sews up beautifully. I made a Martini dress from bark cloth of the vintage kind but I have to say, this modern weave was definitely more grain-stable and less prone to stretch. It’s not usual to find this stuff in any old fabric store. Certainly a void of it in the Goldhawk Road. So if anyone has a link to a favourite UK store, please let me know. By the time shipping is added to the original Hawaiian brands, the price is rocketed!
Now, I would just like to touch upon the issue of straps. Fally down straps!! I felt sure that I had sussed the right width, length, the right position and before sewing them down, I walked around the house for a few hours with them pinned to make sure of their position. Ulitmately the ends of the straps would be sandwiched between the facing and the top bodice so better to get them in the right position first. I thought I’d cracked it. Made sure to sew exactly as pinned. But the buggers still fall down!! It really is the bane of my strappy-dress life.
To be fair, It doesn’t help that I’ve got sloping shoulders. But I do think also that I made the bodice a touch too wide for my over-bust and so the straps sit too close to the edge of my shoulders. Another little adjustment to bear in mind for next time.
Clever lady Clare, from River Elliot Bridal also had a great solution which was to sew a narrow elastic inside the strap to generate a little more grip. Must give that a go too.
I’m hoping the stormy skies keep at bay and glorious sunshine keeps coming over the next few months so my current favourite newbie gets more outings. But all the same, the fickle in me is furiously flicking through the collection to find the next new fave to make… because I can!
Mostly I sew from patterns. Vintage ones, Burda ones, any of the big-four, independent ones, any that take my fancy, really. But when it came to finding a pattern befit of a significant birthday party dress, I was stumped. I searched through the hundreds I owned, I trawled through plenty more online and still I didn’t come up trumps until a visit to the hairdressers presented this beauty in one of their glossy mags.
Who was I kidding?! But a girl can dream right?!
With a couple of months to go and so many people asking what I was going to wear, the pressure was on and almost too much to bear. I even considered RTW as a get out clause! But following more procrastination and now only 6 weeks to go, cool words of advice from Sally of Charity Shop Chic, put me back on track and sold it to me as a simple circle puffball attached to a bodice of choice.
I just needed a prompt, a bit of pressure and some added faith, obviously!
With all that poompf in the skirt section going on, the quest was for a simple bodice. One I could toile and fit with not much time on my hands. It also had to fit in with a busy work load leading up to Christmas, and be sewn in the the evenings so black was totally out of the question too!
I remember ear-marking this vintage Weldons pattern as a potential party dress some time back and when I rifled through my patterns for the umpteenth time, it shouted out all the reasons it should be chosen. Simple to fit, no sleeves to insert, flattering neckline, small amount of fabric required and a perfect yoke for a string of cockerel feathers!
The small amount of fabric issue was quite an issue at this point as I’d already decided that silk was the only way forward. The only way I was going to get a classy, crumpled look and not just wind up looking like a discarded crisp packet!
The skirt section is a greedy full circle with an added 16 inches around the waist to accommodate 4 box pleats: Two at the front and two at the back. The full hem is then gathered onto an a-line, mini underskirt which I self-drafted by closing the waist darts on a self-drafted skirt block, and adding a little flare. Both are attached to the waist seam.
The wonderful Sew Busy Lizzy gifted me the polka-dot taffeta some time back. I love that it found a special use. Not so shiny that it caused static, strong enough to support all that silk whilst adding a cheeky secret air of Moulin Rouge!
Having toiled the whole thing in calico beforehand, it transpired I needed 5 metres of dupion silk. Pricey at £25 a metre if one shops in Broadwick Street, London. But £12 if you’re lucky, in Goldhawk Road. I say lucky because I pretty much went in all the shops to get the right colour – a two-tone black & red. And the last one I tried had not only the best colour but offered the best price too.
For all my fretting, Sally was absolutely right of course. It really didn’t take long to sew. The indecision and worrying took way longer! And fears about working with silk were laughed off when I made the first cut. Literally like cutting into butter. And it behaved and sewed up brilliantly.
And so the finished article partied hard to the band and the DJ with a hall full of amazing family and friends. It went way too quickly though, and I so wish I could press replay so I could get round to spending more time with everyone who came. But I guess thats the downside of hosting ones own!
Mr O aka Daniel Selway took these amazing shots for me this morning. Nothing wrong with a party shot but lets just say there’s a definite improvement of photographic quality in the sober light of day!
Happy new year to you all. Wishing you a peaceful, healthy, and joyous 2017 xxx
I needed a dress for a wedding. Not just any old wedding but a beautiful Indian wedding where I couldn’t hope to compete with the finery of silks and saris. No pressure, then! I rifled through every kind of fabric and bored all the Goldhawk Road shop owners senseless with my dilemma, during the weeks leading up to the big day.
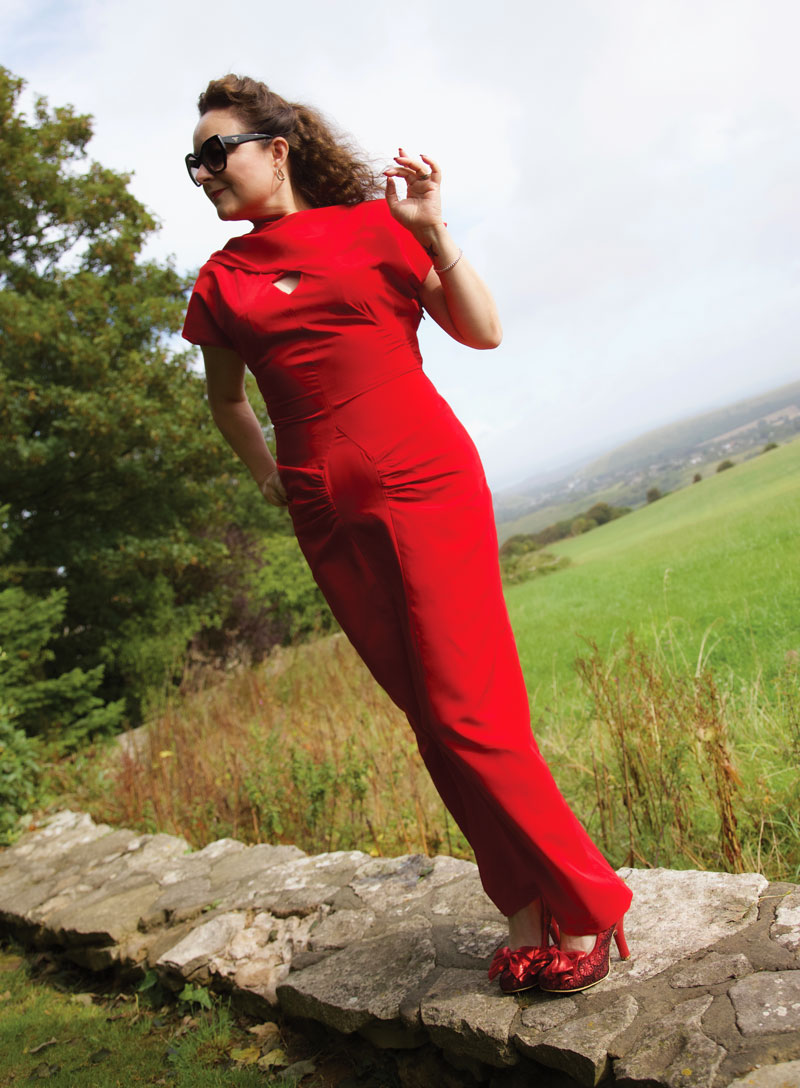
I diligently visited a roll of paisley brocade in A-One Fabrics, three days on the trot, properly umming and arrring out loud. But it wasn’t quite right. I ordered some gorgeous cotton satin roseprint from Minerva thinking … actually who knows what I was thinking. It was all wrong until I spied a roll of drapey green fabric at the back of the shop. 100% polyester it transpires. My inner snob rose to the fore but I bashed it back down when I handled the weight and the smooth silky texture and noted the lack of crease when I screwed it into a ball. And oh the colour! Not to mention the price tag of £4.00 a metre. I wasn’t arguing at all!
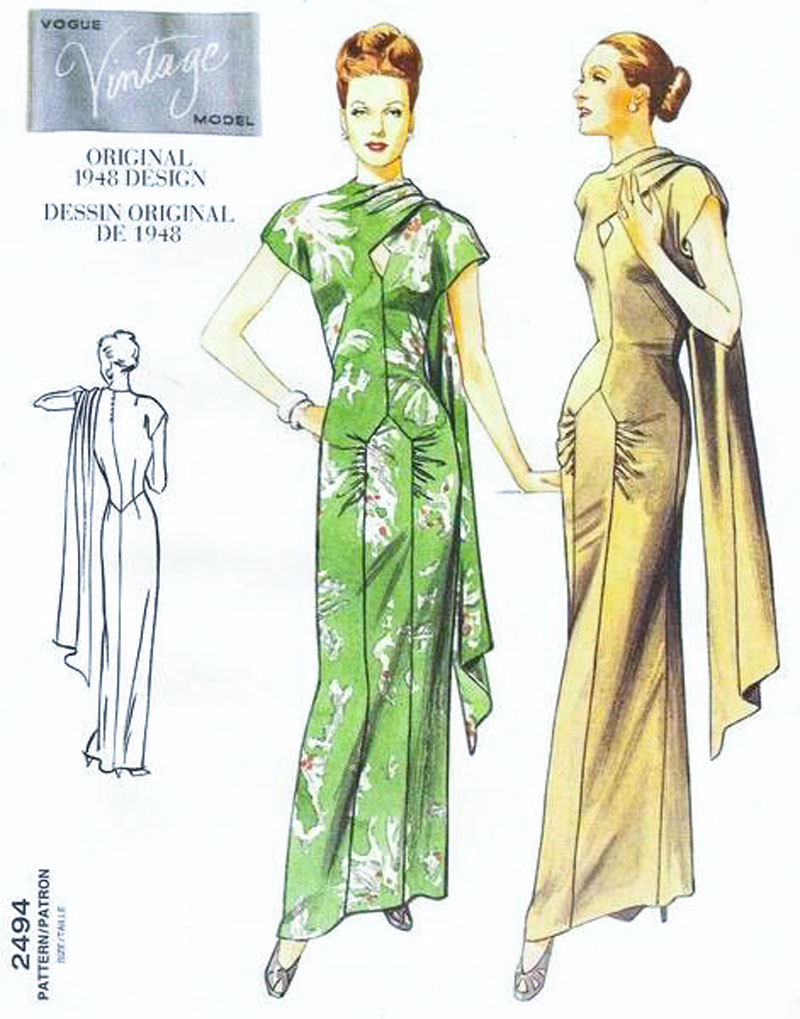
I was sold on the waist and hip detail, the softly gathered side fronts that fall from the hip and that cheeky little key hole detail with the bow tie feature.
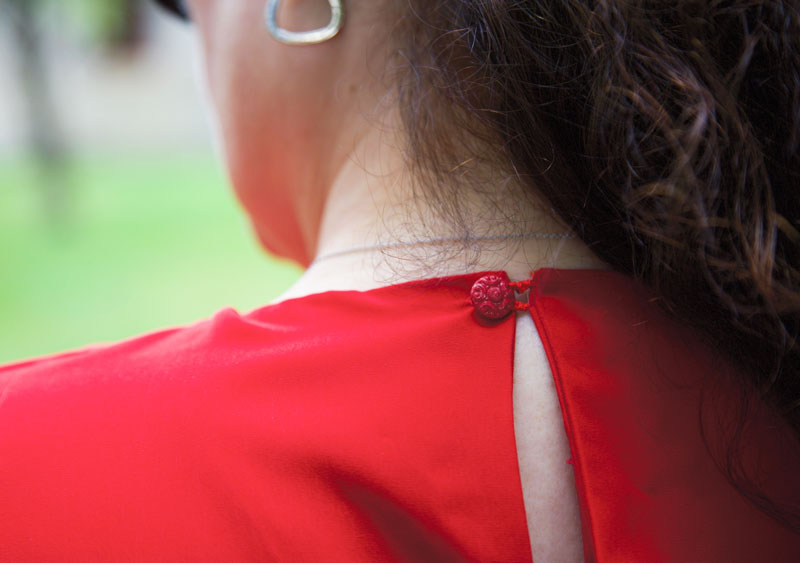
Incidentally the bow tie itself is some vintage liberty homemade bias binding that I inherited.
I made a quick bodice toile in the original size, half knowing it was too small, but wanting to test the pattern without sleeves. Inevitably I changed my mind and graded the pattern up a size. Redrawing the pattern allowed me to add the seam allowance on too. Something this pattern didn’t allow for which also shows it’s age a bit, I think.
I’m quite used to vintage patterns without markings or seam allowances but one thing that struck me as a bit odd with this one, was an instruction to “Make darts in the back bodice where shown by dotted lines in diagram”. Quite literally the diagram which is the tiny pattern layout illustration on the back of the packet. So it’s anyone’s guess, really!
Inserting the gathered panels into that front skirt panel was a bit tricky but quilting skills have taught me how to clip and pivot at a point, so it wasn’t too terrifying. Again, the instructions are loose: “Gather upper edge of side fronts to fit hip yoke of front as in sketch and stitch together matching VV to VV.” Simples, lol!
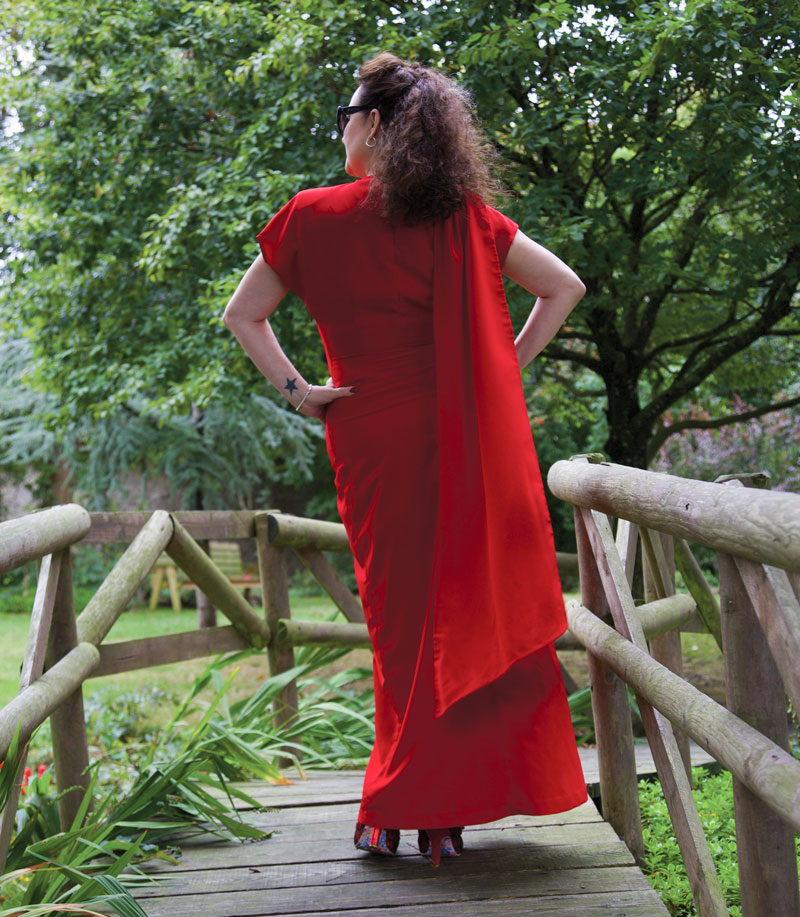
I’m pretty pleased with the outcome. And it worked well for a wedding where colour was the order of the day. But there are niggles: I forgot to add seam allowance to the sleeves which actually doesn’t appear to make much difference but I did sew them on back to front! How much difference that makes will show in the next version which I’d like to make soon while it’s all fresh in my head; The waistline could do with a bit of ease. I like how it’s nipped in but it’s not that comfortable! And although the fabric is nice and drapey, I’d like to try it in a lawn or a lightweight cotton so that the neckline and the darts press sharper. I also neglected to do my usual adjustment to take out the excess fabric from the back bodice. I cheated instead by removing the zip and trimming the centre back seam… not very well!
Considering I pretty much sewed this up the day before and was hemming on the morning of the wedding, I think it turned out pretty well. The niggles can so easily be sorted next time round. And to get change from a tenner is such the ‘Brucey bonus’ that I feel it prudent to reward myself with some lovely lawn!
I don’t have any of the official pictures from the day to share as yet but I’m sure you can imagine how stunning all the ladies looked, as did the men in their exquisite flocked and braided coats. I can’t begin to tell you how gorgeous my friend the bride looked. But I did shed actual tears – in a good way – when she walked into the room. Such an honour to have been invited to such a special day. And I’m so glad I went to the bother of making a dress, especially.
Photos by the wonderful Daniel Selway. Location: St Pauls, London Shoes: Lola Ramona Handbag: vintage from local Fara Charity Shop