

I was inspired to make a second pair of these McCall shorts (see here for first pair) by the lovely checked suiting fabric I saw and snapped up in the Crafty Sew and So sale and was then spurred on by the #magamsewalong #rocktober instagram challenge hosted by @suestoney and @sewing_in_spain, themed by @salixsews.
I’m still a bit scarred from that loose weave fabric I used last time, but oh the rewarding joy in using a more stable fabric. I did however underestimate the time and patience in cutting and matching those checks though.
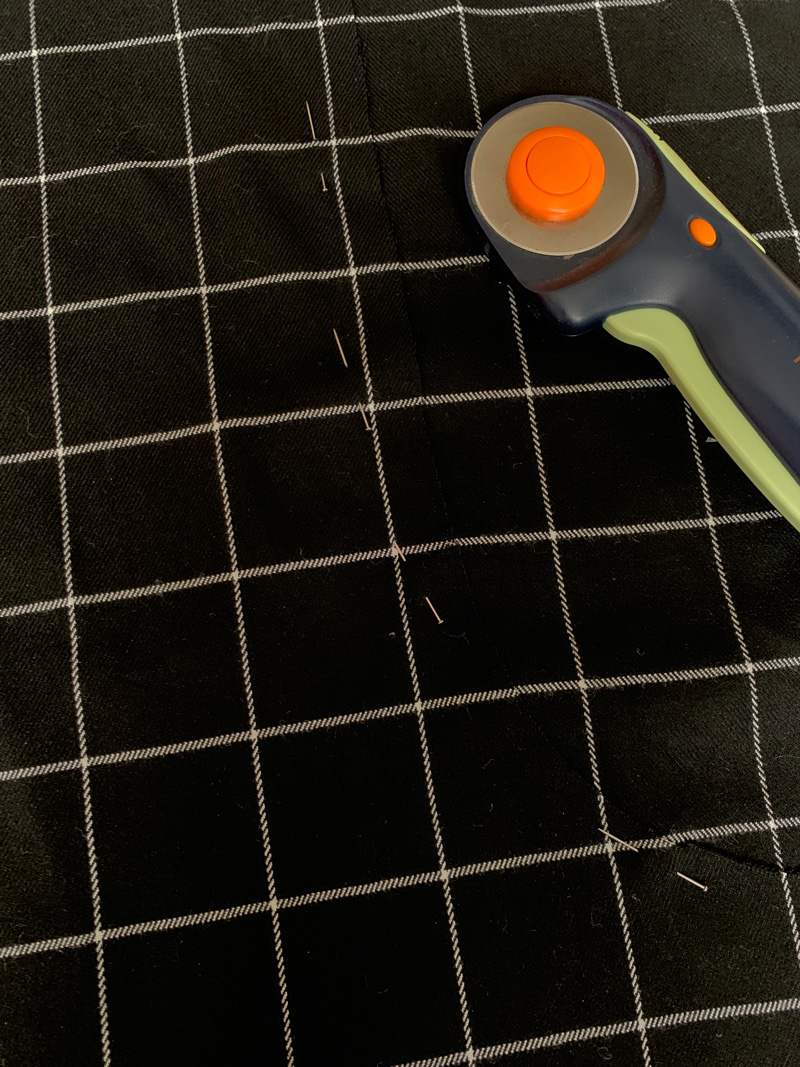
TIP 1: Cutting out
I laid out the fabric in a single layer and cut all the pieces individually, using a rotary cutter for more accuracy. I find the fabric moves less and you can get consistently close to the edge of the curved sections.
I flipped the first set of cutout pieces onto the remaining fabric and pinned it in position to cut the corresponding pieces so the checks would line up. And most importantly I marked ‘WS’ (wrong side) on each piece!
TIP 2: Marking the pieces
I know we are constantly reminded to do this. I’m lazy and often don’t – just marking as I get to the correlating instruction, if I feel I need to. But in the case of these shorts it’s crucial to get those marks on, and visible.
I used a combination of tailor’s chalk and tailor tacks and made sure to distinguish the small circles versus large circles, not forgetting the squares and the centre front line versus the fold lines! It seems like such a faff but you’ll thank me later!
TIP 3: Finishing the seams
I overlocked all the edges of all the pieces, after I sewed the seams but I finished the fly section before I added the zip.
I never paid any attention to finishing when I first started out sewing but learned quickly when my favourite memade shirt literally fell apart at the seams!
Also advisable to finish your seams in a matching thread. This doesn’t always matter but read on to tip 7 to find out why.
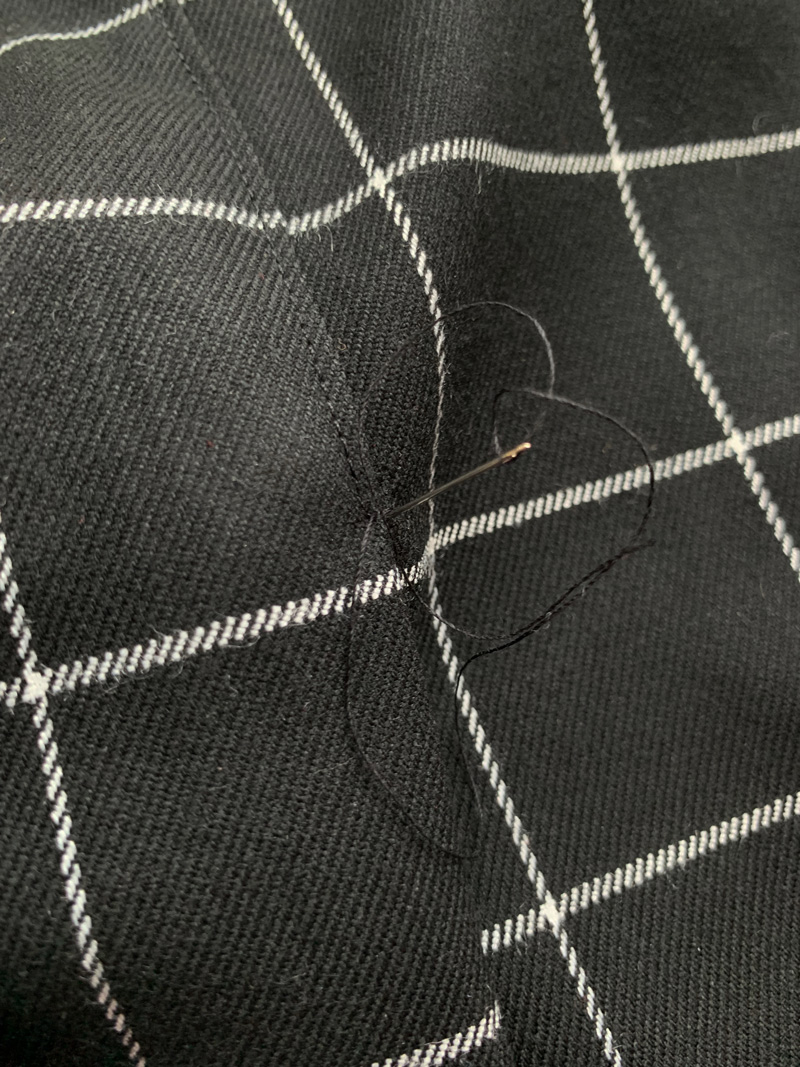
TIP 4: Tacking is important
When you have such a large and noticeable check pattern, or any pattern tbh, any slight stretch or movement of the fabric can lead to a mis-align of the design. So hand tacks, in a contrasting colour, are a really great way of keeping things in place while you sew.
Believe me, I always try to dodge this bullet thinking I can go quicker without and even this time I tried simply pinning the pleats in position before I sewed and twice had to unpick because the line of the checks formed a ‘step effect’.
TIP 5: Tying up loose ends
To finish off the topstitching neatly, leave a longer thread than your automatic machine cutter might allow for. Take a hand sewing needle and thread it with the loose thread on the right side. Push the needle and the thread through to the wrong side and tie together a few times with the bobbin thread. Trim a few mm’s away from the knot.
TIP 6: The roll-up
I used a strip of fusible interfacing to sandwich in the middle of the rolled up hem. The suiting fabric I used was a little sturdier than the last fabric I used but still very soft and I didn’t want the cuff to flop down. It was a good way to use up those little scraps of interfacing too – I hate throwing them away! I also did a blind catch-stitch about a cm inside the top edge of the roll up to keep that cuff in position. Just for good measure!
I wanted a slightly bigger roll up than I did last time but the positioning of those checks played a big part in how much and where I pressed that last fold. As a result the pocket bags have a tendency to show when I’m seated. Slightly annoying and not a biggie, except that’s where I first used non matching (white) overlocking thread. I thankfully changed it up when I remembered that the side seams were going to be visible on the roll-up!
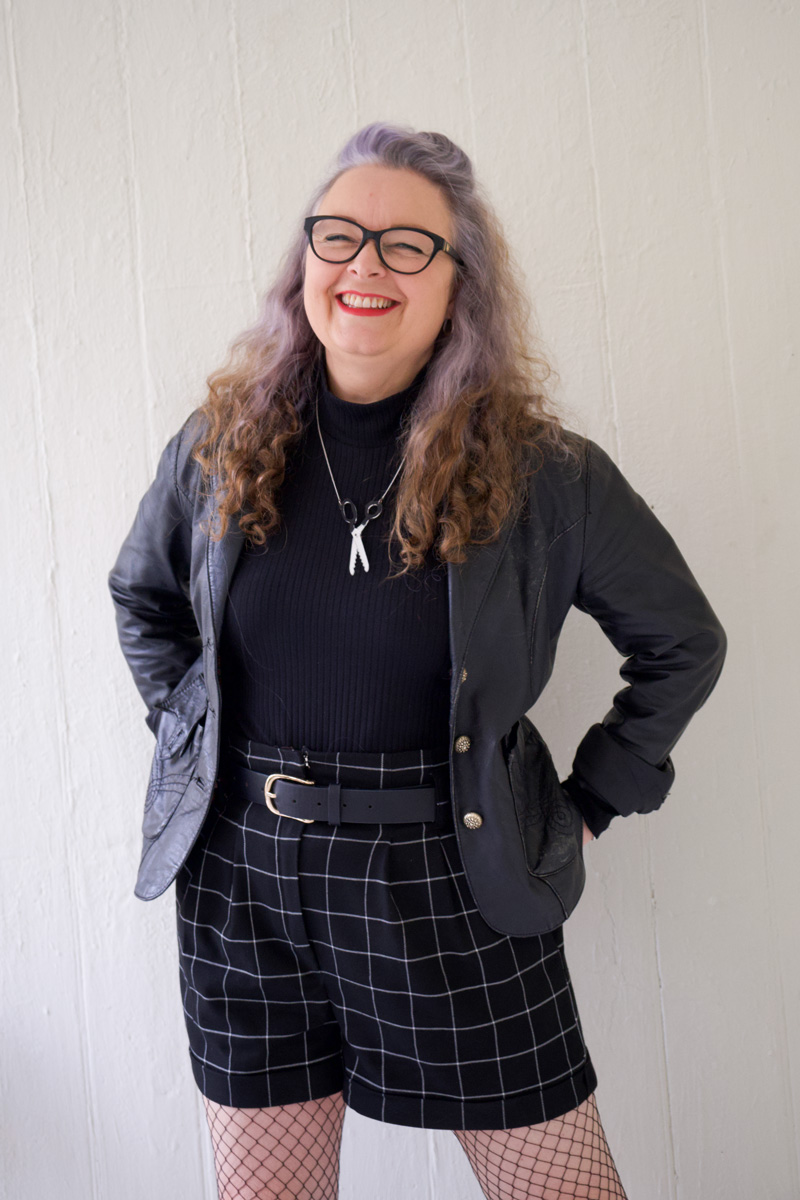
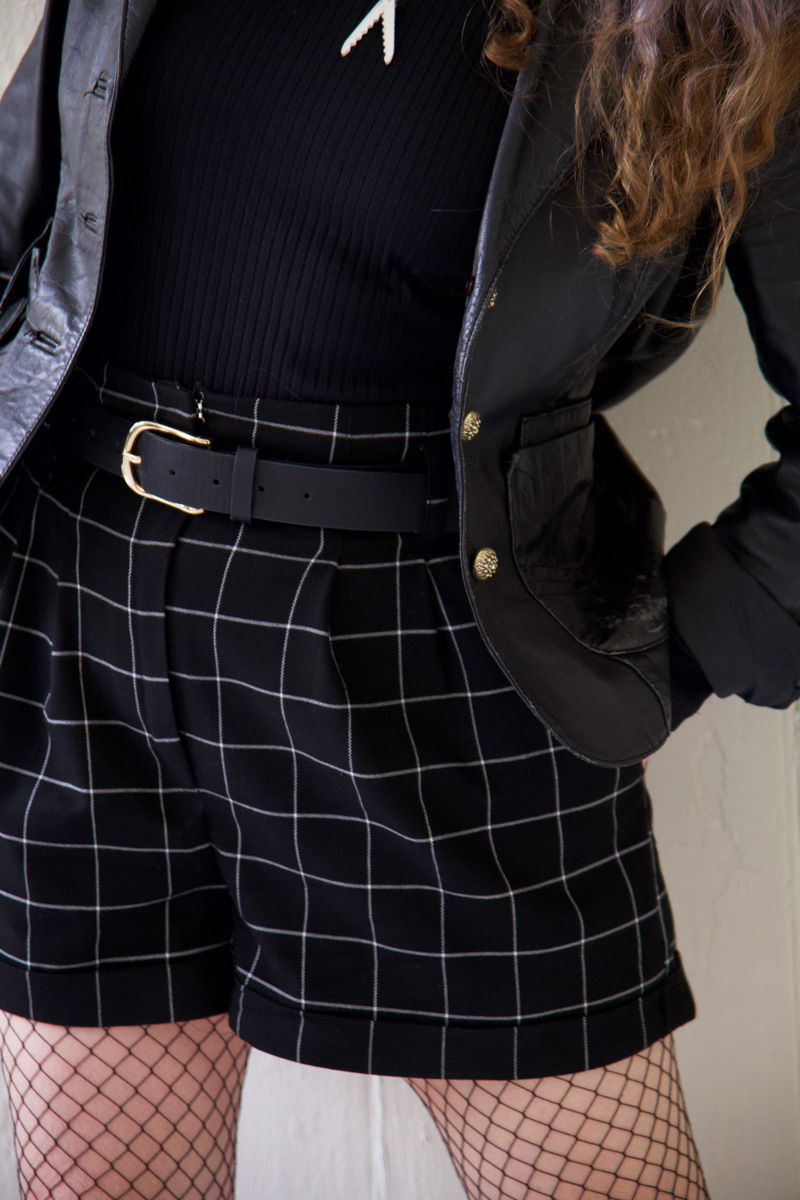
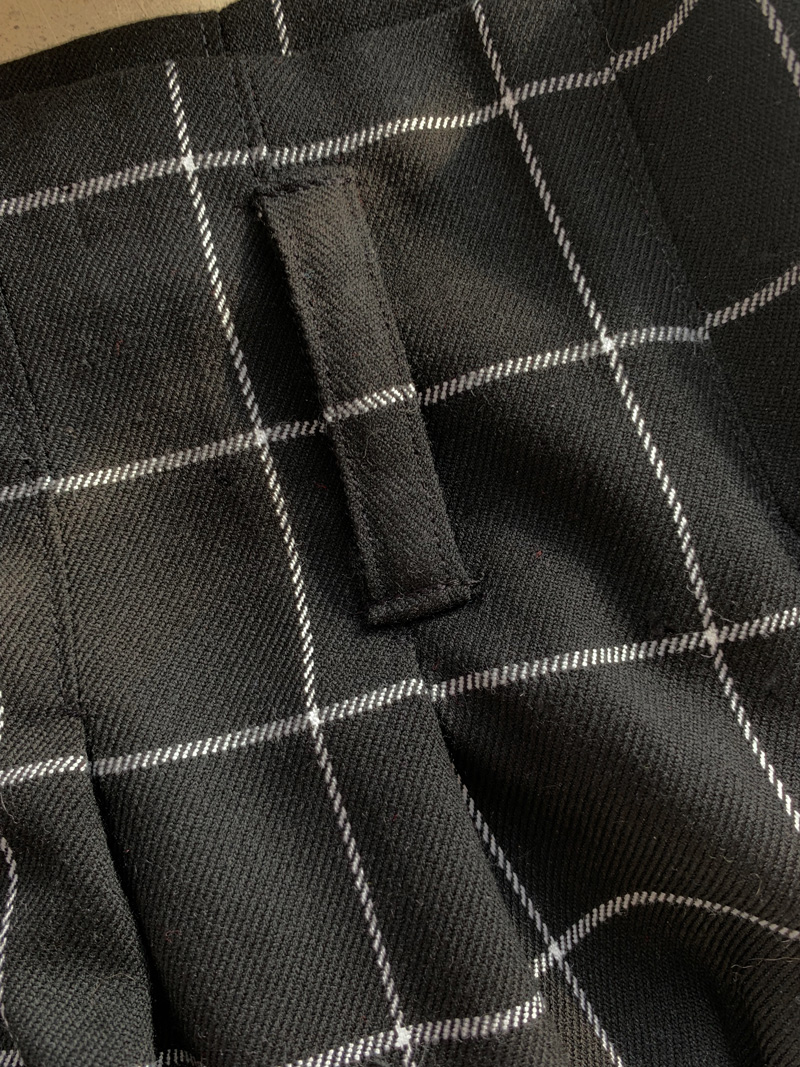
I wore these shorts 5 days straight after I made them – I love them so much. And I think that’s largely due to the time and patience I invested in making sure those details were on point. I even matched the belt loops for goodness sakes!
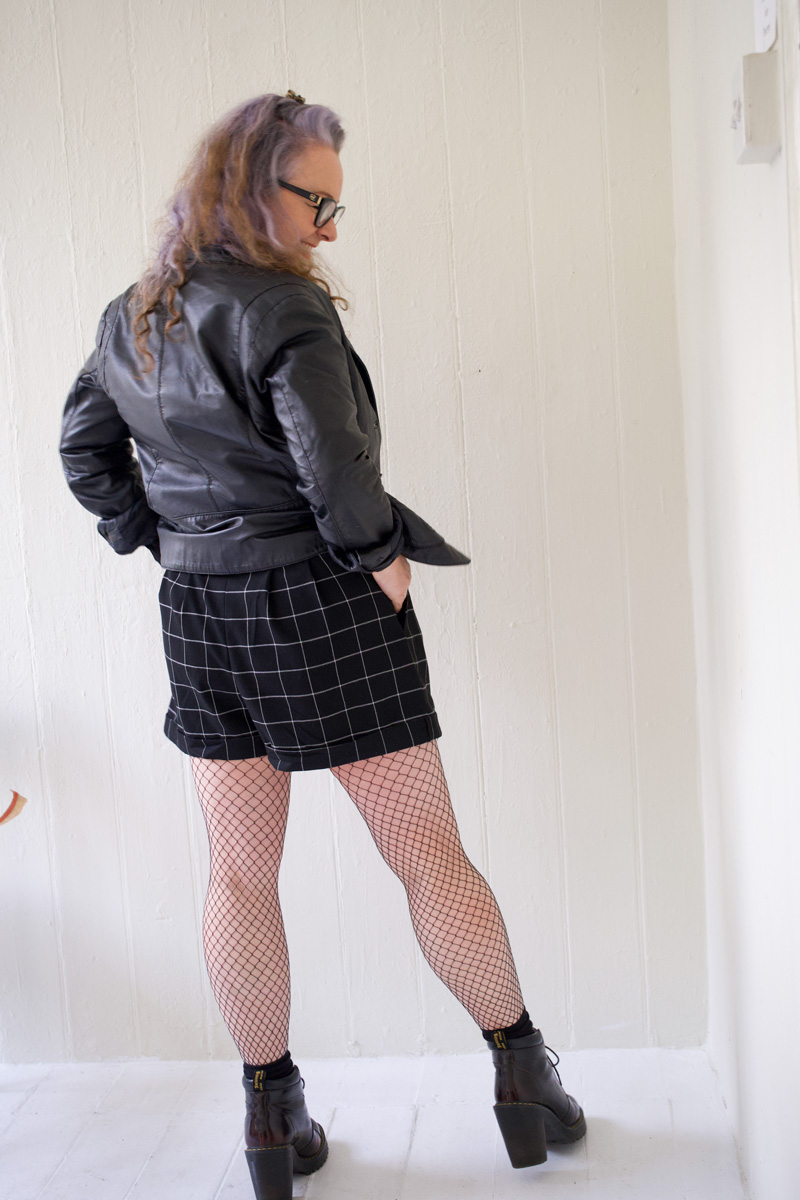
They are so comfortable to wear, lovely and warm with tights and I love styling them with boots. Its given me a great opportunity to test them out with all my different tops (breaking all the ‘rules’ for pattern mixing) so I’ll be sure to share that with you soon, too.
I do hope these tips come in useful, for this project or any others you’ve got on the go. And please share any additional ones you might have in the comment section. One of my favourite things about sewing is the prospect of it always being a work in progress. There’s more than a lifetimes worth of tips and techniques to keep us busy and sharing them is half the fun!
In the meantime I’m pondering my next project. Could be an actual jumper, a work-out piece or a self-drafted dress. Decisions, decisions…!
Postscript! I’ve since found out that this McCalls pattern has been rereleased under M8168, Taylor McCalls
Other shorts I’ve made: