The SOI Miriam dress and jacket I always knew I wanted

I’ve wanted to make a classic dress suit for as long as I can remember. And I own very, many original vintage patterns that would have been perfect, believe me. But an overriding anticipated disappointment in the result always held me back.
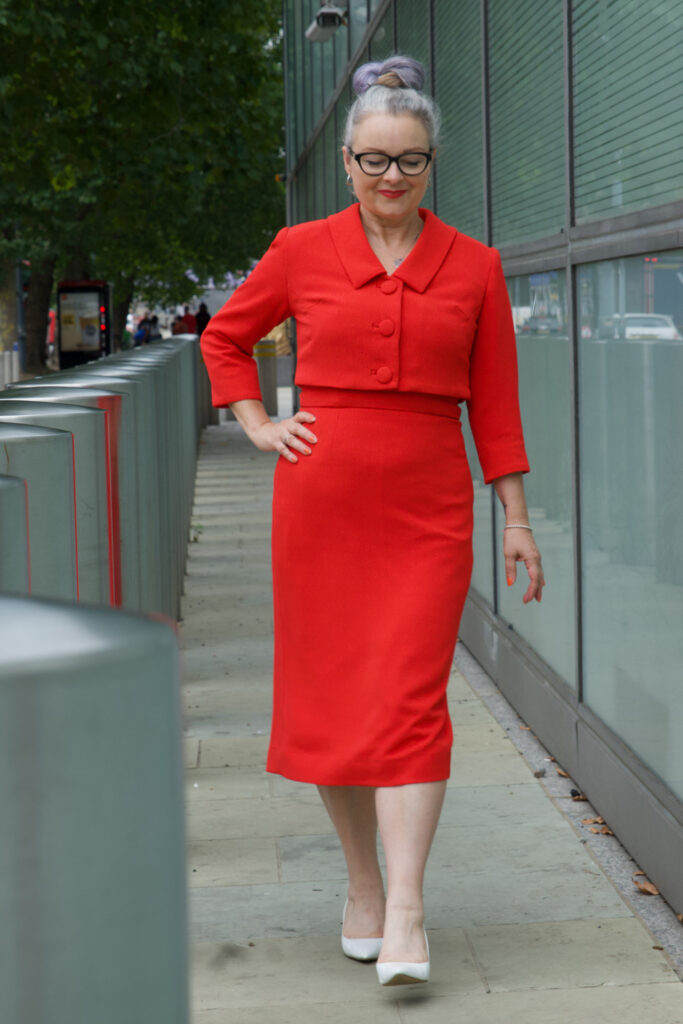
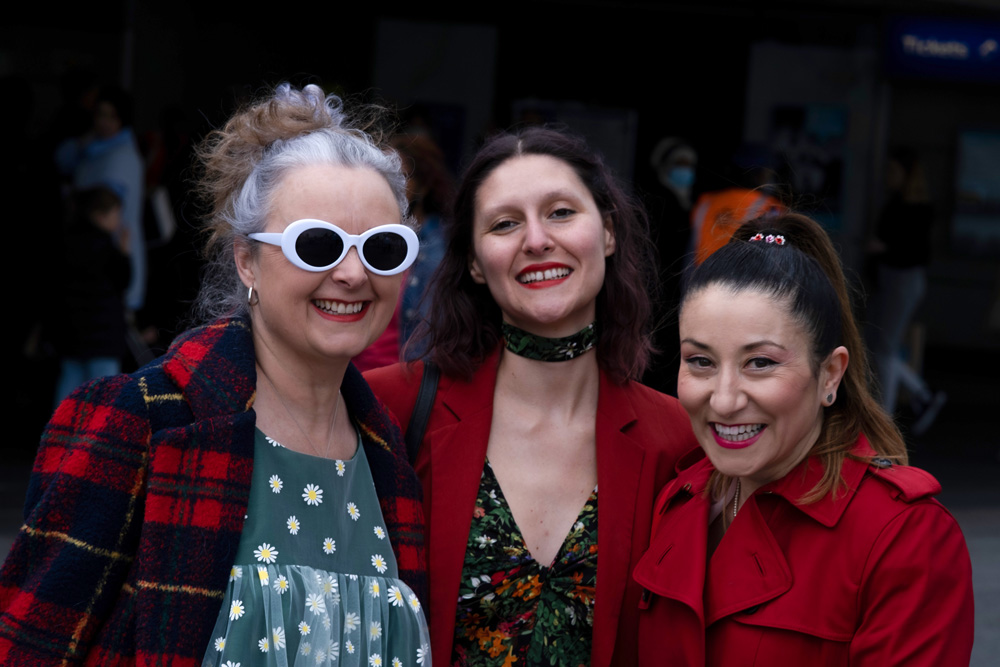
In fact its true to say I’ve altogether strayed away from vintage styles more recently, favouring an urge to be a bit more experimental instead. But I’ve never lost love for the classics. And when Lisa asked if I’d model for Sew Over It’s Vintage Dreaming collection I had to pinch myself. Every single garment of that Ebook is divine but the one look that took my breath away was Lisa in the pale blue polka dot Miriam set and Chantelle in the raspberry linen version. And I wanted it too!
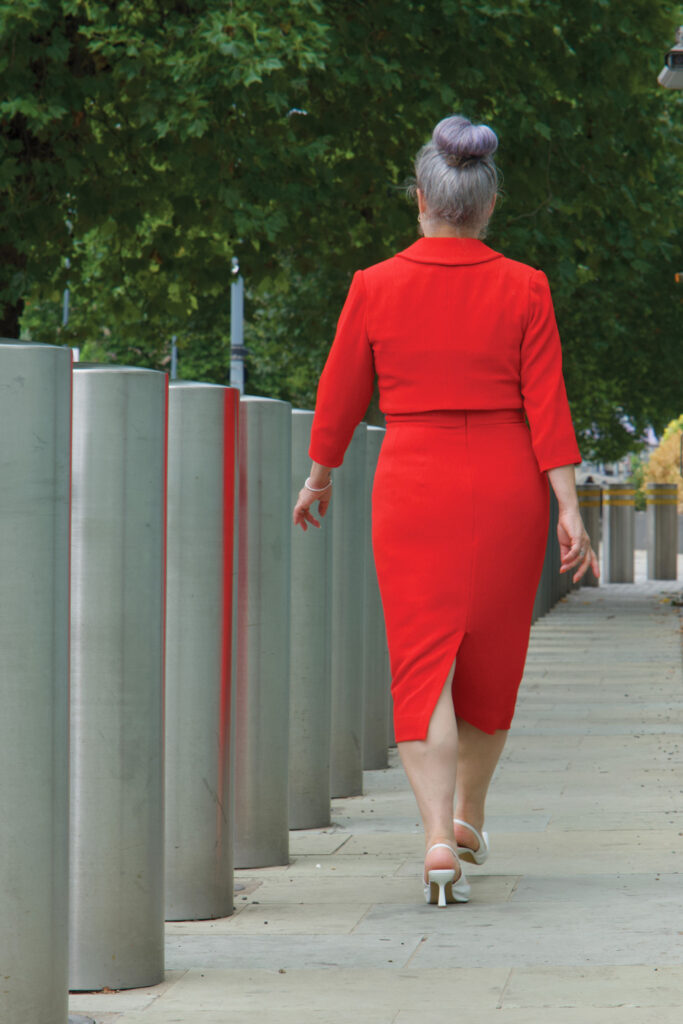
There was something massively nostalgic about Sew Over It making a return to vintage. Because that’s where they were at when I discovered them, when indie pattern companies were brand new and it felt so refreshing to have exciting options outside of ‘the Big 4’ pattern companies, and is exactly the point at which I was keen on sewing all things 50s and 60s. The main benefits of modern vintage-style patterns are the more realistic and modern proportions of the body measurements and also the inclusion of multiple size options so you can grade very easily between 2 or more lines to get a perfect fit. Most of my 1950s patterns are generally an unprinted tissue template for a singular size only. And generally speaking don’t fit straight out of the packet!
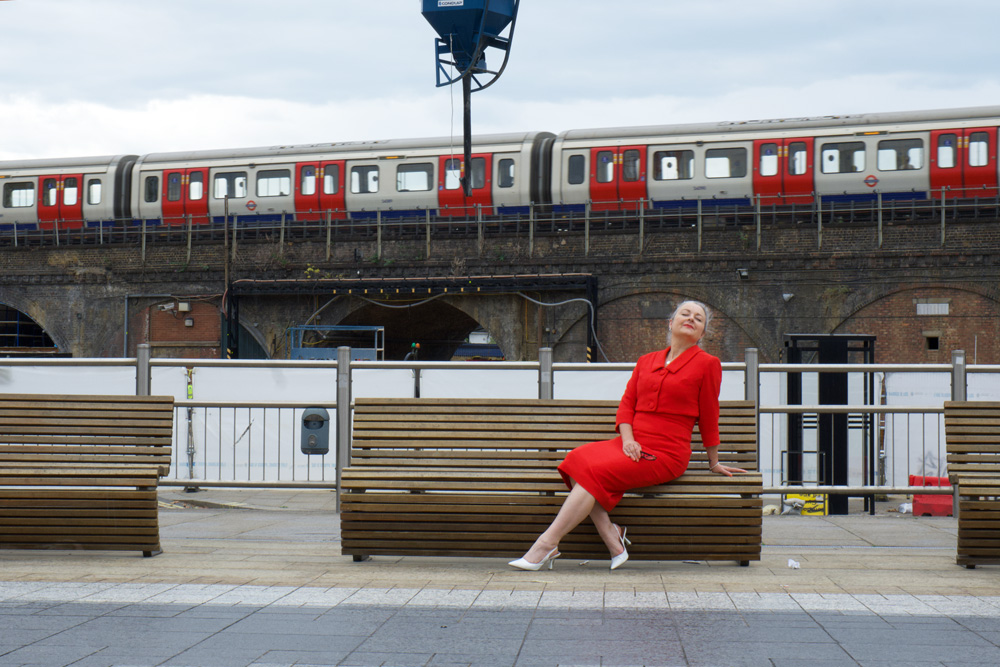
And so it was such a joy to cut a straight size 12 for the Miriam set with no fitting adjustments at all! 

The dress came together so easily and relatively quickly. This is largely due to the simplicity of the design, but also the instructions are very clear and concise. The only step I skipped was for the adjustable straps. I just made sure the straps were exactly in the right place and the right length by pinning and trying on and adjusting … about 15 times before finally sewing in place!
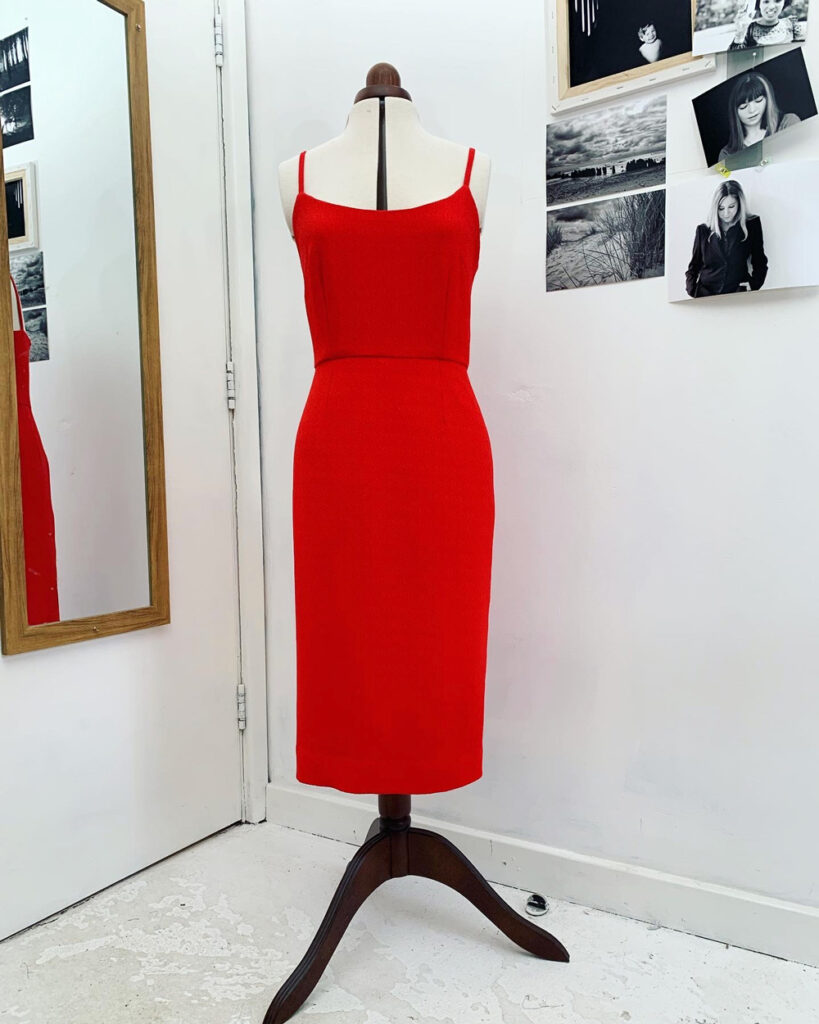
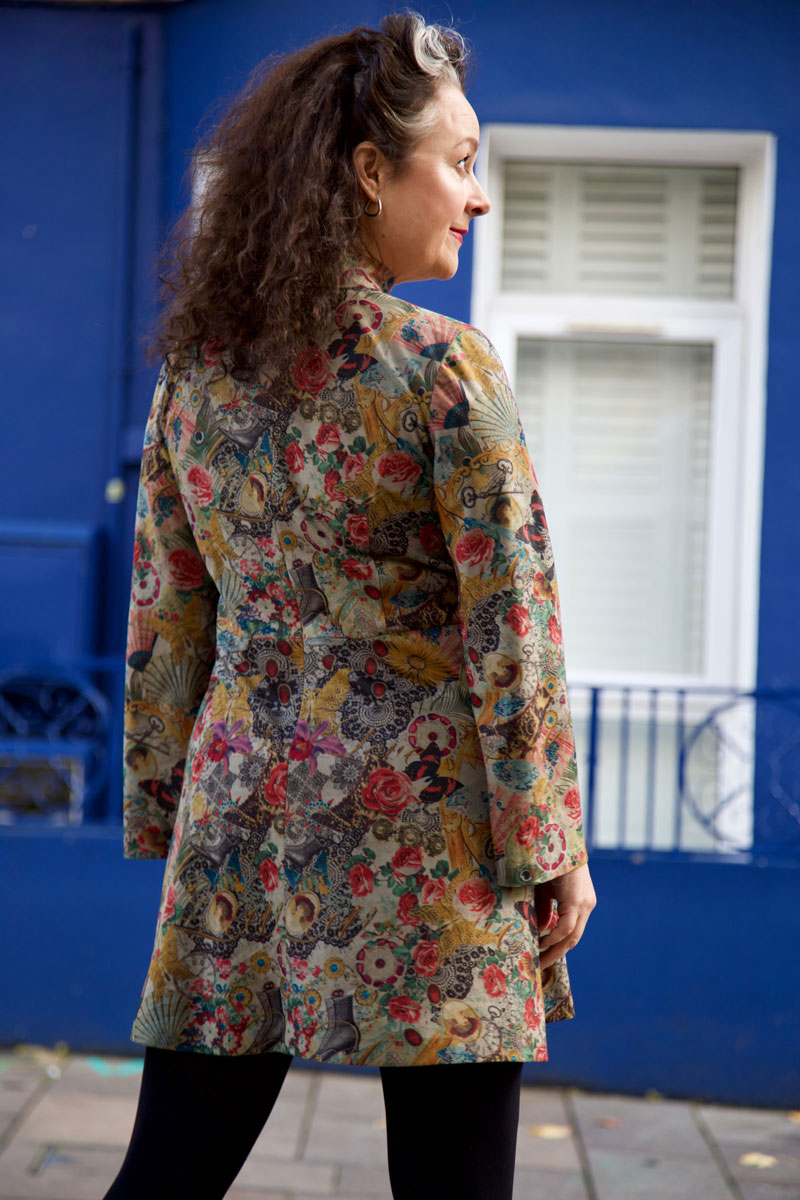
I used a medium weight, red textured crepe from New Crafthouse (always delighted to use deadstock) bought with a voucher I won back in April at the Spring Fling party. Also delighted that I’ve used it up relatively quickly and it’s not languished in stash! I’m trying so hard to create better habits recently regarding my fabric choices, sources and usage. More about that soon.
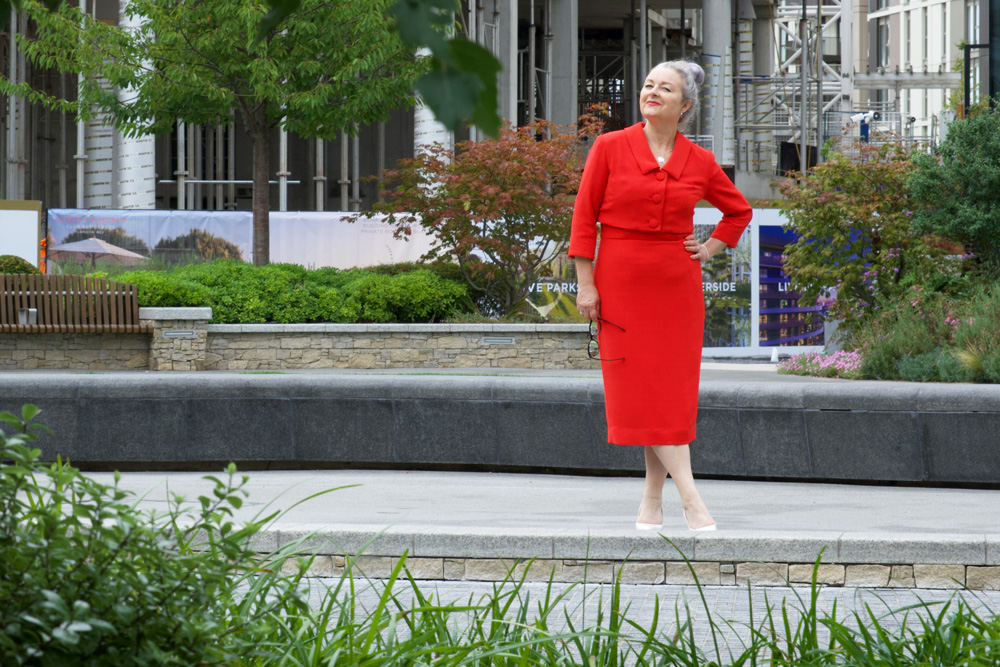
The jacket involved a bit more work. But that was mostly my fault! Although the fabric was great for the dress – it’s got great drape and is very huggy at the same time – I had  a feeling it wasn’t going to have quite enough structure for a jacket so I needed to employ some extra techniques. 

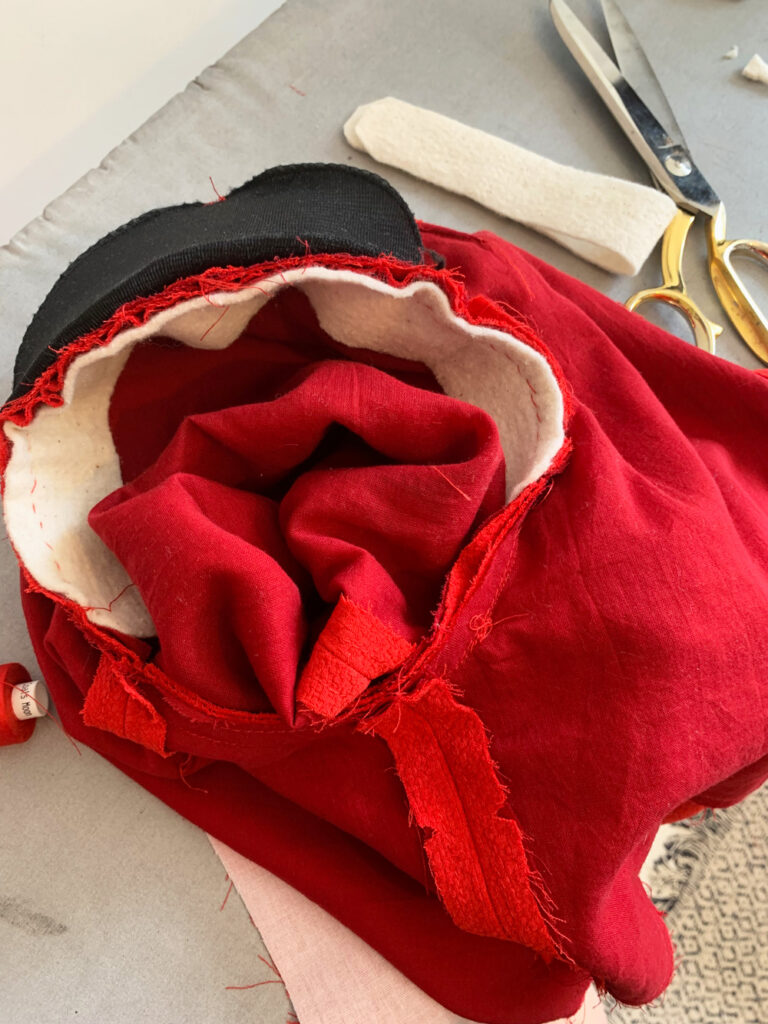
For starters, I underlined all the pieces with a red cotton voile – a great suggestion by SOI. I also padded the shoulders and added some strips of cotton fleece for the sleeve heads. I remembered to take a photo of the inner workings this time. Not quite so pretty though!
I had a horrible feeling that machine buttonholes were going to give me grief. I couldn’t bear to get to ‘almost finished’ stage only to ruin it all with raggedy buttonholes so I set about making old-school bound ones. And boy did I forget quite how faffy they are to do. I trialled some before I did the real ones. Worth it in the long run but I think I near fainted by holding my breath through the entire process. 
Its worth noting the importance of having those welt sections on grain. They will fold better and press straighter and give a much better finish.

And once I’d finished the button holes it made total sense to make covered buttons too. Luckily I had inherited a bag of the button bases and the rubber pressing tool a while back. The size was a little larger than suggested but it worked just fine.

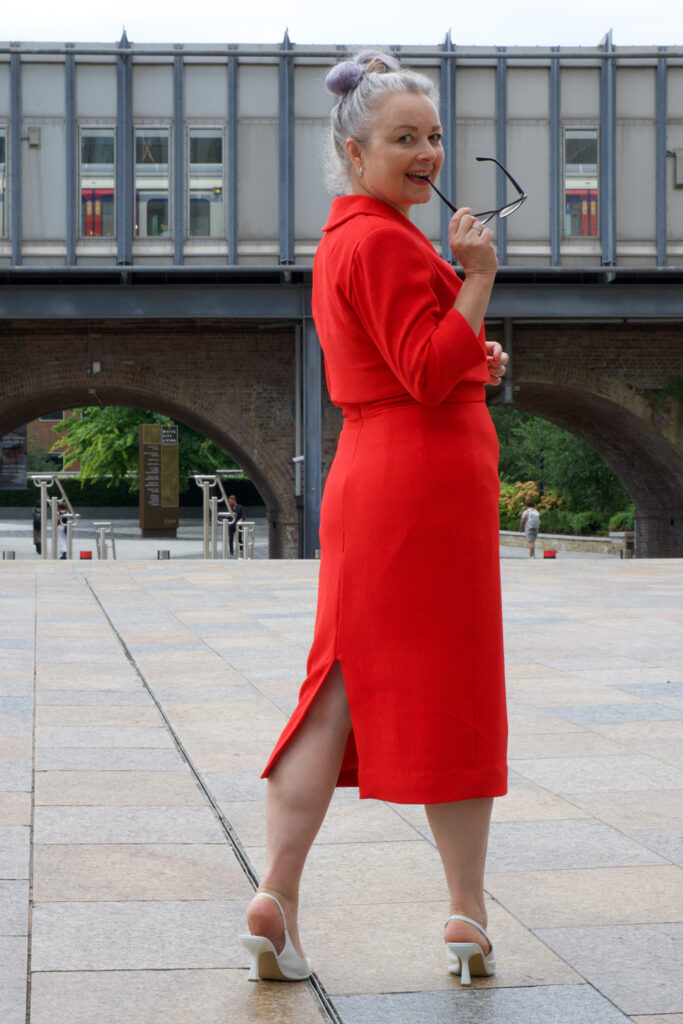
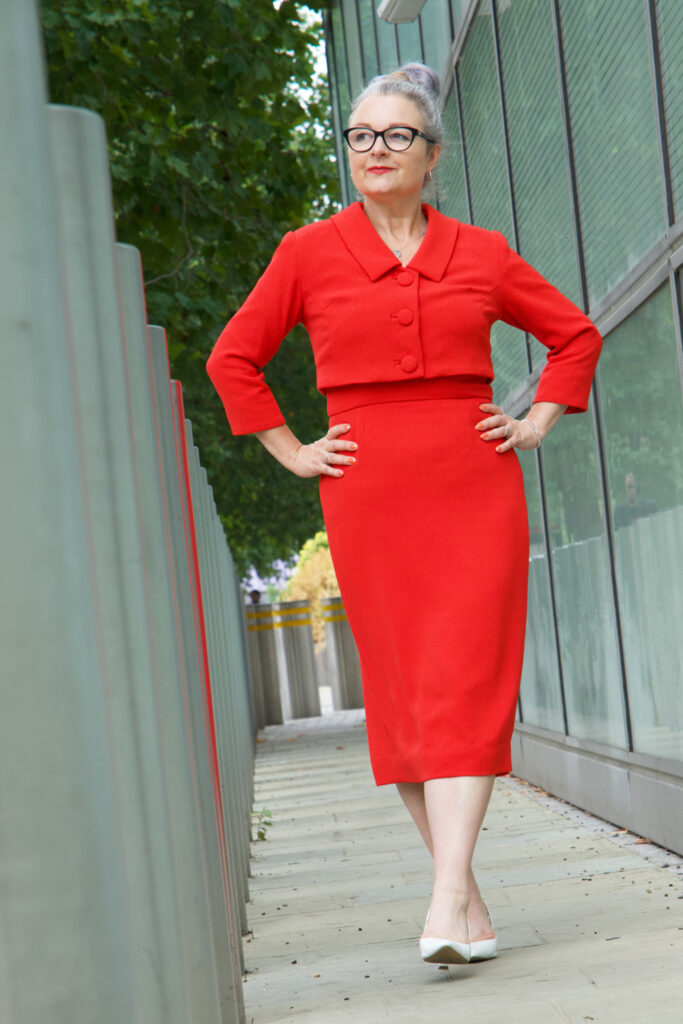
I completed the outfit in the nick of time to wear to my niece’s wedding and was so preoccupied I didn’t get any full length photos so all the thanks to Dan who took the time out to shoot these for me in and around where we work.

I just love how this suit makes me feel: mostly so grown up and properly dressed! It makes me walk tall and fills me with confidence. I got so many lovely comments from passing people, and that added to the feel good factor too! This is already a wardrobe bestie. And most probably will be for years to come.
How I hacked a Frida to make my daisy dress

Waaay back in April, I went to my very first New Crafthouse party. I’d heard of these legendary do’s but I was always too slow to the checkout page. This time round, howevs, I got a heads up and I snapped up a ticket the minute they went on sale.

The theme was Spring Fling… I do love a brief! Kind of narrows down the options of what to make, which is helpful because as you probably know its virtually impossible for a dressmaker not to make something new for a party!

Another good thing is, that because there’s usually a bank of ‘wanna makes’ swimming around in my head, I just have to pause the slideshow and pick a winner!

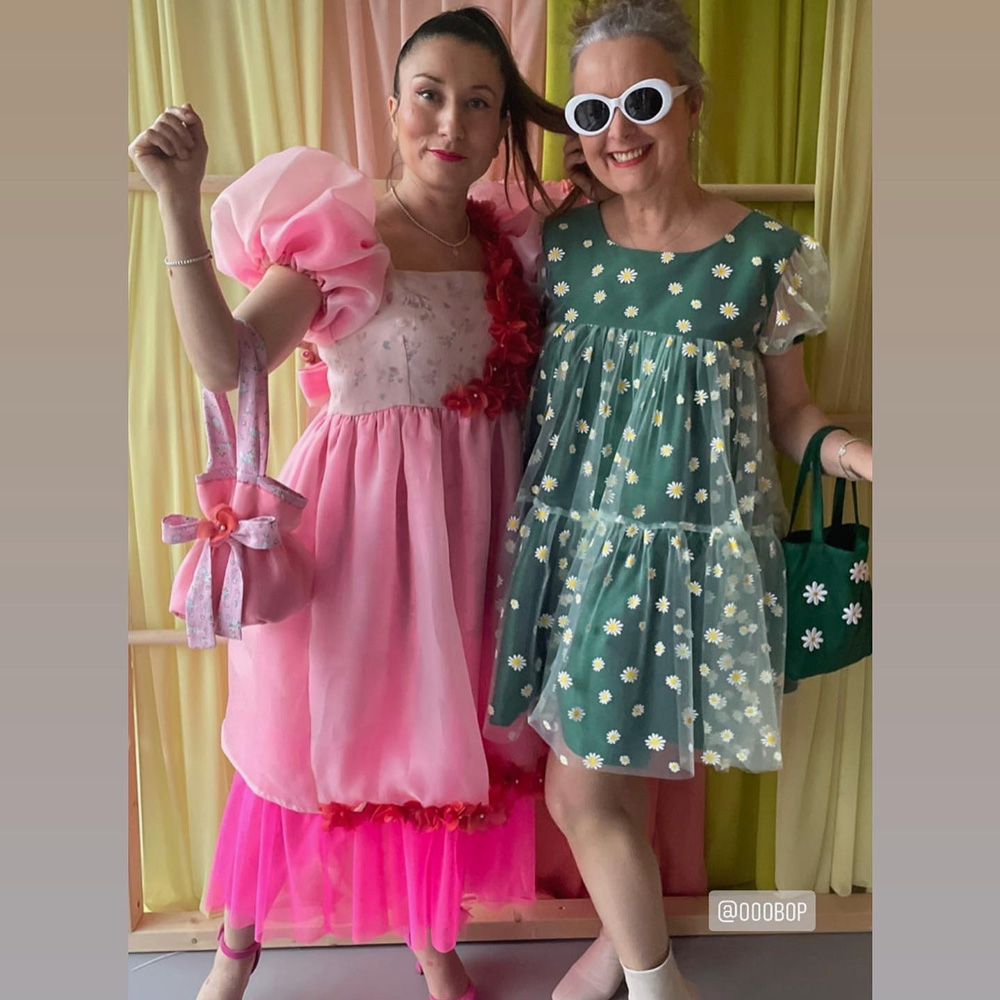
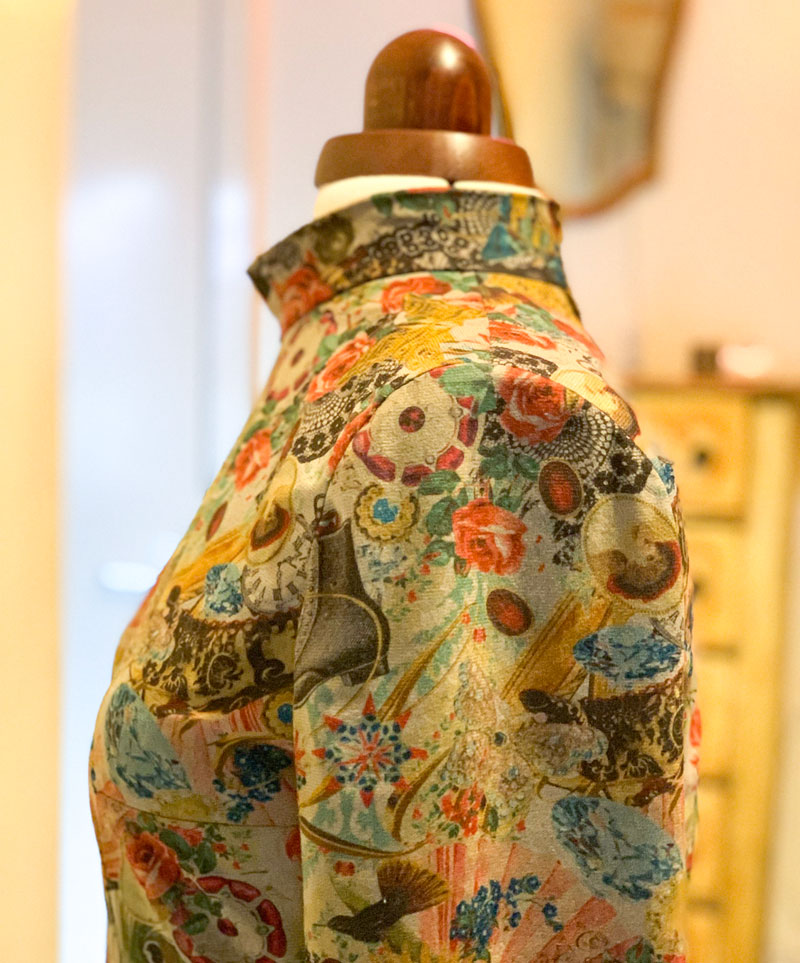
I’d been toying with a Molly Goddard style dress for a while. Not so over the top as that pink Killing Eve number – though, never say never! I guessed pink might be the popular choice for a spring theme and I wanted something a bit different, so I pictured what spring looked like in my local parks and daisies sprung to mind. 

But boy did I set a task for myself. I wanted daisy tulle. It had to be daisies, on tulle and nothing else. And I searched high and low until I finally found it some on Etsy. Its actually a pale green tulle which was a bonus too though it doesn’t really come across as such.

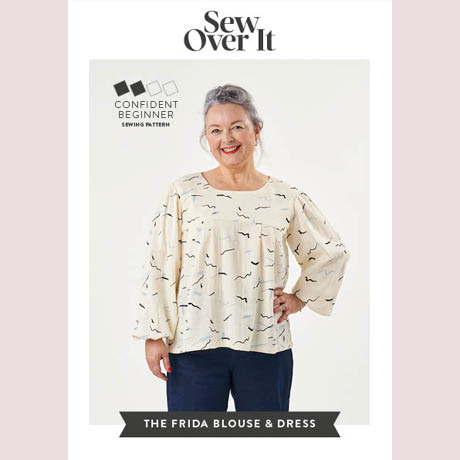
As for the pattern, I knew exactly what I was going to use. The SewOverIt Frida blouse and dress is such a great little pattern with no closures. Zippers and tulle aren’t generally friends so it was a perfect choice and a very simple hack would make my vision happen. And hey… see anyone familiar on the pattern cover?!

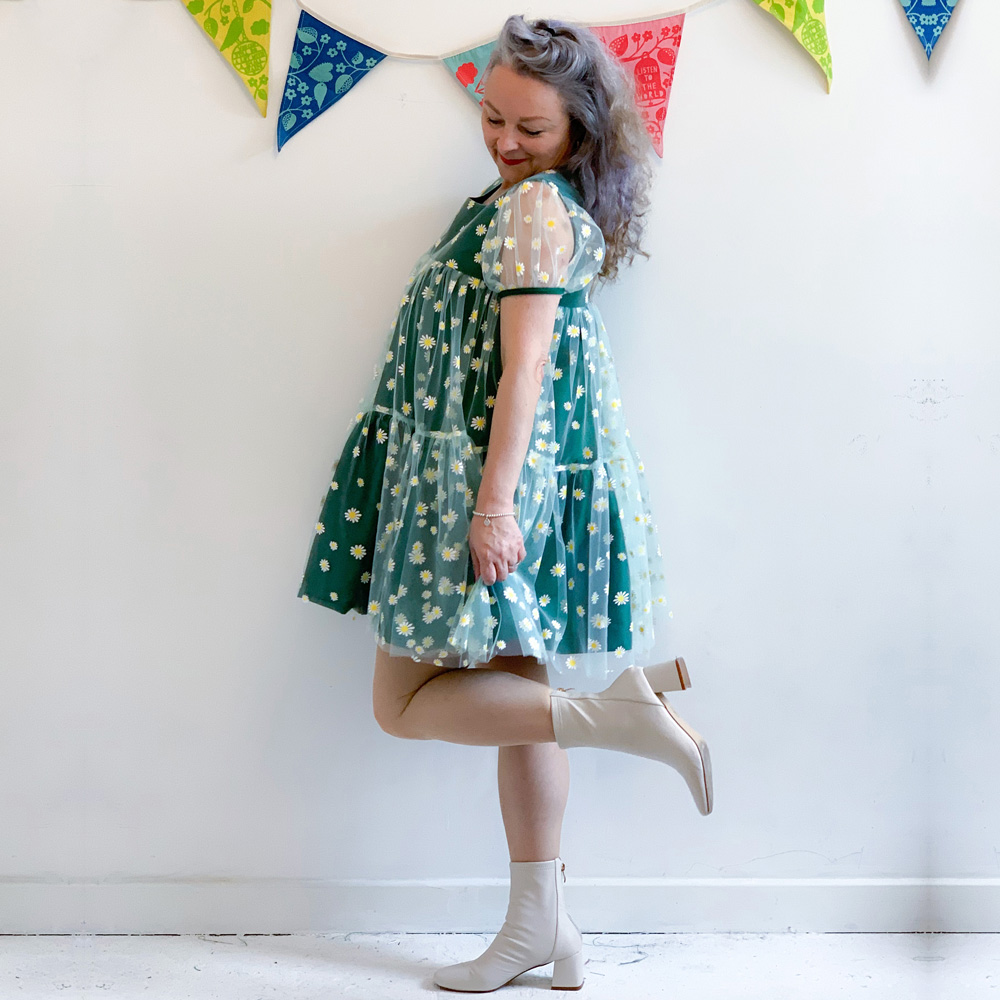
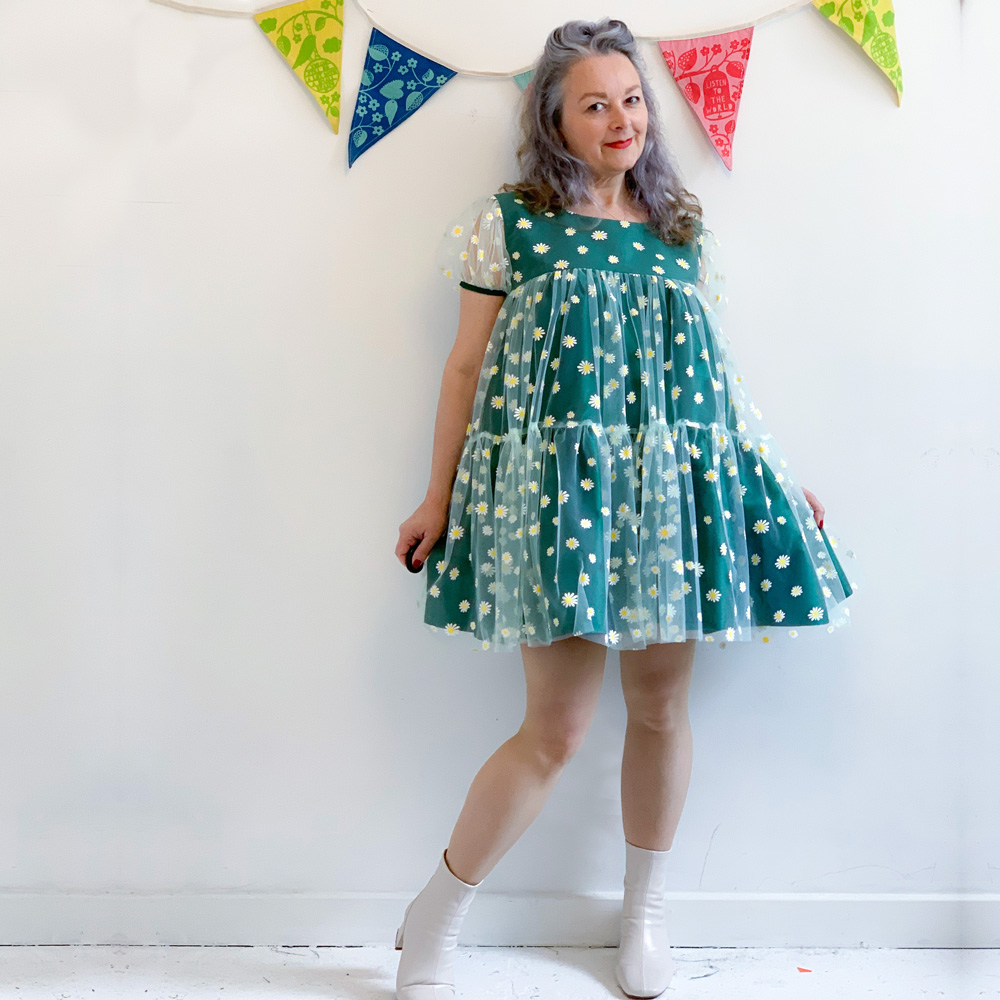
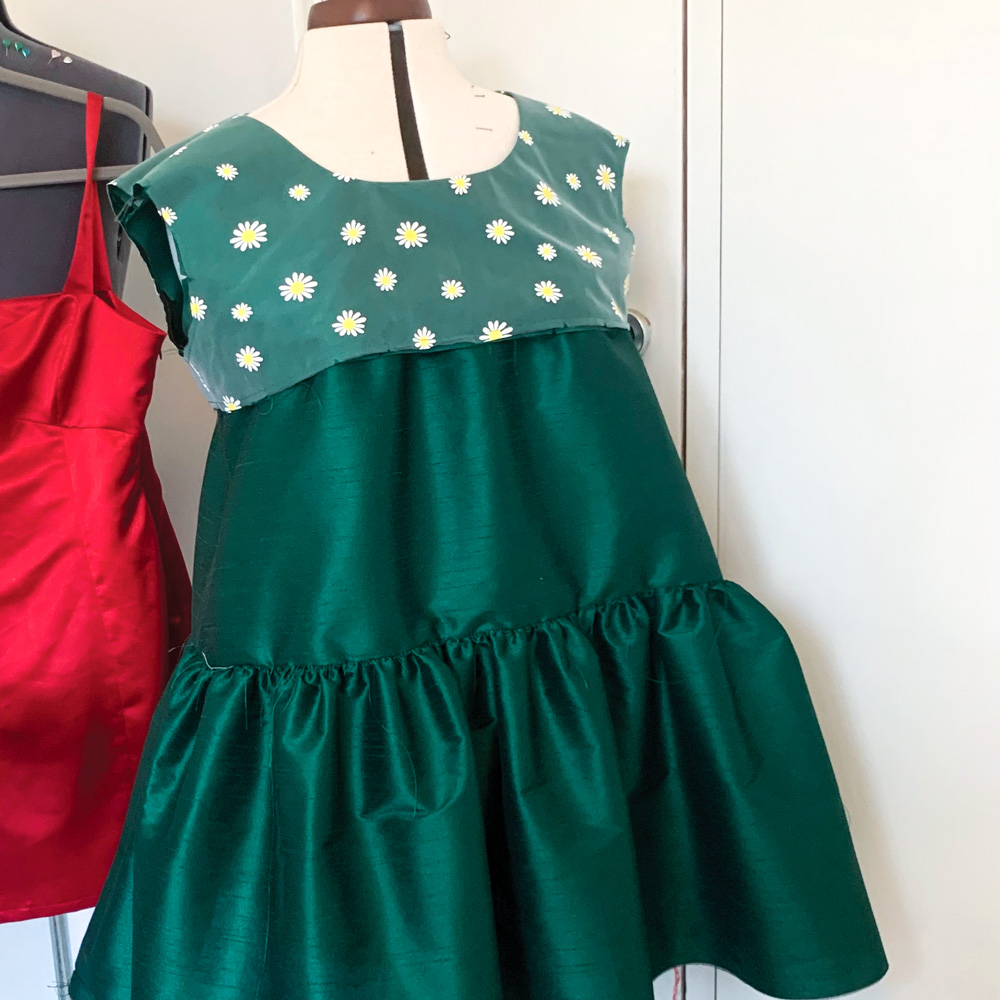
I kept the bodice section pretty much exactly as was, apart from shaving a little off the shoulder, because I  wanted the sleeve puffs to sit on the end of my shoulder point for maximum pooof! I used a green poly taffeta for the underdress because it had great structure and also was a great grassy base for the daisies to sit on. I overlaid the tulle on to the bodice piece to sew as one and I love how the sheen of the taffeta shone through.

I used the longer skirt section of the Frida Dress pattern as the foundation of the under-dress. The top part where it meets the bodice is pleated and I kept that but I split it about half way down and spread that bottom half to end up with a gathered bottom tier. This created much more of a dramatic A-Line silhouette and already the cheeky fun of this little party dress was beginning to make an appearance.

The tulle overlay is simply two gathered rectangles, each to the same depth as their corresponding under layers. The bottom layer was cut twice as long as the upper one and gathered onto the top tier.

For the sleeves,  I took the fuller sleeve pattern piece of the Frida, shortened it and then cut and slashed to spread it really wide. It was a bit trial and error but it worked just right with the first draft. I created some binding from the taffeta to edge the sleeves. I was so happy at this point as there were strong indications that it was evolving exactly as it had taken shape in my head!

Apart from gathering the tulle (one of my least favourite things to do) The process was pretty simple. And I finished it just in time to meet up with Alma and Ilaria and set off for the do!

We had such an amazing time – New Crafthouse is such a lovely space in East London and Hannah and Rosie were awesome hosts. We were greeted at the door with a gin fizz and had immense fun catching up with sewing friends old and new, everyone of them looking incredible in their handmade creations. It blows my mind how much talent there is in our wonderful sewing community.

And guess what! Not only did Ilaria win first prize for her amazing Botticelli meets Molly Goddard dress (we clearly have great minds)… but I won a runners up prize too!

We seriously had no expectations of coming away with prizes. It was so exciting. And we were buzzing all the way home.
Useful Links
Sew Over It Frida Blouse and Dress pattern
The New Crafthouse
Mod Retro Vintage Sunglasses (aff link)

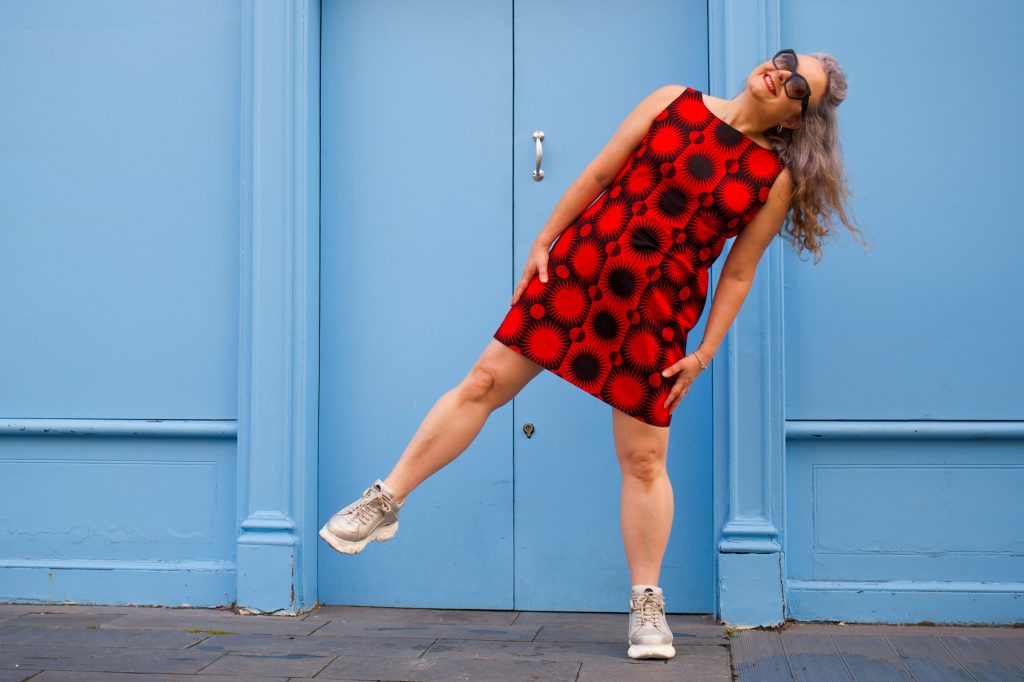
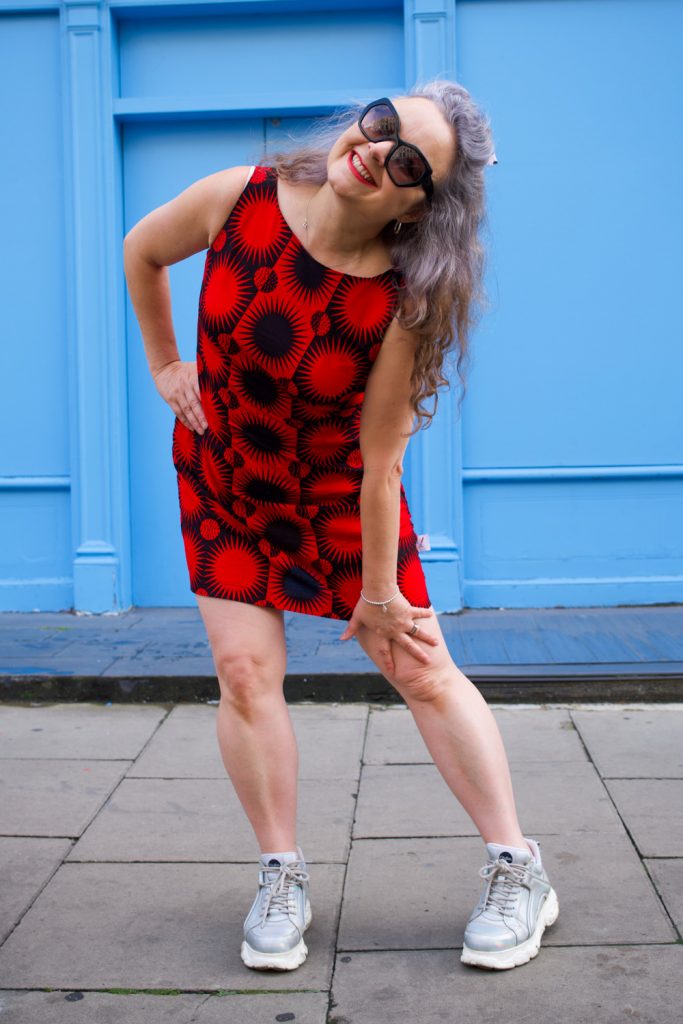
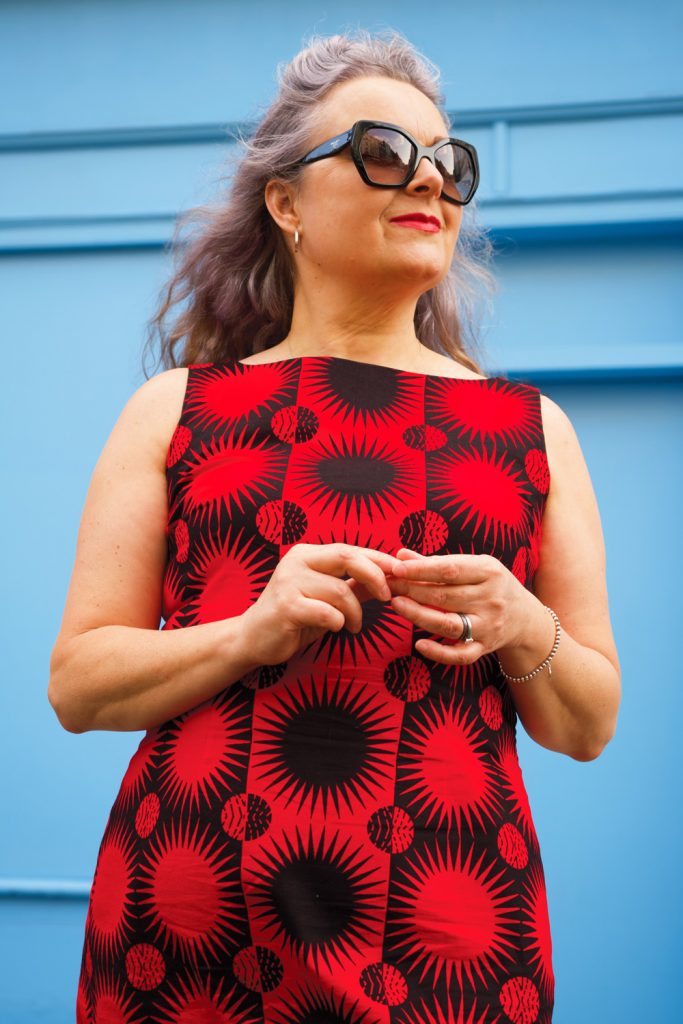
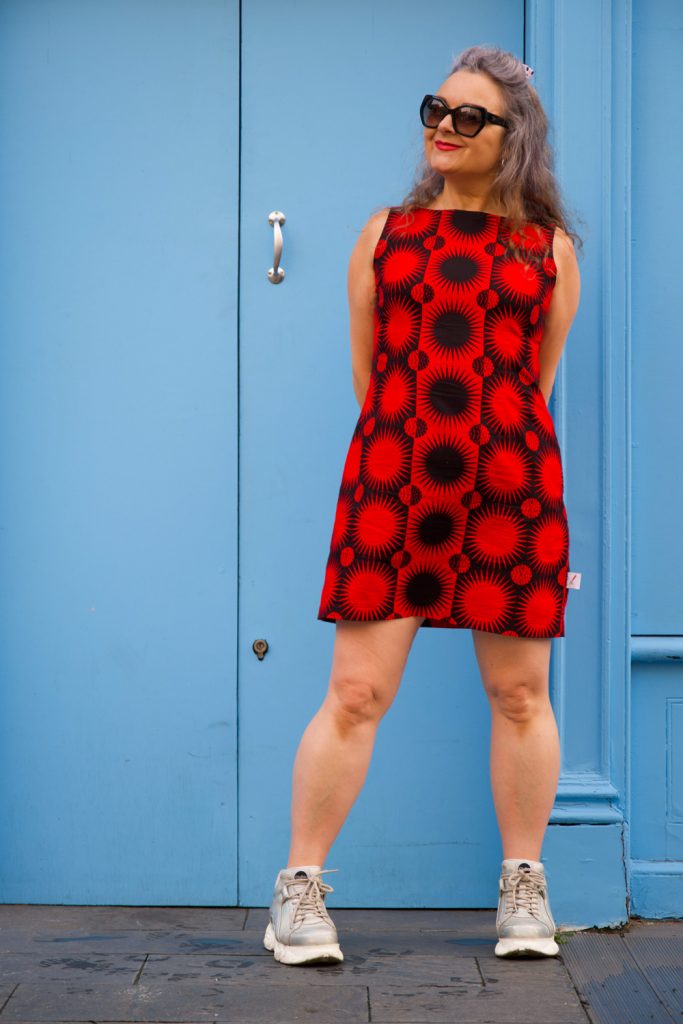
Fitted sheath dress in a graphic Ankara fabric

This is the dress I completed at the Crafty Sew and So camp, weekend before last which feels like a dreamy distant memory already, since I’ve been buried deep in work projects ever since. Thank goodness I realised the importance of taking a simple no-brainer project with me as I had anticipated a lot of chat and I didn’t want to be getting stressed out by fiddly details… or miss out on all the goss!

Sewing a sheath dress is a good test of fine tuning a fit as woven fabric has no forgiveness whatsoever! And I’m pretty sure I’ve nailed it now. It feels like it fits in all the right places and its amazing how that feeling transmits a confidence when I wear it. Well I can hardly blend into the background with this graphic print in any case!

I was hoping the Ankara fabric, with its strength and weight, would give good structure and I wasn’t disappointed. If you’ve sewn with it before, you’ll appreciate how your shears slice so accurately through the threads and the joy of ironing those sharp seams – especially helpful when pressing those understitched facings. They are so never going to pop out!

The dress pattern is simply a front and a back piece and an all in one facing to finish the armholes and the neckline. The zip is at the left side – something I learned from sewing a lot of vintage dresses and a method that means the back piece stays as one so there is no need to pattern match across a zip.

I would normally have tried harder to match across the side seams but I was working with a remnant here, left over from this crazy cowl skirt project, so I was limited with my placement options. Very happy that I used stash fabric though!

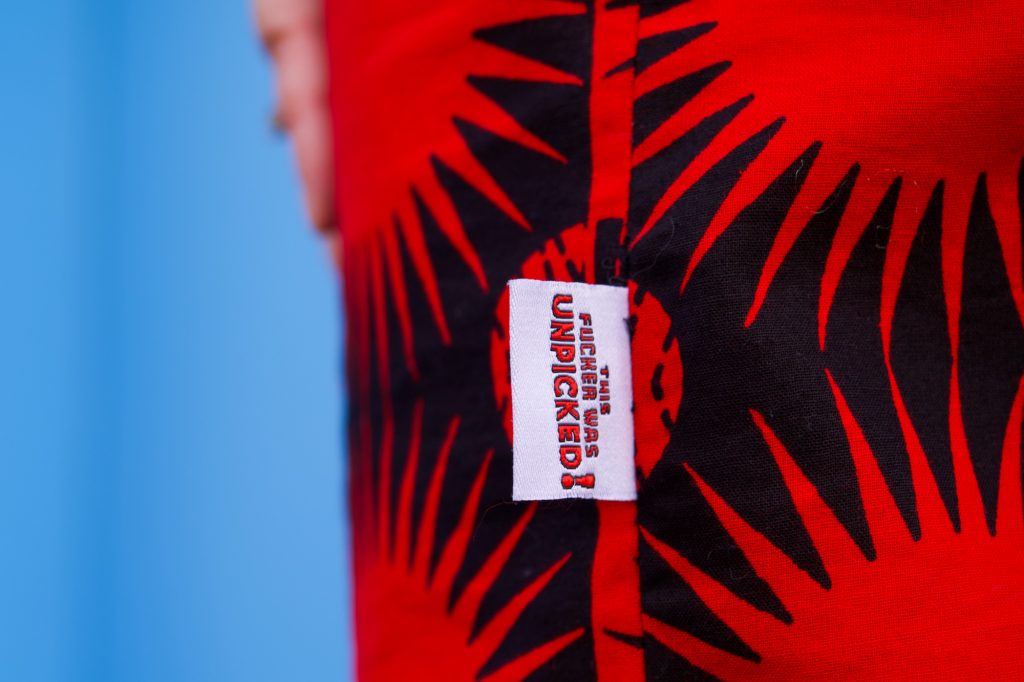
And whilst we are on the subject of side seams, I’d like to draw attention to the sweary label that Manisha from Manisha’s Fancy Fabrics kindly and appropriately gifted me from Sew Me In (explicit) Labels. Because, despite the simplicity of this dress, I had to unpick 3 seams at least due to distraction of talking and mostly laughing my head off. In case you need any confirmation, sewing alongside likeminded makers who share as much passion about dressmaking, is incredibly good for the soul but a little bit detrimental to productivity!

This won’t be my last sheath dress for a number of reasons:

  • Its a lovely no-brainer of a sew, once the fit is mastered
  • It uses precious little fabric
  • Its can be office-appropriate in a suiting fabric, casual in a cotton, dressy in a satin
  • It can be customised so easily

Thanks to Dan for these lovely photos. We were in Charlotte Street, and very much drawn in by the blue of the shopfront. We haven’t been up town for a long while and it was good to see the buzz is still there, with lots more pedestrianised areas for al-fresco drinking and dining.

Keep tuned for some more of my pattern drafting adventures. I’ve got a few plans up my sleeve!

Tropical Shelby

ooobop shelby romper in tropical print
What bliss, when you have precious little time to play with, but you have a sewing pattern that you know fits straight out of the packet! I’m back again with another True Bias Shelby Romper suit. And I love it just as much as the star version… don’t make me choose!

The fabric is a beautiful quality viscose from SewSewSew. Once again the sewing community came to my aid when I asked if anyone knew where I could get my hands on some tropical print. And Amy from Almond Rock so kindly pointed me in exactly the right direction

Tropical print version of True Bias Shelby Romper

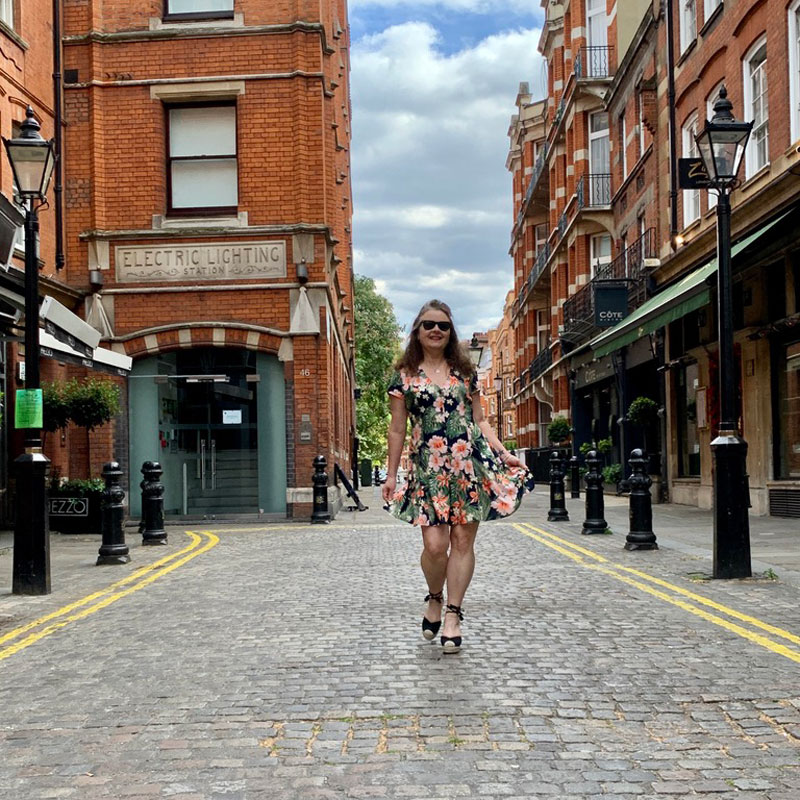
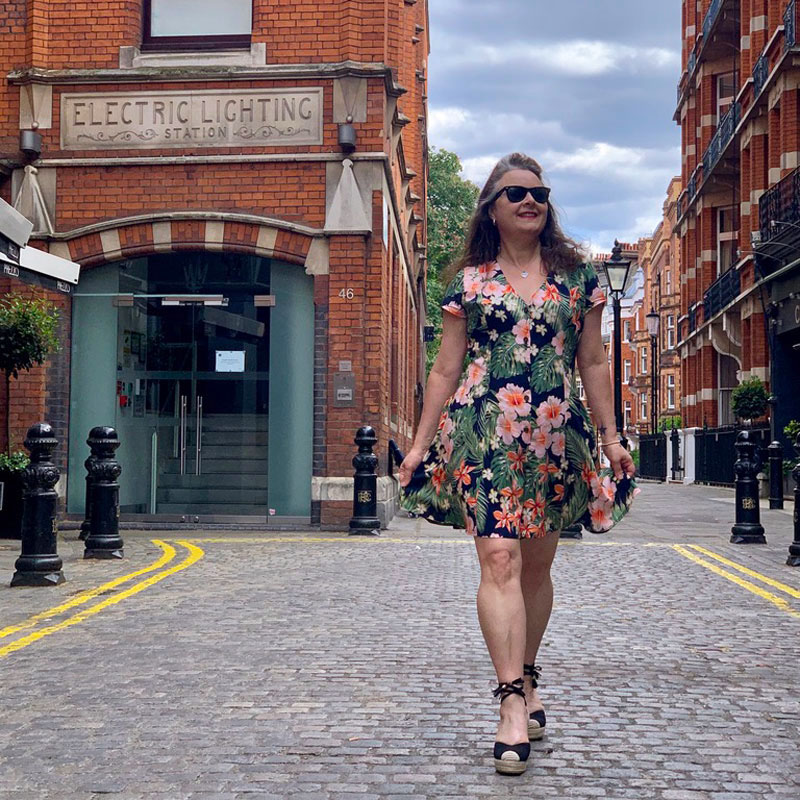
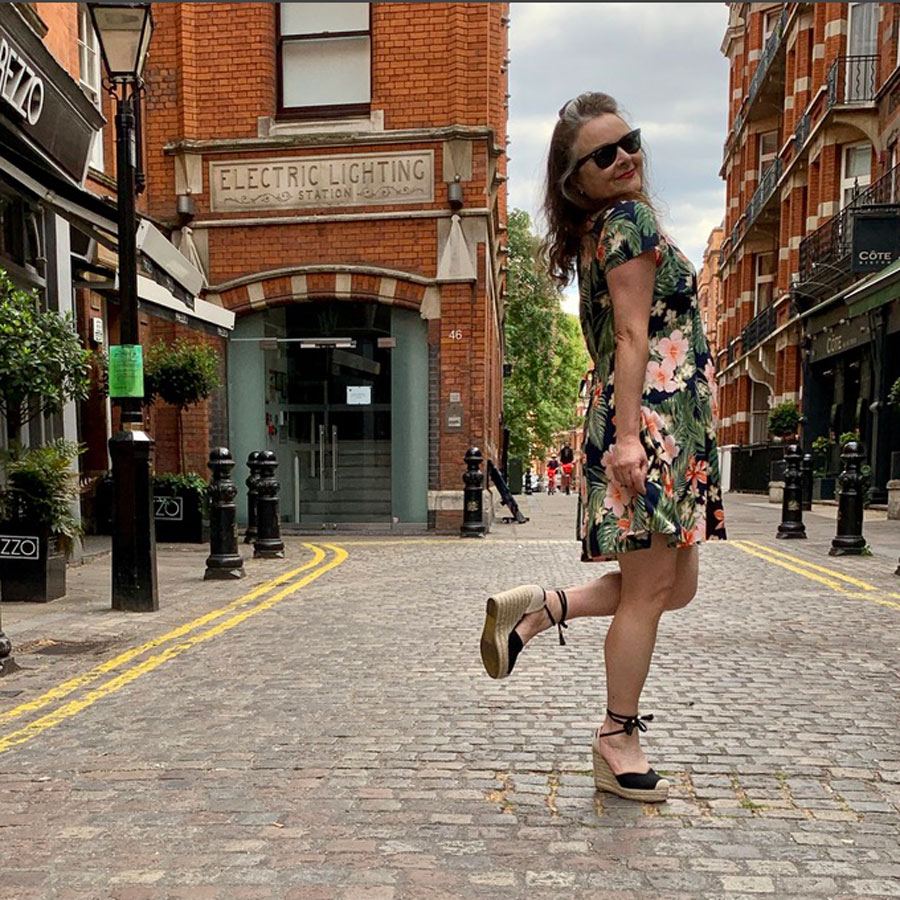
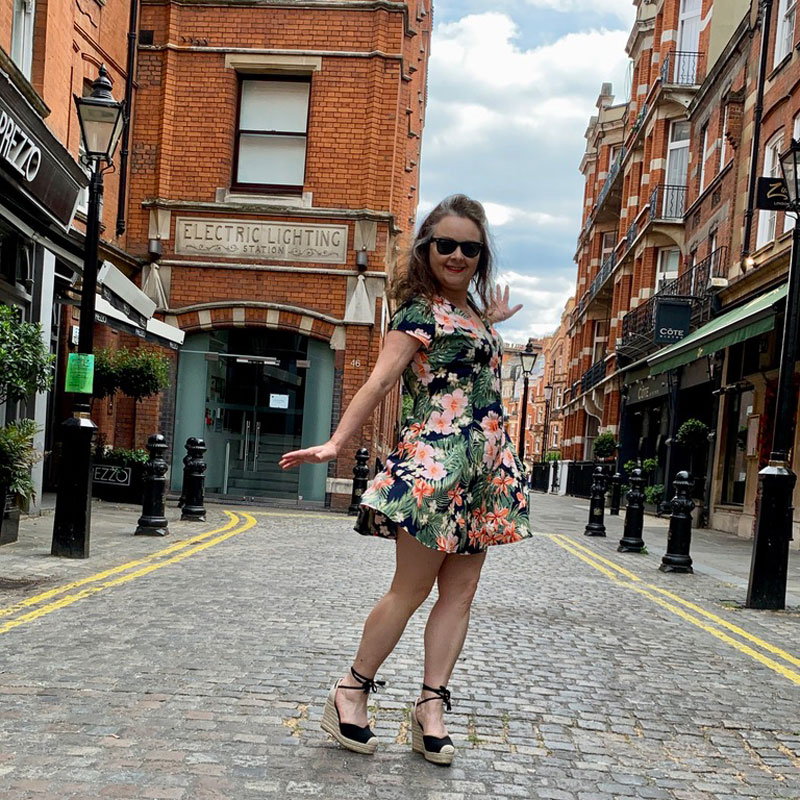
I feel all ‘holiday’ in this one, ditching the Docs for a pair of espadrilles. Believe it or not, I’ve never owned a pair owing to my fat feet and inability to squeeze my toots into them. But Asos have a wide-fitting shoe section and I thought I’d give them a shot. Mostly very happy, especially with the fit. I just have to learn to walk in them and keep my heels from lifting out. Any tips?

Ooobop Shelby Romper

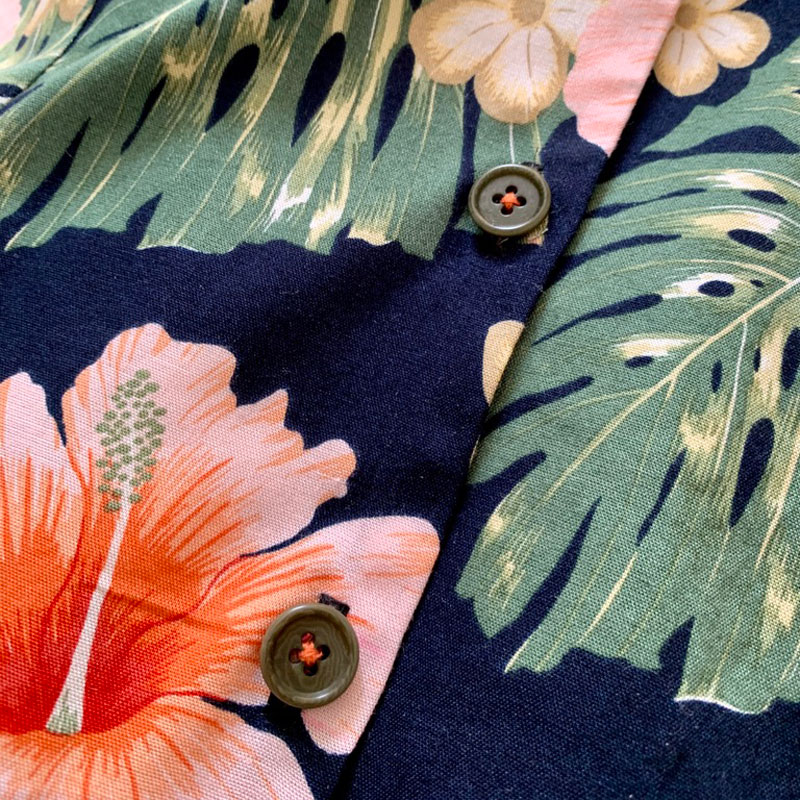
Despite having a mahoosive collection of salvaged and inherited buttons, I still couldn’t muster up five that were just right, so I bought from a seller on Ebay Number-Sixty – who have a huge selection of buttons at very reasonable prices. You can’t really see from the photo but they are olive green with subtle swirls and following the last episode of The Great British Sewing Bee, I was totally inspired by one of the contestants, Nicole,  to sew them on with a pop of contrasting orange thread.

close up of buttons sewn on with orange thread

There was one little tip I forgot to share last time which is so helpful. The instructions advise to stitch in the ditch on top of the shoulder seams and centre back seam to secure the facing piece down. I can’t believe up until now I have been painstakingly handstitching the facing to the seams. This advice will be carried through to all my projects where applicable. It’s so much more effective. And quicker!

I really do love this pattern – the ease at which it sews up right through to finished romper suit. It truly is so much fun to wear. So much so that I can’t wait for my next order of fabric to arrive so I can make my next one. Haha… I make no apologies. It really is that good!

ooobop Shelby Romper

Lovely photos of course by Daniel Selway


Operation Christmas Dress complete!

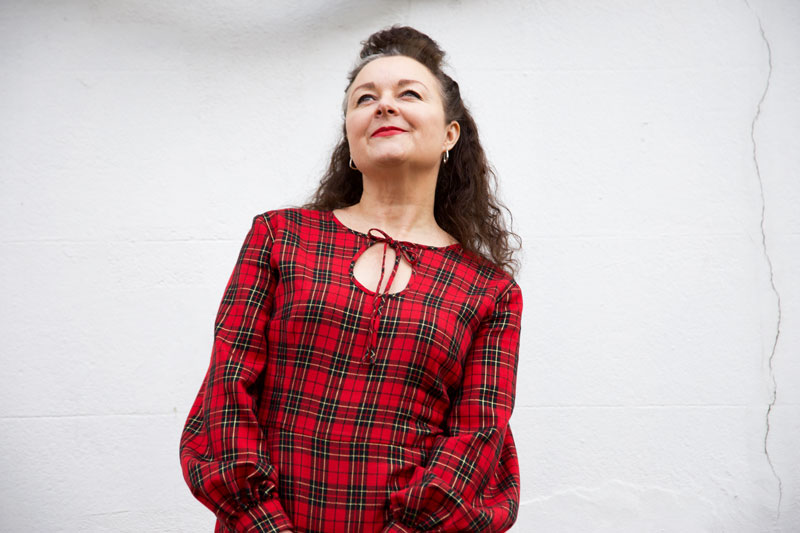
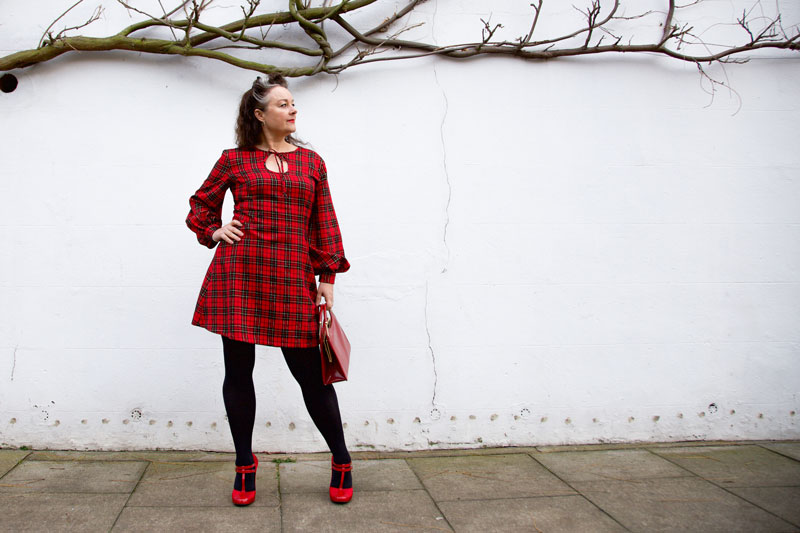
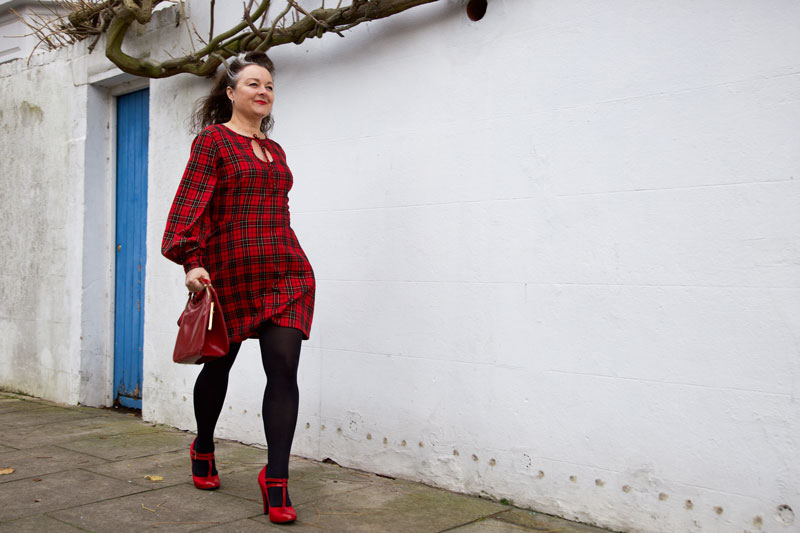
handmade tartan dress with teardrop opening

Hopes were fading to get this dress finished on time for Christmas Day. But the sewing gods were looking down on me, somewhat favourably and I sewed them cuff poppers on quite literally at the stroke of midnight on Christmas Eve.

Oh how I love ‘the night before Christmas’ – When all the shops are shut and there’s nothing more to be got. The street outside is quiet; the Christmas tree lights twinkle at their brightest and that sweet little shot of sherry slips slowly down the hatch! Perfect time of year to have some hand sewing going on in front of a festive telly-box movie, too!

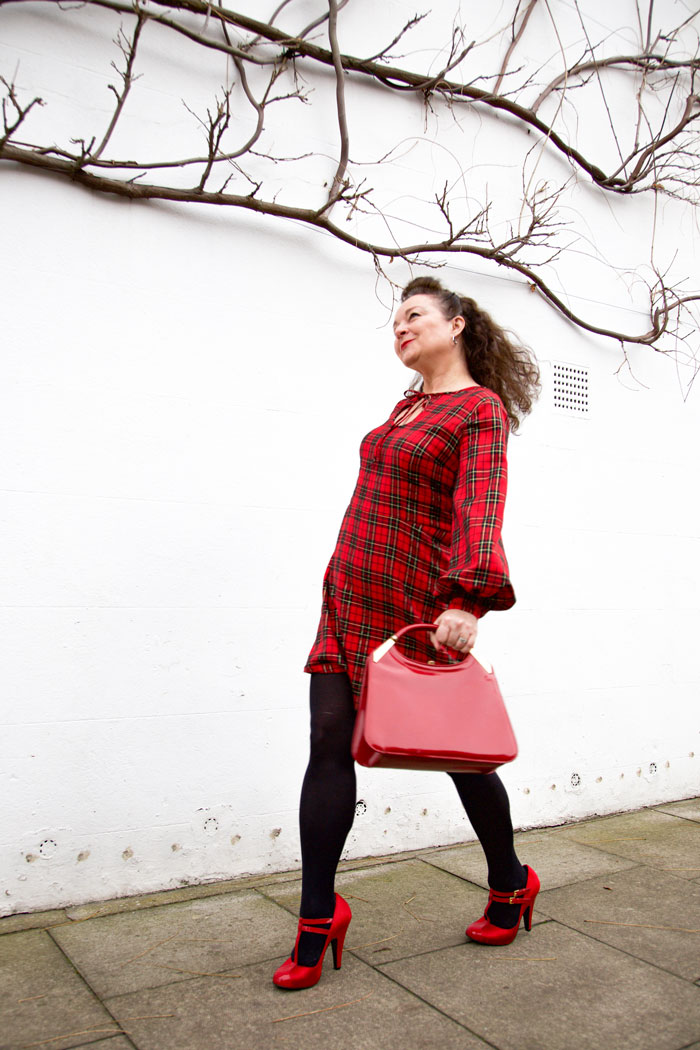
Tartan Christmas dress front

This dress is most definitely worthy of an ooobop original issue number 2. The turtle neck dress I recently made almost had a tear drop neckline but in an effort to walk before I could run, I saved it for this time.
The process was exactly the same:

  • I dreamt the design
  • I drew it in my Fashionary sketch book
  • I self-drafted the pieces from my previously created blocks, using Adobe Illustrator
  • Printed and tiled the pattern pieces
  • And sewed up the finished article.

This is proving to be my favourite method of dressmaking to date! That said, I’ve got so much still to learn and I’m anticipating some frustrating times ahead so I’ll still be checking out Indi and vintage sewing patterns when I need some respite!

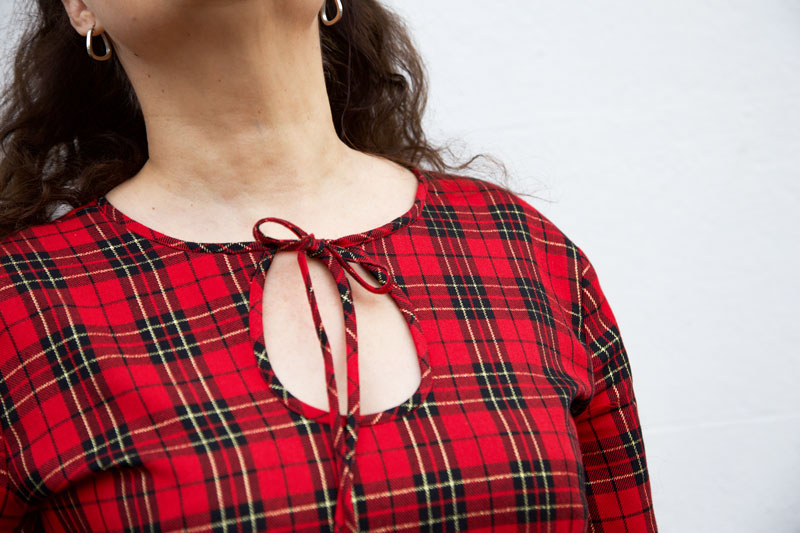
To edge the teardrop – thus avoid lining or facing – I dug out and dusted off the bias tape maker. To be fair I don’t think its much quicker than the manual ironing method but it’s a bit more fun… when it works!
Close up detail of teardrop opening

I’ve messed up many a time binding edges so this time I knew to start with sewing the right side of the binding to the wrong side of edge of the teardrop opening. I used my quarter inch foot for a consistent seam and took it real slow. Any unevenness is corrected when the binding is pressed in position to the front. (It doesn’t matter if it’s a bit wonky on the back because it won’t be seen. The entire reason for starting on the back!) I then clipped the seam in the curved areas before slowly and carefully top-stitching close to the edge on the right side to finish the binding, where it does matter! That final press is so satisfying.

I then used two more folded bias strips to bind the neckline from back to front, concealing the top edges of the teardrop, and continuing the topstitch to the ends to form the ties. I sewed across the ends of the ties to prevent too much fraying. I’m happy for it to fray a little.

Now lets talk bishop sleeves – Lovely big billowy bishop sleeves! They’re a bit trendy at the moment but to be fair they’ve never been out of favour in my fashion world!

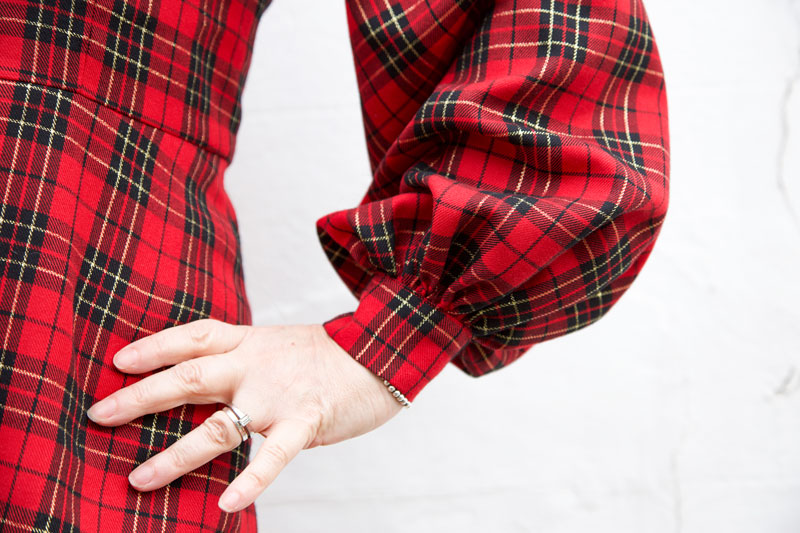
close up of sleeve and cuff

I took my sleeve block piece and similarly to how I flared it last time, created 4 slash points and spread the pieces till the width was a little more than thrice my cuff measurement. I didn’t deduct the length of the cuff from the sleeve as I wanted the fullness to overlap the cuff which it kind of does but the structure in the fabric doesn’t really make it perform as it did in my head!

The cuff is sewn akin to the binding to hide the seam and there’s a small overlap for the poppers.

Walking in my new dress

I really want to rehearse another, even more fuller bishop sleeve on a blouse made with a lighter viscose. Just to see how differently it behaves. I really want to add some lovely button loops and buttons to the cuffs too which I didn’t do here mostly because of time restraints, hence the poppers!

The rest of the dress is constructed the same as the turtle neck one: inserting an invisible zip in the back. And I must add how chuffed I was at just how invisible it turned out with all those checks matching up either side.

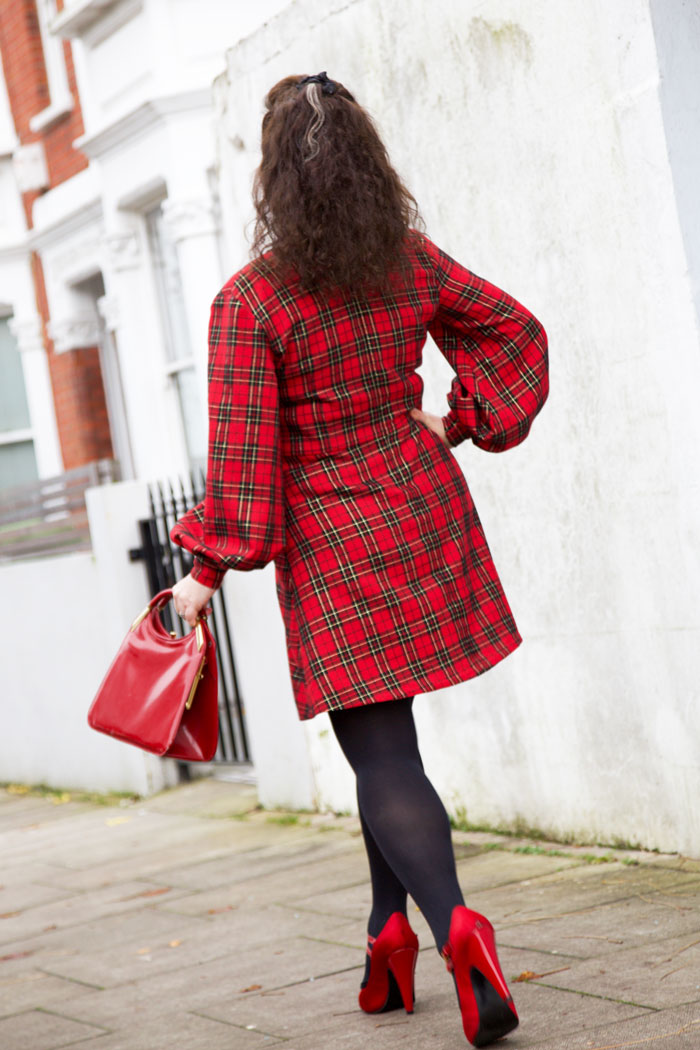
Back view of dress

After all that work I didn’t wear it on Christmas Day. I decided to spare it from the cooking splashes and wine spillages and wore it out on Boxing Day instead. Despite it’s festive feel, I will be wearing this dress at every other time of the year and occasion for when tights and sleeves are necessary. The fabric is 100% cotton except for the metallic gold thread and is so comfy to wear. Not surprising that I debated using the fabric for PJs initially!

striding out in my new tartan dress

It carries a lovely little memory too as I purchased the fabric on a sewing blogger meet up organised by @ClaireSews for when @liblib came to visit all the way from Austraila. We chatted over coffee and shopped our little hearts out in the Goldhawk Road. I wasn’t supposed to be buying more but @ella_yvonne convinced me it had my name on it! Always such a treat to meet like-minded sewists IRL.

I’m not holding much hope for completing anything new before New Year so I’ll take this opportunity to wish you all a fabulous, creative and healthy 2020.

All the very best of wishes and lots of love from Janene xxx

Ooobop original 70s style dress

ooobop original 70s style dress

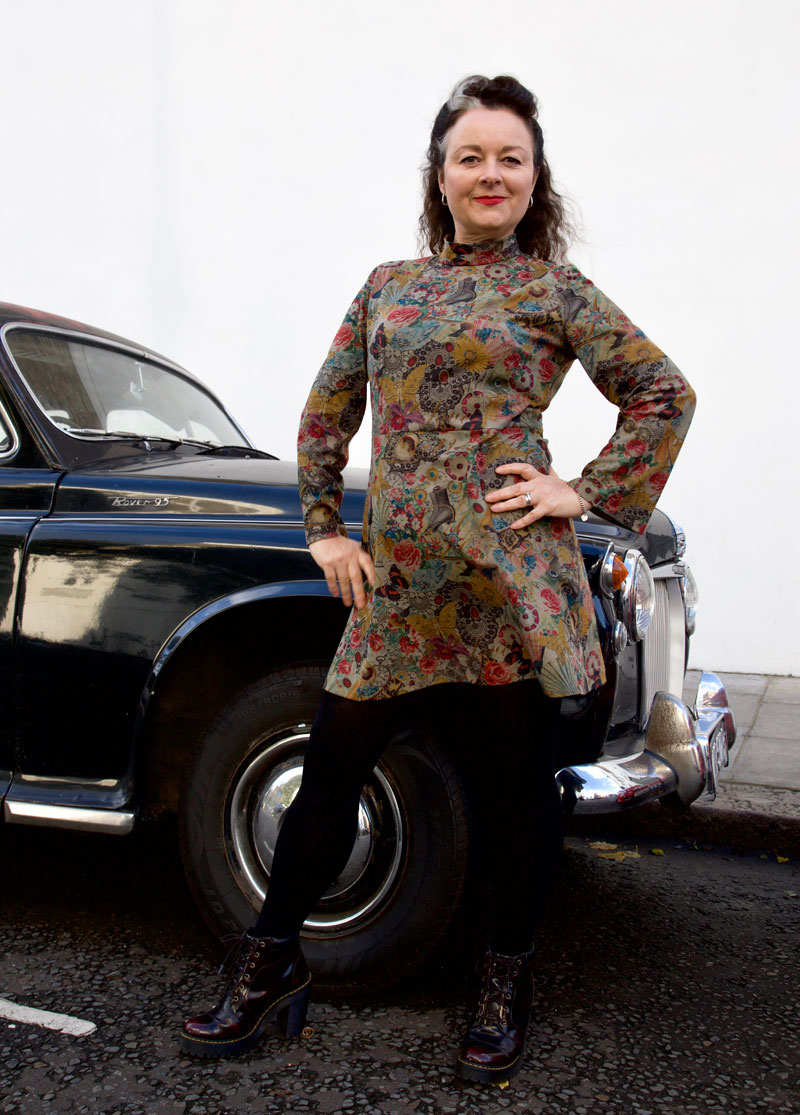
The thing I love most about sewing is the eternal learning curve. I will always be on a joyful journey of discovery because there is no chance I will ever learn it all in my lifetime but with every little milestone I reach I get a little buzz of excitement which propels me to the next level and this little dress is prime example of my progress.

It might not be the most ground-breaking, couture class garment you’ve ever seen but its mine, all mine – an ooobop original

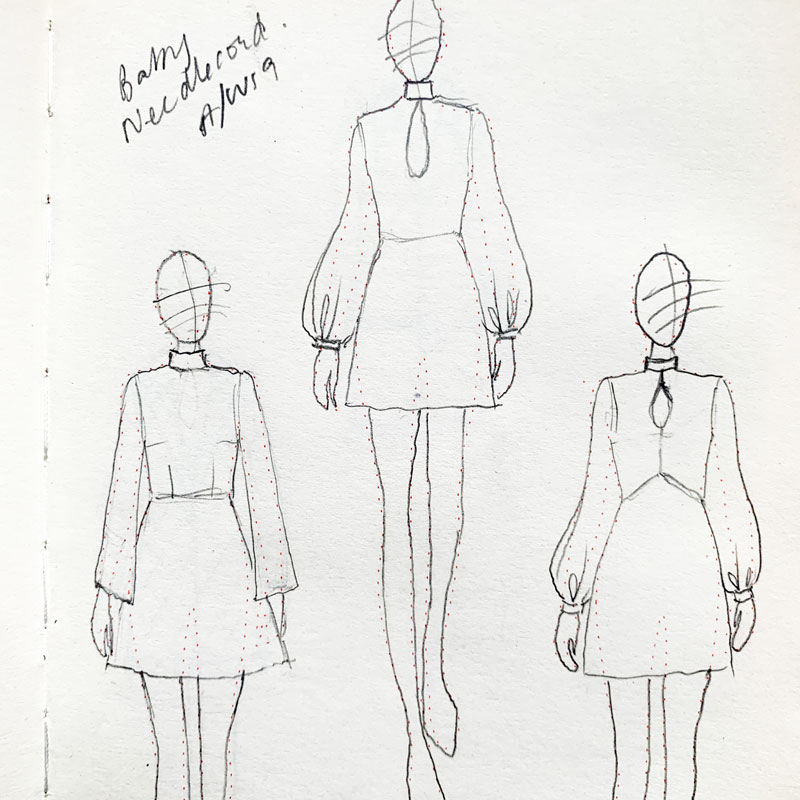
I dreamt it, I drew it, I drafted it, I sewed it.

sketches of the dress
Love drawing the possibilites in my Fashionary sketchbook

For sure, I’ve sewed and drafted for other people but never as successfully for myself. I’ve been bouncing between lessons on Craftsy’s Blueprint and instructions from various pattern-making books but it transpires the reason it took me longer to fit myself was my own dishonesty. Denial of my actual measurements. Reluctance to accept the differing pattern shapes to the examples given. Even cheating my measurements knowing it would look better if I nipped in certain stats. Desperate. IKR!

wearing ooobop original 70s style dress
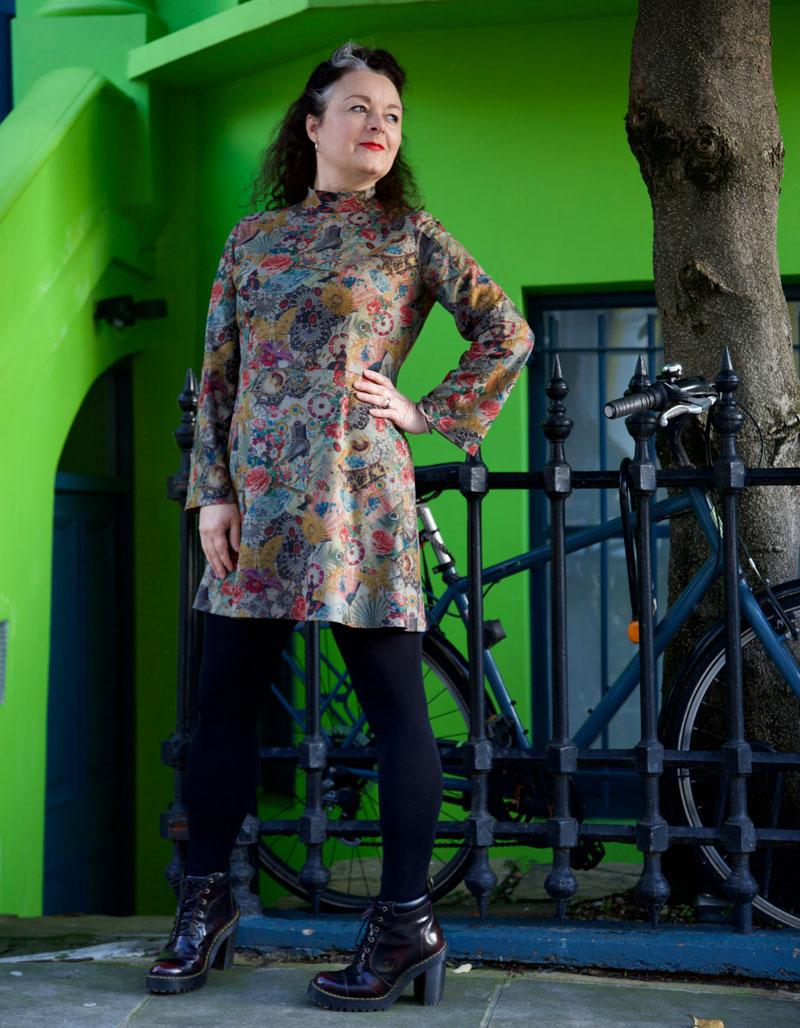
Striking a pose in Notting Hill

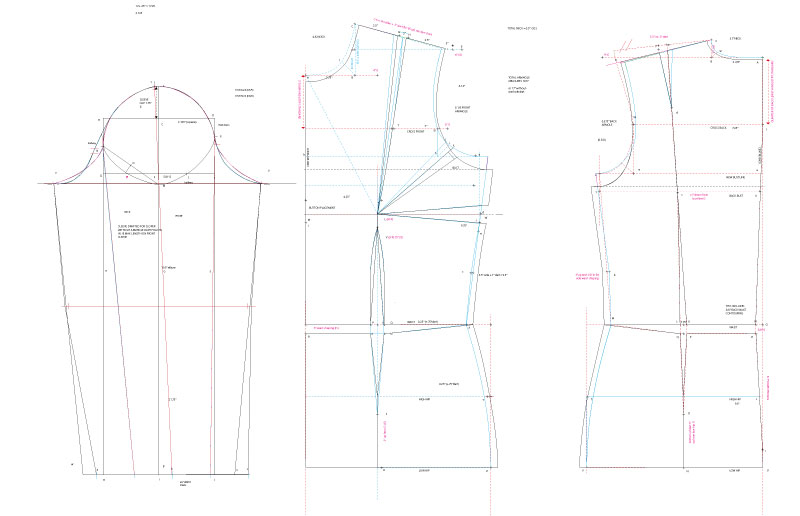
And it just goes to show that you can’t cheat at maths. On the fourth attempt at a moulage (a close fitting blue print from which one adds ease to create a master sloper ) it bloody worked! I was so happy . Literally danced around the room in nowt but a pair of pants and the moulage for a good half hour. And then it dawned on me all the possibilities.

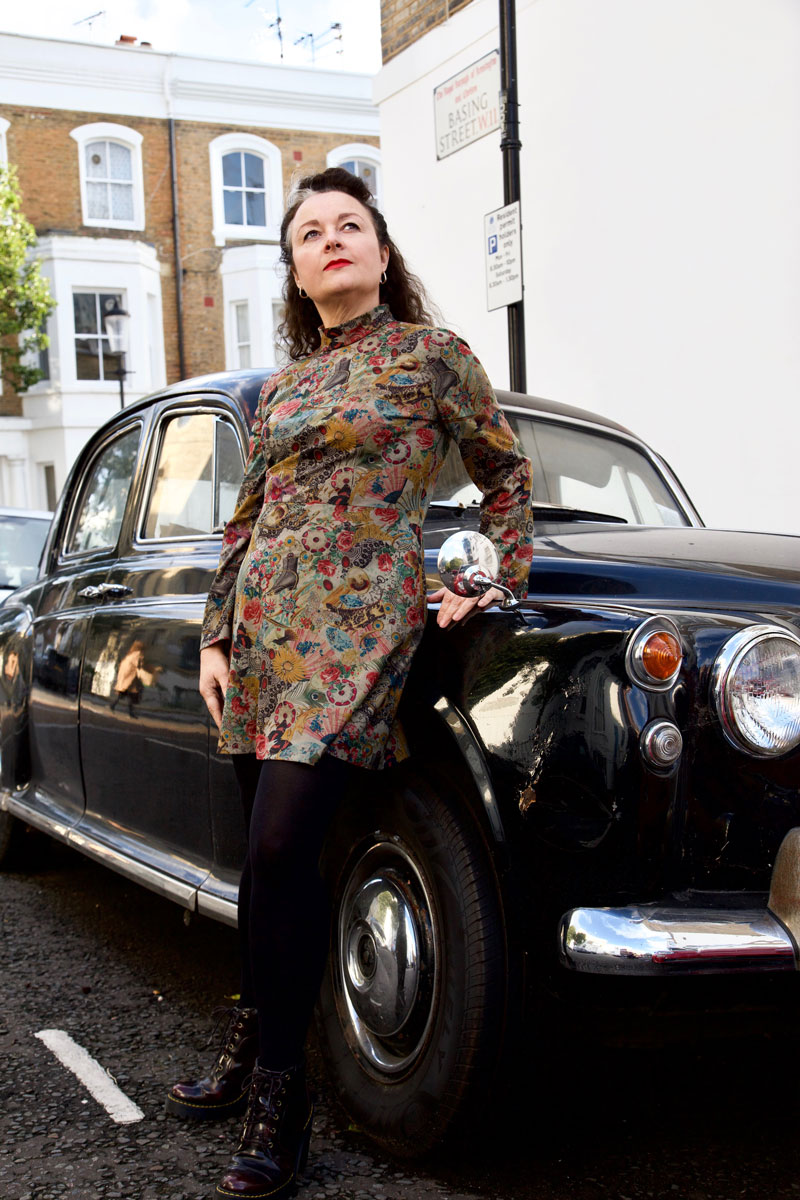
Classic pose with a classic car

But first I had to add ease to create the sloper. Another milestone reached as I’m getting much quicker and more efficient at drafting in Adobe Illustrator. Luckily I use this programme for my job as a graphic designer and can justify the substantial Adobe Creative Suite subscription. But it makes it all the more satisfying that I am getting untold extra benefits from its use. My space is so limited at home and the prospect of getting out and putting away all the giant drafting materials is exhausting in itself, before I’ve even put pencil to paper. Drawing patterns using my laptop and being able to store them digitally thereafter is literally life changing, for me!

Sloper created using Adobe Illustrator

Once I’d drafted the sloper, the only other piece left to draft was the turtle-neck collar. That was a case of simply measuring the neckline and cutting a bias rectangle piece to that length and 6″ wide. It was sewn like a bias binding around the neckline. I left the back edges open to insert a zipper to the top of the neckline then folded the facing part of the collar to the inside and finished by hand.

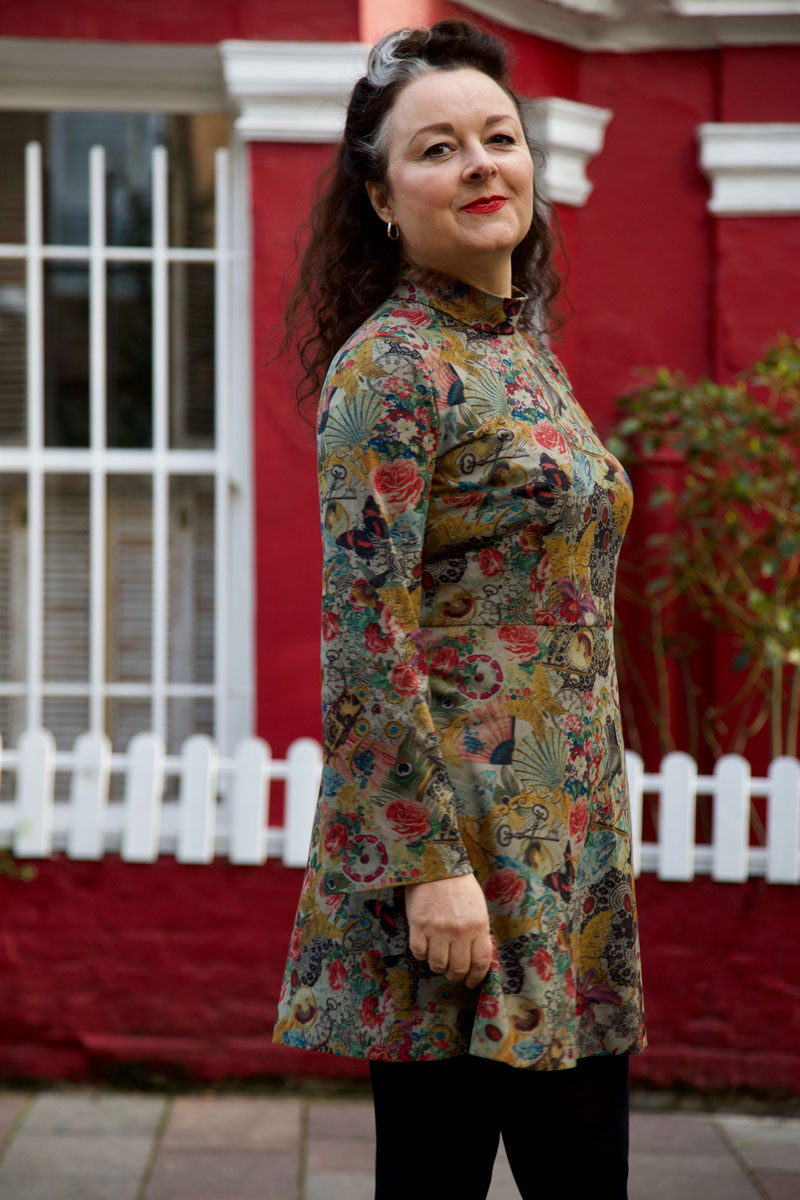
Striking a different pose with the classic car. Loving the silhouette
I do love the simple silhouette of this dress

I had originally planned an extravagant bishop-style sleeve but I didn’t think I’d have enough fabric for such indulgence, so I settled on a slightly flared sleeve instead – slashing and spreading my sleeve sloper from wrist to sleeve cap.

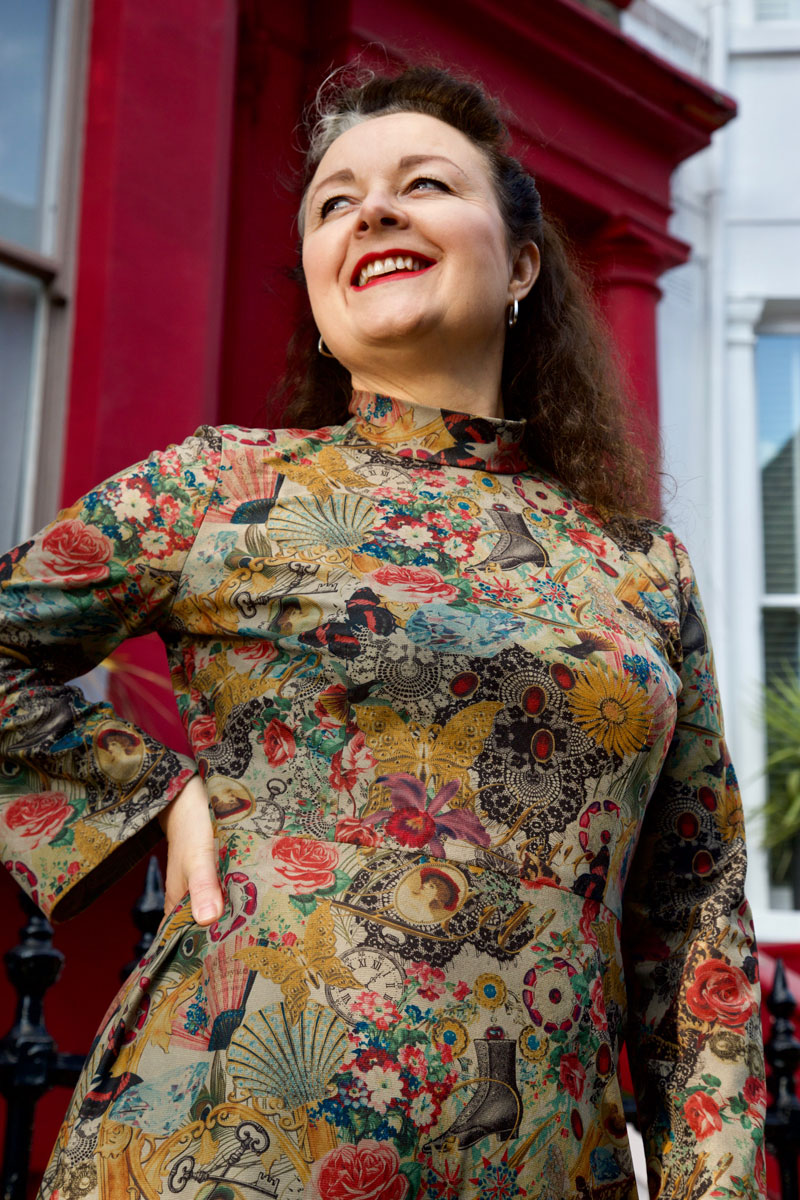
And while on the subject of fabric, let me tell you how I came by such a perfectly suited piece. Every now and then I venture out on a little sewing people meet-up. One of my favourites is  organised the London Stitchers Meet Up.  The last one I attended was held at The Blue Boat in Fulham and involved a fabric swap. Such a great idea to downsize that stash and to swap a piece or two that might not have plan attached, for something that triggers an instant course of action. Interestingly enough I had no plans on bringing any fabric back home. I’m trying to use what I have and not buy/acquire anything new but the stars instantaneously aligned when glanced over Giorgia’s shoulder to see it sat wantingly in the corner.  It was a beautifully soft baby needlecord (I think) with a vintage style montage print. I always maintain I’m more about texture than print but there are always exceptions to the rule. Thanks so much to Lauriane Loves Sewing for bringing it to the table. I do hope I’ve done it justice.

ooobop original 70s style dress

So why am I creating so much more work for myself when there are plenty nuff awesome patterns in the world? Each stage of sewing this dress confirmed what I good idea it was. The notches aligned perfectly. The bust darts hit where they were supposed to, the shoulders finished on my shoulder line. And I confess I stood and I stroked and I marvelled at how well they did, for quite some time.  No puckers, nuffink.

Marvelling at the inset of my sleeve caps

Add to that the waist sitting where it is meant to, no pooling in the small of my back and Bob is definitely my lobster! Gotta love it when an invisible zip becomes super evasive too!

Back view of dress with no pooling

Well I think that’s just enough of me blowing my own trumpet and time for me to big up the talents of my super lovely, supportive husband, Daniel. I’m always the first to run out of steam, just knowing there’ll be a hundred good shots even if I am pulling a stupid face in 50 percent of the contact sheet. But he always want’s just one more. And its always for good reason and I thank him from the bottom of my heart.

Lying on some steps in my 70s style dress
In response to ‘Just one More’!

And he’s available for booking. He loves an event. So good at capturing those  off the cuff, journalistic poses. So if you have an upcoming event and in need of a trusty photographer please do check out his portfolio here or contact him at danieljamesphotographic@gmail.com.

Thanks for swinging by. Your readership and comments mean the world to me and add so much to my journey. Wishing you all a gloriously productive weekend. xxx

Previous attempts at self-drafting:

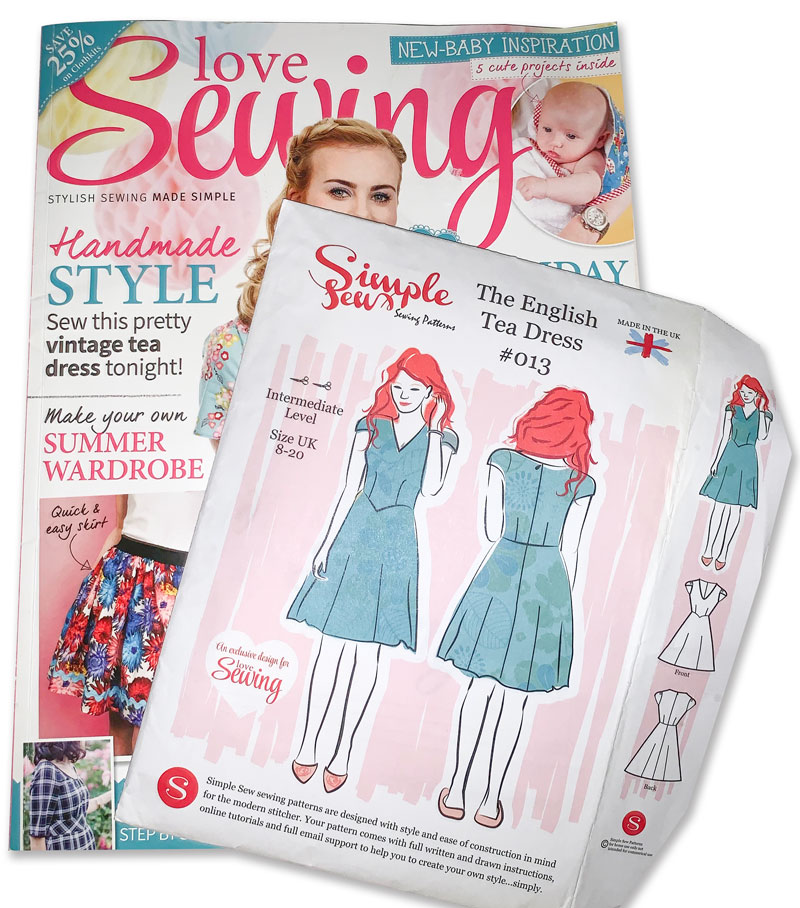
The English Tea Dress #013 by Simple Sew

Simple Sew English Tea dress

This was exactly the kind of pattern I was looking for when I was actually hunting for something else! I’d put it aside (read, under the sofa) as a not-so-taxing project for when I got a few hours down time. The back cover blurb was all-encouraging of this, too.

Like many other sewing people, I’ve been on a mission to work through my stash fabric before buying anything new, in the name of sustainability and also the hope of gaining some floor space in my bedroom!

Simple Sew English tea dress

And this dress pattern is perfect for all those 2m lengths I purchased. It requires 1.90m of 60″ fabric for all sizes 8-20 – sleeves and all – which is pretty damned economical really.

Love Sewing Magazine and English Tea Dress sewing pattern

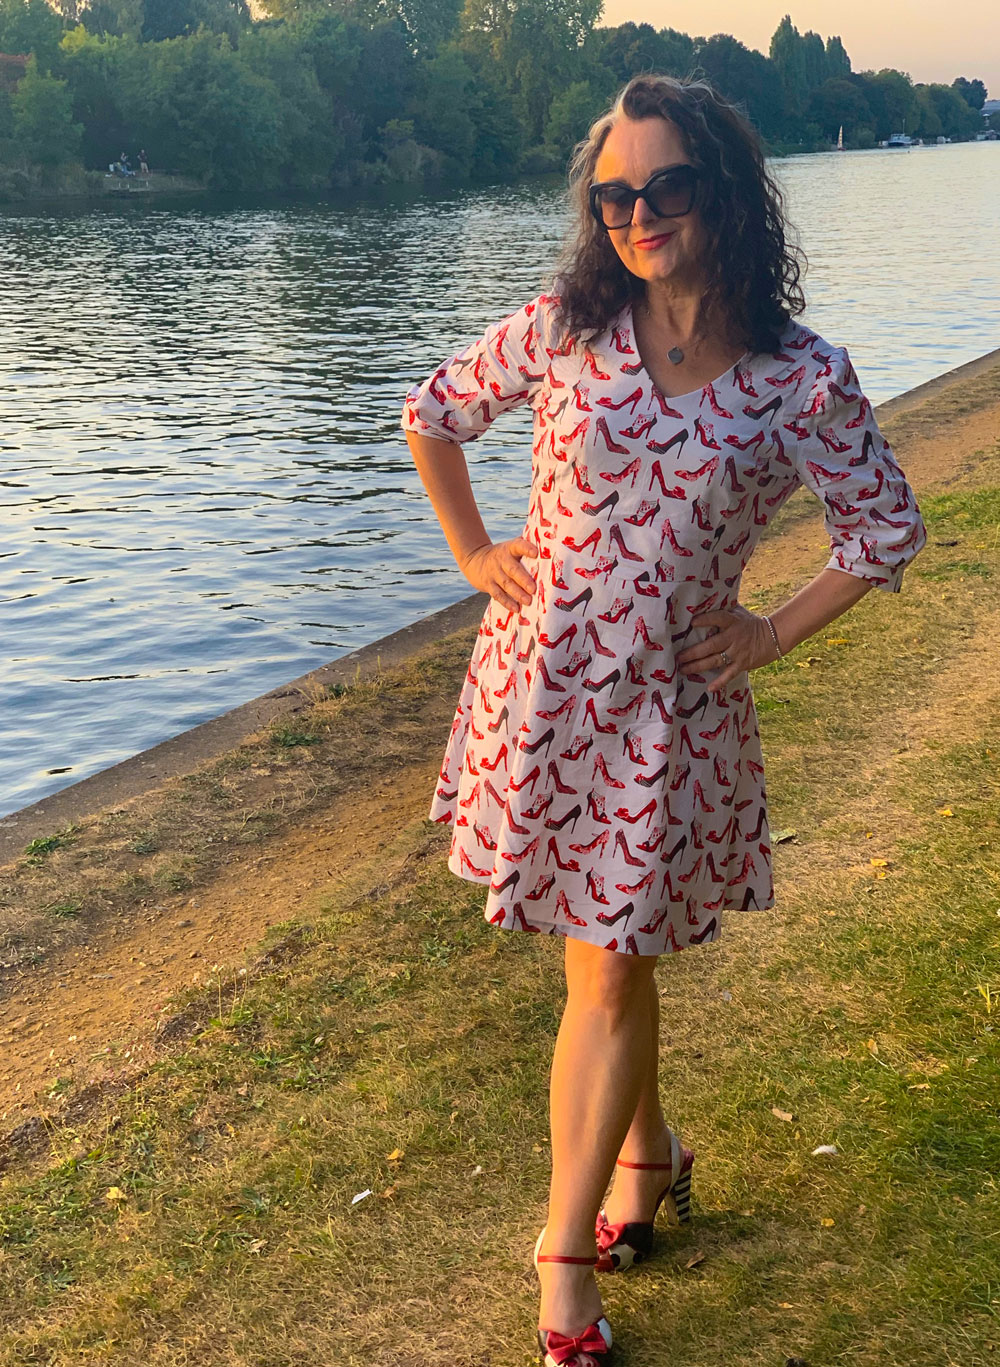
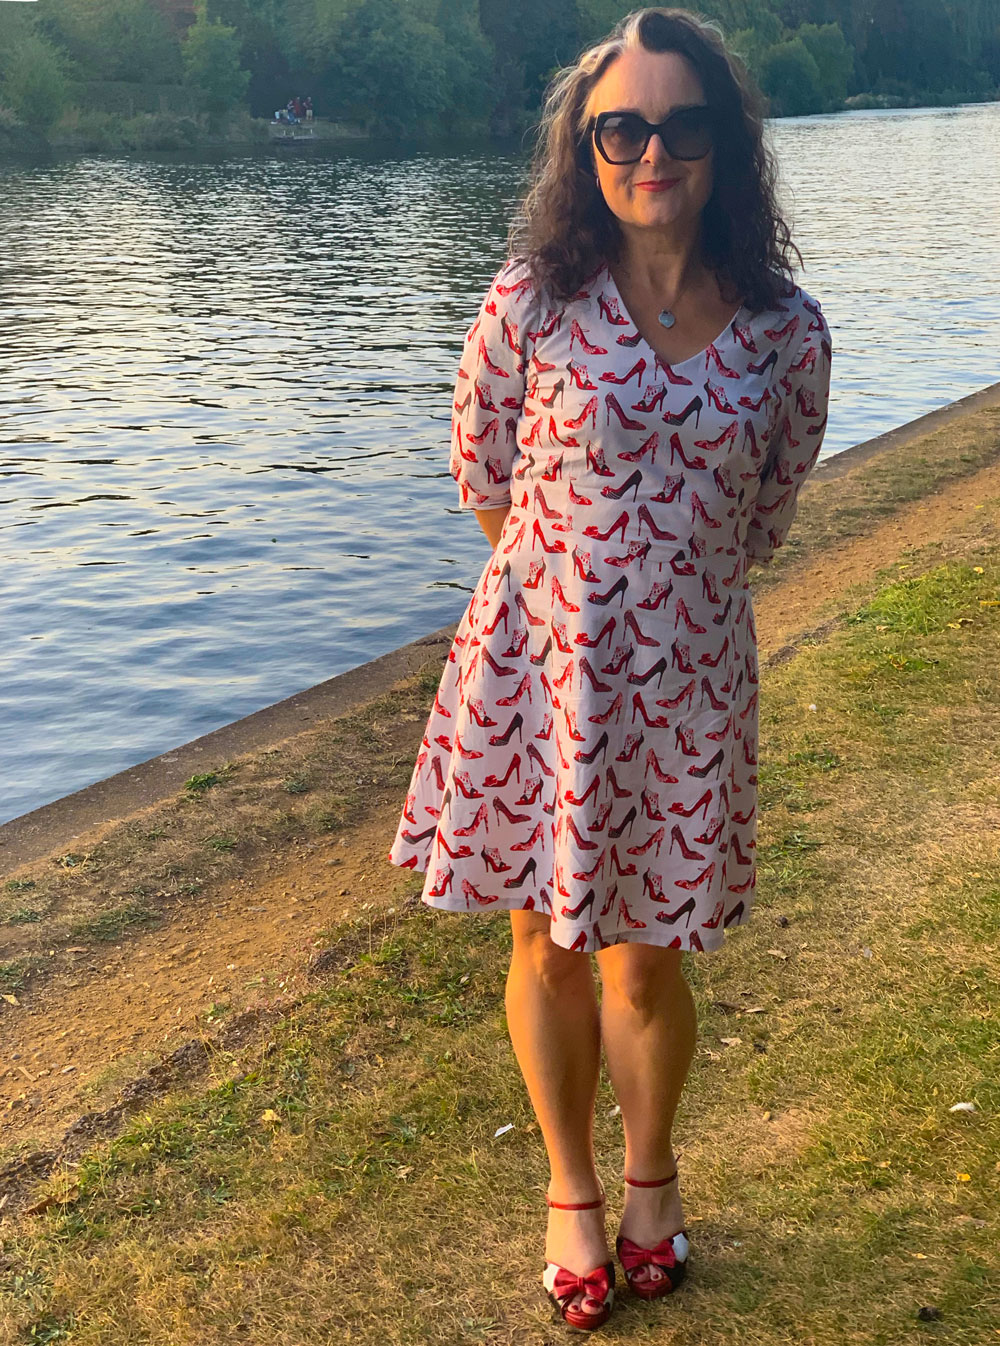
I had 2m of what I believed to be 45″ wide cotton fabric and that almost fitted the bill. I just had to shorten the skirt by 2inches to fit all the pieces on. Especially as I then found out that it was only 43″ wide. I’m guessing it shrunk in a prewash – better to have found out at this stage of the game though! But still I had to count my chickens that all the pieces fitted considering the direction of the design. Upside down shoes would have been disastrous!

All went swimmingly but I’m amazed at the lack of notches on the pattern pieces. There was one to mark the front sleeve placement and ordinarily that’s pretty crucial but in this instance the sleeve pattern folded near enough symmetrically so it wouldn’t have made a spot of difference.

Simple Sew English Tea dress

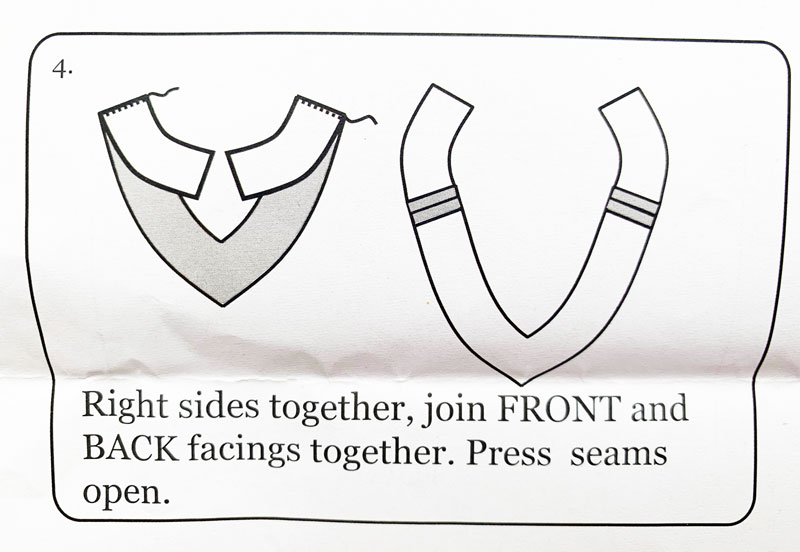
But that was it on the notch front! Piecing the front and back facings together had me thinking, which is a bit lucky as it prompted me to place over the bodice neckline to check I was sewing the pieces together the right way round. It would have been so much more helpful to have a marker on each of the shoulder seams.


TIP#1

Mark notches on the facing pieces so you remember to sew them the correct way round

facing instructions

And if I’m being picky (moi?!), the side seams of the skirt would have benefitted from a notch or two. They are bias-cut and hence a little stretchy so a midway marker would help prevent a potential pucker! I’ve marked mine for future use.


TIP #2

Align skirt pattern pieces at side seams and create notches for more accurate alignment


Adding to the facing part of the story – it was very useful and imperative actually, to include the snip at ‘X’ –the point of the V-neck. It did press nice and flat but I included 2 additional stages here:


TIP #3

Under-stitch the seam allowance to the facing to prevent it from rolling out at the neckline.


and then:


TIP #4

Hand stitch the facing to the shoulder seams to secure it in position stop it from popping out.


I’m being picky again. I know. But from past and bad experience, I can’t stand a flappy facing!

So all went well, despite lack of notches until I got to the sleeve section. And of course I wasn’t content to sew the options illustrated on the packet or in the accompanying issue of Love Sewing magazine (issue 15). Not only because I’m contrary but the 3rd non-illustrated nor photographed option was the best IMHO. The 3rd option being a half length, cuffed variety!

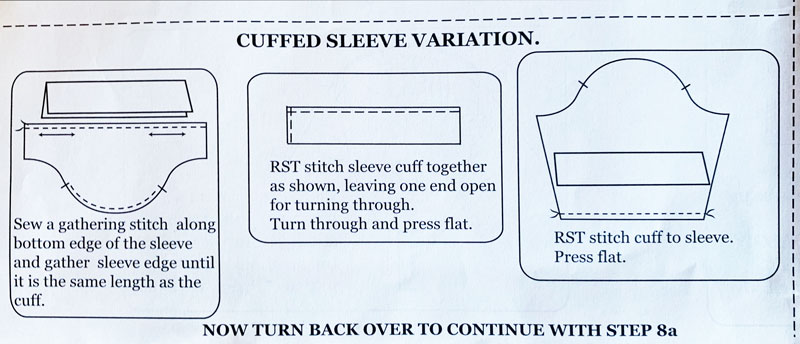
But, forgive me for being old and slow (and of course picky)… but how would you interpret these instructions?

cuffed sleeve instructions

Especially when the cuff was near enough the same length as the bottom of the sleeve. And yes I did double check I’d cut the correct sizes!

cuff piece next to sleeve
Bottom of sleeve not much wider than the cuff piece.

I spent way to much time thinking about this stage and then went off piste with this tip:


TIP #5

Measure your arm circumference, comfortably, just above your elbow and add 1.5cm seam allowance to each end. Trim cuff piece to this measurement. Press in half horizontally to crease the centre/ (ultimately the bottom) of the cuff. Gather the bottom of the sleeve as stated and sew right sides of the gathered edge to the right side of one raw edge of the cuff piece.

cuff piece pinned to sleeve
Cuff piece pinned to sleeve along raw edge. See the crease in the middle.

cuff sewn to sleeve
Cuff sewn to sleeve. Spot the deliberate mistake!

Gather the sleeve head as instructed – although, having said that, it’s not really instructed from where and to where on the pattern piece, so I just mirrored the notch to the back and gathered between the two points. Sew the underarm sleeve seam all the way down to the bottom of the cuff. Press sleeve seam open. Press under 1.5cm on the remaining raw edge of the cuff and then fold the piece to the inside of the sleeve along the pre-pressed fold. Hand-stitch to the inside seam line to form a binding and finish the cuff. Remove gathering stitches and press.

Having worn this dress and seeing how the cuffs have curled, I might also use  a light fusible interfacing to stabilise the cuff next time.


I hand finished the hemline of the skirt, of course. Just because a machined one would irritate me having invested so much time to go lazy at the last hurdle!

So where do you suppose I might have worn my English tea dress as soon as I made it? No prizes for guessing of course!

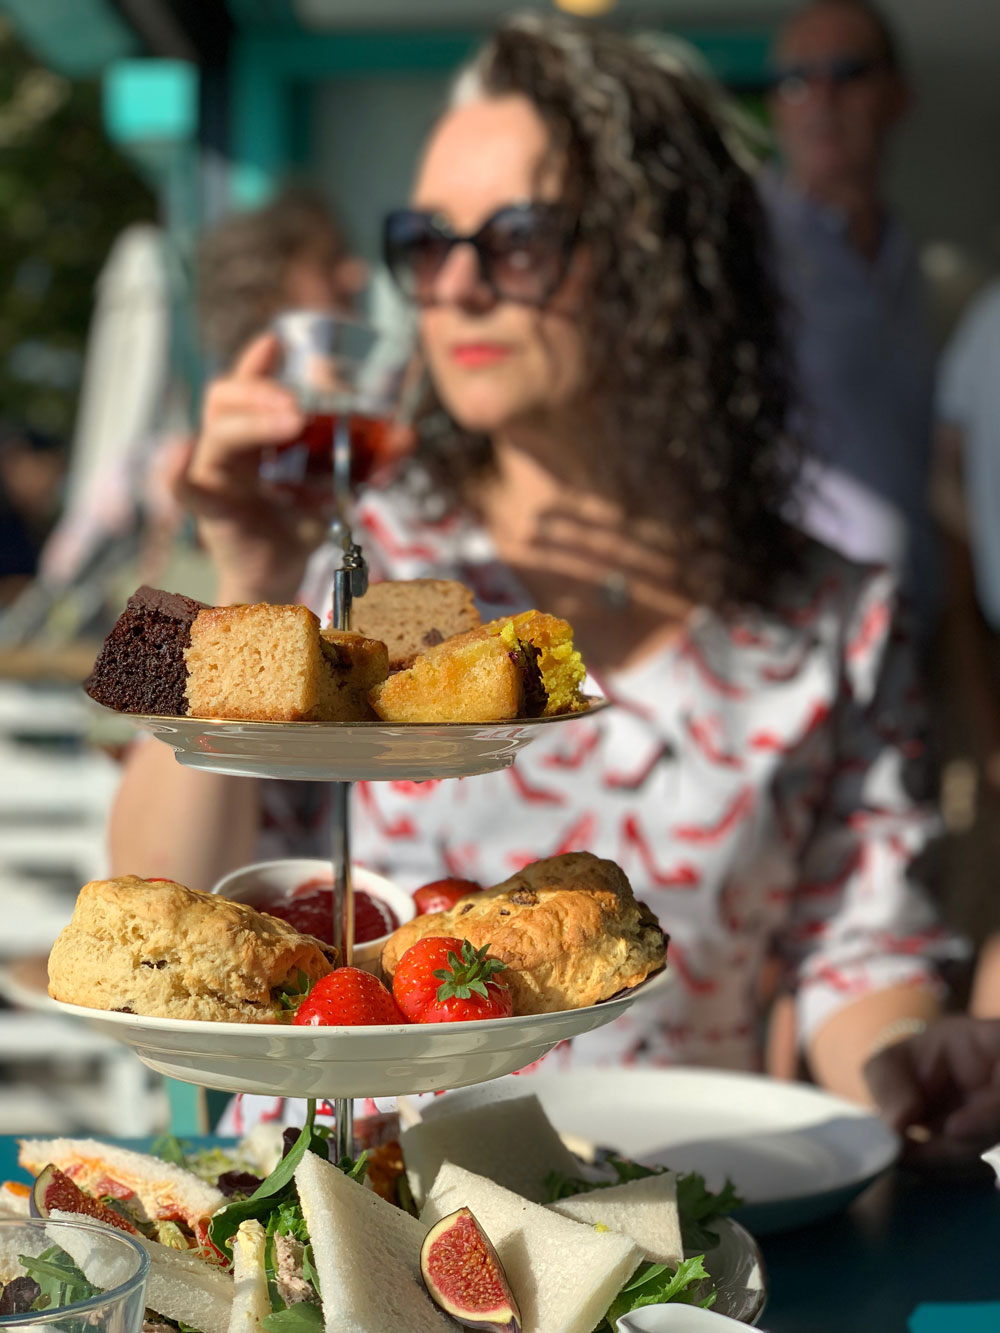
Enjoying a vegan cream tea
Vegan cream tea at The Ginger Bees cafe in Kingston-upon-Thames

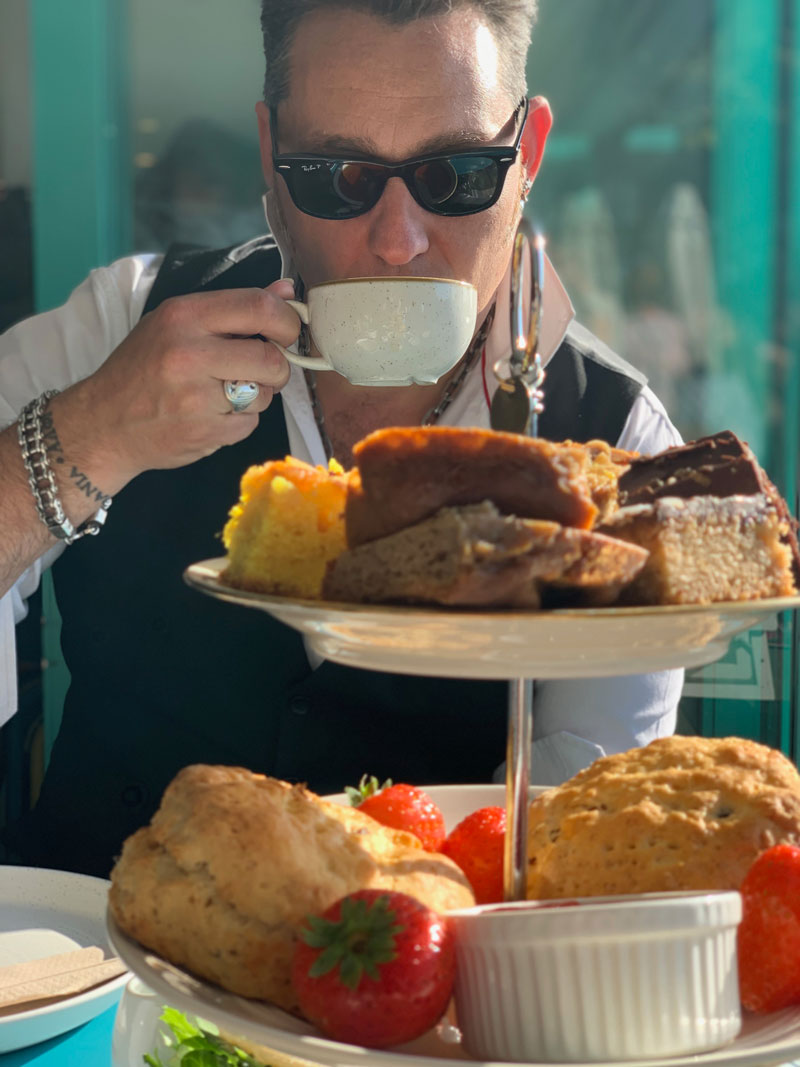
Mr O and I went to The Ginger Bees cafe, Kingston-upon-thames riverside, for the most delicious vegan cream tea. Well, mine was vegan – Mr O went full on full cream!

Mr O and his cream tea
Mr O enjoying his full on full cream, cream tea!

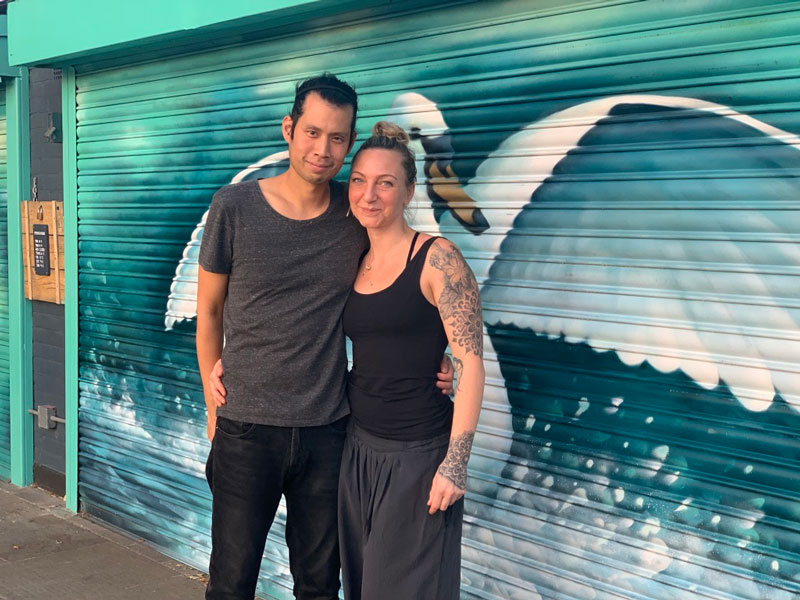
I booked the day before on recommendation and we were not disappointed. The lovely couple who bought the café just a year ago have something very special going on here. Thank you so much Gavin and Beth for looking after us. It was such a treat and the perfect occasion to showcase my new tea dress!

Beth and Gavin, owners of The Ginger Bees Cafe in Kingston-upon-Thames

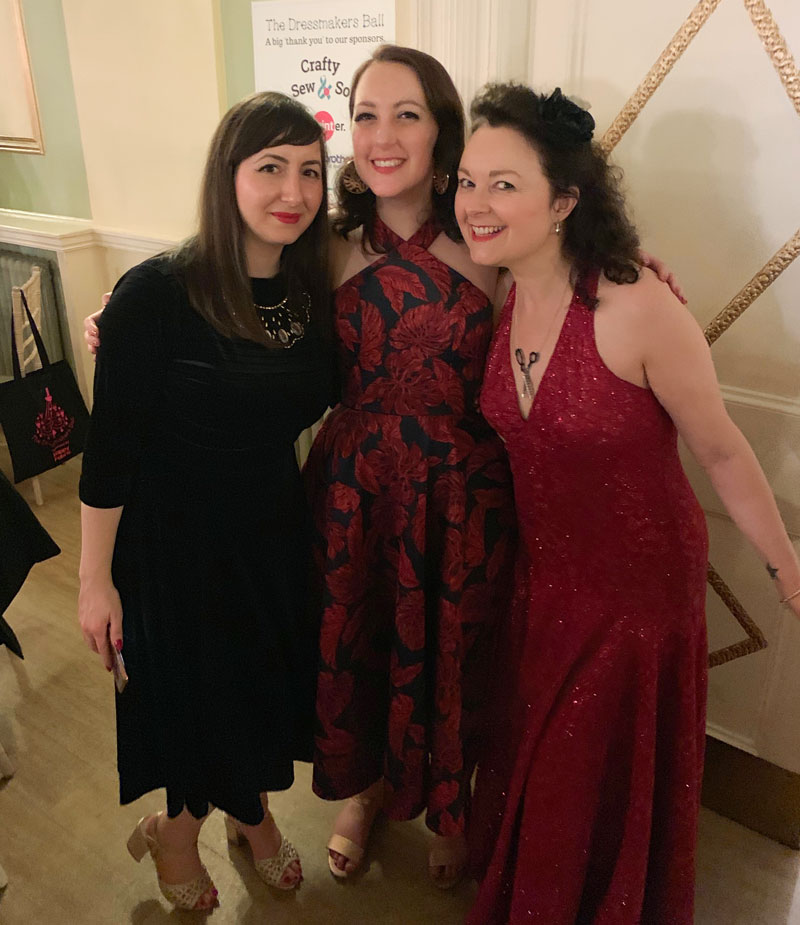
What I wore to the Dressmaker’s Ball 2019

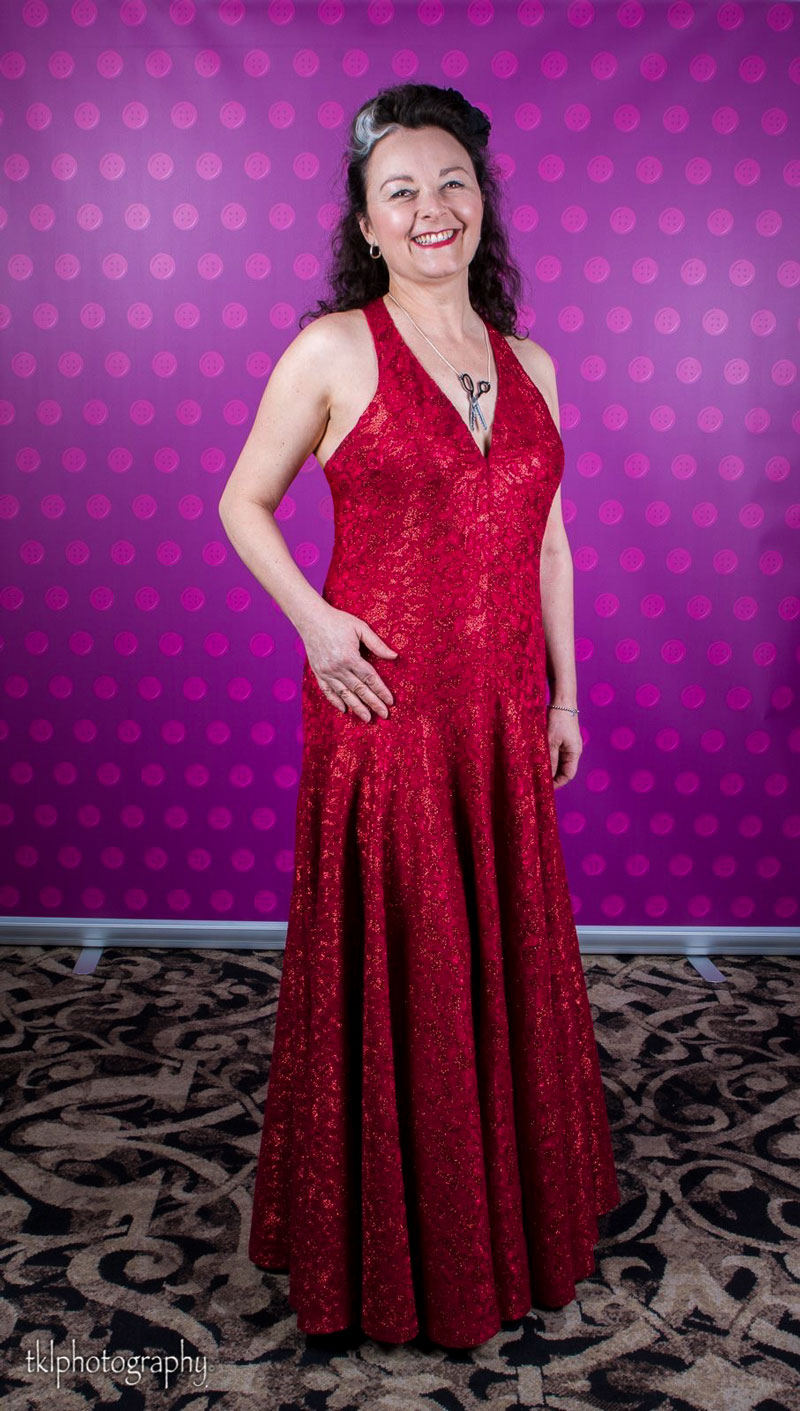
ooobop wearing V8814 dress

‘Get me to the Ball!
‘There is a Disco at the Palace!
‘The rest have gone and I am jealous!’

Just like Roald Dahl’s Revolting Rhyme about Cinderella when she was stropping out about a lack of invite, this is exactly how I was feeling when I learned too late about the first dressmakers ball in 2017.

Needless to say I subscribed to all the hashtags and signed up to get news of the next one and snapped up that ticket as soon as it was live.

The event is organised by team Crafty Sew and So and this year’s was at The City Rooms in Leicester.

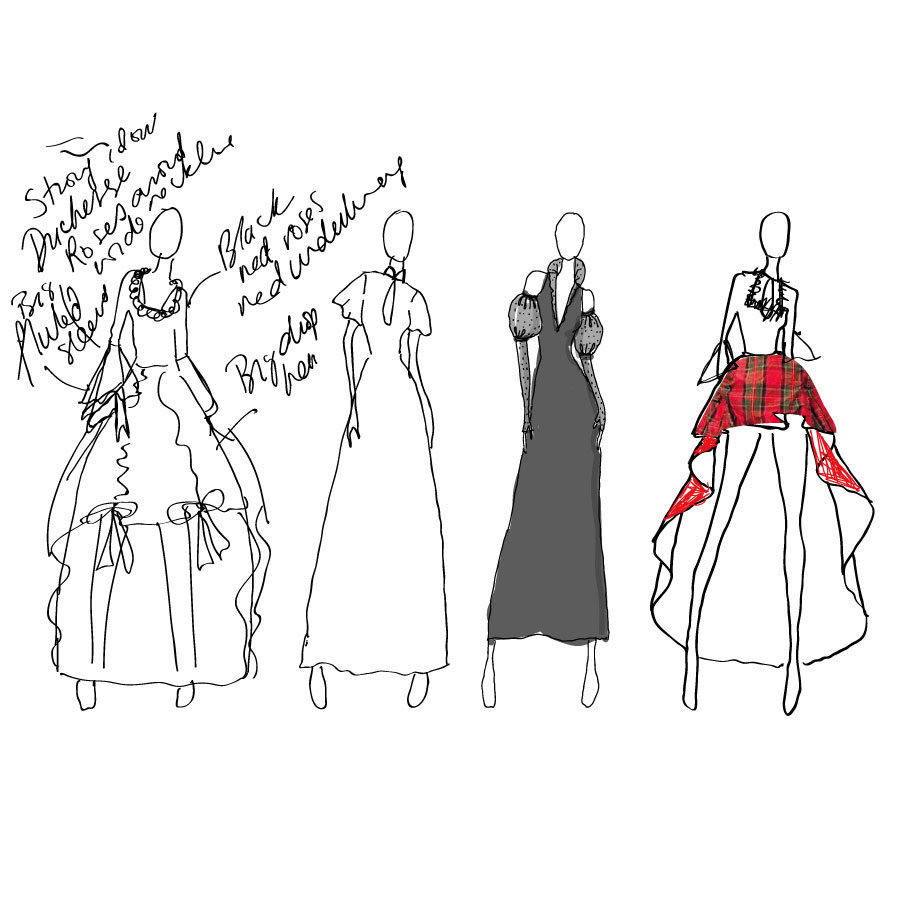
The minute I had that ticket secured, my head flooded with all the possibilities for a free range, self drafted no holds barred gown of dreams, all for me. Elizabethan ruffs, balloon organza sleeves. Crinoline skirt. Bustle perhaps? I had a year after all.

designs for ooobop ballgownTruth be told and no surprises here, I decided on the dress with just over 10 days to go. You know how it goes ~ work, family, work and more work. And I’m a little bit sad to say that my all time avant-garde number ended up straight out of a packet.

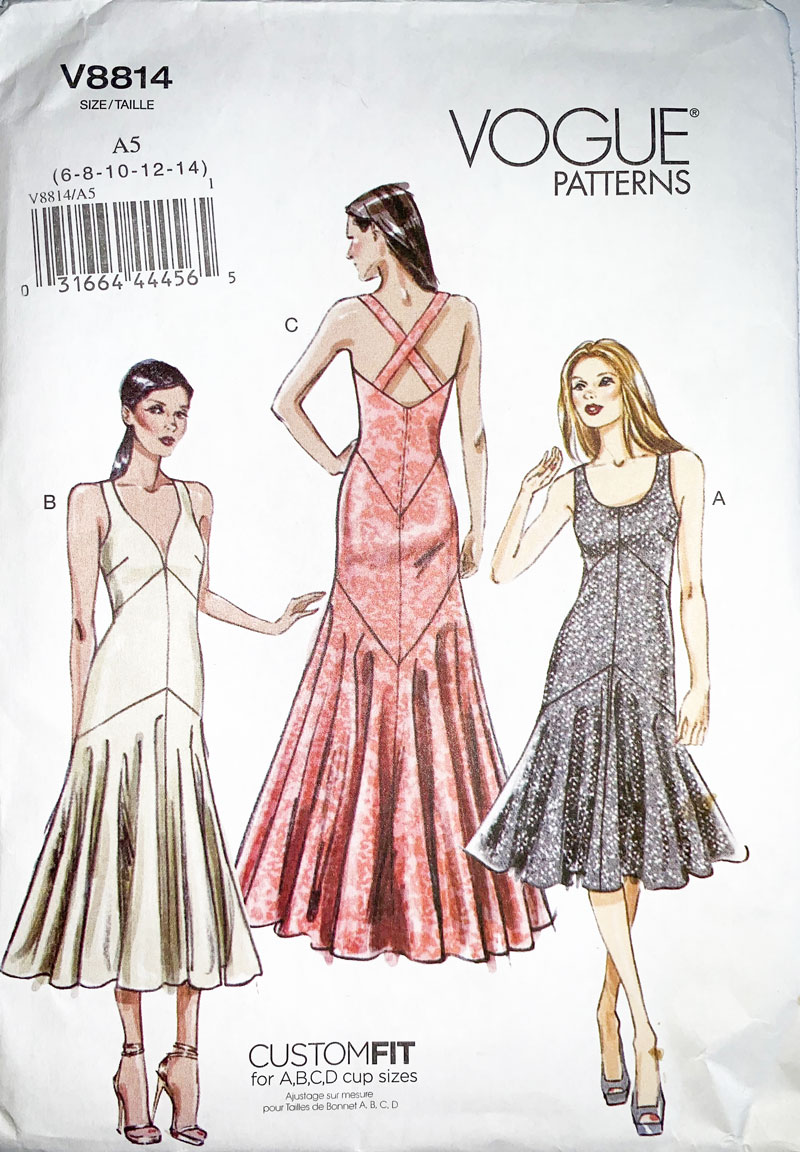
Vogue pattern V8814

A lovely pattern for sure but the proof was in the making: No toile time. No anything time. Time? Definitely a thing of the past. Enjoy it while you can kiddos. It passes you by on the blink of an eye with every added birthday.

Now let’s discuss this slinky Vogue number V8814. I chose floor length, version C. I was going to a ball after all and visions of slow-mo sweeping skirt-motions danced in my head. I opted for the one with plunging neckline and crossover straps at the back. The bodice is snug to the hips and then all the volley is in the circular skirt.

I am so grateful to those pattern companies who display the finished sizes on the pattern pieces. Lord only knows why quite so much ease has to be added. I’d have swum in the suggested size according to actual stats!

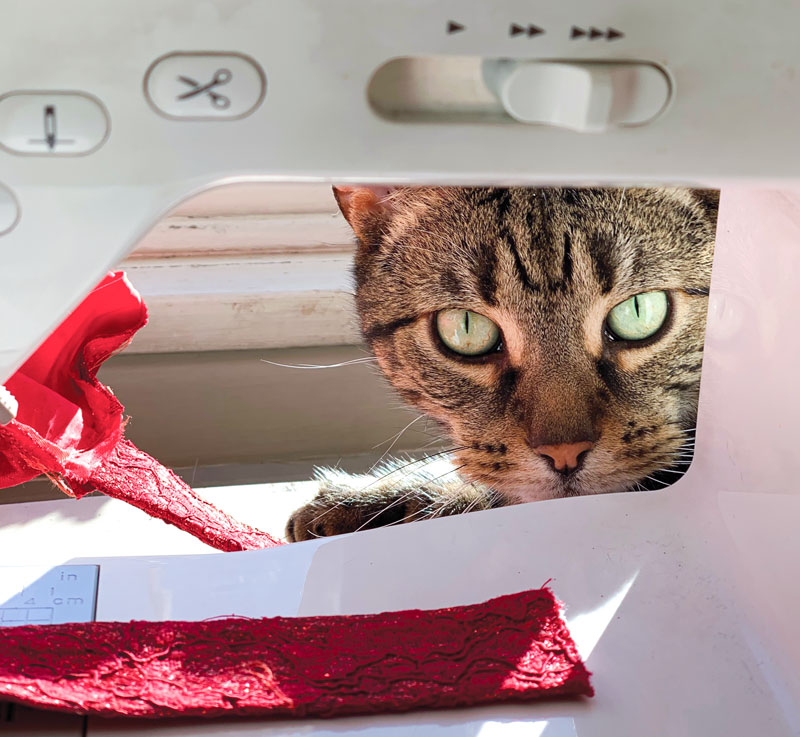
And I am so delighted to have chanced upon a pattern that for all it’s sophistication was a total breeze to put together! The only area that needed fixing was the neckline which gaped a little so I hand-sewed some 5mm wide elastic along the inside of the neckline, stretching slightly to pull it in more to the chest. And the only tricky bit was convincing Pants I didn’t need his help!

Pants the cat helping me sew

I’d bought a singular ticket to the ball just because I worry about making plans with people and then have to cancel due to work commitments. Plus I knew that I would meet people there. The sewing community is such a welcoming and fun place, of that I was certain.

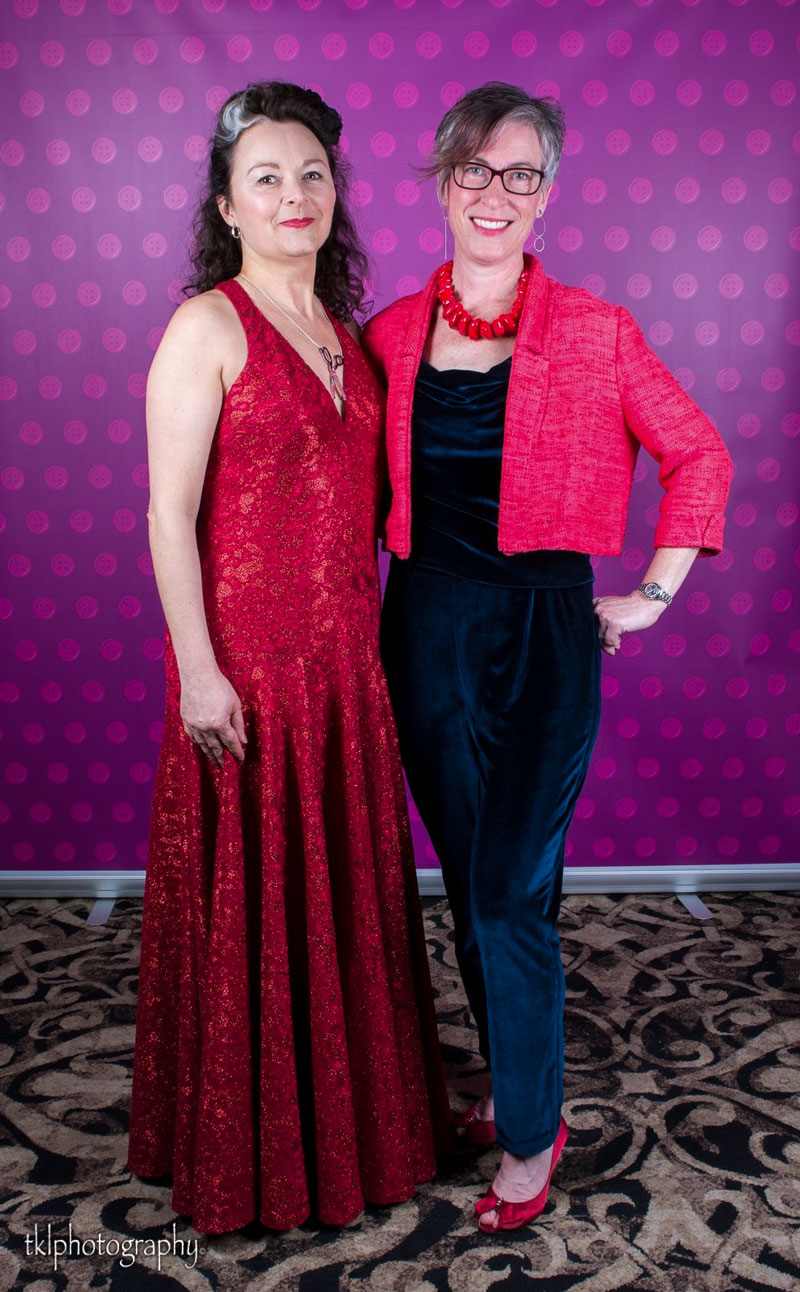
But that didn’t stop me from being self-conscious in front of the photographer. I’m so spoilt by Mr O’s awesome willingness to oblige my blog shots that I forget what it’s like to stand and pose in front of someone you don’t know! Thank you TKL Photography for bearing with me and thank you Tamsin, for posing with me and making me feel a little less awkward!

ooobop with Tamsin from Pimp my Curtains

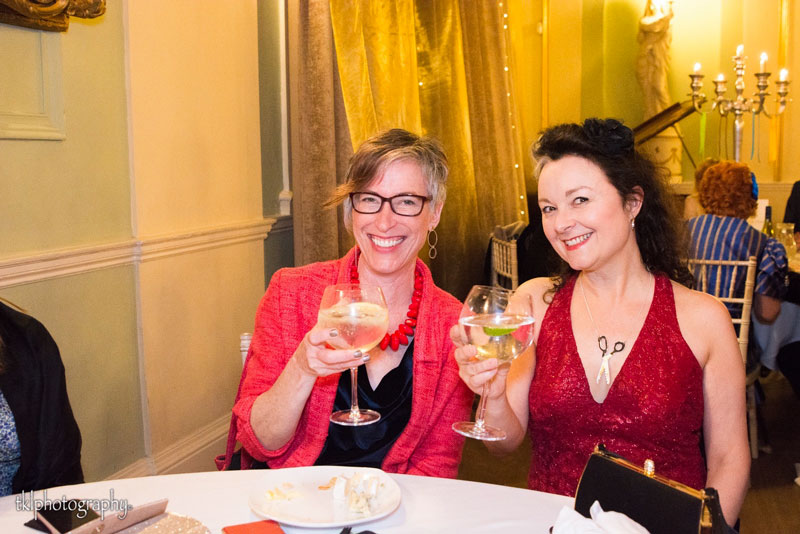
We decided upon fishbowls of gin to relax us even more!

Tamsin and ooobop drinking gin

It was such an amazing evening. A ballroom brimming with stunning guests all adorned in bespoke, handmade attire, dancing to some really cool covers by a brilliant live jazz band. I spent most of the evening gawping at stunning outfits and discussing them, clinking and raising a glass at every opportunity to the brilliant hosts and the awesome sewing community.

And look who else I found: Marie from A Stitching Odyssey and Amy, blogger at Almond Rock and editor of Love Sewing Magazine.

judges at the dressmakers ball 2019

Not at all trying to fraternise with the judges before the catwalk competition – honest, guv!

So why have I taken so long to blog about this dress?

In short.

The fabric.

I’m ashamed by my panic purchase of glittery fabric.

‘I want a dress! I want a coach!
‘And earrings and a diamond brooch!
‘And silver slippers, two of those!
‘And lovely nylon panty hose!

Perfectly weighty and with great drape for the skirt, I chanced upon it in the Goldhawk Road. It appears to be a red lace bonded over a synthetic satin with glitter glued in the gaps of the lace.  I joked about the fire-hazzard potential should I stand too close to a candle, given the probability of not a single natural fibre involved. But it was met with a straight face. The seller was already was unhappy that my need for five yards meant discarding the first couple of metres on the roll as the lace was clearly bonded in sections. Lucky I noticed the join because he sure as hell wasn’t going to point it out!

But I did not question the glitter. 

Recently, my day job has involved lots of work relating to the harmful effects of plastic on the environment, and though I haven’t come across any reference to glitter in the books as yet, this quote by Alice Horton, a research associate at the UK’s Centre for Ecology and Hydrology, jumped out at me and touched a nerve:

“While there is currently no evidence specifically on glitter being bad for the environment, it is likely that studies on glitter would show similar results to those on other microplastics”.

And now I feel bad. For not thinking it through. For the trail of glitter I literally left behind. I don’t exaggerate when I say that I left a red glittery bum shape on my seat when I stood up after dinner. And I’m sorry for anyone who sat in my place afterwards and took a little piece of me home with them.

To this day I’m finding that damned stuff on my shoes, in the carpet, on the cat… It’s never going to go away. And then it’ll end up in the sea and all the poor fishes will be lunching on it.

And I know I can’t un-do it. But I can not-do it again. No more more glitter for me. I need to think before I buy. I just can’t cope with the guilt! Or do you think I’m over-reacting?

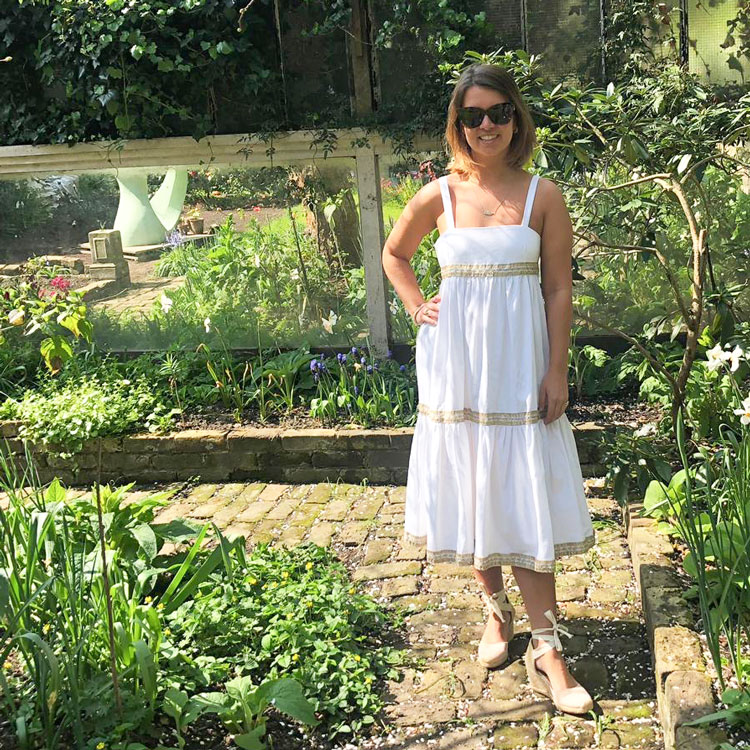
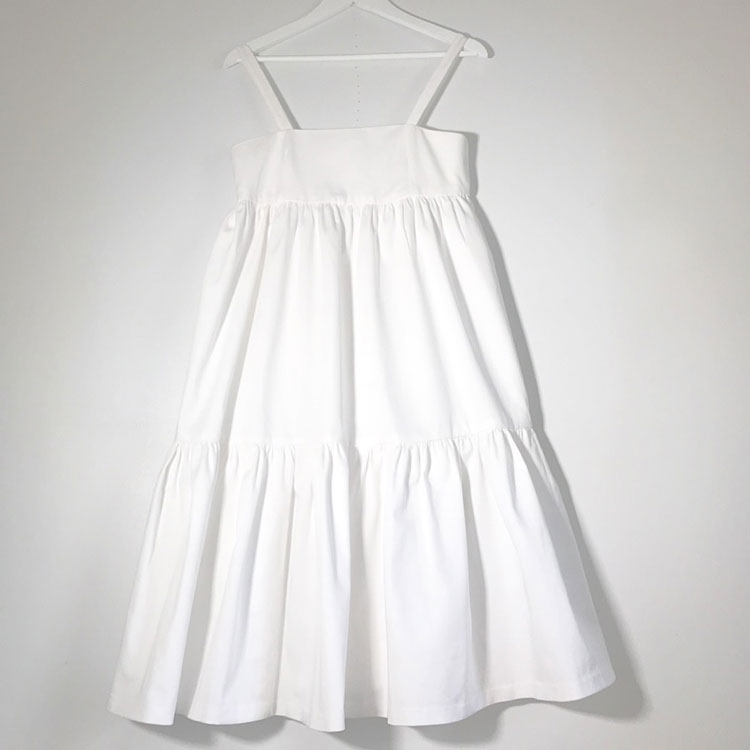
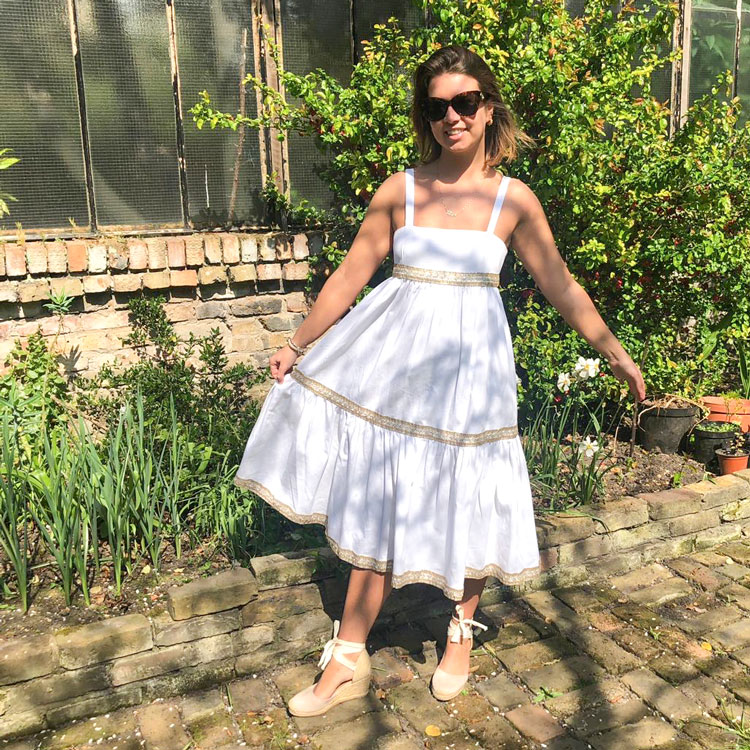
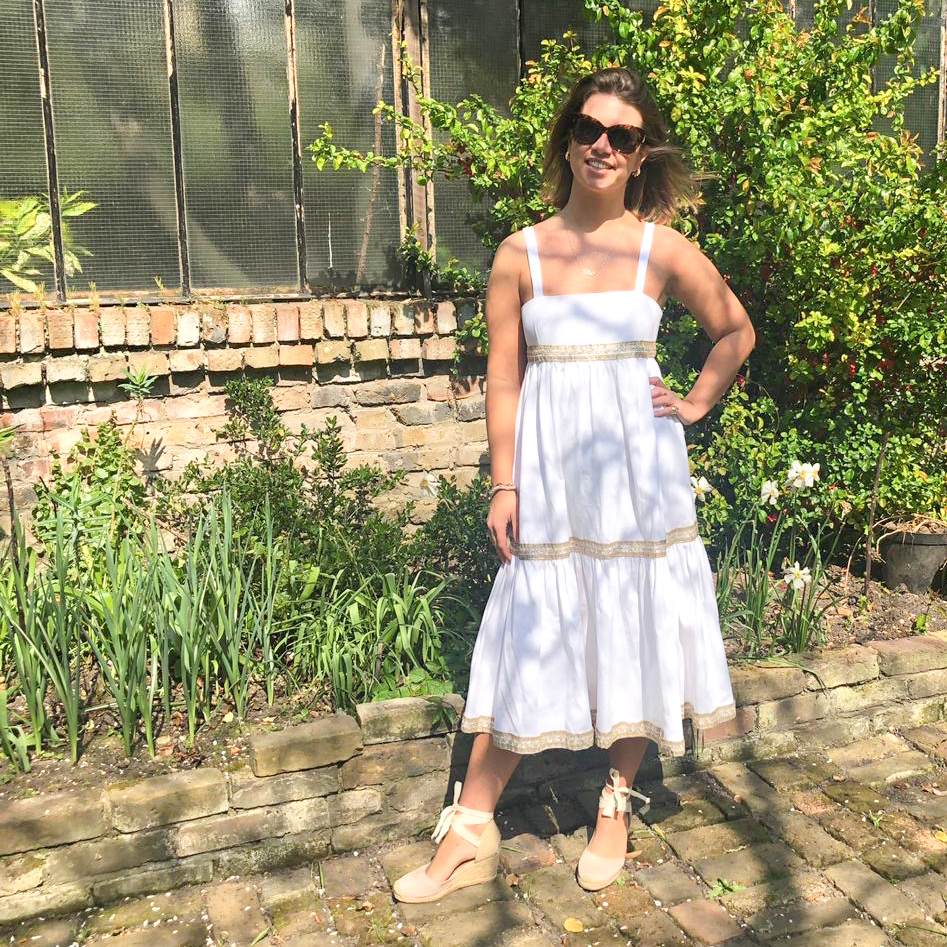
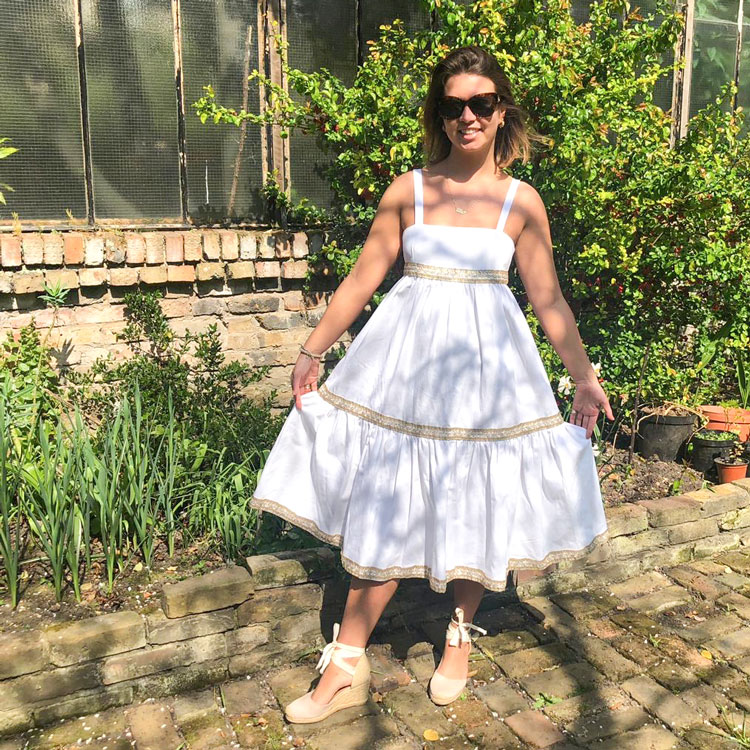
Etta’s embellished sundress

Etta wearing her dress
I’ve taken on a few sewing commissions lately and this dress was very nearly another until it turned into a fabulous collaboration.

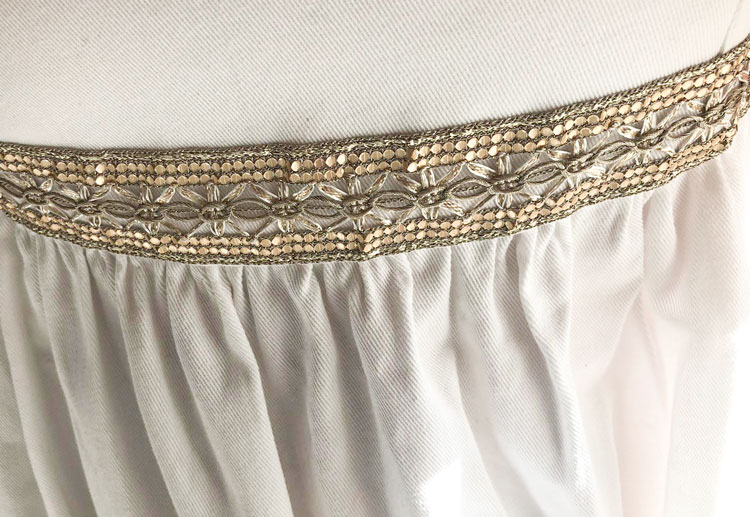
Etta had scored a bagful  of beautiful Asian braids from Portobello market and asked if I could either make her a white tiered-dress or show her how to make one so that she could then embellish with the trims she’d found.

Asian braid

I so love an idea that’s sparked by the decoration! Much like decorating a room to match the cushions!

I haven’t properly ventured down the teaching road to date so I thought I’d give it a bash. And Etta would be a great guinea pig to rehearse my teaching skills!

Sewing a tiered skirt would be the easy bit but I needed a quick and simple bodice pattern to work with and that is totally when my nine-year collection of Burda mags comes into it’s own!  In order to find what I want, I just search up the pattern options online and then note the magazine issue number. I’d like to report that I file my mags in date order to complete the efficient process but sadly that’s not the case!

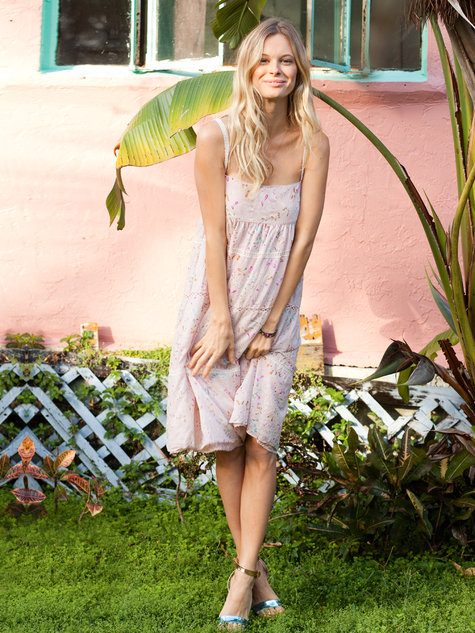
Took a wee while to get to March 2013 but it was worth it for the perfect sundress bodice pattern. Nice and simple for a beginner too.

Burdastyle dundress

On first inspection I though the skirt part of the dress was made of gathered tiers but that would have been too flooky! Stitched on lace gives the illusion of tiers, here, but Etta wanted the real deal so we just needed to trace the bodice section and we would make our own tiers.

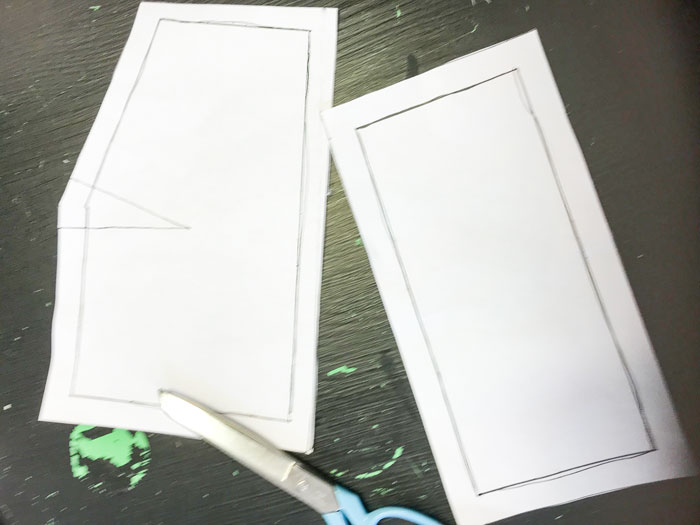
The look on Etta’s face was priceless when I explained we would have to first locate the lines to trace it off!! Luckily for her there were only 2 small pieces and a couple of straps.

bodice pieces

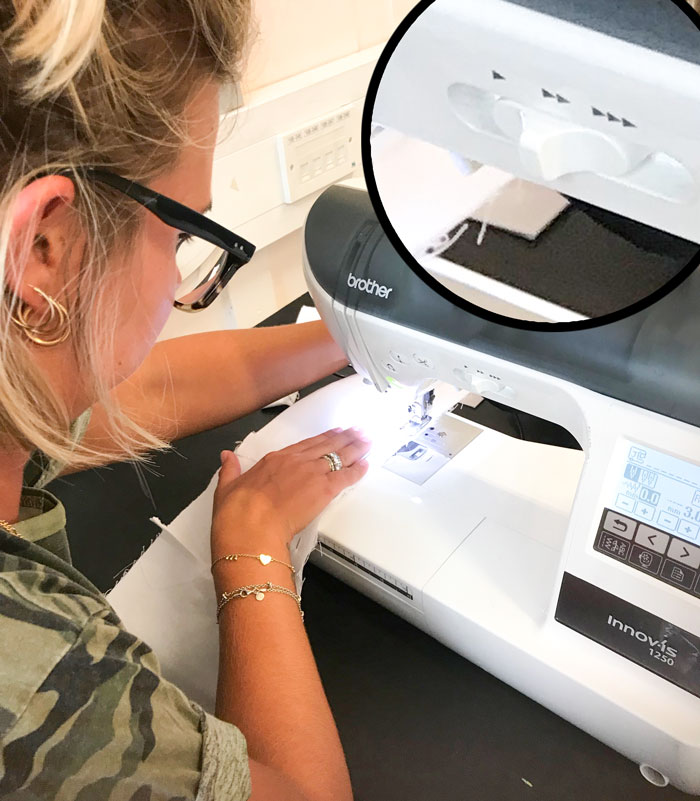
This was to be Etta’s maiden go on a sewing machine. She was a natural!  I must also give credit here to Brother for the 3-speed control on my Innovis 1250. The slow settings are great for stopping the over-enthusiasts from veering off piste!

Brother speed setting

Once the bodice and straps were sewn, Etta put it on so I could measure down to the desired length of the skirt.

To create the tiers we divided that measurement in half and accounted for seam allowance on each section (adding a bit extra for the hem on the bottom tier). Now we had the depth of each tier, I’m pretty sure we took double the width of the base of the bodice for the length of the first tier and doubled the length of the first to get the second.

I showed Etta how to make gathering stitches by using a wide machine stitch either side of the seam line; pulling up the gathers to fit, and then sewing the seams between the gathering lines. It helps to keep the gathering neat and in line.

Here’s a photo of what the dress looked like before it was trimmed. Etta had chosen a lovely white cotton twill which had a lovely weight to it.

dress without trims

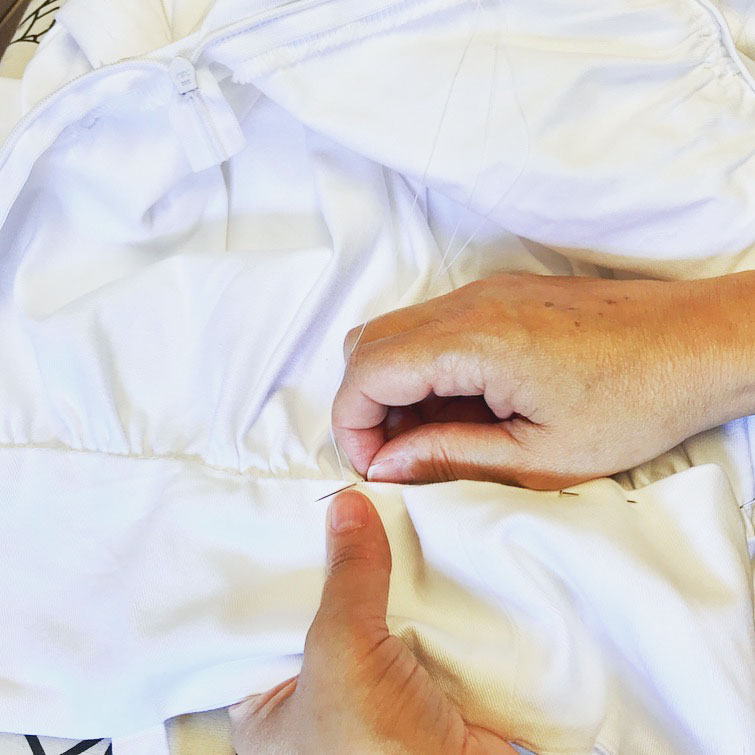
We managed to sew most of the dress in a day, and I took it away to insert the zip and hand sew the bodice to cover the raw edges of the skirt inside. Etta had traced, cut and sewn every other piece herself.

hand finishing the insides

It’s a really interesting experience sharing knowledge. I’m sure all you teachers will be rolling your eyes at me now. For the most part I’m a doer. I rarely look up. And it never occurs to me how far I’ve come either in my day to day job as a designer or indeed my other part time passion as a seamstress. So on the rare occasion when I’m teaching someone I always worry about not knowing enough to share – that the pupil might know more than I’m about to teach – a terrifying thought! Is that a certified phobia?!

In reality the polar opposite has been the case. And I’m always asked lots of questions, to repeat procedure or simply slow down. Which is totally reassuring and absolutely fine by me!!

The deal of this exchange was to be some fabulous photos for my blog. And Etta stepped right up to the mark and took these beauts in her Granny’s lovely garden.

Ettas dress

Ettas dress

Ettas dress

Just love it when a plan comes together… doesn’t she look gorgeous?!

Why buy a dressform, tailors dummy, mannequin, dressmaker’s stand thing?

Adjustoform lady valet dressform bust

I managed a good few years of dressmaking without a dressform… tailors dummy… dressmakers mannequin… whatchamacallit! I didn’t consider myself at all worthy of such a professional tool. I don’t have room enough to swing a mouse in my house let alone space to accommodate an extra lodger, with a price tag.

But one day I took surprise delivery of a delightful pair of such assistants – one male and one female. Mr O had sought to surprise me with this very generous gift. Strings attached of course.

I’d always contested that it would be too tricky to make him shirts what with him being the illusive musician and the need for checking fit and all. So hats off to his persistence and problem solving skills!

I did make him a few shirts. Years ago, mind. And the tailors dummy was great for checking all the aspects of shirtmaking. It’s become a little redundant of late though.

But the female dressmaker stand  was dressed and draped repeatedly and undoubtedly earned her keep. The main issues I had with the female one were the colour and all the plastic bits. When I stood back from the mannequin and looked at my displayed work I couldn’t help wishing she was more classy – more graceful and more like those neutral coloured dressmaker stands with the tiny wooden ‘heads’ that didn’t distract from the garment and had better pinnability to boot! I also had illusions of practicing draping techniques to create some crazy unique styles and I just wasn’t inspired to work on this blue, now-rickety dressform.

She didn’t age well. The adjustment cogs became stiff. I think they were quite tight to start with. The covering got a bit patchy and loose in places. it wasn’t particularly padded, was difficult to pin to and the hem gauge accessory at the bottom just broke off one day. I never managed to use that part of it to be honest. Ended up with a more wiggly line than I would have created without it!. Instead I would stand her on a table and measure the hemline up from the table with a metal ruler, turning as I went.

But that in itself was a bit of a disaster one day when I realised the body had become loose on the stand and was spiralling down as I turned it.

She almost got her marching orders that day but guilt set in when the more caring me realised how ungrateful and wasteful I was being. She did the job… but she wasn’t nice to work with. That’s all. But that’s such a thing!

Well they do say ‘be careful what you wish for’. (I wished so much to have a nicer dressform, I can’t tell you.) One fateful day earlier this year my ‘delightful’ son had a proper tantrum and vented spleen on blue lady dressform. Rather her than me to be honest, though to be fair, the ensuing bisection was way more of a shock to him than it was me. He had no idea I was upstairs and had witnessed the attack and that I spied on him as he tried to reassemble the twisted wreck, quite-rightly panic-stricken.

Oh the joy on two counts of asking ‘does anyone know how my dressform came to be broken?’. He fessed up, with shameful apology and offered to contribute to a new one. I couldn’t take his dosh. I was too happy that I now had an excuse for a replacement.

May I introduce Adjustoform FG202 | Lady Valet Small 8-Part Adjustable Dressmaker’s Dummy. Naked as the day she arrived. And almost perfect in every way…

Dressform tailors dummy

I first caught sight of her at John Lewis Department store. And I know you shouldn’t judge on looks but that is definitely what drew me in for a closer inspection. The adjustment wheels turned easily – way easier than my previous model. The wooden stand is way more attractive and sturdier than the flailing metal legs of before and the ecru body covering is much easier on the eye and conducive to shooting garments of all colours. Best of all it has boobs!

adjustoform dummy from side

Well, kind of… I do exaggerate! But there is definitely more boob than I had before which helps immensely when checking, shooting or simply displaying a garment. As expected there is no means to change a cup size so a good workaround is a bra stuffed with a pair of two of secret socks! Or I have seen more accurate ways of padding the body with batting to create a more closely replicated size.

Although I was sold already, I’ve learned to reccy online and resist an impulse buy. In any case it wasn’t available to buy in store at the Westfield branch so I found one – a whole £40 cheaper – on Amazon. I took full advantage of the free delivery with my Amazon Prime subscription and she arrived box fresh the following day.

Assembly was a doddle. I didn’t question that there was no instruction booklet, deeming it superfluous to requirement in any case: The body slots into the pole and is tightened with a screw and the feet slot into the base.

lady valet wooden base

I later found said booklet under the flap of the box as I crushed it for recycling. But I’m glad I did as I would have never guessed to rotate the metal device at the base of the stand to hold the feet on. If you don’t do this the feet fall out of their slots when you pick up the dummy!

dressform metal device

So was it worth the investment I hear you ask?

Yes is the short answer. I definitely needed one since more often I am dressmaking professionally. I can leave a circle skirt to hang for the bias to drop, I can achieve a level hem in the absence of a client. I can stand back and see how the garment looks and hangs and I can rotate the body to see how it works at all angles.

The only shred of doubt in my mind is that I know that my Adjustoform Lady Valet is only a slight upgrade, mostly for aethetic reasons and will never be a substitute for a real person’s proportions

This isn’t a one size fits all. And so even with padding will only ever be as near as dammit. Only when I progress to super successful fashion designer extraordinaire status (in my dreams) can I afford the space and the expense of an army of models in varying sizes.

There is better padding on this dressform compared to the blue one but only of marginal difference. You still hit underlying plastic unless you go in at an angle with those pins.

The gaps in the adjustment areas not conducive for draping. For the records I haven’t ventured down that road properly yet. I tend to work with existing or self-drafted flat patterns, but if I wanted to drape and pin a design I would be better off with one of those other kinds of dressform/tailors dummy/mannequin/dressmaker’s stand things with collapsable shoulders like they had on the Great British Sewing Bee.

Do you use one of the aforementioned? What are your views? And pray tell… what on earth do you call it?