The last thing I made was this turtleneck rib knit top. Most probably up there with some of the most boring things I’ve made, but actually a top that ticks a lot of boxes.
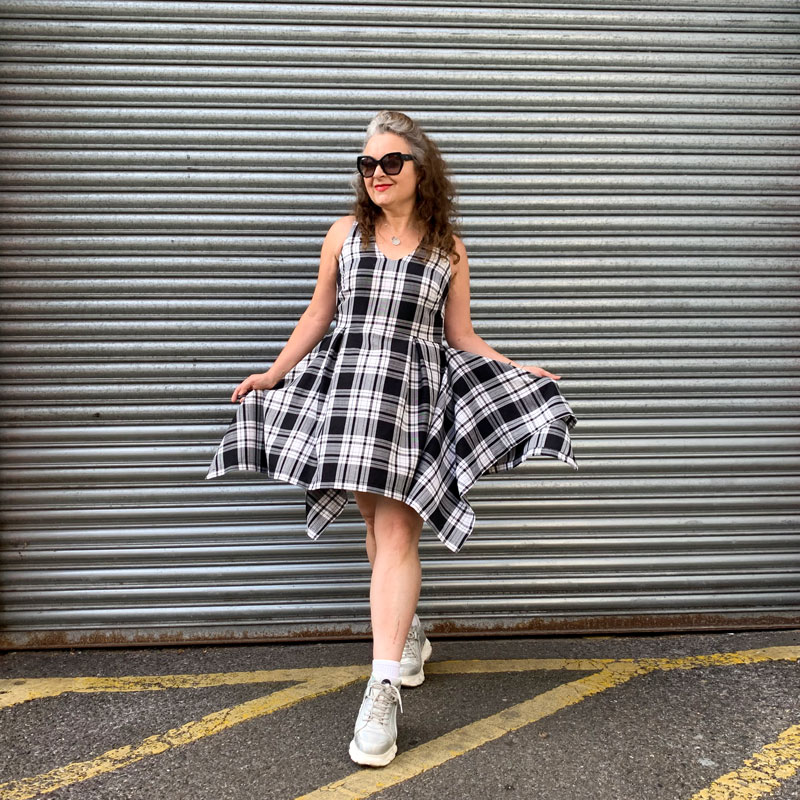
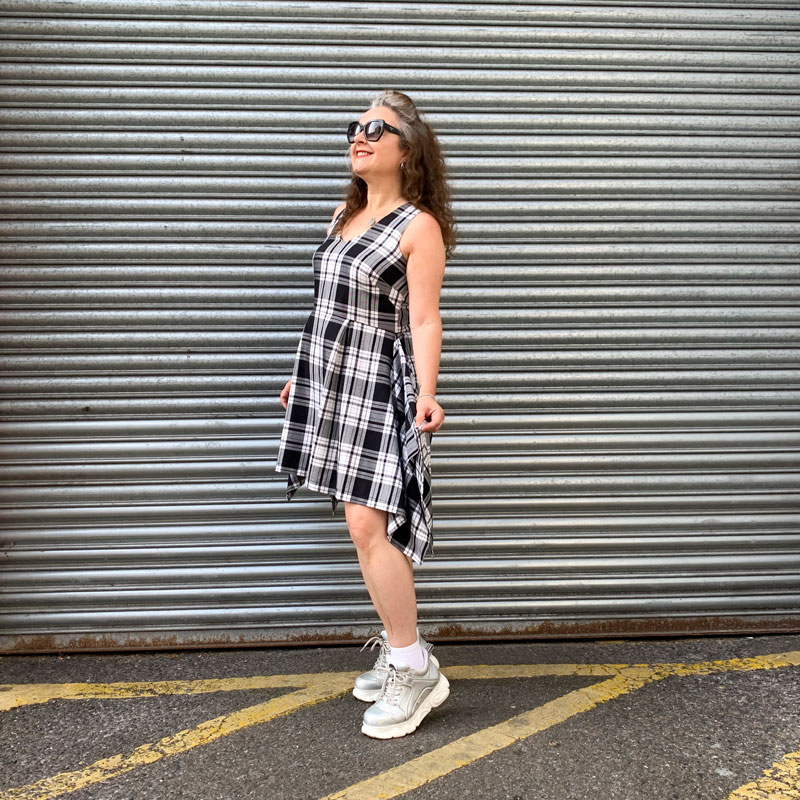
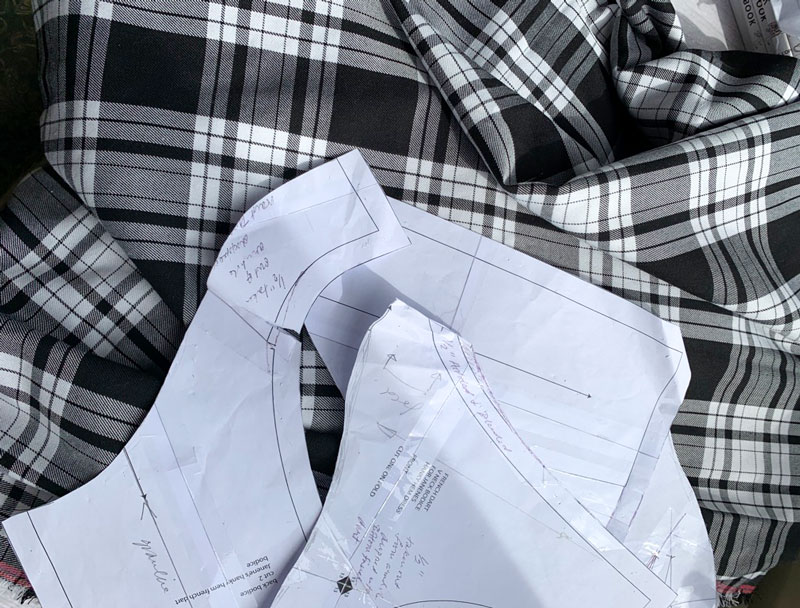
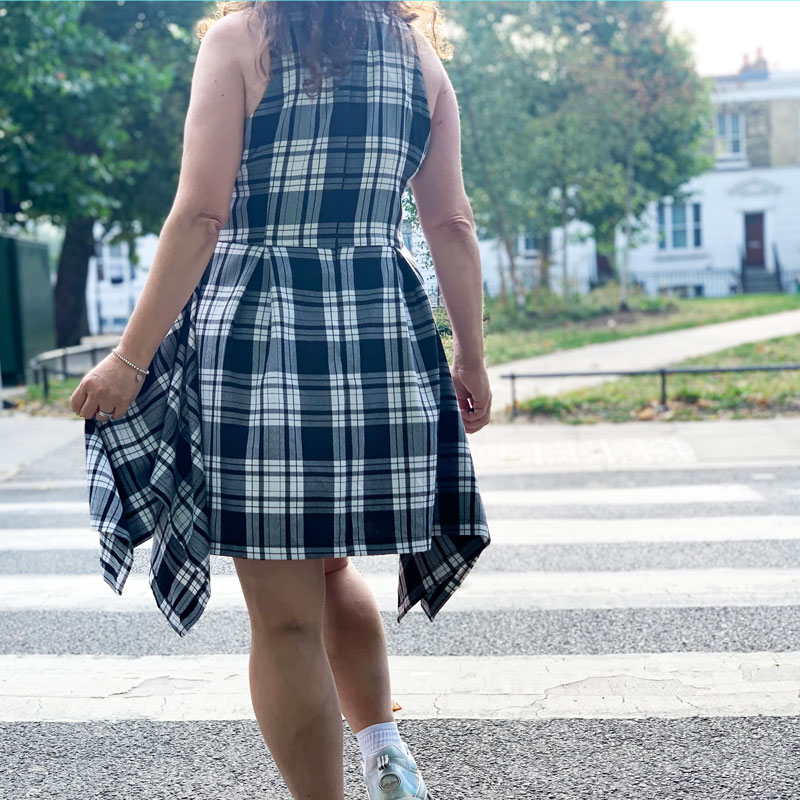
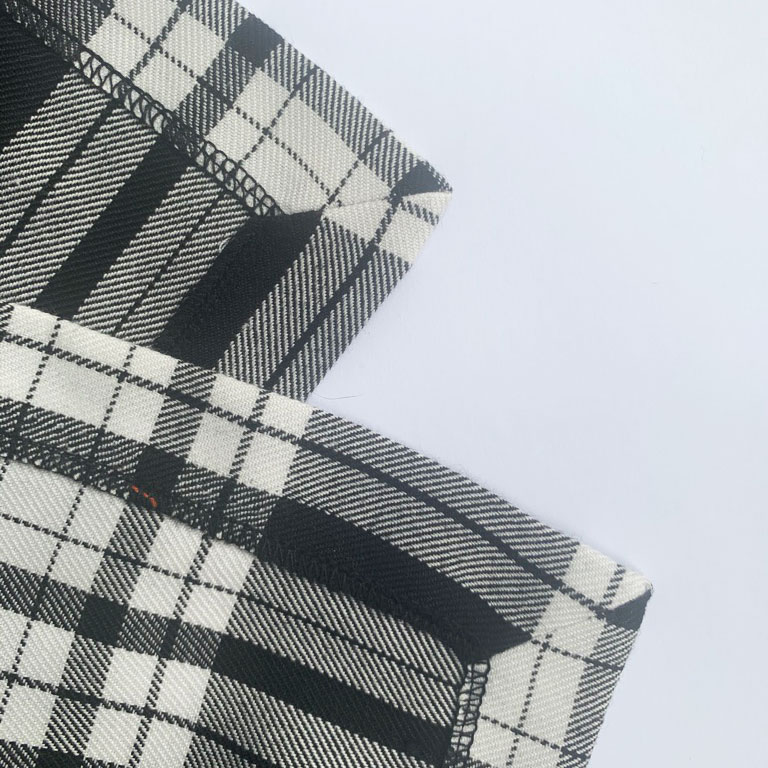
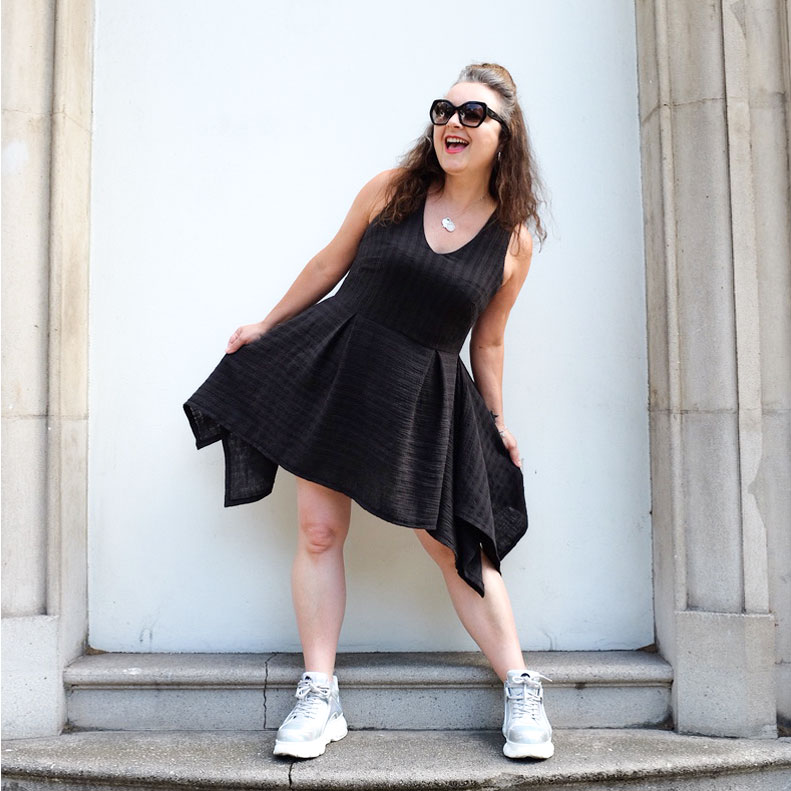
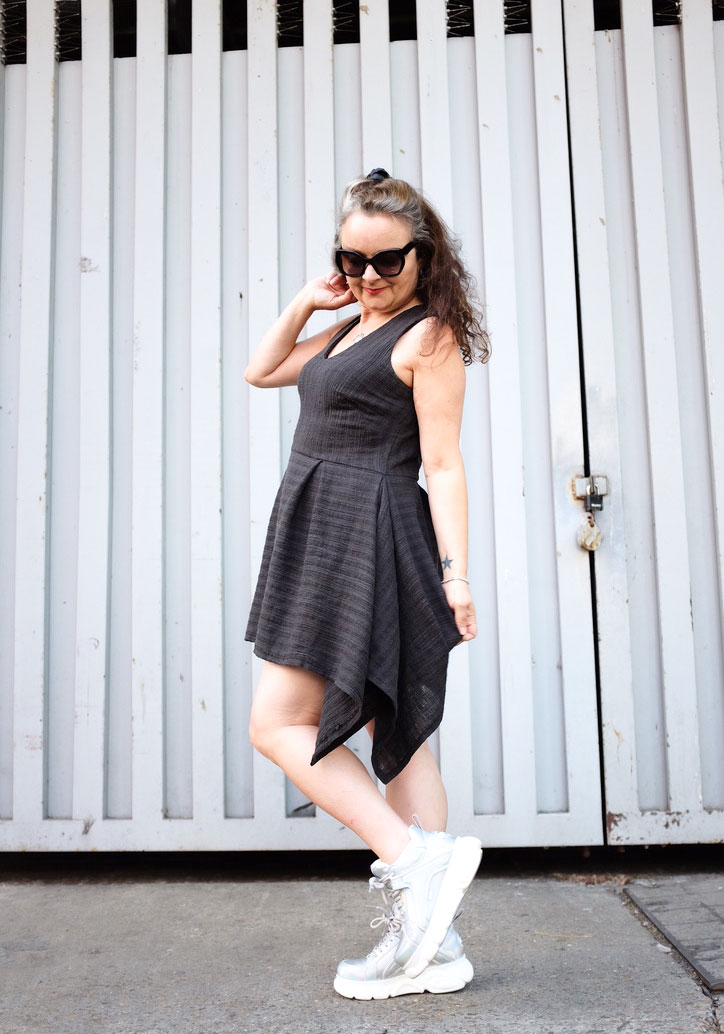
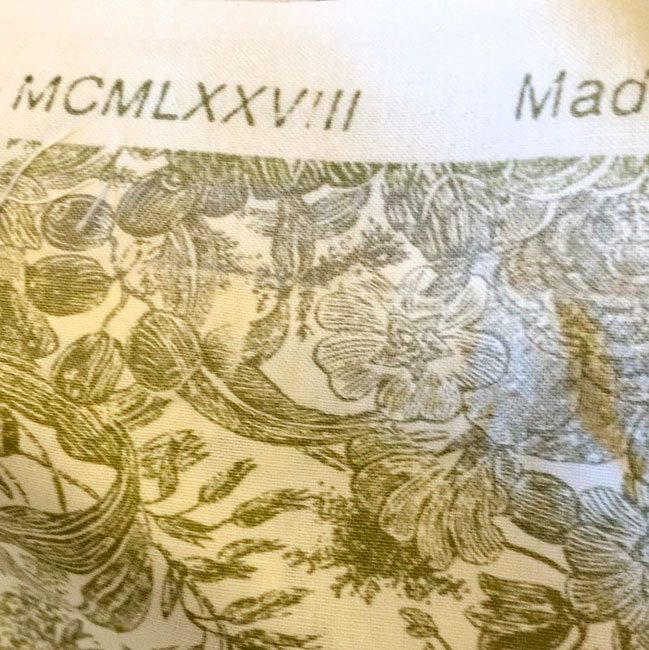
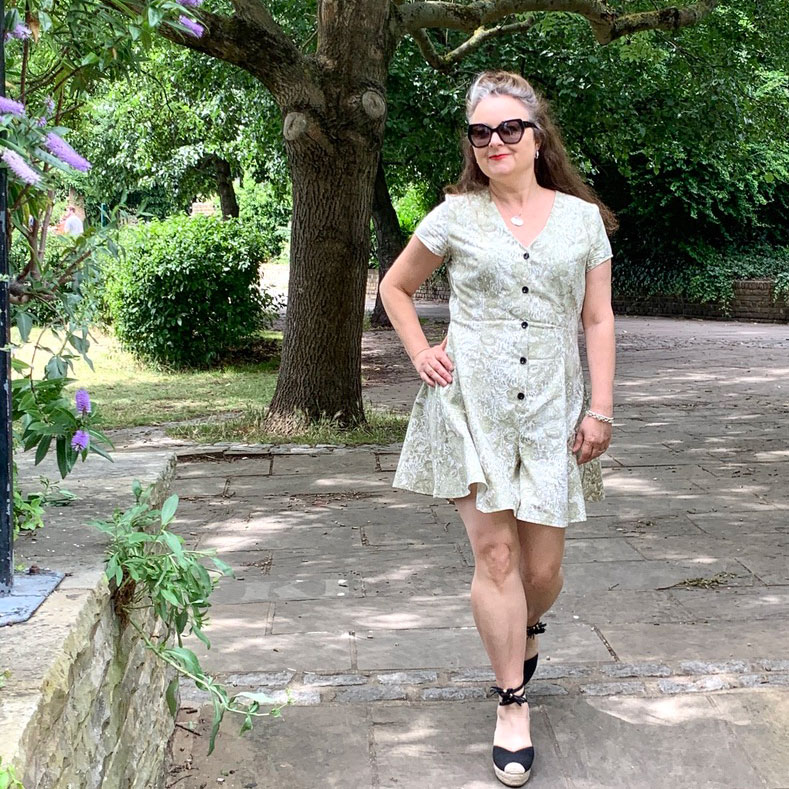
I self drafted it for one and learned something new in the process. I’ve self drafted a fair few patterns for woven fabric to date, like this Liberty Lawn summer dress, a few shift dresses like this batik one, and more recently my handkerchief hem dress to name a few. But I’ve never thought to self draft a knit pattern. Why would I? Its akin to reinventing the wheel as there’s so many great basic knit patterns out there. But I do love a challenge. And also have another agenda in the shape of some very special stretch fabric that is still waiting to be made into a well fitting dress so if I master a moulage in knit then I’ll be one step closer to designing a knit dress, right?
The process was actually very simple. In a nutshell removing the darts and any ease to create a close fitting shell that stretches around the curves of the body. I used my self-drafted woven moulage as a starting point and made the adjustments from there. I found a great lesson on Craftsy, by Suzy Furer and also referred to my favourite sewing book: Patternmaking for Fashion Design by Joseph Armstrong.
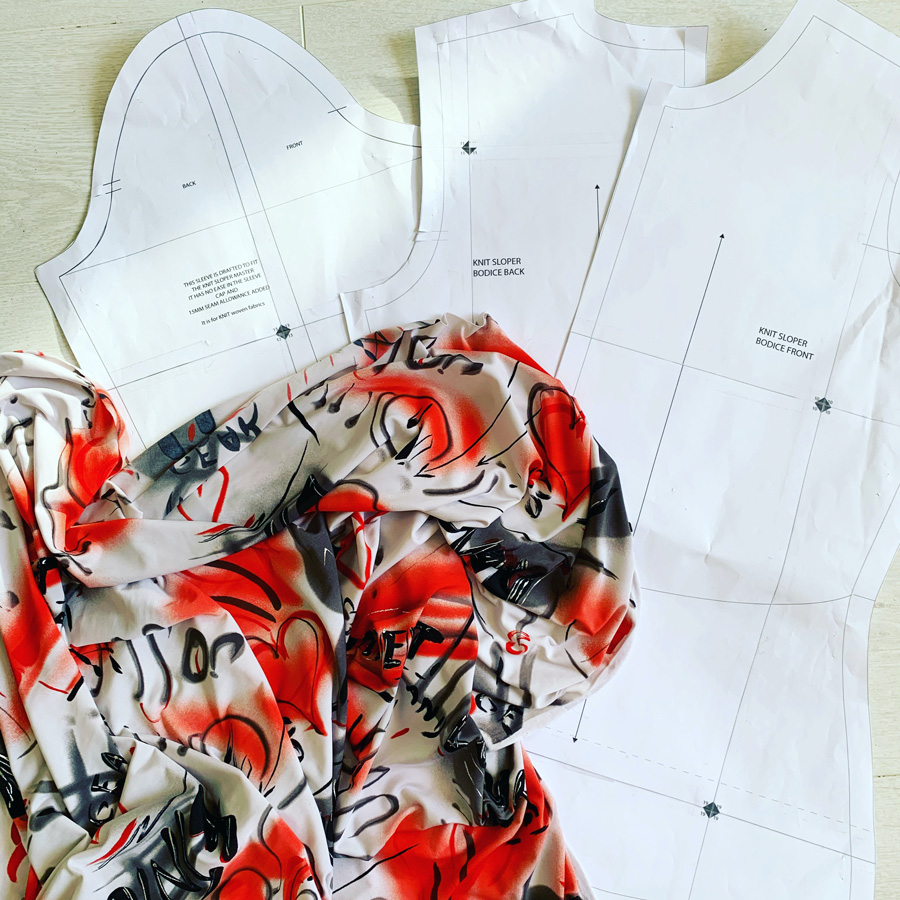
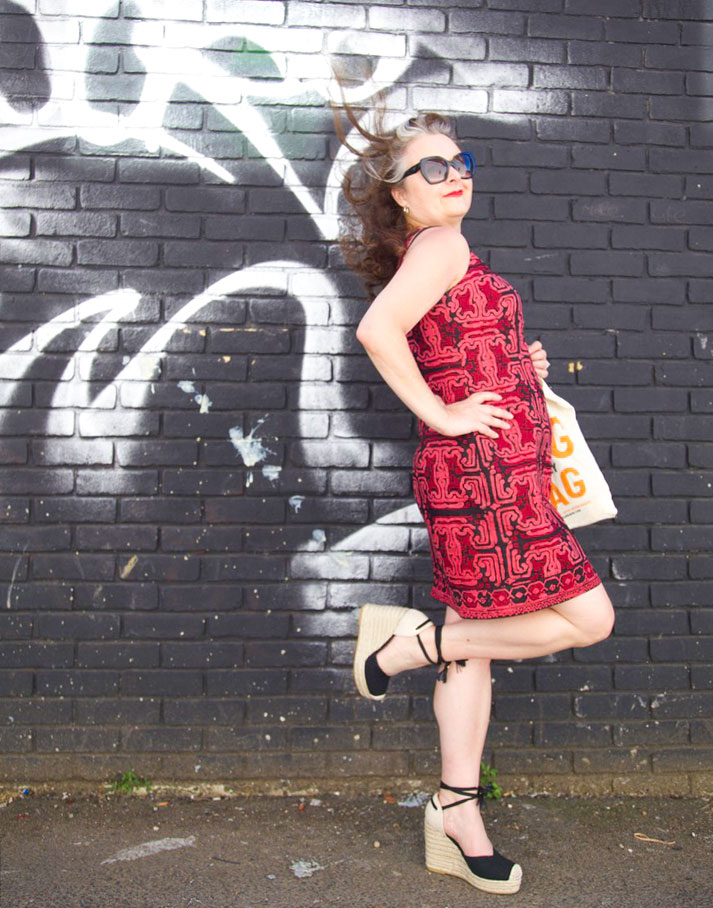
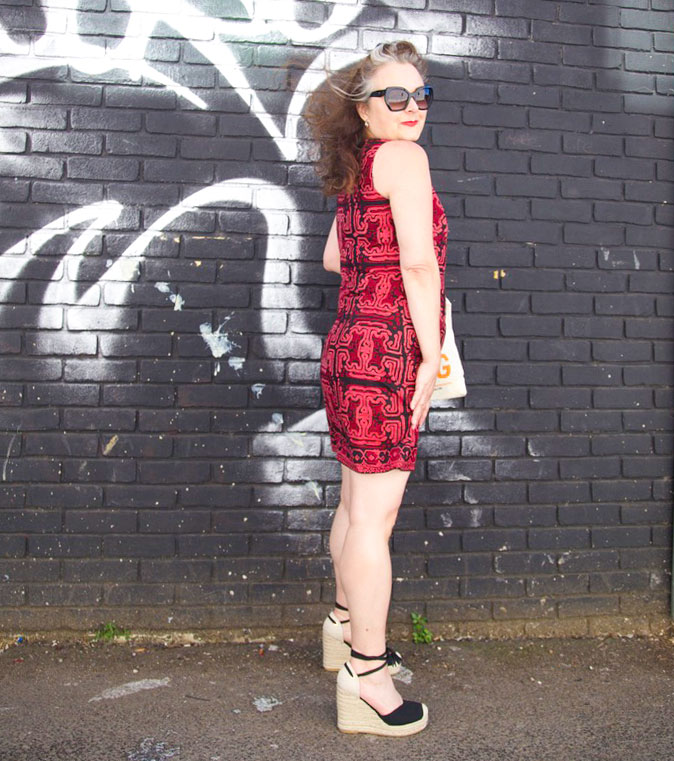
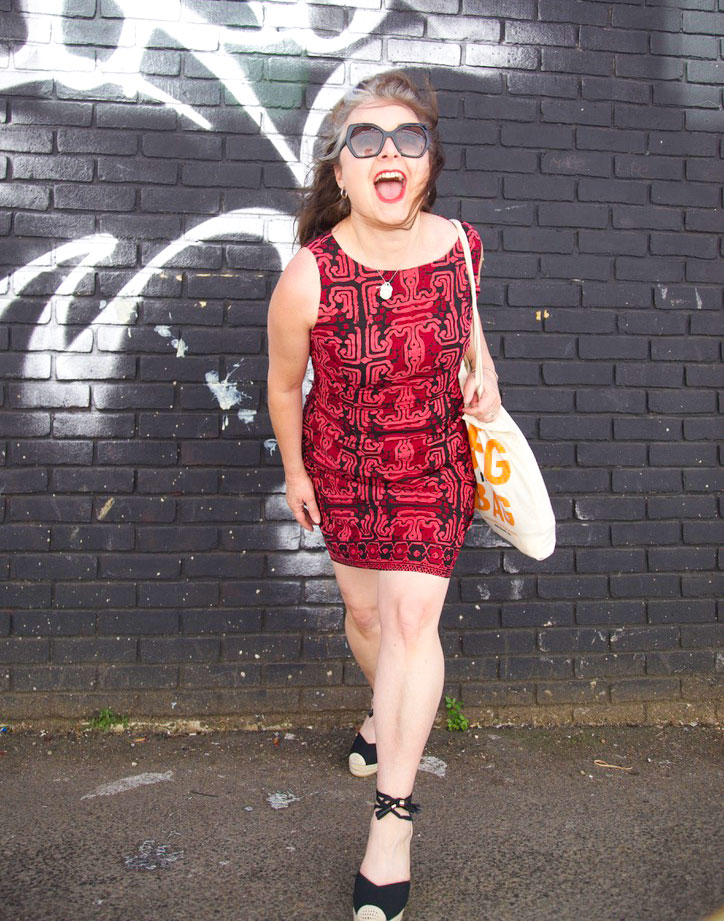
I tested it first on some nasty nylon fabric. To be fair I don’t know what the fibre content is but I’m certain there’s not an ounce of natural anything in it! Looks kinda cool with its graffiti design though. But I messed up royally on the turtle neck itself. Such a stoopid mistake. I made it 10% smaller than the neck opening which was fine. Sewed it in a circle to check it would go over my head which was fine too. Then stretched it as I sewed in place, much as I would sew a binding on a scooped neckline. Realising I had excess (as a result of over stretching) I cut off about an inch and a half, maybe even 2 inches more to make it fit. And that was where I went so wrong. I can just about get it over my head but its akin to being slowly strangled if I’m wearing it for more than half an hour!

Everything else was just fine, though. Just made a massive note to self to not mess with the collar piece!
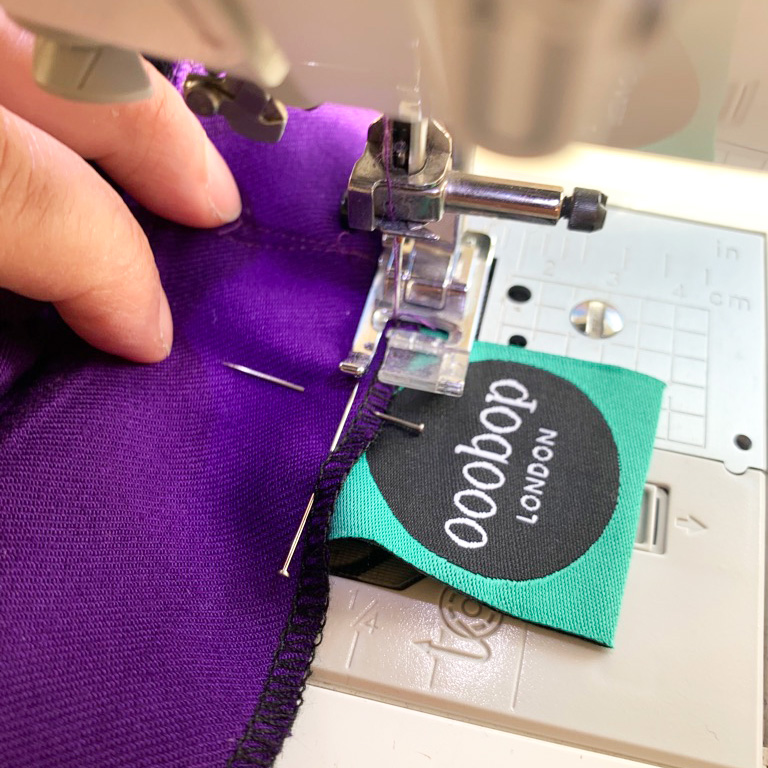
I especially loved that it was all sewn on the overlocker save for the hemming, so was super quick to whip up. One very important thing gleaned from sewing knit tops before is to stabilise the shoulder seam to stop it stretching out. I used some Prym iron on stay tape (aff. link) for the first time and it was so easy to apply in a straight line. Its been subject to a few 40 degree washes since and it’s still totally intact. Definitely no going back to sew-in tape now.

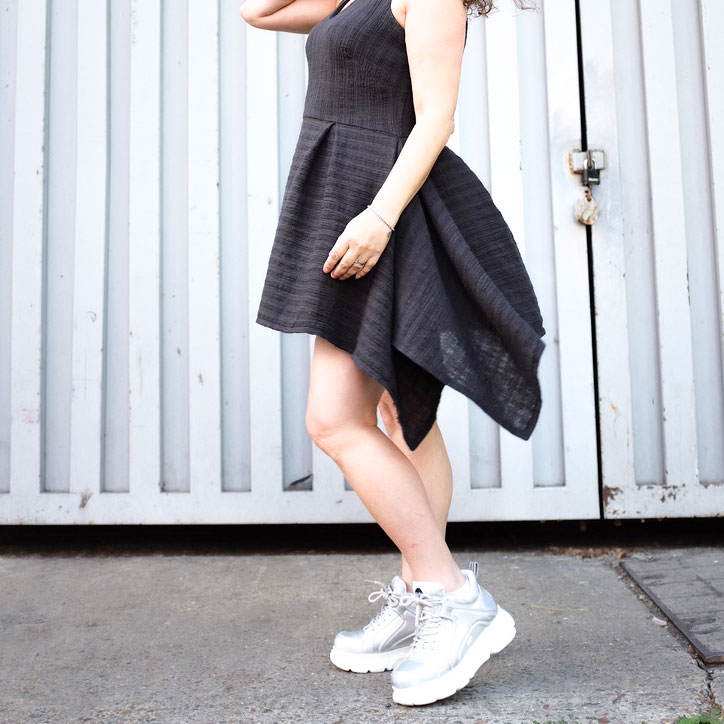
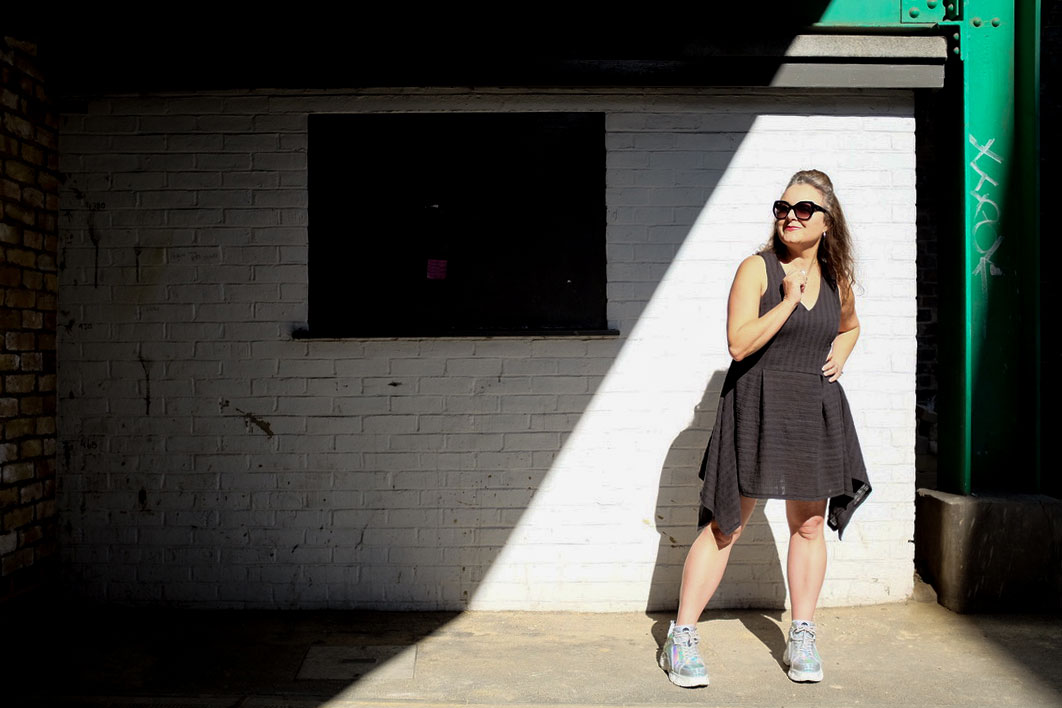
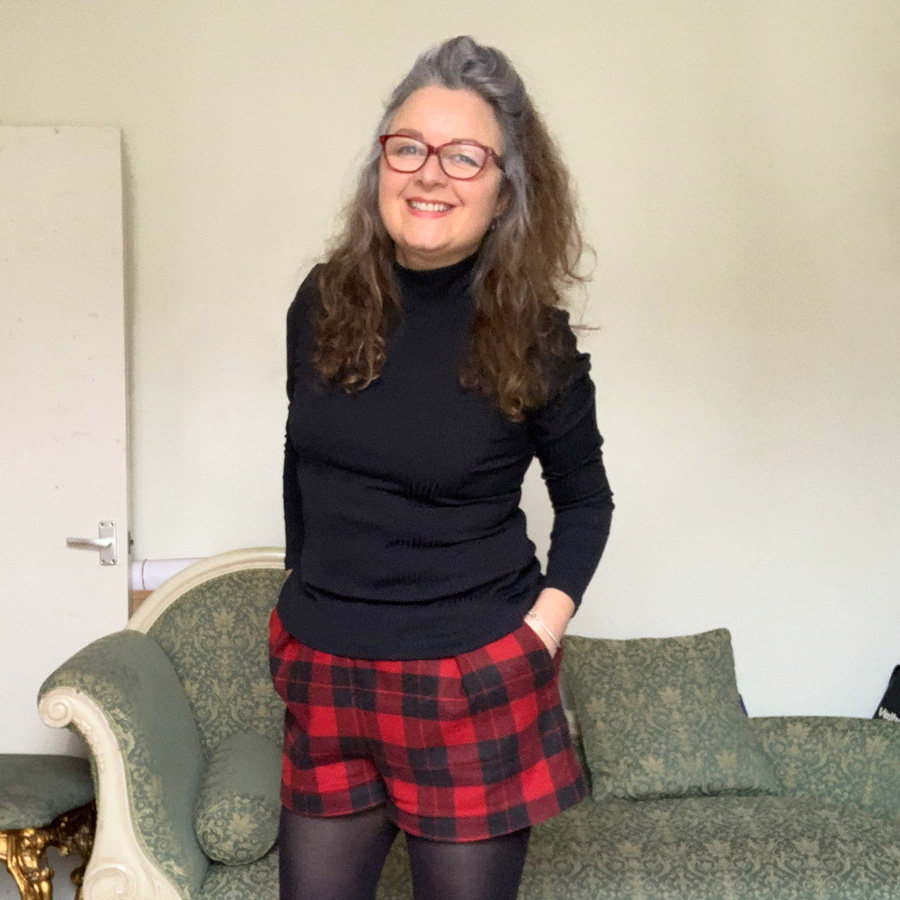
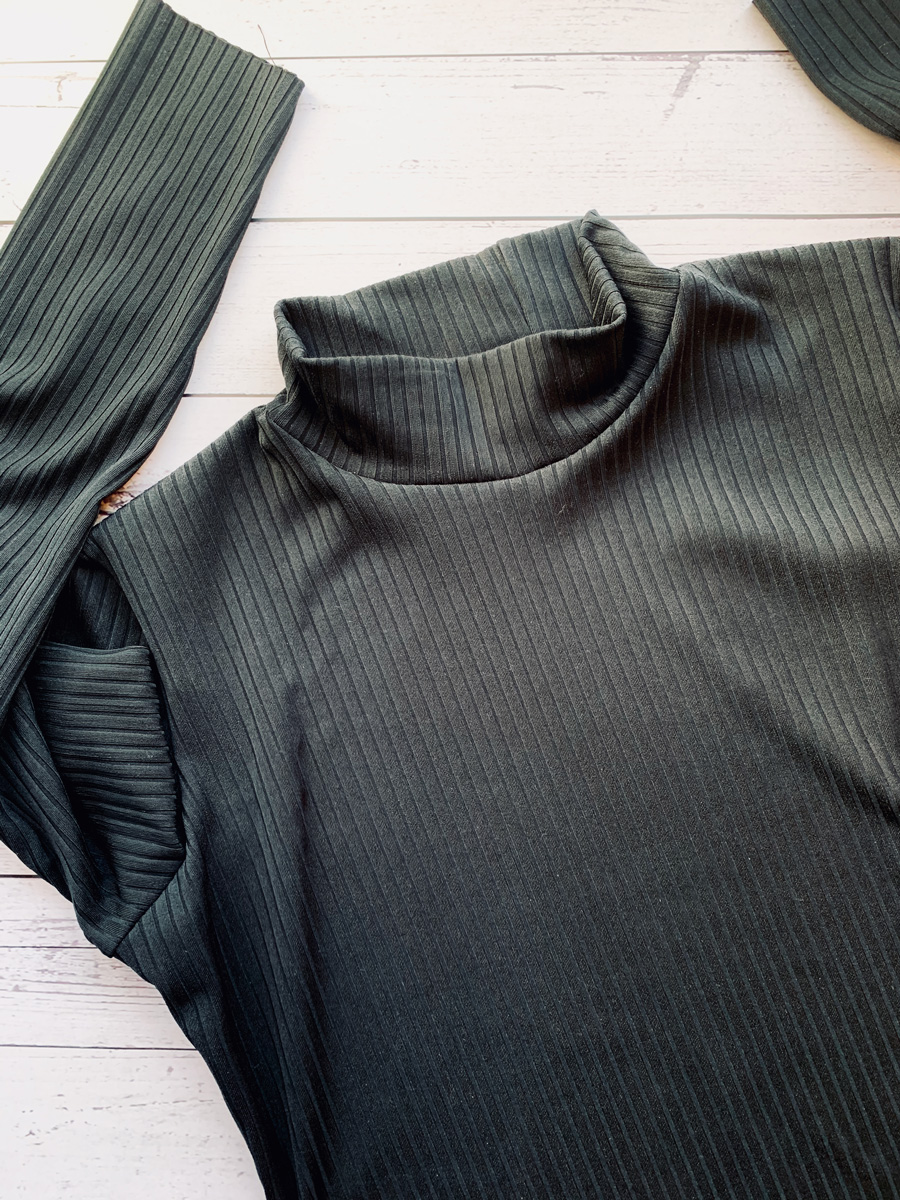
So then I made the black one with ribbed knit I bought in the Minerva sale for a snip! And I love it. Its so versatile – goes with all my skirts and shorts and also is a great under-layer for some of my self-drafted dresses, on a chillier days. Topped with a cardi for an extra layer its a definite win win win!
It’s just so classic, with a nod to retro too and has already had soooo much wear that it will probably wind up being the most sustainable item of clothing in my wardrobe for that reason alone.
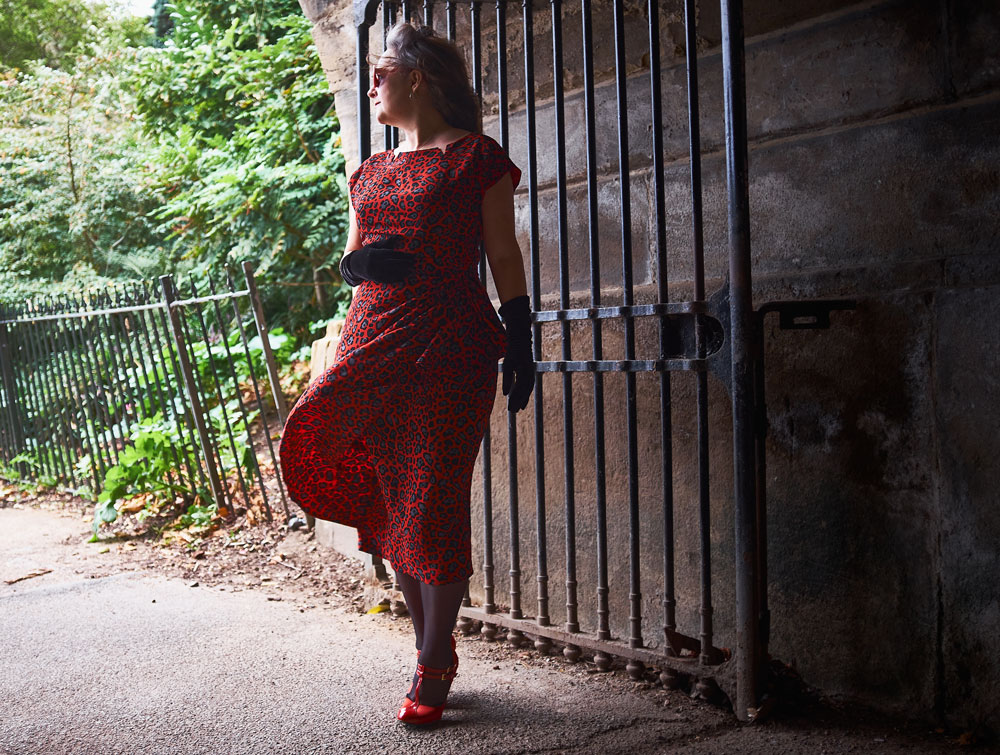
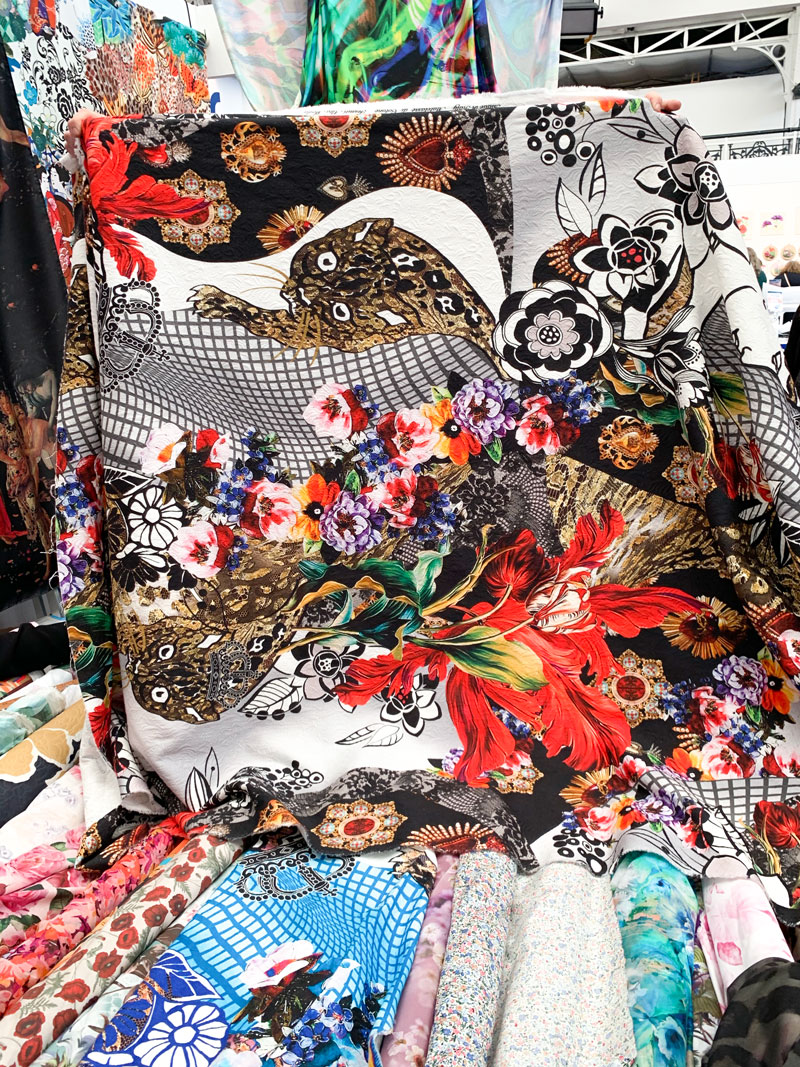
I’d love a couple more of these. A leopard print one for sure and perhaps a red one … predictable much! But first I have to make something a bit more exciting. And I’ll tell you all about that real soon.
In the meantime, here’s to boring practical clothes that go with absolutely everything and for a quick sew fix too!
Are you sewing much over lock down? I’m struggling to get as much sew time due to work pressures – everything is taking so much longer so I feel like I’ve lost so many hours in my day. But all things considered, it could certainly be much worse!
Wishing you all well in any case.
Janene x