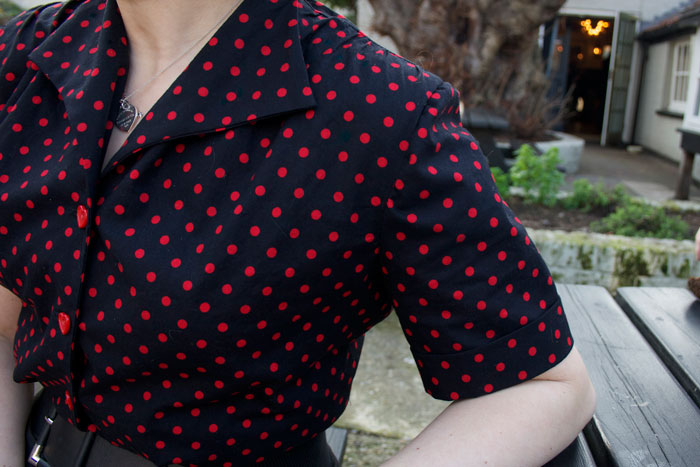
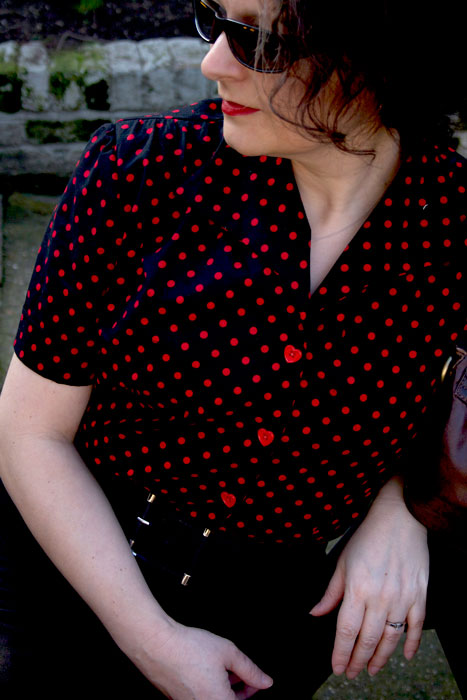
I have been designing this dress in my head for quite some time. I design a lot of things in my head –in the shower, on the bus, when I’m meant to be doing something else and when I’m nodding off to sleep – it’s a busy old head!
Anyhows, an invitation to the gorgeous Rhonda’s 30th bitthday party was a great prompt to put some of these ideas into action. I met Rhonda’s mum, Tina many moons ago when we moved next door to her and she soon became more than a neighbour. More confidante, great friend and the most wonderful childminder to my son. So this party was really a family affair and I needed a dress.
I’ve got real issues with buying clothes from high street shops nowadays. I haven’t bought anything new (save underwear and shoes, of course!) in over a year and get much more satisfaction in making something myself or striking lucky in charity shops. I did think about making it a conscious decision when I started this blog but I know how flaky I can be and I didn’t think I could stick to that rule. Turns out I didn’t have to make it a rule. It happened quite naturally. I much prefer dreaming of what I want and making it or ‘rescuing’ from charity shops rather than settling for what’s out there. And now I really feel like I’ve moved on.
This is my first dreamt of, self-designed and handmade dress. And I am chuffed to bits. The bodice pattern is slightly modified from Burda Style’s Wedding Special, issue March 2011. It has a v-back, a high neckline and is perfectly fitted with waist and bust darts. Below is the bridesmaid dress as featured in the magazine.
The skirt section is self-drafted. It is a circle skirt with the inner circumference double the waist. The fabric is either silk or cotton, a silky cotton… or maybe a cotton silk! I did a burn test and it burnt to dust so its definitely void of any synthetic fibres! I had enough of it to self-line the bodice and it feels lovely against my skin and was cool enough under the flashing lights on the dance floor!
I made the sash from a 3 metre, double layer length of chiffon, tapered at the ends and top-stitched.
The rose print allowed for some interesting placement on the back. Quite happy about that!
The dress is worn over an organza petticoat, again, self-drafted, which although not complicated, was more of a test of my patience than the dress. I will blog the petticoat separately given that I haven’t taken any photos of it yet.
Unsurprisingly I didn’t get chance to hem the skirt by hand. And in a way, I’m quite glad I didn’t spend the time – can’t imagine how long it would take – I went for a machined baby hem instead. First I ran a line of stitching, a seam width, along the hemline. I used this as a pressing guide and it pressed up beautifully. I then tucked in the raw edge to the fold and machined again, using my quarter inch foot which made it really easy to keep a small and consistent hem. I was careful not to stretch the fabric as I went round so it didn’t pucker. I pressed it again… this fabric really is a pleasure to iron!
The most amazing thing about this dress is that it cost £3.50! £3 on the fabric – an incredibly lucky find in a charity shop – and 50p on the invisible zip. The sash cost much the same!
The fabric was a little slippery and needed lots of pins to hold in place. This is my first dress in a silky fabric and I anticipated it being troublesome. That said, I really worked fast on this dress. Mostly because I had a party to go to and I suppose because there was no expense at stake… apart from my time! It irons beautifully and hangs so effortlessly so I can forgive the grief it gave!
It took one evening to draft the skirt pattern, cut the fabric and assemble/line the bodice; a couple of hours to sew the skirt on to the bodice (I am really not a fan of gathering!!) and putting in the zip. I hand finished the inside lining, hemmed the skirt and made the sash the morning of the party.
I’m very pleased with how it turned out. I love the fabric and Im happy that a special stash piece got used for an appropriate project. It was just waiting for the right moment!
Thank you to Mr Ooobop! for the ‘action photos’ and lots of lovely birthday wishes to Rhonda x


