The making of a Serpentine shirt for Mr O

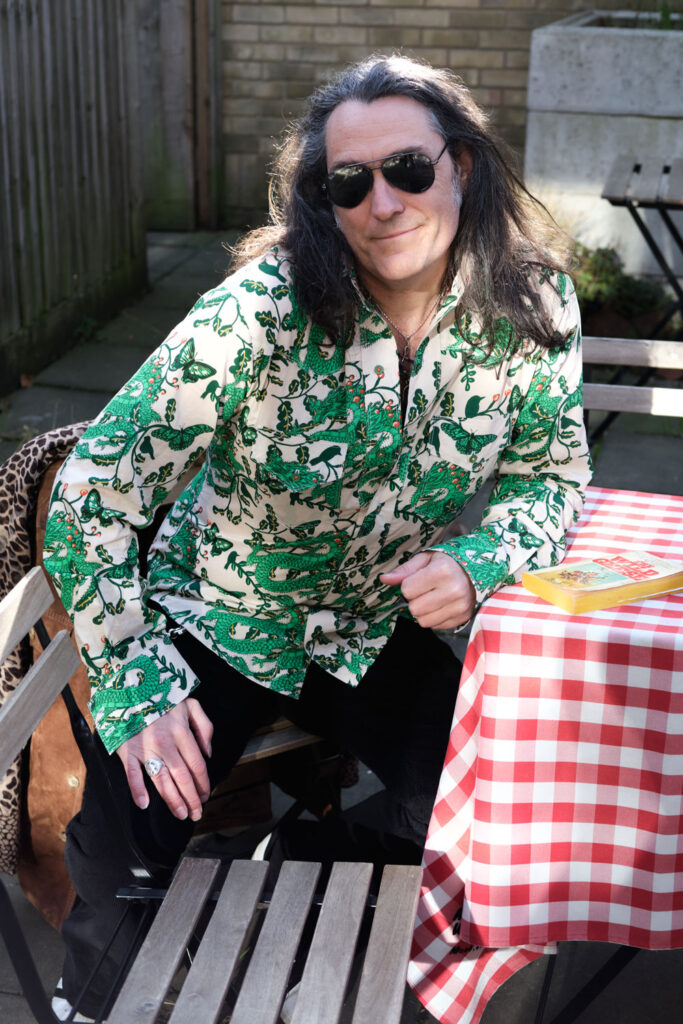
On waving this wonderful Serpentine fabric in front of Mr O, and declaring that I wasn’t sure what I should make with it, my foot suffered an instant shot. “A shirt for me” he said, with no hesitation. Doh! I had no quick comeback! It was a perfect suggestion, of course. 
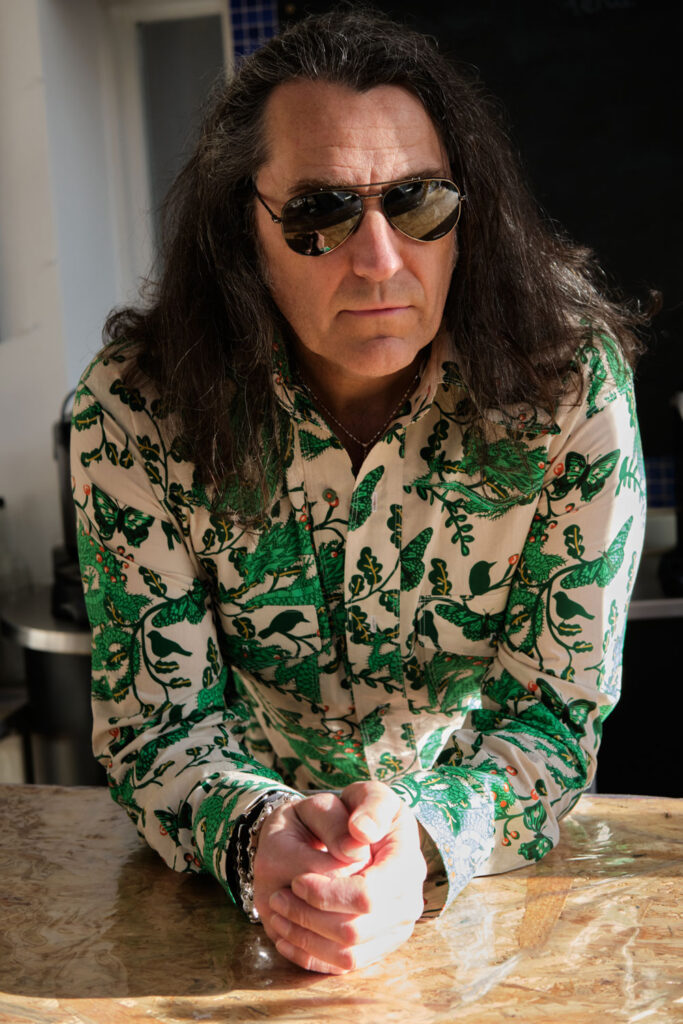
Fabric Godmother were so kind in forwarding on my goody bag, when I was unable to attend one of their events last year and this fabric was one of the treats inside. I thought on first feel that it was a cotton lawn but it turns out it’s a viscose sateen – a new one on me – and it is gorgeous to the touch and super to sew with. Presses beautifully too. 
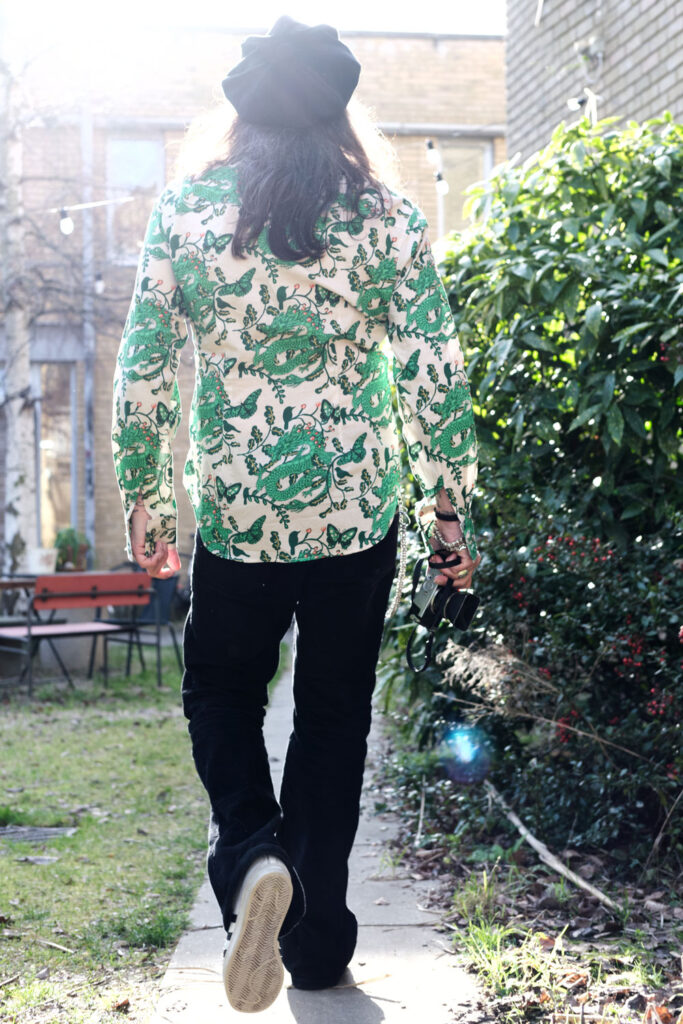
I reused vintage Butterick 5007, (western shirt pattern) for the 4th time – definitely less daunting this time round. The only things I still fear about it are the buttonholes because I know for a fact that at least one will mess up and I’ll have to deal with the nasty task of unpicking it. And that is exactly what happened. Is there actually anything more annoying?

It takes time to put this shirt together, mostly due to all the neat details: curved yokes, rounded hemline; pleats and darts on the cuffs; diamond darts for slim fitting and every single piece has 2 parallel rows of topstitching. But weirdly, I really like the process. The main section comes together pretty quickly and its a great one for sewing in stages if time is short. Which it is the story of my actual life!
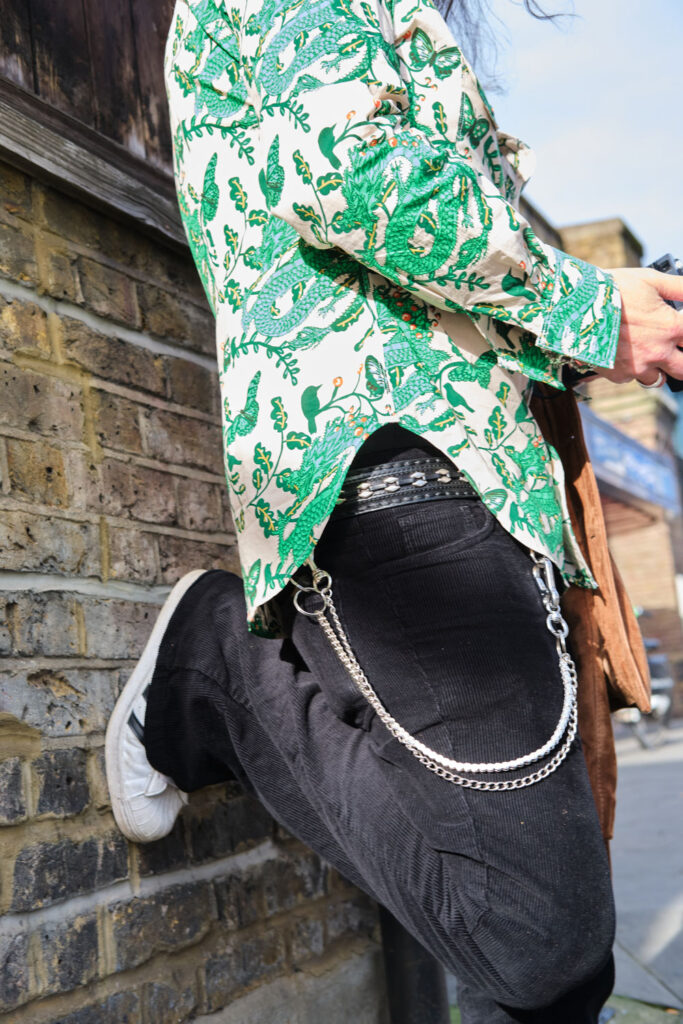
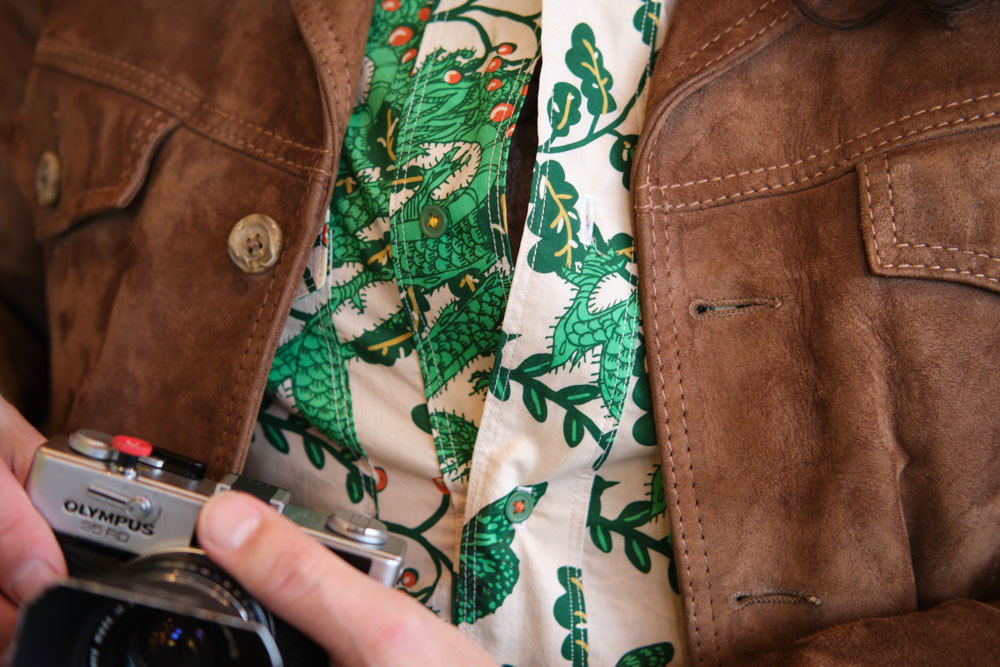
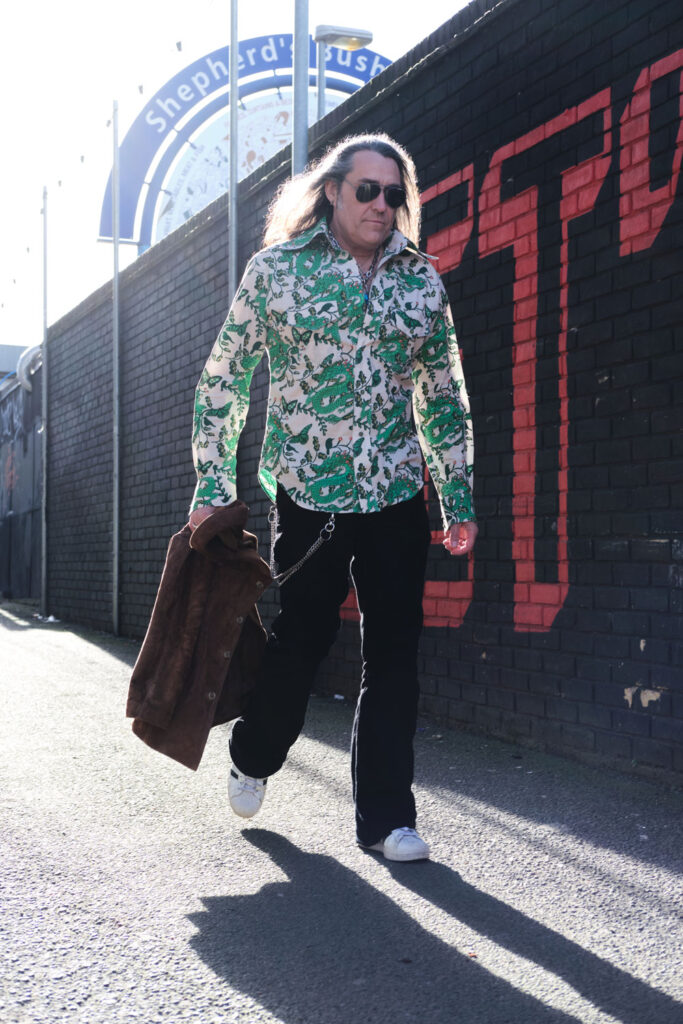
It also has some serious statement collar action going on which Mr O loves. I personally couldn’t carry them off but I think he rocks these aeroplane wings, styled up with his 70s jacket and hat. 
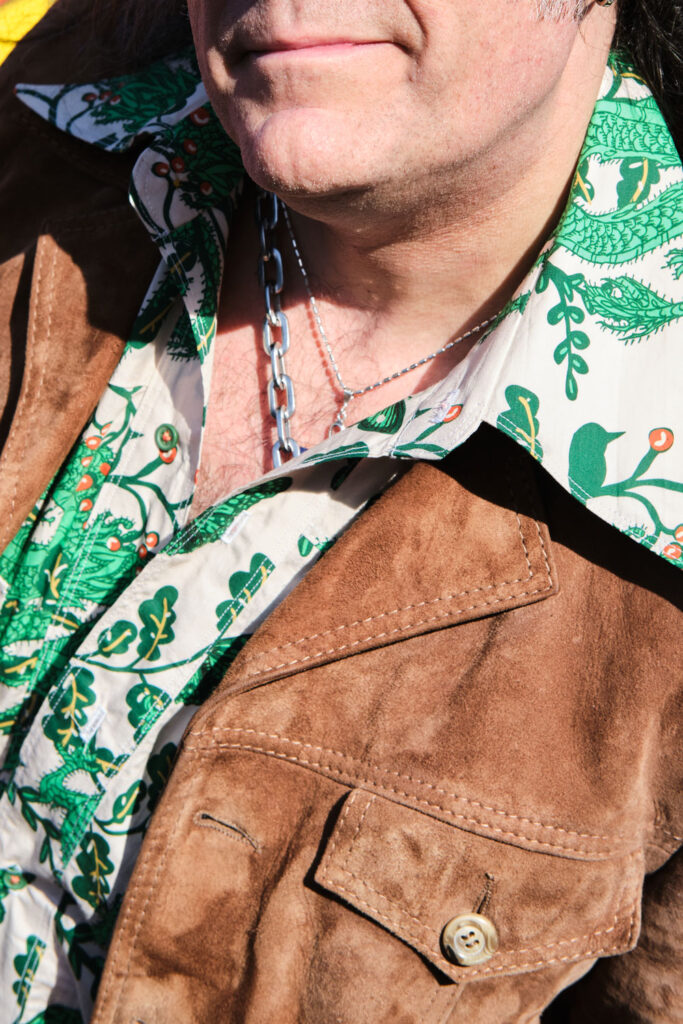
I didn’t make any attempt to pattern match as you can see. I only had 2m to work with – the exact amount required – and there would have been so much waste if I had even tried. That is my excuse and one I am firmly sticking to!

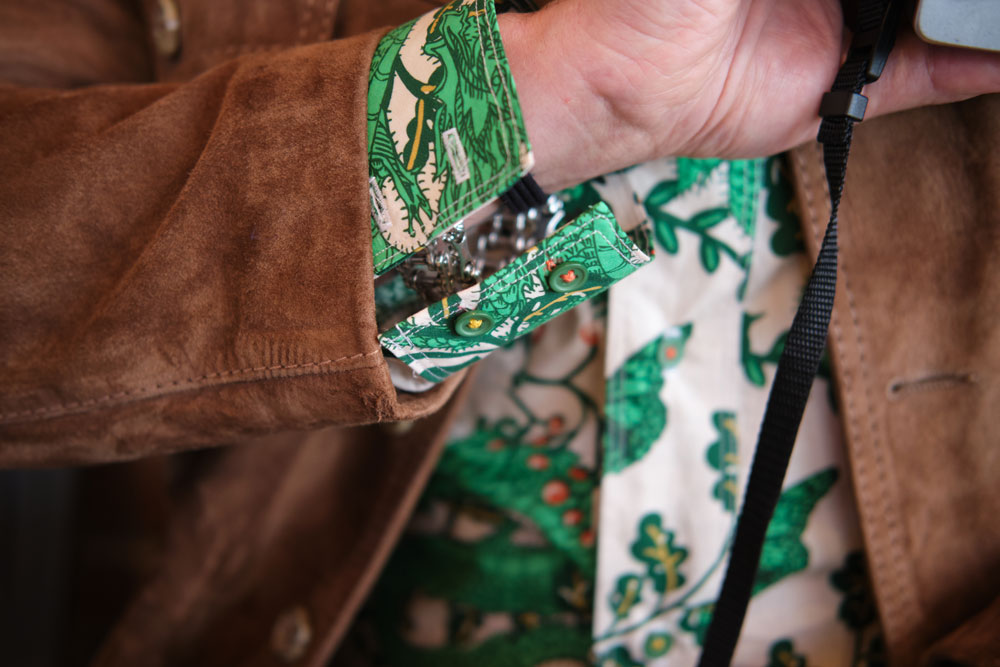
Even though I enjoyed the process, I properly ran out of steam when it came to sewing on the buttons. So I successfully managed to delegate the sourcing and sewing of, to Dan. And he did a fabulous job – giving way more attention to detail than I’d have given – he sewed with alternate orange and yellow threads throughout to complement the colours in the design and it looks simply awesome.
This is definitely not the last time I will use this pattern. I just noticed that Fabric Godmother has a Navy version of the same fabric on sale on their site, and made the mistake of showing Dan!
But he’s going to have to wait a wee while – I’ve got a lovely little commission I need to crack on with and also I want a new coat!
Photos are by me this time. But I think you probably guessed that already, haha! I think I’ll stick to my day job!
Previous versions I made are here and here

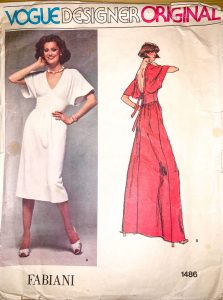
Vogue Designer Original 1486

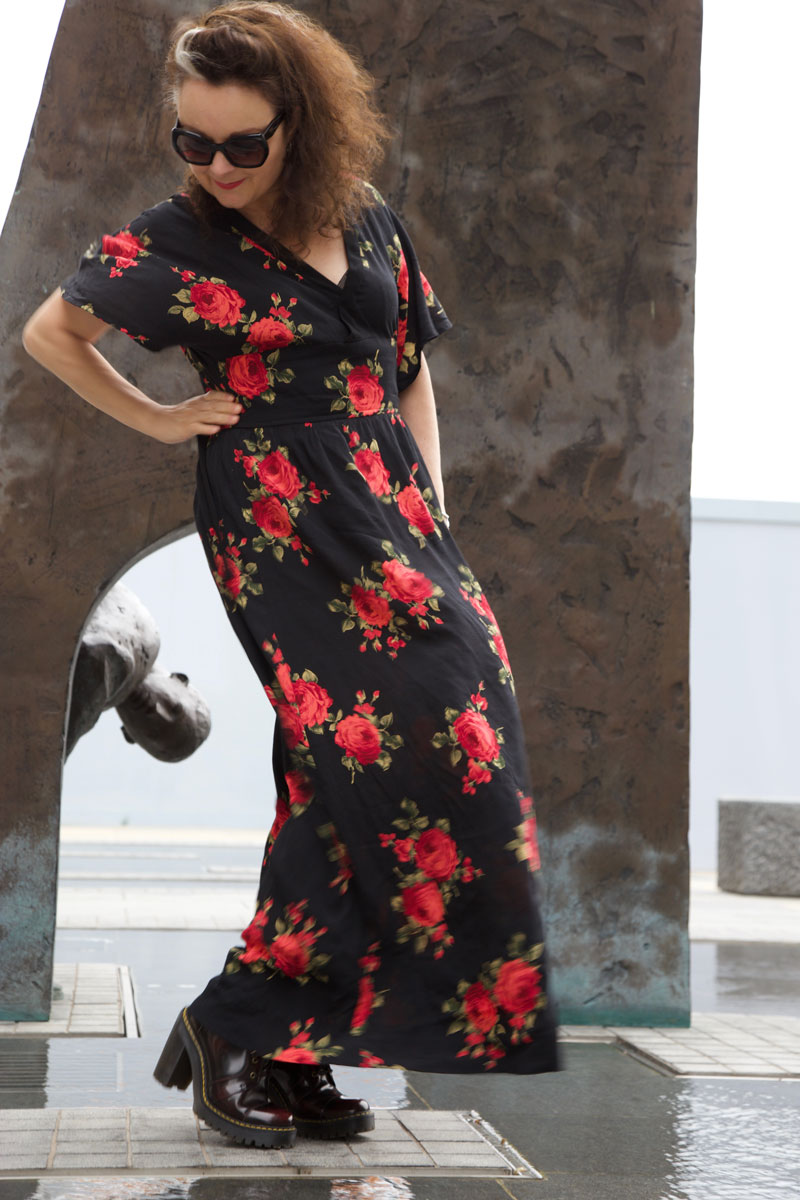
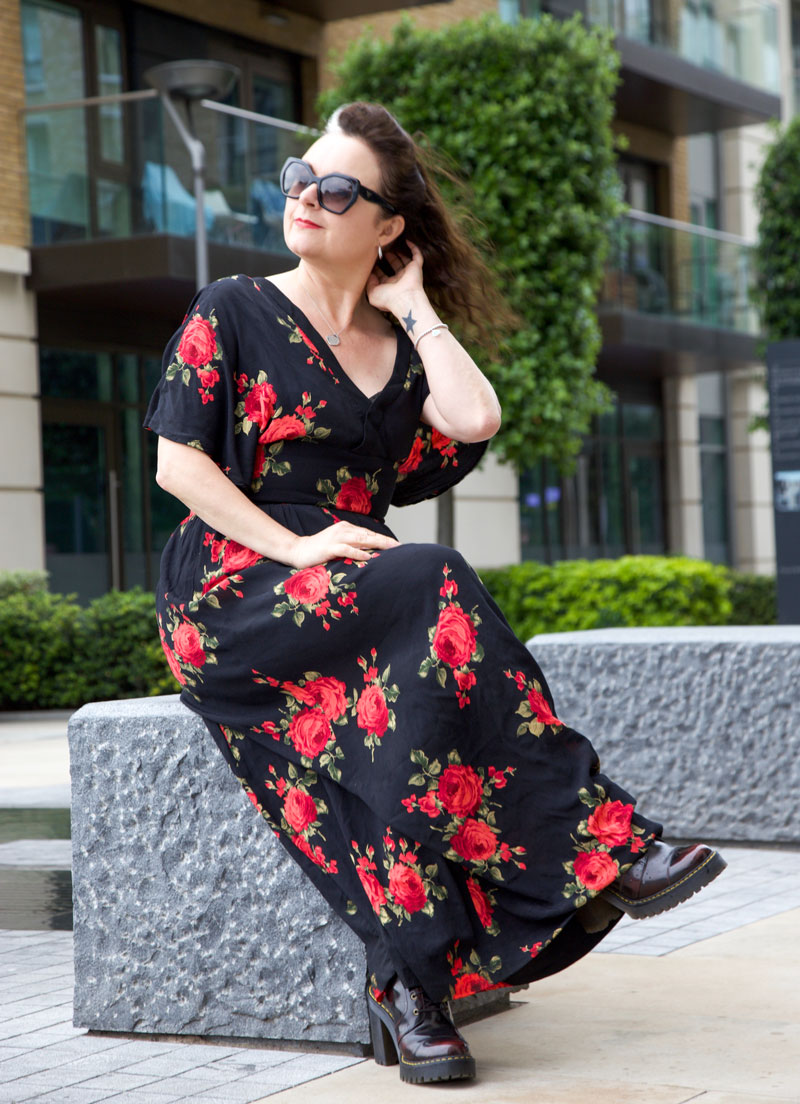
Vogue 1486 rose_dress side view

Now here’s a pattern that’s been hanging around in my stash for a considerable amount of time. And I’m so glad I held onto it because I knew it would do me proud one day.

Vogue 1481 designeroriginal

It’s a Vogue Designer Original by Alberto Fabiani allegedly from 1976. Though the shorter version A on the envelope could easily pass for 1980s.

Alberto Fabiani pronunciation
Tickled by how the pattern envelope feels the need to help with the pronunciation of Fabiani’s name!

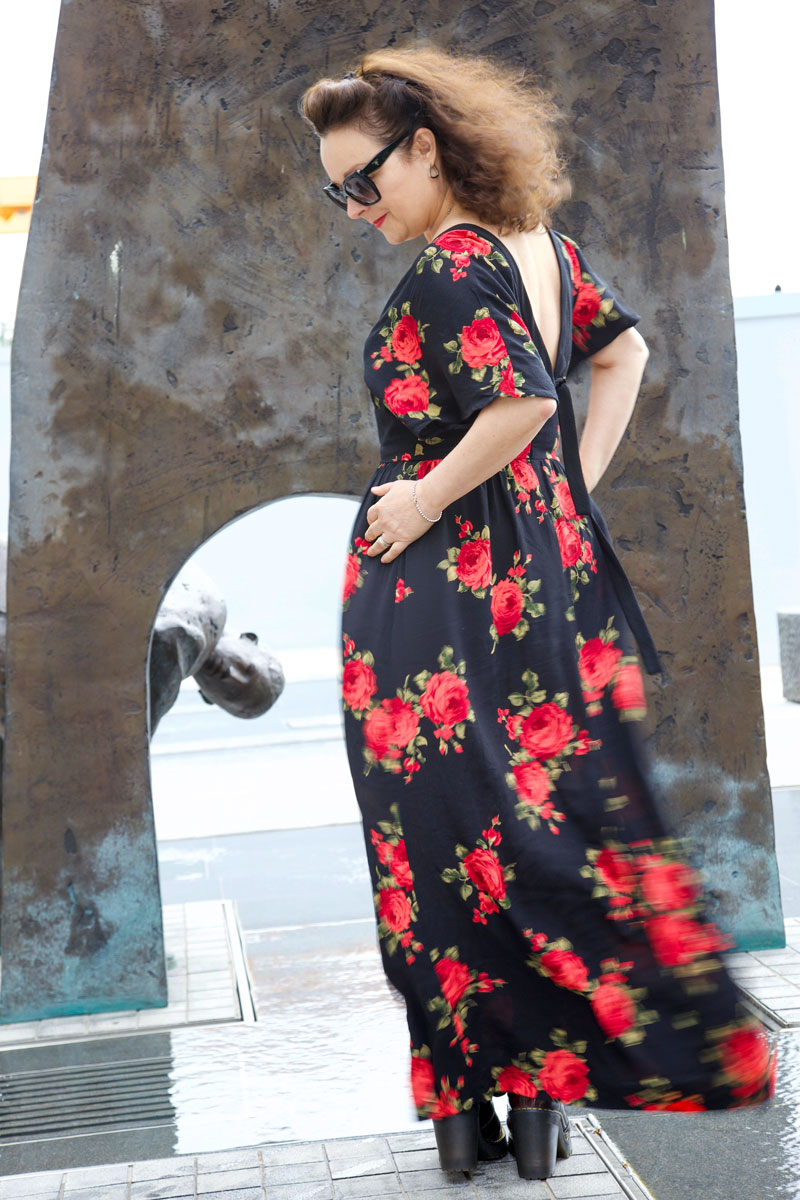
I love the simplicity of this dress. A speciality of Fabiani it seems. Cut-on sleeves; a ‘lightly’ gathered skirt;  no lining; extension of neck-binding for ties.

Vogue designer original floor length dress

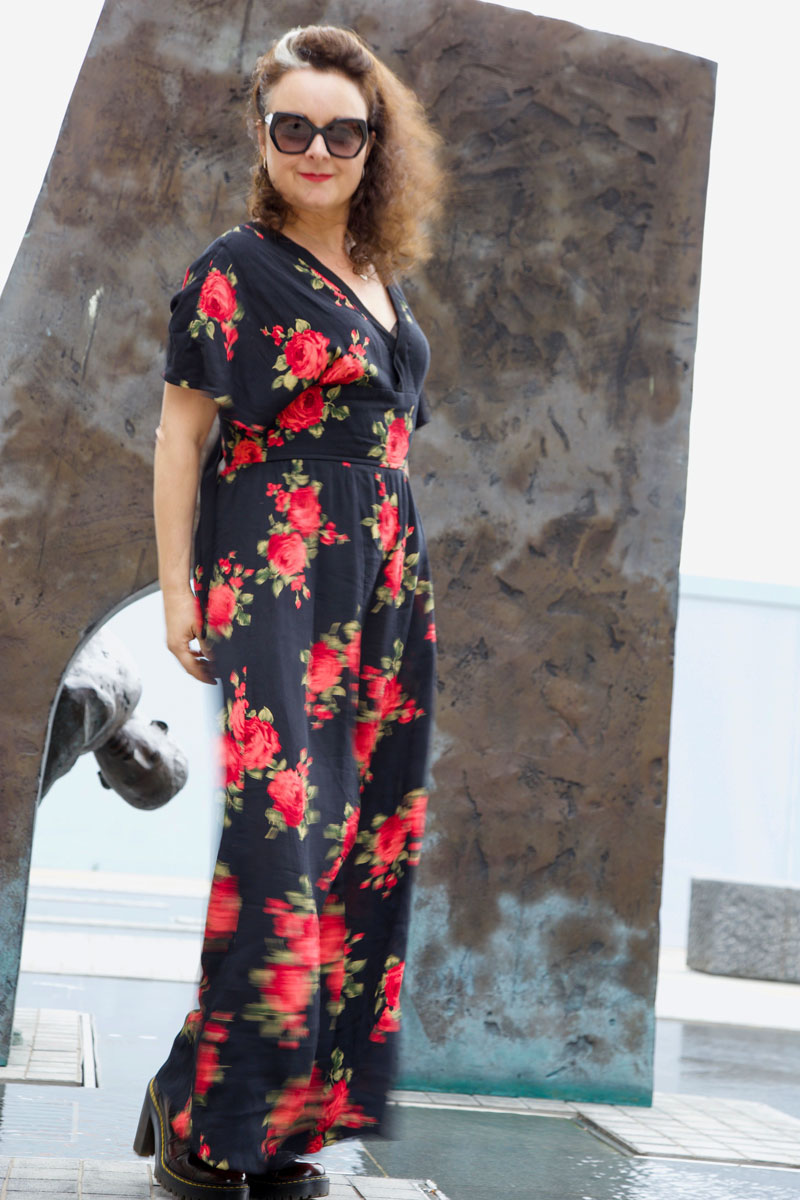
Vogue 1486 floor length dress

I needed a dress to wear to my friend’s wedding and having made her wedding dress (yes, I promise that’s coming soon!) I didn’t have much time, brain-power or nerve left to deal with anything too complex. So this was the perfect pattern. Least I hoped it would be!

I had no fabric-shopping time either so it had to be made from stash. Surprisingly, for all it’s floor-sweeping sumptuousness it takes a mere 2.4m of 60 inch wide material. – Am I the only one who mixes metric and imperial?

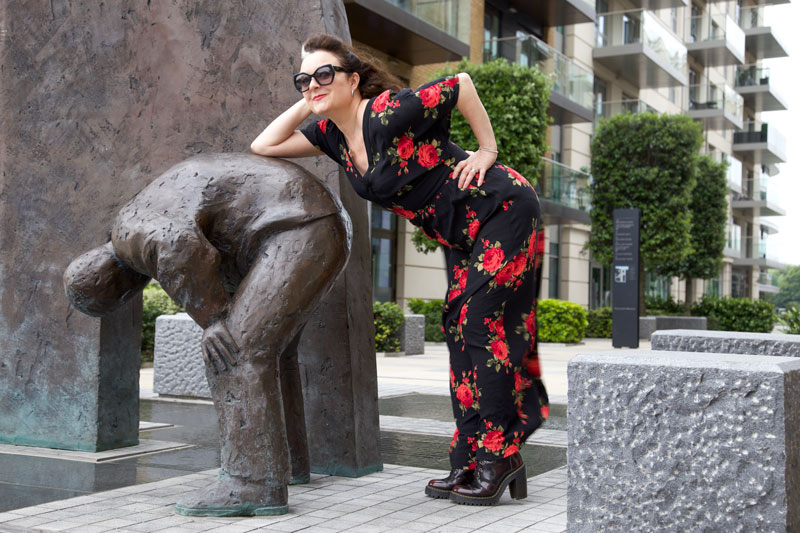
This gorgeous rose-print, poly crepe was literally screaming at me from The Textile Centre‘s stall at the Spring Knitting and Stitching Show earlier this year. It’s got the drapiest of drape but was super easy to sew. Pretty sure I only paid £5 a metre. And jolly lucky I had the nouse to buy 3 metres, not having had a plan for it and all.

Vintage vogue 1486 dress

In the past I have been cautious to trace and preserve my vintage patterns. Partly to preserve as near to perfect, the little packet of history that it is. And potentially so I can sell it on should I want to later. But this envelope wasn’t in such a good state to start with so I dove right in and slashed, spread and taped the original to meet my measurements. It felt a little barbaric but liberating at the same time. And hey, It’s still there for another making, all resized and ready.

So what were my findings?

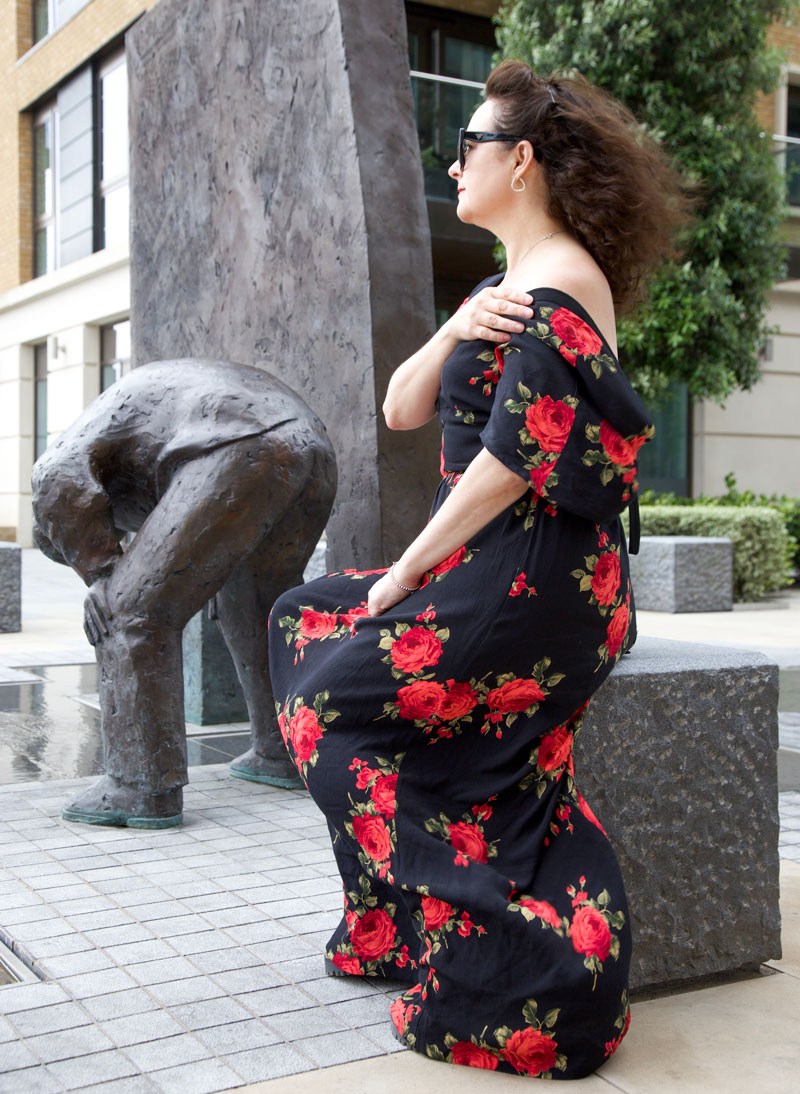
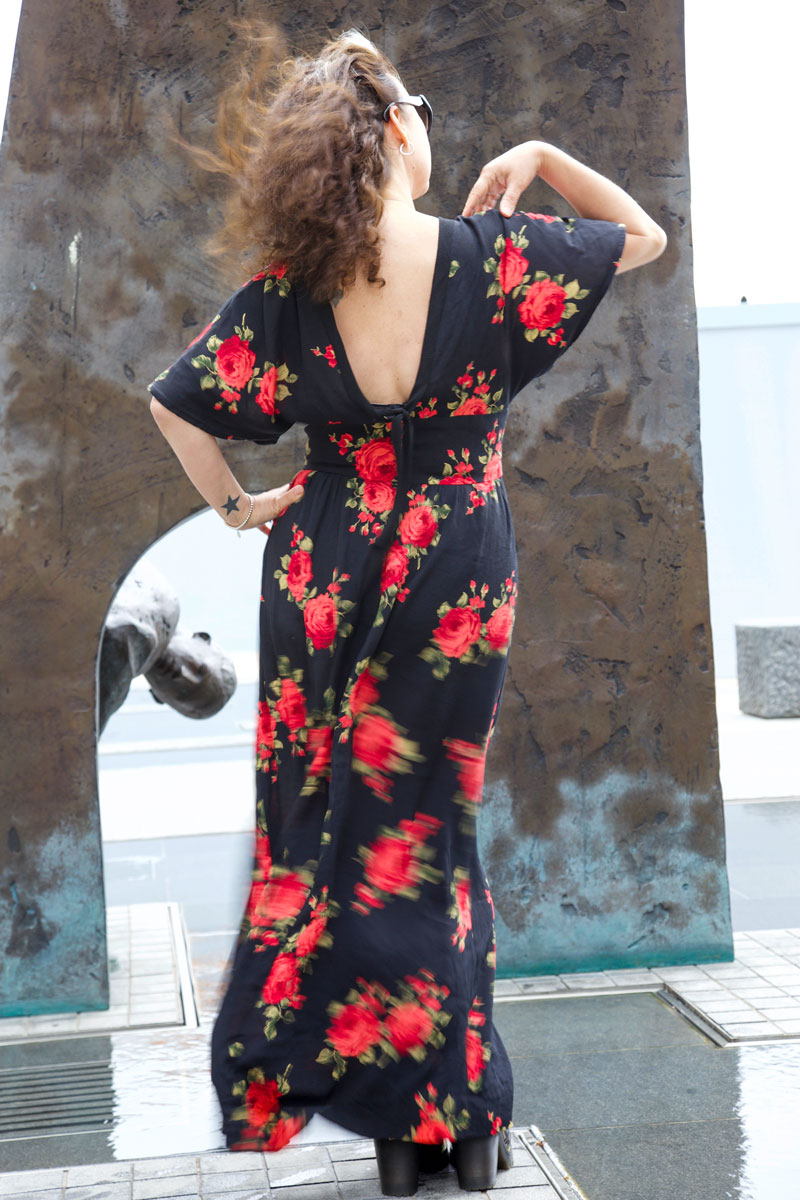
I threw this out to my Insta-audience to see who might pre-empt some pitfalls with the design. And of course they were blindingly obvious, lol! For such an accomplished designer, and ‘master tailor’ who created exquisite evening gowns for a living, you’d have thunk that Fah-bee-ahny would know what happens when you create a low ‘V’ neckline at the front along with a low ‘V’ back, especially with the ‘help’ from silky, drapey fabric. Let’s just say I was relieved to figure out what happens before I hit the dancefloor at the wedding! Or even as I walked into the church… can you imagine?!

So this was a first for me: some little fasteners attached to the inside shoulder seam to attach to my bra-strap. Just had to make sure the bra strap was tight enough not to slip down, lest… doesn’t bear thinking about!

Vogue 1486 maxi dress

I also sewed that front wrap section down because that in itself was an accident waiting to happen.

The sleeves were another issue. Absolutely love the style of them. Perfectly airy for the sunshiny day that it was. But I’m sure most of my dance moves involved arms by my side. Side-boob city and all that!

Vogue designer original maxi dress

The only other thing, that’s not technically an issue, more of a ‘why would you even do that?’  – was the length of the straps at the back. They are an extension of the binding on the neckline but one extends about 3 times the length of the other. I checked and double checked the instructions, and the notches on the pattern pieces but that’s exactly as it’s intended. A design feature, possibly but… why?! I’m so irritated by it and will definitely make them both the same size if I make it again.

All issues aside. It worked perfectly for a wedding dress guest – sans fashion faux pas – and I’ve worn it again since to another wedding, recently. It’s so easy and comfortable to wear, hardly creases and works for both posh and boho-casual – winner, winner vintage dresser!

vintage vogue long dress

More maxi dresses I’ve made:
A very Shiny Burda Maxi
The one I made for the Marylin Manson gig
The one I made to go camping in

Photography © Daniel Selway

Blackmore 9266 So-Easy!

vintage blackmore 9266 dress

I’ve been neglecting my vintage patterns of late. But that did allow for some exciting rummaging and little squeals of delight when I found some treasures I’d completely forgotten about. And I just love that ‘aha moment’ when found pattern meets perfect stash fabric. Proper romance that is!

This is Blackmore So-Easy 9266. Not sure if it’s 50s or 60s as it’s not dated. The instructions were a little more explained compared to the last 40s Blackmore pattern I used but I enjoyed making both just the same.

vintage blackmore 9266 sewing pattern

I knew this dress wasn’t going to fit straight out of the packet. It was already too small and any dodgy fitting on this was going to shout from the rooftops. So it needed time and patience to grade it up properly and work through 3 toiles before I was ready to cut into the real stuff.

Once all the adjustments were transferred to the pattern pieces – grading up, shortening the back bodice substantially, taking out some excess from the overbust and increasing the waist – it was fundamentally a very easy to sew dress.

vintage blackmore 9266 dress

There’s no lining. The bodice is simply faced at the top edge. I must remember to tack this down in a couple of places on the inside, as the photos totally reveal how it peaks out at the back if it’s not poked in to start with.

I do so love recreating an original vintage dress but I should know by now how the drawings on the cover cheat so much! The skirt on the cover looks tapered and very fitted but in actual fact, not only is cut straight, it has a wide kick pleat allowance which gives the visual appearance of being even wider at the hemline.

I took it in quite substantially to arrive at this shape – like 4 inches each side seam! – and I sewed the kick pleat down too. I hated the granny hemline. Not flattering on my vertically challenged frame for sure. This does, however, mean that I have to walk very lady-like and in heels and therefore one helluva lot slower than normal. Not such a bad thing when for most of the time I’m rushing around like a lunatic with giant strides in Docs or trainers.

vintage blackmore 9266 dress

The fabric is bark cloth. Found in a little basement fabric shop in Waterloo ages ago. I love the texture so much, the colours are fabulous and it sews up beautifully. I made a Martini dress from bark cloth of the vintage kind but I have to say, this modern weave was definitely more grain-stable and less prone to stretch. It’s not usual to find this stuff in any old fabric store. Certainly a void of it in the Goldhawk Road. So if anyone has a link to a favourite UK store, please let me know. By the time shipping is added to the original Hawaiian brands, the price is rocketed!

Now, I would just like to touch upon the issue of straps. Fally down straps!! I felt sure that I had sussed the right width, length, the right position and before sewing them down, I walked around the house for a few hours with them pinned to make sure of their position. Ulitmately the ends of the straps would be sandwiched between the facing and the top bodice so better to get them in the right position first. I thought I’d cracked it. Made sure to sew exactly as pinned. But the buggers still fall down!! It really is the bane of my strappy-dress life.

vintage blackmore dress

To be fair, It doesn’t help that I’ve got sloping shoulders. But I do think also that I made the bodice a touch too wide for my over-bust and so the straps sit too close to the edge of my shoulders. Another little adjustment to bear in mind for next time.

Clever lady Clare, from River Elliot Bridal also had a great solution which was to sew a narrow elastic inside the strap to generate a little more grip. Must give that a go too.

I’m hoping the stormy skies keep at bay and glorious sunshine keeps coming over the next few months so my current favourite newbie gets more outings. But all the same, the fickle in me is furiously flicking through the collection to find the next new fave to make… because I can!

vintage blackmore 9266 dress

Photos by Daniel James Photography
Location: Hammersmith
Shoes: Lola Ramona

Vintage coat in progress

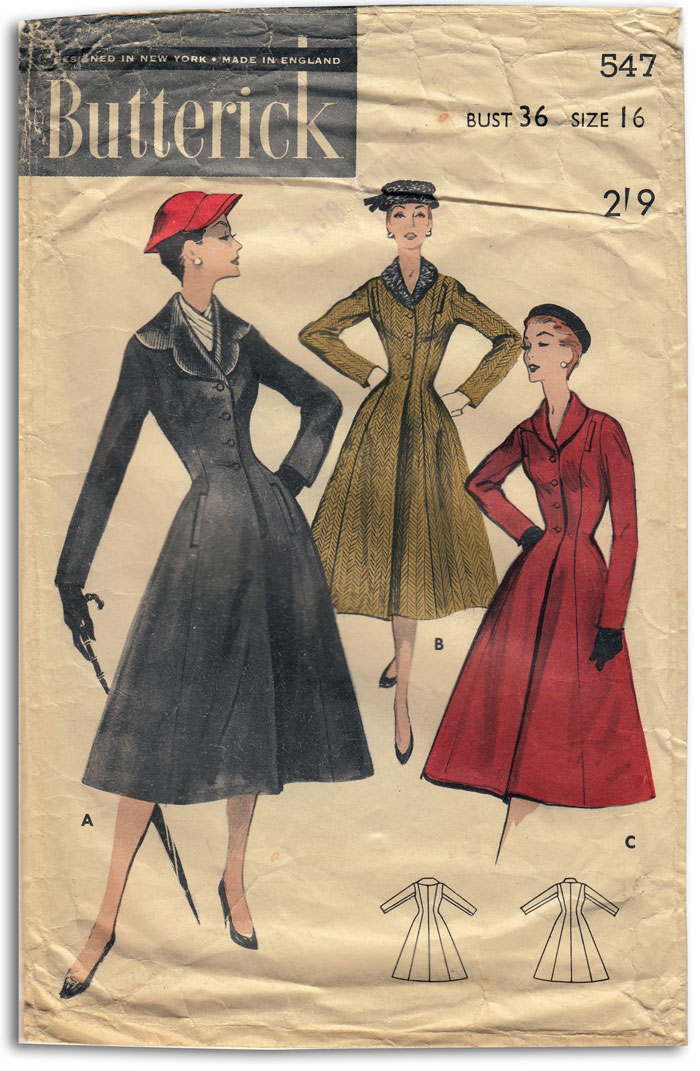
And so, six months after my gruelling battle to win this beauty of a pattern, work has begun, in earnest. When I was bidding the for pattern, I had the finished coat, clearly in mind and so to be faced with 19 pattern pieces and the usual vague set of instructions, the fear set in.

Butterick_547

I’ve made a jacket or two, I’ve even tackled the wicked welts. So what was I afraid of? Doing it justice, I think. If I was going to go to the bother of making a coat – not just any old coat, but the coat of my nightly dreams since battle was won – I needed the right fit, the right fabric, the finest construction, let alone the neatest bound buttonholes. (Something I hadn’t yet conquered !)

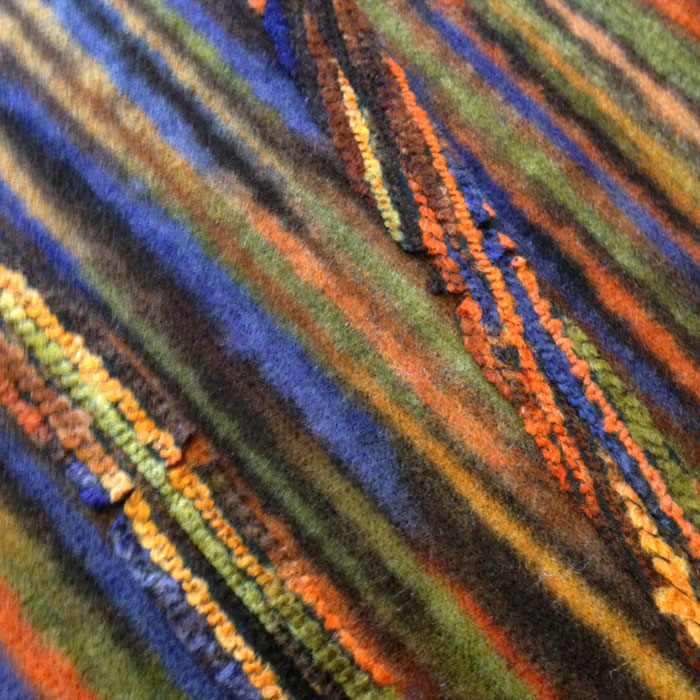
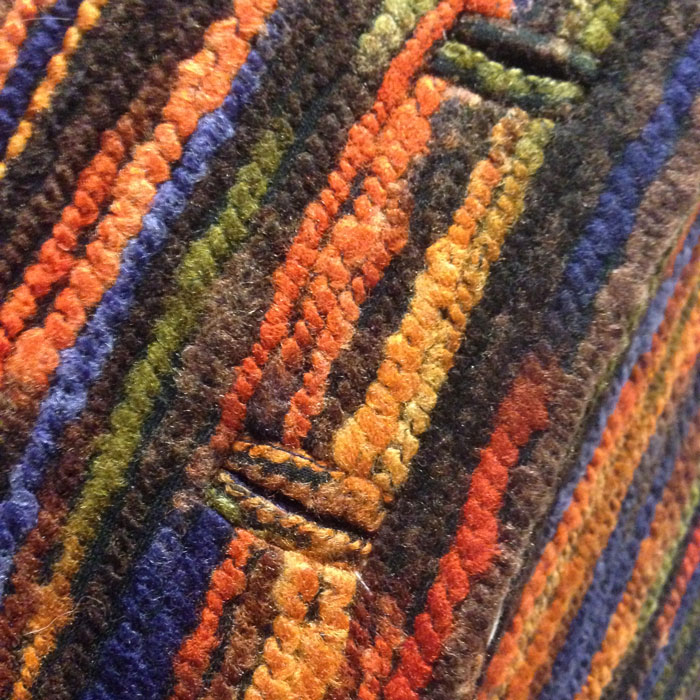
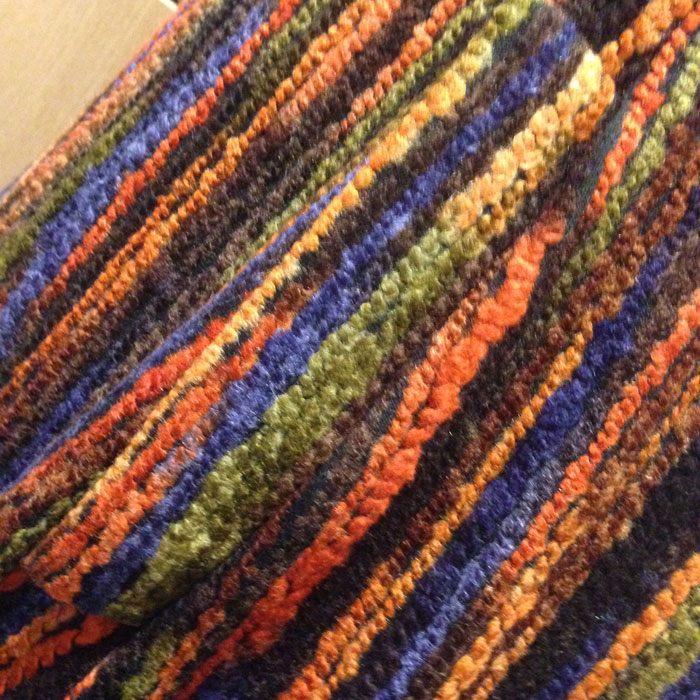
I live near fabric heaven, The Goldhawk Road. And so finding the right fabric should have been easy, right? Easy enough when your expectations aren’t stationed on the moon! I searched high and low and eventually found this amazingly eccentric fabric, online at ‘Fabric Dreams‘. Quite apt, really! I initially had tangerine wool in mind so I ordered a few different free samples and then sat under the letterbox for all of 4 days!

When they did arrive, it was a no-brainer. Even though the fabulous, firey fabric was 100% not wool (and not just tangerine, but an entire fruitbowl of colours) and the others were, it screamed at me to be given a chance and so I agreed to put it centre stage. After all, if I was ever going to go to the bother of making a coat, there’s no way I wanted it to go unnoticed, oh no!

I even made a toile. Just the body section. And this confirmed my need to loose some circumference. I had my suspicions that the coat would be a little big, and it was, but was worried I’d loose the nipped in shape if I took it in at the top and let it out at the waist (the usual Ooobop sausage-shape adjustment!). So with some careful measuring, re-measuring, a little panicking and some more measuring, I took out half an inch, vertically, all the way down, from each of the front and back pieces. So as not to affect the silhouette of the design. Incidentally, like a good girl, I had pre-traced all the pieces!

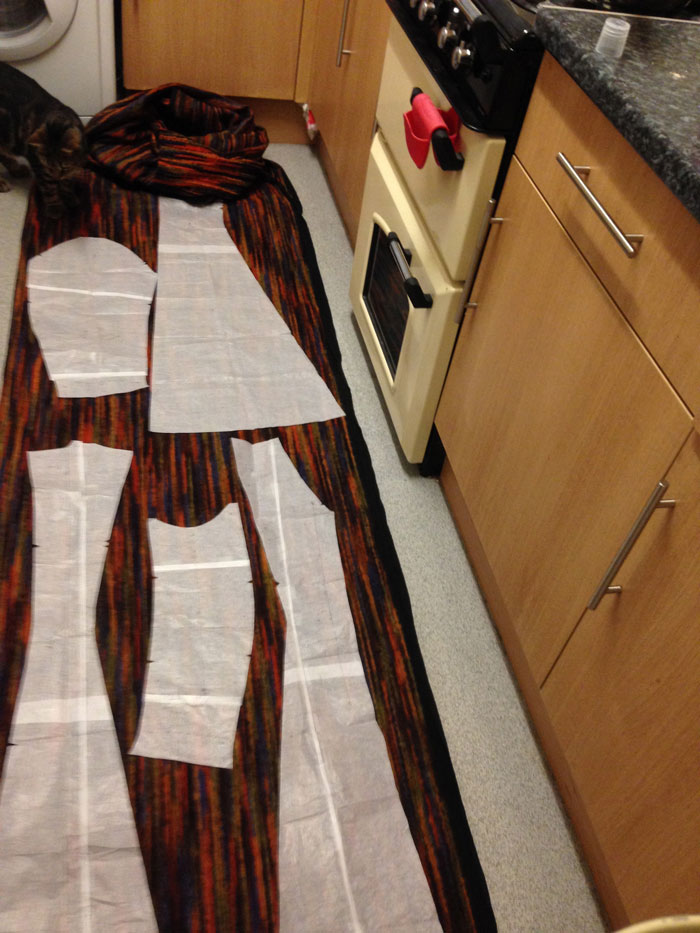
And then to cut the real fabric. Ooooo the suspense, the fear, the excitement! The pieces are massive. I know I will eventually chop off about 6 inches but I wanted to start long so I could make that decision later. But that did mean I had to cut out on the floor. My kitchen table just ain’t big enough! And that, in turn, meant I had to wash the floor… doh! Always something to hamper a plan! Still took three roll outs of the fabric and continual shooing of cats.

cutout_on_floor

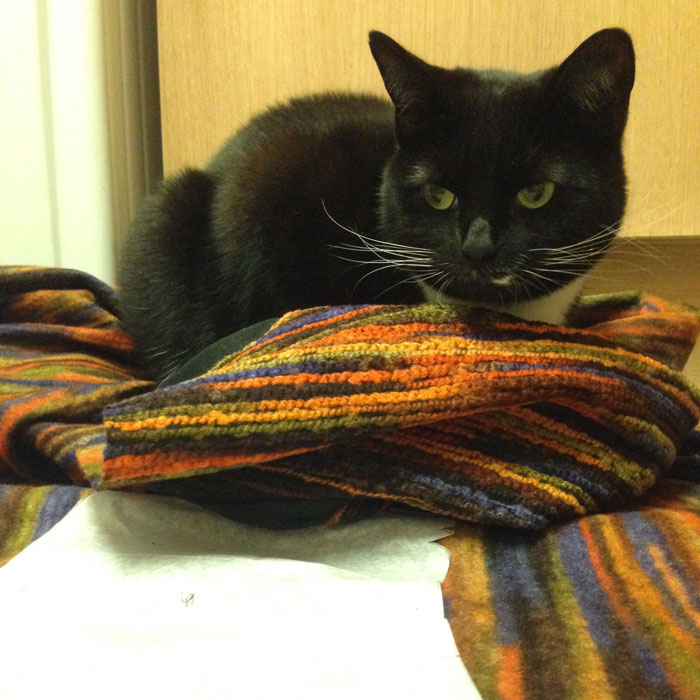
Honestly, why do they insist on laying where I’m cutting? It’s not like there’s no other piles of fabric in the house!

Cat on fabric

An hour and a pair of stiff legs later, I had a wonderful pile of cut pieces. It’s quite tricky to cut though the ‘corded’ texture but it doesn’t fray.

Yesterday I sewed the main body sections and oooed and arrred as I steamed those seams open. For all it’s 100% not woolness, it presses beautifully. And I haven’t had to clip any curves either.

pressed seams

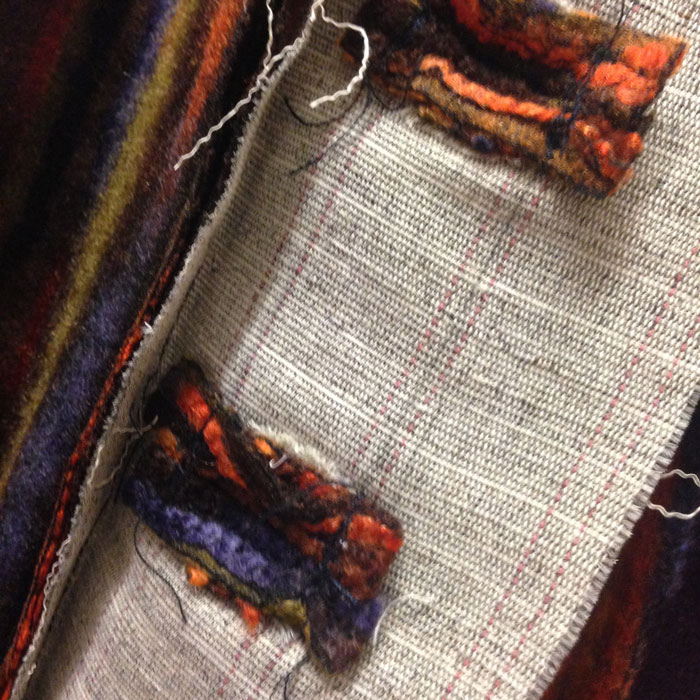
It was getting late last night and I did hesitate to start on the bound buttonholes but knew my dreams would be sweeter if I at least had a go. So I tried a few tester ones on some scrap fabric using the instructions on the pattern sheet. They were rubbish! So I went to YouTube to find someone who’d show me how. They were rubbish too! And then I remembered Karen’s fabulous Ebook download which proved to be the perfect method and I’d even go as far as saying I loved doing them!

bound buttonholesbound buttonholes reverse

Practising those stood me in good stead for making the welt pockets too!

welt pocketsPretty camouflaged huh?! Thats without the invisible stitching which is yet to be done. I’ll be fishing around for ages trying to find a way in, when it’s finished properly!

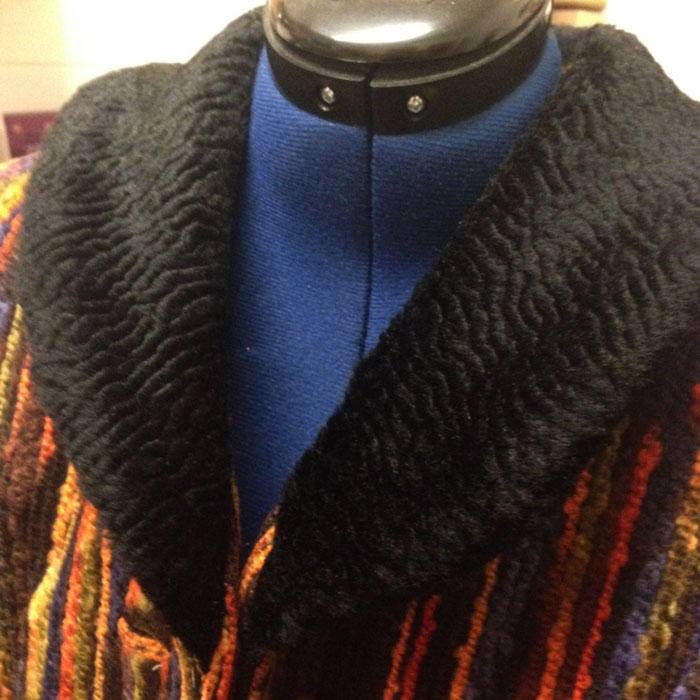
I pondered for ages, wondering what kind of collar I should have. Should it be the big dramatic scalloped one? One of the self same fabric to keep it simple or a little furry shawl collar? I opted for the latter, after going round in circles. Mostly in the shower!

Faux fur is fast running out in the Goldhawk Road. The good stuff anyway. I’m told by reliable sources that no more will be ordered as summer stock will soon be on it’s way! So I was well chuffed to find this short pile, soft-as-you-like, faux fur. Works a treat.

faux fur collarThough I’ve made fantastic headway this weekend, there is still a lot of work to be done. The sleeves, the length, the hem, the lining and the facing behind the buttonholes. But it will be worth it I’m sure. I can feel those sub zeros honing in over the next few weeks but hey, bring ’em on. I’m going to be snug as some bugs!