easy peasy spotty top

new look 6753 top

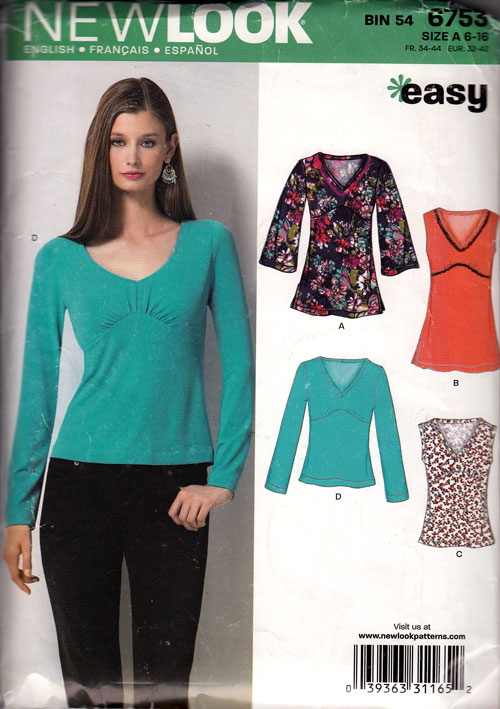
Despite sewing at every available opportunity, my wardrobe is still lacking in basics. Tops mostly. And particularly ones that go with everything. I spotted this pin dot jersey in a remnant box for 99p and imagined it as a top right there and then. I’m still quite scared of sewing with stretchy fabric but only because I don’t do it enough, and that is probably why I have a serious shortage of go-to tops. But I have to say, this pattern: New Look 6753 really was as ‘easy’ as it said on the packet.

new look 6753 sewing pattern

I remembered to use a ball point needle and set the stretch stitch and a couple of hours later it was ready to go. No notions, no sleeves, no lining… just the ticket for a brain addled by a weekend of pure self-indulgence!

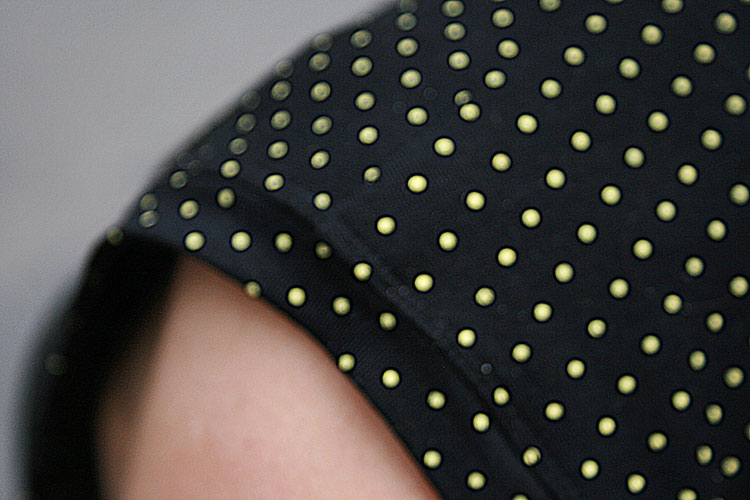
The binding on the armholes and neckline looked to be a bit tricky from the instructions, mostly because I hadn’t done this before but it was painless, I can assure you. The binding strips are cut on the cross grain and not on the bias because, hey!… it’s stretchy already! The strips are seamed with right sides together on the short ends to make a loop and then pressed, long edges and wrong sides together. The binding is sewn, raw edges and right sides together and then the seam is pressed down towards the garment and a row of stitching made close to the seam from the right side, to stop the binding from rolling out.

new look 6753 armhole binding

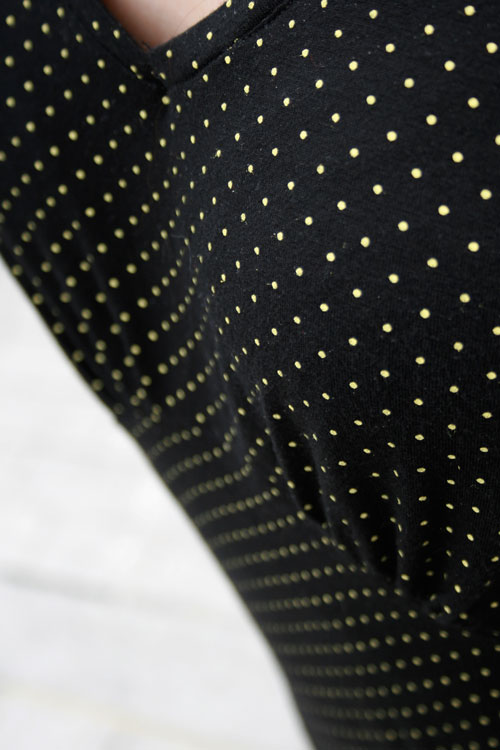
To retain the ‘v’ shape neckline, before the binding is attached a small snip is made at the point of the raw edge of the ‘v’ and opened up to sew the binding on. When seamed and top stitched, a little dart is sewn on the wrong side of the binding to pinch the shape back into the neckline. All clever stuff!

new look 6753 neckline

As you can see from the picture above there is a top and a bottom bodice section. The top is subtly gathered to give some shape and create a bit of detail. This particular jersey fabric is very fine. Not sure of its content but I’m sure the shaping would have worked better on a sturdier stretch fabric. Not complaining at all for 99p though. This was a fabulous outcome for what really was a test drive.

I’m also sure that it is possible to go down 2 sizes in this style. I went down one size and it is still very roomy, though to be fair I haven’t washed it yet and if there is any amount of cotton present it is bound to shrink a bit, I hope!

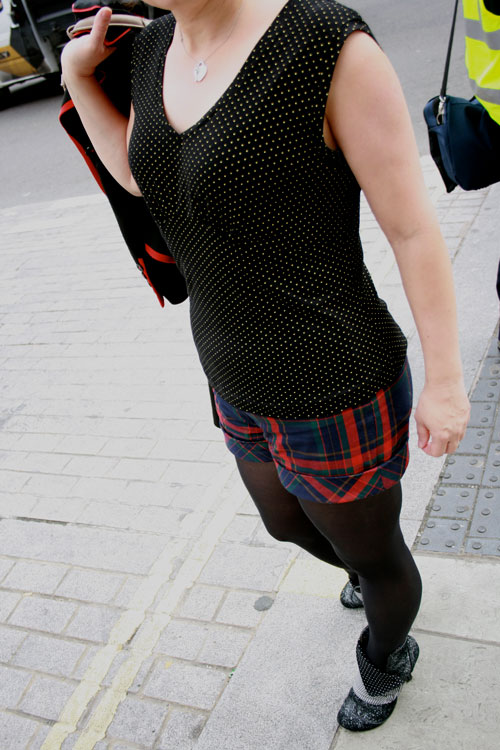
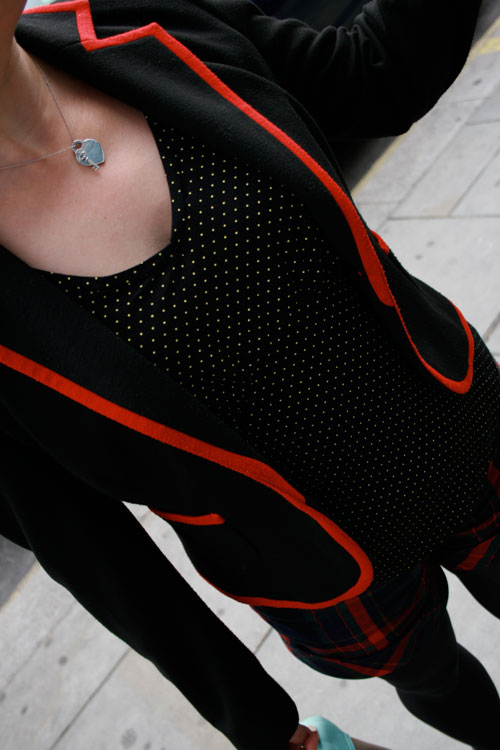
I wore it today with my shorts which incidentally didn’t coordinate at all! Ironically, it appears I don’t have anything at all to go with this top so I now have some plain skirts to add to the project list. I did however have a snazzy M&S jacket to pick out the red of the shorts. Should have worn the blue shoes too I guess… doh!

new look 6753 top with jacket

Sashing time!

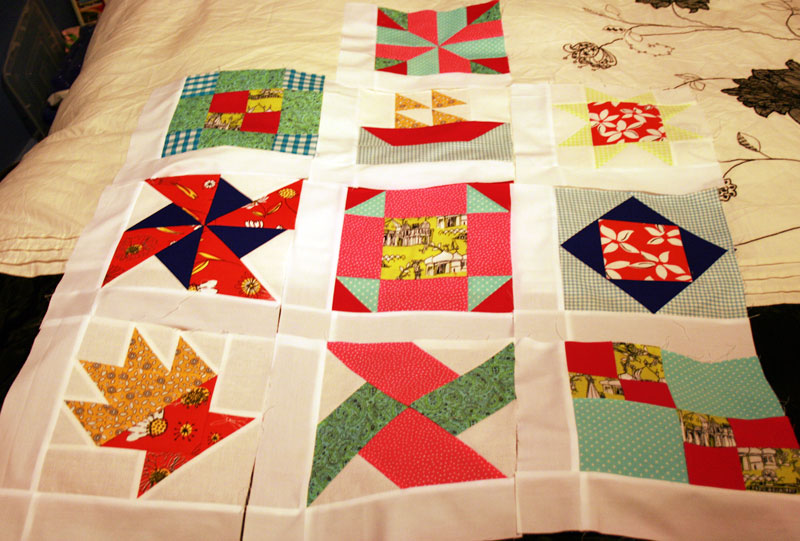
first 10 quilt blocks

Issue 11 of the Art of quilting is all about the sashing… and a tutorial for a cute little drawstring bag, oh and an interview with Jennifer Hollingdale. I’ve been putting this off this next stage mainly because I have been distracted by more glamourous dressmaking projects… among other things! But also because I thought it would take ages and wouldn’t be much to write home about. After all I still haven’t even scratched the surface with this quilt!

But ‘you know what thought, thought’ as my mum would say! It was a really relaxing thing to do this evening and has made my first 10 blocks visually larger so they look slightly more impressive spread out altogether!

It came together a lot quicker than I had anticipated too. Rectangles of white sashing fabric were pinned along the left edges of the blocks and and then ‘chained’ together. I love doing this as it really speeds things up. Following a good pressing, with the seam towards the sashing, I ‘chained’ the corner sashing squares onto the remaining rectangles, snipped and pressed and then sewed these onto the bottom of each of the blocks.

I have a neat little pile of mags up to issue no. 17, complete with a the necessary fabric pieces, just begging to be pieced together so they can hang out with their chums! But you know what I’m like… I will just have to find something else to do in the meantime!

Progress report:

Block 1: The Double Four Patch
Block 2: The Whirlwind
Block 3: The Sailboat
Block 4: The Shoo-fly
Block 5: The Trafalgar
Block 6: The Windmill
Block 7: The Chequer Square
Block 8: The Diamond Square
Block 9: The Cactus Pot
Block 10: The Sawtooth Star
Issue 11: Sashing of the first 10 blocks

A proper pencil skirt

pencil skirt

I do believe I have sewn a garment in the same month as the current Burdastyle! Not sure that has happened before. But I was very excited about April’s edition and I knew I would make this skirt.

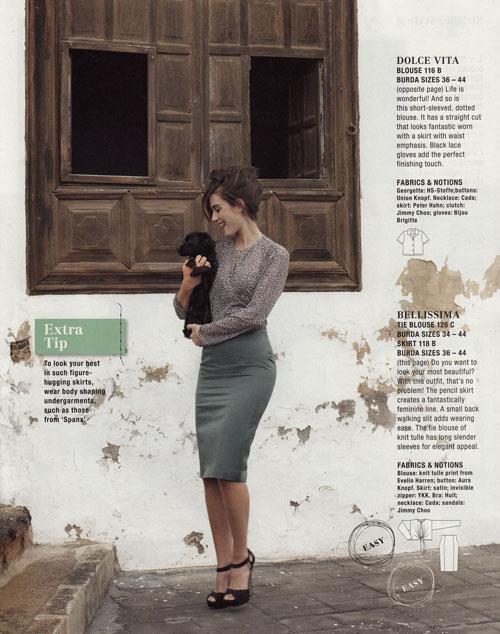
burda_april_2012_puppy

I love classic, timeless styles. And the pencil skirt is no exception. Worn anywear, anytime, dressed up or down, it makes getting dressed for work or an evening out, a mindless operation! I also love that it can be modern or vintage, whatever you team it with.

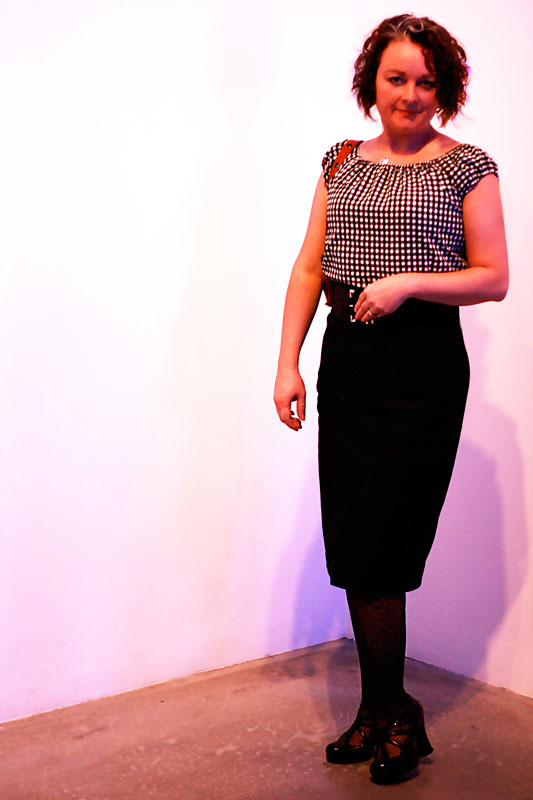
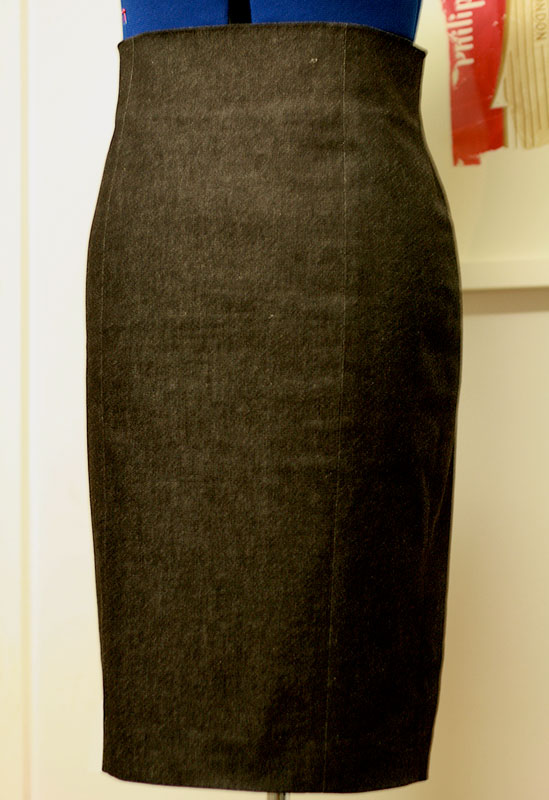
Satin was the suggestion for this particular version but there was another one with a gabardine recommendation. Satin is a bit too posh for work and everyday so I set off to get some gabardine. I bought some but wasn’t filled with the usual glee once I’d parted with my cash. Praps it will soften a bit in the wash, I thought! But just as I was on my way out of the shop my eyes continued searching – as they always do – and I spotted some black stretch denim. That’s the stuff, I thought. And I was right. Comfy, casual but smart and sturdy enough to hold me in, in all the right places!

pencil skirt

This is possibly the shapeliest pencil skirt pattern I have come across. Largely due to the panels and princess seams I would assume. It is really high waisted and a lack of waistband allows for a shapely top at the waist, or near under-bust!

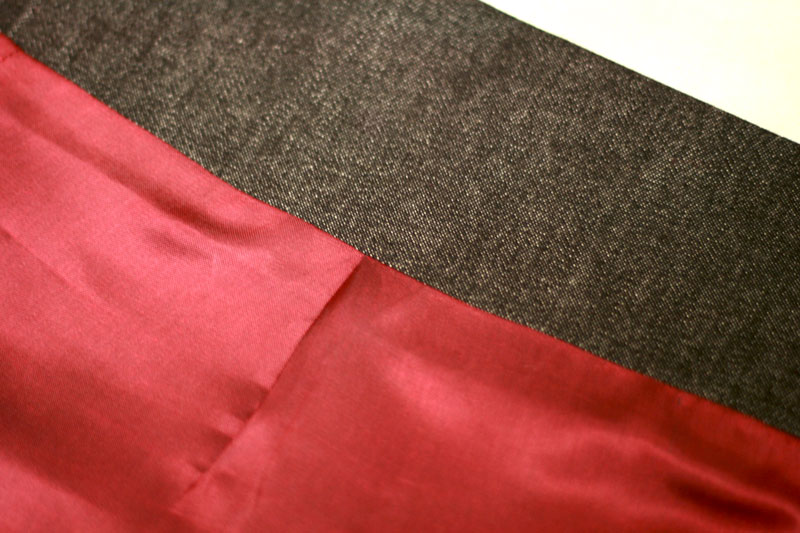
The instructions didn’t relay details of a lining and I have learned hard lessons from not including one so I dug out some deep red poly lining, cut the same pieces as the skirt, minus the facing and allowed a pleat in the front.

lining pleat

I felt quite pleased with myself for remembering this trick but alas it wasn’t enough ease to have just the one in the front. I should have really allowed for another two, one at the top of each back panel. It really is a very snug fit!

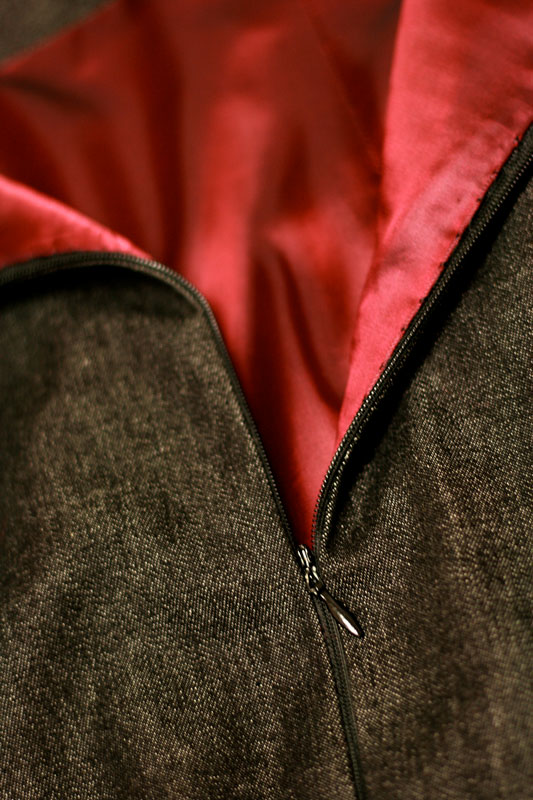
The invisible zip went in without any probs. It lines up and everything!

invisible zip

I will definitely return to this pattern at some point and would love to make a posh version and include the couture techniques suggested on the Burda Style website, namely adding boning, underlining etc.

But I seriously must not veer off the project list any more than I already have! I have much more interesting projects to fry, not least of all my jacket! I can report that it is, at last, taking shape, all be it in the initial stages, but it has a body, nonetheless, and some welt pockets with flaps and a collar ready and waiting its turn….. honest! 😉

Maudella 1223, button wrap skirt

maudella 1223 pattern

This pattern is one of Audrey’s collection which I singled out immediately as a great skirt to dress up or down. I’m assuming it’s 1960s but certainly a classic and timeless style in my book! It has been waiting patiently in line to be made and completely jumped the project queue when I remembered the amazing buttons that Mr Ooobop! found for me in Portobello Market.

maudella 1223 skirt

I didn’t want anything more complicated than black for the skirt and so I set out for a metre of cotton sateen. It has a little bit of stretch in it which makes for a comfy fit. But it is a bit of a collector of cat fluff I’ve since discovered!

The instructions didn’t call for a lining and so I didn’t make one. But that was clearly a bad move. It sticks horribly to my tights and rides up when I’m walking so I am either going to have to go back and line it at a later date or get me a slip! My mum would think this highly amusing as I did my very best to avoid wearing one when I was younger… tantrums and all!

I shortened it by 5 inches which seems to be usual for me when it comes to a vintage patterns. That said, it is still below my knee, a conscious decision, to keep it a vintage length but I’m more used to shorter length skirts and this length takes a bit of getting used to. I will have to wear it with heels so it doesn’t look to ‘grannyish’!

maudella 1223 skirt front

I wasn’t too sure how to measure off the pattern to check for any adjustments needed but given the button wrap around detail, the position of the buttons can be moved to add or take away an inch or two. I must learn to sew buttons on with my machine. This was the only tedious part but other than that I managed to whip it up in a couple of hours. I do regret not binding the hem or the seams. I think it would look much nicer. But I did sew the hem by hand. It would have been sacrilegious to machine hem in any case!

maudella 1223 button detail

I have worn the skirt to work already and got some lovely comments. But I really must decide on lining/slip before I wear it again. Just don’t tell my mum!