The Daphne dress

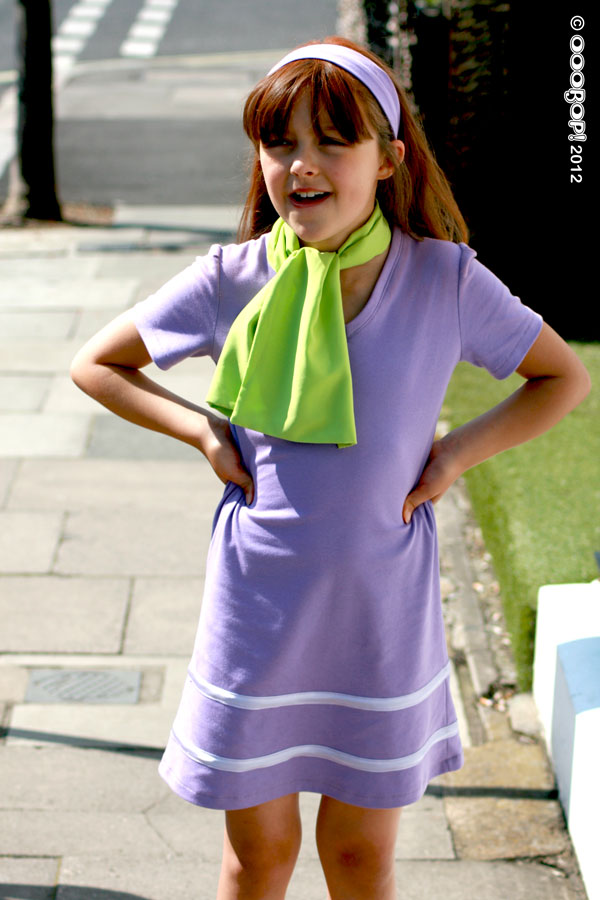
In between the quilting and the vintage dresses and the obsessive pattern buying I’m quite often being art-directed by Little Miss Ooobop! for her next dressing up party outfit. Today was her friend’s birthday party, Scooby Doo was the theme and she wanted to be Daphne.

Daphne from Scooby Doo

Burda Style 10/2010 came in handy, and not for the first time, with a great kids pattern for a long T shirt. The original had a button placket and long sleeves which wasn’t an option for Daphne’s dress. Believe me, LMO does her homework good and proper. The only requested variation was that the dress had short sleeves in case it was sunny. She wasn’ t wrong, that daughter of mine… what a glorious sunny day we had today.

The fabric is a mauve stretch cotton jersey which we found in the first shop we went into! And at £3.99 a metre, a bit of a bargain too! The satin bias trim was from my favourite haberdasher stall in Shepherds Bush market for 40p a metre! No other notions. A v-neckline makes sure of that.

Daphne pose

To alter the pattern I simply cut the the body back and front on the fold, ignoring the placket shape. I lengthened by 4 inches and changed the neckline to a V-shape. And shortened the sleeves of course.

I used the trusty side-cutter to do a faux serge on the seams. Honestly it works like a treat! And I used a stretch stitch to finish the hems on the skirt and the sleeves. I have finished a v-neckline with stretch jersey once before, on my spotty top, and it was great to practice it once again. In fact I think I did a much better job this time!

LMO with missL

The hairband is quite literally a tube of the stretch jersey. A head measurement minus an inch. No elastic involved. I just relied on the stretch of the fabric and it was fine. I wasn’t going to get too bogged down with it as it was going to get ruined by orange hair spray in any case!

The neckscarf is half a metre of finest lime green polyester, seamed all round with a gap for turning! Actually I was lucky to be served half a metre. Apparently only regular customers get that deal!

The only tricky thing about this project was getting said daughter to pose. It’s getting harder and harder to get her to willingly and graciously pose. It normally involves hard cash but today we got off light with a double scoop ice-cream!

Daphne with ice cream

Happy birthday Mr Ooobop!

dans pyjamas

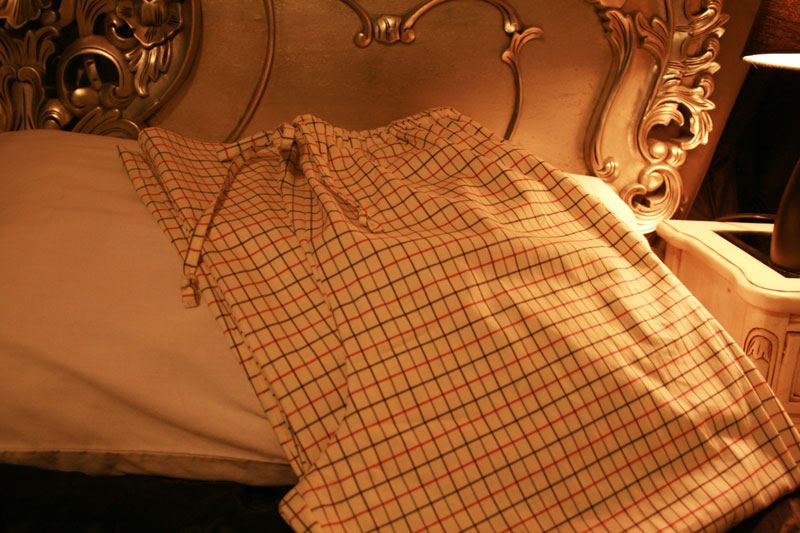
Rocking up, fashionably late for Karen’s pyjama party but with good reason. This pair of pjs was one of Mr Ooobop’s birthday pressies and couldn’t be properly revealed until yesterday.

I sewed them in secret and so I was over the moon when they were so gratefully received! This was my first sewalong and my first pair of pjs… and my first time using a side-cutter!

ooobop pjs

Karen did a great job of providing a stress-free and leisurely sewalong. Just the ticket for someone who, like me, has taken on far too much recently… but who can’t resist an extra sewing project! And hey… it helped to solve what to buy the most-difficult-to-buy-for boyf, for his birthday.

I started the project armed with lots of tracing paper and an old pair of pjs from ‘Marks Expensives’, intending to draw round them and create my own pattern but this proved to be trickier than I thought so I headed to Jaycotts sewing patterns for an easier option. I don’t know if you’ve ever checked out the envelopes in the general nightwear section but there are some hilarious options even ones that include doggie loungewear!

Anyhows I narrowed the selection down to these two:

Simplicity S2317
simplicity s9871
Simplicity S9871

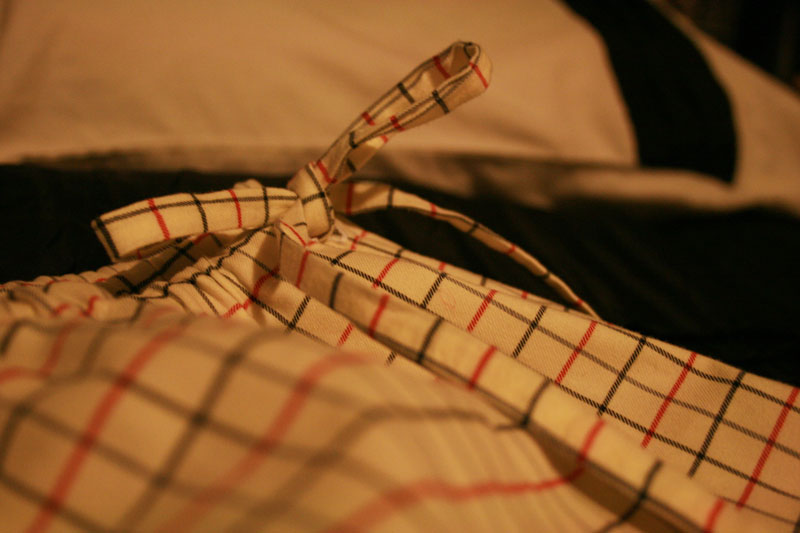
I set out to use Simplicity S9871 but when I realised how big that one pattern piece was, I changed my mind! My kitchen table just wasn’t big enough! So I decided on Simplicity S2317 instead, only real difference being, it had front and back leg, with side seams. But what I did like about S9871 was the drawstring feature. It just involved adding a couple of vertical buttonholes at the front, before making the casing. The drawstring was threaded through after the elastic. Turning a 1cm wide tube of 66 inch fabric inside out, I’m sure took longer than making the pjs themselves!

ooobop pjs

I used a lovely brushed cotton shirting fabric, cream with red and navy checks. It feels so lovely and reminds me of my bedsheets when I was little! It sewed up beautifully. I enjoyed using my side cutter foot for this project. It acts like a serger and cuts 1cm of fabric as it ‘overlocks’…genius! The only not-genius thing about it was unpicking an overlocked seam when I realised I’d sewed wrong sides together, doh! Wont be making that mistake again!

A certain night-attire ‘party’ sewalong!

I’m sure most of you will know what I’m talking about but I’m having to be slightly cryptic as my ‘thingies’ are a surprise gift… and I won’t be able to reveal them in all their glory until the end of May.

I wasn’t going to post any progress reports, mainly because I didn’t know how, without giving the game away, but to be honest, if a certain person endeavours to follow these clues I should be impressed that he shares an incredible interest in what I love to do! Either that or he is bloomin’ nosey!

But the main reason for this post, not only to let the lovely Karen know that I found a window to jump on board, but I made another amazing discovery about my sewing machine. It serges! Well, of a fashion, I’m sure! There I was, head cupped in hands, eyebrows raised in awe and jealousness at Karen’s beautiful serged seams when… ping! I remembered a strange mechanical foot among my machines accessories and reference in the manual to a ‘side-cutter’! Oh the joy, the joy!! I WILL have beautiful 5mm seams too!

side cutter foot

Took a bit of getting used to though, as you can imagine! And I’m sure I can get a better-looking, tighter stitch with a bit more fiddling. But the needle kept falling out! I checked and double checked that I had attached the foot properly, mainly because it does’t sit firmly in position. It is such a clumsy attachment and it kind of wobbles around.

needle falling out

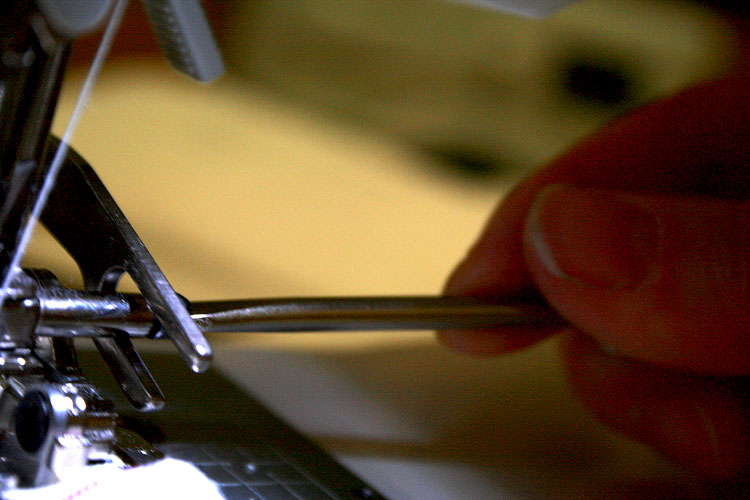
But according to the manual, I had, and there was no reference to this problem in the troubleshooting section either. So I just used the little screwdriver to really tighten the needle clamp screw. Perhaps I ought to be doing this anyway, whenever I replace a needle. I just usually tighten it with my fingers but clearly it needs to be tighter when the fork attachment of the side-cutter is hooked over it.

tightening needle clamp

Anyhows… I am as happy as some Larry’s and quietly confident I will make the party on the 28th once I figure out my disguise!