Shift in the right direction!

ooobop self-drafted shift dress

I’m so happy right now. Doesn’t take much – just a shed load of sunshine, some quality time with the fam and success at last with the fit of my shift dress.

In case you’ve missed any part of me whittling on about this process, my mission has been to achieve the best fit I can using my own dress pattern with minimal seam lines – ie a darted dress with both front and back pieces cut on the fold – so as not to disturb the print of a very boldly designed fabric that I have in mind to sew next!

self-drafted shift dress in a vintage batik fabric

The fabric I used here was the best test so far because it too required careful pattern placement. You can see the first version I made here and I just realised I didn’t even get round to blogging the second so here is an actual shot, instead!

Self-drafted dogtooth shift dress

I was gifted the gorgeous batik fabric a few years back, by a lovely friend who had inherited it from her parents. When she saw it featured in my instagram post she was so happy to see it again and so pleased that it was being put to good use. I kinda felt duty bound as I remember her telling me that her parents used to travel for to Thailand and Indonesia  quite a lot in the 60s and 70s for work and that they always returned with gorgeous authentic fabrics. Proper sentimental value and vintage, too!

ooobop self-drafted batik shift dress

This piece in particular is undoubtedly a hand-blocked batik. Though this is based purely on my own research and I could be wrong so please correct me if you think different.

It wasn’t very wide but I knew it would be perfect for the third trial of my shift dress, knowing I was very nearly there with the fit. I wouldn’t have risked it otherwise!

It’s such a fine quality cotton. Actually feels so natural against my skin, which is an odd thing to say but I have worn cotton before that doesn’t feel nearly as good. And it completely stood up to a stroll in 24° of Shepherds Bush sunshine today.

ooobop self-drafted batik shift dress

I was intrigued by the selvedge of this fabric. Why would it have just one edge of border decoration? I put out to the wonderful, ever obliging sewing community on Instagram and the very clever Meg from @cookinandcraftin suggested it was very likely to be used for a hemline and a centre front detail for a sarong when wrapped. I loved knowing this and was determined not to waste this detail so I set about cutting my pieces on the cross grain in order to make the best use of the design.

ooobop_self-drafted shift dress in batik

But I hit a snag and realised just in time that the cross grain had absolutely no give at all, and considering the style and fit, it could have been a disastrous move. So I cut on the long grain, as I have trialled twice before (if it ain’t broke and all that) and cut the border separately to seam along the hemline with a generous seam allowance which is overlocked and pressed down on the wrong side. It actually helps to add a bit of weight to the bottom of the dress too.

ooobop shift dress and shades

I made a few other tweaks to the pattern since version 2:

  1. I widened the shoulder straps by 1cm having struggled to pull the dress through the facing during construction, as per the ‘burrito-method’! The fabric I am going to use for the next one is much thicker and I don’t want to risk damaging it or pulling out any stitches in the process.
  2. There was still an element of pooling at the back (swayback issues as usual). And even though I added a quarter of an inch more at the hips since last time – with some improvement – it didn’t seem to solve the issue as much as I’d like.
  3. Then, just this morning, I saw that Cortney from @s.is.for.sew on Insta detailed how she lengthened her back darts to resolve a similar issue. So I moved the bottom point of the diamond dart down 2.25″ and continued the widest part down longer before tapering off. It worked a bloody treat!

ooobop self-drafted batik shift dress

ooobop batik shift dress

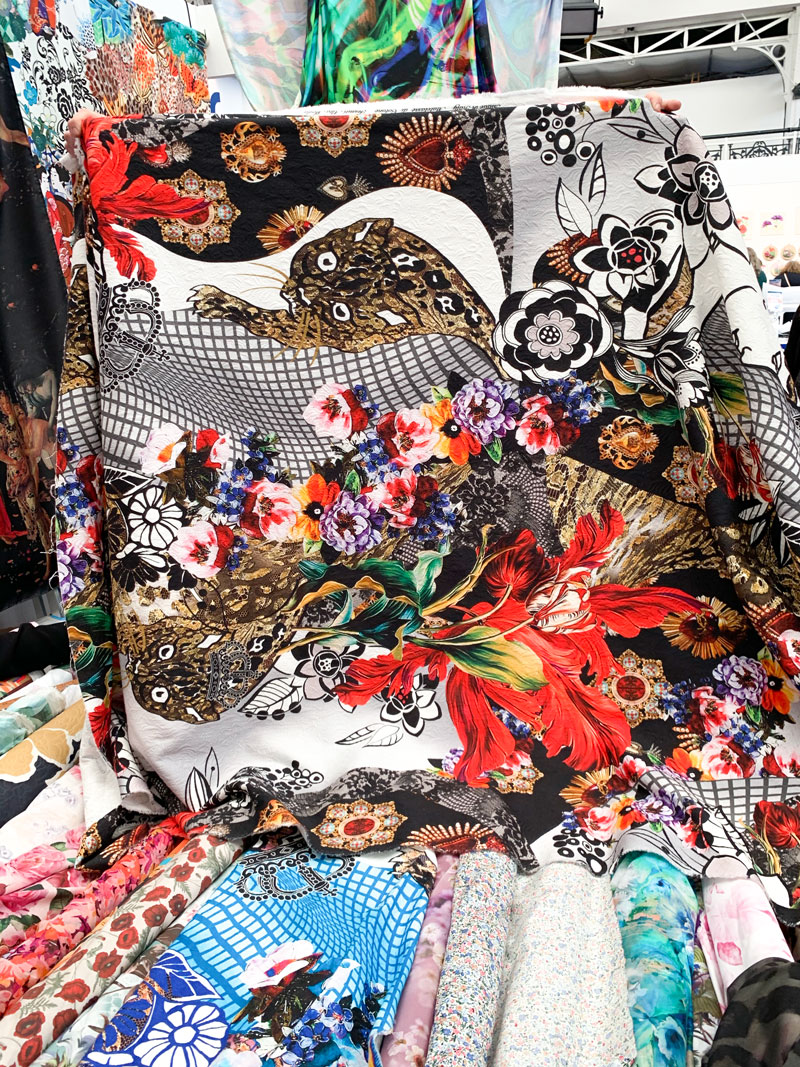
And so I do believe I’m ready to cut into that prize D&G fabric that I got from The Stitch Festival 2020 – only dilemma now being, how the hell do I choose my favourite placement of the design? I anticipate this being the longest part of the process!

Dolce and Gabbana fabric at M Rosenberg's stall
Dolce and Gabbana fabric at M Rosenberg’s stall

Thank you as always to Daniel for these amazing shots down the alley of the Laundry Yard in Shepherds Bush, London. For anyone who knows, you’ll know what a brave move this was!

Self-drafted Batik shift dress by ooobop

Vintage Butterick clutch cape

butterick 2556 clutch cape

Until I found the pattern for this I didn’t even realise there was such a thing let alone that I wanted one so much! On Googling ‘clutch cape’ one is presented with all manner of cape styles accessorised with a clutch bag but only one or two images of a vintage pattern oh and one fox fur version for a snip at $1,285.00! I can only assume it came into being and then disappeared from the world of fashion in a puff of smoke through lack of demand.

Well of course, that makes me love it even more!

butterick 2556 clutch cape pattern

The idea is that you can rest your hands in the naturally forming pockets where the shawl collar meets the hem. It is also the only way of holding it on in gusty weather as there is no other system of closure. But even without such gusts it does sit in place quite nicely due to the shaping of the shoulders.

There’s not much choice to be had in the Goldhawk Road faux fur range at the moment. I am assured that it arrives in October. But I don’t have patience of saints and I settled on this textured black fur fabric at £14.99/m. It only takes 1.25 yds but I bought 1.25m to be on the safe side and it was plenty enough. I like the pattern of the texture and it is actually quite silky for being faux.

butterick 2556 clutch cape

There’s some dart shaping on the fronts and back piece which you wont be able to see of course. And there is interfacing sewn into the collar to give a little structure. And so that if I want to look like a wicked stepmother it will stand up and stay up!

Youngest daughter tried to halt plans by saying it was plain weird and even Mr O made noises about me looking like Basil Brush. But they know full well that those kind of comments just roll off my feathered back!

butterick 2556 clutch cape back view

There is very little to construct and therefore it was very simple to make up, however I had to re-read the instructions to make sure I hadn’t missed anything re the lining insertion. The lining consists of the front and back pieces sewn in the same way; sewn together at the hemline, with right sides facing and then, having pressed the seam allowance all round, hand-stitched to the cape. Of course the problem that caused was that the lining was visible at the hemline. It needs to be shorter.

So, given my ever growing annoyance for things I’ve not done properly, I dutifully unpicked it (which is no mean feat if you’ve ever stitched lining to fur with small stitches!) and chopped off the seam allowance from the hemline and reattached. I could have gone half an inch more to be on the safe side but that seems to have done the trick.

It’s perfect for days like today, deceivingly sunny with a sneaky chill in the air. I haven’t begun any autumnal sewing yet and my polka dot Flora dress most certainly would not have got an outing today with bare shoulders. And it wouldn’t look out of place with an evening gown or ‘casualled’ down with a pair of jeans if that’s what takes your fancy.

butterick 2556 clutch cape front

In an effort to find a location with no gawping passers-by, these photos were taken down the side of Shepherds Bush Empire. I knew this building was quite old, built in 1903 in fact, but didn’t know that of all the acts performed there, Charlie Chaplin was one of them!

I was just saying to Mr O how sewing and blogging and photography has changed how we have taken notice of our surroundings. There is so much history to be had, right on our very doorstep!

A 60s worky shirt-dress

simplicity 6772 shirtdress frontGood afternoon lovely readers. I trust you are having a lovely weekend. I love the peace and quiet of a Sunday afternoon. It’s especially quiet today since Mr O and both children are all out. Best blogging time I thought, but eeek, no photographer! So please excuse the awkward poses to the remote snaps! It’s hard to summon up the enthusiasm when there’s no one bossing you around.

This is the first draft of Simplicity 6772. A lovely fitted sheath dress with front button closing and notched collar. Or a shirt-dress to the layperson!

simplicity 6772 packet

I made version 3, with short sleeves, which buttons all the way down. And I used a £2.50/metre suiting fabric from Dave/Danielle the Drapers in Shepherds Bush Market. I did stop to ponder who might make such a crazy suit in gingham but images of capri trousers and cropped jackets a la Doris Day quickly sprung to mind, very nearly usurping the plans for this dress.

I love Dave the Draper fabric for test garments. I don’t think you can actually buy cheaper and even though the content and quality is an unknown, its always good enough. And generally speaking I end up with something wearable, in this case…. for a fiver!

simplicity 6772 sideThat said, I will be making some adjustments to the next one, which incidentally is already cut out! Namely: taking some of the ease out of the sleeves. They are practically puffed sleeves and it certainly didn’t warn me of that on the packet front. They are also a weird length. I made twice the suggested hem allowance, and turned them up! I’ll also be shaving a centimetre off each shoulder before I sew them in.

I did some proper grading on this pattern using the cut and spread method. A little added to the bodice, moreso added to the waist and hip with the side seams blended together. I remembered to add the extra to the collar and the sleeves, though I probably should have left the sleeves alone to avoid the puff!

Given that it’s suiting fabric it didn’t need a lining. I just overlocked the seams. Suiting is a joy to hem, especially on this kind of check. It’s so easy to pick a couple of threads and the stitches just disappear. It’s presses so easily too. It’s a wool blend of sorts. And I have totally gotten over my snobbery of synthetic/blended fabric, since it doesn’t need much ironing and doesn’t tend to crease when you’ve been sat down at an office desk all day.

I love a shirt-dress but have only made two before. The 1940s Shoe Dress and The Shirt Dress Revisited. Both from the same pattern, both with full skirts. I like how this one is more understated though. Would be completely utilitarian in a khaki! It certainly feels more worky than the other two. To be honest, I’m lucky enough to work in a creative environment where almost anything goes (as is often apparent!).

I was a little disappointed that I didn’t have a suitable set of red buttons but it was quite refreshing to be persuaded with blue ones. I toyed with green and checked ones but the winners were some gorgeous vintage buttons kindly inherited from my friend Nigel’s, aunt.

vintage blue buttons

There are a whopping twelve darts going on in this dress! Four long diamond ones in the front, four of the same in the back; two shoulder darts and two bust darts. And its all these ‘lovely’ darts that create the great shape to this dress. The back especially. And I love that little kick pleat. So glad I didn’t exchange it for a slit.

simplicity 6772 shirtdress back view

It would be crazy at this point not to mention the shoes. A more than happy find on my way back from work in the sale at Office. They are of course my favourite Lola Ramona shoes. These ones having pale green polka dots, a cream bow and purple heels. The thing I love most about these shoes is that they don’t go with anything but yet they look good with everything!!

lola ramona spotty bow shoes

I’ll be off now. The plan is to return shortly with a revised version of this shirt-dress. But you know what happens when you make plans. Well, when I make them, anyway!

TTFN x