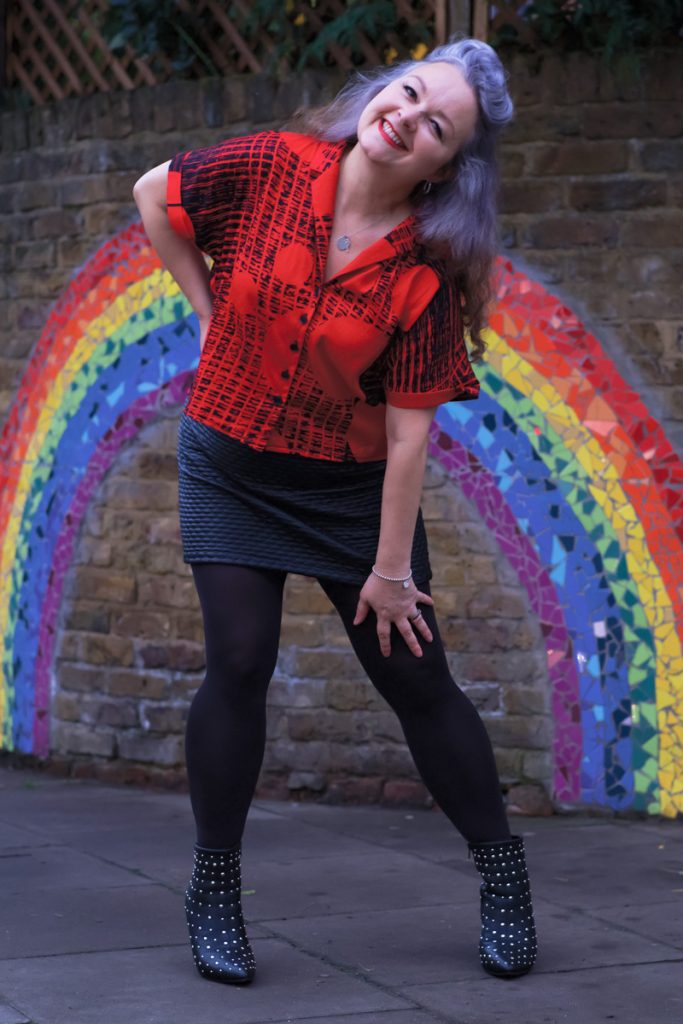
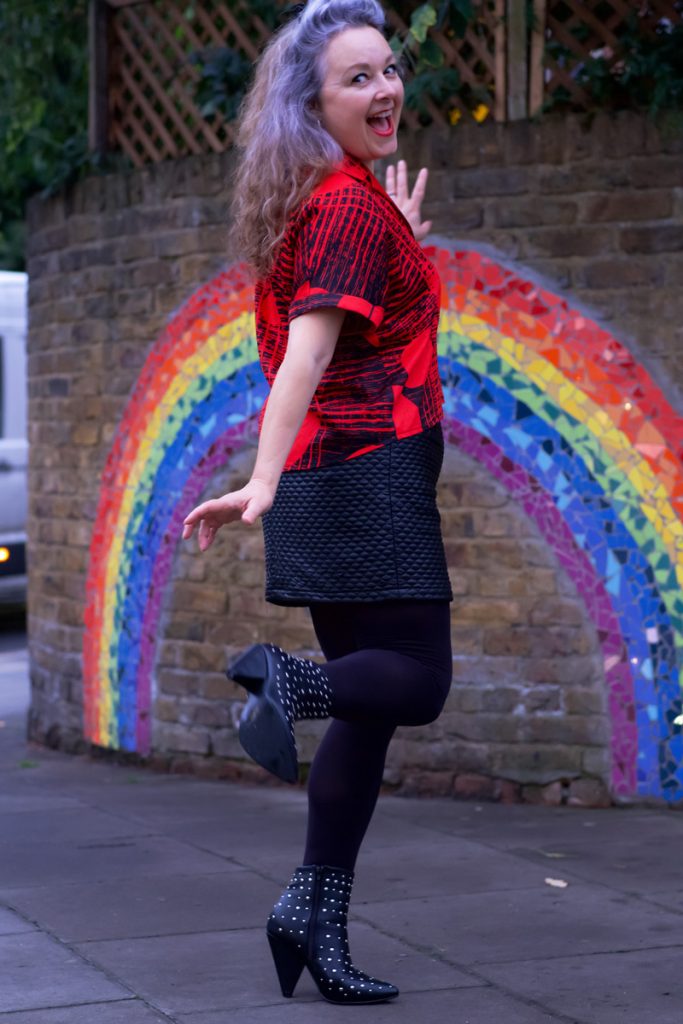
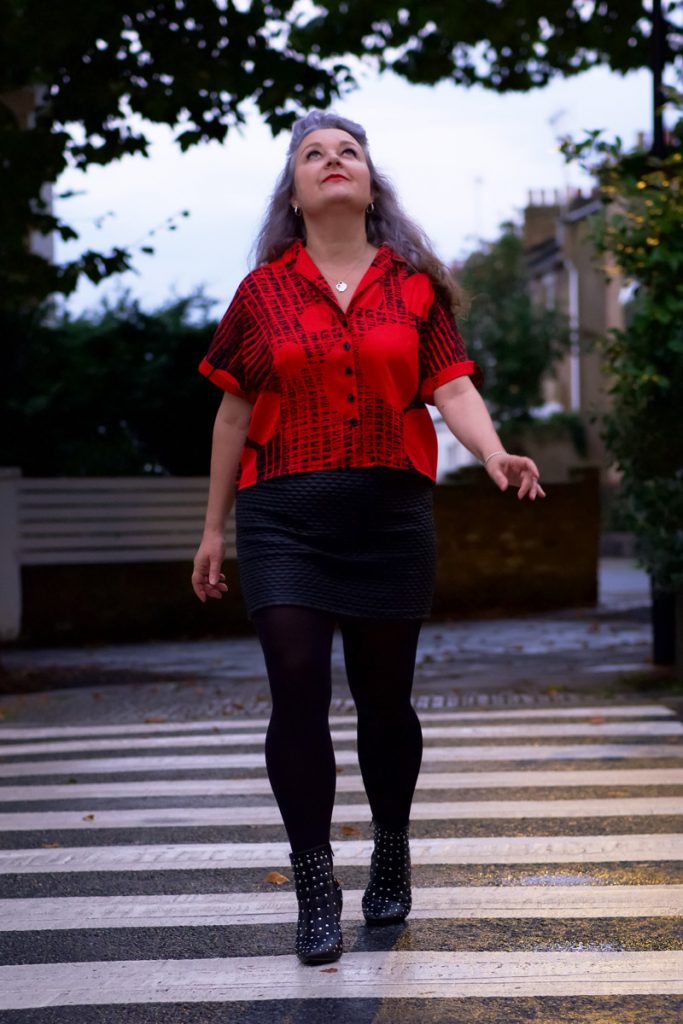
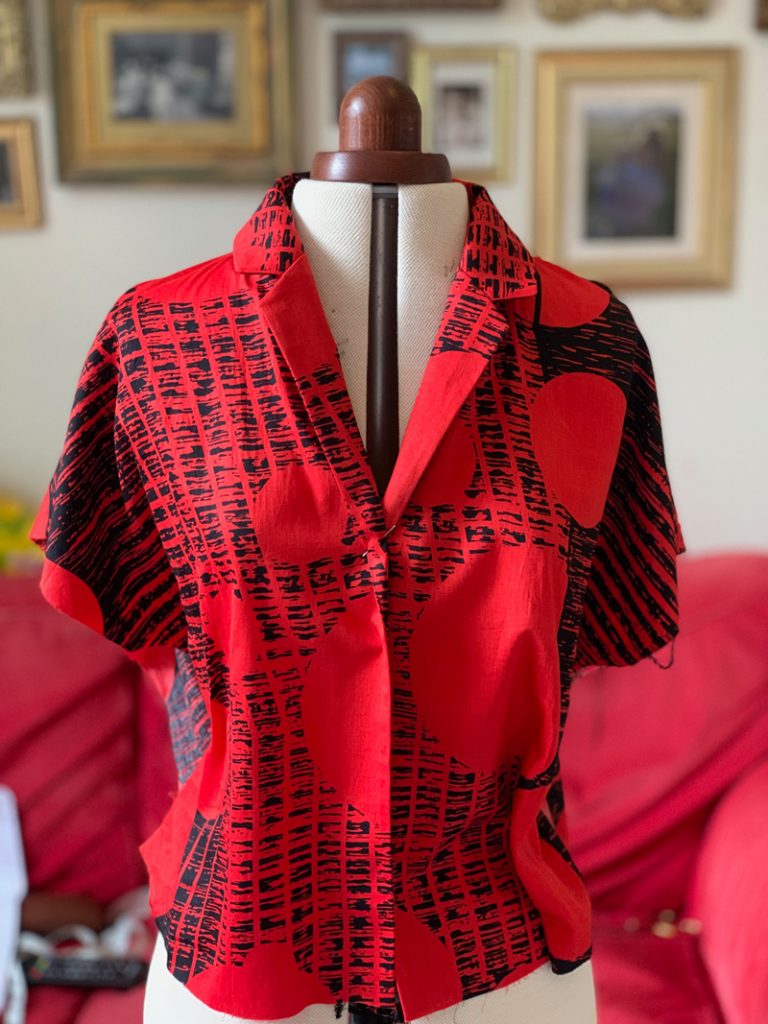
Ready to Party Dress

Original post written for the Crafty Bloggers Club

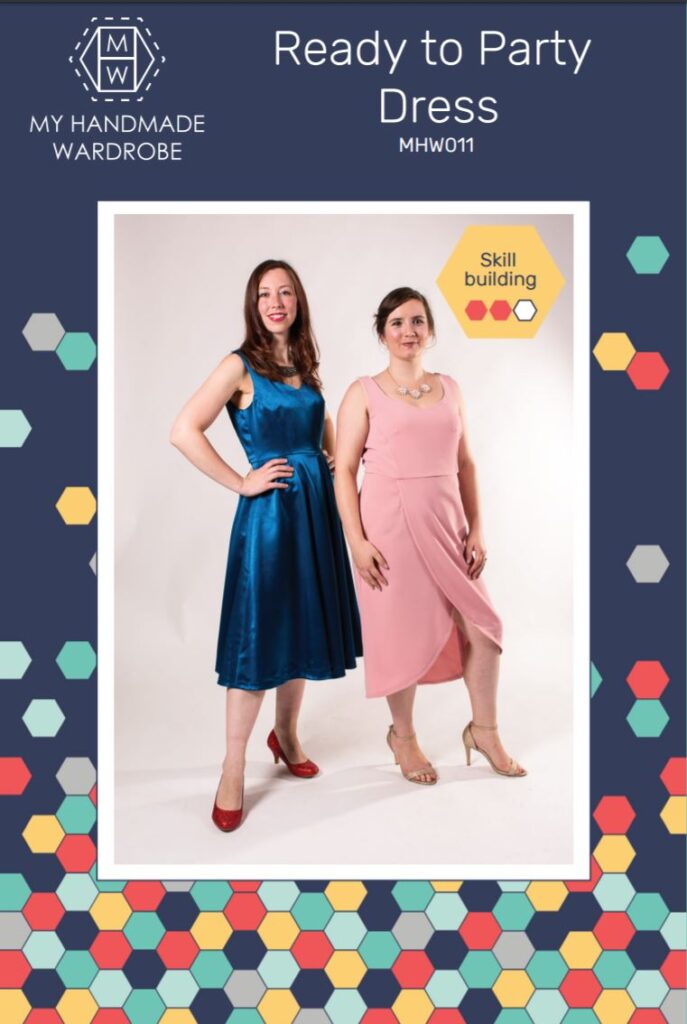
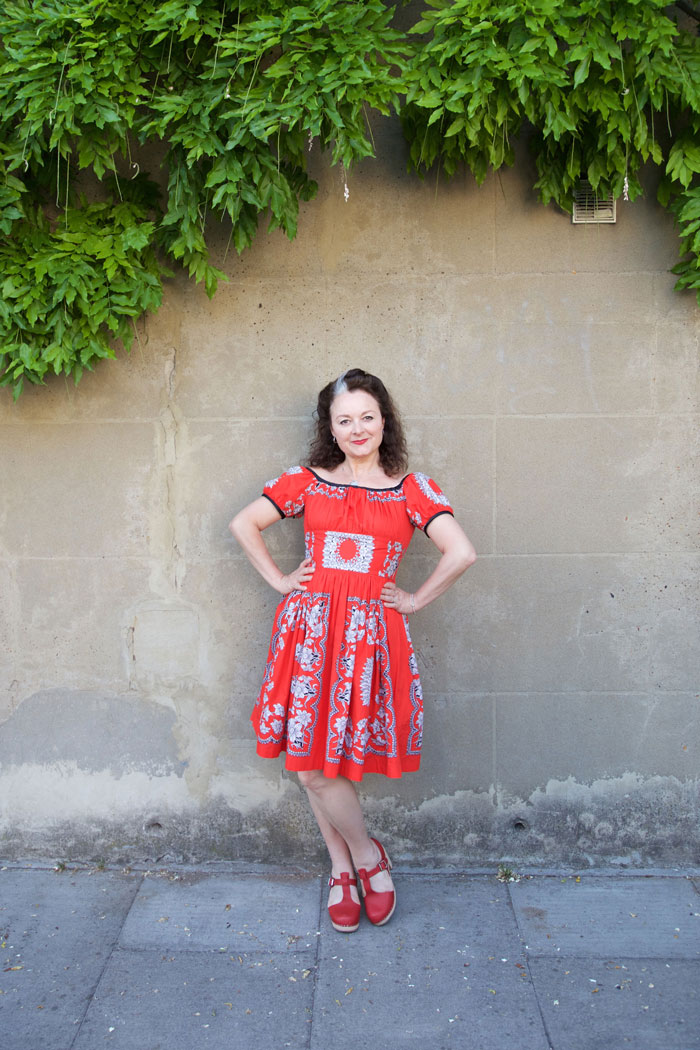
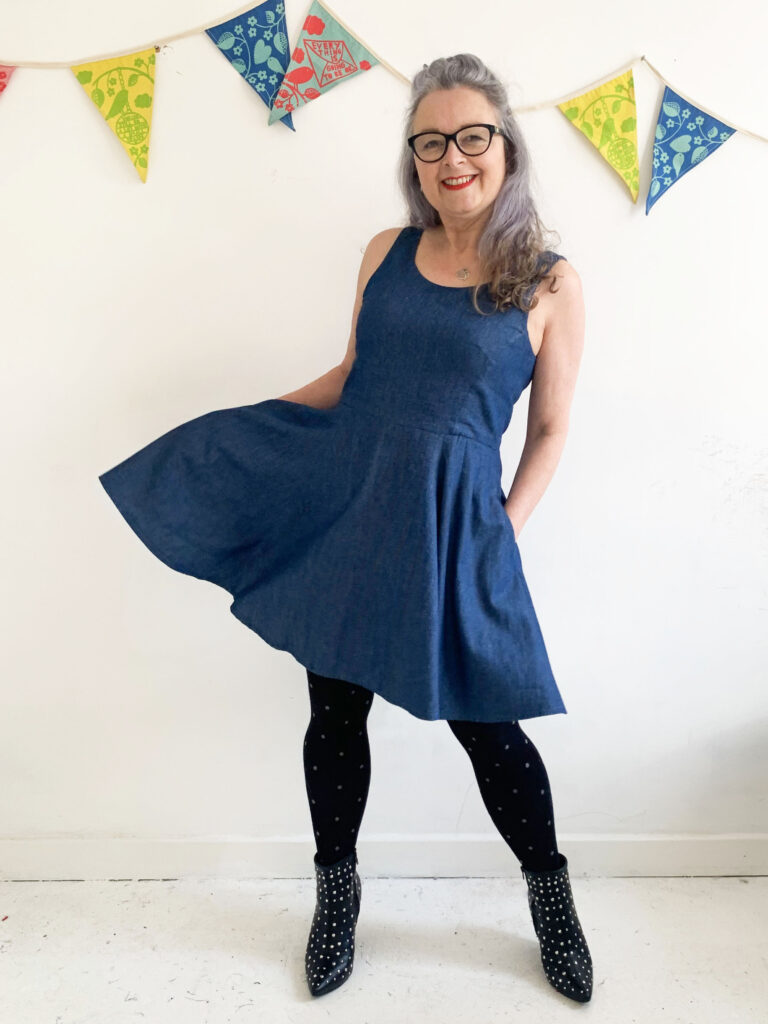
The first time I met the ladies of Crafty Sew and So was at their fabulous Dressmakers’ Ball in 2019. I’ve since been to their Crafty Sewing Camp and can verify that they throw a damn fine party! And so it seemed quite fitting that I chose to sew the Ready to Party Dress for my first experience with a My Handmade Wardrobe sewing pattern.

However, true to form and with no imminent fancy parties on the horizon I decided to make it up as an every day-dress instead. 
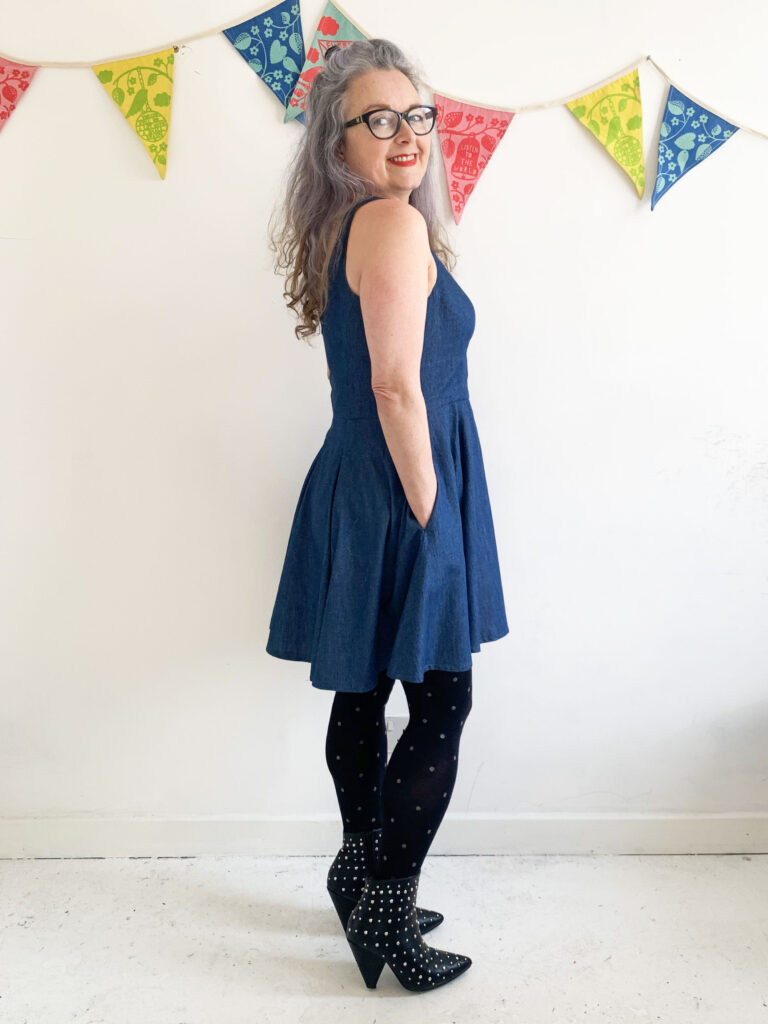
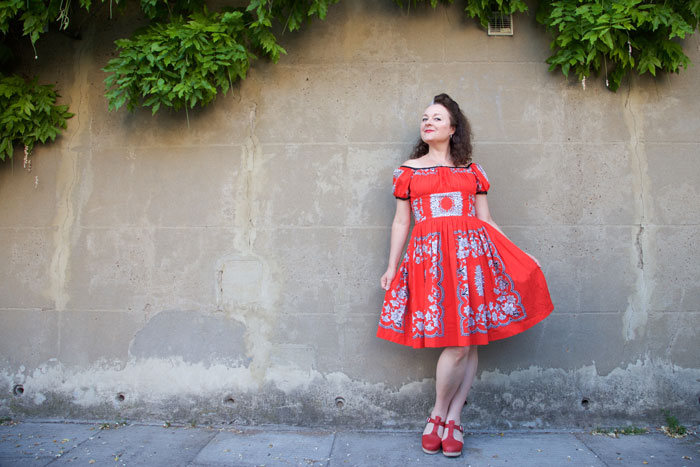
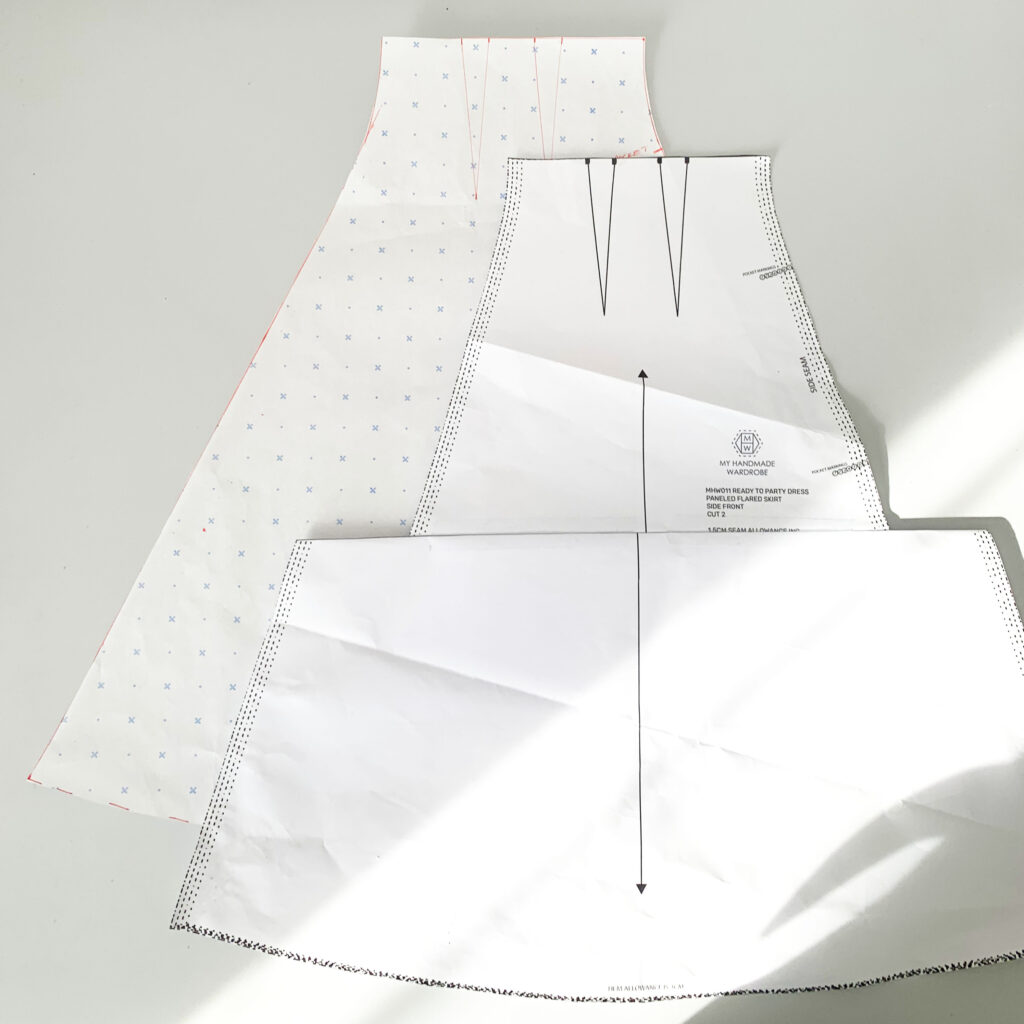
To make it more every-day, this dress was going to have to be substantially shortened for me. Before I go into more detail as to how I did this, I just want to add how interesting this skirt pattern is. It is made up of eight flared panels with a double set of darts on the side front and side back panels and the volume starts after the fitted section at the waist to create such a superb silhouette.
Each panel piece of the sewing pattern has a lengthen/shorten line which is super helpful as I really didn’t want to forego the amazing flare in the design. To be honest I wasn’t totally convinced I could remove a whole 9 inches without some sort of issue but hey, nothing ventured, nothing gained! As you can see there is quite a bit of a step when I folded up the excess. I sat and pondered a while and then convinced myself I just had to average out the difference to create the new pieces. So that’s exactly what I did. I traced the new piece and added the new side lines by drawing from the hem points to just below the waist shaping. And it worked!
I took my time sewing the panels, being sure not to stretch out the bias seams of which there are many, and I’m sure the results were helped greatly by using this wonderfully soft and forgiving chambray fabric, also from Crafty Sew and So. It drapes so beautifully and seals the deal with my ‘every-day’ mission. 
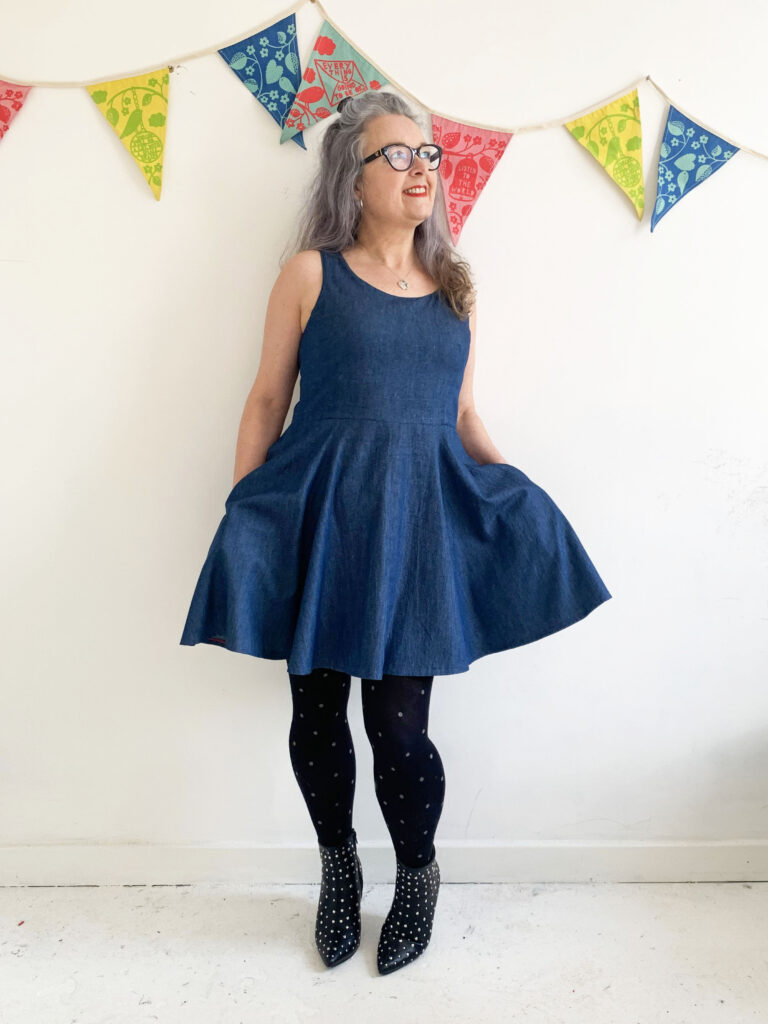
Because of potential bias behaviour, I did tack the sewn up skirt panels to my toile of the bodice while I sewed up the actual bodice. I felt it needed to hang a bit before hemming in case the hemline dropped unevenly and that proved to be a good idea. 

I cut a size 4 for the skirt and graduated down to a 3.5 for the bodice but next time I might just slither a bit more off to go from 3.5 to 3 as it is a bit roomier in the waist than I anticipated. That’s the beauty of having all the size lines to trace off!
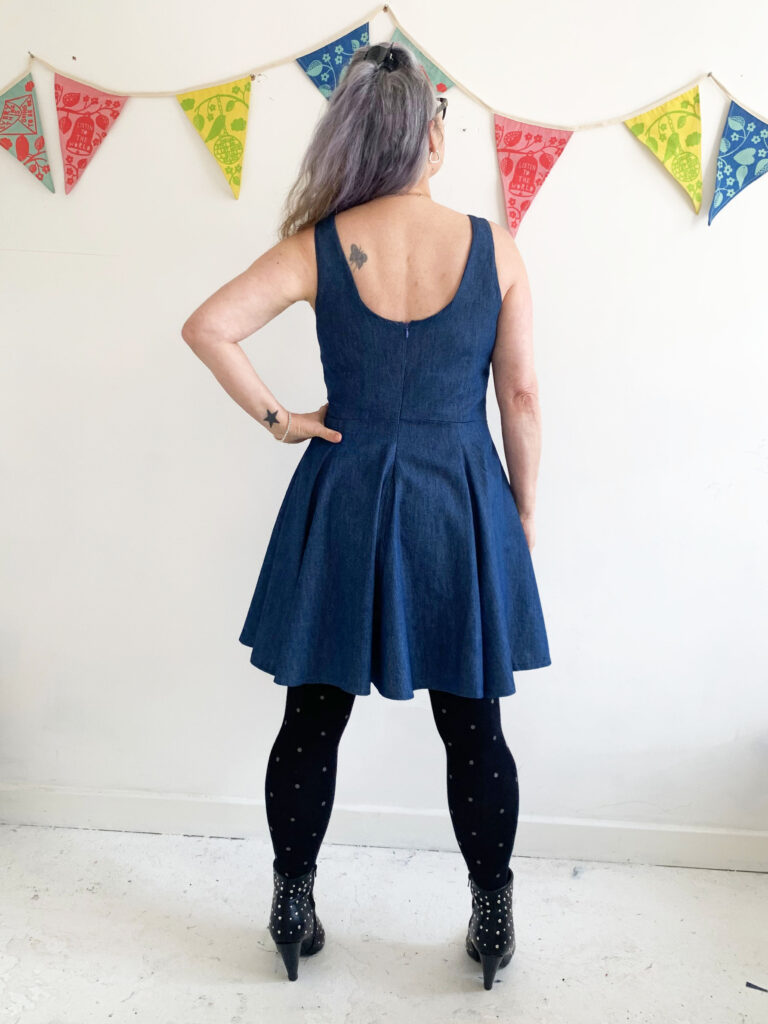
I was torn between choosing the sweetheart neckline and the round neckline of the bodice. And I was almost sold on sweetheart when I realized I could layer the round neckline version more readily with a t-shirt or turtleneck jumper underneath for a change of style and if it got chilly!
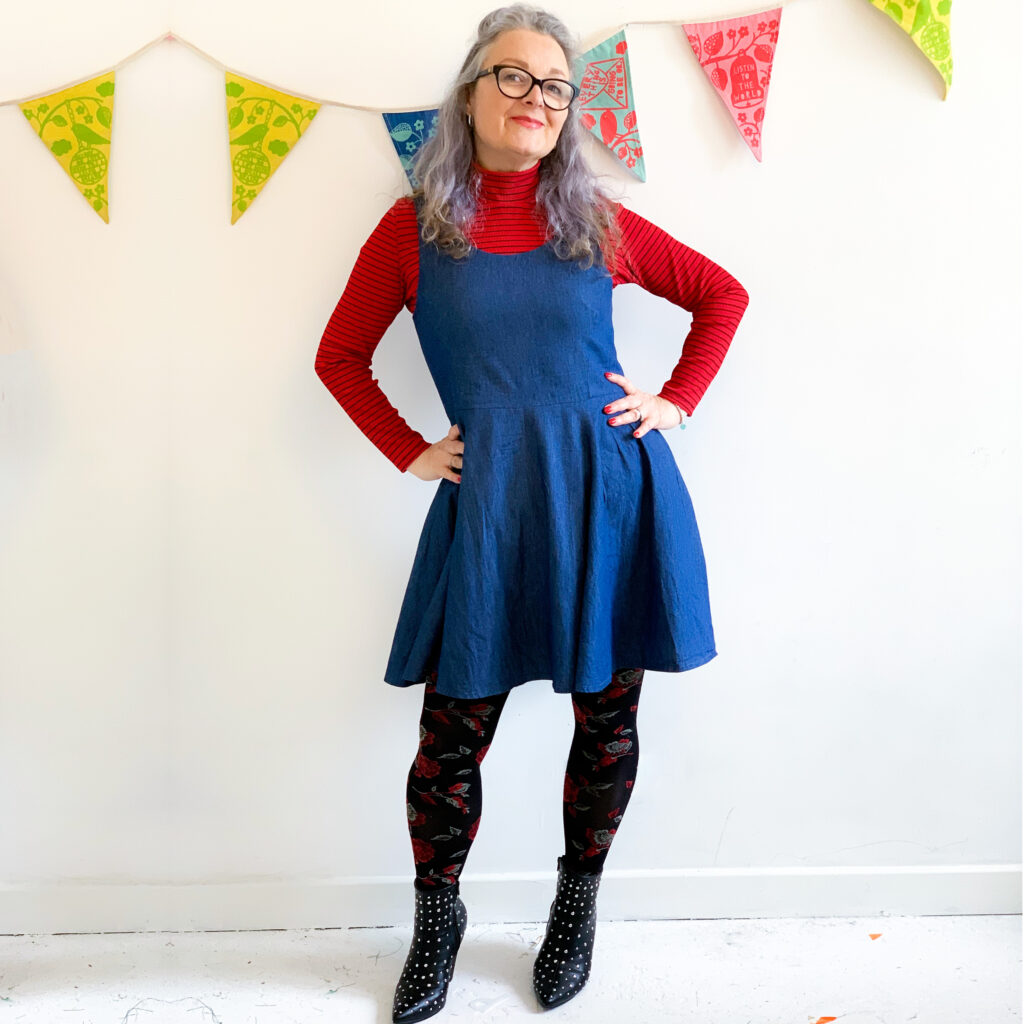
I love that its lined. In fact I love lining and the understitching process because it really does give a nice, neat finish.

Oh and I almost forgot to mention that it has pockets – lovely sized in-seam ones that get disguised in the drapes so you can stick anything you like in them with little chance of distorting the shape of the skirt!
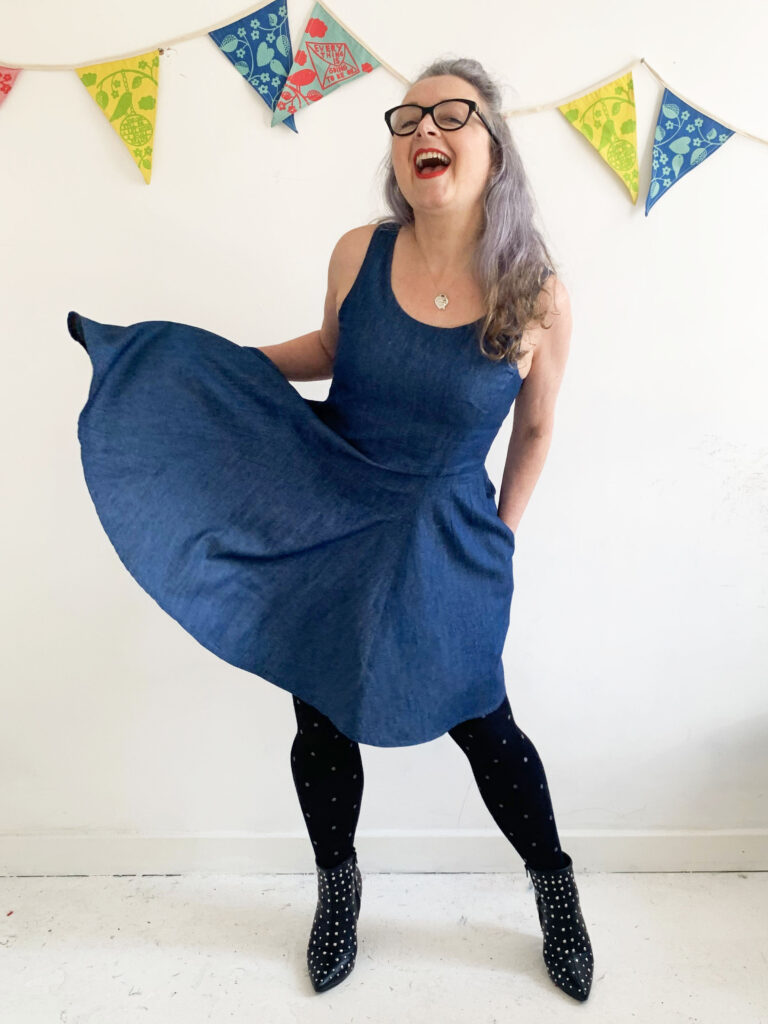
I loved making this dress, it was a real pleasure to sew. And I love wearing it – its comfortable, versatile, flirty and feels good. And I can totally recommend this pattern and fabric combo. Because every day should be a party, right?! 

Working on the bias: My first Sicily slip dress

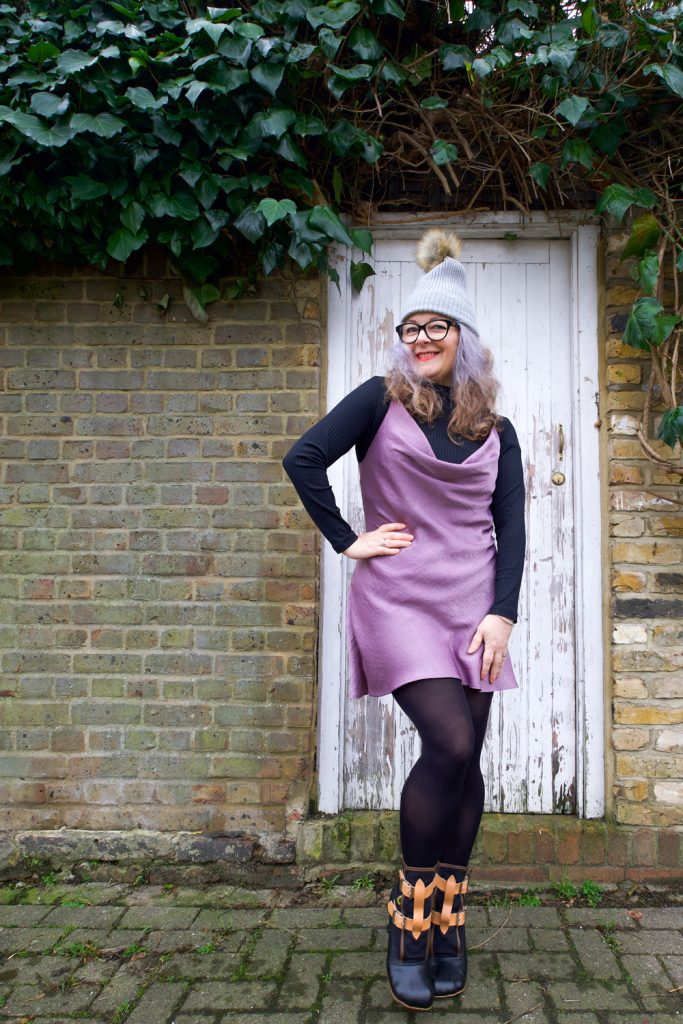
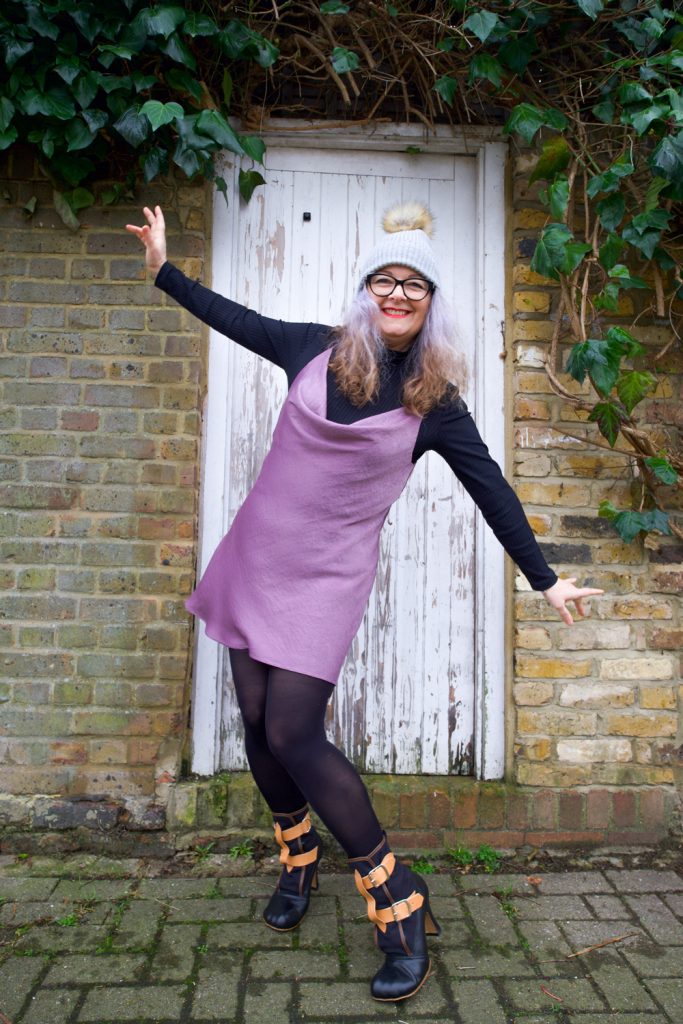
Janene is wearing her handmade Sicily slip dress and is posing with one hand on hip in front on a white door surrounded by brickwork and ivy overhead. She is wearing a self-drafted black turtleneck top, grey bobble hat, black rimmed glasses and Vivienne Westwood Bondage Boots.

I’ve been admiring all the Masin Sicily slips since I saw the very first one, with the same thought in mind each time ~ could I pull it off?!

It’s a very clingy nowhere-to-hide kinda dress and I’ve never been ok with putting my belly out there but I figured I’d never know the level of exposure until I tried!

But why the lilac Janene? Haha, I thought I’d get in there before anyone else does! Because to be fair I don’t often break out of my red and black palette. (I’ll be running back to safety after this post, don’t you chicken curry about that!)

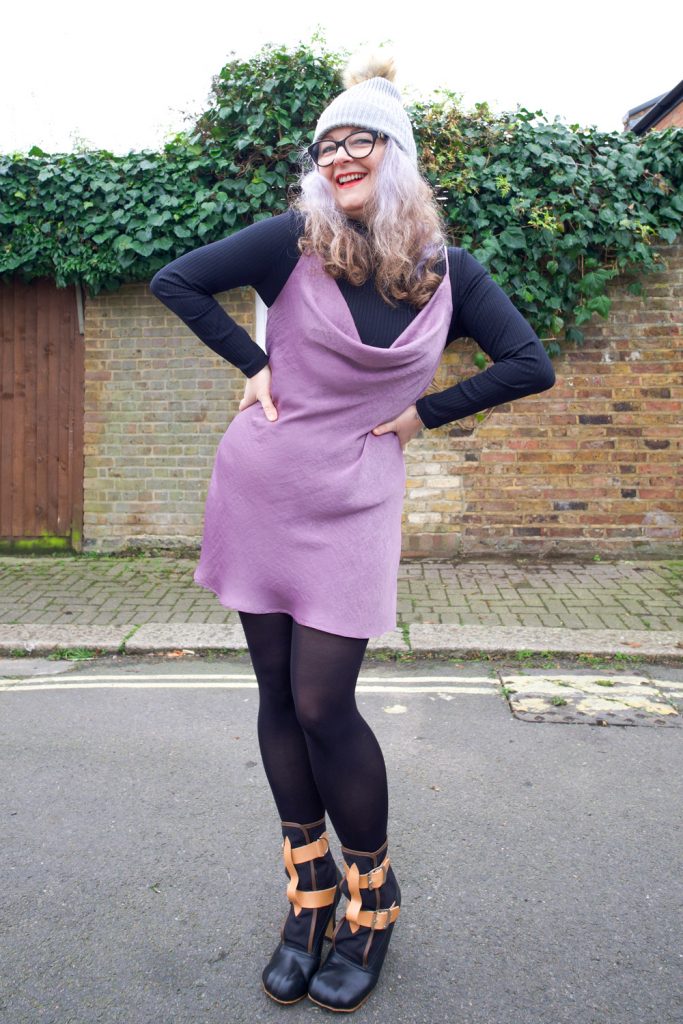
Janene is wearing her handmade Sicily slip dress and is posing with both hands on hips in front on a white door surrounded by brickwork and ivy overhead. She is wearing a self-drafted black turtleneck top, grey bobble hat, black rimmed glasses and Vivienne Westwood Bondage Boots.

Truth be told there was a lilac lovers party going on and fomo got the better of me! Hosted by Cut One Pair and Pigeon Wishes and to celebrate the collaborative button collection this is the second time in the space of a few weeks that an Instagram challenge has given me a push out of my comfy zone. My first being my now favourite jumper!

I have never sewn a bias cut dress. Save a bias cut skirt section of the BHL Jenna dress which I just realized I never blogged (doh!). And I can’t actually remember the last time I sewed a cowl neckline so I was really looking forward to (read, super apprehensive about) making this dress!

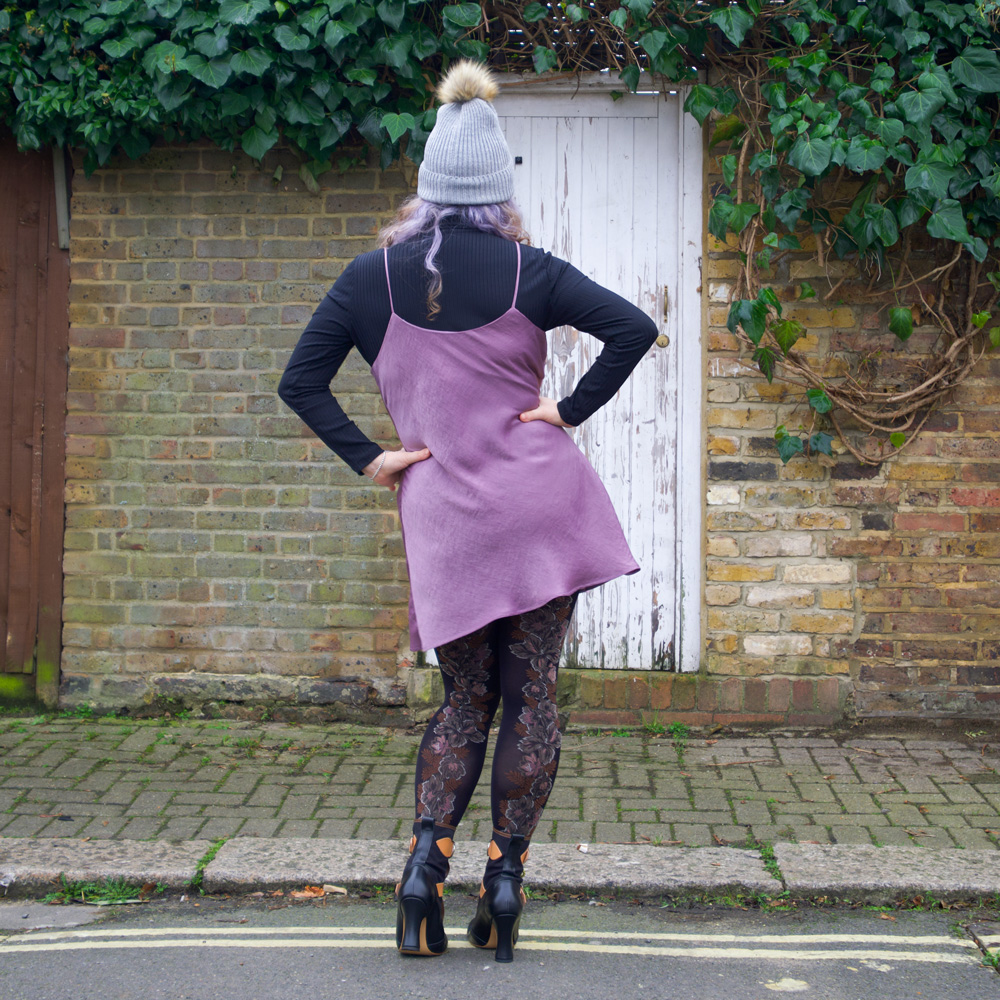
Back vew of Janene wearing her handmade Sicily slip dress. She is posing with both hands on hips in front on a white door surrounded by brickwork and ivy overhead. She is wearing a self-drafted black turtleneck top, grey bobble hat and Vivienne Westwood Bondage Boots.

Now for clarity (and first note to self) I have to say that putting together 50-odd sheets of A4 pattern pieces nearly drove me over the edge. And not for the first time. I don’t know why I put myself through this. Rewatching The Crown while I was doing it eased a bit of the pain but I so don’t want to do that again for a very long time!! Took me an age to get back up off the floor, if nothing else!

The next issue I had was cutting it out. I invested in an A0 cutting mat (Affiliate link) some time ago. It was quite pricey but equally worth every penny. I quickly learned that cutting slippery fabrics with scissors was not the best way forward the first time I tried! So I had both mat and rotary cutter lined up but still, working on the floor was a bit of a nightmare. I had to roll the rug back on the living room floor to pin the pattern to fabric and then roughly cut around each piece so they would fit on the mat to then be cut out more accurately.

Janene is wearing her handmade Sicily slip dress and is posing with arms outstretched in front of a white door surrounded by brickwork and ivy overhead. She is wearing a self-drafted black turtleneck top, grey bobble hat, black rimmed glasses and Vivienne Westwood Bondage Boots.

It was better than I expected but the pinning and shifting of pieces was a little detrimental, I’m sure, and I’d have much rather have used pattern weights and cut on a large sturdy eye-level purpose built cutting table. Excuse me while I dream the sewing studio dream… again!

This is the first time I have used a sewing pattern by Masin and I have to say I found the instructions beautifully laid out, concise and super helpful. There’s a clear explanation of bias grain behaviour and how to pick the correct size. Having said that I still managed to pick a size too big because my hips are bigger proportionally than my bust (so I made the wrong choice instead of grading). And I think that is why my cowl neckline appears rather more dramatic than most. I’m still deciding if I’m comfortable with it. It’s perfectly fine layered with an undergarment but I’ve got a whole pack of tit tape at the ready for when I dare to wear it on its own!

waist up image of Janene, wearing Masin Sicily slip dress. She is holding 3 lilac colour carnations with both hands to the bottom of the frame. She is wearing black rimmed glasses and her head is back, laughing.

I was surprised that this view A with the skinny straps was suggested as the easiest version to sew. It’s taken me years to master those spaghetti rouleaus! But I have to say now that I’ve grasped it, I actually quite enjoy making them. I recently posted a little tutorial here if you are interested:  Rouleau Loops Made Simple

There are very few pattern pieces for view A – like front, front facing, back with facing, and strap – and no closures; so the rest of the instructions were super plain sailing BUT… and quite a big BUT…

I think I made a boo boo by stay stitching the bias side edges with a straight stitch. I’m not entirely sure because I could have stretched out the seams when it hung over the edge of the table as I sewed, or perhaps as I was sewing the actual seams. I did use a small wide zigzag stitch to French seam the sides but of course that was like closing the stable door after the horse has bolted! While the dress is hanging, the bias cut fabric is going to stretch more but the stay-stitching is going to… well, STAY! (Second note to self: try zigzag stay-stitching too!)

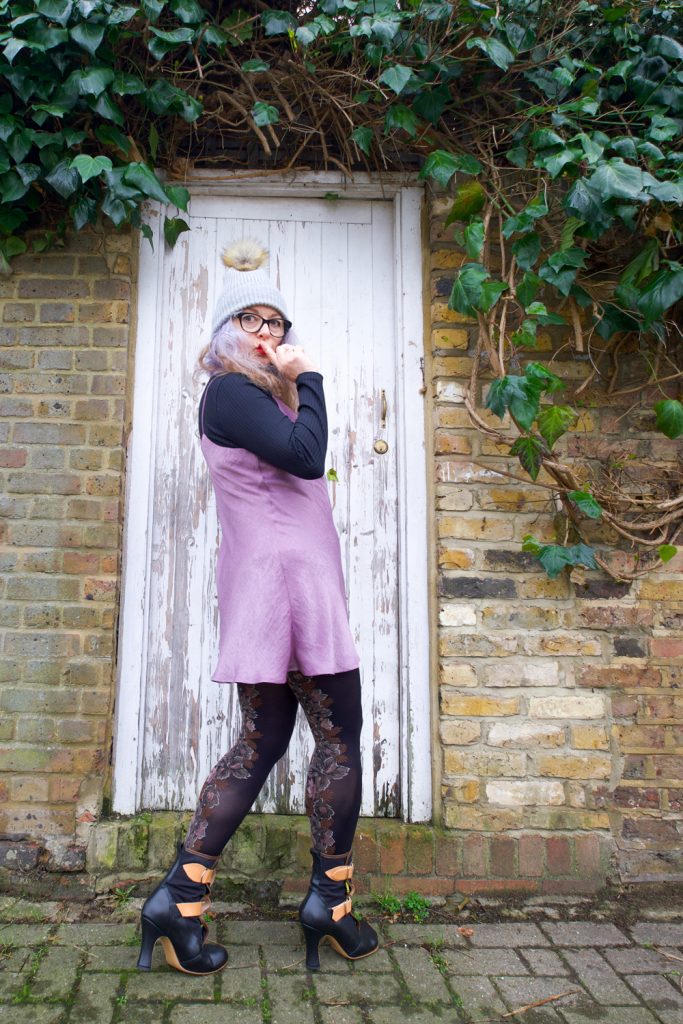
Side view of Janene wearing her handmade Sicily slip dress and is posing with right index finger on lip in front on a white door surrounded by brickwork and ivy overhead. She is wearing a self-drafted black turtleneck top, grey bobble hat, black rimmed glasses and Vivienne Westwood Bondage Boots.

All was not lost though. The worst of the puckering was near to the hemline and I had been mulling over a choice of midi and mini length at the start. So decision was made when I realised I could crop off the worst areas by going for a mini length!

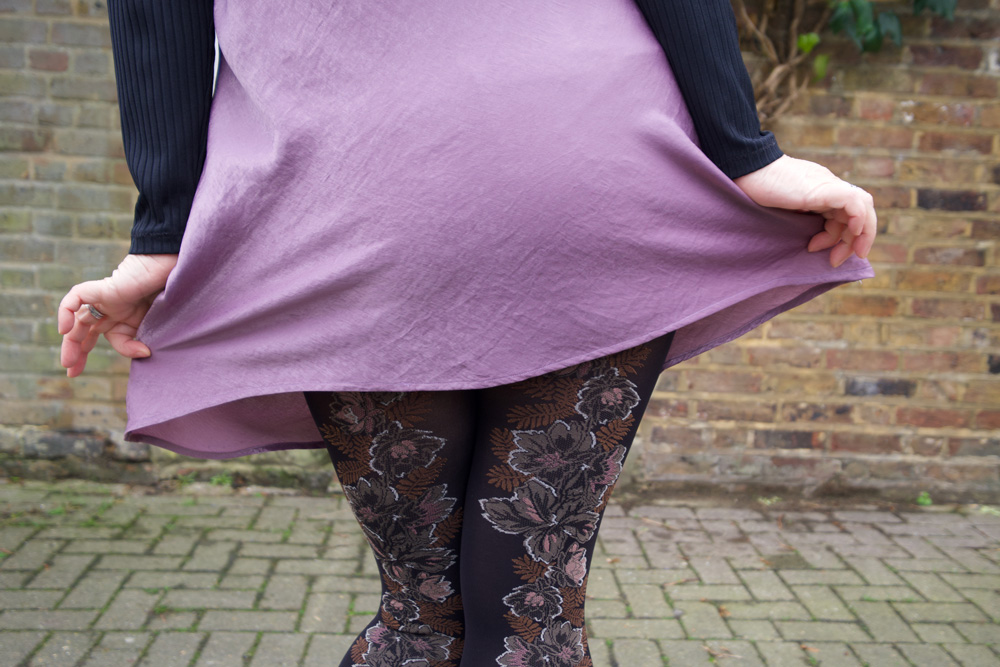
I’m pretty pleased with my hemming too. I sewed a quarter inch away from the cut line and pressed as instructed and then sewed close to the second fold. Even though this velvet touch poly is totally synthetic I was amazed that it pressed so beautifully.

Detail of small hem on dress. Cropped image of hands holding out skirt to sides

Once again I have learned new things. Testing things but valuable lessons all the same and nowhere near testing enough to put me off trying again – the absolute best thing about sewing adventures!

All in all I am delighted with the outcome and I will be revisiting this pattern again. Leopard print satin is already prewashed and sitting patiently atop the stash! So if anyone has any thoughts about stay-stitching bias dress side seams before I crack on, please let me know in the comments below. And I will love you forever!

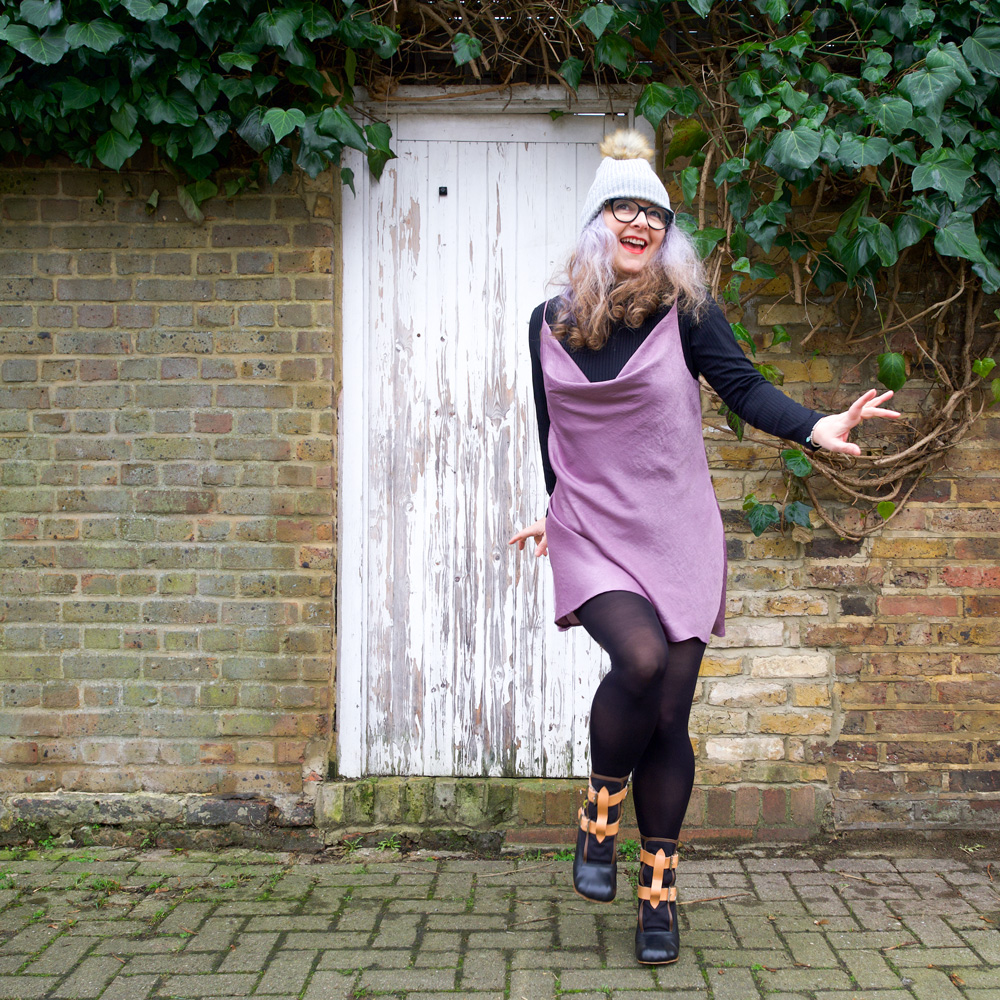
Janene is wearing her handmade Sicily slip dress and is skipping towards the lens in front on a white door surrounded by brickwork and ivy overhead. She is wearing a self-drafted black turtleneck top, grey bobble hat, black rimmed glasses and Vivienne Westwood Bondage Boots.

Lovely photos by Daniel James Photographic

Theres a lot to love about a Libby Shirt

I’ve already had people ask if the fabric I used for this shirt was leftover from my latest sheath dress. I’m clearly set in my colour palette ways!

It isn’t, but its a close contender I found it on a pile of Ankara bundles when I was looking for pyjama fabric. And was pleasantly surprised by the light-weightness of it and of the lovely sheen. The shop owner told me it was cotton satin – I didn’t realise that Ankara prints came in any other weight other than the usual medium/heavy structured cotton. Definitely keeping eyes peeled now for different kinds.

And I did have a plan for a lovely lightweight pair of pjs until I saw all the lovely Libby shirts on Insta and that instantly changed things up. I bought, downloaded the pdf pattern, printed and cracked on with tiling the pages together that same evening.

I’ve only ever made one Sew Over It pattern before – the Joan dress – which Im still in love with. If only I could squeeze myself back into it… It was a tough enough wiggle from the outset!

And because of that, I made sure I was being totally realistic about my choice of size this time. Yes I have been known to cheat myself! But to be fair, it does state on the instruction booklet that “Sew Over It patterns tend to have less ease than other patterns as most of the designs are intended to have a closer fit.”

This time ironically it appears I’ve erred on the bigger size! But it really doesn’t matter as it’s so lovely and cool to wear on a humid day. No touching underarm seams and a slight blouson back which really keeps it all nice and airy.

There was nothing complicated about the construction. Though I took time to make sure all the little circles and notches were clearly marked on my fabric pieces. Especially as far as the collar pieces were concerned. And they fitted together a real treat. The fabric pressed nice and sharp too as you’d expect from a quality cotton and a bit of hot steam. And I marvelled at the results. for some time before carrying on with the rest!

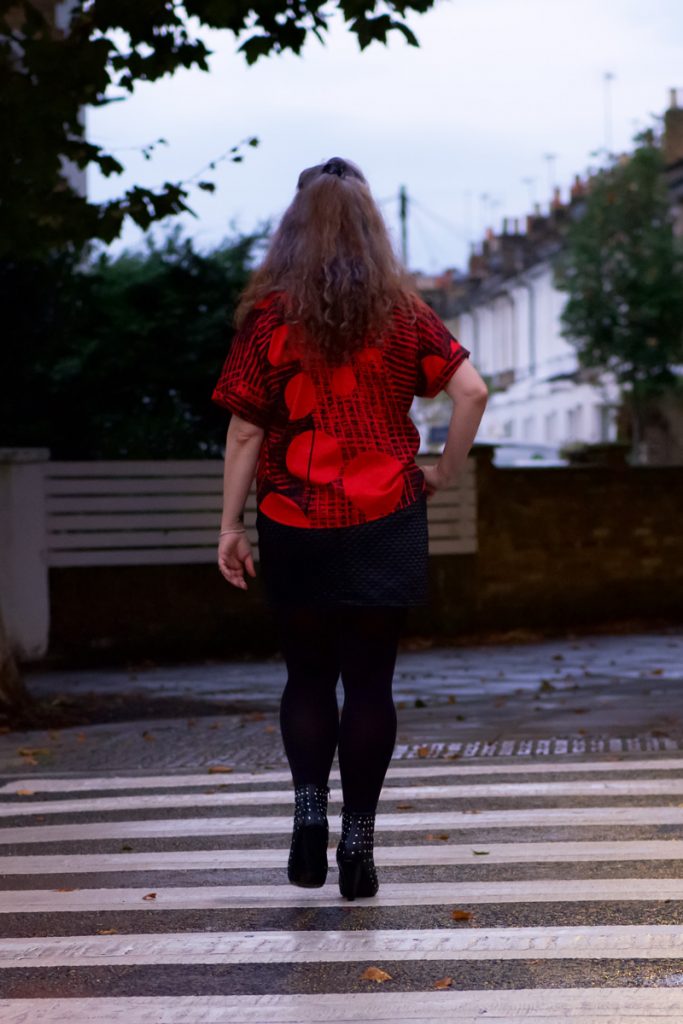
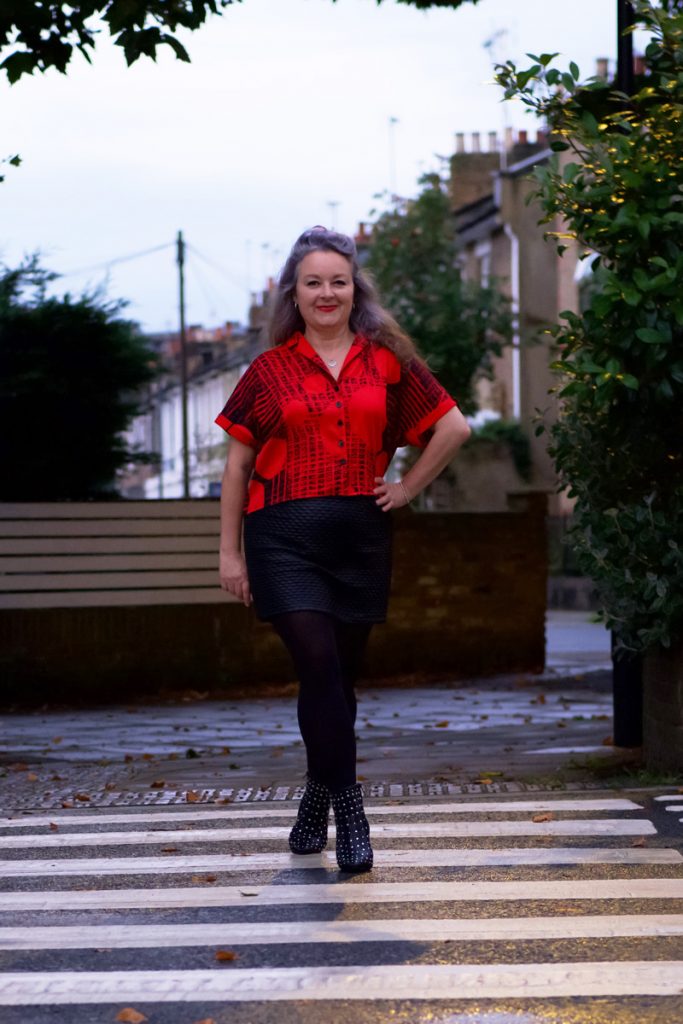
I had just about enough fabric to make this shirt and not an iota of thought was given to pattern matching. It would have been very difficult in any case with the design being so random and all. It was looking to be a nasty mismatch at the centre front with the half circle meeting the full circle but I think I’ve got round that by disturbing the design with some black button holes and buttons. I’ll just keep telling myself that!

This image has an empty alt attribute

I cut the longer length version so that I could make up my mind if the cropped length was going to suit me or not. Before I hemmed, I tried it on and cropped was definitely the way forward so I just overlaid the front pattern piece onto the shirt and trimmed to the line. I did however go back to check If there was one back piece for both versions as I wasn’t sure if it was quite right for the back to stay longer. There isn’t and it doesn’t matter. I’d just assumed the back would be cropped too.

I love how the finishes are considered in the instructions for each seam. It comes together so neatly that you are prompted to stand back and admire your progress at each stage. The cuffs in particular are a great way to bind the sleeve hems. And the facings do a great job of housing the overlocked hemline at the centre fronts too.

I would definitely make this shirt again, perhaps in a slightly more draping fabric next time. Maybe a viscose or liquid-like silk satin for a posher version!

I love the style of this shirt, the cropped length option and the cut-on sleeves. Such a timeless vintage vibe. And a very easy fit.

All I’ve got to do is make some bottoms to wear with them, haha. I’m forever in need of simple black skirts or shorts but I just can’t bear to make something that boring. Needs must though!

Photography by Daniel James Photographic

Thanks to Dan for taking these shots under really difficult circumstances. Nagging wife and failing light is never a winning combination. But I love them!

Gypsy dress and panel placement


ooobop soladida gypsy dress front

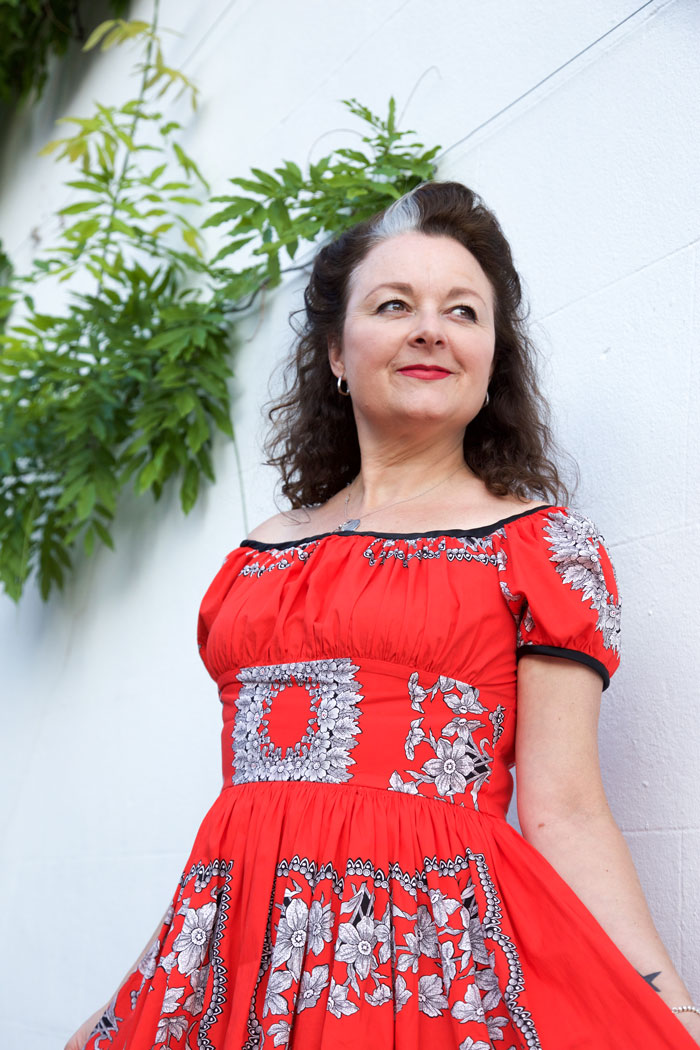
I am flexing those self-sabotage skills again. I have had notice of my daughters wedding for almost a year and with only a month away, have I begun making my mother of the bride dress? Don’t be daft. But I did make another Sew La Di Da French Gypsy dress. And I must say, I’m not even a little bit sorry!

ooobop soladida gypsy dress front

I totally blame that upstairs bit at Misan Fabrics, in the Goldhawk Road, where they have the most desirable remnants on sale, way cheaper than the fabrics they have downstairs. There was this 3.5m bolt of bright red panel fabric that was signalling from the top shelf. I didn’t have a clue what I’d do with it at that point. Cutting it up for headscarves was an option. But not a very exciting or fulfilling one. Maybe posh napkins or a gathered skirt? Seriously, I’m so uninspired sometimes. I spread it out on the table and looked to the assistant for a suggestion. A shrug of the shoulders translated that she wasn’t the least bit interested and was I going to buy it or not? The reason I was stalling was that the label said £10. I didn’t imagine for one minute that meant for the whole lot. So when the penny dropped, so did the idea that I could indeed make a gathered skirt but with a French Gypsy dress bodice attached to the top of it… for a tenner!


It’s great to revisit a recently-made sewing pattern: It’s already been traced; the fit is established – though I had to keep in mind that the fabric I used last time had a bit of stretch – plus having rehearsed it already, it’s a more confident sew and the process is therefore quicker.

ooobop soladida gypsy dress bodice

There was an issue of placement though. There were not going to be any happy accidents here, oh no! The skirt was dead easy to work out. I just used the width of the fabric for front and back and then halved the back for the seam allowance and zip. But I did think to make sure the panels aligned from the same point at the top/bottom… just before I cut, lol

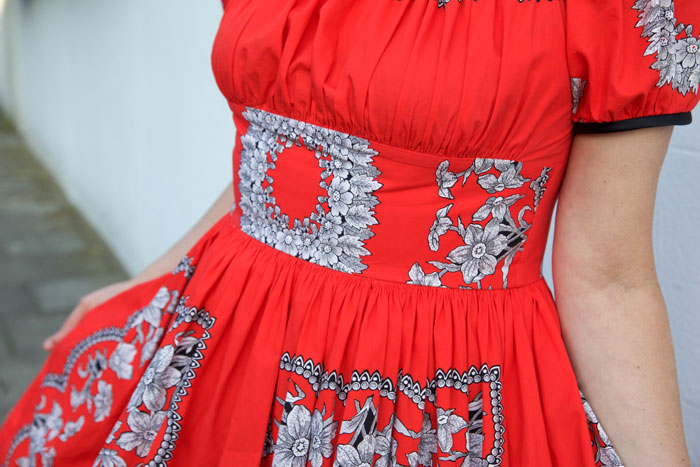
The midriff – which I must have told you a hundred times before, is my favourite section of a dress – deserved a small floral border that came from the centre of the larger panel. I like how it kind of looks like a giant buckle from a distance. The little floral bits at the side were a bonus.

ooobop_soladida gypsy dress midriff

That same little patterned square worked for the sleeves just as well.

ooobop soladida gypsy dress sleeve

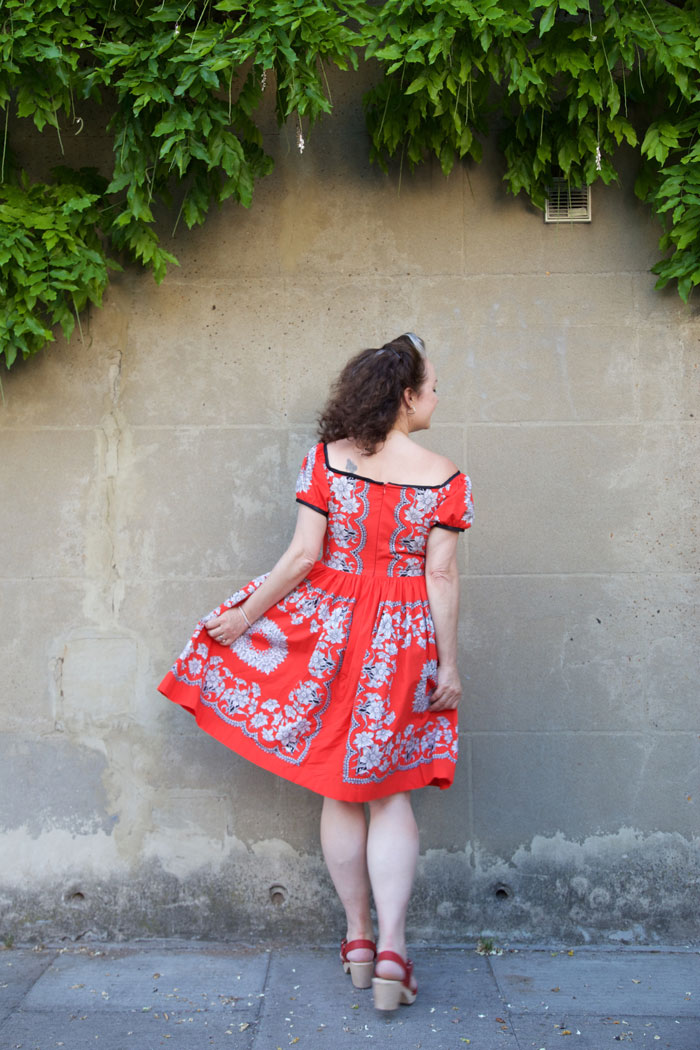
Back bodice pieces always give the most placement jip when there’s a zip to factor in. So annoying. Even more annoying when I’d already cut the back skirt pieces apart and could have made life easier for myself if I’d have thought it out properly and allowed for a side closure instead. But then I had a little brainwave and made sure that the placement didn’t need any matching up. I just needed to make sure the design was the same distance away from the zip on either side. Which it is. Kind of!

ooobop soladida gypsy dress back

The only section I’m not crazy about is the front gathered bust section. There wasn’t enough plain red and I didn’t want to repeat too much the ‘lacy’ edging of the panel section. I can live with it though!

I still had enough duchesse satin left over from the last time to make the black binding which is lucky because I love how it outlines the dress at the top.

My new dress had it’s first outing today and proved to be very picnic-worthy and received lots of lovely comments. It also attracted some attention on our little shoot in the neighbourhood earlier this evening. One passing stranger couldn’t resist joining in and worked it so well it would be rude not to include him. Thinking of you, Karen (didyoumakethat). I didn’t even have to tell him what it was for!

ooobop soladida gypsy dress guest

Thanks as always to the lovely Mr O for these lovely photos. x