In a few days time I’ll be wondering why on earth I didn’t make all my Christmas presents. All that joy that could have been had by hand-crafting beautifully personalised gifts for all my friends and family yet instead I chose to race around stinking hot, over perfumed shopping malls for expensive and ‘box-ticking’ presents. But as I sit, still with a work to-do list up to my ears, I’m currently fully aware why I didn’t quite get round to it!
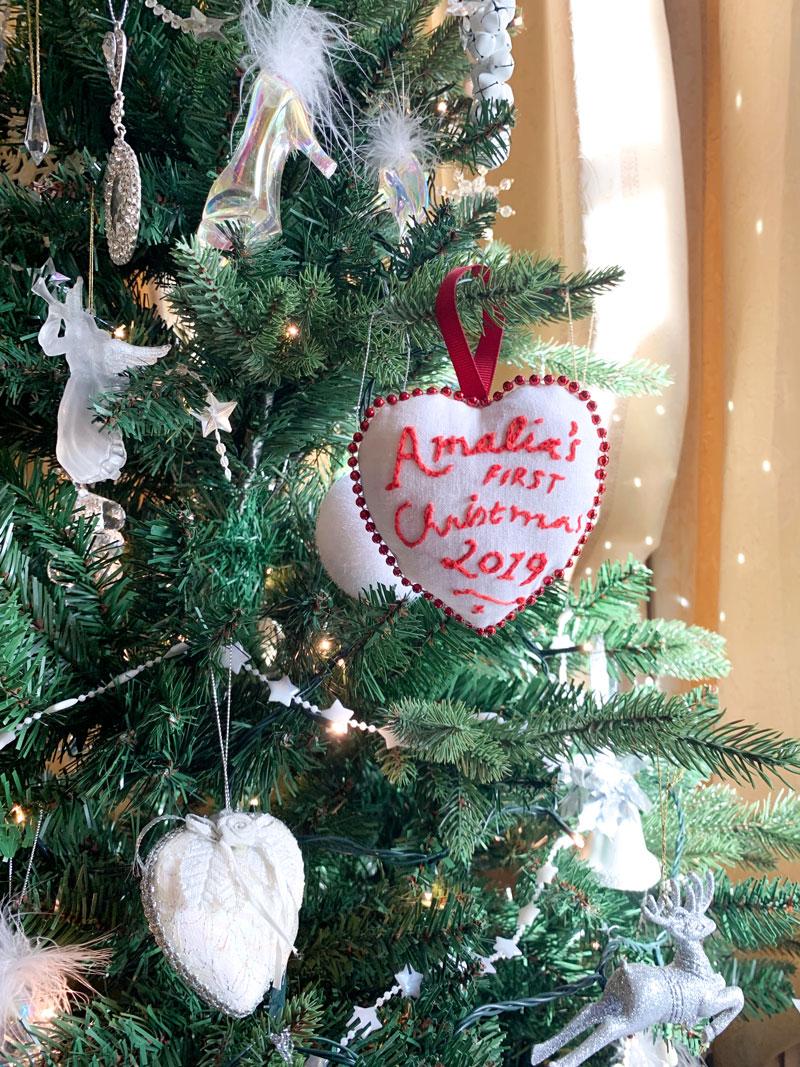
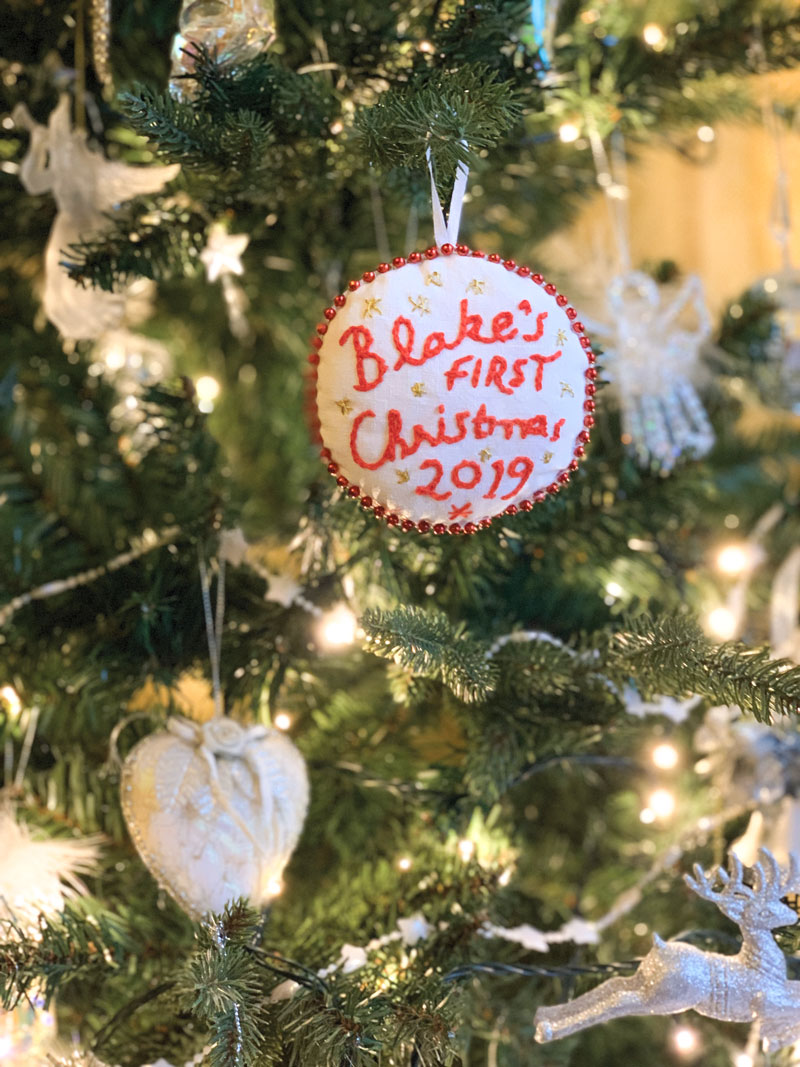
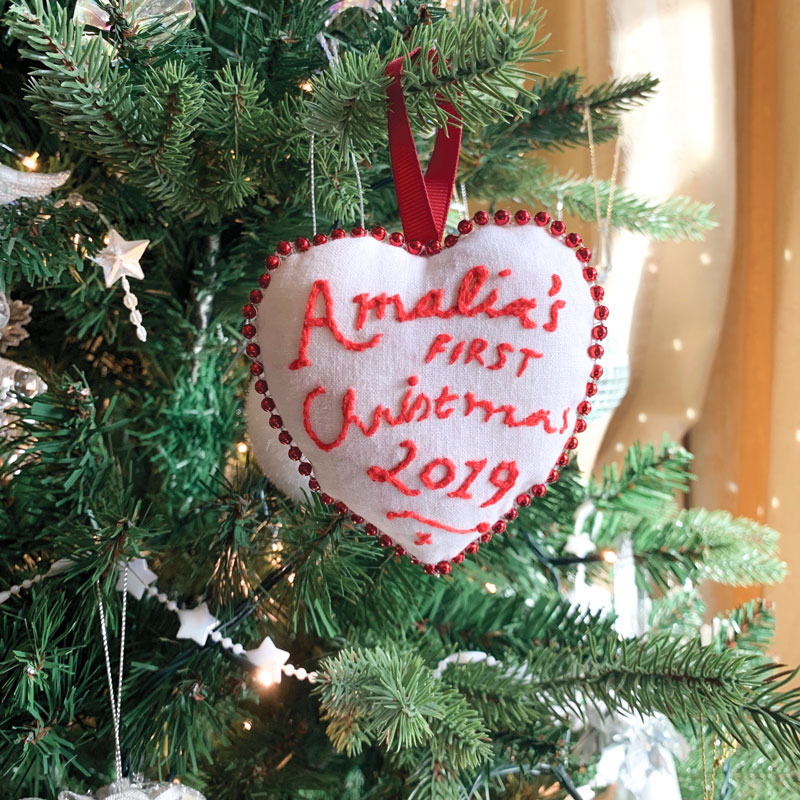
I did at least manage to rustle up two little decorations for two of my favourite little people – my grandchildren!
This is their first Christmas on planet earth and my first Christmas as a Nanna! And boy am I loving it!
My Christmas tree is filled with decorations either gifted by others or that have been bought at Christmas Fayres in good company. And every year I dec the tree the memories all come flooding back. And I loved the thought that a personalised tree decoration might be a ritual of sorts or a cute keepsake at the very least for Amalia and Blake.
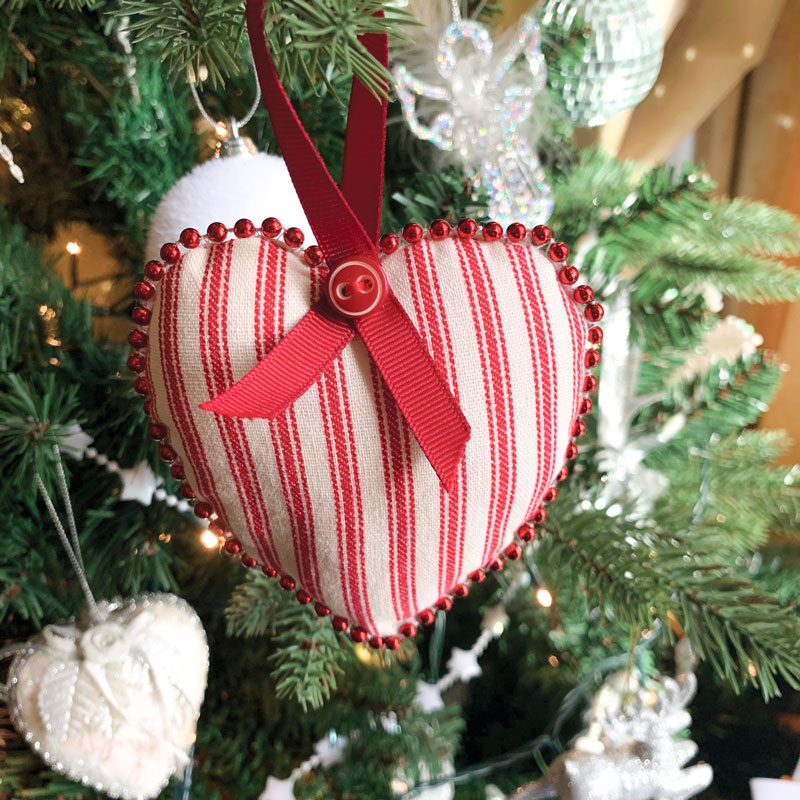
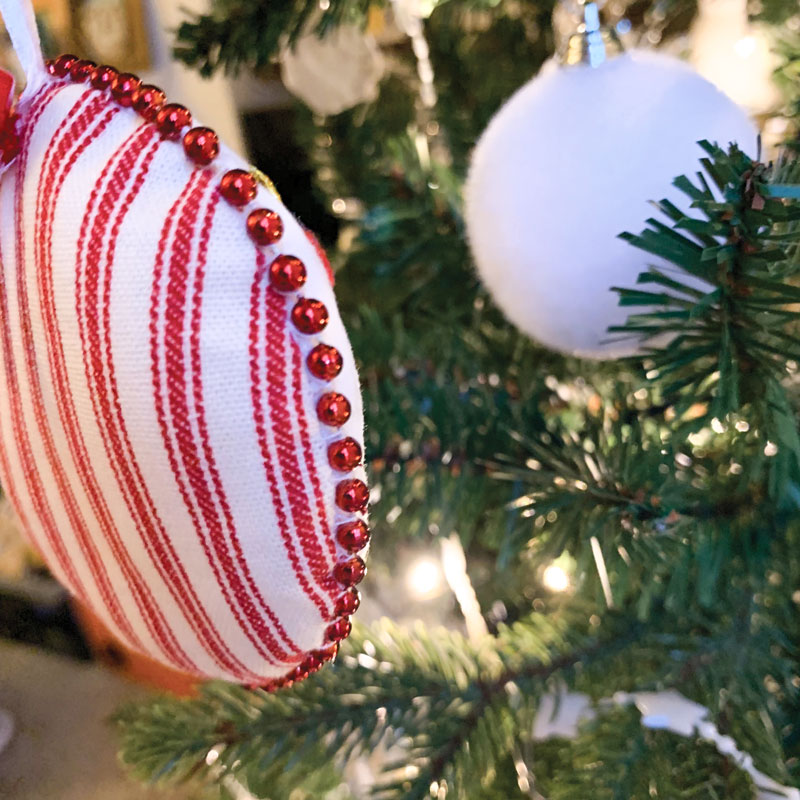
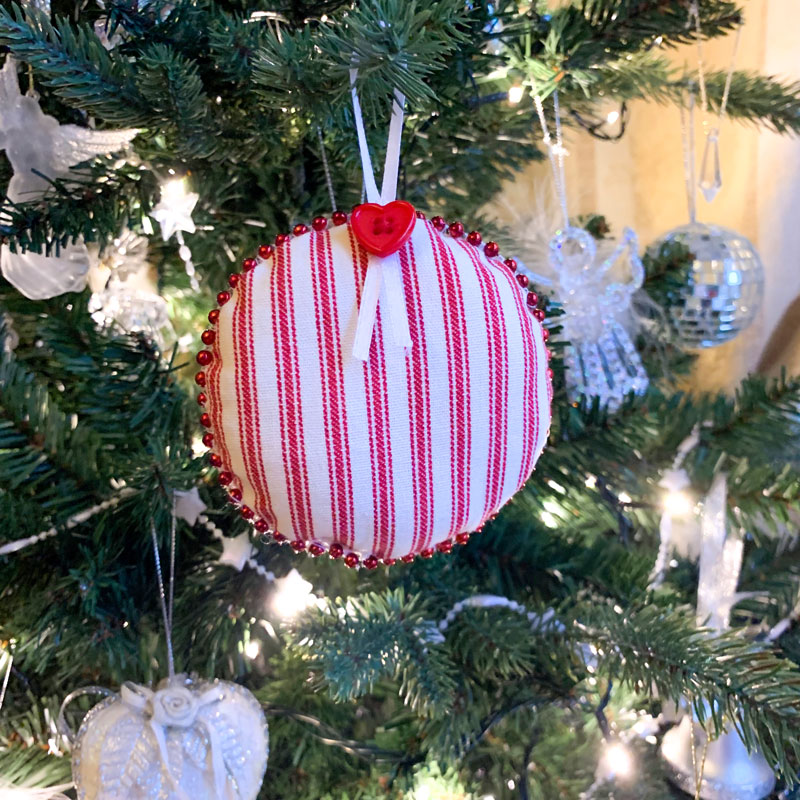
I’d love to report that I stuck to my sustainability guns for not buying new fabric and used leftovers instead. But that would be a complete lie. I couldn’t fight the the vision of lovely linen and festive …. ticking! It just works, right?! I did reclaim some ribbon and rooted around the button tin for the perfect vintage buttons, though.
And if you are interested in the process for these little decs …
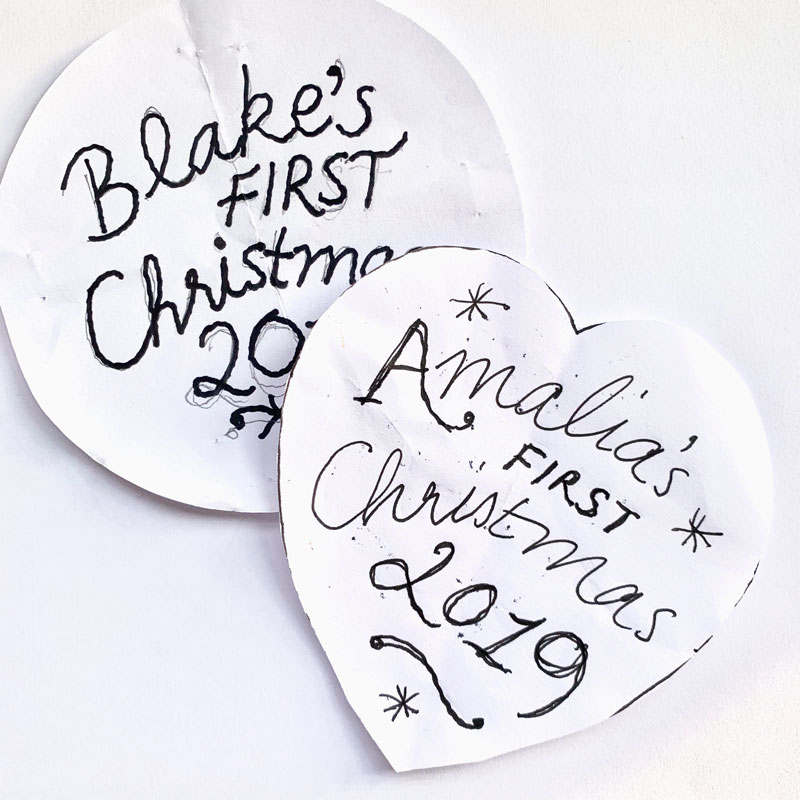
The lettering is my handwriting. I perfected it at first on paper within the confines of a heartshape for Amelia and a circle for Blake before tracing onto Solvy water soluble stabiliser. I love this stuff. It’s so much fun! There’s a link to buy this below but you could also use a transfer pencil if you had one to hand. That will wash away too. Anything that doesn’t leave a mark on the finished article.
I then placed the Solvy with the wording on top of the plain linen and then sandwiched them between the embroidery hoops, tightening enough so there is no movement but not too much to stretch the fabric. It just helps to achieve more even stitches and less puckers.
Mostly I used a chainstitch and stem stitches in places using 3 strands of red embroidery thread. Gold metalic embroidery thread for the stars on Blake’s one.
Once the design was finished I washed away the stabiliser with cold water, patted dry with a tea-towel and finished the drying process by ironing.
My paper template then served as a pattern piece to centralise the design and cut the shape around the lettering allowing an extra quarter of an inch for seam allowance. I cut a matching piece for the reverse.
With right sides together I seamed all round, leaving a small gap for turning and clipped the seams for smoother curves.
Polyester toy filling was pushed into the seams before I steamed them for extra smoothness! One they were filled I slip-stitched the opening closed.
I found the red metallic beaded trim at Sarah’s Haberdashery stall in Shepherds Bush Market and I oversewed it along the seam line.
Finally I used a length of ribbon for the loop and sewed it in position on the reverse, adding a little vintage button in both instances to cover the stitches.
I savoured every little wonky stitch of this project, as I reminisced at how much has happened this year. I’m so very proud of my children, and what they have become. And my heart is literally bursting with love for my ever increasing family (bffs included) and what they mean to me. I do hope my little treasures will cherish these as they grow older nearly as much as I’ve loved making them!
So how did you all fare with making gifts this year? Or did you get caught up in the rat race like me? Let me know how you wrestle with your conscience and please give me tips how I can be more productive next year.
In the meantime I would like to thank each and every one of you for sticking with my sporadic posts. It means a lot to still have you reading them and I’m forever grateful for all your lovely comments and continuing support.
Wishing you all the very loveliest of Christmases and the bestest of New Years ever. See you on the other side!
Love Janene xxx
Materials mentioned (affiliate links):
- Linen
- Ticking
- Solvy stabiliser
- Ribbon
- vintage buttons
- Embroidery thread
- Red metallic beaded trim


