Make a PINsentry card reader case


Barclays PINsentry case

It’s one of those annoying but imperative things that live in the bottom of my handbag. Forced to live there because I need it, always: The PINsentry machine. But the trouble is, there’s all sorts of other stuff residing at the bottom of that bag too: bobby-pins, small coins, powder-puffs, crumbs… you get the picture. And these things are not conducive for a healthy device. It’ll get sick and at somepoint refuse to recognise my card at the most crucial time. Two previous ones have already met with their demise. In justified protest, no doubt.

So after all these years, I decided to do the honourable thing and replace the obligatory deflated bubble-wrap protector for something slightly more glamourous. And I have decided for the good of the nations PINsentry card readers to detail each step in the making so you can give yours a better future too.

Please note that this size fits the regular Barclays Bank PINsentry machine for other sizes you will need to adjust the template.

Materials:

  • 2 small pieces of fabric each measuring at least 320mm x 160mm
    (1 kind for the outer, 1 contrasting piece for the lining)
    I cut mine from Cath Kidston fat quarters
  • Small piece of wadding (final size: 212mm x 137mm)
  • Choice of closure: velcro, button or press stud
  • Matching thread

Step 1

Print out the template from the link here: PINsentry_machine_case_pattern (making sure you print it at actual size) and cut the following pieces from your fabric:
1 x case outer in main fabric
1 x case lining
1 x wadding piece
1 x flap outer in main fabric
1 x flap lining

pieces for pinsentry case

Step 2

With right sides together, sew flap pieces together with 1.5cm seam allowance, leaving the top edge open as shown in (A) below. Trim the edges close to the stitching (B).


Flap construction

Turn the right side out and press. Top-stitch a quarter inch from edge, all round, excluding top edge.

flap topstitched

Step 3

Position the flap with right sides facing to the outer fabric piece as shown below. The flap should sit 20mm in from the left side. Sew along the top, inside the seam allowance. About quarter inch from the top edge.

flap to outer

Step 4:

Now to make a ‘sandwich’ of all the pieces! Following the image below, first place the wadding on the bottom, then your outer case piece with the flap attached, and lastly your lining piece, face down on top.

Stitch all pieces together along the top edge as shown.

fabric sandwich


Fold back the lining piece  and give a good press.

top edge sewn

Trim the wadding so it doesn’t extend past the fabric edges. And also trim the wadding close to the stitching on the reverse seam as below, right.

trim the wadding

Step 5

Fold the assembled pieces over – right sides facing – to make one long tube with lining at one end and the wadding at the other as shown below.  Make sure the central seam matches:

fold over assembled pieces

Now stitch all round, leaving a gap to turn through in the bottom of the lining as shown by the black line below:

stitch all round

Trim seams all round, close to stitching but don’t trim the fabric above the opening (C).

Clip and then ‘box’ the corners of the end with the wadding, as show below (D). Just sew diagonally half a cm or so in from the point.

trim leave opening

Step 6

It’s getting exciting now! Turn through, give a light pressing and sew the open end of the lining closed. You can slip stitch by hand or just machine stitch over the end as no one will ever see inside!

turn through and close end

Push the lining inside the outer case and admire those box corners!

right side out

Step 7

All that’s left to do is to hand sew some velcro or closure of choice and snuggle your PINsentry machine safely inside.

velcro finish


Sure beats a dilapidated placcy bag!

PINsentry machine

Little things like this make me smile and this little thing is no exception. There’s something quite cleansing about stepping away from the larger projects (I’m looking at you, Boer War Jacket) to get a sewing hit from the smaller ones.

But don’t worry. I’m not ditching the bigger stuff. Oh no! Just procrastinating…. just a little! 😉


Mini Stanley Pyjamas

Mini stanley pyjamas

Little Miss Ooobop has been hassling me for a pair of PJs for so long, bless her. So yesterday, we set off for the Goldhawk Road to track down the very specific ‘cats and dogs’ fabric that she wanted. But of course, the shops were shut. It was New Years Day, after all! In order to relieve the disappointment (me more than her), we drove off, instead, to get a burger and watch a movie!

Now as luck would have it, for all that was closed in Chiswick High Road, Cath Kidston was open! Like some shining apparition amidst the rainy gloom! And there was a sale on. So we duly picked out some Mini Stanley fabric. No cats but very cute dogs!

Cath Kidston mini stanley pjs by the window

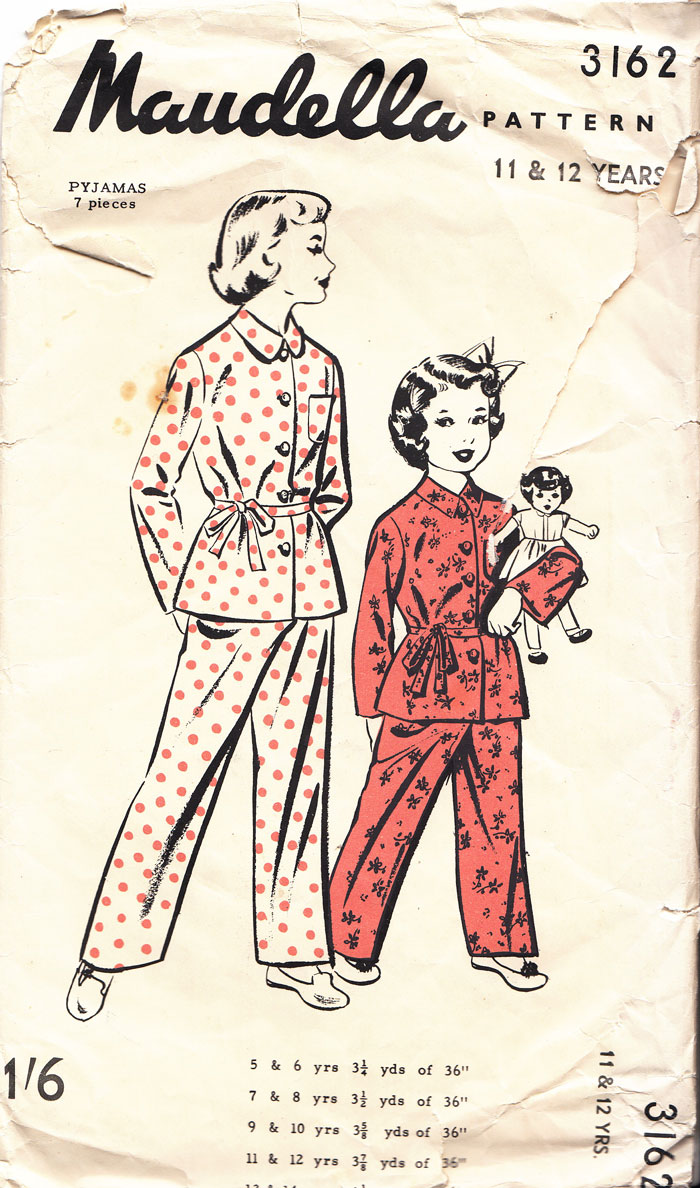
I used this vintage Maudella pattern. It’s not dated but could be 1950s if not 1960s. What would you say?

maudella_3162

I’m still working on convincing LMO to have the matching top to the bottoms but I don’t think a 9 year old can see past the ‘fogey’ images on the pattern sleeve!

I dutifully traced the one pattern piece. This is something I make a habit of nowadays. Just purely out of the respect for a tissue pattern piece that has happily existed for between 50-70 years. I don’t want to be the one who destroys that amount of history!

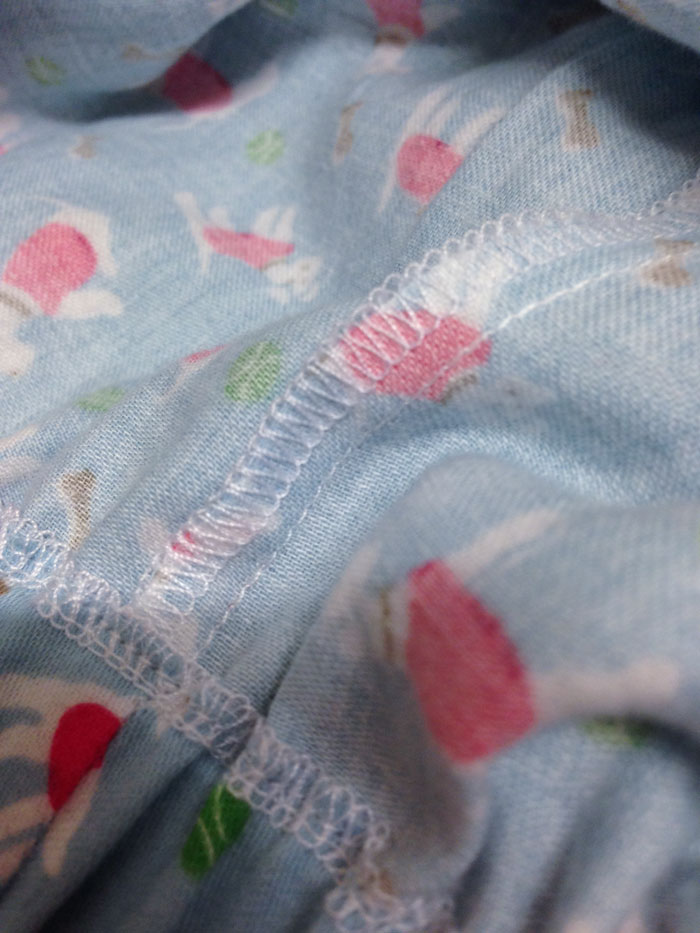
So including the careful ironing of the pieces, the tracing, the cutting, the making and the finishing touches, it took all of 2 hours. This is largely down to the magic of my new, though very old, overlocker, which was so generously bestowed upon me just before Christmas. I didn’t realise what the implications of having one were, until all the seams were serged and the hem edges neatly finished in a jiffy!

detail of overlocked seams

I am still going to have to work on the fine tunings of the tensions but it will so totally do me for now!

reading a book in mini stanley pjs

LMO has spent the rest of the afternoon in her new PJs and I’m delighted to have completed my first project on just day 2 of the New Year. Here’s hoping its the first of many more projects to come.

jumping in mini stanley pjs

Happy New Year lovely people x

Photography by DJ Photographic

Vintage post: The Wing Collar Blouse

wing collar blouse posting letter

I know, I know… I am meant to be making a jacket! But I have made an amazing discovery! If I embark on a complicated project (like my jacket) and I allow myself to be interrupted by other smaller projects (like a quilt block, a Dorothy dress and this blouse) the smaller projects all get done in really speedy record time due to the over-riding pressure of guilt waves, shooting out from underneath a pile of cut out jacket pieces! Its magic!

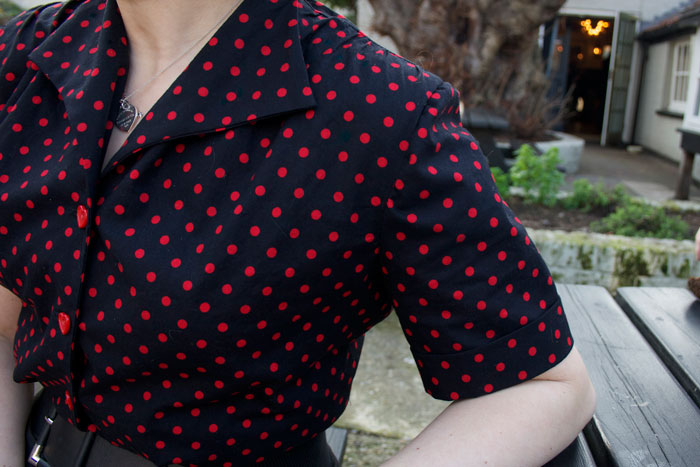
wing collar blouse at pub

Its difficult enough for me to stay on track but it’s harder still when one is snared by such inspiration

as this . . .

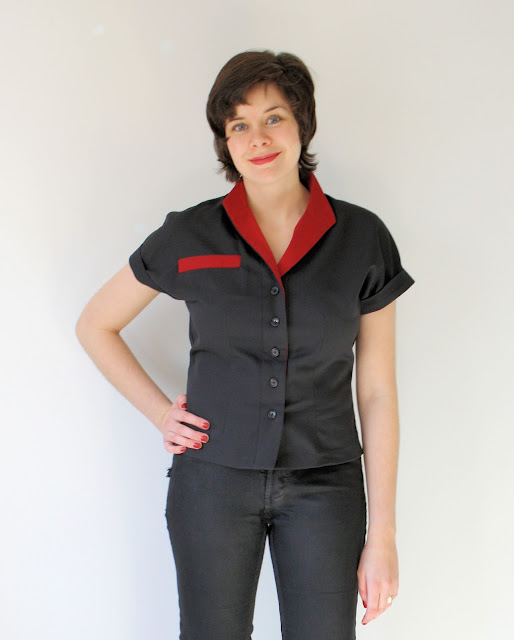
clash blouse
Clash Blouse by Lady Danbury

This fantastic Clash Blouse was created by Lady Danbury over at Thinking In Shapes and it was a struggle not to rip it off (copy it) completely I can tell you. Red and black is one of my favourite colour combos and that shirt is soooo cool.

So the nearest I could get to it was this…

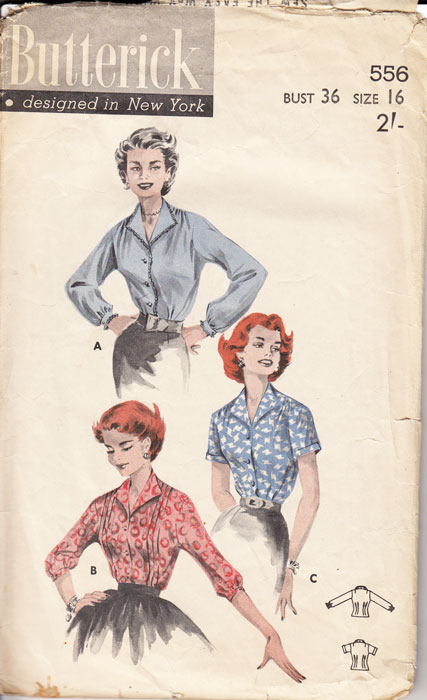
B556 Butterick pattern

I bought the pattern, Butterick 556, on Etsy. Mainly because I am not as clever and talented enough (yet) to draft a pattern like LD! But also because, believe it or not, considering the hundreds of patterns that insulate my bedroom walls, I didn’t posses a patten anywhere near similar to a wing collar blouse! I’m assuming it’s 1950s. I never can find a date on these vintage ones. Can anyone shed any light?

That ‘over-riding pressure’ convinced me I shouldn’t bother with a toile as the fabric was cheap enough if it didn’t work out. And hey, I only had to add an inch round the waist, (admittedly, after I had put it all together), but I am quite pleased with the end result. Pleased enough to have lined up some more fabric for another! I’m a bit gutted I didn’t incorporate some red piping around the collar and sleeve cuffs to highlight the detail but rest assured I will be doing that with the next one!

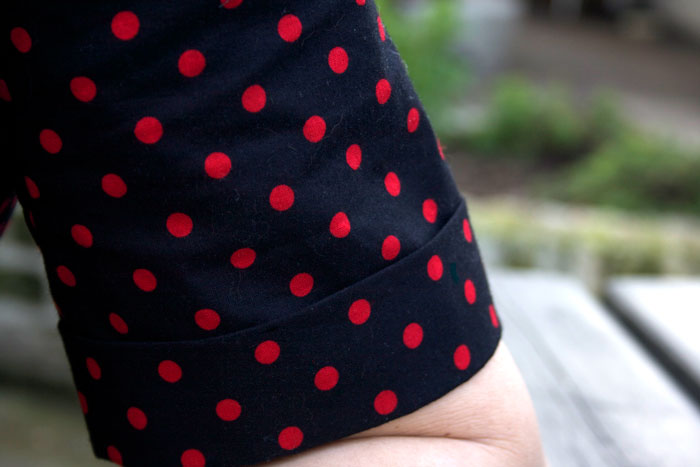
sleeve detail

I decided against a machined hem in favour of red binding for a proper vintage finish.

red hem binding

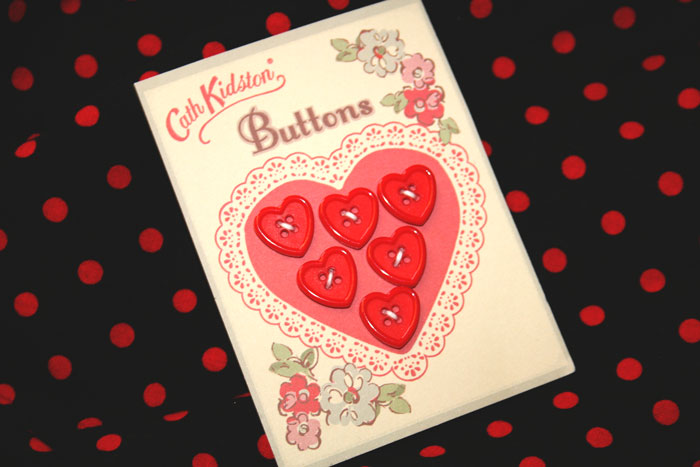
And those lovely heart buttons were part of a birthday gift from my eldest daughter.

Cath kidston heart buttons

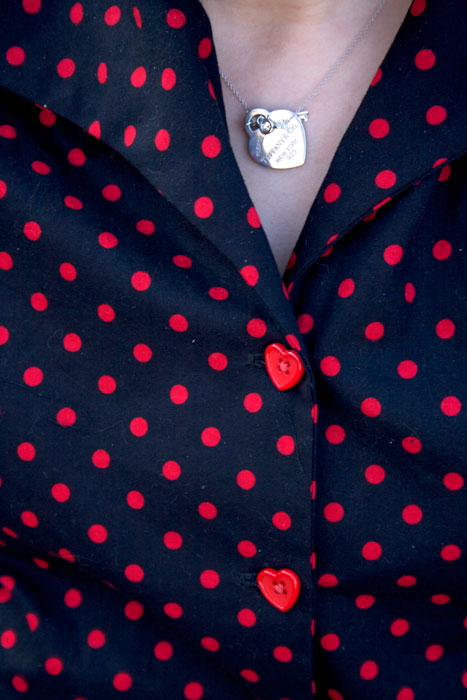
That Cath Kidston doesn’t miss a trick, does she?!

wing collar button detail

Initially I mocked the idea of padded shoulders – as much as I love Joanie – but then relented as they do indeed give a more authentic and sharper look. Im sure too that the pattern has accounted for the extra space for a bit of wadding. It certainly looks more structured with them in.

wing collar blouse shoulder

This really is a great pattern. Very simple to follow and a really comfortable and flattering fit. The eight darts… 4 in the front, 4 in the back might have something to do with that!

wing collar blouse profile

I feel a high-waisted pencil skirt coming on now…. ooops I just did… ok just that one, then I promise I’ll carry on with the jacket!!

Photo credits of course to the very lovely Mr Ooobop!