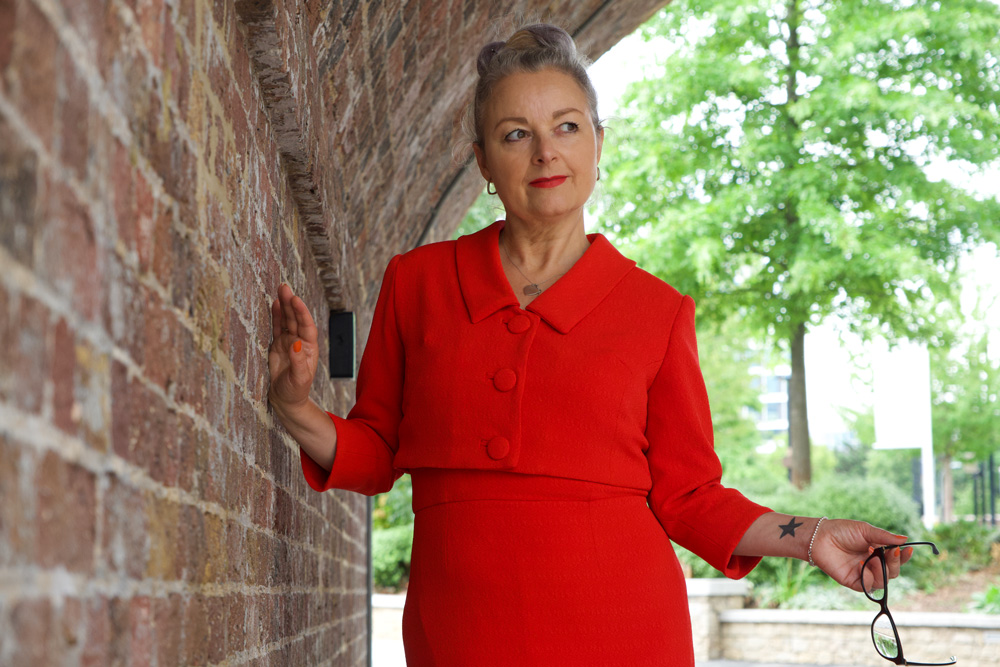
The SOI Miriam dress and jacket I always knew I wanted

I’ve wanted to make a classic dress suit for as long as I can remember. And I own very, many original vintage patterns that would have been perfect, believe me. But an overriding anticipated disappointment in the result always held me back.
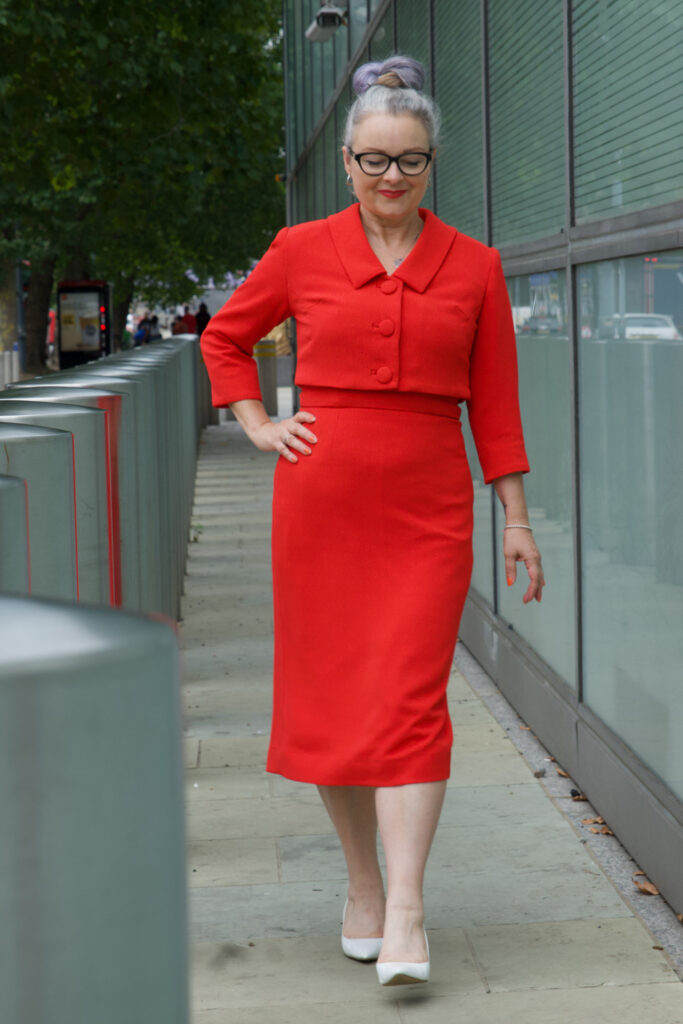
In fact its true to say I’ve altogether strayed away from vintage styles more recently, favouring an urge to be a bit more experimental instead. But I’ve never lost love for the classics. And when Lisa asked if I’d model for Sew Over It’s Vintage Dreaming collection I had to pinch myself. Every single garment of that Ebook is divine but the one look that took my breath away was Lisa in the pale blue polka dot Miriam set and Chantelle in the raspberry linen version. And I wanted it too!
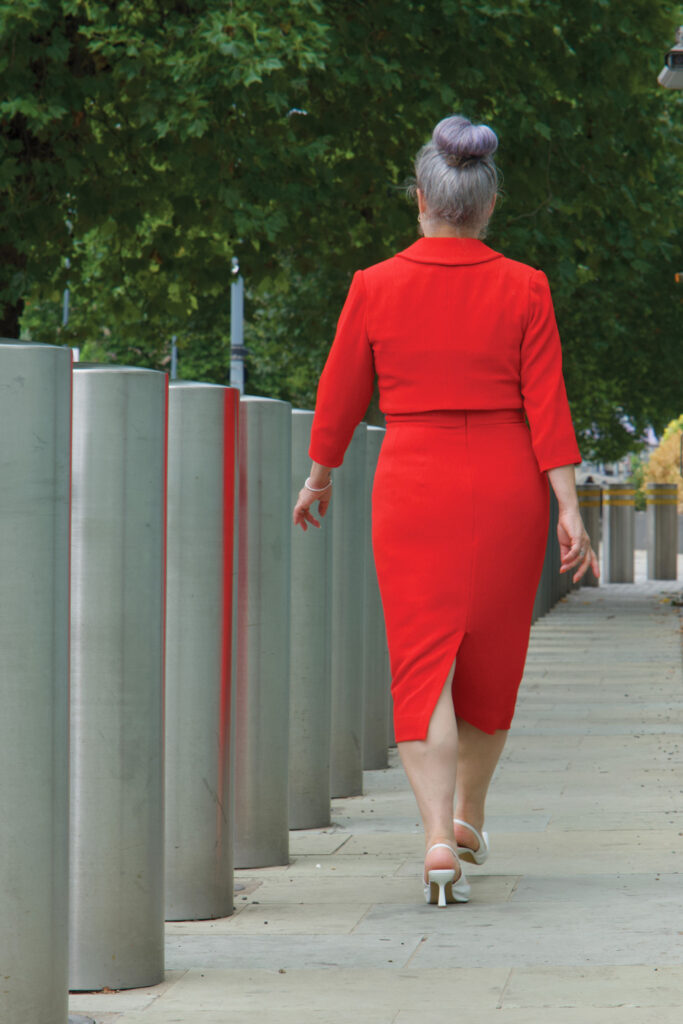
There was something massively nostalgic about Sew Over It making a return to vintage. Because that’s where they were at when I discovered them, when indie pattern companies were brand new and it felt so refreshing to have exciting options outside of ‘the Big 4’ pattern companies, and is exactly the point at which I was keen on sewing all things 50s and 60s. The main benefits of modern vintage-style patterns are the more realistic and modern proportions of the body measurements and also the inclusion of multiple size options so you can grade very easily between 2 or more lines to get a perfect fit. Most of my 1950s patterns are generally an unprinted tissue template for a singular size only. And generally speaking don’t fit straight out of the packet!
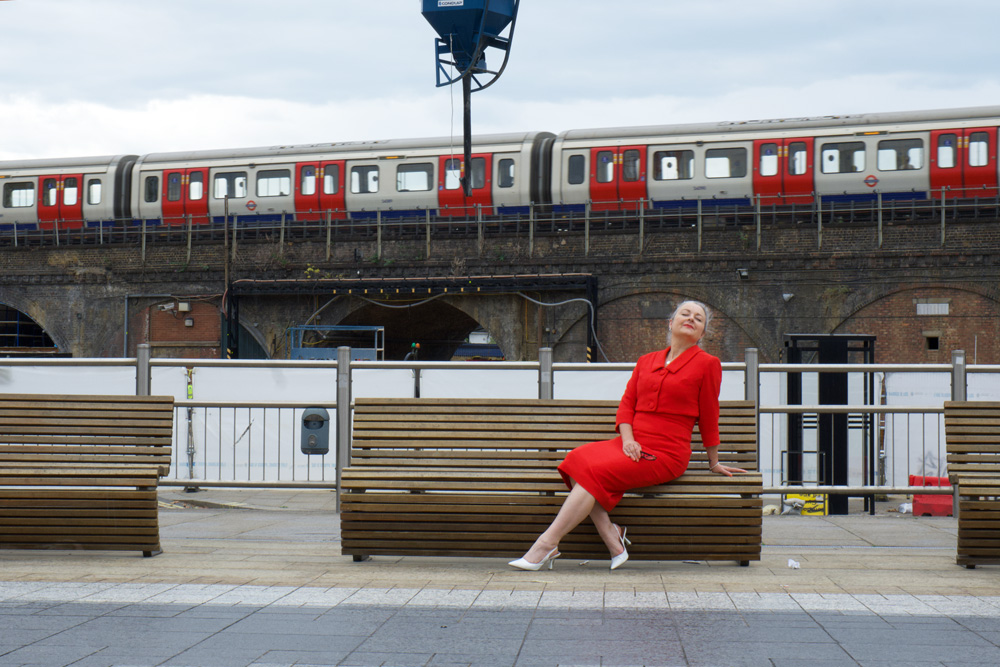
And so it was such a joy to cut a straight size 12 for the Miriam set with no fitting adjustments at all! 

The dress came together so easily and relatively quickly. This is largely due to the simplicity of the design, but also the instructions are very clear and concise. The only step I skipped was for the adjustable straps. I just made sure the straps were exactly in the right place and the right length by pinning and trying on and adjusting … about 15 times before finally sewing in place!
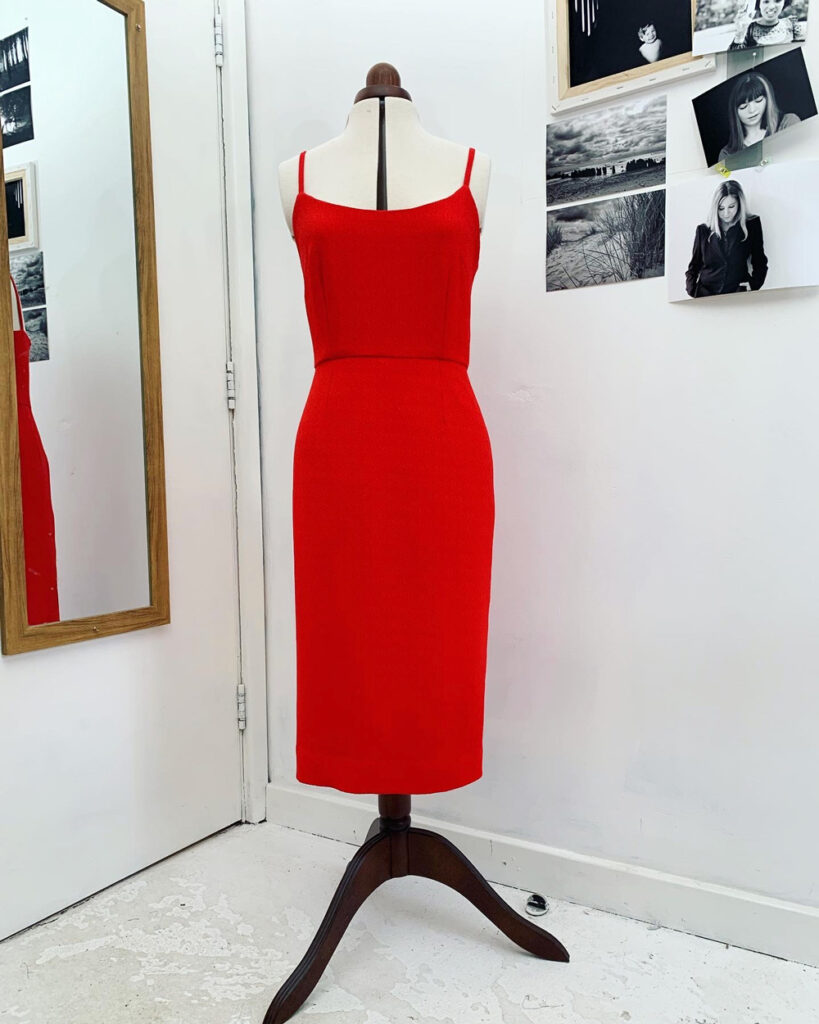
I used a medium weight, red textured crepe from New Crafthouse (always delighted to use deadstock) bought with a voucher I won back in April at the Spring Fling party. Also delighted that I’ve used it up relatively quickly and it’s not languished in stash! I’m trying so hard to create better habits recently regarding my fabric choices, sources and usage. More about that soon.
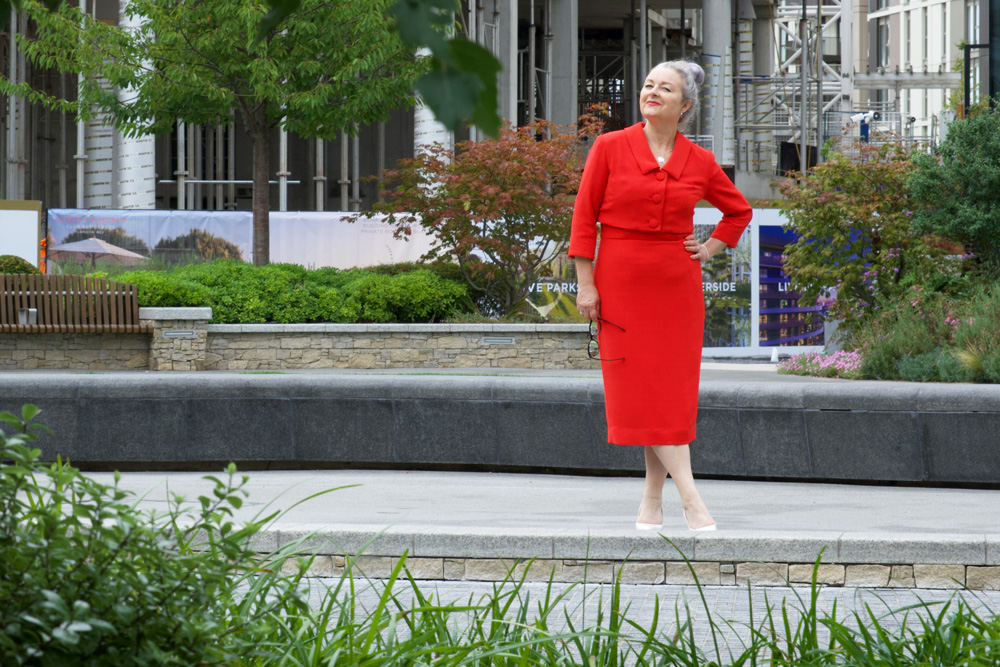
The jacket involved a bit more work. But that was mostly my fault! Although the fabric was great for the dress – it’s got great drape and is very huggy at the same time – I had  a feeling it wasn’t going to have quite enough structure for a jacket so I needed to employ some extra techniques. 

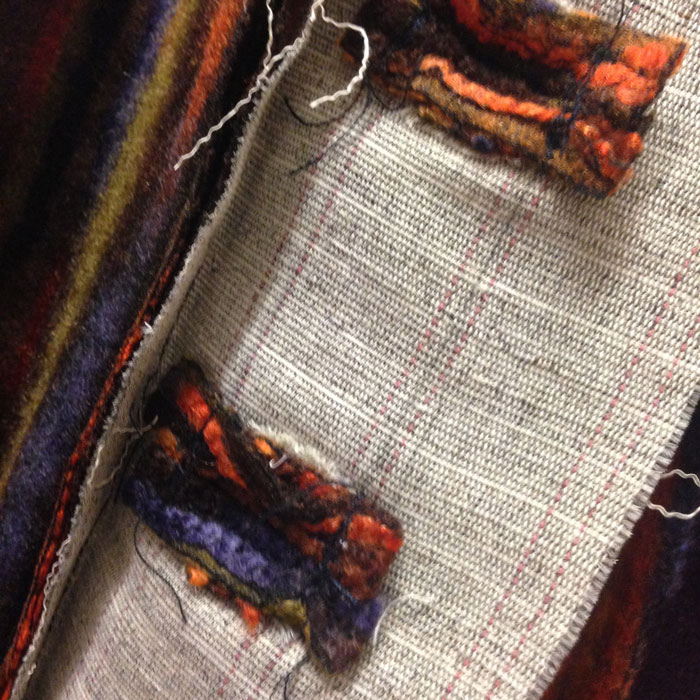
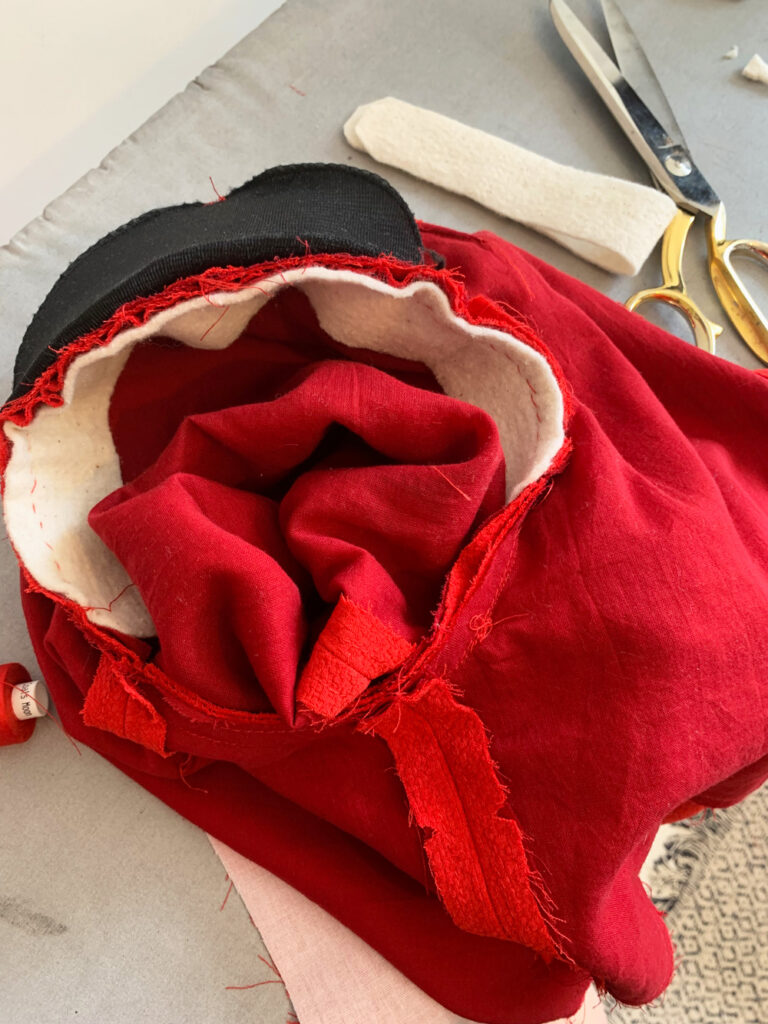
For starters, I underlined all the pieces with a red cotton voile – a great suggestion by SOI. I also padded the shoulders and added some strips of cotton fleece for the sleeve heads. I remembered to take a photo of the inner workings this time. Not quite so pretty though!
I had a horrible feeling that machine buttonholes were going to give me grief. I couldn’t bear to get to ‘almost finished’ stage only to ruin it all with raggedy buttonholes so I set about making old-school bound ones. And boy did I forget quite how faffy they are to do. I trialled some before I did the real ones. Worth it in the long run but I think I near fainted by holding my breath through the entire process. 
Its worth noting the importance of having those welt sections on grain. They will fold better and press straighter and give a much better finish.

And once I’d finished the button holes it made total sense to make covered buttons too. Luckily I had inherited a bag of the button bases and the rubber pressing tool a while back. The size was a little larger than suggested but it worked just fine.

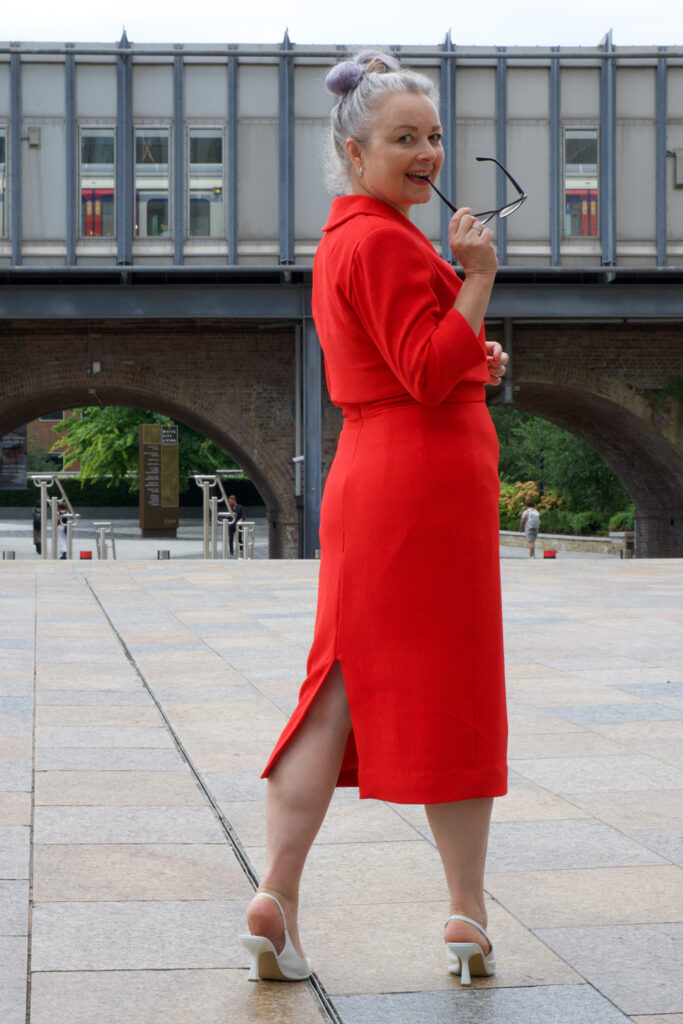
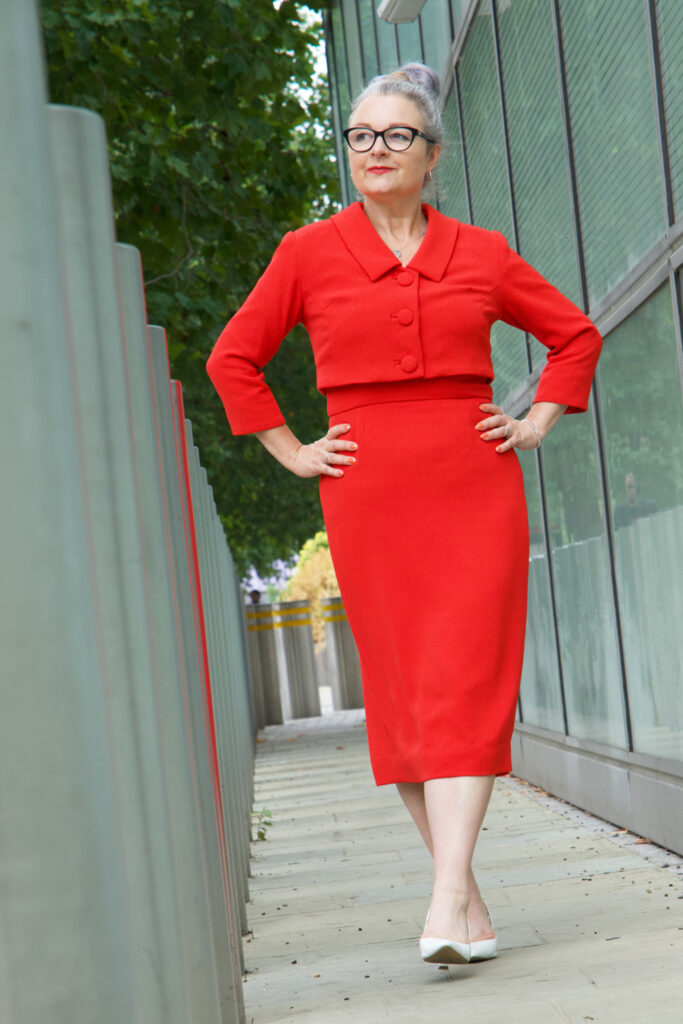
I completed the outfit in the nick of time to wear to my niece’s wedding and was so preoccupied I didn’t get any full length photos so all the thanks to Dan who took the time out to shoot these for me in and around where we work.

I just love how this suit makes me feel: mostly so grown up and properly dressed! It makes me walk tall and fills me with confidence. I got so many lovely comments from passing people, and that added to the feel good factor too! This is already a wardrobe bestie. And most probably will be for years to come.
Vintage Butterick coat with added sparkle!

butterick 547 coat by ooobop

Returning to a sewing pattern you’ve worked with before is like turning to an old friend for advice and reassurance – you’re assured of the fit, the skills needed and prepped for pitfalls along the way. Mostly!

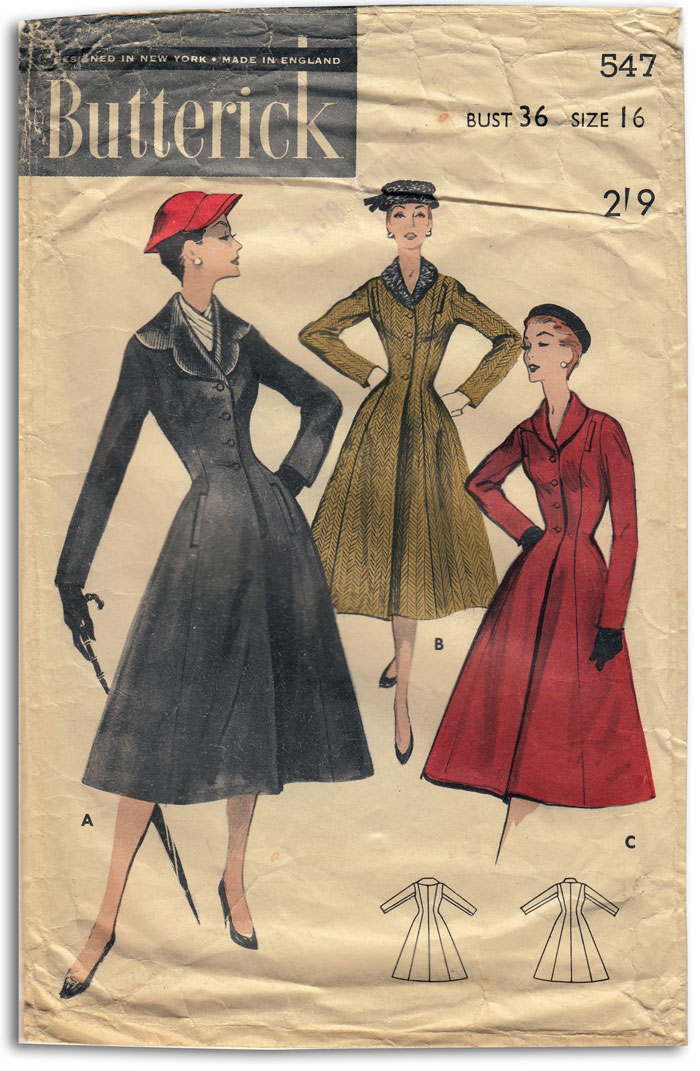
And if like me, you paid a pretty penny for the pattern, you’ll get immense satisfaction from apportioning the cost. I won Butterick 547 fair and square by charging straight  in to this crazy bid war! So now the pattern only cost £25 for each coat which sits marginally better, lol!

Butterick 547 coat full length

I made the first version in 2014, truly believing it would be my forever coat – my dreamcoat – but sadly there was an issue with the fabric that I didn’t foresee. So I had to make another in something more stable.

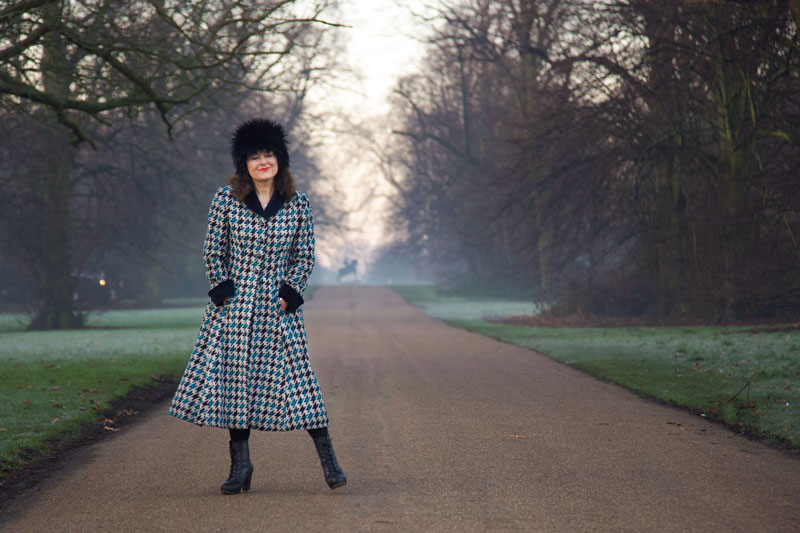
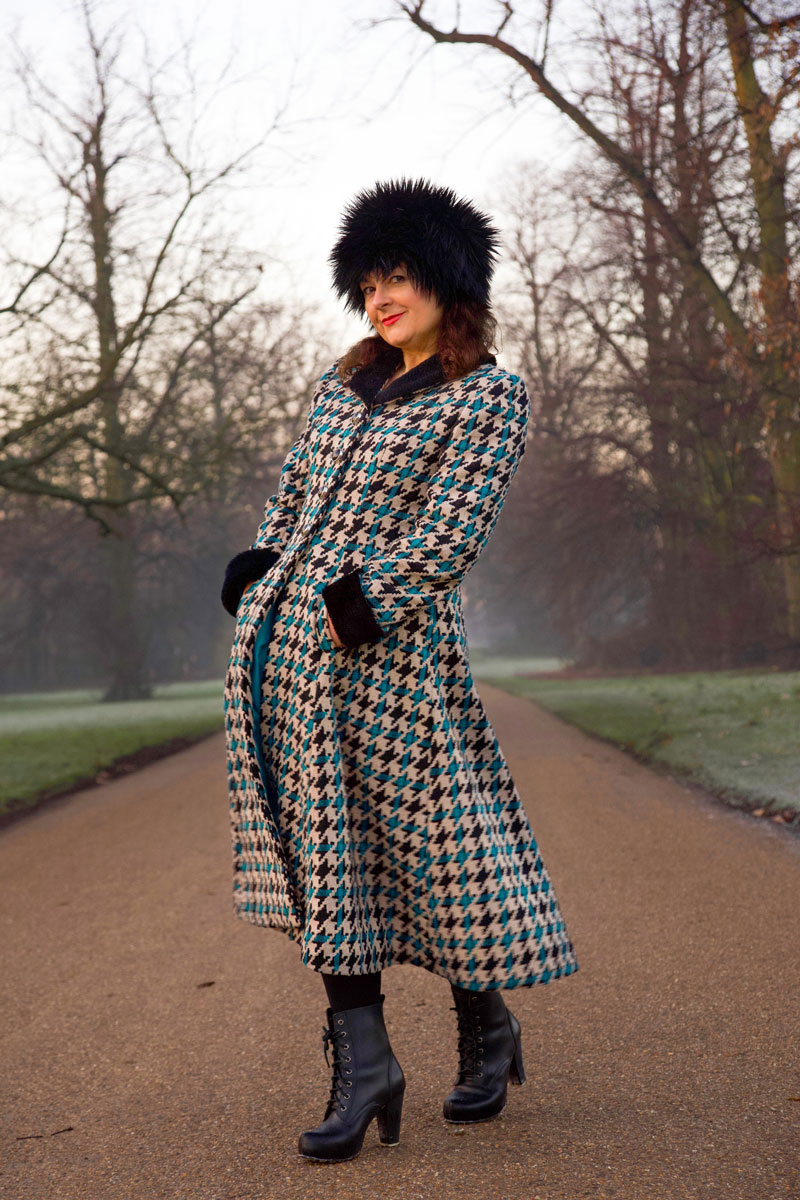
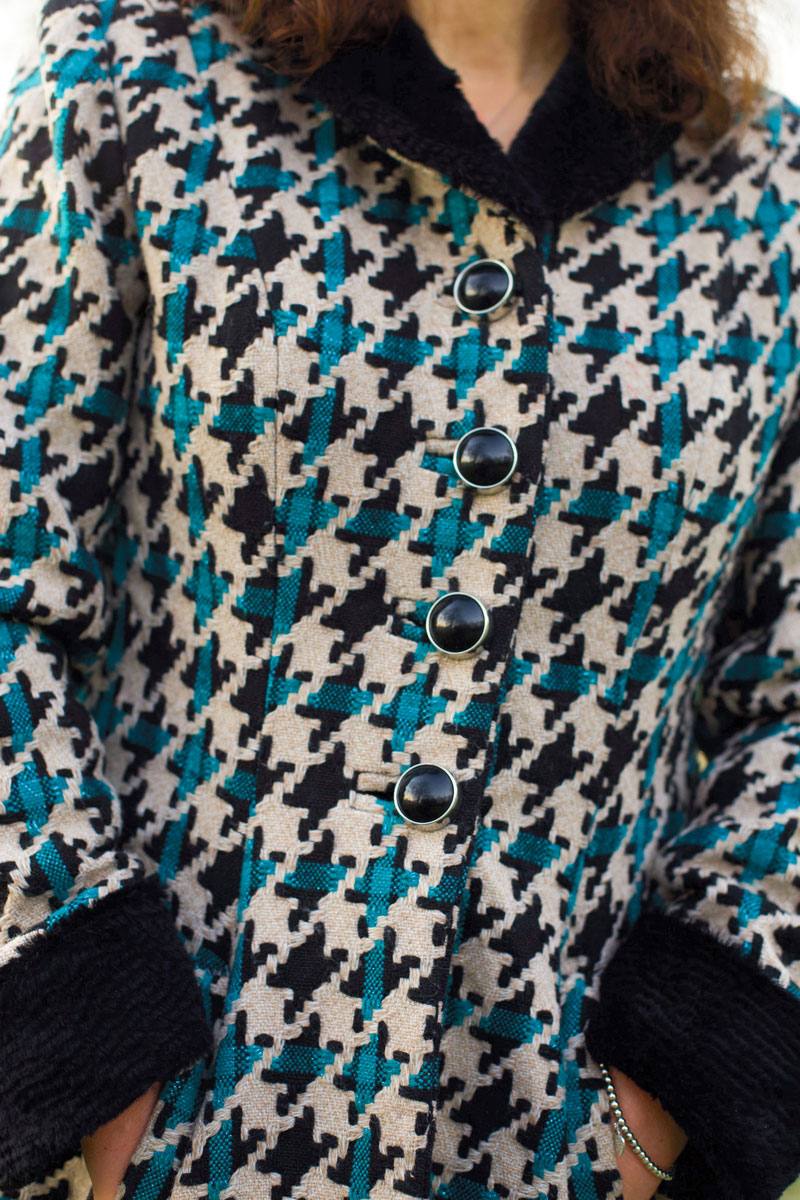
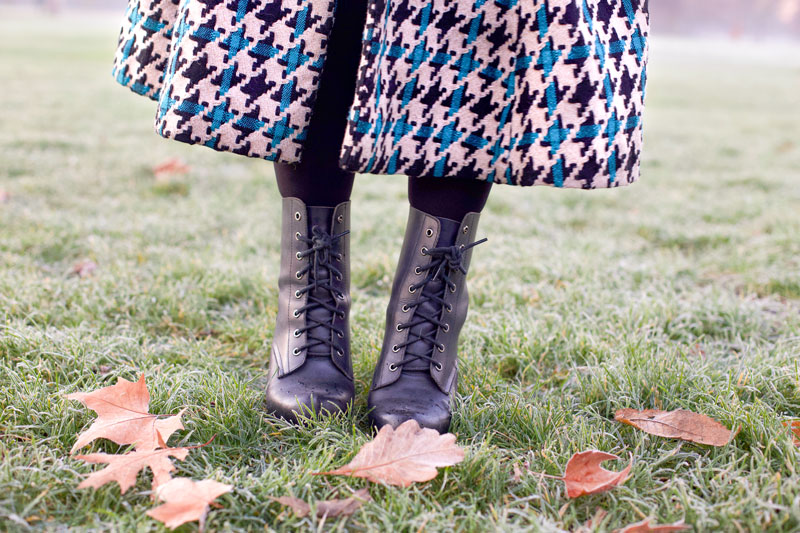
I found the ideal fabric at The Great British Sewing Bee Live show a couple of years back. Pretty sure the seller was M Rosenburg and Son . It’s a fabulous giant dogtooth with teal metallic highlights. It’s got a great weight and a great drape, and it’s stable weave means no stretching or kinking at the hemline.

vintage Butterick coat by ooobop

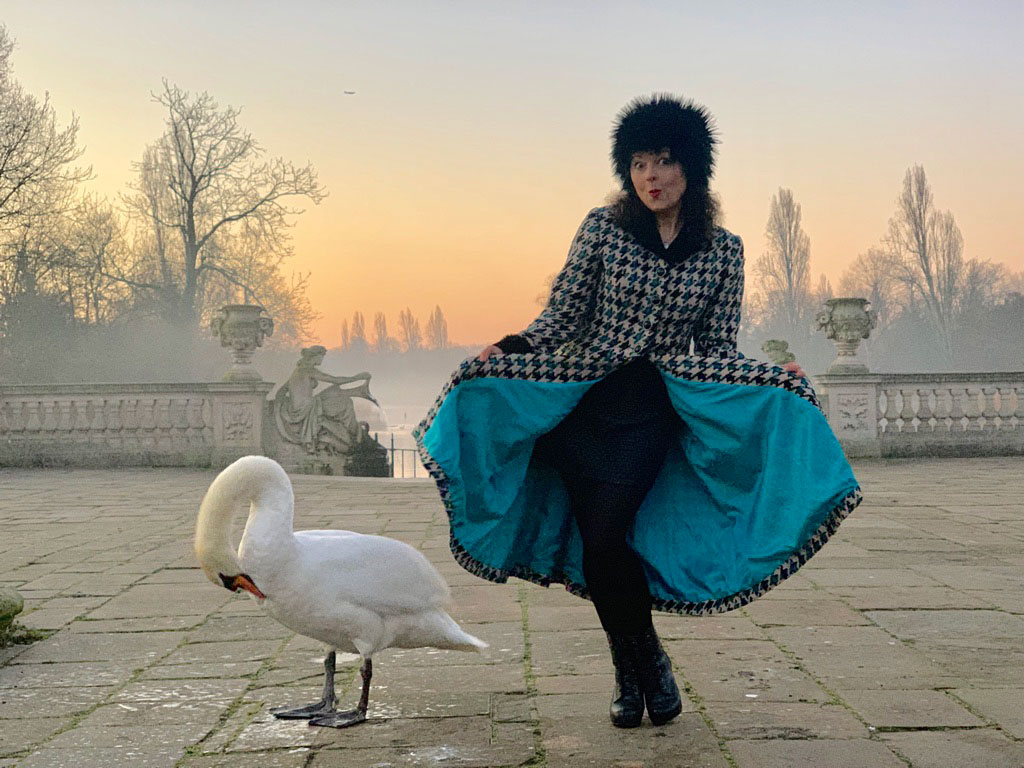
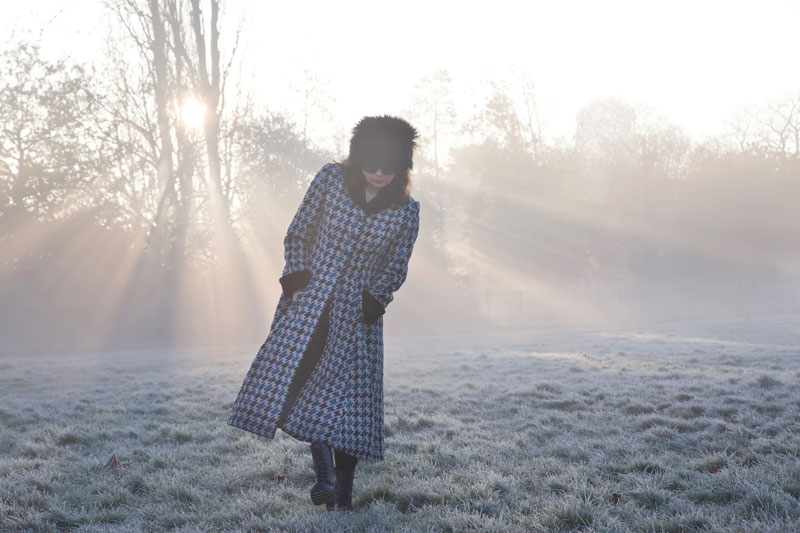
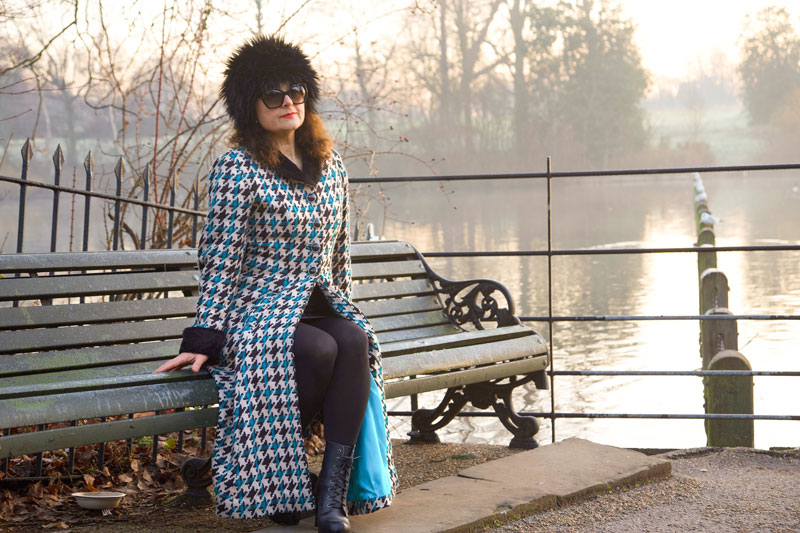
I just adore the fit – snug to the waist and lapping round my legs – the silhouette is truly 50s. Four buttons to the waist allows for the lower ‘skirt’ to separate as I walk along and a flash of the blue lining does everything to attract attention and some lovely comments.

ooobop vintage coat sunrise and swan

butterick 547 vintage coat

Sewing the shell pieces was a breeze but I stalled when it came to the welt pockets and the button holes. They call for a little more concentration and I had to psyche myself up before cracking on with that stage. But I practised on scrap pieces to remind myself of the process. The main thing that worried me was the fraying of the fabric and those tiny welts for such thick fabric. But I remembered seeing how some bloggers employ the help of Prym Fray Check and it definitely helped. In fact ended up using it on all the inside seams too. I know the seams are all ultimately hidden by the lining but sealing those edges just reassured me that it will hold together over time. Nothing to do with an unthreadded overlocker and a dose of lazyitis, I assure you! I also invested in a Clover buttonhole cutter to cut the reverse of the bound buttonholes. I can’t tell you how satisfying that little crunch feels when it bites through the coating to create a perfectly straight line. No faffy snipping with pointy scissors any more!

vintage handmade coat bound buttonholes

I don’t usually go to that much effort for many of the garments I make but I have to say, it’s always worth it. Buttoning up this coat becomes quite the ceremony. Especially with those heavy vintage buttons … feels so good!

butterick 547 button detail

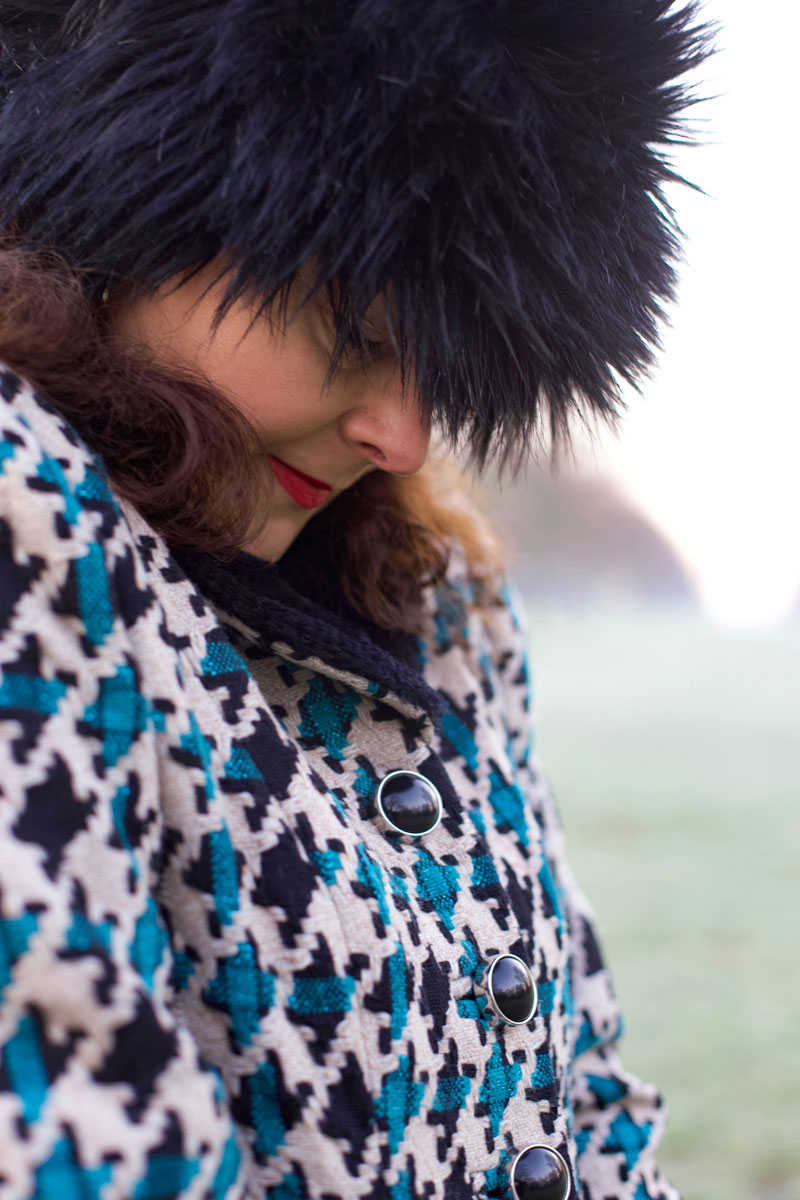
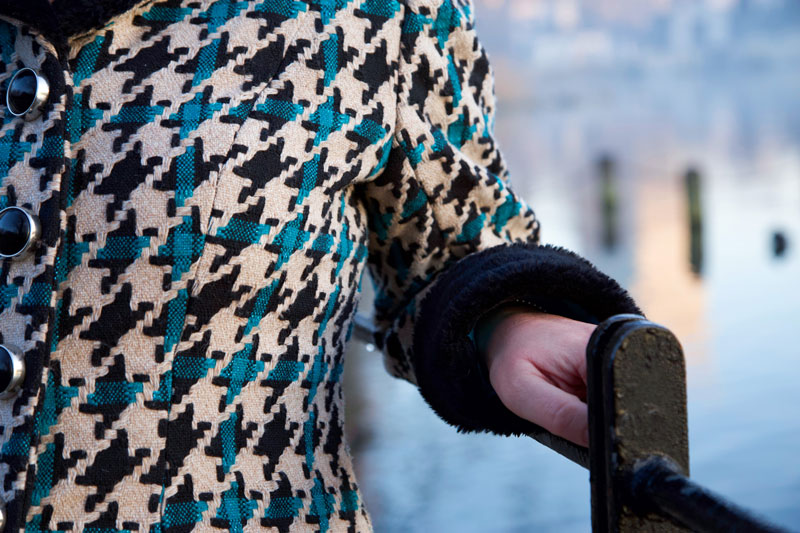
So actually, all the tricky bits were a breeze. But I shouldn’t have been so smug so soon as I had a minor meltdown about the sleeves. (Fat lot of good my old friend is!) I’d shortened them at least an inch too much the first time round and forgot to unfold that pleat in the pattern pieces for this time round. But I was inspired to use the leftover fur for some cuffs. I sewed them on with half the hem allowance and folded them back with an inch of the fluff to the inside (if that makes sense) and voila – the perfect length and actually a stylish feature to compliment the furry lapel. I can also fold them down to extend beyond my fingertips if I forget my gloves!

Vintage coat cuff detail

Butterick 547 collar

Most of all I loved all the hand-stitching on this coat. Sewing on the buttons. Sewing down the welt edges, sewing in the lining and catch-stitching the hem. I found it really satisfying and very relaxing. I just took my time and relished each stitch, very aware at how far I’ve come with finer stitches over the years. A marked difference from the whinges about it being such a chore the first time round.

I love that most people have no idea that this is sewn from a vintage pattern. Which verifies it’s classic style.  It really is timeless and classy and at some point I will make it simply in black for a more formal occasion. And then I can apportion that pattern cost further!

butterick 547 salute

I’m so glad I made it in time for the cold snap. I really hate the cold so much and yet I’ve never got enough of the right clothes. Mainly because I am now completely allergic to buying RTW and I’d sooner sew than knit. But hey, the only numb part of me on the day we shot this coat was my toes!

Lola Ramona boots

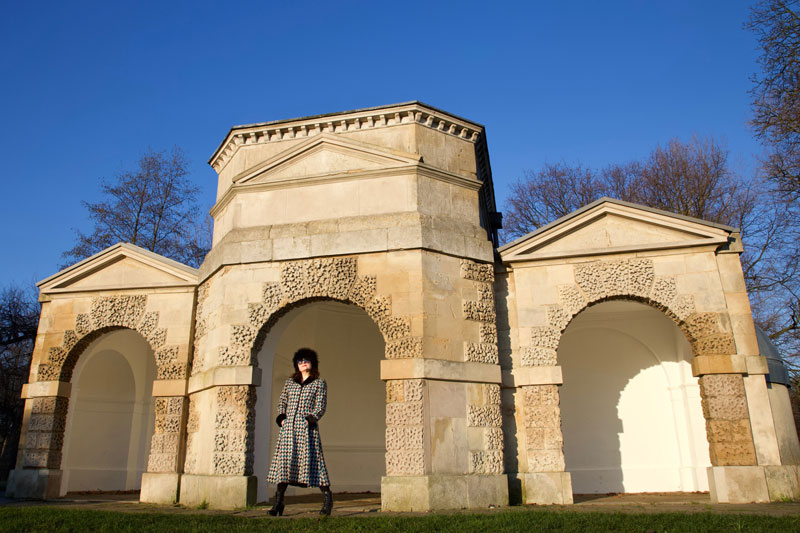
And I have to address the photos of course, taken by my wonderful hubby  – mostly known for his rock and roll bass playing but also a superstar behind the lens. You can see more of his photos at Daniel James Photographic. He was keen as mustard to get up and out before 6 in the morning, taking the bus to Kensington Gardens  and walking to Hyde park before the sun rose. And it was glorious. So pretty and quite breathtaking as the mist rolled in from the Serpentine as  the swans and the Mandarin ducks preened themselves in the golden rays. So magical.

butterick 547 vintage coat

I’ve had a Google to see if anyone else has made this coat up but so far have drawn a blank. Surely I can’t be the only one? Maybe that’s why I ended up paying the earth!

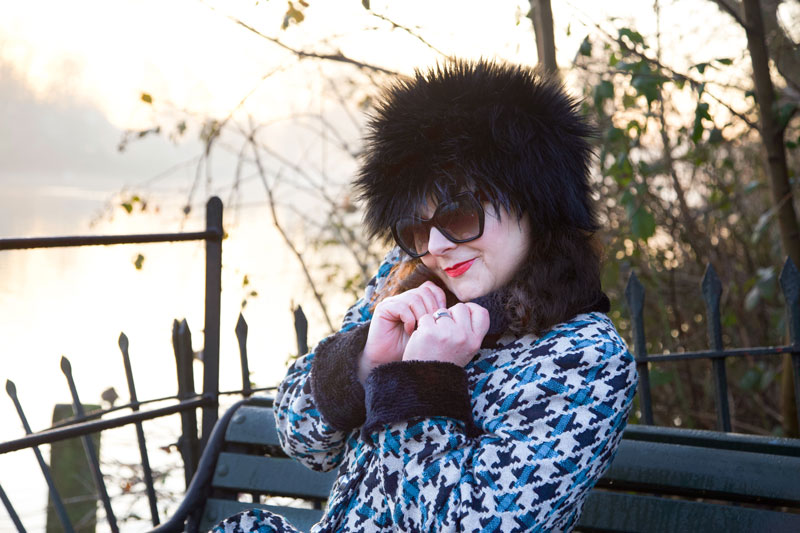
ooobop sitting on a bench

Thanks as always for popping by. Hope you’ve got some lovely plans lined up for the weekend. And I’ll look forward to bumping into some of you at the Spring Knitting and Stitching Show next week… eeek!

Vintage coat in progress

And so, six months after my gruelling battle to win this beauty of a pattern, work has begun, in earnest. When I was bidding the for pattern, I had the finished coat, clearly in mind and so to be faced with 19 pattern pieces and the usual vague set of instructions, the fear set in.

Butterick_547

I’ve made a jacket or two, I’ve even tackled the wicked welts. So what was I afraid of? Doing it justice, I think. If I was going to go to the bother of making a coat – not just any old coat, but the coat of my nightly dreams since battle was won – I needed the right fit, the right fabric, the finest construction, let alone the neatest bound buttonholes. (Something I hadn’t yet conquered !)

I live near fabric heaven, The Goldhawk Road. And so finding the right fabric should have been easy, right? Easy enough when your expectations aren’t stationed on the moon! I searched high and low and eventually found this amazingly eccentric fabric, online at ‘Fabric Dreams‘. Quite apt, really! I initially had tangerine wool in mind so I ordered a few different free samples and then sat under the letterbox for all of 4 days!

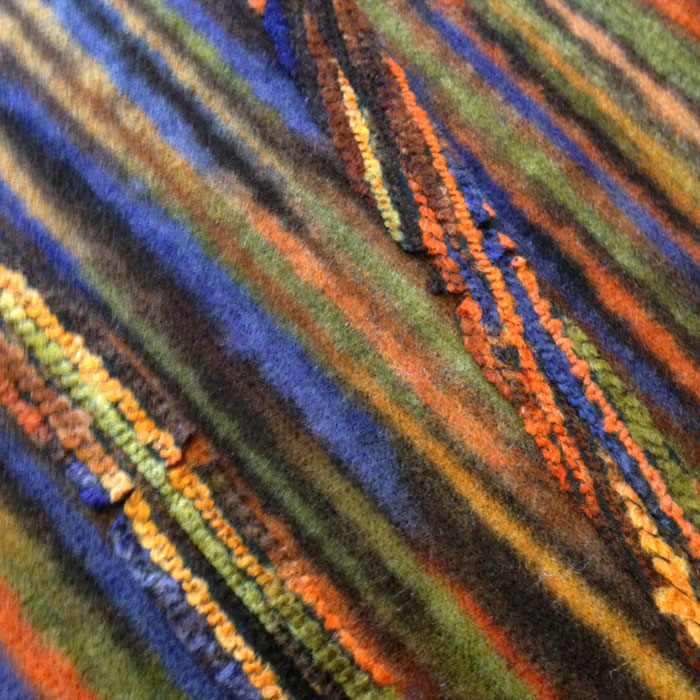
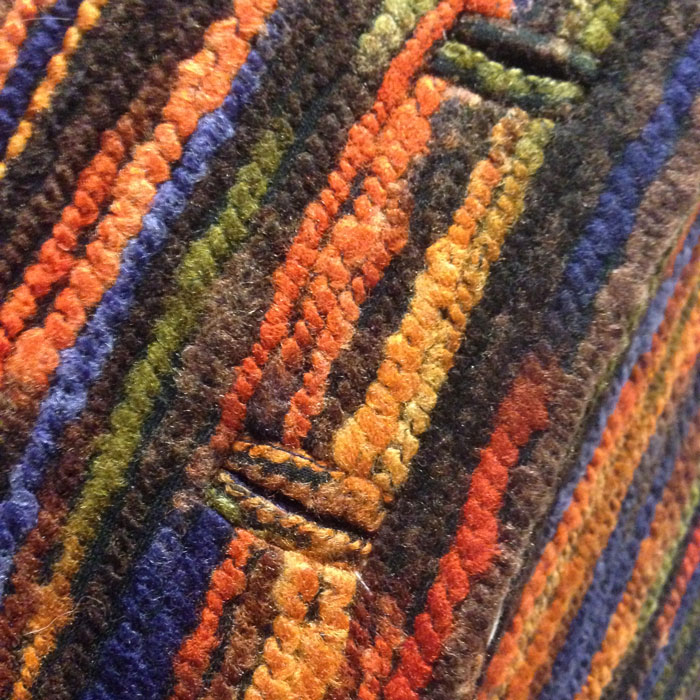
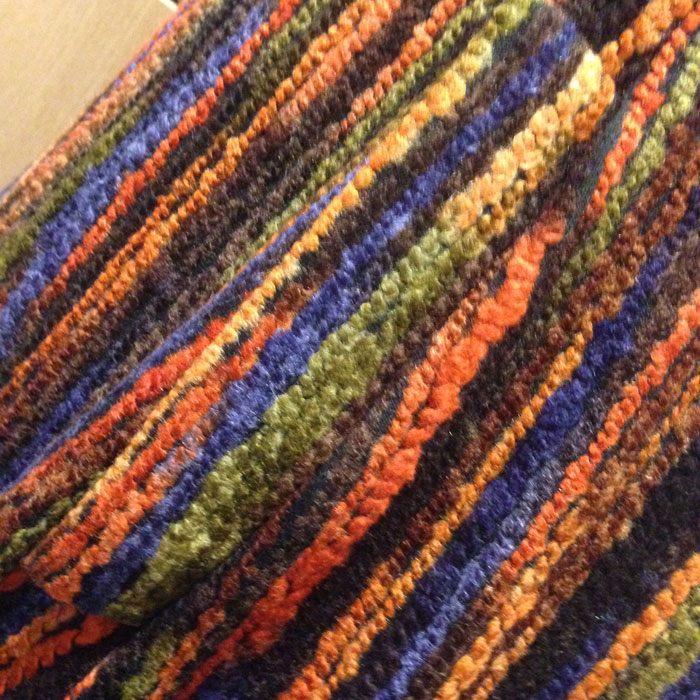
When they did arrive, it was a no-brainer. Even though the fabulous, firey fabric was 100% not wool (and not just tangerine, but an entire fruitbowl of colours) and the others were, it screamed at me to be given a chance and so I agreed to put it centre stage. After all, if I was ever going to go to the bother of making a coat, there’s no way I wanted it to go unnoticed, oh no!

I even made a toile. Just the body section. And this confirmed my need to loose some circumference. I had my suspicions that the coat would be a little big, and it was, but was worried I’d loose the nipped in shape if I took it in at the top and let it out at the waist (the usual Ooobop sausage-shape adjustment!). So with some careful measuring, re-measuring, a little panicking and some more measuring, I took out half an inch, vertically, all the way down, from each of the front and back pieces. So as not to affect the silhouette of the design. Incidentally, like a good girl, I had pre-traced all the pieces!

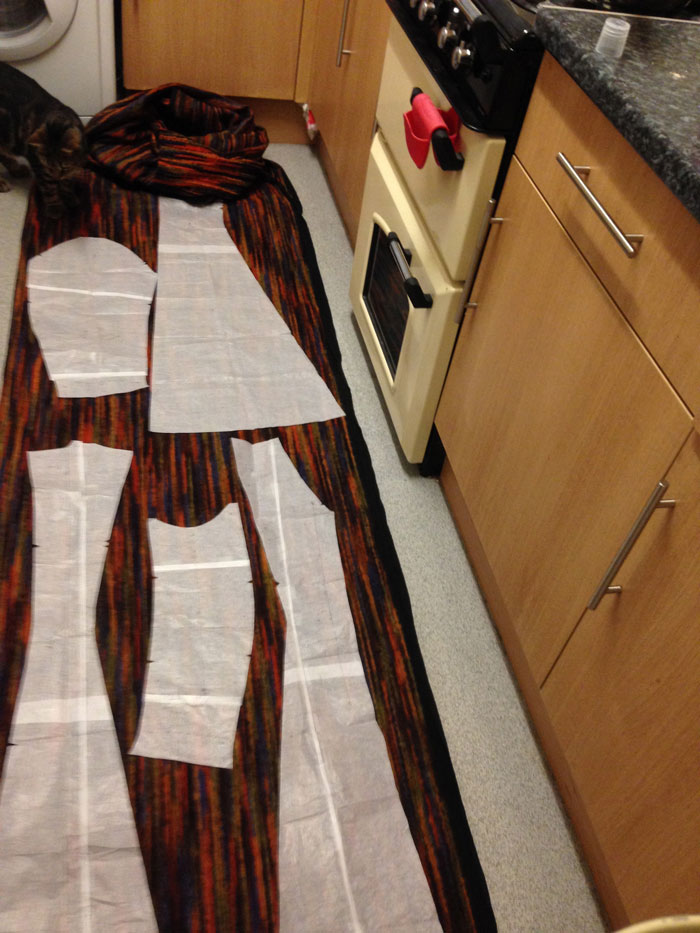
And then to cut the real fabric. Ooooo the suspense, the fear, the excitement! The pieces are massive. I know I will eventually chop off about 6 inches but I wanted to start long so I could make that decision later. But that did mean I had to cut out on the floor. My kitchen table just ain’t big enough! And that, in turn, meant I had to wash the floor… doh! Always something to hamper a plan! Still took three roll outs of the fabric and continual shooing of cats.

cutout_on_floor

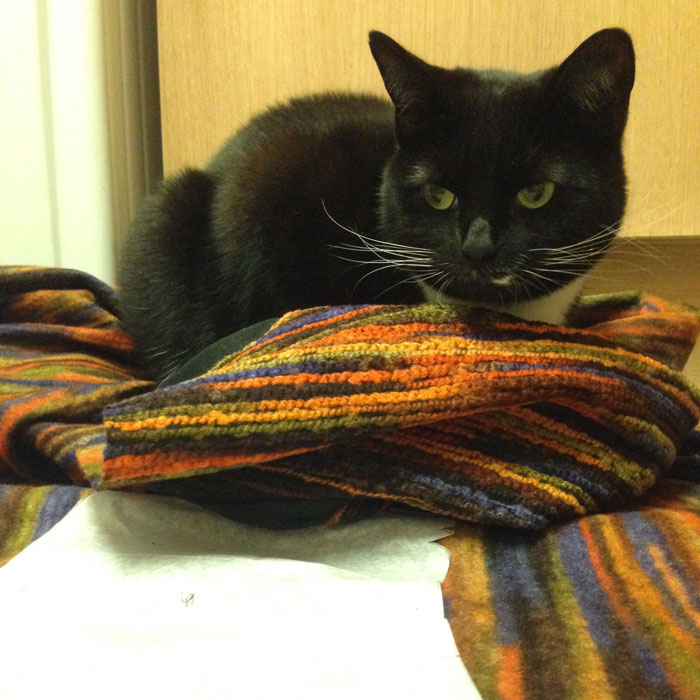
Honestly, why do they insist on laying where I’m cutting? It’s not like there’s no other piles of fabric in the house!

Cat on fabric

An hour and a pair of stiff legs later, I had a wonderful pile of cut pieces. It’s quite tricky to cut though the ‘corded’ texture but it doesn’t fray.

Yesterday I sewed the main body sections and oooed and arrred as I steamed those seams open. For all it’s 100% not woolness, it presses beautifully. And I haven’t had to clip any curves either.

pressed seams

It was getting late last night and I did hesitate to start on the bound buttonholes but knew my dreams would be sweeter if I at least had a go. So I tried a few tester ones on some scrap fabric using the instructions on the pattern sheet. They were rubbish! So I went to YouTube to find someone who’d show me how. They were rubbish too! And then I remembered Karen’s fabulous Ebook download which proved to be the perfect method and I’d even go as far as saying I loved doing them!

bound buttonholesbound buttonholes reverse

Practising those stood me in good stead for making the welt pockets too!

welt pocketsPretty camouflaged huh?! Thats without the invisible stitching which is yet to be done. I’ll be fishing around for ages trying to find a way in, when it’s finished properly!

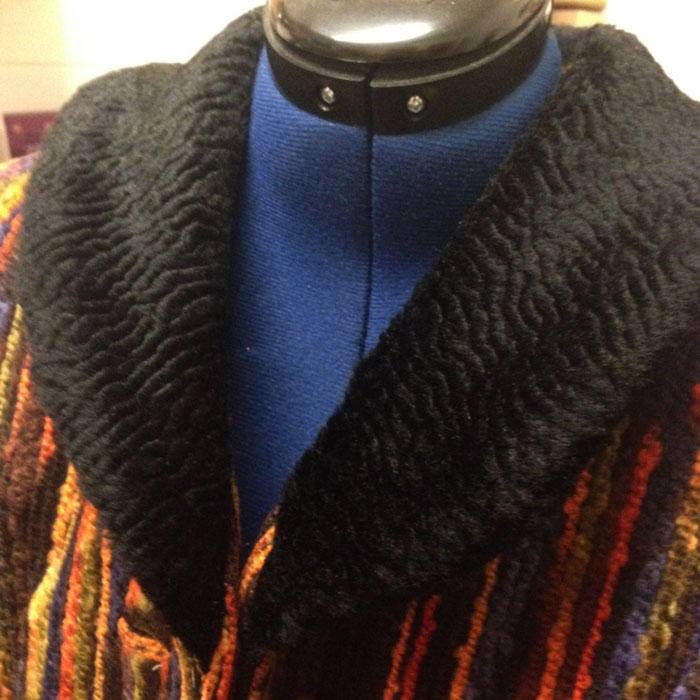
I pondered for ages, wondering what kind of collar I should have. Should it be the big dramatic scalloped one? One of the self same fabric to keep it simple or a little furry shawl collar? I opted for the latter, after going round in circles. Mostly in the shower!

Faux fur is fast running out in the Goldhawk Road. The good stuff anyway. I’m told by reliable sources that no more will be ordered as summer stock will soon be on it’s way! So I was well chuffed to find this short pile, soft-as-you-like, faux fur. Works a treat.

faux fur collarThough I’ve made fantastic headway this weekend, there is still a lot of work to be done. The sleeves, the length, the hem, the lining and the facing behind the buttonholes. But it will be worth it I’m sure. I can feel those sub zeros honing in over the next few weeks but hey, bring ’em on. I’m going to be snug as some bugs!