Joan dress: not so little, not so jumpy

Joan dress front view

When I first heard of the Joan Dress, by Sew Over It, the first thing that entered my head was a nursery rhyme I remembered as a child, from the Ladybird book of Nursery Rhymes. It went like this:

Here am I
Little jumping Joan
When nobody’s with me
I’m all alone

Not particular ground-breaking stuff but that poem coupled with this awesomely terrifying illustration has stayed with me ever since!

Little Jumping Joan

Clearly I wasn’t purely channelling Joan from Madmen !

I’ve been after a classic dress for some time and I do believe that this one totally fits the bill whilst still fuelling my lust for vintage.  I used a green wool crepe, underlined with a silk organza and fully lined with a gold lining, all from stash. I don’t usually happen to keep a supply of such luxurious fabrics, moreover it was reserved for another dress which I am still a bit too scared to attempt! But it has been hanging along for too long now and in any case saved me a trip to the shops!

The leaf-buckle belt I made is just the icing on the cake (whilst disguising the fractional misalignment of darts… shhh!):

close up of leaf buckle belt

Now I will let you into a little not-so-secret, secret. Fully underlining a dress (excepting the sleeves), especially if you’ve limited the ease, means you can’t jump, you can barely sit, nor eat, forget picking up anything you’ve just dropped or even attempting to zip up the last couple of inches… oh and sneezing is a no no for sure! Needless to say this is the first time and most probably the last time I will do this, unless of course I have no reason to attempt the latter.

Joan’s first outing was to the Foldline‘s launch party at Sew Over It, Islington where I met the lovely Lisa in person. Such a gorgeous shop and such a talented lady. I explained the issues I had created for myself and Lisa politely explained that silk organza is used in corsetry for just those holdy-in kind of reasons! So I had kind of corsetted my whole body! There were so many yummy snacks on the table and I just daren’t!

Joan Dress profile

There was, however, a method in my madness. I had made a dress in wool crepe once before – Vogue V8280 in fact – and I had only lined the skirt in a thin silk lining. Although the wool crepe fabric was good quality it creased like Billy-o every time I sat down. I also found it a bit too drapey on it’s own to hold any structure for a pencil skirt. And then I had a silk organza lightbulb moment.

I still stand by my reasonings for underlining the skirt. It worked and looks far better than the other one did but I would definitely need more ease in the top half if I were ever to underline a bodice again!

The whole process of underlining wasn’t as daunting as I’d previously thought. In fact I quite enjoyed it. I traced the pattern onto the silk organza pieces using an air erasable pen. The funny thing is, I did the tracing on one evening, forgetting the magic qualities of said pen and put the pieces to one side to be continued the following evening. Well you can guess the rest… doh!

air erasable pen

So after I’d retraced the pieces, I pinned and then basted the pieces to the wool crepe. Strangely satisfying! I also basted the darts which made for easy sewing of–!

underlining with silk organza

Basting done, I cut out the main fabric and sewed all the pieces as per instructions, which incidentally were very clear and concise.

I do so love the little neck-tie detail, making it all things Joanie. The little collar effect at the back of the neck too. I especially like how the wool crepe behaved for this. It was definitely the right fabric for the job. I am also in love with my zipper insertion! Nowadays I don’t even attempt an invisible zipper without my invisible zipper foot. Can you see my zipper? Can you? No? Oh jolly good! Boy does that please my tiny mind!!

Joan Dress back view

You may also notice that I made a pleat at the back rather than a slit. I’m not very ladylike when it comes to an open vent and nine times out of ten I will rip it. Nothing to do with me not being arsed to fathom the instructions at all… honest, guv!! 😉

Well, I’m guessing there may be a couple of comments regarding the shoes. Bought by Mr O of course. Another of his amazing, jealousy-fuelling qualities is that he adores shoe-shopping… for me! And he gets it right all the time. They are from Iron Fist and are the Sugar Hiccup, teal and black with glitter skull. I can’t actually walk in them very far, it may not surprise you to know. But they look darned good and they are a very lucky match for Joan!

Iron Fist shoes

And no, of course I didn’t manage to reach that leaf!

Leaf buckle fabric belt and how I made it

leaf buckle belt

One of the many selling points of a vintage-style dress is the addition of a matching or co-ordinated fabric belt with a cute buckle. But as much as I love the look, I’ve always gone for the belt-free view just to avoid the extra work. What a shirker!

Until now that is. Until I made the Sew Over It Joan Dress. Apologies up front for the lack of said Joan shots but Mr O has done a bunk again and left me void of quality photography services. She’s all class is Joan, and no selfie is going to cut it, I’m afraid. Hoping to nab some shots in the next few days, though.

I found this cute little buckle, at my first visit to the Hammersmith Vintage Fair a few years ago. I’m not entirely sure how old it is or what it’s made of but it’s a weighty metal, inlayed with tiny turquoise and teal mosaic pieces. Shamefully I don’t even know what kind of leaf it is. Sycamore, grape vine? Any Girl Guides out there? It’s not cannabis thank goodness. That would be far too tacky!

The eureka moment to use it came in tandem with another when I remembered the lovely jade green wool crepe I’d squirrelled away for a vintage Hardy Amies number that I (ahem) put into Karen’s (DidYouMakeThat) Sewlution Jar just as many moons ago. So what a result. A pattern gifted by the lovely Alex at Sew Over It, perfect fabric in stash plus the prize jewel of a perfectly coordinated buckle!

So here’s how I made it. . .

Materials:

Fabric (waist measurement plus 4 inches x width to fit in buckle, plus seam allowance)

A length of Petersham waistband stiffener, 1 inch shy of fabric length and width to match

Velcro

matching thread.


Instructions:

With right sides together, pin fabric along the length, marking a gap either side of the centre point for turning. Sew along length with a regular stitch and then change to a longer length stitch or basting stitch for the gap:

pin fabric along length

Trim seam but leave the full allowance along the basted section:

trim seam allowance

Roll the seam from the edge to the centre of the tube and press the seams open:

press seam open

Unpick the central basting stitches to open the gap:

unpick stitching at gap

Turn the tube right side out, pulling each end through the central gap. You can do this by attaching a safety pin at one end and pulling through or if you don’t have one already, I wholly advise you to get one of these loop-turners! You just clip one open end and push the fabric over itself, like so:

loop turner

Give a good press, making sure that seam stays open and pressing the gap closed too.


give a good press

Insert the Petersham belt stiffener by attaching a large safety pin to one end and feeding through the central opening to one end. Repeat for the other end.

insert petersham belt stiffener

Ladder stitch the central and end openings closed and give another press:

ladder stitch

Top stitch on the right side. I find the stitch-in-the-ditch foot works a treat for this:

stitch in the ditch foot

Take a moment to admire said top-stitching. It’s the little things, you know! 😉

topstitching

Fold over and hand sew one end to the buckle. All buckles differ but same in principle:

attach one end to buckle

The next step is totally unsympathetic to any vintage techniques but I make no apologies because it works for me. I hand-sewed velcro to the other end to make it adjustable:

attach velcro

It’s foresight you see. There’ll be a few Christmas dinners before the year is out and I’m erring on the side of caution. Should have been a Girl Guide!

Hope you found this tutorial of some use I’ll be back soon to show how it in situ, on Joan!

TTFN x


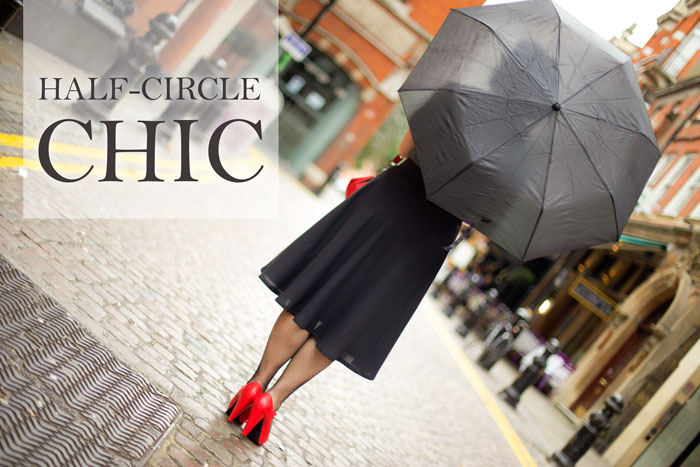
Half-circle chic

half-circle skirt

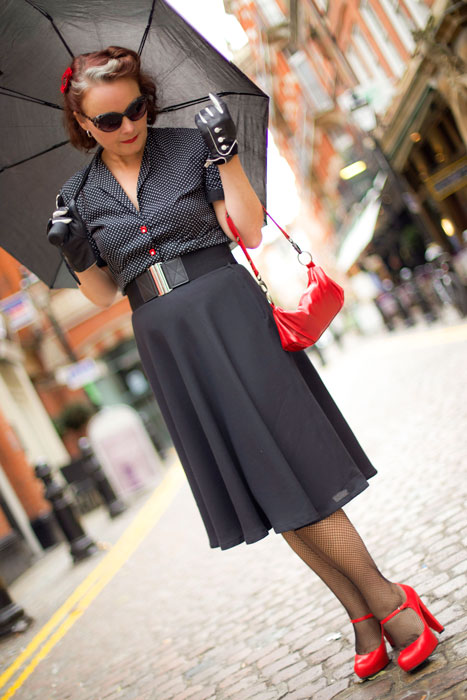
This is my first self-drafted half circle skirt. Made from the finest poly-crepe and lined with some heavy stretch satin because gravity ain’t that clever!

I nearly went for wool crepe which I think would have worked even more beautifully, but the idea of messing up 2 metres @£40 was a little bit more daunting than @£9!

half circle skirt front view

The drape is lovely on the poly and I’m so chuffed with how flattering it is around the hips, but my oh my does that cause nasty stretchy bias hemline issues.

To draft the skirt, cut and sew together is child’s play. And it was a perfect project to practice a lapped zipper too. But to get an even hem on this skirt required patience of some saints. I blogged the other day about my time-starved, light-rationed sewing time so I won’t harp on any more about that but lets just say a massive learning curve was attained with the help of some basic tools, a bit of determination and a few swear words!

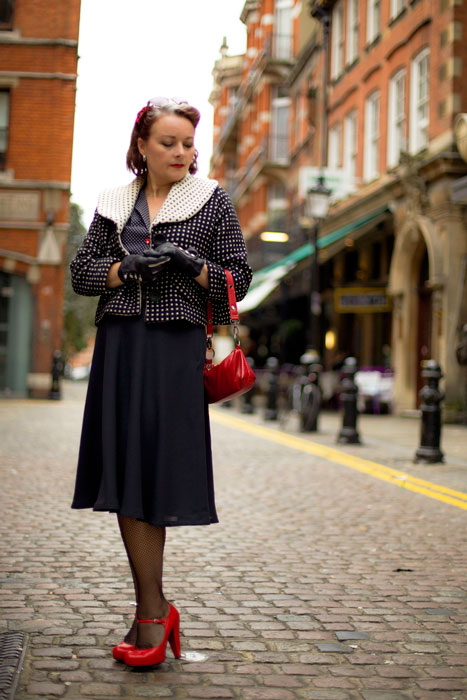
half circle skirt with jacket

half circle skirt front

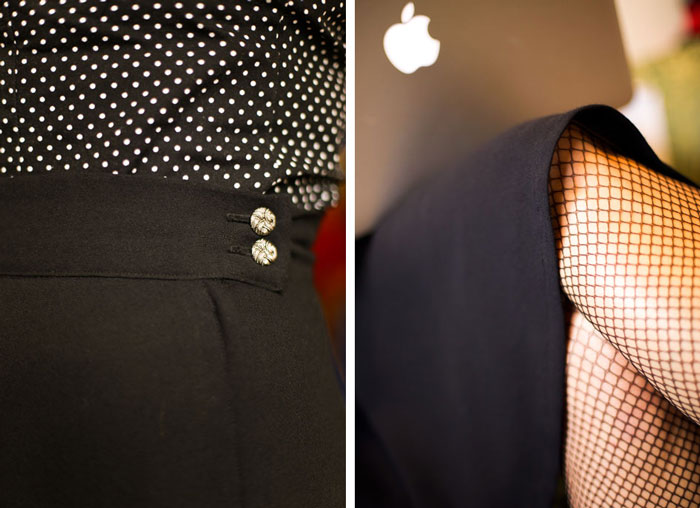
I incorporated 2 buttons as a closure instead of the usual hook and bar and used black bias binding to finish the hem. And no I did not do it by hand!

half circle skirt detail

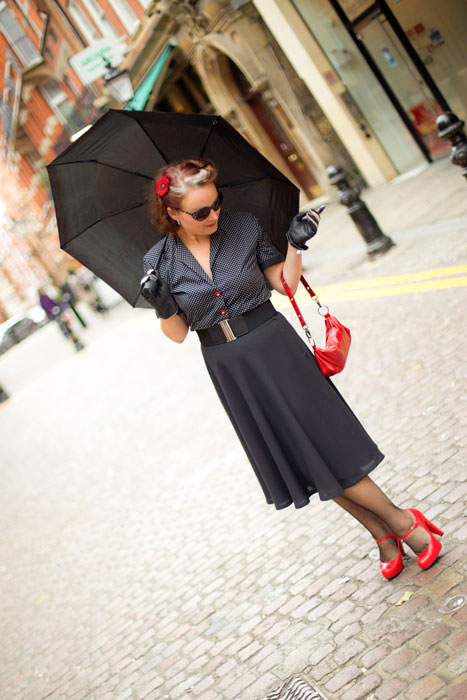
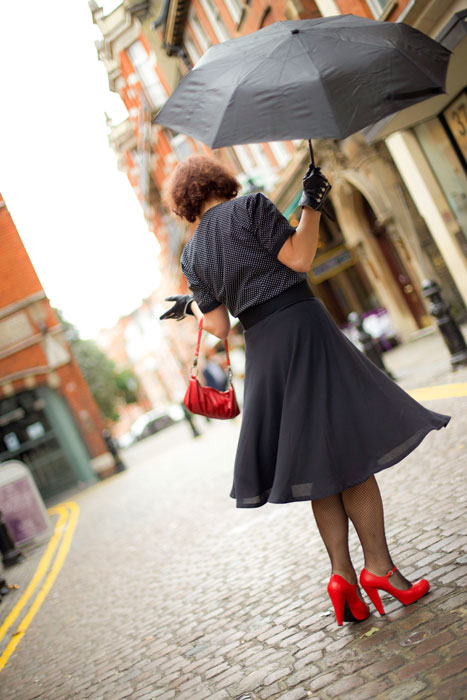
I so needed another black go-to skirt. And it feels right to go back to black. I do love a pencil skirt but I also love how swishy and elegant this one feels. A little bit Grease and a little bit Mad Men but also very much me. I can even run for the bus in it! Just need a few more 50s style blouses or peasant tops to go with it now.

twirling in half circle skirtAmazing photographs by Daniel Selway