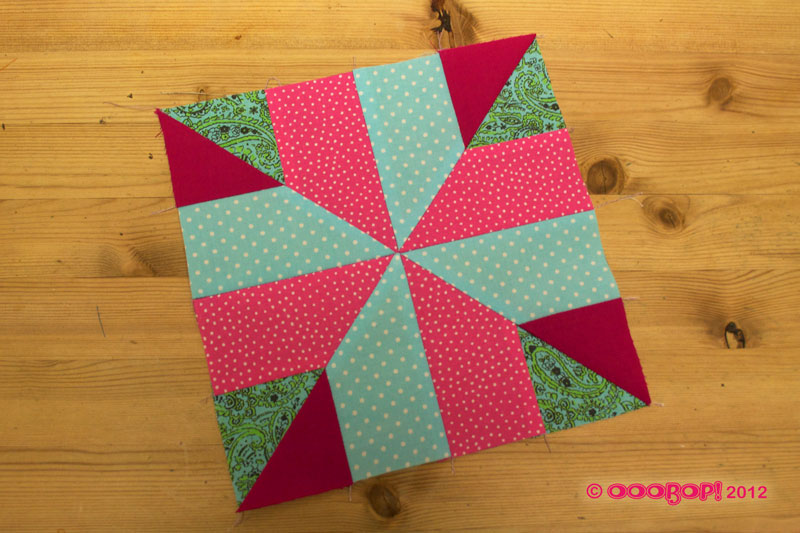
Introducing the Trafalgar quilt block. I knew there was a reason for skipping this one last week… tricky little thing that it was. I can’t believe something so small took a whole hour to achieve!
I’m beginning to recognise the order that these blocks must be sewn but I really had to keep my wits about me for this one. The pink and the blue tapered rectangles must be laid out in opposite directions before they are cut and attention really must be paid to all those points meeting.
I had a bit of trouble ‘chaining’ the triangle pieces as the point of the triangle kept getting ‘chewed’ by the feed dog! I had to make sure the needle was down into the fabric rather than just run into it from the last.
For those not in the know, ‘chaining’ or ‘chain-piecing’ is an efficient way of sewing lots of pairs of pieces together by running them under the presser foot, one after the other, without stopping, taking a few stitches in between each pair. The pairs are then snipped apart with a pair of sharp scissors. I have found this works easiest with squares rather than triangles!
And a big lesson learned for rushing straight into things… I forgot to adjust the position of my needle for the hole in the quarter inch foot is central, one position only. Needless to say the needle snapped on the foot and made me jump!
But I got there in the end with a big sigh of relief. I really was holding my breath for each section join!
Block Facts:
Name: Trafalgar
History: It is a variation on the traditional Nelson’s Victory, which commemorates the British admiral, but in 1945 it was listed as ‘End of the Day’.
Level: Some experience needed to achieve neat joins. (;D)
No. of pieces: 16
Progress report:
Block 1: The Double Four Patch
Block 2: The Whirlwind
Block 3: The Sailboat
Block 4: The Shoo-fly
Block 5: The Trafalgar
Block 6: The Windmill


