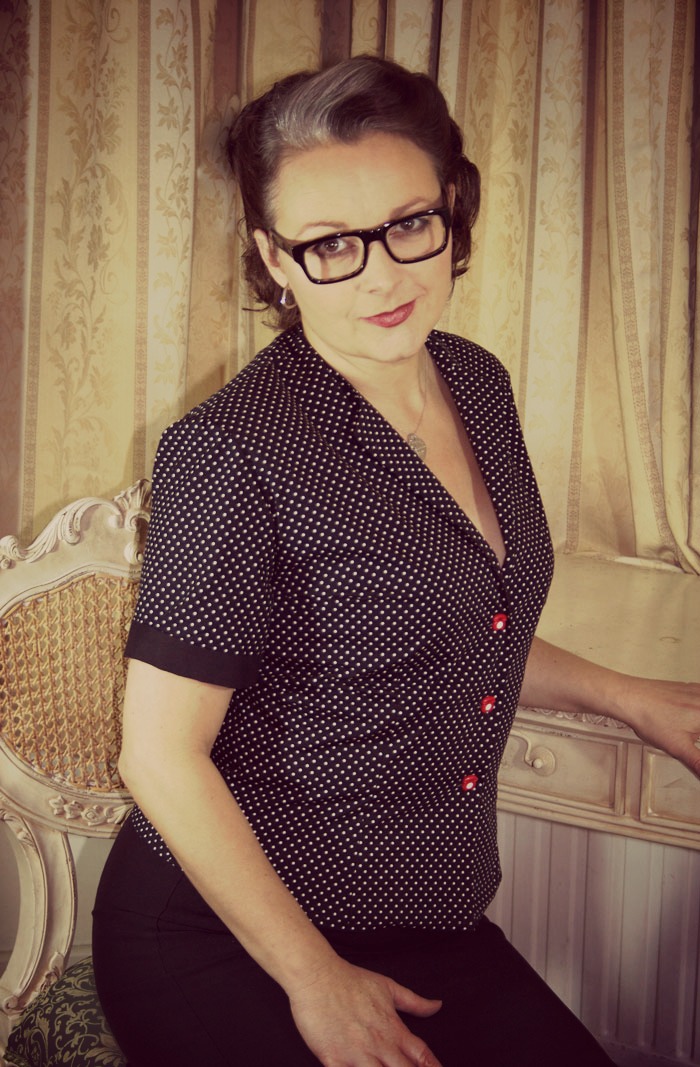
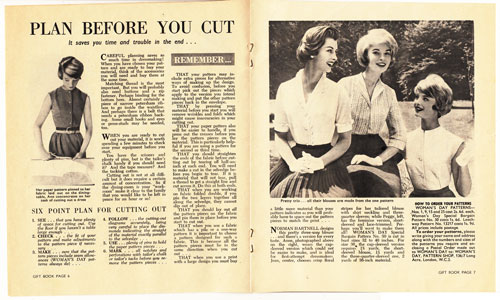
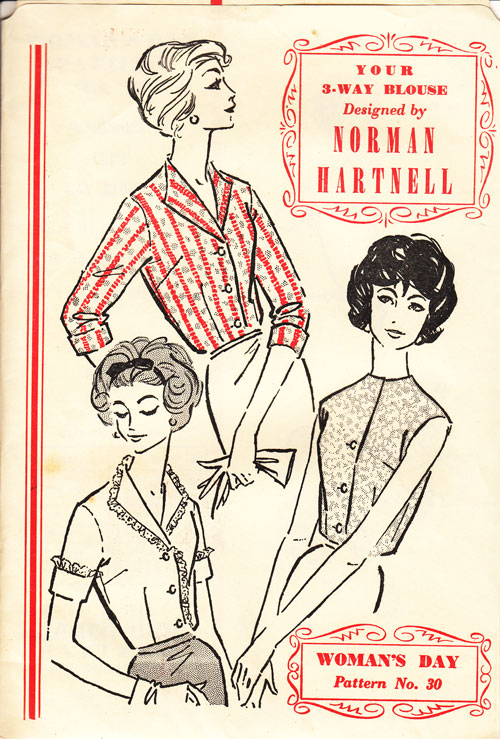
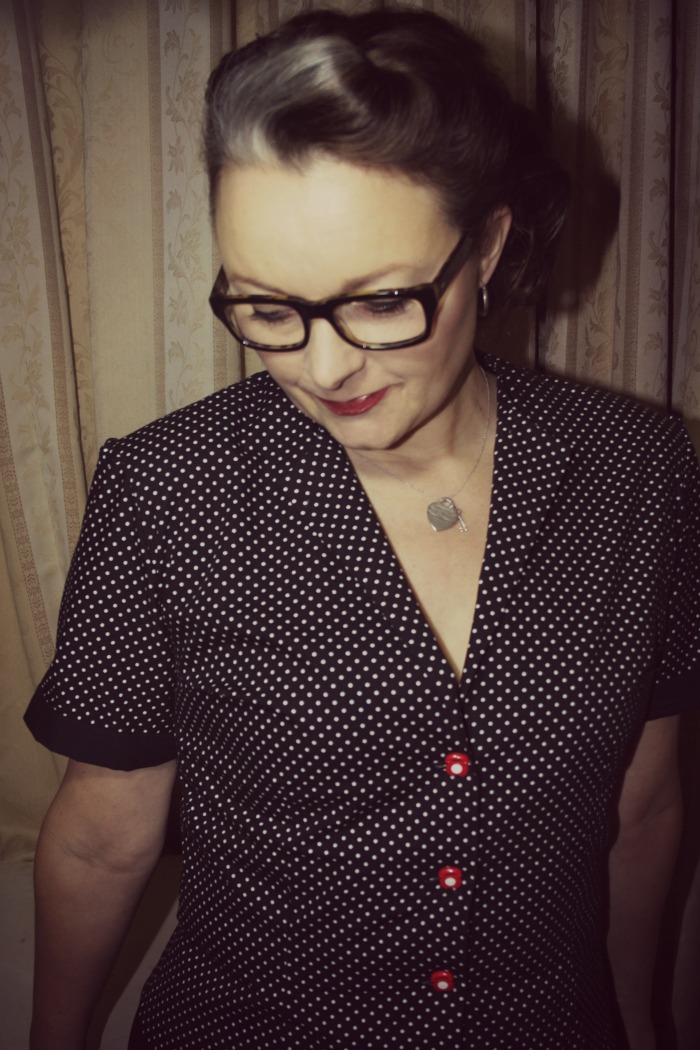
I love a 50s style blouse and this pattern was a definite sell the moment I saw it. The pattern itself was a freebie with Woman’s Day (about 55 years ago!) and as luck would have it, the gift supplement was in that Morrisons bag too. Great to see the blouses modelled and photographed. Sometimes those illustrations on the cover of the envelope give a slightly different impression to what they look like in real life! 😉
Norman Hartnell, or “Sir Norman Bishop Hartnell, KCVO (12 June 1901, London – 8 June 1979, Windsor) was a British fashion designer. Royal Warrant as Dressmaker to HM The Queen 1940, subsequently Royal Warrant as Dressmaker to HM Queen Elizabeth The Queen Mother. Royal Warrant as Dressmaker to Queen Elizabeth II 1957.” “Although worried that at 46 he was too old for the job, he was commanded by the Queen to create the wedding dress of Princess Elizabeth in 1947 for her marriage to Prince Philip (later the Duke of Edinburgh).[1] With a fashionable sweetheart neckline and a softly folding full skirt it was embroidered with some 10,000 seed-pearls and thousands of white beads. He subsequently became one of the Princesses main designers[2] and so gained a new worldwide younger generation of clients, as the Princess began to take on more duties and visits abroad. The younger Princess Margaret became the obsession of the press and her Hartnell clothes were similarly given huge publicity and received much newsreel coverage.”It’s a worry that he thought he was too old to continue at 46!!!
You can read more about him over at Wikipedia.
Anyhows, I quite fancy ‘a wardrobe of crisp gay blouses’. And if Norman’s are good enough for Queenie, they are good enough for me!
This was on the whole a very simple pattern. I measured off the tissue and figured I could add a bit on the waistline, as I usually do to get a reasonable fit. I made it up in a cotton poly that was semi decent just in case it worked!
But oh no! My measuring skills were unbelievably inaccurate. Either that or I have this illusion that I am the size of a small child!
I considered moving on to another project. But of course that would have been hugely defeatist of me and heaven knows I need to learn to grade a bodice properly so I set about cutting and slashing.
It worked, kind of. Well at least it fits but there are a couple of issues for a blouse so simple.
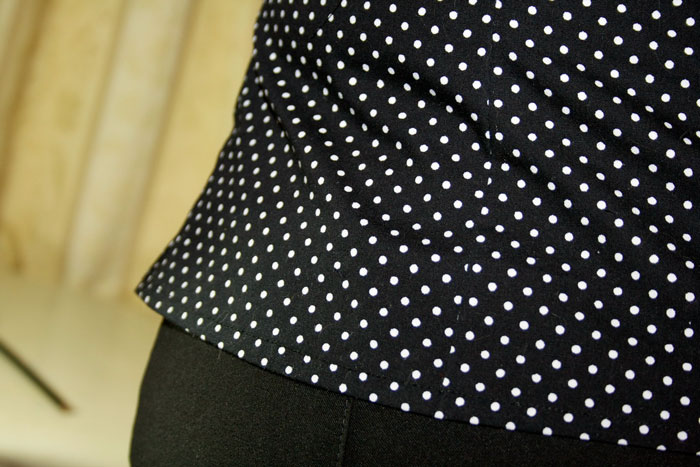
I think I need to open up on the lines of the hip a bit more. It’s a little snug!
I graded up the sleeve in line with what I had increased on the bodice but there was far too much ease. So I used the original sleeve piece. Still a little too much ease for my liking but that seemed to be solved with the addition of some shoulder pads. I used the cuffs from the toile for my real one because the dots ran into each other and defeated the object of having cuffs at all!
I have to say, the method suggested for the sleeve cuffs was a bit long-winded and strange. When I do it again I will be cutting on the bias, and attaching in the same way I did to my shorts.
The winged-collar effect is not a wing collar at all. It is just the effect of opening up the facings. There is no raised collar stand at the back, just a faced neckline so it is a very flat feature. Next time, I might be inclined to cut the front piece at the start of the inner facing and sew a contrasting colour piece that folds back just to accentuate the shape.
The ‘lapels’ seems substantially smaller than those photographed. Next time I might grade the front and front facing allowance a little, too.
The instructions called for a bias cut strip to finish the back neckline and join the front facings but as luck would have it, the previous owner had cut a ‘back facing’ piece from some newspaper. I checked it against the back piece to make sure it was meant for this pattern. I just had to decrease the depth a bit, otherwise it fitted perfectly. It created a continuous facing too, which is surely a better idea and certainly much neater too. I understitched the adjoining seam, to the point just before it folds back and catch-stitched to the shoulder seams to stop it poking up, willy nilly!
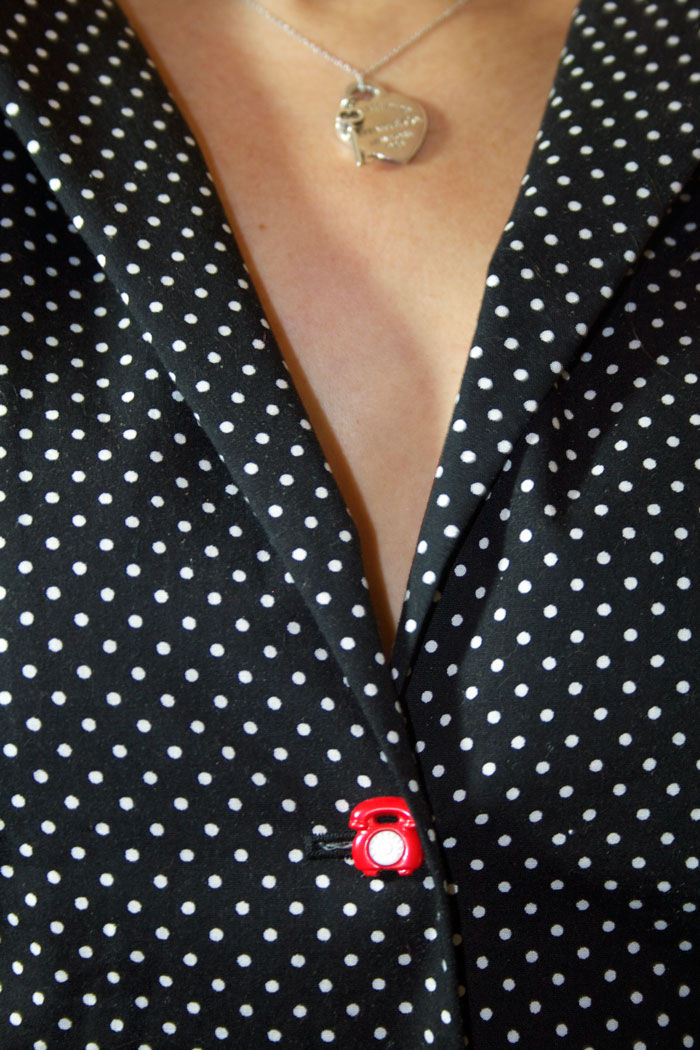
Because the design called for 3 buttons I had an array of odd interesting ones to choose from. My son so kindly remarked that, because the shirt ‘kind of looks quite old, it would be good to use those old fashioned phone buttons’. I am sure he meant that in a good way! 😉
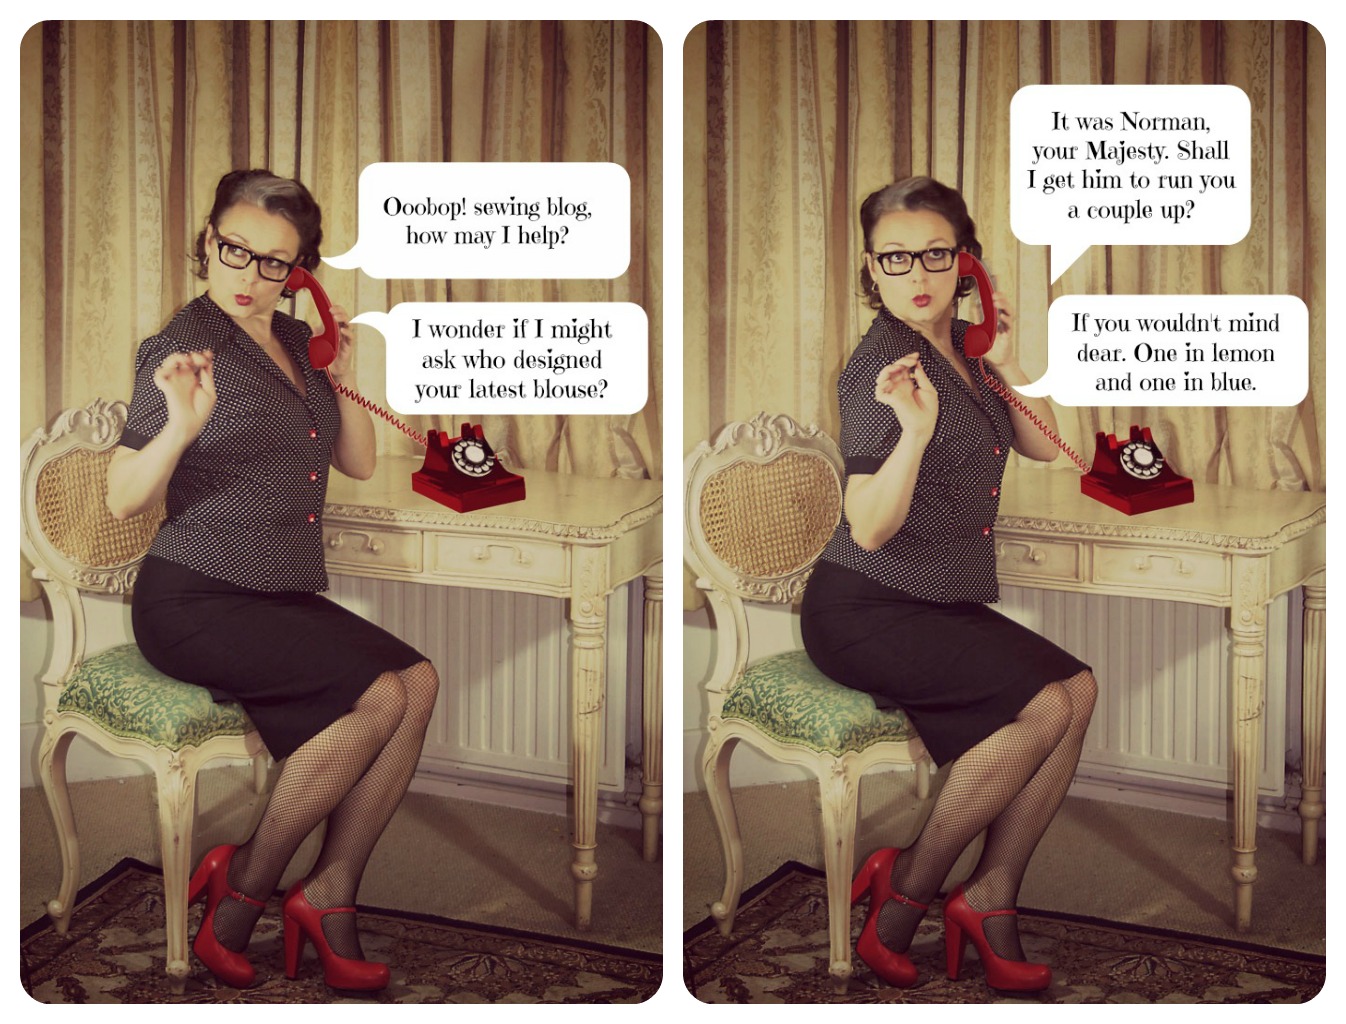
So that just about wrapped up my chilly childless Saturday. Amazing what you can achieve in a few hours when the house is vacated. The photographs (care of the wonderful Mr Ooobop!) and the blogging took a little longer… such fun!


