

I basically made a cute dress… and de-cuted it!
But why, Janene, why? Well since you asked, I’d grab a cuppa and pull up a comfy cushion if I were you, because there’s no short answer.
I’ve had the inclination to ‘mess things up’ for a while now. Not exclusively for moments of therapy when prompted by frustration, but because I’ve felt a bit caged. As if I’ve been blinkered and strapped down. Like I’ve had my wings clipped. I know this sounds a bit over dramatic. Especially since I lead a very nice life am surrounded by gorgeous friends and family and have a very desirable job. But I guess everything I do is, on the whole, well-behaved, expected, accurate and rule abiding. My work as a graphic designer permits a modicum of out-of-the-box thinking but largely there are rules, whatever industry I’m creating for. And the same goes for my ‘until now’ sewing: Cutting is precise, seams are consistent, fit is important and placement of design is key, etc etc.
I documented my failed consideration of the neckline-keyhole placement on Instagram, how it bugged the hell out of me that it wasn’t properly centred between spots. Most people agreed. Some shrugged it off and said it didn’t bother them. I was quite jealous of those people because caring so much about the finer detail is IMHO partly responsible for my lack of adventure! I’m not sure I can ever change that up though. I’ll just have to add the wilder stuff on top… or on the bottom!
In March this year, my wish to have a studio finally came true and I moved in with more than 60 other artists. My requirements were very basic – I had dreamed of having a cutting table as its quite tricky to get back up of the floor after a long cutting session nowadays – And faster wifi so that my graphic files would deliver as soon as I sent them. Little things, generally speaking, but actually, massive things to me, that would make a real difference to my productivity.
Within days of settling in, I relished the added advantage of being able to leave a project out on the table overnight so that you can just come in and crack straight on with it the following morning, how awesome it was having a whole space to myself (apart from when Dan comes in) but yet there is often a friendly knock at the door, an invitation to lunch at the lovely cafe and advice and inspiration on tap.
I’ll admit to having big old imposter syndrome at first. Like ‘how can I possibly match up to the artistry that is resident here?’ I’m a graphic designer not a fine artist and I’m a dressmaker not a fashion designer. But therein lay the problem! I had labelled myself with titles of position, boxed myself in by definition and process. I design books and I make dresses for sure but that’s not all that I am or the end of the story by any stretch of the words, I can now feel all the other possibilities rising to the surface. Its sooo hard not to be inspired here! Next door to me is a wonderful poet, artist and mentor, the other side a painter and an interior designer, an amazing costumier upstairs with photographers, textile artists, musicians, set designers and an entomologist to boot!

The initial stage of the dress came about as I wandered around a charity shop in Shoreham. I found the red polka dot fabric there. Vintage most probably and slightly marked in place, approximately 5 metres of it and cheap. London prices are set as much as new fabric in some cases so it was straight in the bag without even considering what it would be used for. A regular habit and sometimes I think its a bad one until I think of a use and then I think its a good habit, hahaha!

I love the idea of rescuing fabric as much as I love purchasing brand new fabric that matches the exact Idea I have in my head so it helps to have a balance so I don’t feel too bad about buying new all the time. I think this must have been used as a table cloth or such like in its previous life but whatever it was I couldn’t really envisage me in a twee dress. So as I walked out of the shop with a bargain of a buy, I started to dream up the dress.
It didn’t take long. It needed black, that’s all. Just black. The ‘colour’ I always come running home to. My safety zone. I used to only wear black when I was younger, not because I was goth or punk, I was very much on board with the New Romantics and if I bought anything black (sometimes white) I could guaranteee that the garments would layer and mix and match quite successfully – cheaper that way too. A black dress would render me invisible and cool at the same time. I could be part of the crowd yet not stand out at all, seeing as most of my peers were wearing black too! A kind of invisibility cloak, if you like.
When I returned to sewing (more seriously) about 20 years ago I wanted to sew all the colours, all the flowery fabric and all the frills. Because I could. Because I could affford to. And because I found a wonderful sewing community and I wanted to be just like them. But now I feel like I’ve come full circle armed with a fresh load of knowledge and Inspo, from the job that I do – I just love typography and graphic imagery – from my surrounding artist friends – I’m going large on the brush strokes – and a new found sense of brave. I just want to try new things. Not worry whether it fits in with anyone elses vibe and certainly not fashion as a whole. I don’t think I ever worried about that too much anyhoos but I just want to explore more possibilities

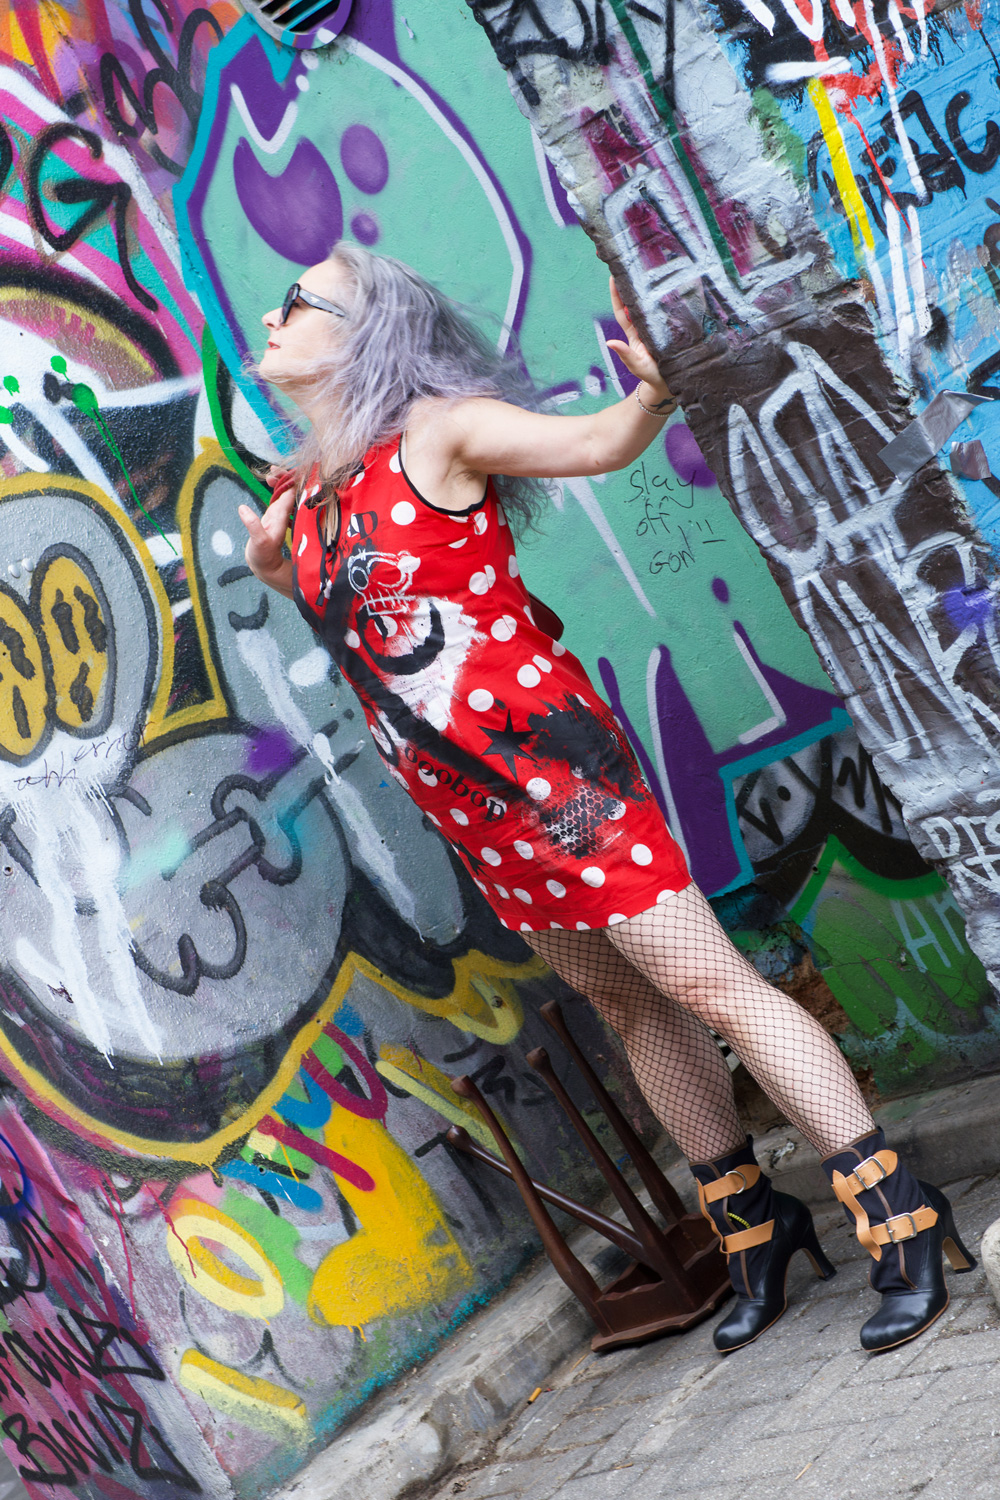
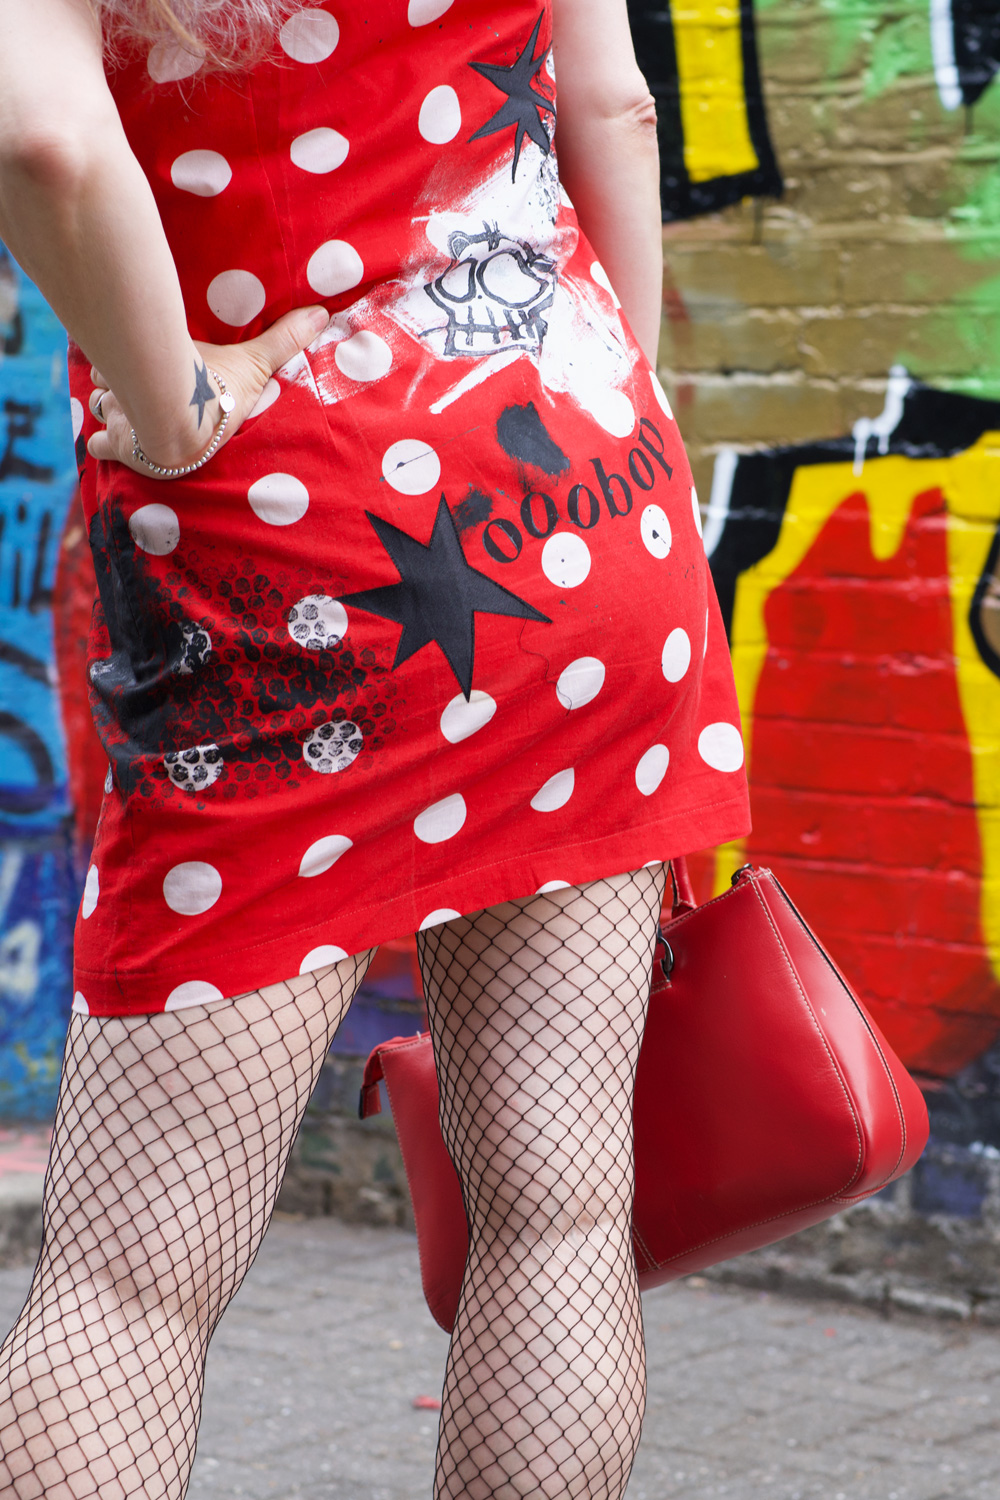
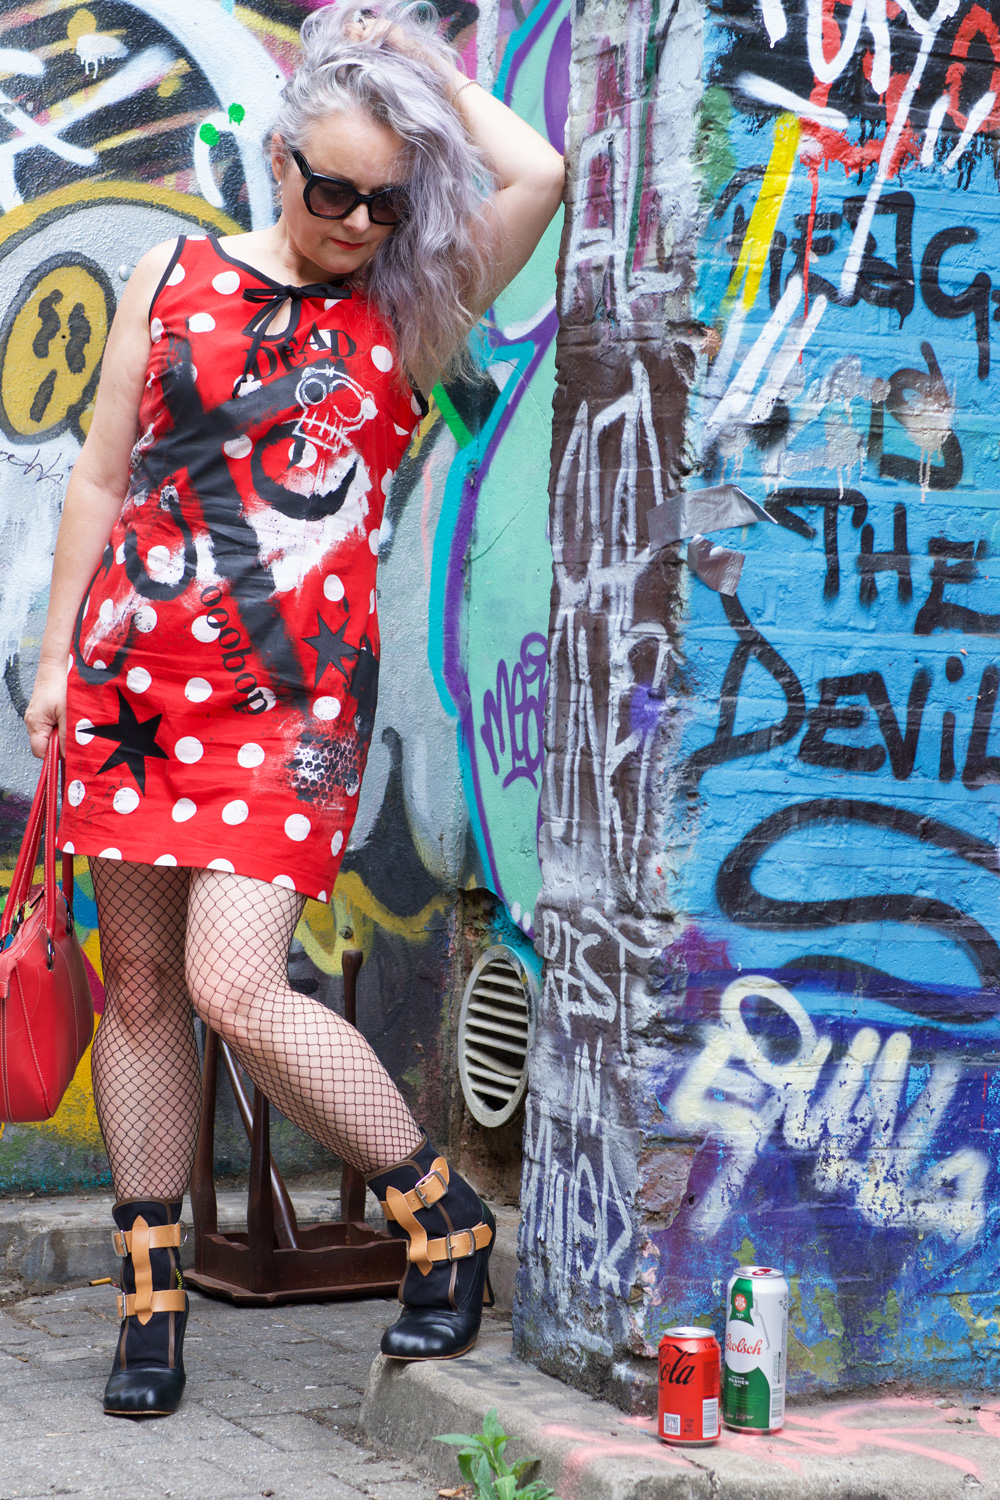
And so this dress was created from a pattern I designed from my own drafted pattern block. I used a vintage reclaimed fabric and painted on it with large black and white brush strokes, I carved a Lino piece to print the skulls, I used rubber letter stamps for some of the wording and I appliquéd the stars with scrap satin. Bubble wrap mono print and brush flicks were added for texture. I used a fabric paint called Pebeo Setacolor which was fixed with heat, and I’ll report back with the results on how it laundered! Its not my best work yet, but I am proud and relieved to have finally released one of those crazy ideas from my head and put it into practice.
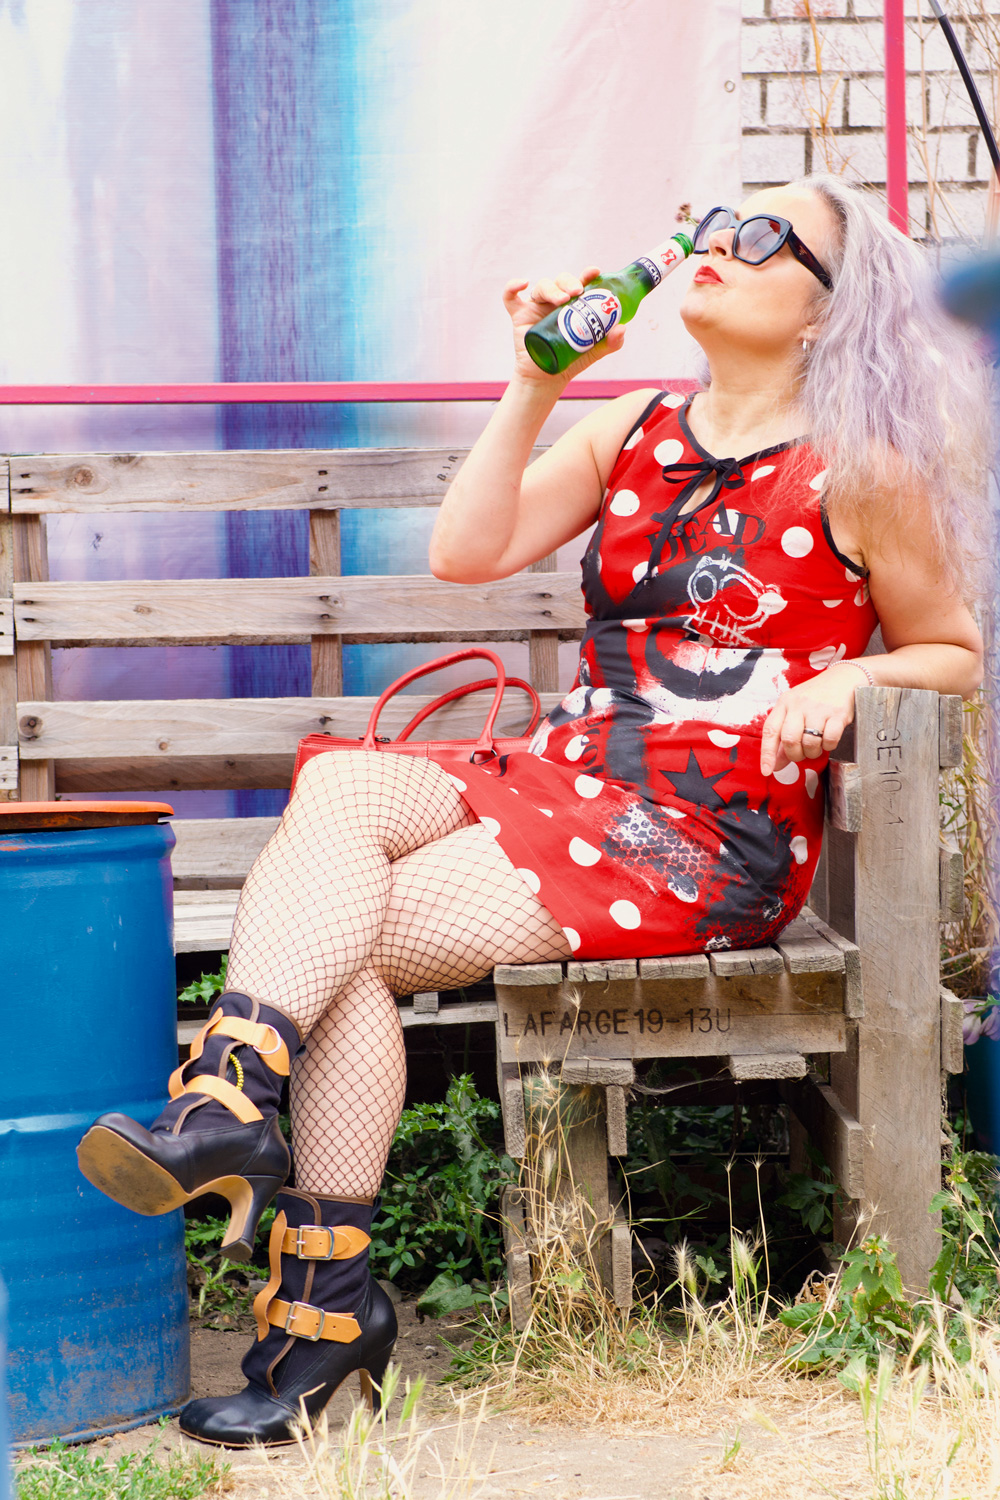
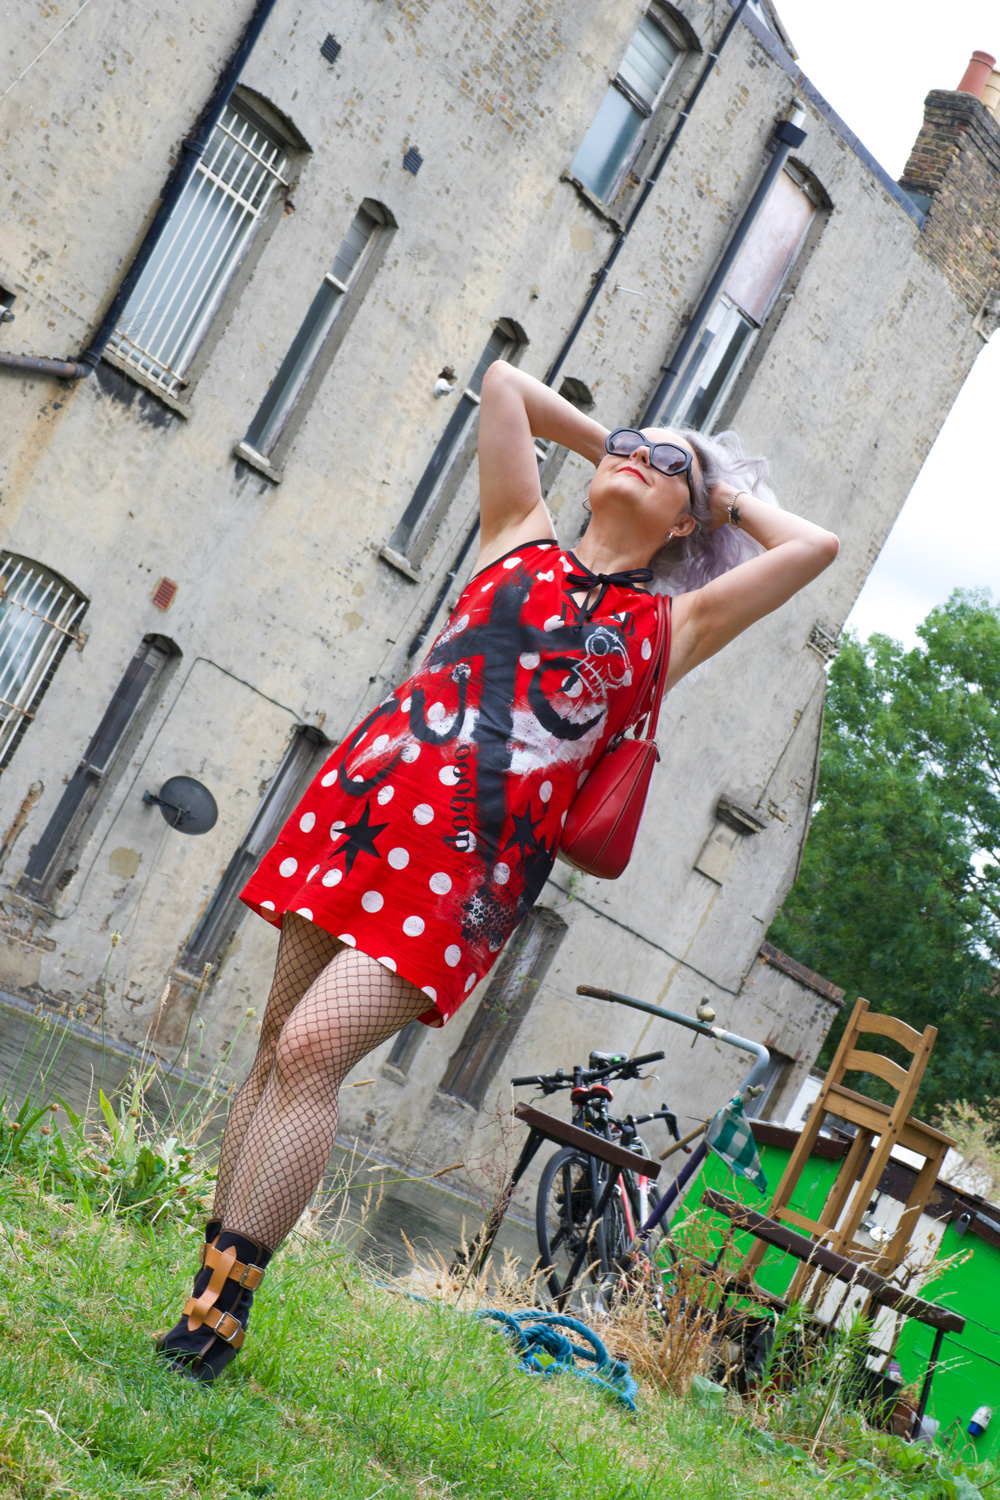
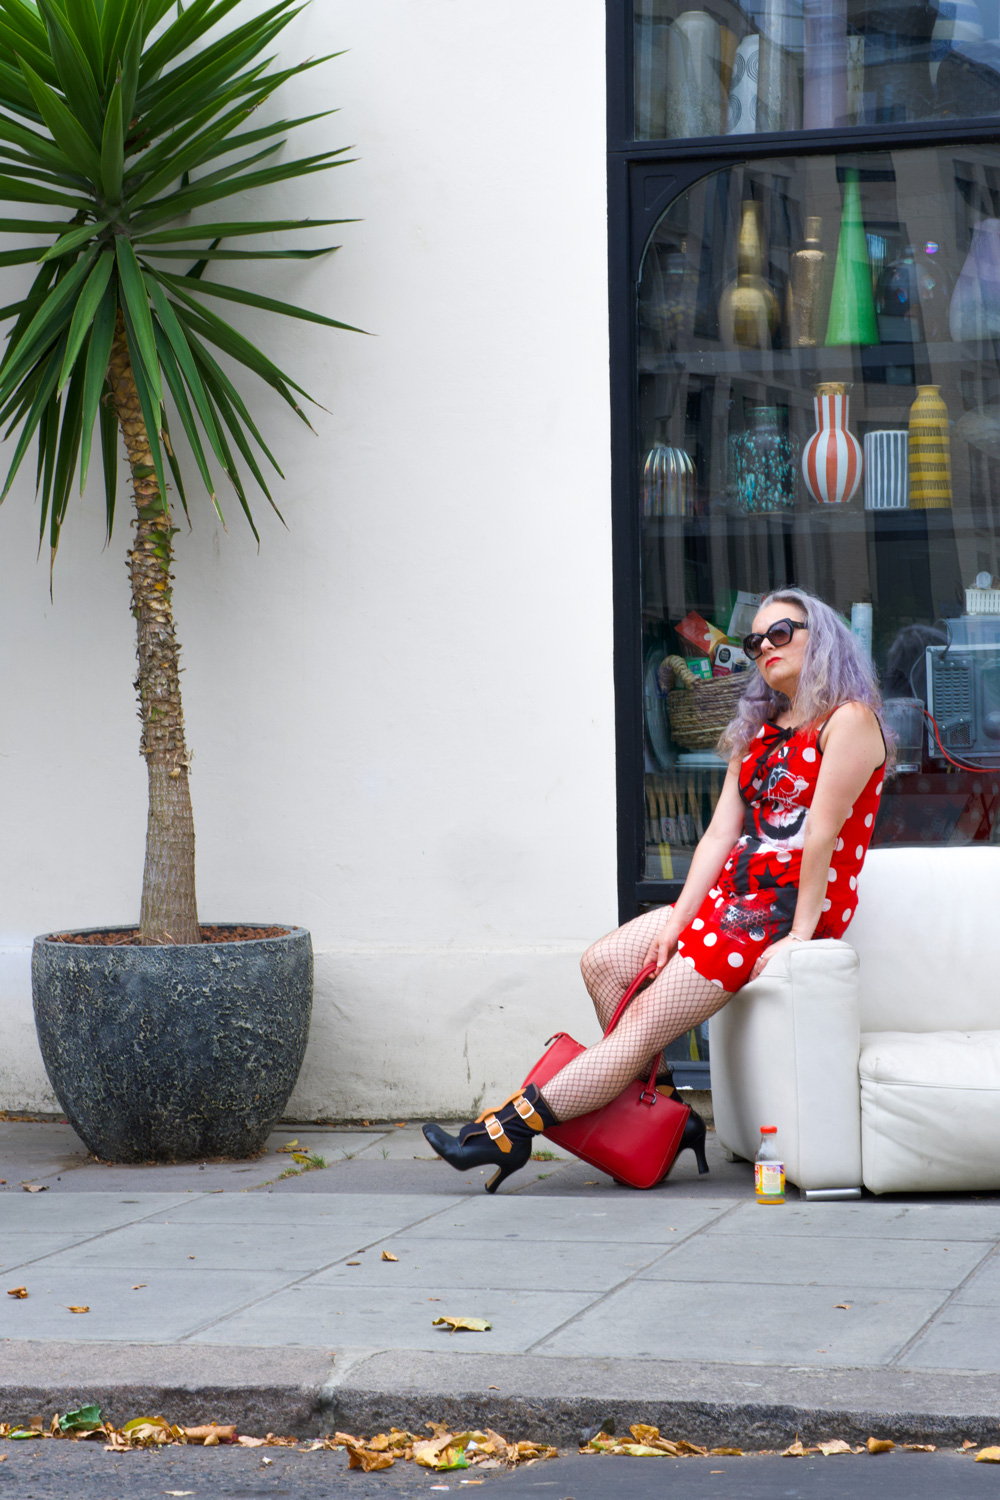
If I’d have made this dress as a youngster, my mum would definitely have walked ten paces behind me, worried about all the disapproving looks from people in the neighbourhood. It’s still kind of like that where she lives. Although she’s more used to me being ‘whacky’ now lol. But by stark comparison, Dan and I wandered around Portobello and the Grand Union Canal in West London, blending in perfectly with the surroundings and not a soul batting an eyelid. This is one of the main reason I love London. Another is that you come across free location set ups like this!
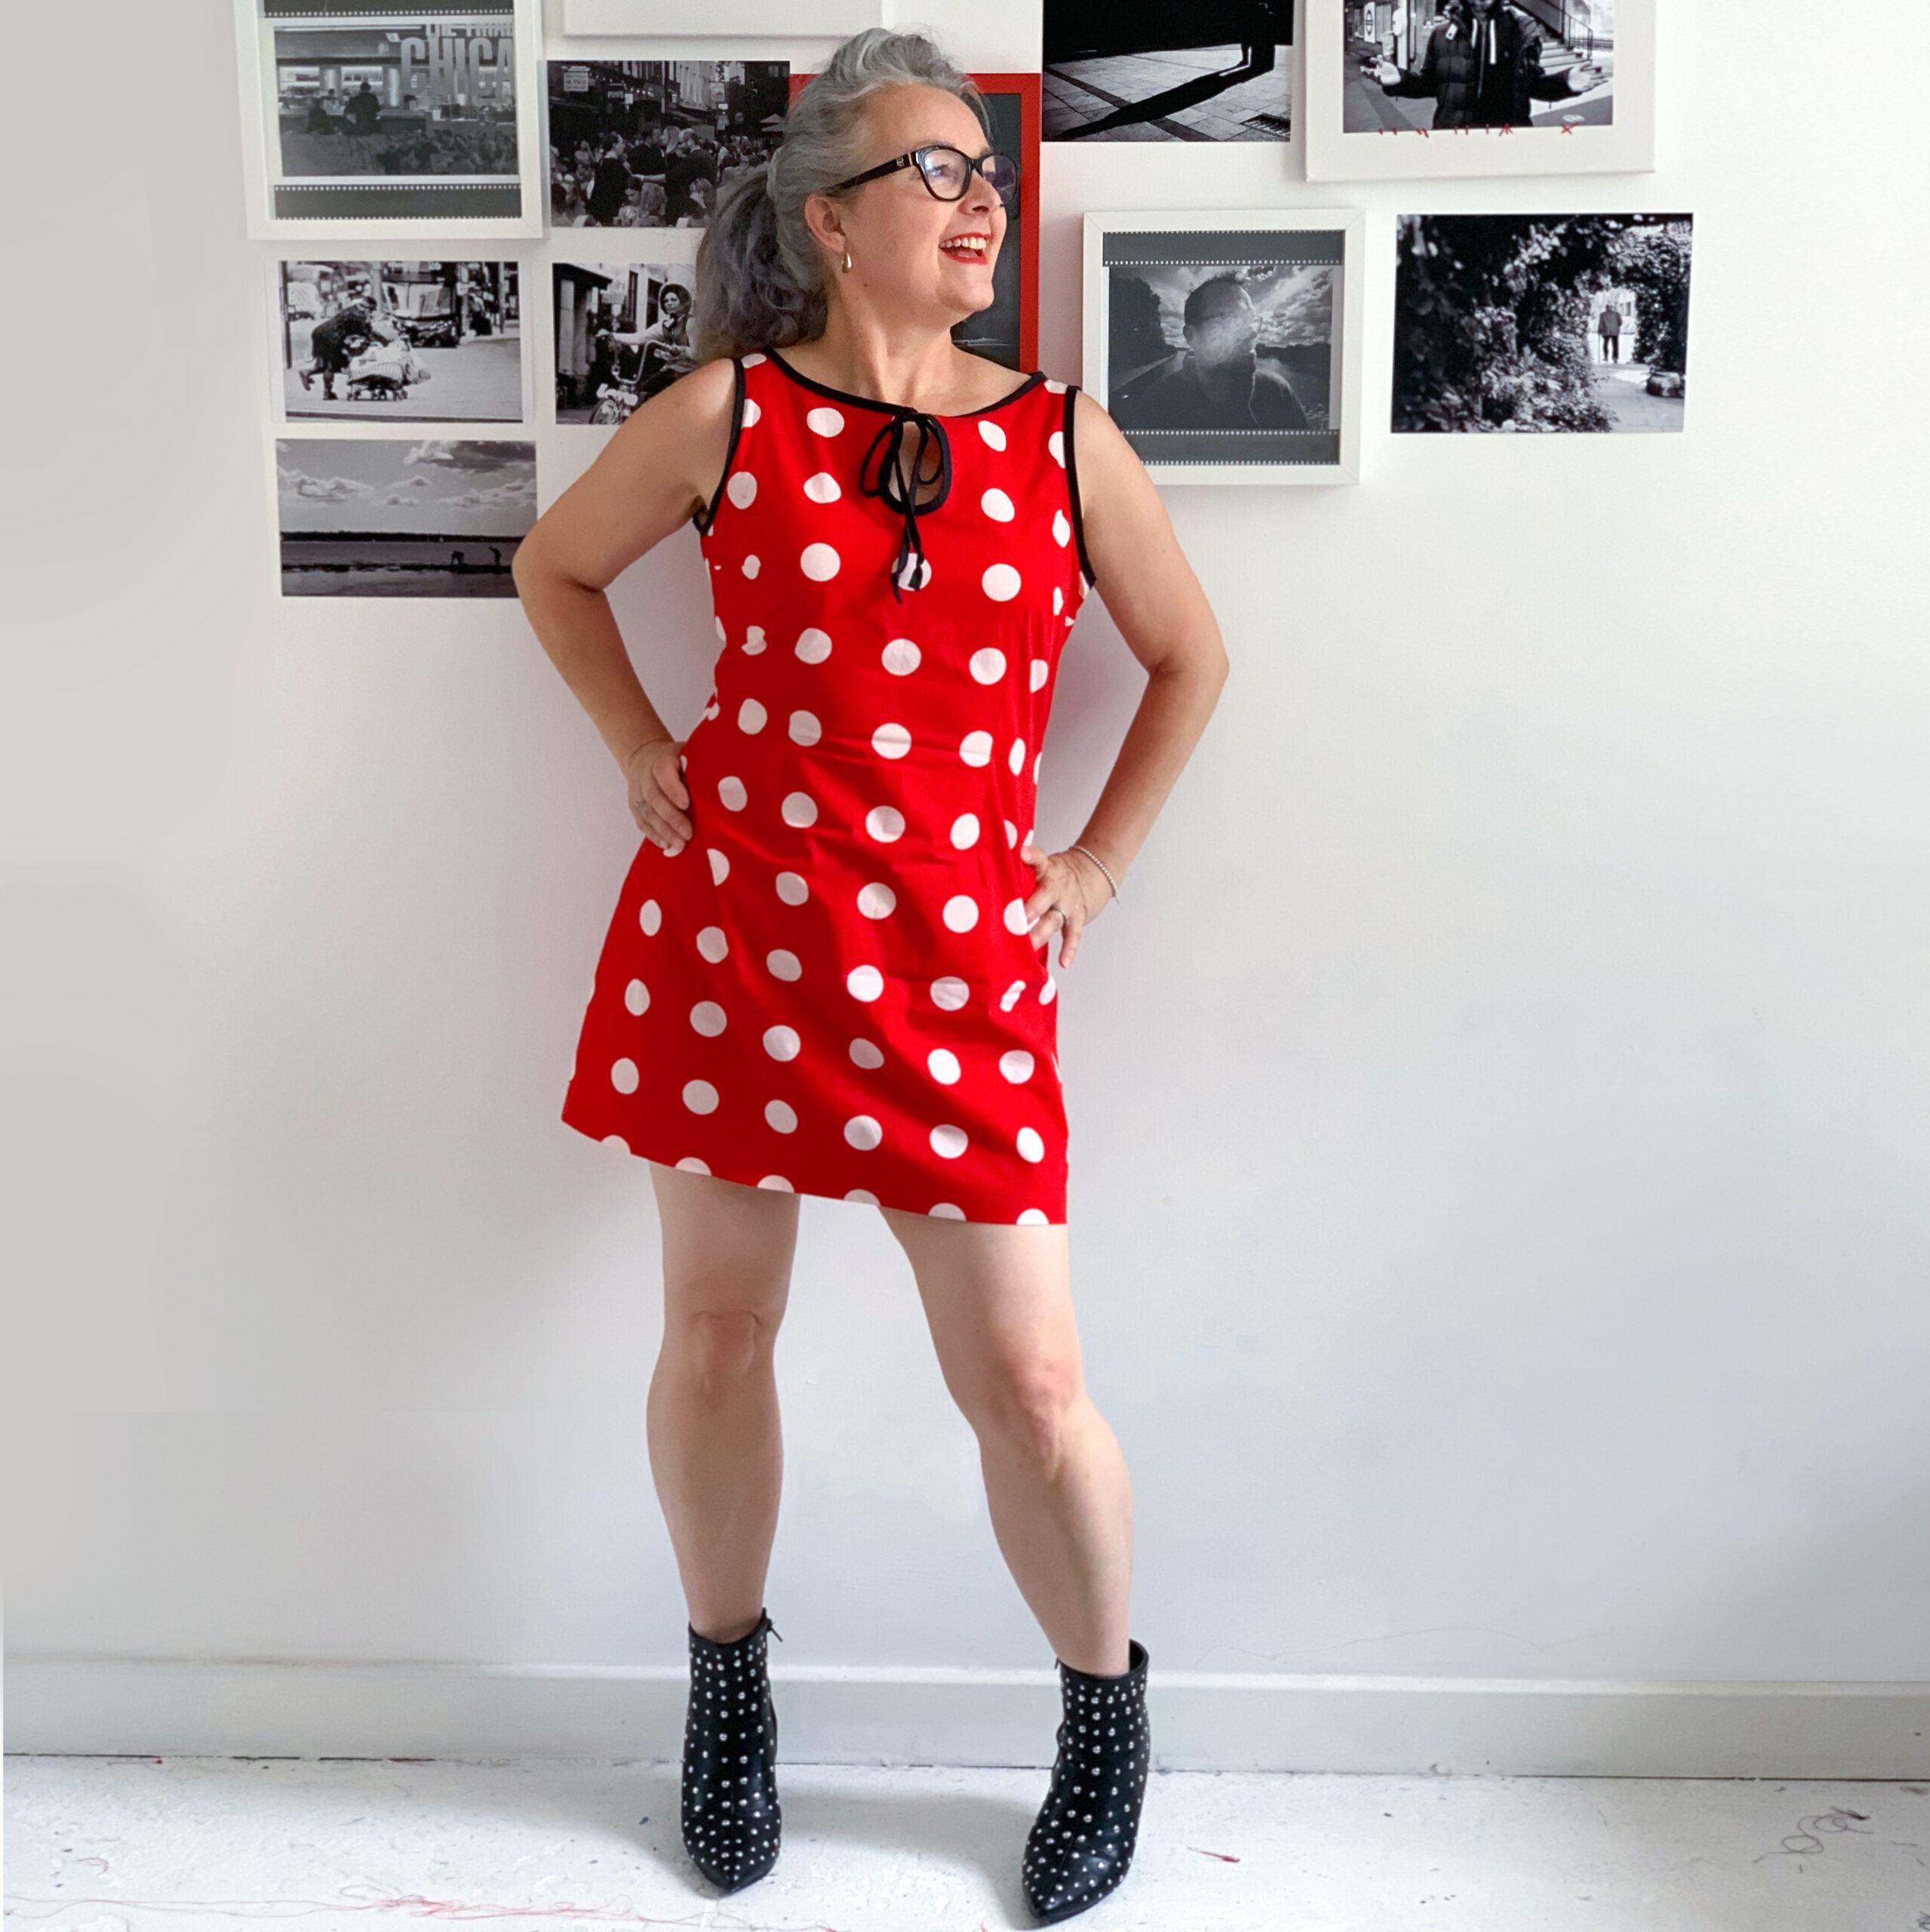
Oh, and this is how reasonably cute the dress was before:
I’ve got more ideas bubbling and more reclaimed fabric that will be perfect for purpose so I hope to share those once they are realised. There will also be a more demure wedding guest outfit to share soon too so do hit the subscribe pattern to be notified by Email of a new post.
Thanks to Dan for these amazing photos. Thanks to all the inspiring people in my life and many thanks too for you reading my waffle all the way to the end. Im forever grateful for your support and comments.


