
Now here’s a pattern that’s been hanging around in my stash for a considerable amount of time. And I’m so glad I held onto it because I knew it would do me proud one day.
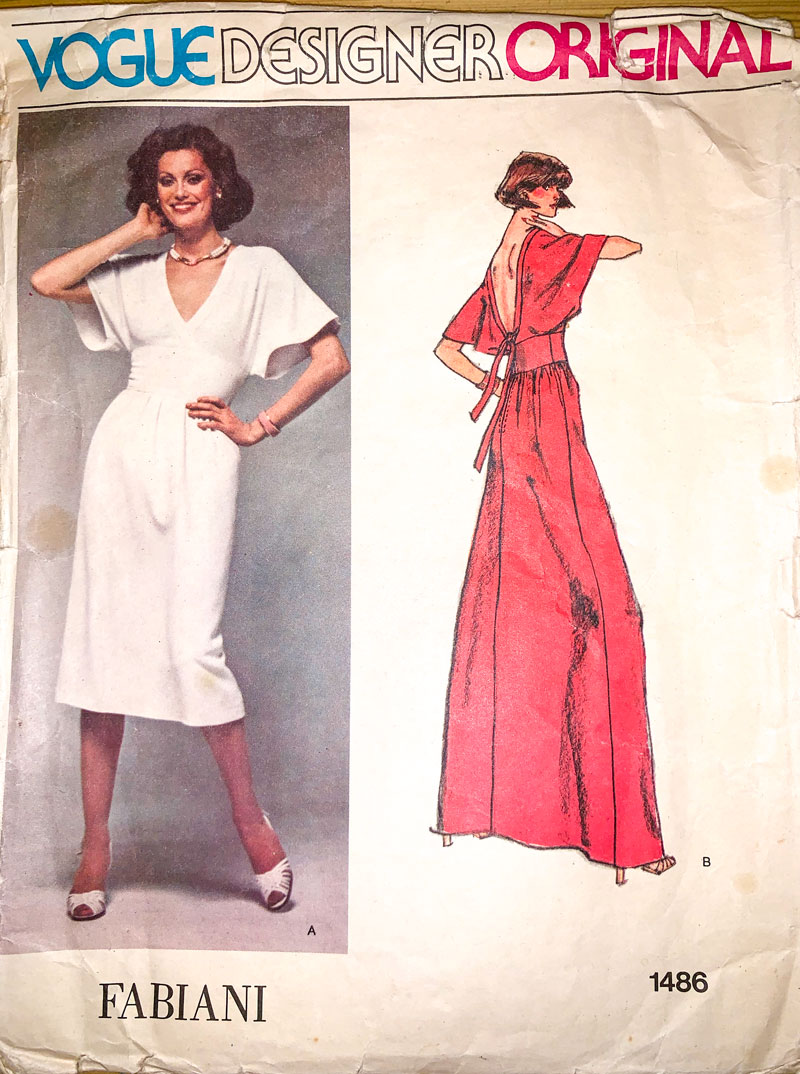
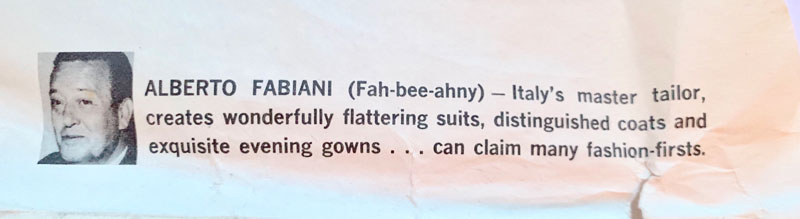
It’s a Vogue Designer Original by Alberto Fabiani allegedly from 1976. Though the shorter version A on the envelope could easily pass for 1980s.
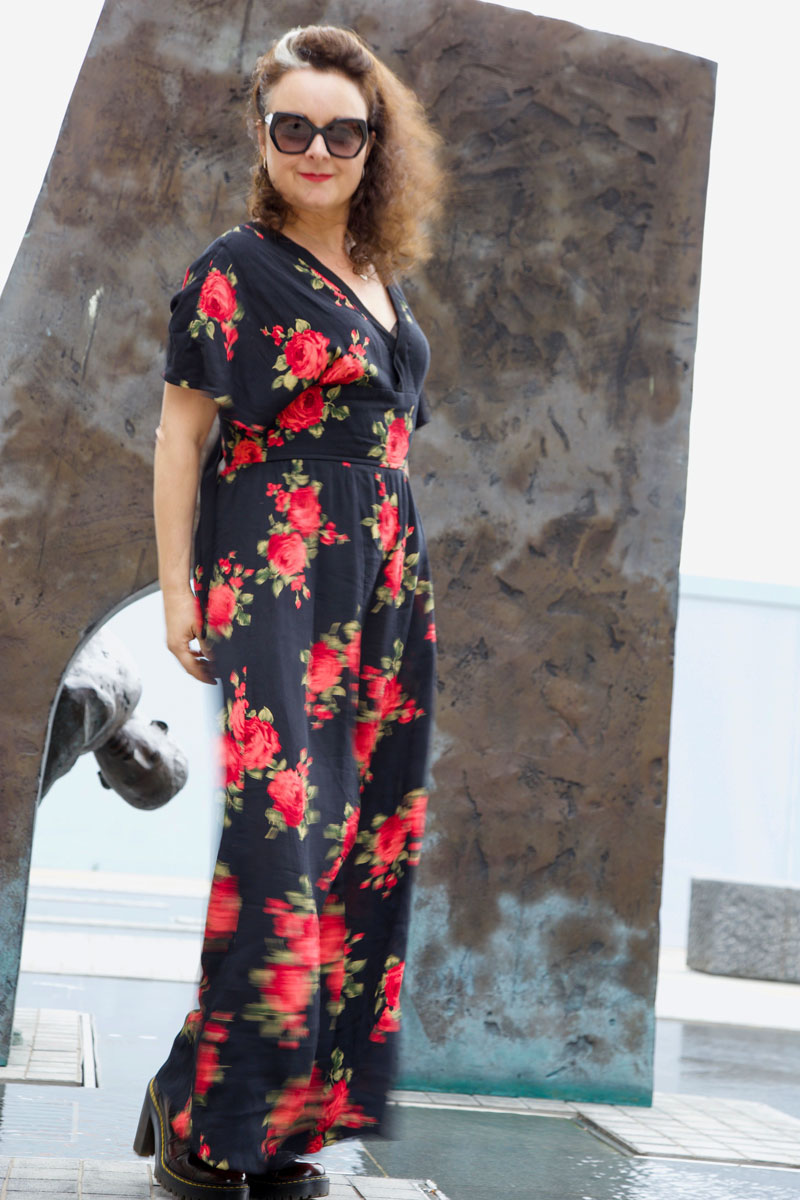
I love the simplicity of this dress. A speciality of Fabiani it seems. Cut-on sleeves; a ‘lightly’ gathered skirt; no lining; extension of neck-binding for ties.
I needed a dress to wear to my friend’s wedding and having made her wedding dress (yes, I promise that’s coming soon!) I didn’t have much time, brain-power or nerve left to deal with anything too complex. So this was the perfect pattern. Least I hoped it would be!
I had no fabric-shopping time either so it had to be made from stash. Surprisingly, for all it’s floor-sweeping sumptuousness it takes a mere 2.4m of 60 inch wide material. – Am I the only one who mixes metric and imperial?
This gorgeous rose-print, poly crepe was literally screaming at me from The Textile Centre‘s stall at the Spring Knitting and Stitching Show earlier this year. It’s got the drapiest of drape but was super easy to sew. Pretty sure I only paid £5 a metre. And jolly lucky I had the nouse to buy 3 metres, not having had a plan for it and all.
In the past I have been cautious to trace and preserve my vintage patterns. Partly to preserve as near to perfect, the little packet of history that it is. And potentially so I can sell it on should I want to later. But this envelope wasn’t in such a good state to start with so I dove right in and slashed, spread and taped the original to meet my measurements. It felt a little barbaric but liberating at the same time. And hey, It’s still there for another making, all resized and ready.
So what were my findings?
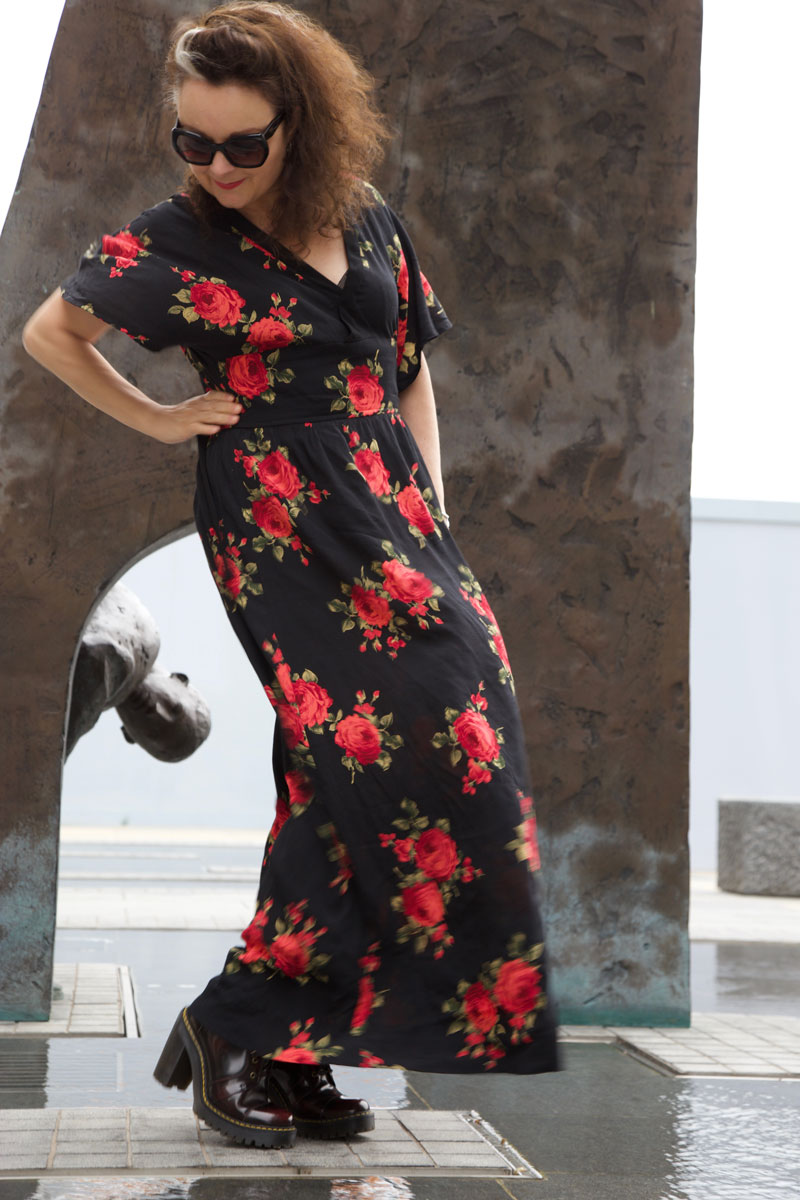
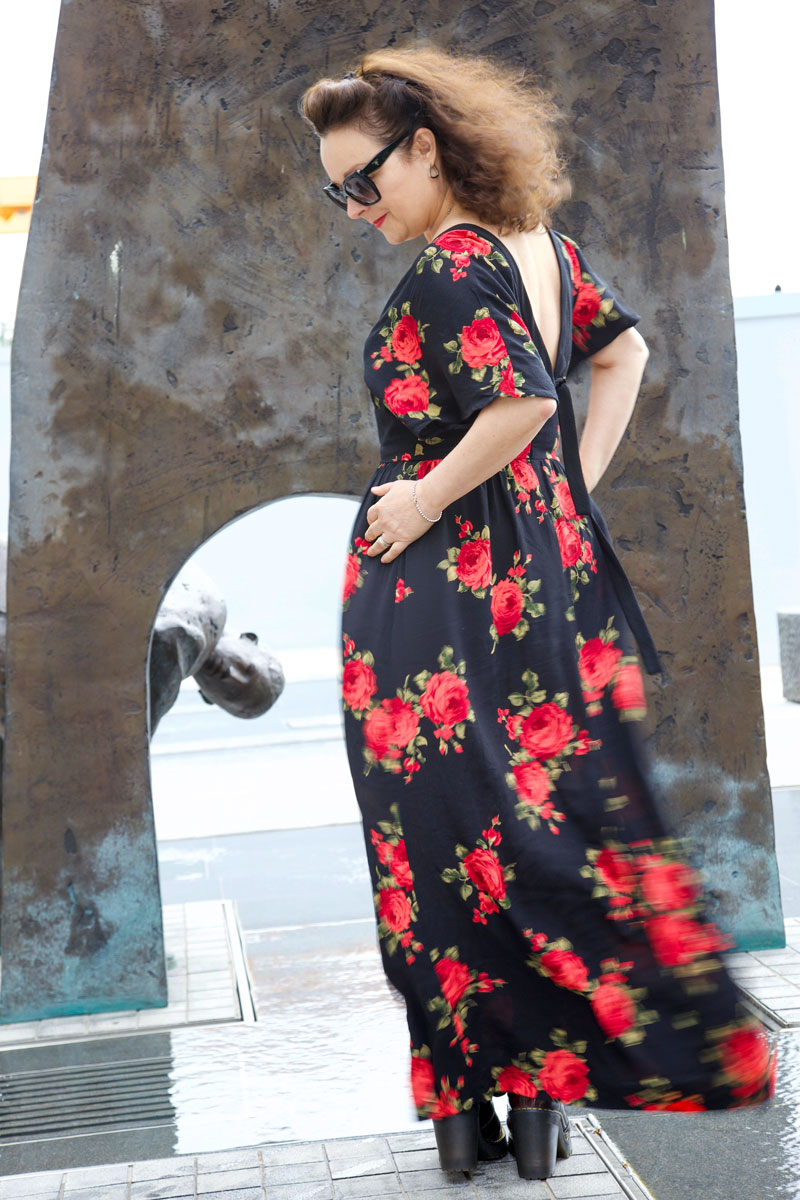
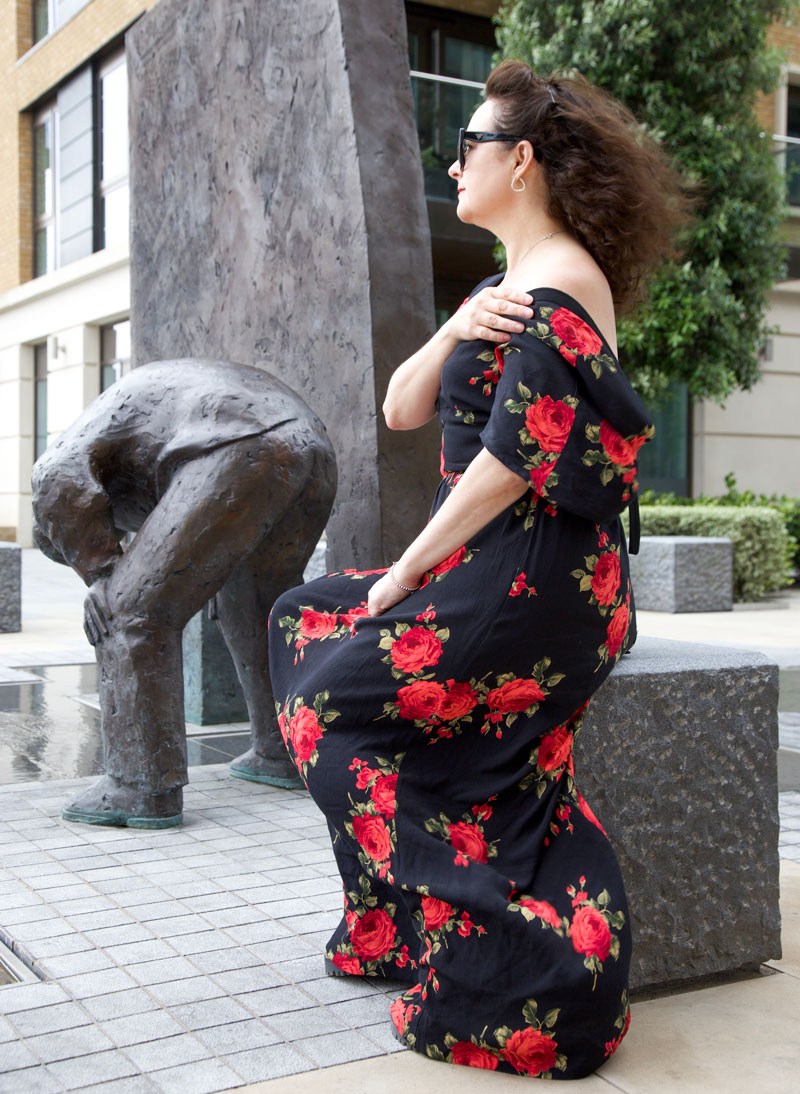
I threw this out to my Insta-audience to see who might pre-empt some pitfalls with the design. And of course they were blindingly obvious, lol! For such an accomplished designer, and ‘master tailor’ who created exquisite evening gowns for a living, you’d have thunk that Fah-bee-ahny would know what happens when you create a low ‘V’ neckline at the front along with a low ‘V’ back, especially with the ‘help’ from silky, drapey fabric. Let’s just say I was relieved to figure out what happens before I hit the dancefloor at the wedding! Or even as I walked into the church… can you imagine?!
So this was a first for me: some little fasteners attached to the inside shoulder seam to attach to my bra-strap. Just had to make sure the bra strap was tight enough not to slip down, lest… doesn’t bear thinking about!
I also sewed that front wrap section down because that in itself was an accident waiting to happen.
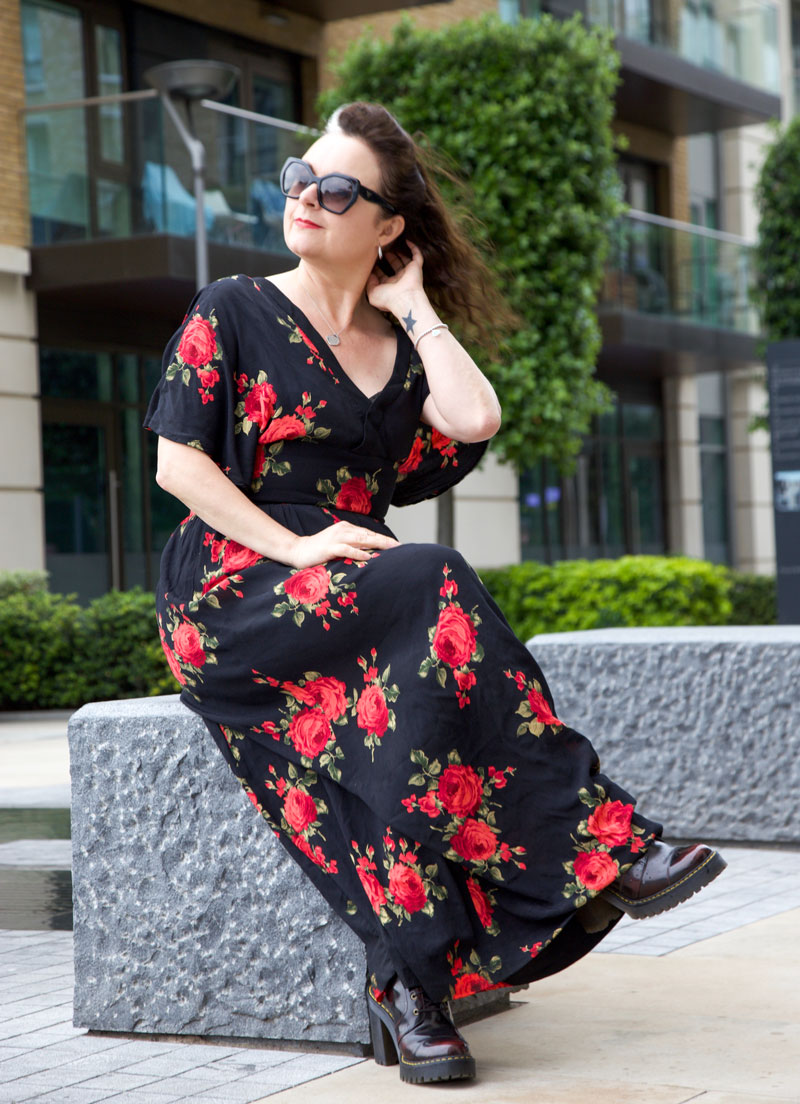
The sleeves were another issue. Absolutely love the style of them. Perfectly airy for the sunshiny day that it was. But I’m sure most of my dance moves involved arms by my side. Side-boob city and all that!

The only other thing, that’s not technically an issue, more of a ‘why would you even do that?’ – was the length of the straps at the back. They are an extension of the binding on the neckline but one extends about 3 times the length of the other. I checked and double checked the instructions, and the notches on the pattern pieces but that’s exactly as it’s intended. A design feature, possibly but… why?! I’m so irritated by it and will definitely make them both the same size if I make it again.
All issues aside. It worked perfectly for a wedding dress guest – sans fashion faux pas – and I’ve worn it again since to another wedding, recently. It’s so easy and comfortable to wear, hardly creases and works for both posh and boho-casual – winner, winner vintage dresser!
More maxi dresses I’ve made:
A very Shiny Burda Maxi
The one I made for the Marylin Manson gig
The one I made to go camping in
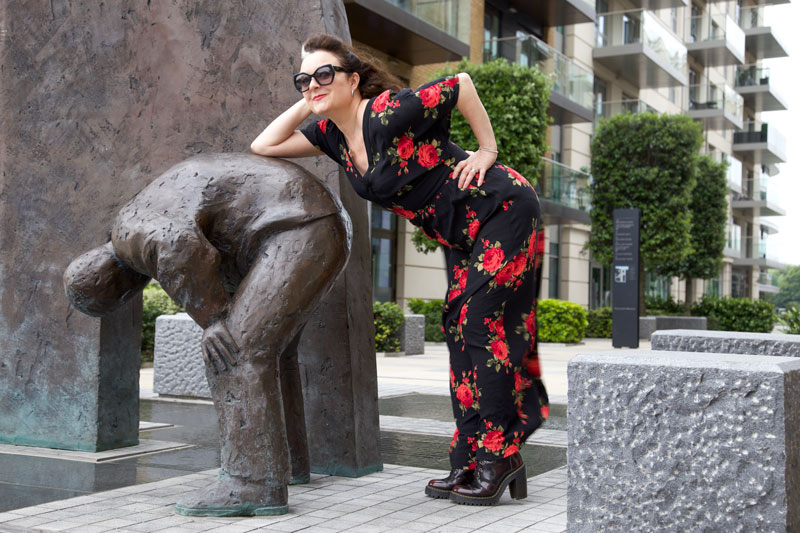
Photography © Daniel Selway


