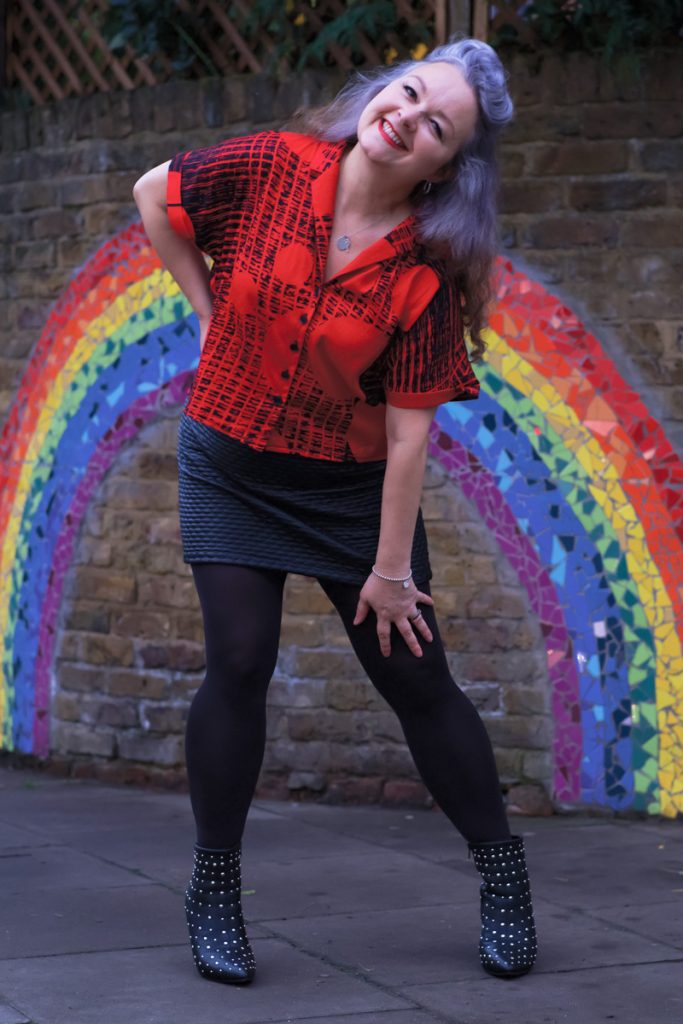
I’ve already had people ask if the fabric I used for this shirt was leftover from my latest sheath dress. I’m clearly set in my colour palette ways!
It isn’t, but its a close contender I found it on a pile of Ankara bundles when I was looking for pyjama fabric. And was pleasantly surprised by the light-weightness of it and of the lovely sheen. The shop owner told me it was cotton satin – I didn’t realise that Ankara prints came in any other weight other than the usual medium/heavy structured cotton. Definitely keeping eyes peeled now for different kinds.
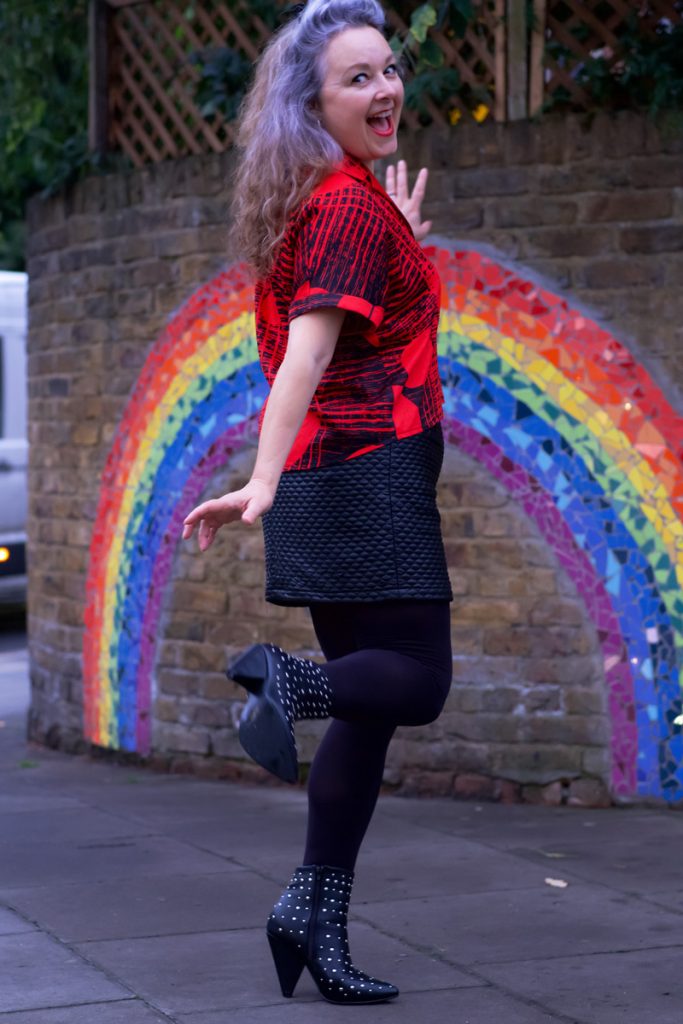
And I did have a plan for a lovely lightweight pair of pjs until I saw all the lovely Libby shirts on Insta and that instantly changed things up. I bought, downloaded the pdf pattern, printed and cracked on with tiling the pages together that same evening.
I’ve only ever made one Sew Over It pattern before – the Joan dress – which Im still in love with. If only I could squeeze myself back into it… It was a tough enough wiggle from the outset!
And because of that, I made sure I was being totally realistic about my choice of size this time. Yes I have been known to cheat myself! But to be fair, it does state on the instruction booklet that “Sew Over It patterns tend to have less ease than other patterns as most of the designs are intended to have a closer fit.”
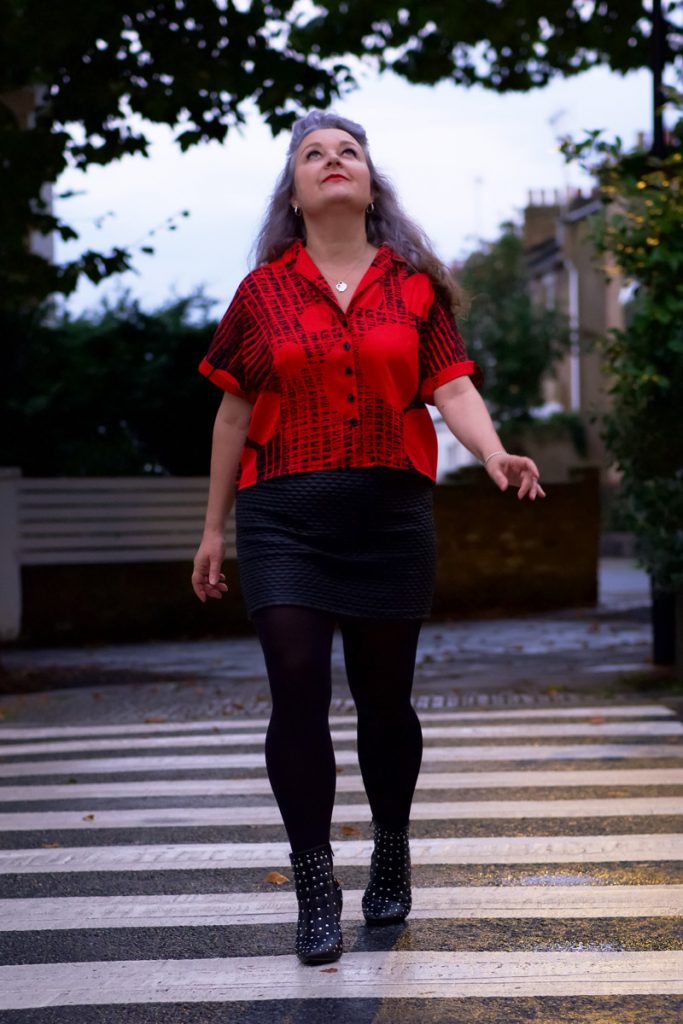
This time ironically it appears I’ve erred on the bigger size! But it really doesn’t matter as it’s so lovely and cool to wear on a humid day. No touching underarm seams and a slight blouson back which really keeps it all nice and airy.
There was nothing complicated about the construction. Though I took time to make sure all the little circles and notches were clearly marked on my fabric pieces. Especially as far as the collar pieces were concerned. And they fitted together a real treat. The fabric pressed nice and sharp too as you’d expect from a quality cotton and a bit of hot steam. And I marvelled at the results. for some time before carrying on with the rest!
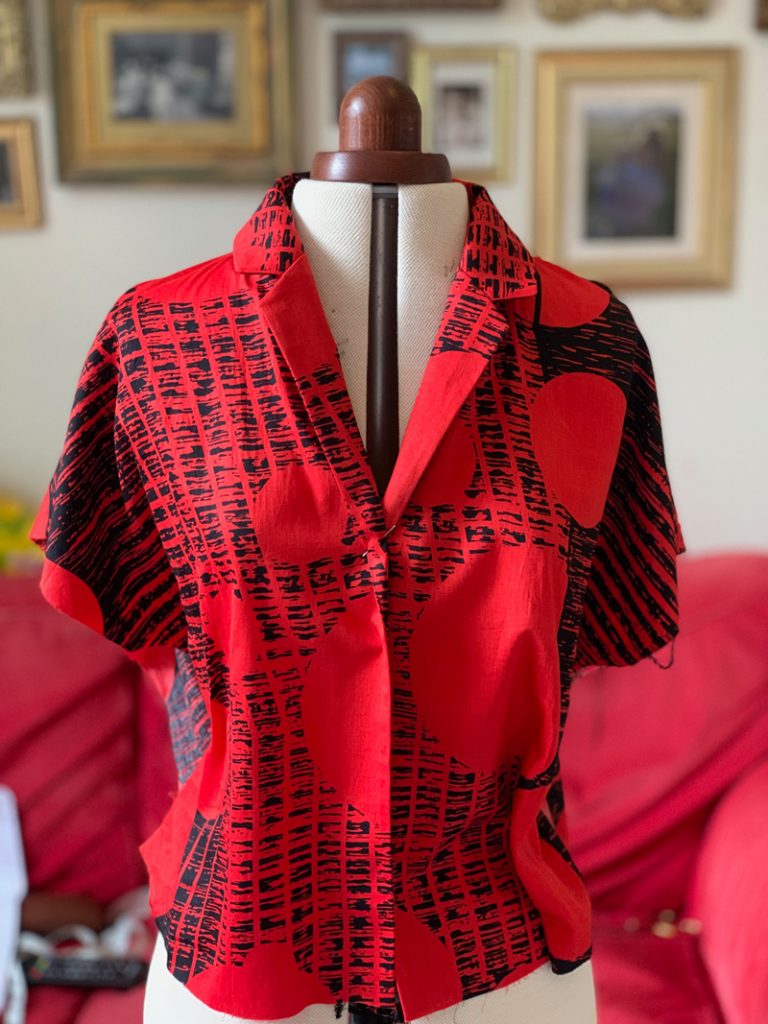
I had just about enough fabric to make this shirt and not an iota of thought was given to pattern matching. It would have been very difficult in any case with the design being so random and all. It was looking to be a nasty mismatch at the centre front with the half circle meeting the full circle but I think I’ve got round that by disturbing the design with some black button holes and buttons. I’ll just keep telling myself that!

I cut the longer length version so that I could make up my mind if the cropped length was going to suit me or not. Before I hemmed, I tried it on and cropped was definitely the way forward so I just overlaid the front pattern piece onto the shirt and trimmed to the line. I did however go back to check If there was one back piece for both versions as I wasn’t sure if it was quite right for the back to stay longer. There isn’t and it doesn’t matter. I’d just assumed the back would be cropped too.
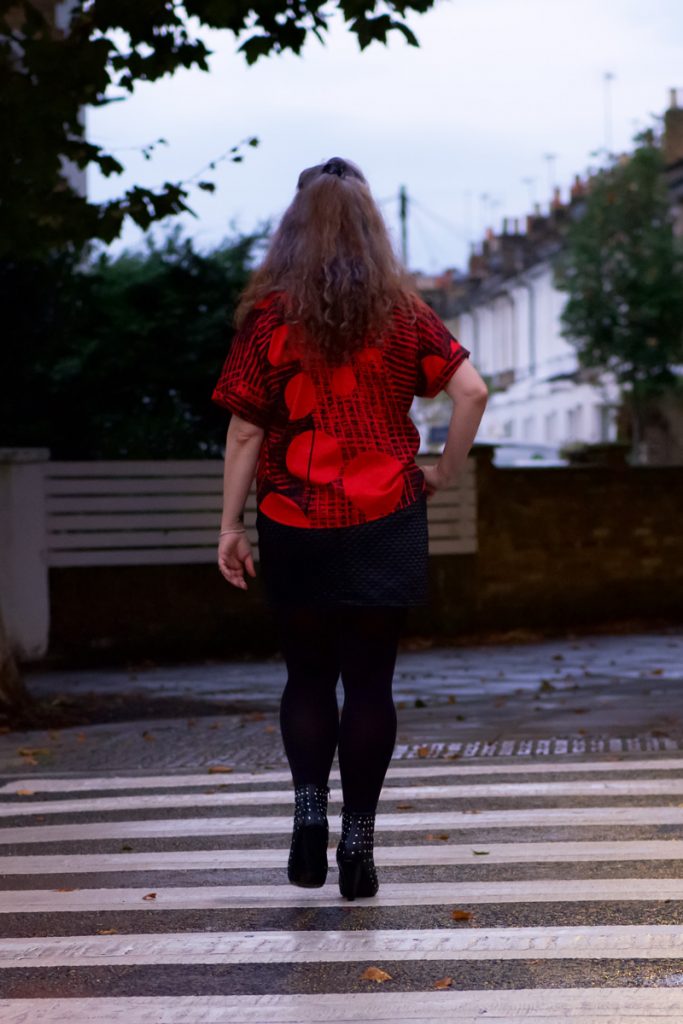
I love how the finishes are considered in the instructions for each seam. It comes together so neatly that you are prompted to stand back and admire your progress at each stage. The cuffs in particular are a great way to bind the sleeve hems. And the facings do a great job of housing the overlocked hemline at the centre fronts too.
I would definitely make this shirt again, perhaps in a slightly more draping fabric next time. Maybe a viscose or liquid-like silk satin for a posher version!
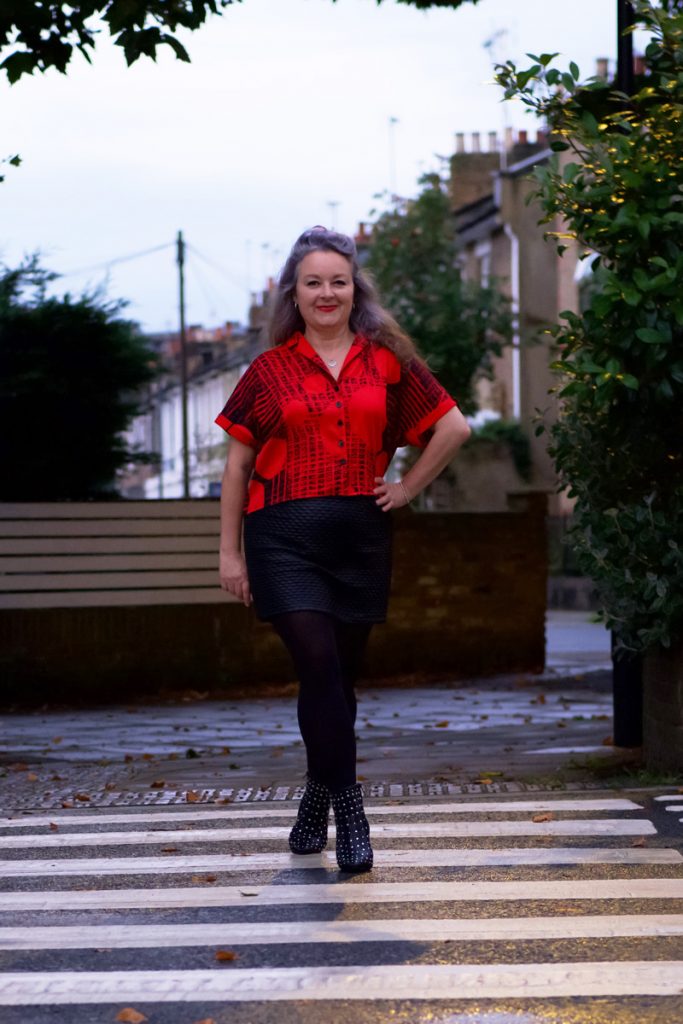
I love the style of this shirt, the cropped length option and the cut-on sleeves. Such a timeless vintage vibe. And a very easy fit.
All I’ve got to do is make some bottoms to wear with them, haha. I’m forever in need of simple black skirts or shorts but I just can’t bear to make something that boring. Needs must though!
Photography by Daniel James Photographic
Thanks to Dan for taking these shots under really difficult circumstances. Nagging wife and failing light is never a winning combination. But I love them!

