Self-drafted Liberty lawn dress

Liberty Lawn dress by ooobop

What a glorious weekend. Unlike almost everyone I know, I didn’t make any plans and for a while I was fighting the fomo as I scrolled through hundreds of family getaway posts. But today I am glad. Not only have I ticked off a few niggly household jobs but I’ve had lots of me time to stop and think and evaluate. Those kind of days are as rare as hen’s teeth despite a generalistic view of ones freelance ‘flexibility’.

self drafted dress by ooobop

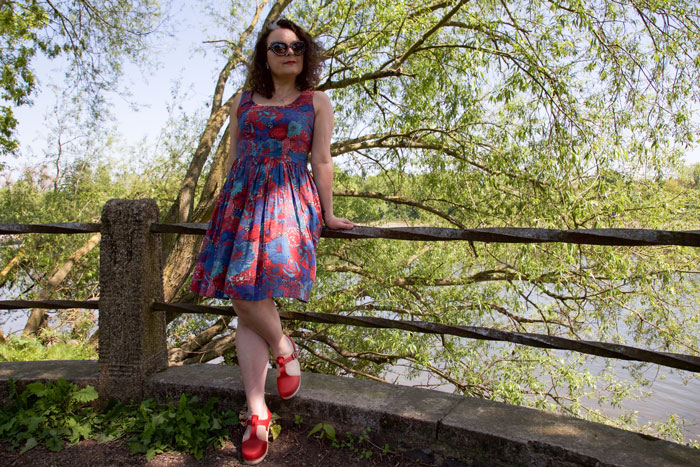
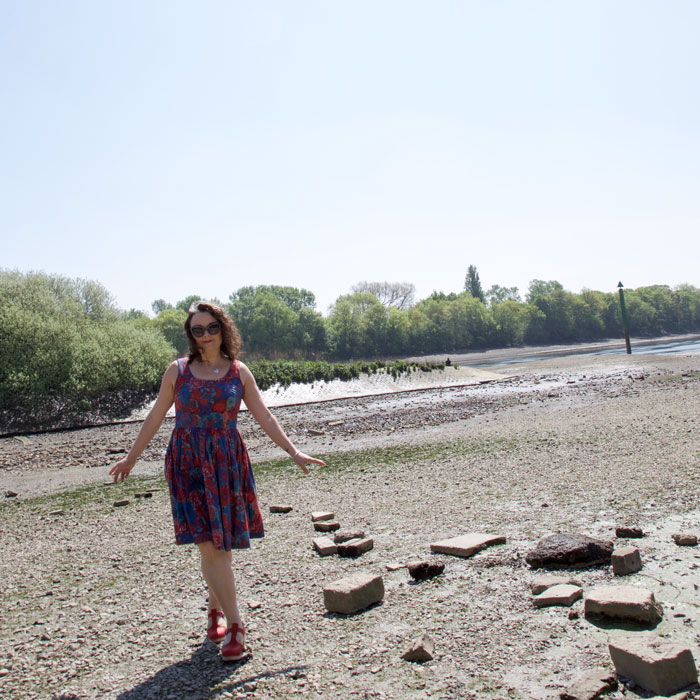
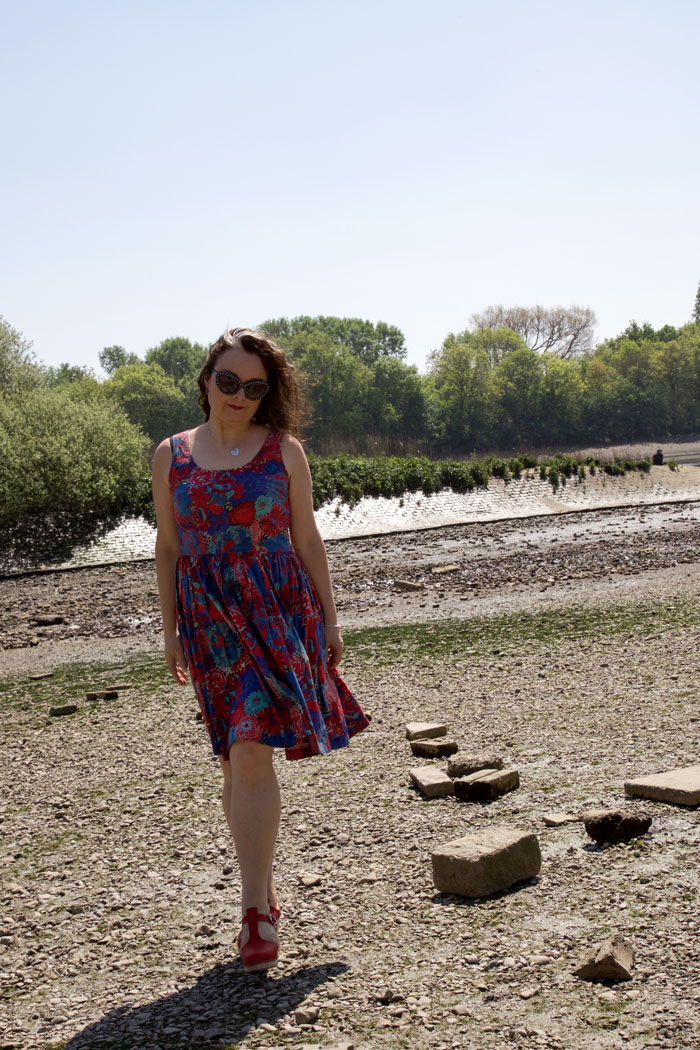
I did however manage to squeeze in a lovely river walk with Mr O who kindly took some photos for this blog post. He’s so busy with plans for a new show (a very exciting show that I will tell you about soon) that it’s quite difficult to sync a weekend together. But we managed a trot from Hammersmith to Barnes and back and talked and laughed… a lot!


Liberty lawn dress by ooobop

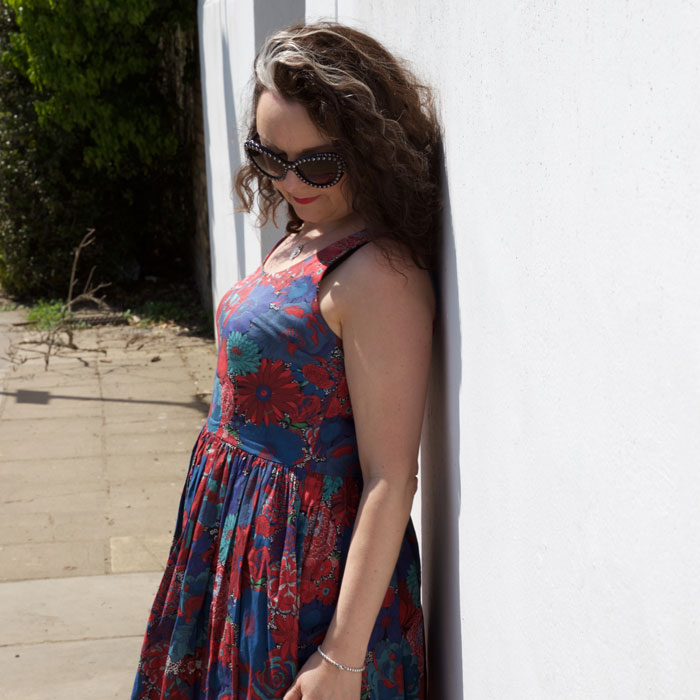
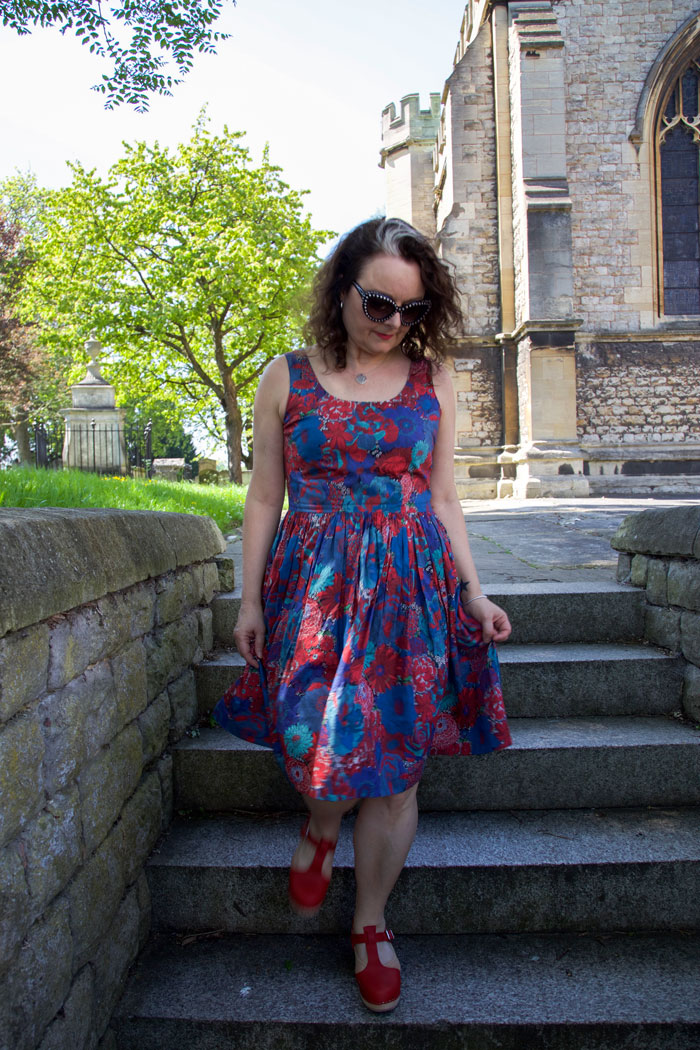
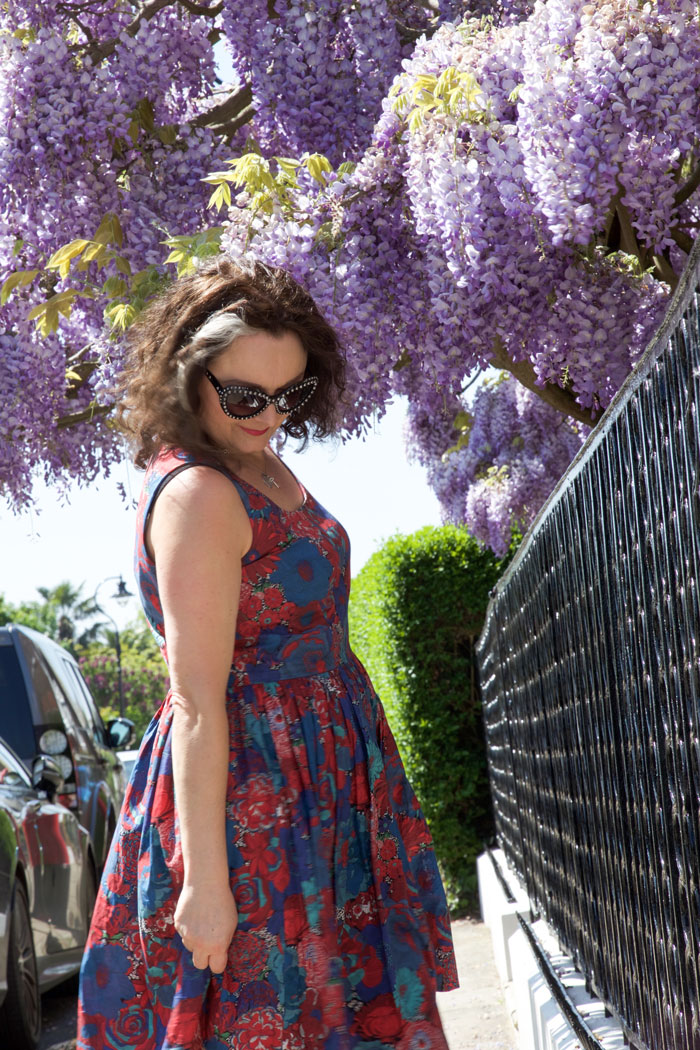
I’m wearing another self-drafted dress. I don’t self-draft nearly often enough, mostly because it’s a time-hungry process but every time I do I’m reminded of how much more satisfying it is to make a dress that is totally bespoke.

Now it’s not the most original or ground-breaking in design… that comes later (lol)… but it fits. Because I made it fit following various stages of tweaks. My pattern pieces look such a mess with all the scribbles and notes but they are truly important scribbles and notes which tell the story of the journey of fit each time they have been used.

self drafted bodice pattern ooobop

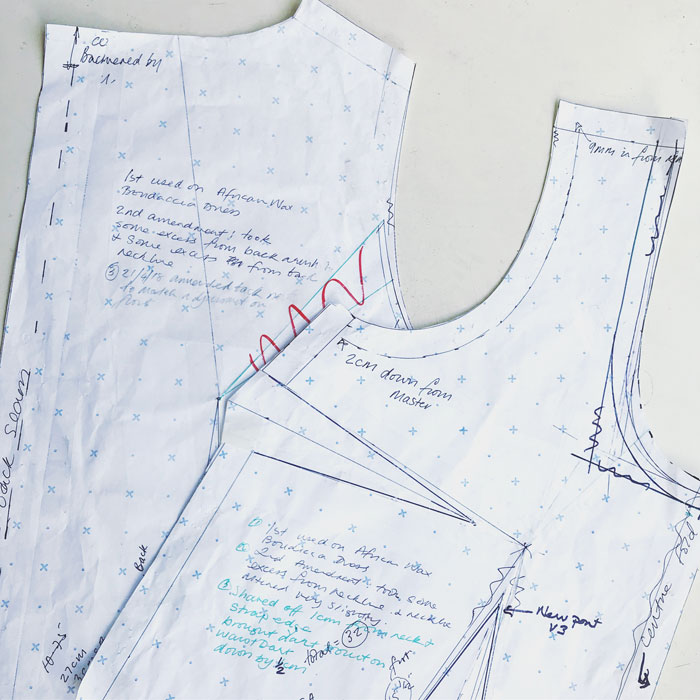
My first fitting was practised on a retro-style top in 2014. The next time I used the pattern was for this wax-print dress – same bodice but a half-circle skirt. I had minor issues with the neckline and corrected it for the third fitting: my skulls and roses dress.


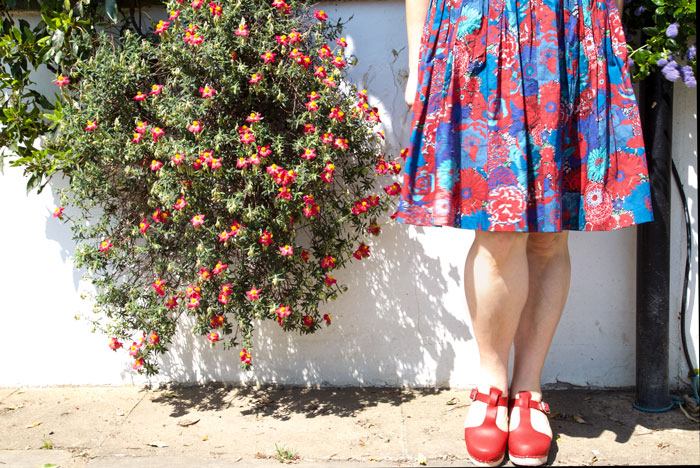
The beautiful fabric is of course a luscious Liberty Lawn. It was a birthday present from a very thoughtful friend. I had 2 metres and didn’t want to waste any of it. The bodice is self lined which feels so good against my skin and was perfectly breathable for a hot sunny stroll. I drafted the armholes to cover that squidgy boob-fat bit (is that the technical term?) and so that the straps don’t fall off my shoulders. That combination involves a fine balance as my shoulders are quite slopy. There is a zip in the left hand side –vintage-style –  so that I didn’t have to split the fabric on the back piece.

Dress design by ooobop

For the skirt section, I took the whole 60″ width to make a dirndl. For anyone who’s tried – I’m sure you’ll share my appreciation of how damned satisfying it is to gather lawn. And out of respect for such a beautiful fine fabric, I hand- sewed the hem. Not only does this fabric gather beautifully but there’s a pleasure in pressing it too. It just stays and makes the whole hand stitching thing a breeze.

Dress designed by ooobop

I give small leftover scraps to my local primary school for them to use in their craft projects and I’m sure they’ll be delighted with the quality this month. I’m certainly glad that I didn’t have to bin them. I absolutely could not have brought myself to have even put my foot on the bin pedal!

Our walk was lovely. The air was filled with warm wisteria  perfume. Not too dissimilar to doughnuts I think. Or is that just me?

Liberty lawn dress with wisteria

And can I just mention my shoes. Quite a step away from my usual heels and platforms. They are Lotta from Stockholm Clogs. Handmade and verified well made! And they come in all sorts of styles and colours. Go check them out! I’m not sponsored by them. I’m just very happy to pass on a good find.

Handmade dress by ooobop and Lotta from Stockholm clogs


French Gypsy Dress

1952 French Gypsy dress

And finally, after two years of waiting in the wings, and following a match-made fabric and pattern eureka moment, my French Gypsy Dress is finished and worn already.

The pattern is by Sew La Di Da Vintage, and I knew I would love it but I could never quite decide on the fabric. The samples shown on the site and exhibited at the shows I’ve visited are so gorgeous I could never hope to get close. I love the packaging and the styling of all the patterns.

Gypsey Dress sewing pattern

I found the fabric online at Minerva Crafts, which is unusual for me. I much prefer shopping in real life! I have to touch and feel and think about it and walk from shop to shop and talk about it with the assistants before I make a call. But when I found this beaut on a random scroll, I didn’t give a second thought to what it would feel like or indeed what it was for – I just loved the colours and the black background of course. It’s a stretch cotton sateen. Quite sturdy, moderate stretch and a great lack of creasibility!


Thing is, I didn’t connect to two to begin with. And when sometime after I considered pairing them I thought it would be too weighty for the gathered upper bodice and sleeves. Though I knew the skirt would totally benefit from a bit of weight and the silhouette would be awesome.

French Gypsy Dress back

Then I got busy and all sewing plans were out the window until I got a free weekend. Woohoo! A whole undisturbed Saturday and after a pep talk with my mum it was full steam ahead. She basically said, “What are you so scared of? If it all goes pear shaped you can just get some more fabric.” Which is true of course, if not a little bit wasteful. And I could have tested on something else first but I had a window of opportunity and I wanted a new dress right there and then!

And I couldn’t be more pleased. It fits in all the right places, is flattering and comfortable too.

Construction-wise its really quite simple. The most complicated thing is taking time to make those bodice and sleeve gathers even. I know now after heaps of lazy and rushed gathering attempts in the past, that the key is to sew 2 rows of gathering stitches, either side of the intended seamline and there’s every chance your gathers will keep evenly distributed and pucker free.

1952 French Gypsy Dress

I made the binding for the neck and sleeve edges from some leftover black duchesse satin. I was prepared to rip it off if it didn’t work because I wasn’t entirely sure if it was the right kind of fabric for the job. But it was. Just perfectly right, actually!

There is a length of elastic inside the bias casing that starts and ends on the back sleeve seams. This is such a great idea because it allows for the dress to be worn on or off the shoulders and keeps the back bodice pieces completely flat. Incidentally there are no darts in the back pieces of this dress. Instead, the instructions call for a brilliant fitting stage whereby the back seam is pinned to fit and marked with chalk or an erasable pen (you will need a partner for this). Then the seam is machine tacked and pressed open so the creased edges give the perfect guide for zip insertion. It’s such a cool stage of instruction and one that I am definitely going to consider using on future makes. Is this a typical vintage construction method, I wonder?

French Gypsy dress reflection

I’m so happy with the outcome. It brightened a very drizzly day and feels so great to wear. And better still, it’s another strike off my #makenine2018 – wahooo!

I might try poomfing the skirt more with a layered petticoat and styling it up with flowers in my hair. Definitely a contender for what to wear when the Frida Kahlo exhibition hits the V&A this year.

Well it’s back to work tomorrow. But I’ll be returning with a head full of plans. That’s the trouble with a bit of time off!