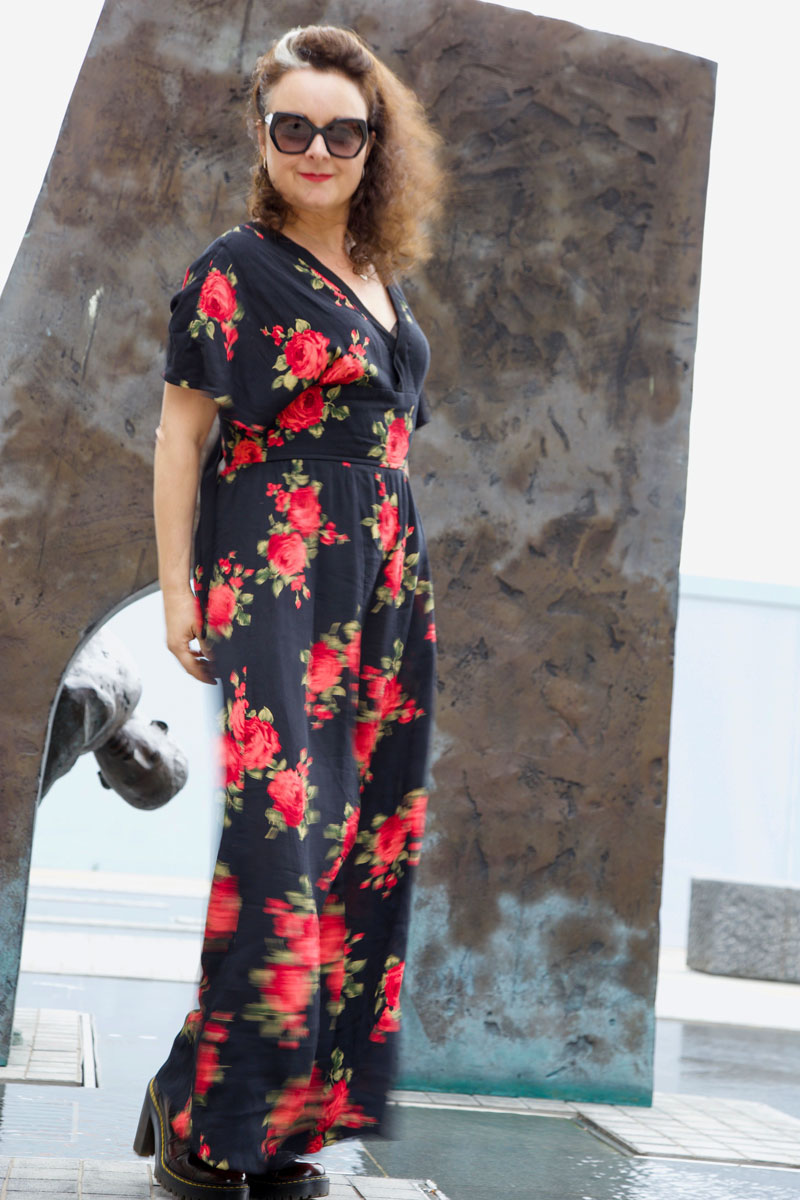
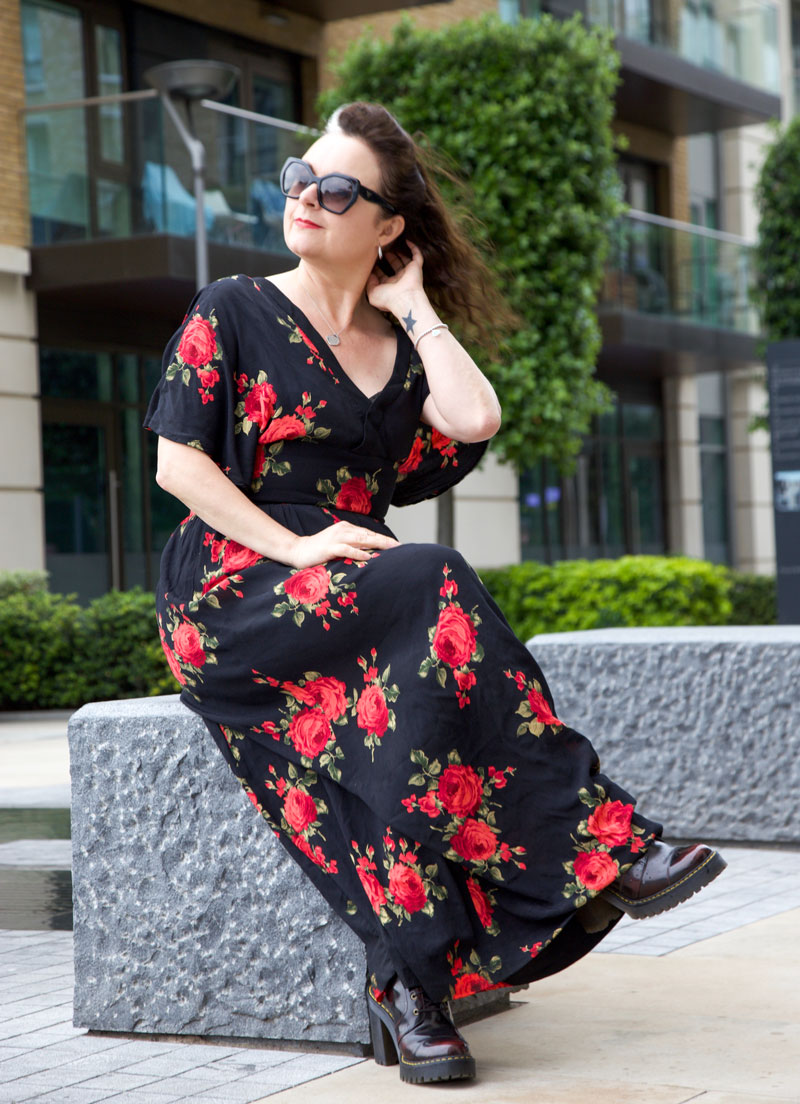
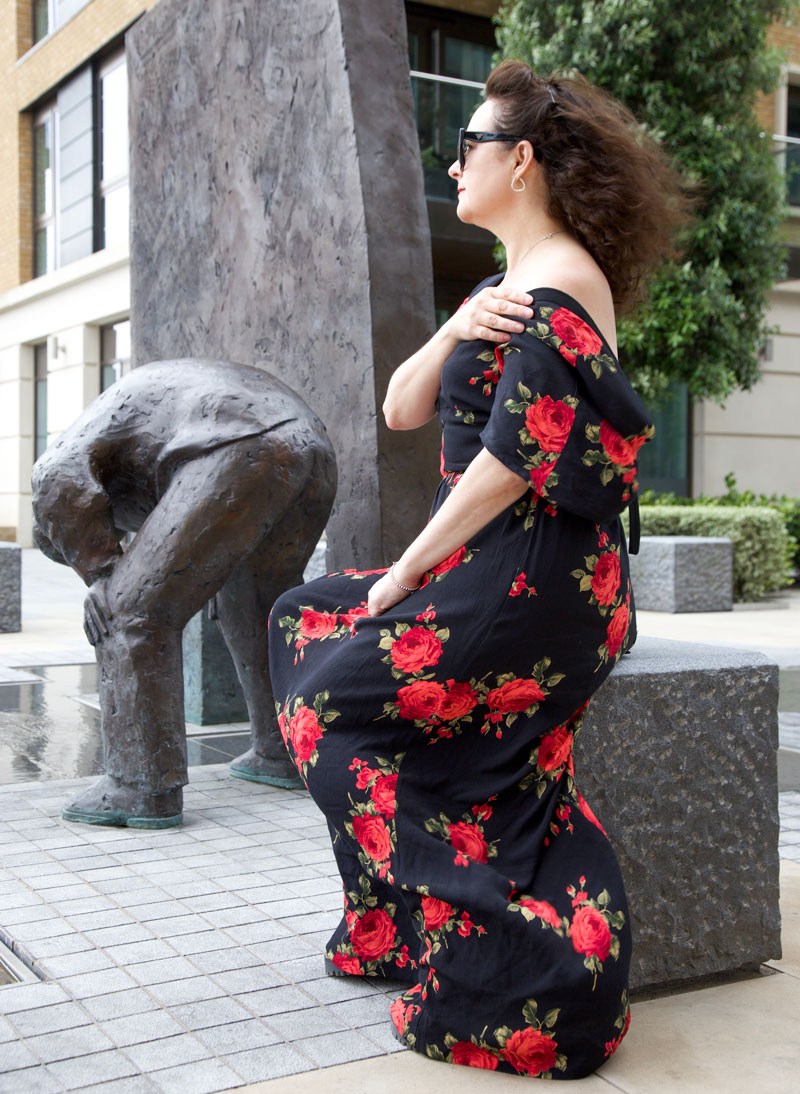
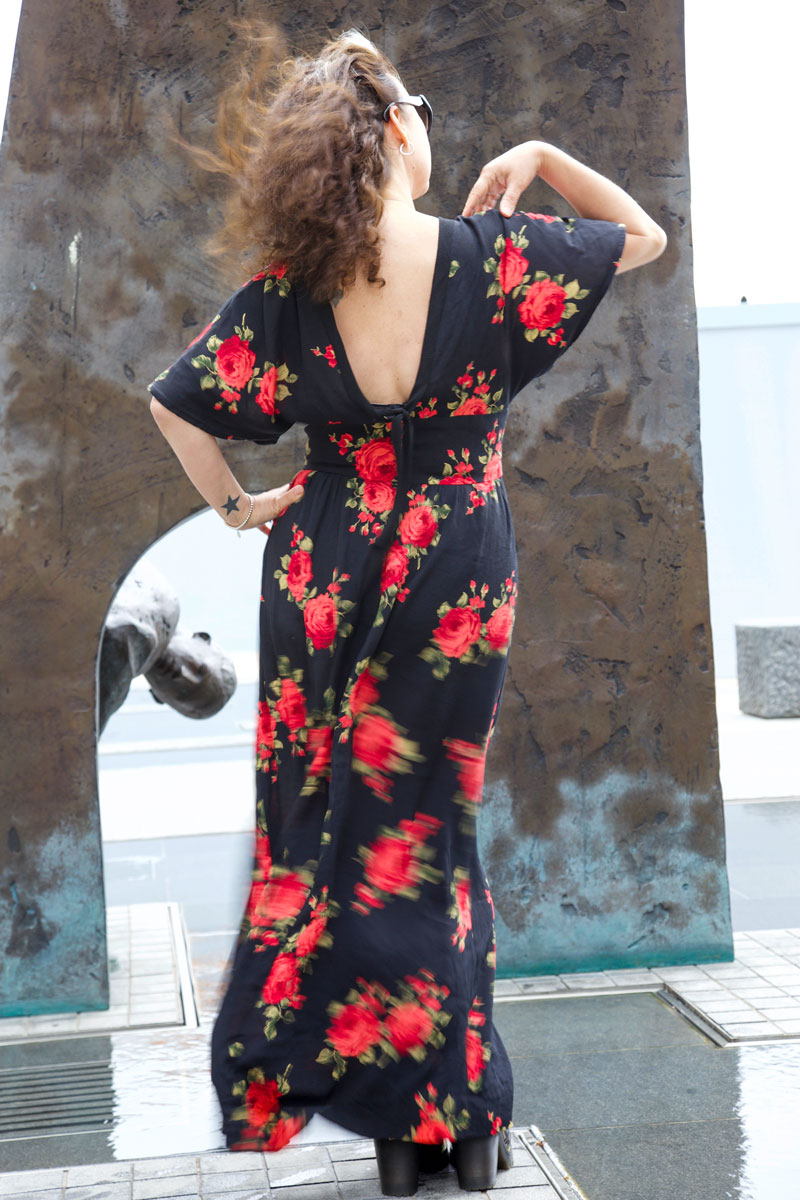
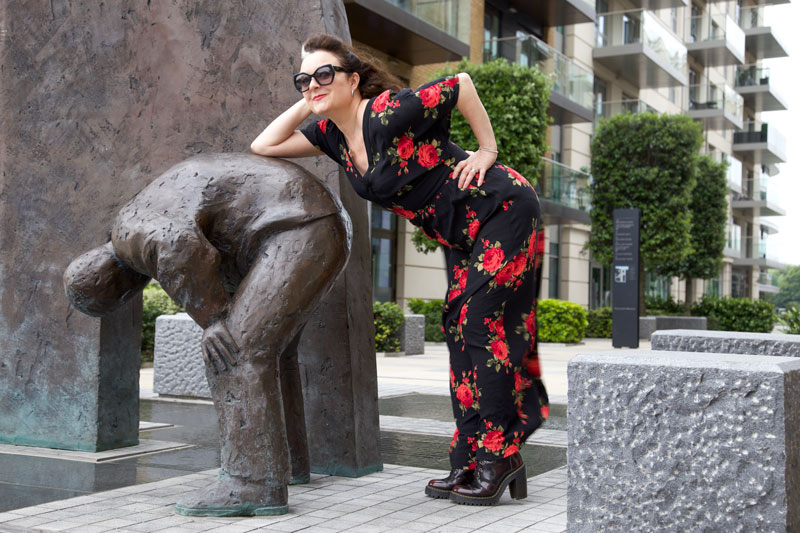
Retro Butterick 5880 in red leopard print

B5880 dress

Big thanks to Marie @stitchoddyssey and Kerry @kestrelmakes for their great insta challenge, #sewvintageseptember, without which this dress would still be in tissue form, in its little envelope, nestled with the other hopefuls! The challenge encouraged us to sew up our neglected vintage patterns, something I’ve been meaning to do for such a long time. Plus it presented so many inspiring posts as everyone uploaded their gorgeous creations. I’m late to the finishing post but I’m so jolly glad I got there!

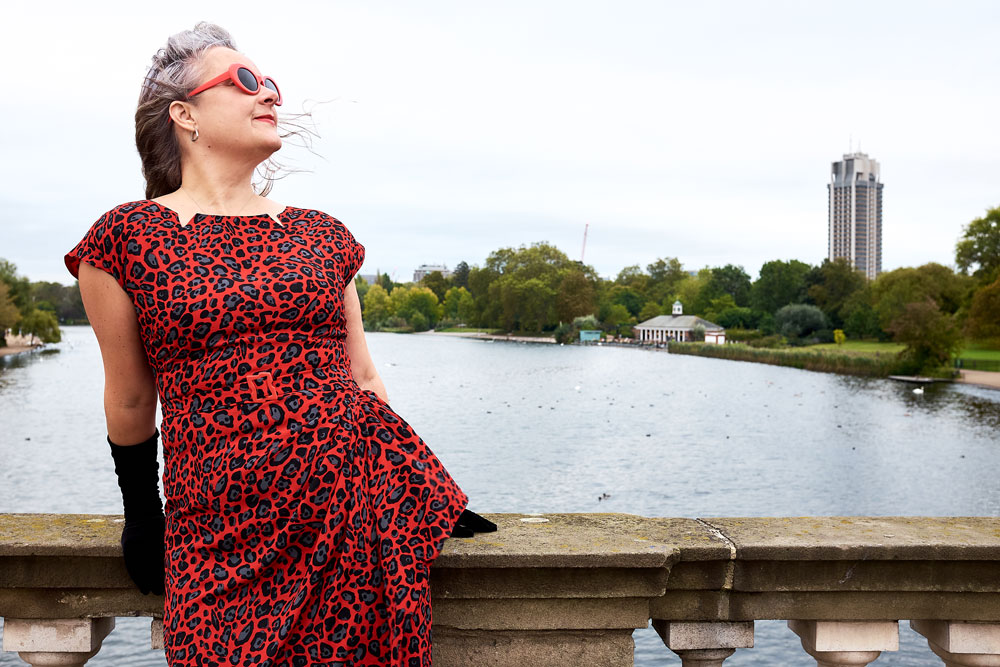
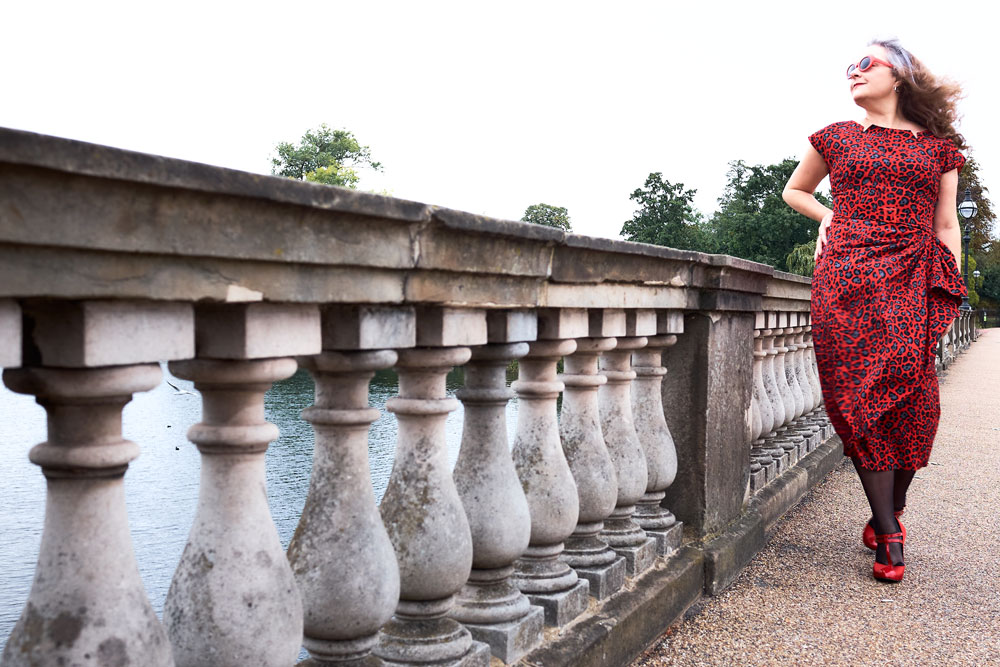
B5880 on the Serpentine bridge

I used to sew so many more vintage dresses than I do of late. When I first began sewing I inherited (read stole) a few from my mum’s collection – just basic skirts and tops. And then my love for them grew so much that years later I found myself bidding silly money for 40s and 50s patterns online. I loved the cover art, the pre-cut pieces, the prompts to hand finish and the unfailing elegance of the times.  I learned how to style the finished garment without conforming to an entire vintage look (totally ignoring the wails of the purists!) and made them my own. I’ve included links to some of my faves at the end of this post.

B5880 retro Butterick dress

So what happened? Why don’t I sew vintage so much any more? Well basically, I discovered indie patterns. And later learned to draft patterns myself. And those vintage pattern boxes have since remained closed owing to the rip-off number of hours in a day! That said, I have left a couple of patterns, loose on the top of the pattern box tower, just in case I get a miracle few hours spare to schedule them in!

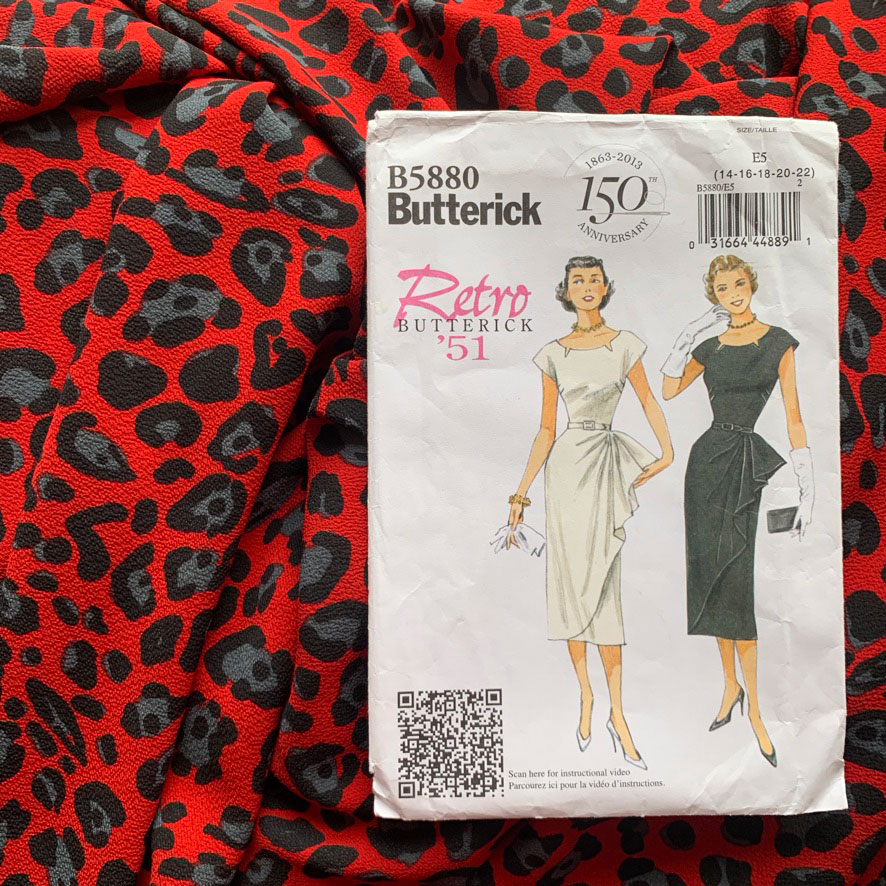
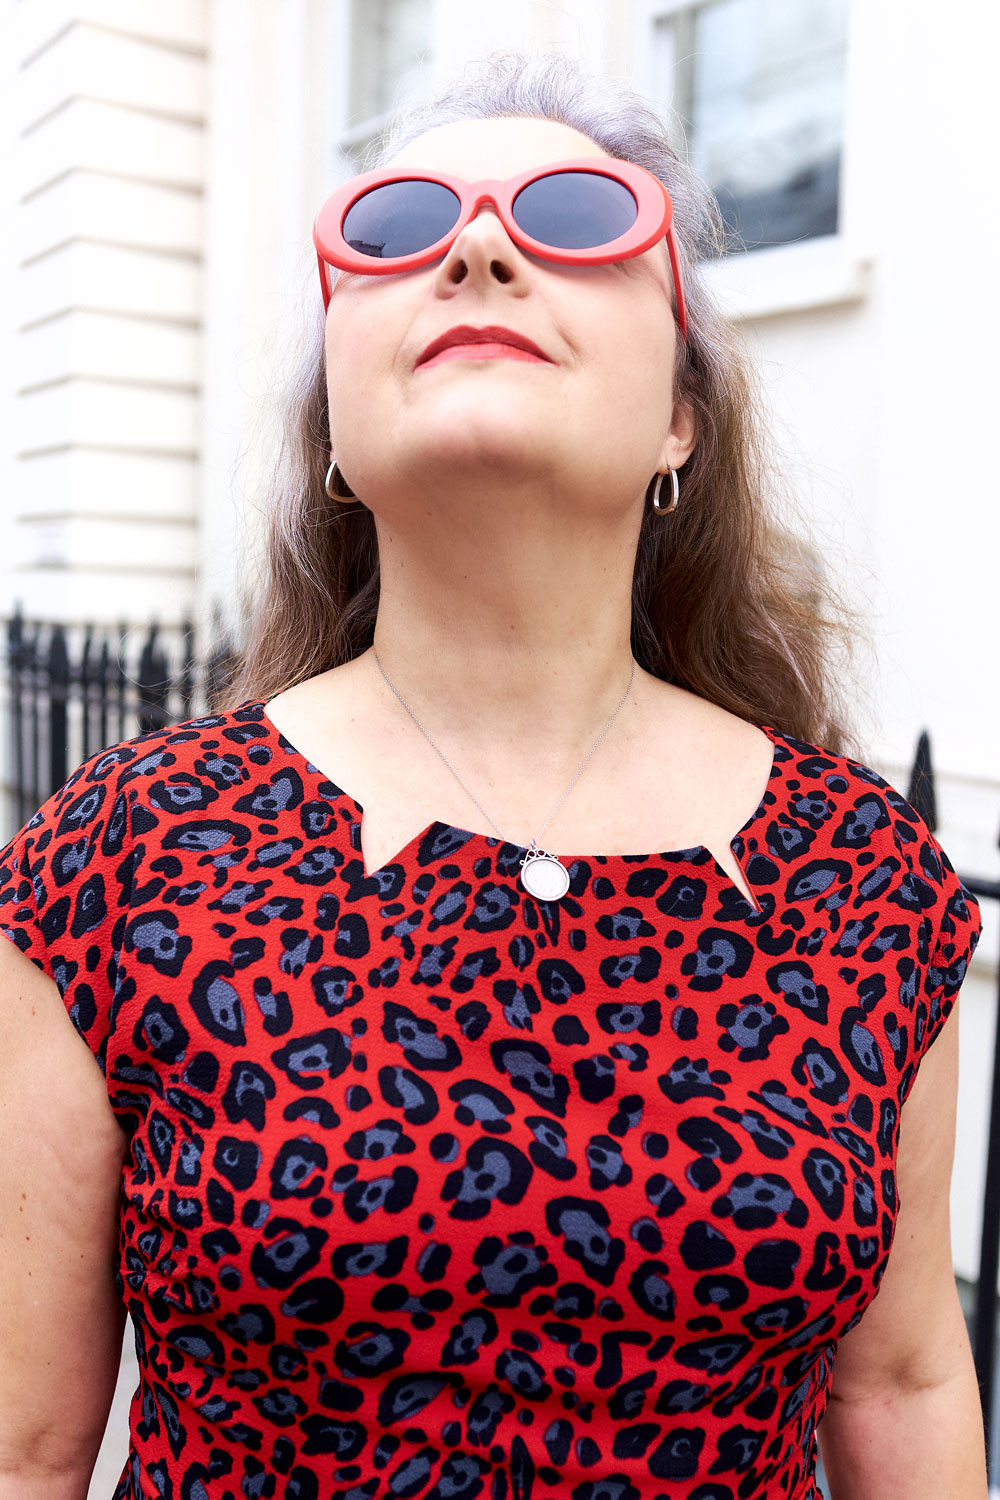
The pattern I used for this dress is Butterick 5880. A retro reproduction from 1951. I love the sarong-style side drape and the neckline with its little fang-like indents!

Retro Butterick 5880 pattern envelope

It screamed leopard-print at me from the off. But I can never find the perfect scale print in a perfect colour way, let alone the actual perfect fabric weight.

I asked in pretty much all the stores along the Goldhawk Road with not an ounce of success. A block colour probs would have worked fine and that was my next plan and was just deciding on red or black (of course) until I spotted this red, black and grey print in Classic Textiles. It was definitely an Hallellujah moment!

B5880 dress modelled on the Serpentine bridge

So my vision of Rockabilly chic was restored and off I skipped with some cheaper poly for the toile – I always try to mock up in as close a fabric as poss to get best fit – and some anti-static fabric from the little shop next to A-One (never can remember it’s name but the owner is always so friendly and kind). I paid £6.50 a metre for the lining. Pretty much the same as the main fabric because I didn’t want cling or spiky static stuff going on. It ironed like a dream and feels so silky to the touch – red of course!

I only mocked up the bodice. Knowing exactly what the issue was going to be – pooling at the back! The back piece is cut on the fold so to get round this I traced and cut the piece in two, adding seam allowance and taking 2 inches of ease out but cutting and slashing on a line drawn from a third of the way up from the bottom of the armhole, across to the centre back.

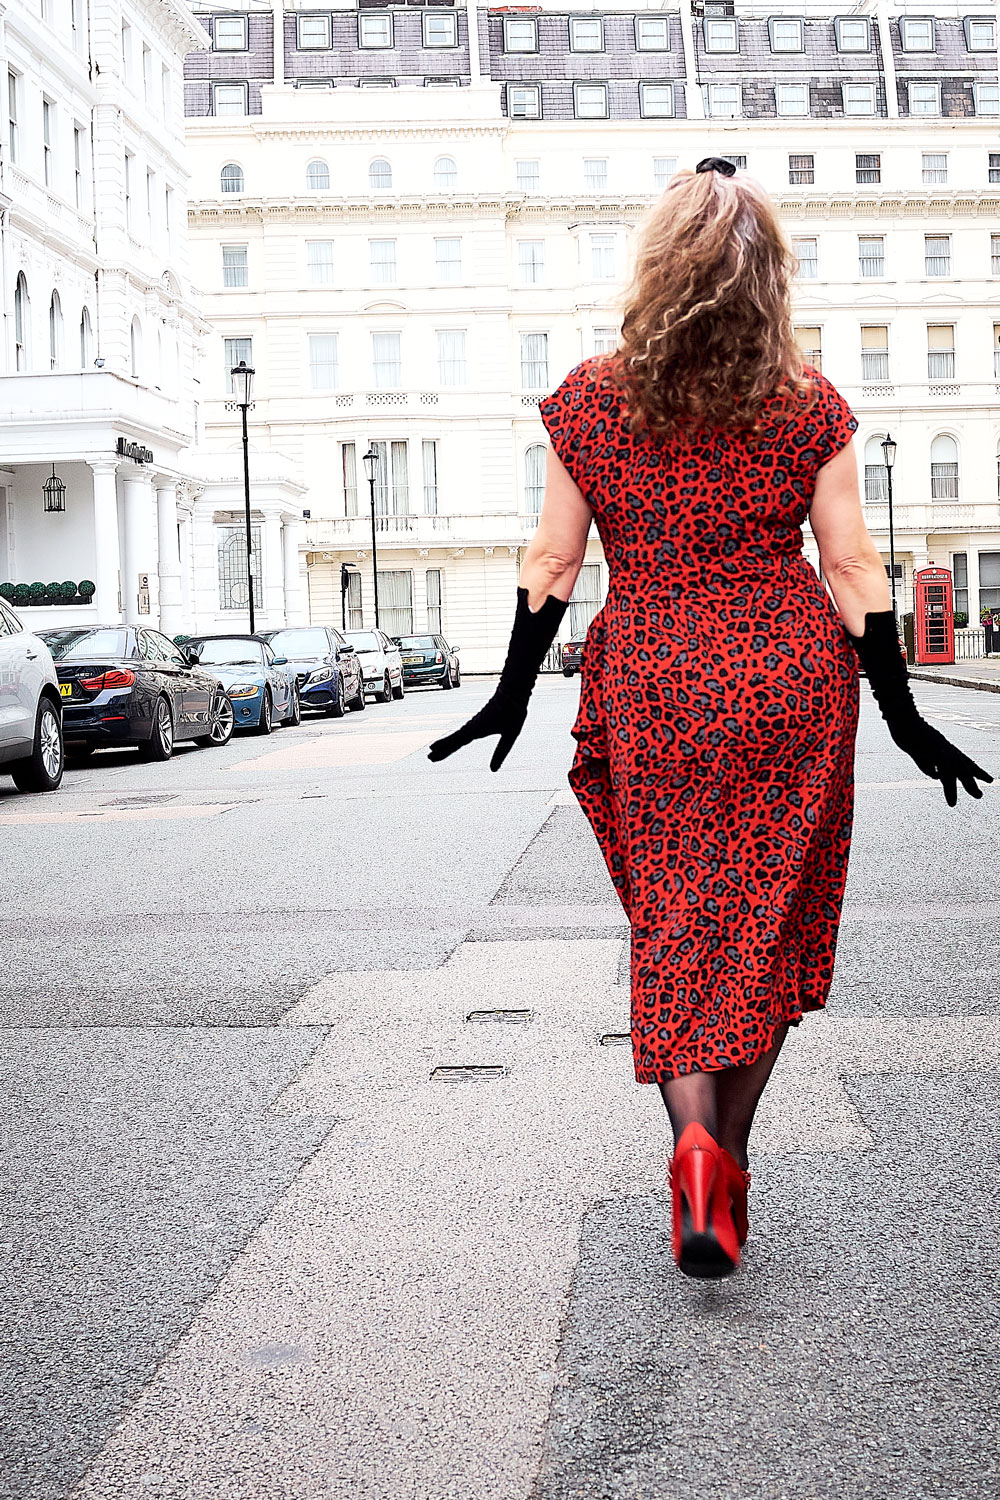
B5880 back view

I sewed out a dart on the mock up to check it worked before cutting out my main pieces.

And here is where the fun started. That wrap piece is huge and because I wanted to keep the entire length of the skirt (I know right… where has Janene gone!) I had no chance of cutting out on my tiny kitchen table. I remember thinking laminate flooring would be a great idea in the living room so I could cut larger pieces. And it is mostly. But wiggling crepe and shiny scissors meant I was crawling around on the floor for aeons! Getting up and straightening up afterwards was an insight into being a hundred years old!

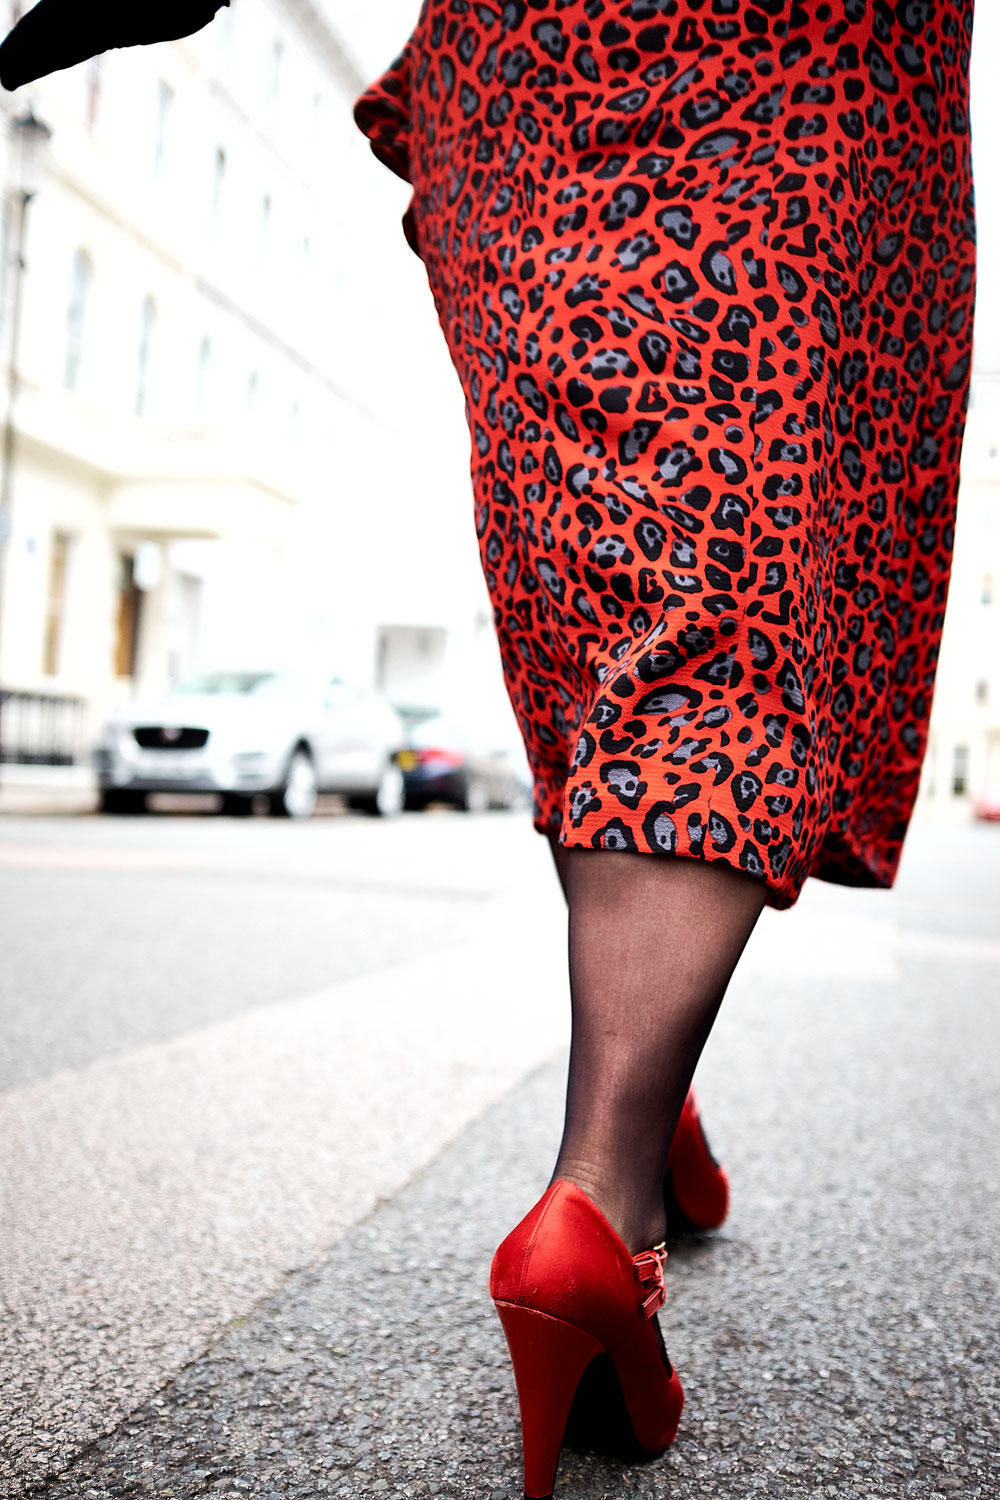
Back view of skirt and heels

And just as I’d finished I had to cut the lining, too. All the moaning and groaning that day – you’d never have guessed it was my favourite thing to do!

The bodice came together pretty swiftly. I’m always a bit scared to clip so close to the point of a ‘V’. And you can see a smidge of the lining as a result. But I’d rather that, knowing its stronger as there will be some stress on those points at times. But kudos to the Vilene G710 Light Woven Iron On Fusible Interfacing I got from Minerva Crafts. It was such good quality and it was definitely key for providing just enough structure so that neckline doesn’t roll out.

B5880 retro butterick dress neckline

I pinked the seam edges and the lining edges. Mostly so there would be no additional bulk on pressing. But also because it’s fun!

The main skirt pieces are dead simple to assemble too though I did overlock those seams. The bodice seams are enclosed and it felt safe to pink but when this dress ultimately gets tossed around with a wash load of other stuff, I worried the skirt seams would be more vulnerable and susceptible to fraying. And I didn’t want that after all the effort invested.

Now let’s talk wrap! All I can say is that I’m jolly grateful for that QR code bottom left of the pattern cover, that links to a very good tutorial by Professor Pincushion. I read the instructions included with the pattern about 50 times over and still couldn’t work it out. But the video was instrumental in working out those pleats.

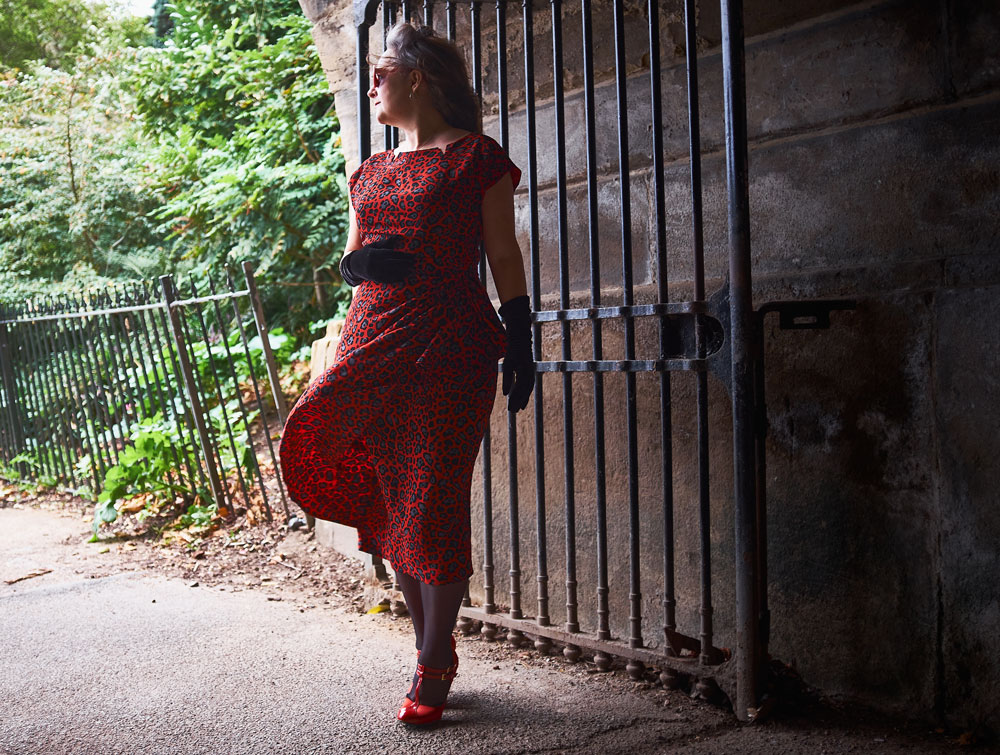
B5880 retro butterick dress shot in a tunnel

I had assumed the wrap was a singular piece. And it would probably work just as well assuming ones fabric is double sided. But I like how much neater it’s finished by being faced. It adds a fair bit of weight though, and there’s quite a bit of stress where that pleated section joins the waist seam so will have to keep an eye on that. The full lining adds even more weight to this dress but its not a bad thing. It slides on with ease, helps the dress to hang better, prevents any show through and feels so special to wear.

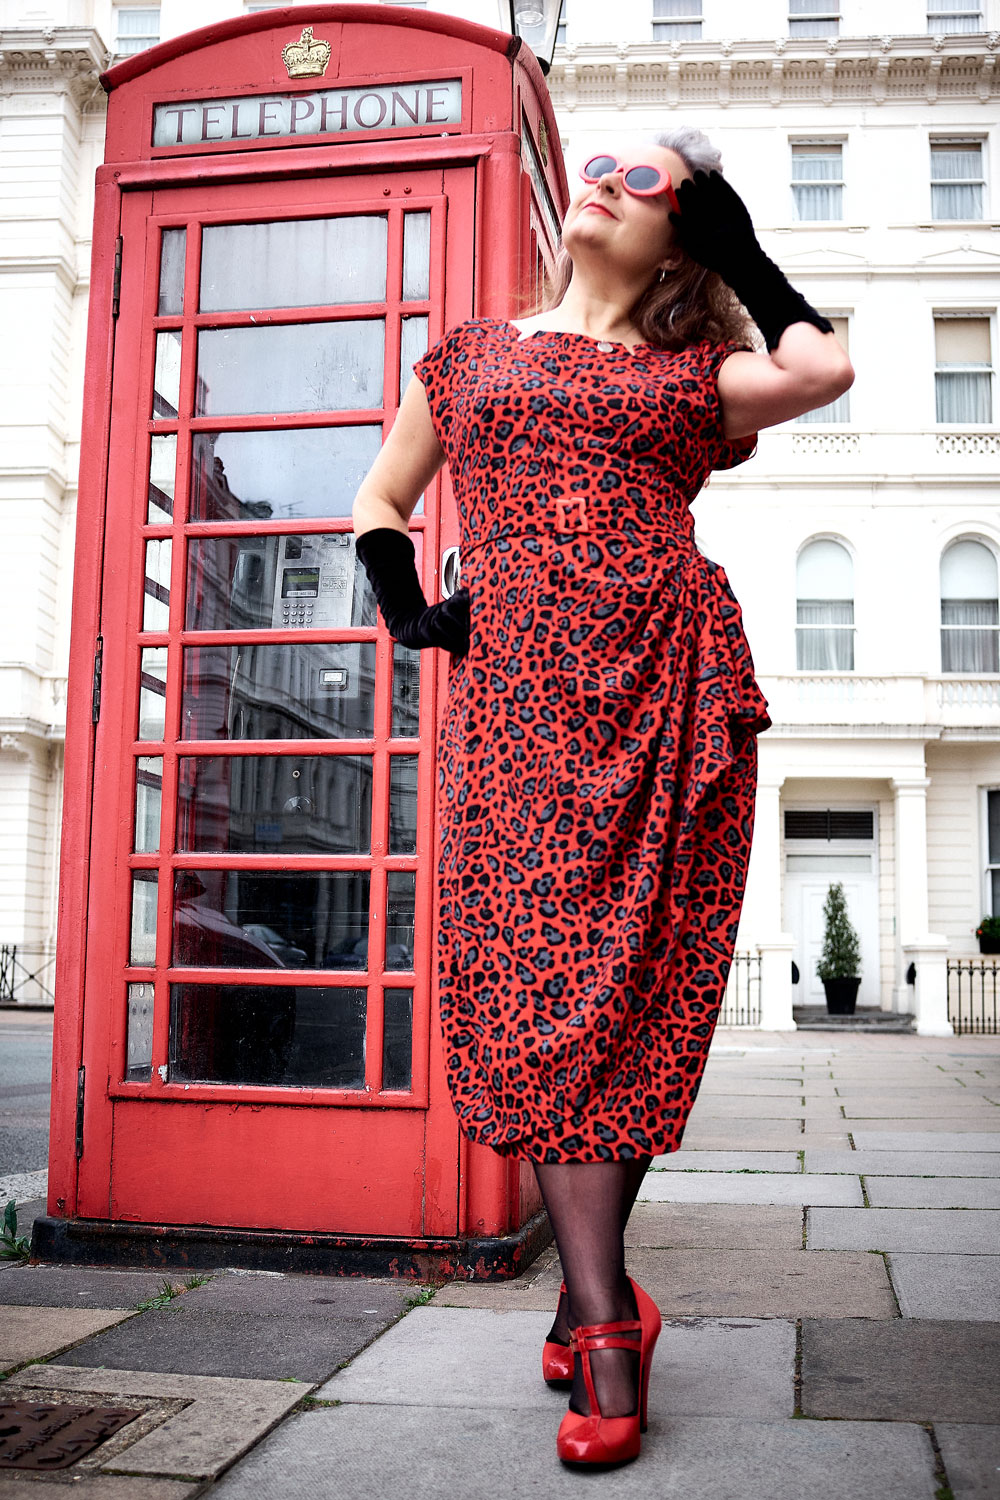
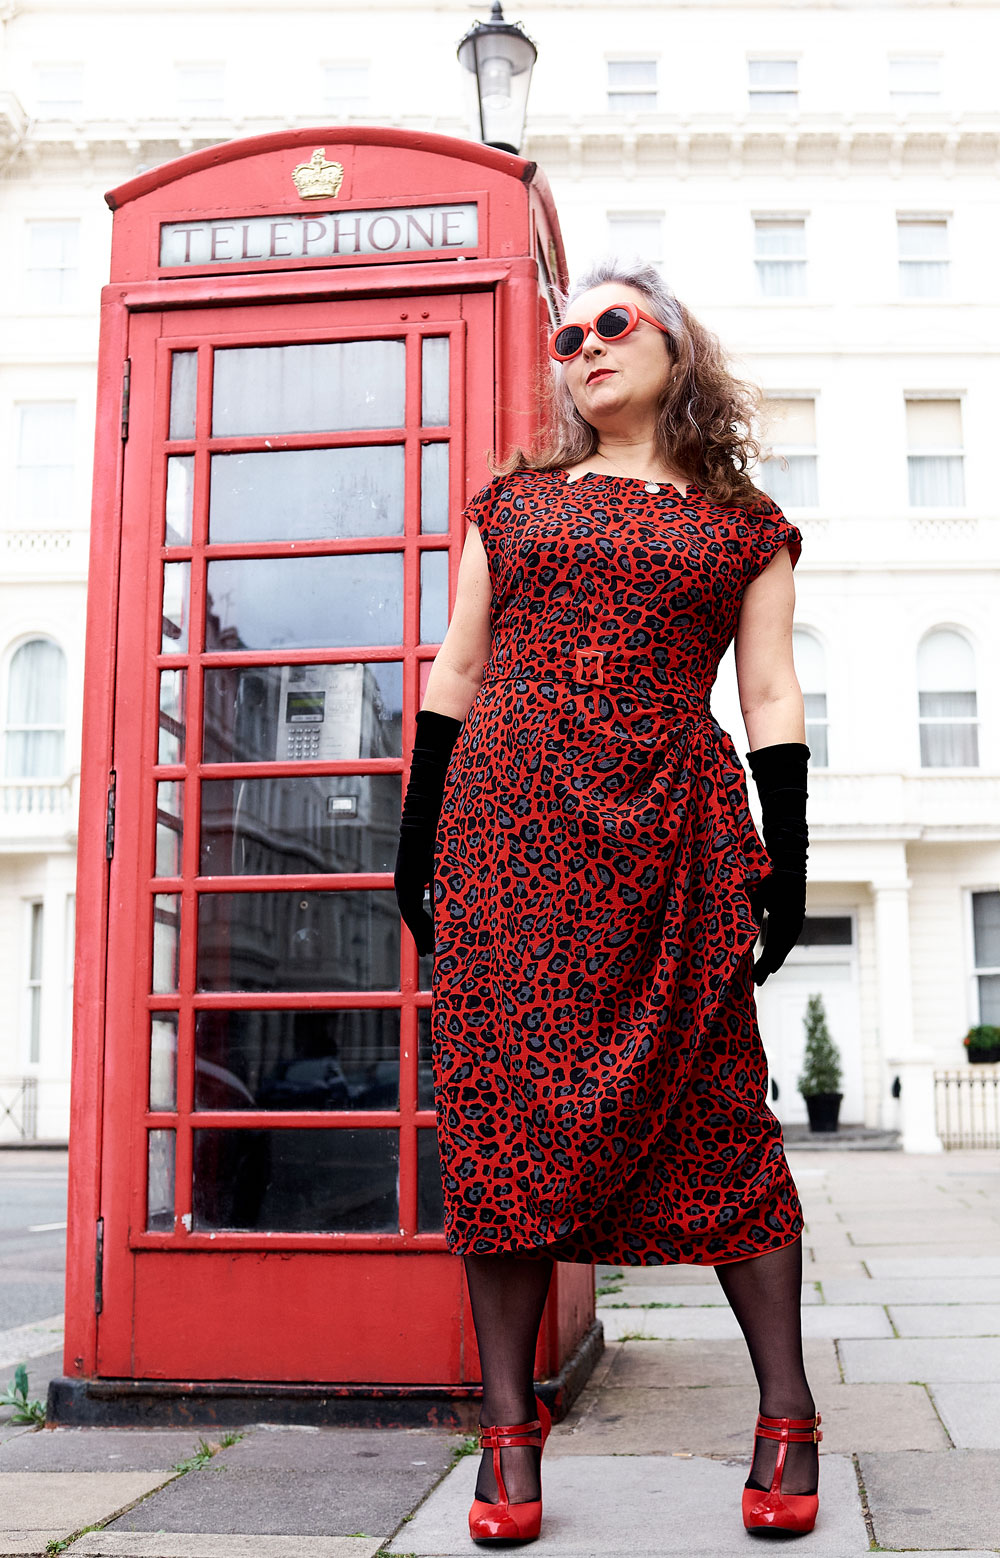
B5880 dress and London telephone box

Following the marathon hand finishing session (shoulder seams of lining, joining bodice lining at waist, hemming, French tacks) I almost forgot about the belt! That was pretty simple to whip up though. It’s basically an interfaced tube, sewn, trimmed and turned. Though the turning was not fun at all! Once pressed, the flat end is folded over the central bar of the buckle and hand stitched down. Luckily I had a small collection of vintage buckles to choose from – the asymmetric red one was a clear winner.

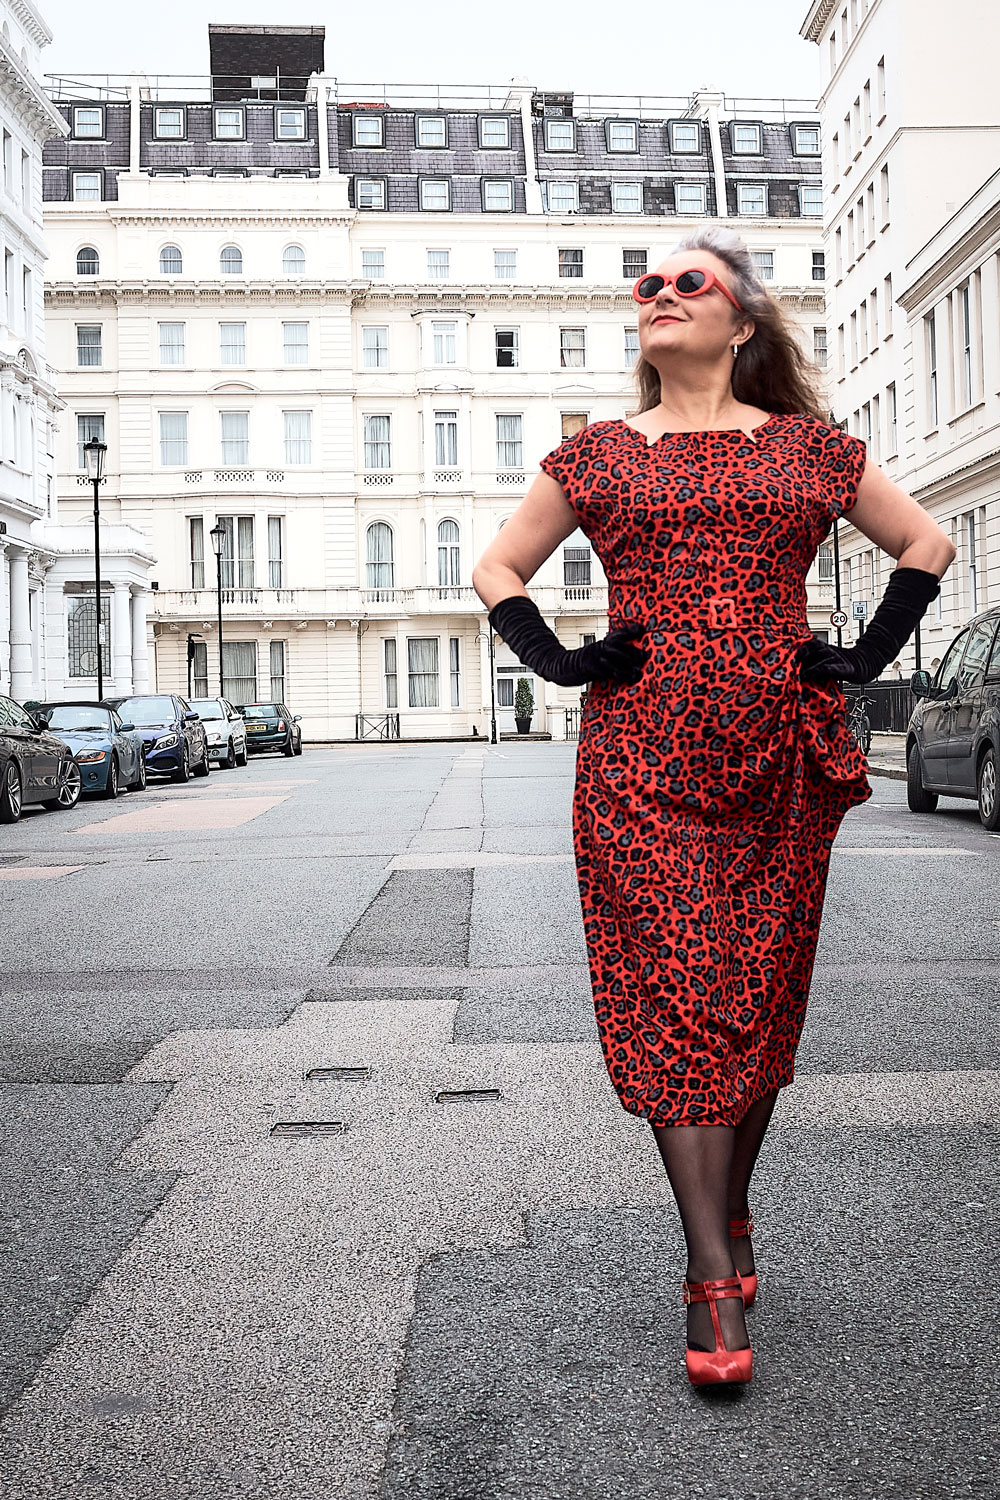
Although this is clearly a 50s dress design, it could so easily pass as 80s and be dressed down with Doc Martens and a denim jacket but for the purposes of our shoot on Sunday, I felt the need for glam – heels, care of Shelter Charity shop, Long velvet gloves from British Heart Foundation charity shop and Sunglasses, a lucky find in Cancer Research charity shop. Stockings bought from What Katie Did.

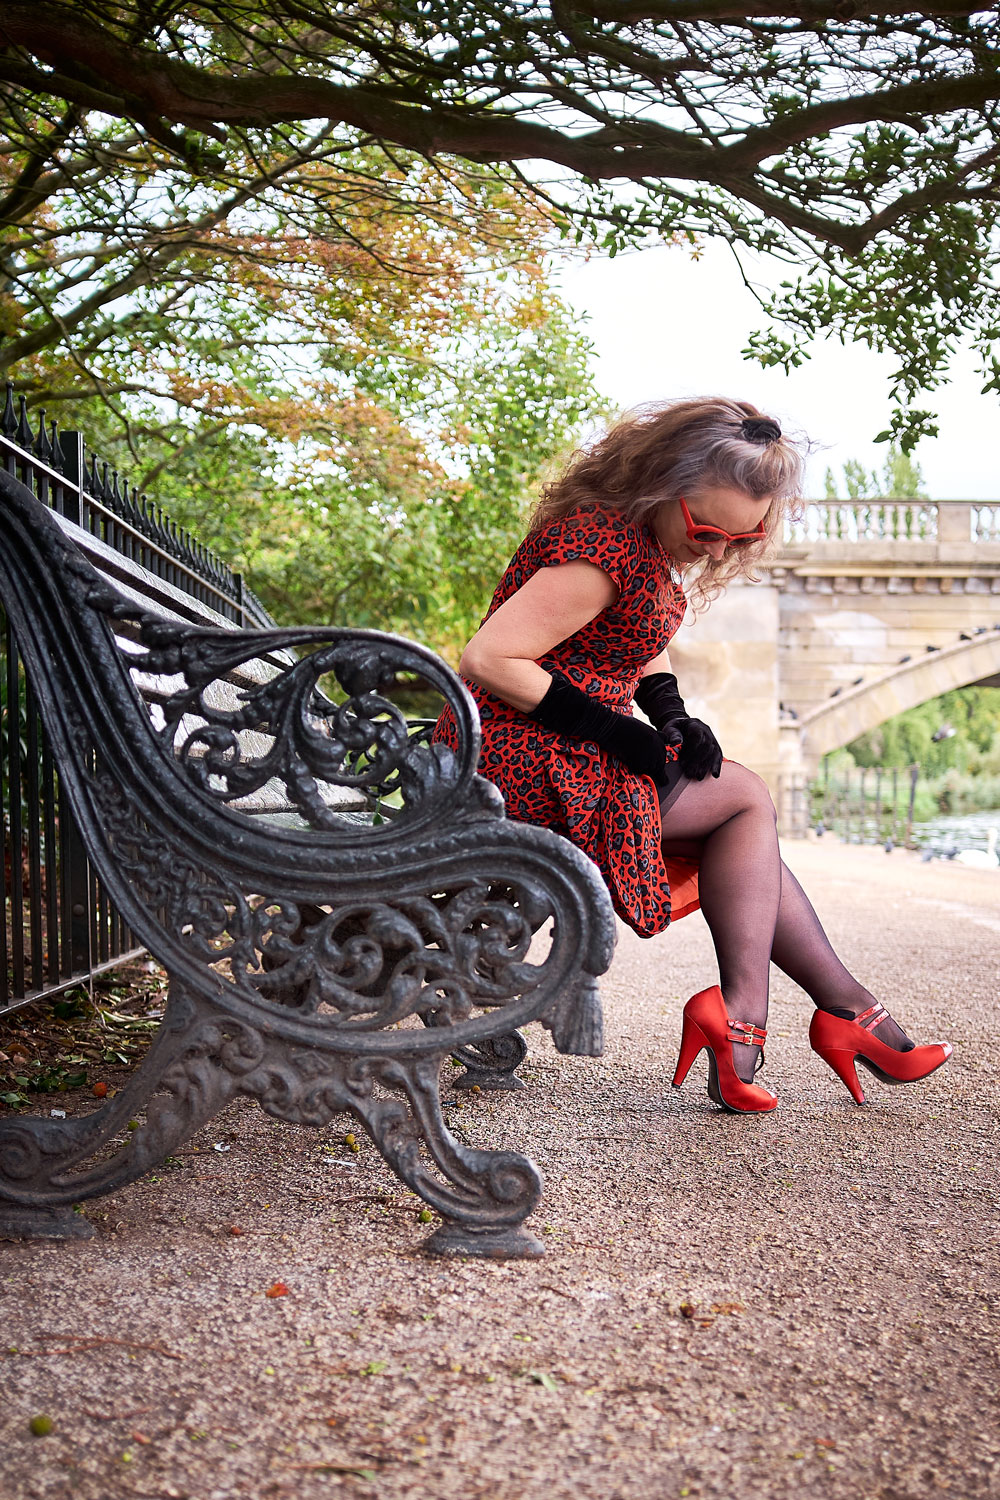
Adjusting stockings on a bench by the Serpentine, London

And yes, actual stockings! I’m so out of practice and really nervous of them pinging loose and ending up round my ankles. But they felt so good to wear with a dress of an ‘appropriate’ length and added to the feel good factor.

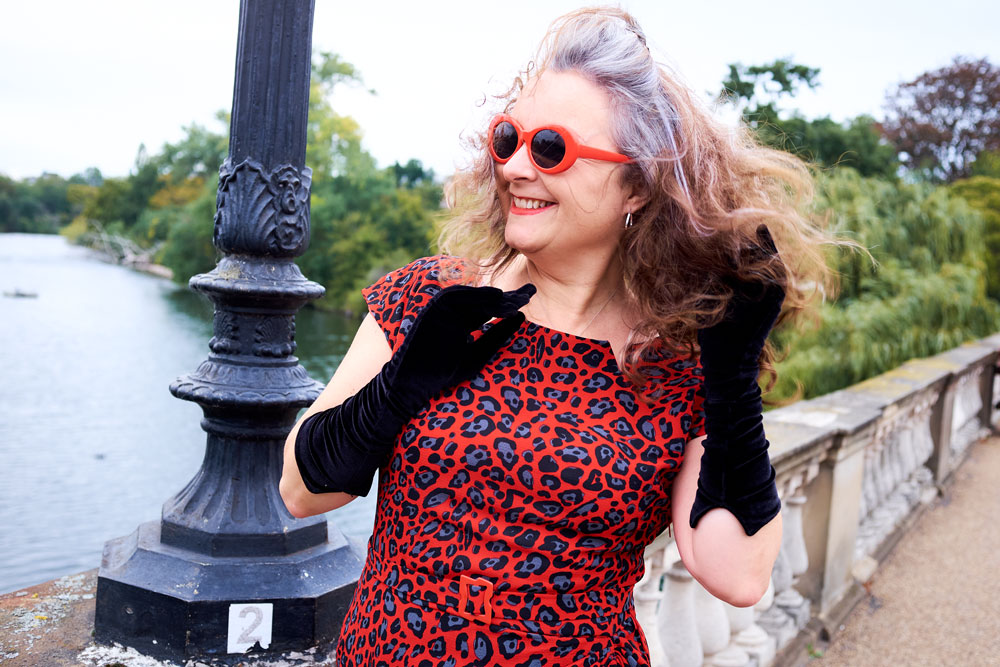
The weather wasn’t the least bit inspiring at the weekend but Dan was so keen to shoot with his new camera insisting that there’s no such thing as bad weather as far as photography is concerned. He’s mostly right of course, especially looking back at these photos, and I’m so pleased his eagerness helped me to meet the challenge deadline, but I might argue that wind is the exception to his rule!

 Windy day and wild hair

Some of my other favourite vintage makes:

Photography by Daniel Selway
Vogue 2494 for Mother of the Bride

V2454 Vintage Vogue evening gown

Special occasions call for special dresses and I don’t think I’ve had call to make anything more special than a mother-of-the-bride dress for my daughter’s wedding.

But what would it be? I had a whole years notice but in true ooobop to-the-wire styleee, I left myself a couple of weeks before the big day.

That’s not to say I spent days and weeks and months googling and mulling, dreaming and virtually making in my head, the hundreds of possiblilites.

I really didn’t know what I wanted. But I did know I didn’t want to look like a run-of-the-mill MOTB.

Have you ever googled to see the expected format? Pastel shades, sensible knee-length skirt, coordinating jacket with statutory three-quarters of a sleeve, satin and lace, obligatory big hat, and nude tights… Would I conform? Not a chance!

And then I remembered this gorgeous vintage Vogue pattern that I’d bought before I even knew what kind of special occasion it was going to be for!

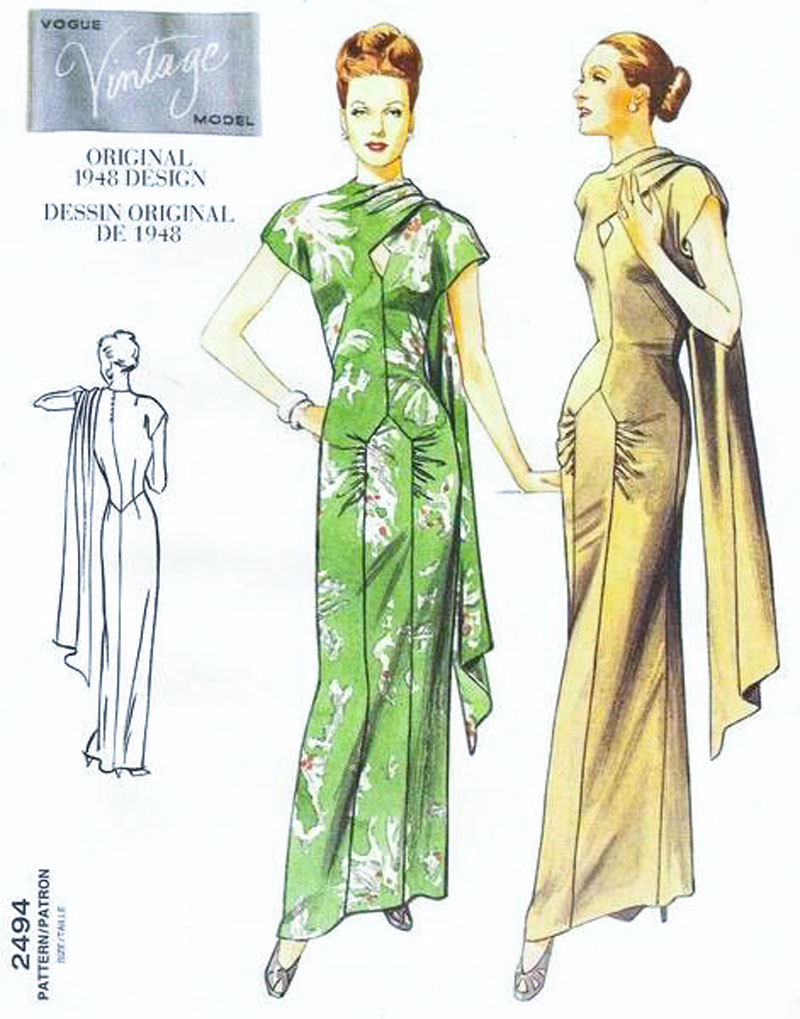
Vintage Vogue V2494 sewing pattern

It’s an original 1948 design. Full of elegance and style. Wasn’t too sure that a five foot four sausage shape could work it as well as the cover girls but the vision was strong and I was so delighted to have made a decision at last. Just had to root through a million other patterns to find it!

The only experience I’ve had sewing vintage Vogue patterns before was the V2934 jacket which I made twice, first here and again (after I lost the first one) here, and more recently the Vogue Designer Original 1486. Interestingly all have the cut-on sleeve element and each of them reasonably uncomplicated to sew.

I anticipated a rocky ride with with the construction and fit of this dress though, especially as I’d left no time at all to properly test it but the beauty of this pattern is that it has ACTUAL body measurements printed on the pieces. And I can’t tell you how grateful I am for this small mercy.

I had full intention of toiling, especially as the plan was to go full on lavish silk satin. Not every day your daughter gets married. I knew the price was going to be hefty. This dress only calls for 3m so I knew at the very least I was looking to spend around £100. But I did the sensible thing of looking around before I committed to the first fabric I found.

V2494 full length dress

John Lewis’ haberdashery department at Westfield, White City had not long opened and so I headed to check out their stock. Got chatting to a lovely sales assistant who was mesmerised by my pattern choice and eager to show me some ‘just-in’ peachskin fabric. I’d heard of it but never had the pleasure of a feel. It draped beautifully and suddenly the option of a more forgiving matt appearance became instantly more appealing, moreover the price of just £8 per metre! It was only available in red. But hey. That was ok. Kind of a no-brainer, really!

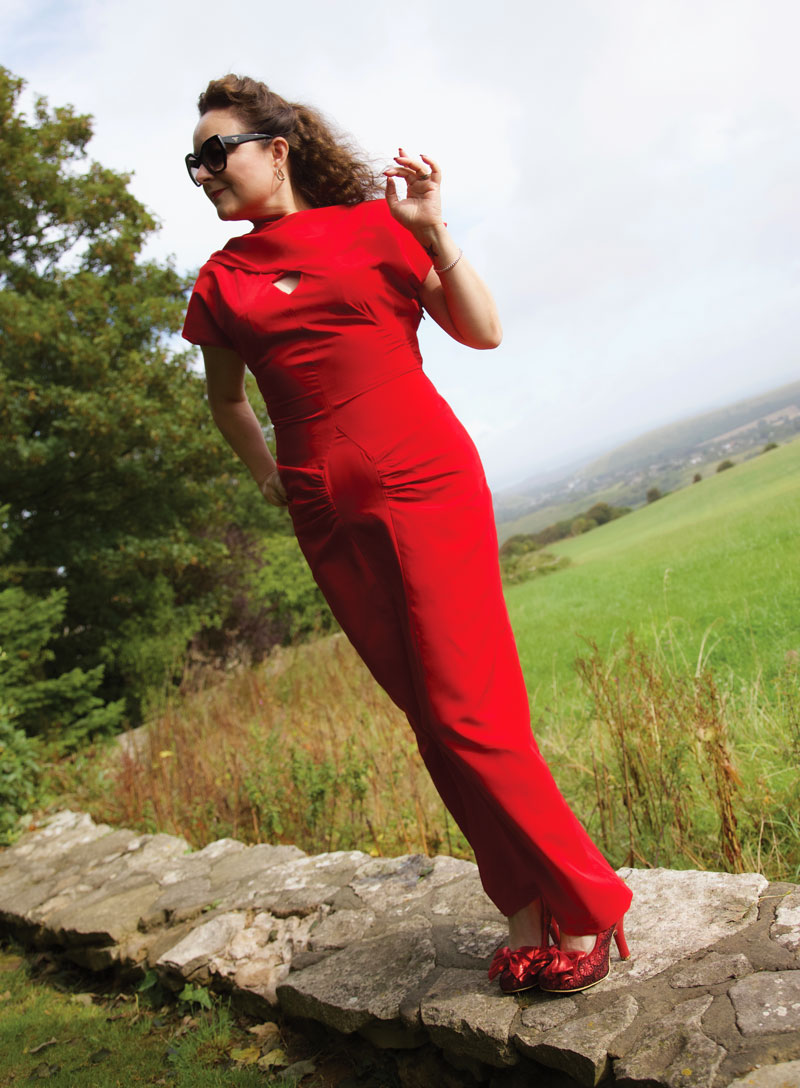
The making up of this dress was deceivingly simple. It was down to my haste that markings were confused and I’m so glad I rehearsed that little diamond opening on a different fabric. As you can imagine, there are a fair few positional points on that front piece and my first attempt saw me reposition it some distance lower than it was meant!

V2494 detail of peephole

Despite the tricky diamond peephole and that lovely inset panel the front, the rest of the construction was a breeze: There is no lining. So the peachskin was a perfect weight to not warrant an underlayer.

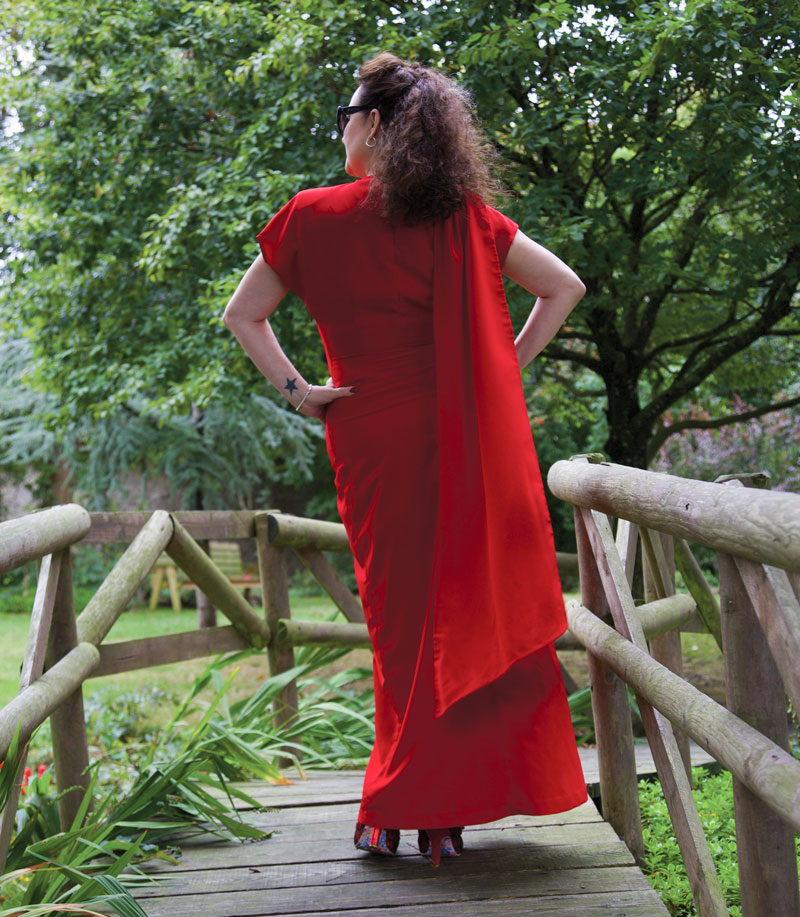
The sleeves are cut on, negating any need for tricky easing or setting in of sleeve caps. And that beautiful drape at the back is connected to the shoulder seam and simply hand tacked to the shoulder once the pleats have been arranged.

There was hand finishing of course: The hem at the hemline, as standard, and the hem of the drapey bit. I knew this would have to be neat as it clearly states on the pattern: “single-layered drape, (wrong side shows)”. So I just took little slip stitches in matching thread all the way round. This is where the fabric let me down a little bit as it syntheticicity wouldn’t allow a decent press and it resembled more of a rolled, rolled hem. But it was ok. Just a little bit annoying. Silk in this instance would have behaved a whole lot better I’m sure.

V2494 back view of dress and over the shoulder drape

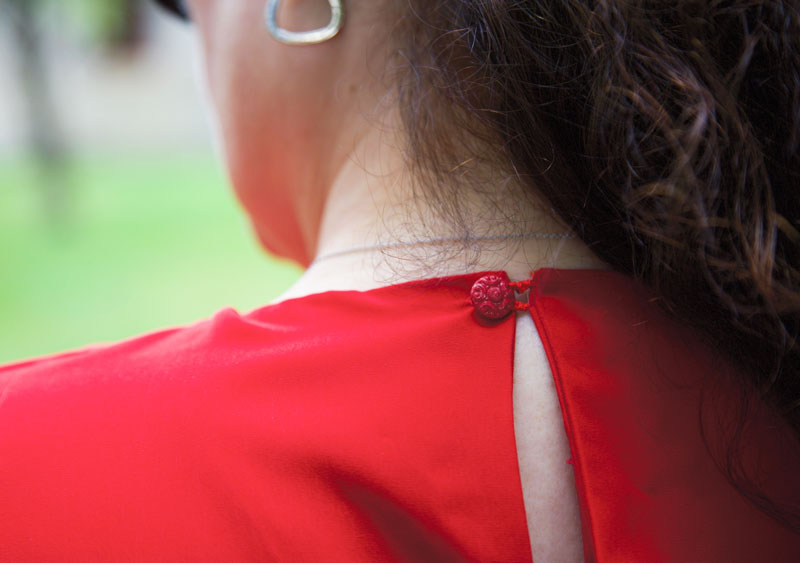
I confess I didn’t fully finish this dress until the morning of the day. Early hours of the morning I was still finishing the hemming and sewing a button loop (rather badly) on the back. I always intended to have just the one little button as opposed to a whole line of them as suggested but still managed to make it wonky! I do love that little vintage button though. It was just waiting for this dress.

V2494 Vogue dress button and loop
V2494 detail of button and button-loop

I didn’t manage to get any suitable full length shots of it on the day hence a reshoot by Daniel almost a year later! It’s a bit tighter on me now than it was on the big day but that’s no surprise as my nerves ensured a low cal intake on the lead up! And to be fair I’m not entirely sure when I’d wear this again. So it’s on with a dress cover and resigned to the back of the ‘drobe until a suitable situation arises.

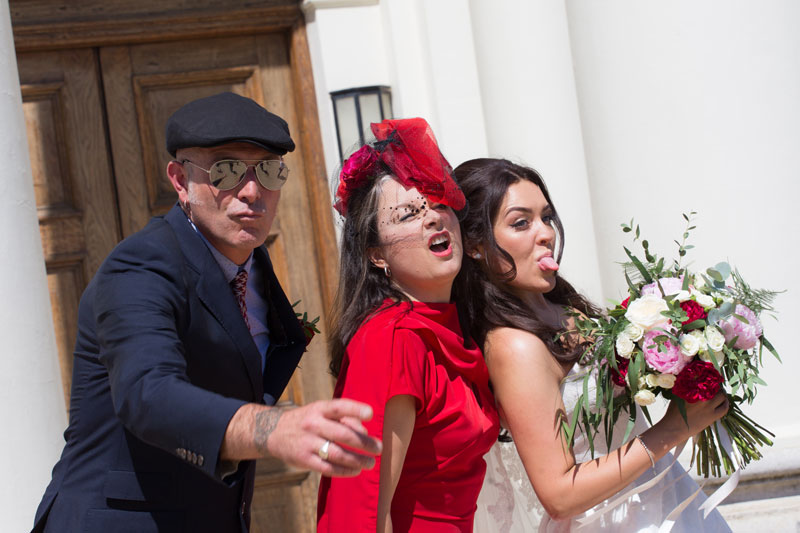
However there was one shot in particular that just about sums up how stylishly and elegantly I carried off that dress – and pretty much sums up the non conformity of our fam! Brilliantly captured by Daniel of course.

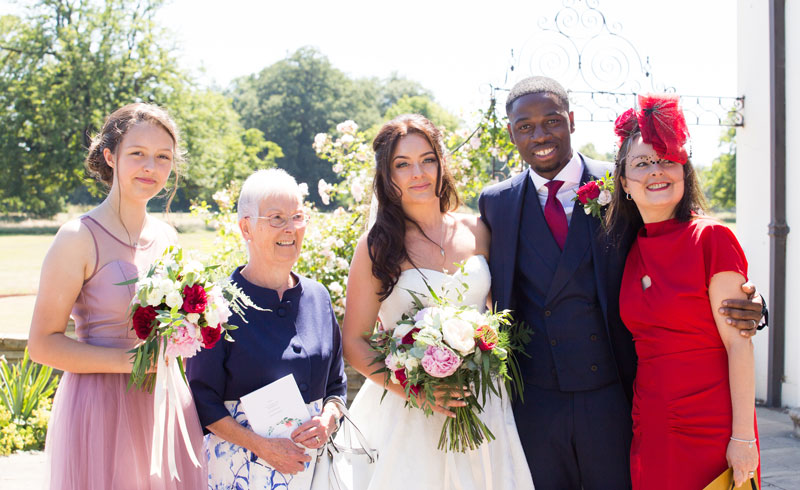
V2494 Mother of the bride with bride
V2494 Mother of the bride with bride © danieljamesphotographic

Note that I did succumb to wearing a hat. Not just any old hat, mind – an exquisite and original ‘piece of art’ that was beautifully handmade by my wonderful milliner friend Jayne at Hepsibah Gallery in Hammersmith. Again, I’m not sure I did it as much justice as it deserved but it certainly felt wonderful to wear and made me feel so very important!

From left: Youngest dort, Samaria, my mum (also wearing handmade) my daughter Stephanie, her husband Daniel and me!
Shoes: Irregular Choice (old)

Vogue Designer Original 1486

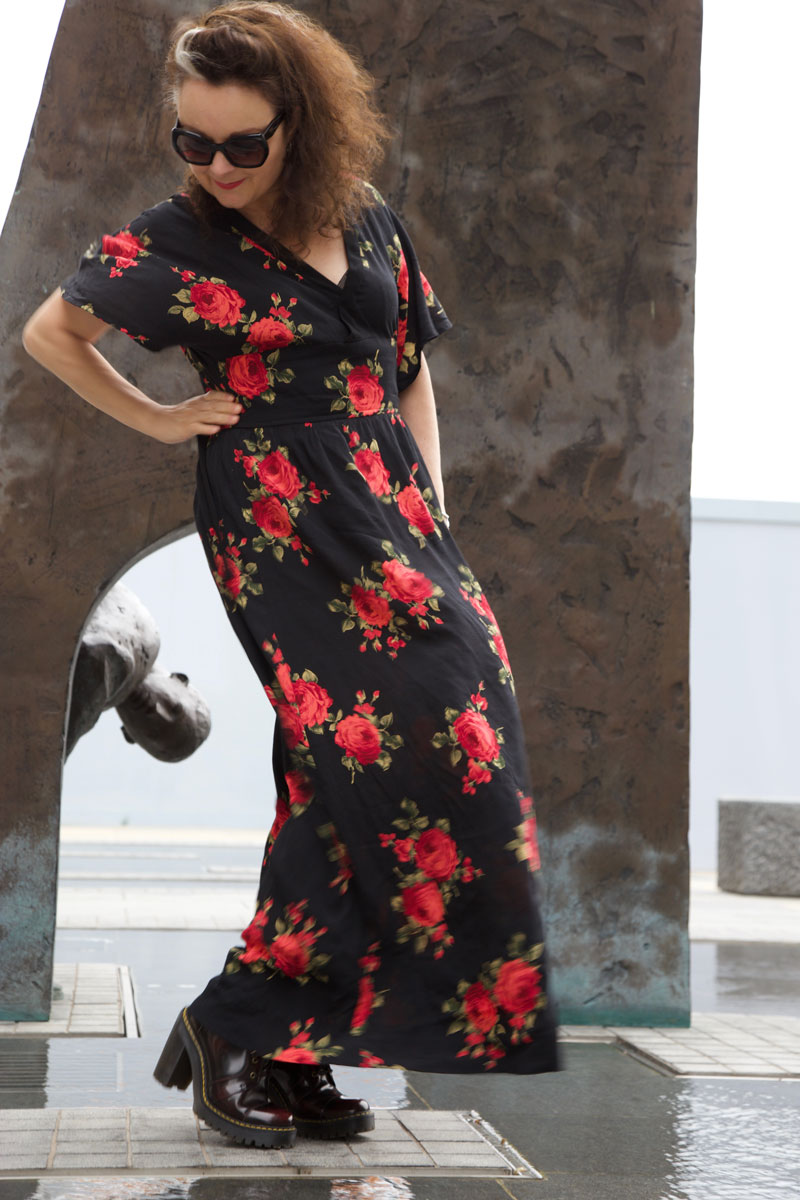
Vogue 1486 rose_dress side view

Now here’s a pattern that’s been hanging around in my stash for a considerable amount of time. And I’m so glad I held onto it because I knew it would do me proud one day.

Vogue 1481 designeroriginal

It’s a Vogue Designer Original by Alberto Fabiani allegedly from 1976. Though the shorter version A on the envelope could easily pass for 1980s.

Alberto Fabiani pronunciation
Tickled by how the pattern envelope feels the need to help with the pronunciation of Fabiani’s name!

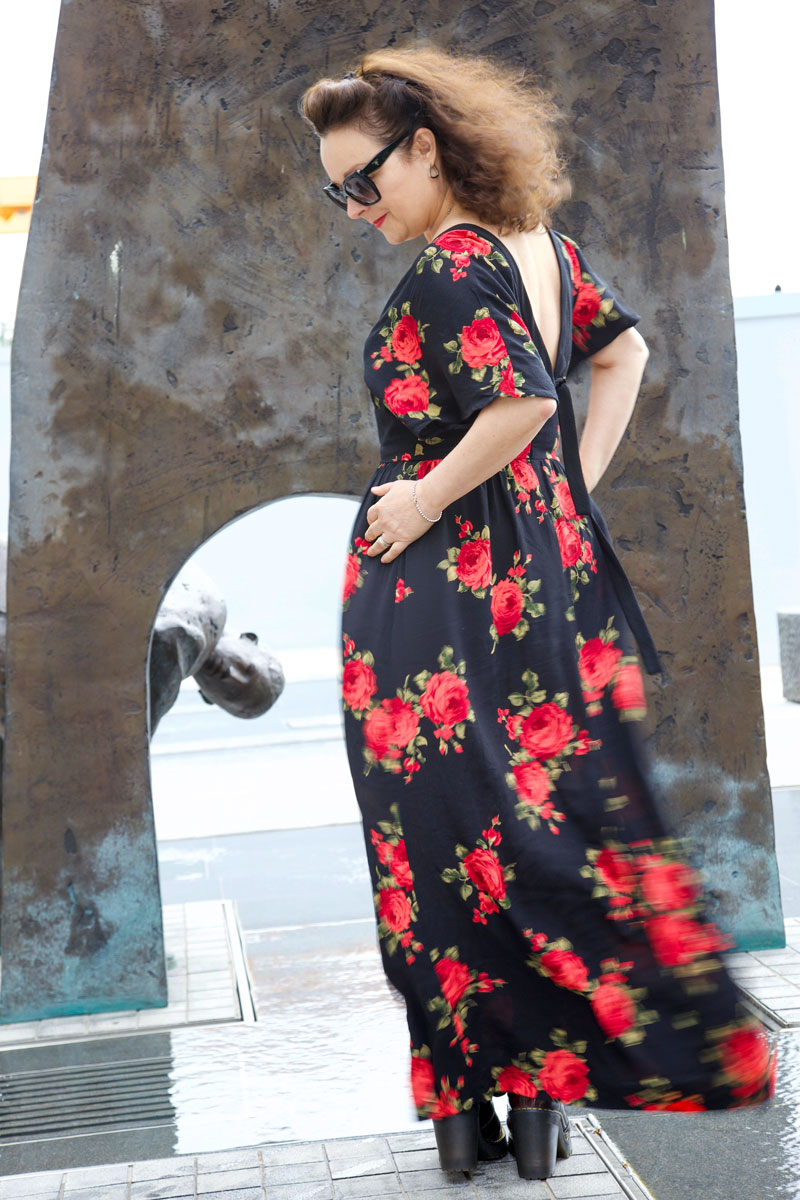
I love the simplicity of this dress. A speciality of Fabiani it seems. Cut-on sleeves; a ‘lightly’ gathered skirt;  no lining; extension of neck-binding for ties.

Vogue designer original floor length dress

Vogue 1486 floor length dress

I needed a dress to wear to my friend’s wedding and having made her wedding dress (yes, I promise that’s coming soon!) I didn’t have much time, brain-power or nerve left to deal with anything too complex. So this was the perfect pattern. Least I hoped it would be!

I had no fabric-shopping time either so it had to be made from stash. Surprisingly, for all it’s floor-sweeping sumptuousness it takes a mere 2.4m of 60 inch wide material. – Am I the only one who mixes metric and imperial?

This gorgeous rose-print, poly crepe was literally screaming at me from The Textile Centre‘s stall at the Spring Knitting and Stitching Show earlier this year. It’s got the drapiest of drape but was super easy to sew. Pretty sure I only paid £5 a metre. And jolly lucky I had the nouse to buy 3 metres, not having had a plan for it and all.

Vintage vogue 1486 dress

In the past I have been cautious to trace and preserve my vintage patterns. Partly to preserve as near to perfect, the little packet of history that it is. And potentially so I can sell it on should I want to later. But this envelope wasn’t in such a good state to start with so I dove right in and slashed, spread and taped the original to meet my measurements. It felt a little barbaric but liberating at the same time. And hey, It’s still there for another making, all resized and ready.

So what were my findings?

I threw this out to my Insta-audience to see who might pre-empt some pitfalls with the design. And of course they were blindingly obvious, lol! For such an accomplished designer, and ‘master tailor’ who created exquisite evening gowns for a living, you’d have thunk that Fah-bee-ahny would know what happens when you create a low ‘V’ neckline at the front along with a low ‘V’ back, especially with the ‘help’ from silky, drapey fabric. Let’s just say I was relieved to figure out what happens before I hit the dancefloor at the wedding! Or even as I walked into the church… can you imagine?!

So this was a first for me: some little fasteners attached to the inside shoulder seam to attach to my bra-strap. Just had to make sure the bra strap was tight enough not to slip down, lest… doesn’t bear thinking about!

Vogue 1486 maxi dress

I also sewed that front wrap section down because that in itself was an accident waiting to happen.

The sleeves were another issue. Absolutely love the style of them. Perfectly airy for the sunshiny day that it was. But I’m sure most of my dance moves involved arms by my side. Side-boob city and all that!

Vogue designer original maxi dress

The only other thing, that’s not technically an issue, more of a ‘why would you even do that?’  – was the length of the straps at the back. They are an extension of the binding on the neckline but one extends about 3 times the length of the other. I checked and double checked the instructions, and the notches on the pattern pieces but that’s exactly as it’s intended. A design feature, possibly but… why?! I’m so irritated by it and will definitely make them both the same size if I make it again.

All issues aside. It worked perfectly for a wedding dress guest – sans fashion faux pas – and I’ve worn it again since to another wedding, recently. It’s so easy and comfortable to wear, hardly creases and works for both posh and boho-casual – winner, winner vintage dresser!

vintage vogue long dress

More maxi dresses I’ve made:
A very Shiny Burda Maxi
The one I made for the Marylin Manson gig
The one I made to go camping in

Photography © Daniel Selway