
I am time-starved. Especially when I get home from the office. Even more especially when it’s dark and my energy levels have dropped through the floorboards.
It’s frustrating mostly because I function fully from morning to afternoon, busily beavering away, designing, revising and artworking books like there’s no tomorrow. At lunch, I compose lists on Post-it notes. Lists of what I fully intend to do when I get home. Sewing projects mainly. Finishing off WIPs, drafting new ones and watching YouTube tutorials but then, as I walk through the door, adorned with Sainsbo’s bags, check on the homework, prepare the dinner, feed the masses, wash up and put the children away… someone or something sneaks up behind me and blatently steals my ‘get up and go’!
I find myself making excuses to myself. My best one is: “These damned energy efficient lightbulbs are rubbish. I can’t see a thing!”
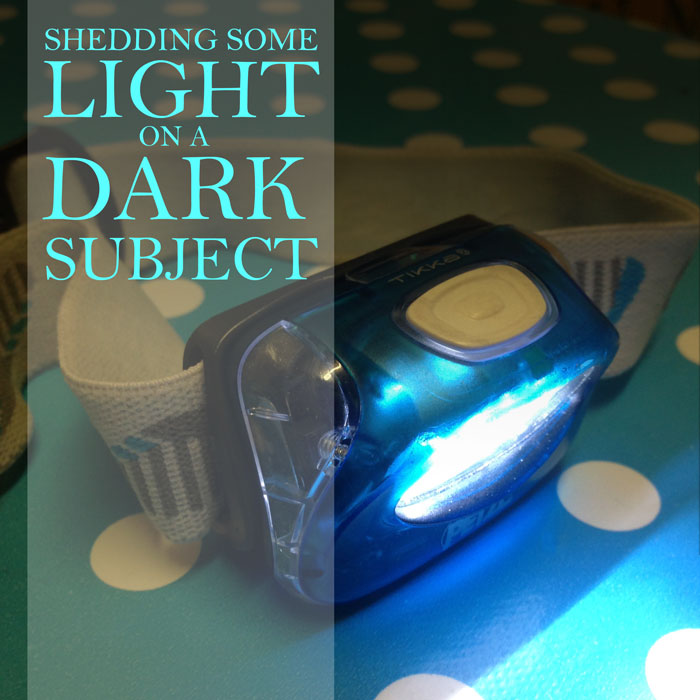
I offloaded this woe to a work colleague on Wednesday and she suggested a head torch. Genius! Bhavini always has the best ideas. (Apart from Helen who invented #TuesdayCheeseDay!)
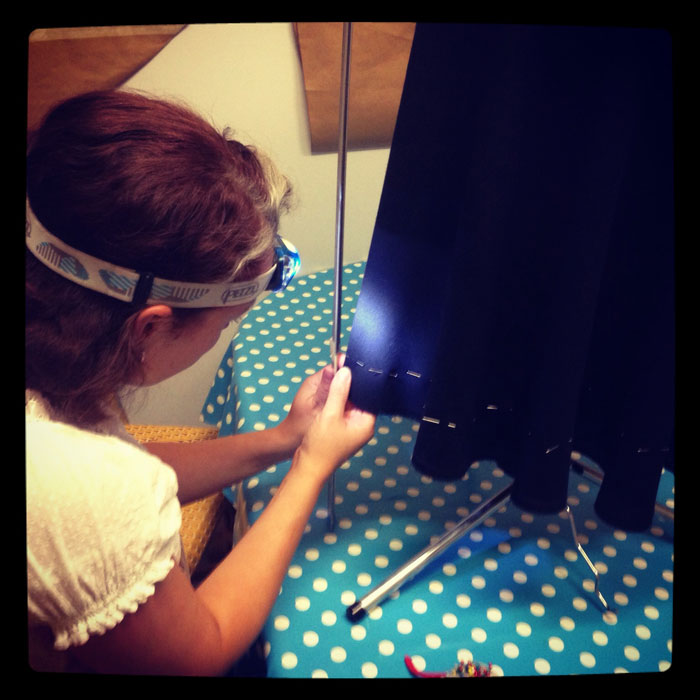
By Thursday I had completely forgotten that my half-circle skirt had already taken 5 evenings. And I had nearly forgotten that I had to unpick the hem already because I stupidly didn’t level it before stitching. Even when I did try to level the hem, apart from the light failing and it being virtually impossible to see where I was marking on a black fabric, the dress-form was slowly sliding downwards every time I twisted it round. So by the time I got back round to the first pin, I was pinning higher and higher! I said nearly forgotten!
Because thanks to Bhavini and her brilliant suggestion, Mr Ooobop’s head torch worked a treat. I could now see what I was doing, without a care that I looked like a complete fool, and that self same evening, my perfectly levelled half-circle skirt was finished.
I’m not sure if you’ve ever had the displeasure of a bias-stretched hem – honestly, two and a half unnecessary inches longer at the front more than the sides! – but I will never ever wing it again.
To get it right, I first measured the length I wanted with a tape measure from the waist, down the side seam to the hem and placed a pin. I then measured up from the bottom to the hemline, using a metal rule and continued pinning the new hemline all round. I rotated the whole dress-form instead of twisting it on the pole this time!
I then marked with tailors chalk, 1.5 cm all round, below the pins and once I’d double checked the markings, I cut off the offending excess.
I used black bias tape to complete the hem. Worked a treat!
I don’t have a shot of the finished skirt to show you as yet – I’m hoping to persuade my trusty photographer to take some at the weekend. But I do have a handy new device in my sewing box… hoorah!