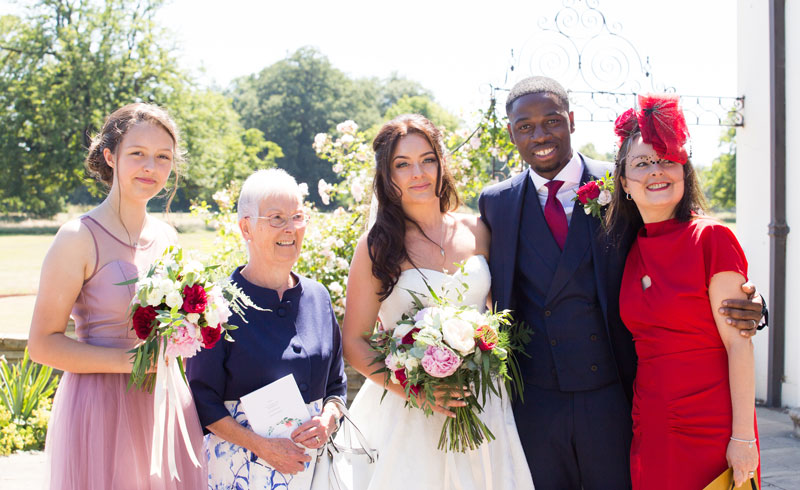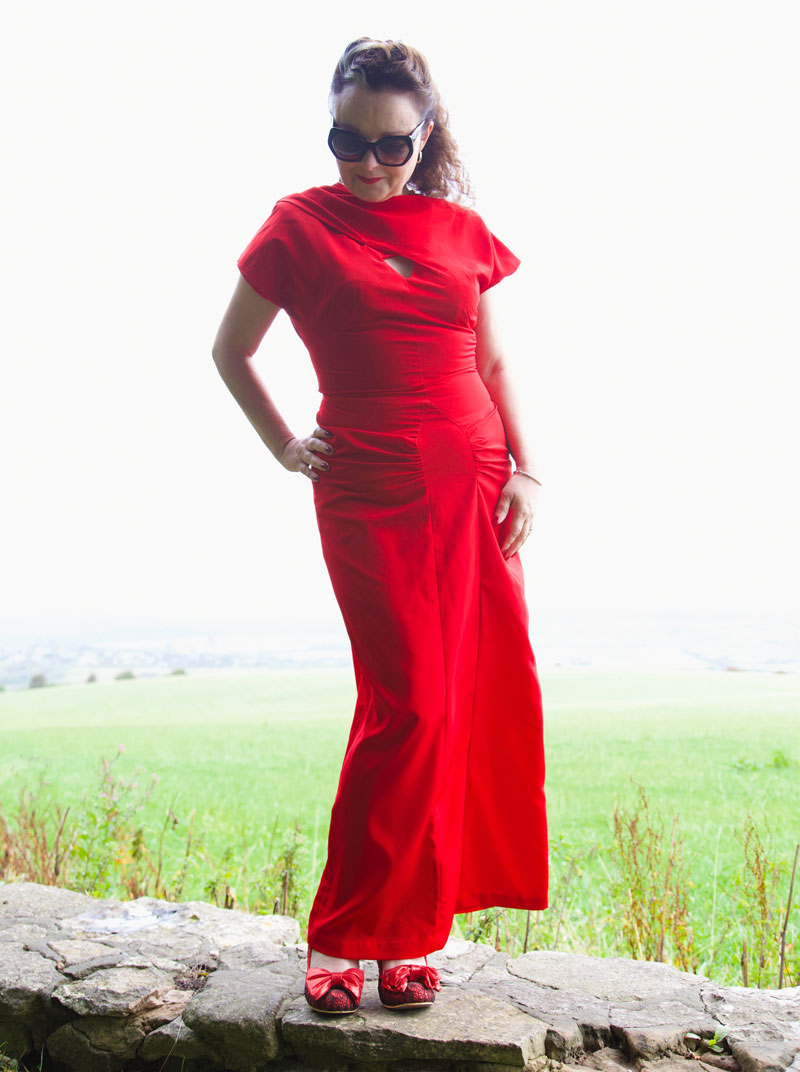
Special occasions call for special dresses and I don’t think I’ve had call to make anything more special than a mother-of-the-bride dress for my daughter’s wedding.
But what would it be? I had a whole years notice but in true ooobop to-the-wire styleee, I left myself a couple of weeks before the big day.
That’s not to say I spent days and weeks and months googling and mulling, dreaming and virtually making in my head, the hundreds of possiblilites.
I really didn’t know what I wanted. But I did know I didn’t want to look like a run-of-the-mill MOTB.
Have you ever googled to see the expected format? Pastel shades, sensible knee-length skirt, coordinating jacket with statutory three-quarters of a sleeve, satin and lace, obligatory big hat, and nude tights… Would I conform? Not a chance!
And then I remembered this gorgeous vintage Vogue pattern that I’d bought before I even knew what kind of special occasion it was going to be for!
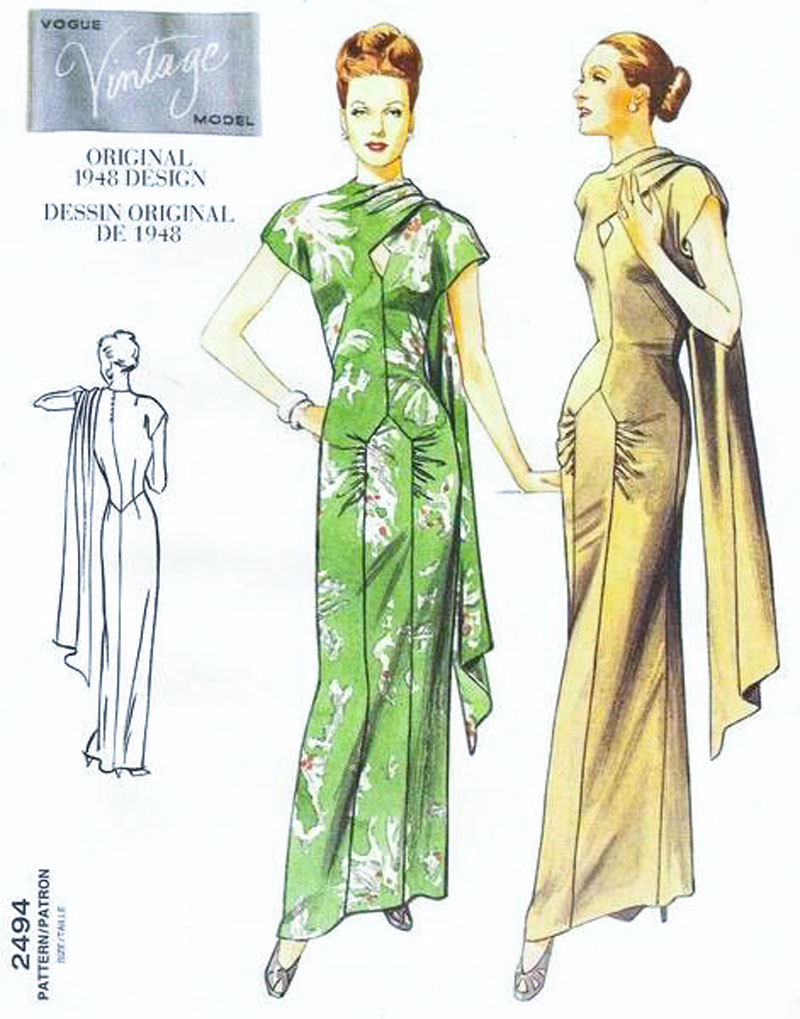
It’s an original 1948 design. Full of elegance and style. Wasn’t too sure that a five foot four sausage shape could work it as well as the cover girls but the vision was strong and I was so delighted to have made a decision at last. Just had to root through a million other patterns to find it!
The only experience I’ve had sewing vintage Vogue patterns before was the V2934 jacket which I made twice, first here and again (after I lost the first one) here, and more recently the Vogue Designer Original 1486. Interestingly all have the cut-on sleeve element and each of them reasonably uncomplicated to sew.
I anticipated a rocky ride with with the construction and fit of this dress though, especially as I’d left no time at all to properly test it but the beauty of this pattern is that it has ACTUAL body measurements printed on the pieces. And I can’t tell you how grateful I am for this small mercy.
I had full intention of toiling, especially as the plan was to go full on lavish silk satin. Not every day your daughter gets married. I knew the price was going to be hefty. This dress only calls for 3m so I knew at the very least I was looking to spend around £100. But I did the sensible thing of looking around before I committed to the first fabric I found.
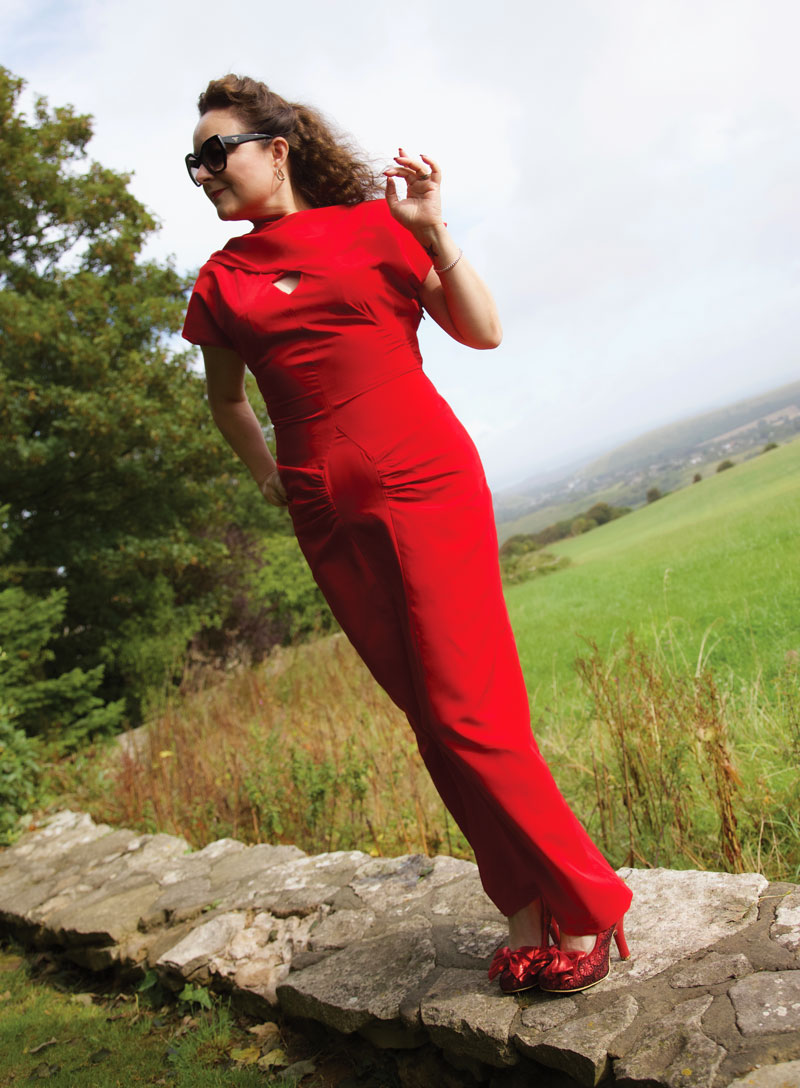
John Lewis’ haberdashery department at Westfield, White City had not long opened and so I headed to check out their stock. Got chatting to a lovely sales assistant who was mesmerised by my pattern choice and eager to show me some ‘just-in’ peachskin fabric. I’d heard of it but never had the pleasure of a feel. It draped beautifully and suddenly the option of a more forgiving matt appearance became instantly more appealing, moreover the price of just £8 per metre! It was only available in red. But hey. That was ok. Kind of a no-brainer, really!
The making up of this dress was deceivingly simple. It was down to my haste that markings were confused and I’m so glad I rehearsed that little diamond opening on a different fabric. As you can imagine, there are a fair few positional points on that front piece and my first attempt saw me reposition it some distance lower than it was meant!
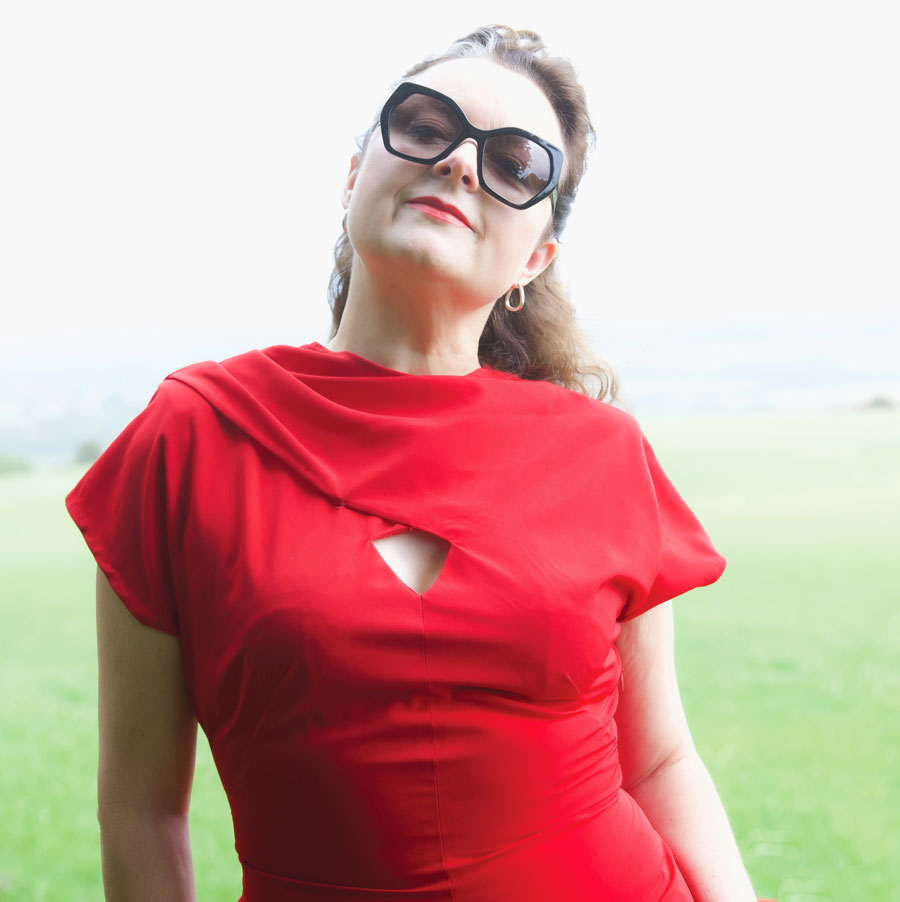
Despite the tricky diamond peephole and that lovely inset panel the front, the rest of the construction was a breeze: There is no lining. So the peachskin was a perfect weight to not warrant an underlayer.
The sleeves are cut on, negating any need for tricky easing or setting in of sleeve caps. And that beautiful drape at the back is connected to the shoulder seam and simply hand tacked to the shoulder once the pleats have been arranged.
There was hand finishing of course: The hem at the hemline, as standard, and the hem of the drapey bit. I knew this would have to be neat as it clearly states on the pattern: “single-layered drape, (wrong side shows)”. So I just took little slip stitches in matching thread all the way round. This is where the fabric let me down a little bit as it syntheticicity wouldn’t allow a decent press and it resembled more of a rolled, rolled hem. But it was ok. Just a little bit annoying. Silk in this instance would have behaved a whole lot better I’m sure.
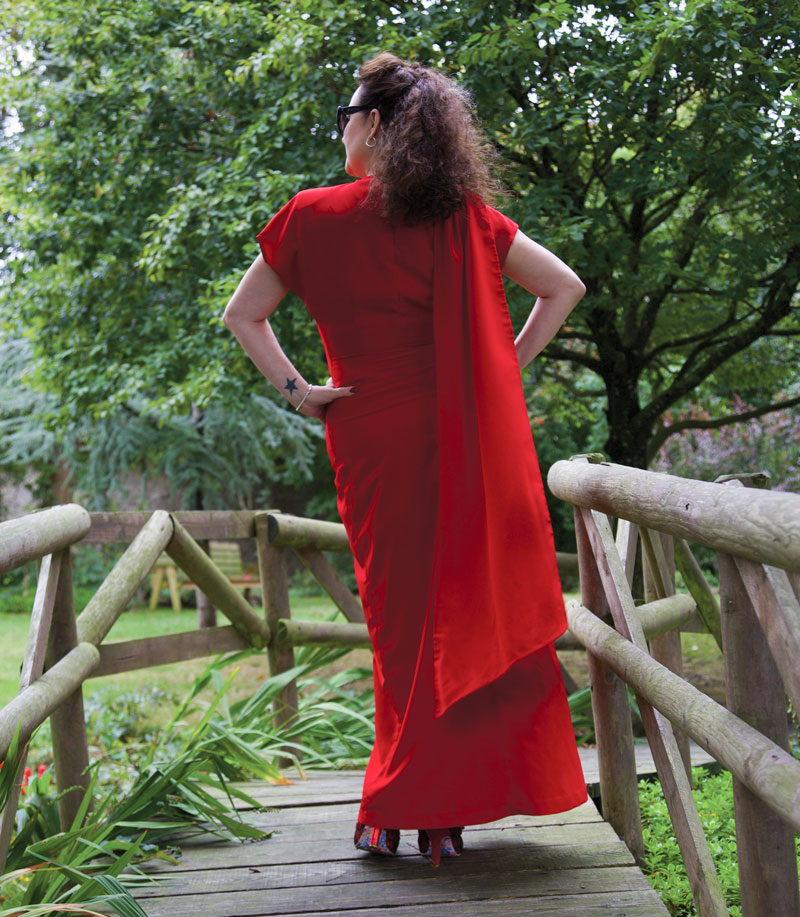
I confess I didn’t fully finish this dress until the morning of the day. Early hours of the morning I was still finishing the hemming and sewing a button loop (rather badly) on the back. I always intended to have just the one little button as opposed to a whole line of them as suggested but still managed to make it wonky! I do love that little vintage button though. It was just waiting for this dress.
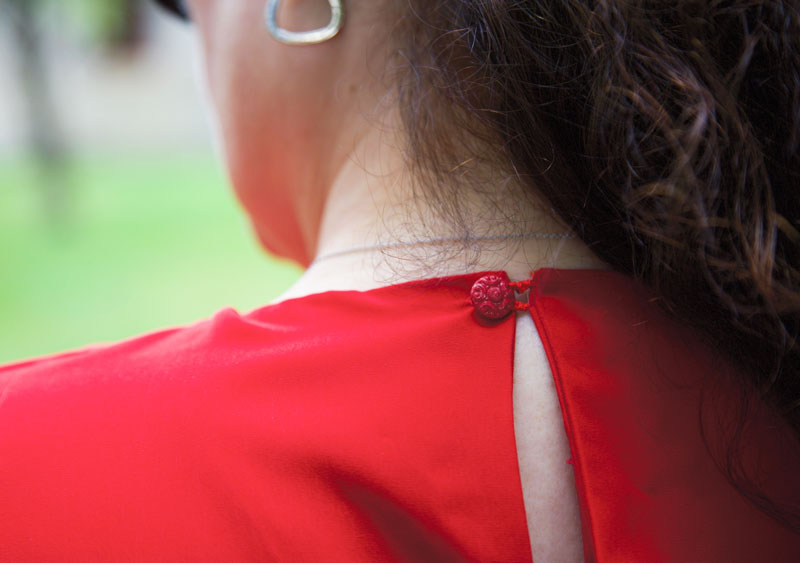
I didn’t manage to get any suitable full length shots of it on the day hence a reshoot by Daniel almost a year later! It’s a bit tighter on me now than it was on the big day but that’s no surprise as my nerves ensured a low cal intake on the lead up! And to be fair I’m not entirely sure when I’d wear this again. So it’s on with a dress cover and resigned to the back of the ‘drobe until a suitable situation arises.
However there was one shot in particular that just about sums up how stylishly and elegantly I carried off that dress – and pretty much sums up the non conformity of our fam! Brilliantly captured by Daniel of course.
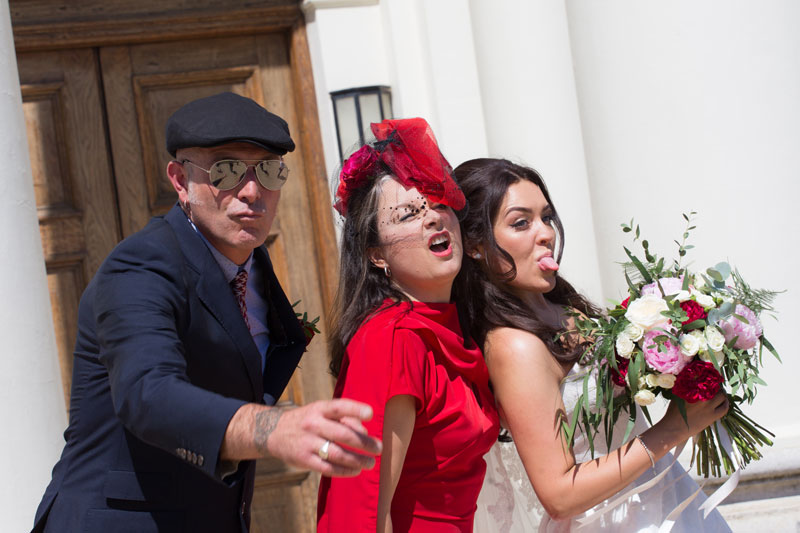
Note that I did succumb to wearing a hat. Not just any old hat, mind – an exquisite and original ‘piece of art’ that was beautifully handmade by my wonderful milliner friend Jayne at Hepsibah Gallery in Hammersmith. Again, I’m not sure I did it as much justice as it deserved but it certainly felt wonderful to wear and made me feel so very important!
