Windmill Square quilt block


windmill square quilt block

That bit of holiday between Christmas and New Years day and up until I go back to work, is such a lovely time for me. I don’t like to make too many plans so I can have optimum time for sewing and baking and general pottering – all the things I wish I could be doing when I’m working! This time round I managed to complete two tops. One yet to be photographed and blogged (after the heavens have closed) and one sadly not-up-to-scratch Burda top. That wasn’t an Ablogogie btw! I’ve also just managed to get in a bit of quilt blocking. I’ve been tricked into thinking I have all the time on my hands now, much the same as I did this time last year when I last made this Churn Dash quilt block! My great-great-grandchildren are so going to love this quilt!

This one is block 26, a Windmill Square – a modern take on the Windmill block. The design also features within the Diamond Pinwheel and the Windmill Sails Block. Historically, the pinwheel is believed to be a good luck symbol, it’s movement suggesting the ebb and flow of fortune.

It is assembled from four identical corners (square blocks) with no tricky inset seams involved. And even with a year out of practice, I have to say I pretty much nailed that centre point! *blows trumpet with great gusto*

I sometimes think I’m cheating by having the fabrics pre-chosen but I’m not sure I’d chose a better selection. All the designs have been perfect to date. The only real snag is that the fabric pieces supplied are just enough to cut your templates from and that doesn’t allow for any personal preference with placement. It always seems to work ok though. I loved getting my tiny iron back out of the basket and being able to focus on the small neat seams.

tiny iron for quilting

And I love that this block is seemingly loaded with luck too! Luck that I will willingly and gladly share with you all. Because we could all use it from time to time!

Block Facts:

Name: Windmill Square
History: A modern take on the traditional Windmill or Double Pinwheel block.
Level: Some experience needed to achieve a neat finish
No. of pieces: 16

Progress report:

Block 1: The Double Four Patch
Block 2: The Whirlwind
Block 3: The Sailboat
Block 4: The Shoo-fly
Block 5: The Trafalgar
Block 6: The Windmill
Block 7: The Chequer Square
Block 8: The Diamond Square
Block 9: The Cactus Pot
Block 10: The Sawtooth Star
Block 11: To come!
Block 12: The Windmill Sails block
Block 13: The Basket of Flowers block
Block 14: Susannah
Block 15: Road to Oklhahoma
Block 16: Chequer Star
Block 17: Nelson’s Victory
Block 18: Fair and Square
Block 19: Diamond Pinwheel
Block 20: Whirligig
Block 21: Old Maid’s Puzzle
Block 22: Whirlwind Square
Block 23: Windblown Square
Block 24: Basket of Flowers block revisited
Block 25: Churn Dash
Block 26: Windmill Square

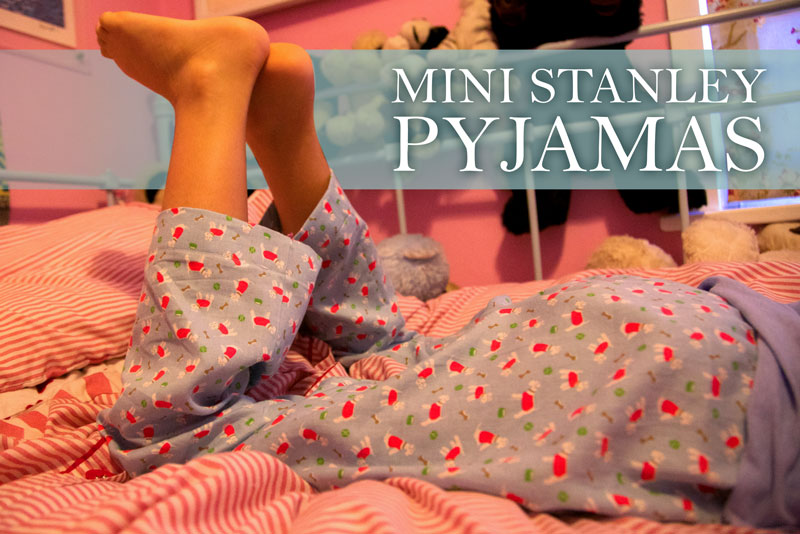
Mini Stanley Pyjamas

Mini stanley pyjamas

Little Miss Ooobop has been hassling me for a pair of PJs for so long, bless her. So yesterday, we set off for the Goldhawk Road to track down the very specific ‘cats and dogs’ fabric that she wanted. But of course, the shops were shut. It was New Years Day, after all! In order to relieve the disappointment (me more than her), we drove off, instead, to get a burger and watch a movie!

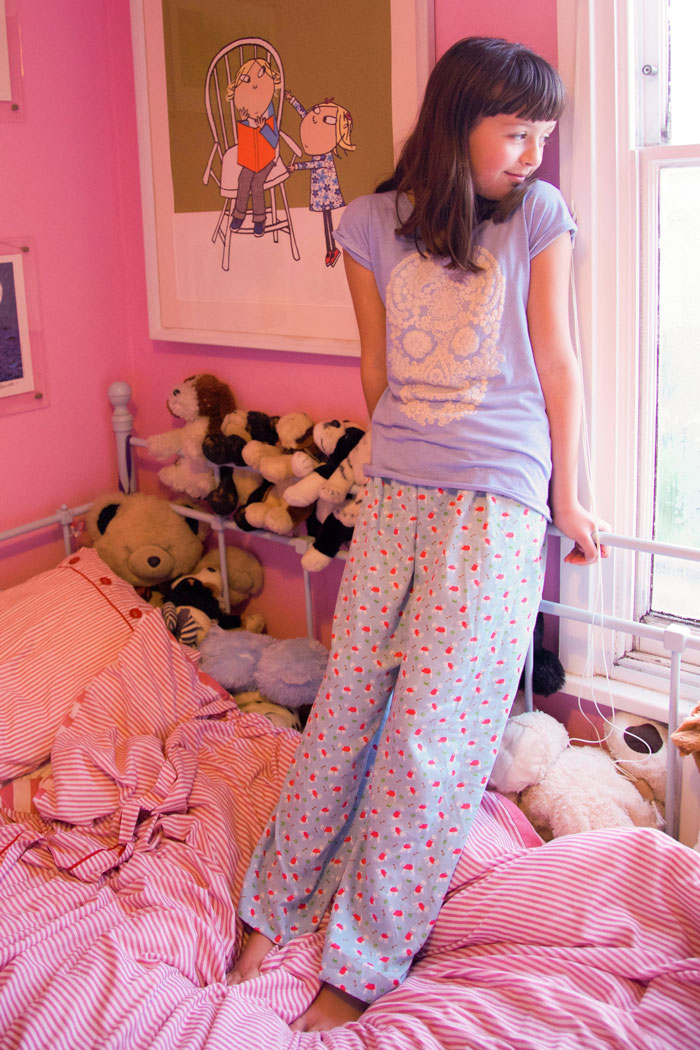
Now as luck would have it, for all that was closed in Chiswick High Road, Cath Kidston was open! Like some shining apparition amidst the rainy gloom! And there was a sale on. So we duly picked out some Mini Stanley fabric. No cats but very cute dogs!

Cath Kidston mini stanley pjs by the window

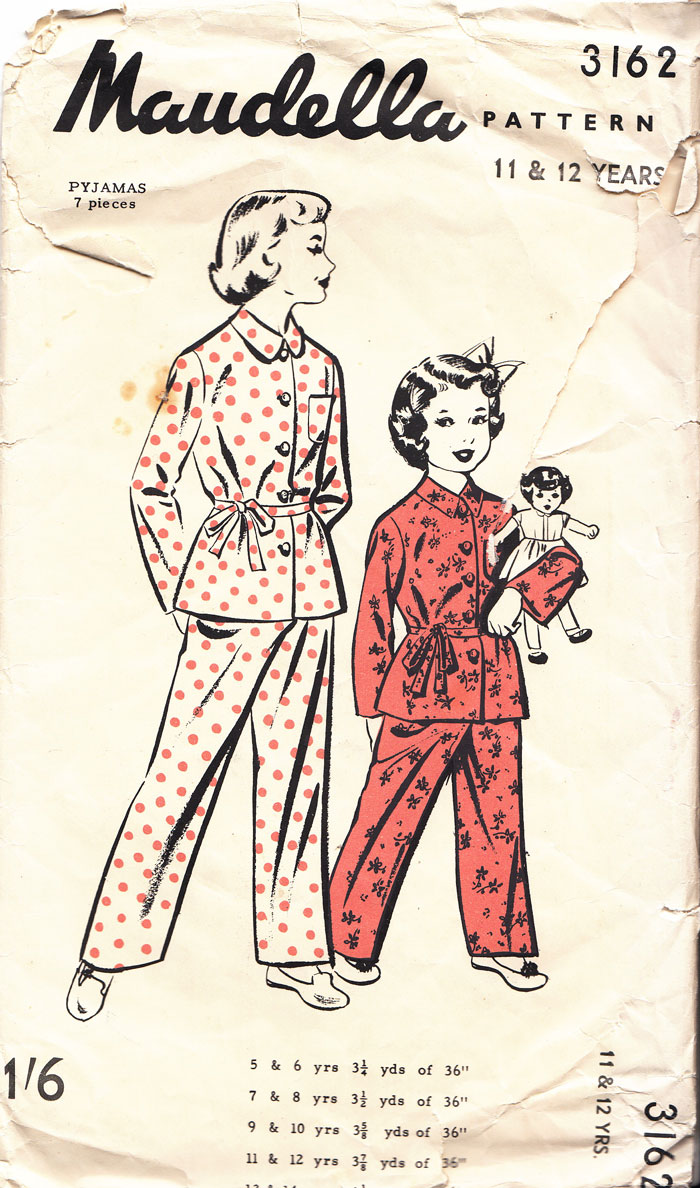
I used this vintage Maudella pattern. It’s not dated but could be 1950s if not 1960s. What would you say?

maudella_3162

I’m still working on convincing LMO to have the matching top to the bottoms but I don’t think a 9 year old can see past the ‘fogey’ images on the pattern sleeve!

I dutifully traced the one pattern piece. This is something I make a habit of nowadays. Just purely out of the respect for a tissue pattern piece that has happily existed for between 50-70 years. I don’t want to be the one who destroys that amount of history!

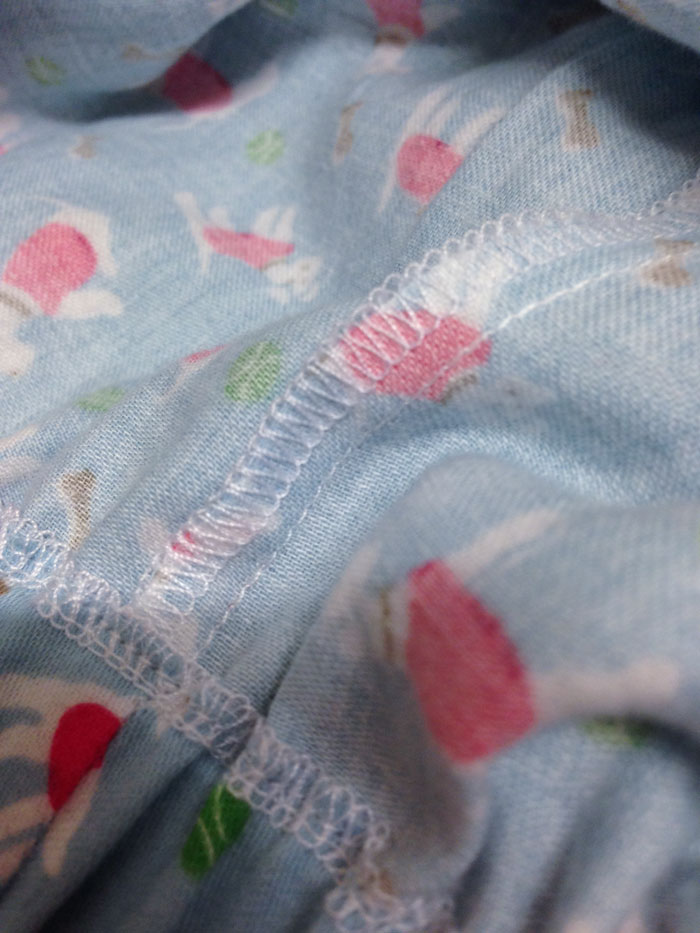
So including the careful ironing of the pieces, the tracing, the cutting, the making and the finishing touches, it took all of 2 hours. This is largely down to the magic of my new, though very old, overlocker, which was so generously bestowed upon me just before Christmas. I didn’t realise what the implications of having one were, until all the seams were serged and the hem edges neatly finished in a jiffy!

detail of overlocked seams

I am still going to have to work on the fine tunings of the tensions but it will so totally do me for now!

reading a book in mini stanley pjs

LMO has spent the rest of the afternoon in her new PJs and I’m delighted to have completed my first project on just day 2 of the New Year. Here’s hoping its the first of many more projects to come.

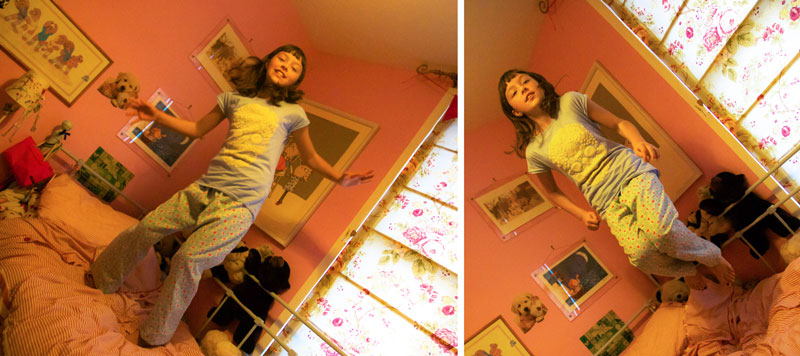
jumping in mini stanley pjs

Happy New Year lovely people x

Photography by DJ Photographic

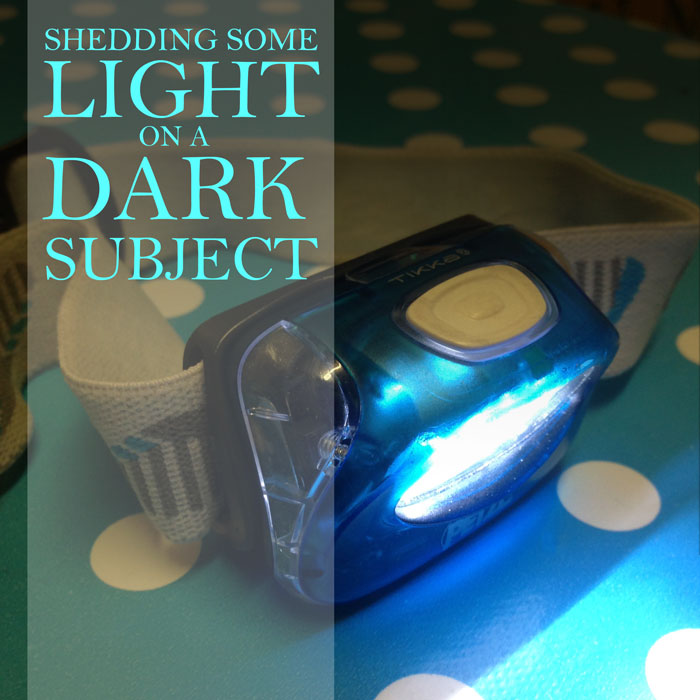
Shedding some light on a dark subject

Head torch
I am time-starved. Especially when I get home from the office. Even more especially when it’s dark and my energy levels have dropped through the floorboards.

It’s frustrating mostly because I function fully from morning to afternoon, busily beavering away, designing, revising and artworking books like there’s no tomorrow. At lunch, I compose lists on Post-it notes. Lists of what I fully intend to do when I get home. Sewing projects mainly. Finishing off WIPs, drafting new ones and watching YouTube tutorials but then, as I walk through the door, adorned with Sainsbo’s bags, check on the homework, prepare the dinner, feed the masses, wash up and put the children away… someone or something sneaks up behind me and blatently steals my ‘get up and go’!

I find myself making excuses to myself. My best one is: “These damned energy efficient lightbulbs are rubbish. I can’t see a thing!”

I offloaded this woe to a work colleague on Wednesday and she suggested a head torch. Genius! Bhavini always has the best ideas. (Apart from Helen who invented #TuesdayCheeseDay!)

By Thursday I had completely forgotten that my half-circle skirt had already taken 5 evenings. And I had nearly forgotten that I had to unpick the hem already because I stupidly didn’t level it before stitching. Even when I did try to level the hem, apart from the light failing and it being virtually impossible to see where I was marking on a black fabric, the dress-form was slowly sliding downwards every time I twisted it round. So by the time I got back round to the first pin, I was pinning higher and higher! I said nearly forgotten!

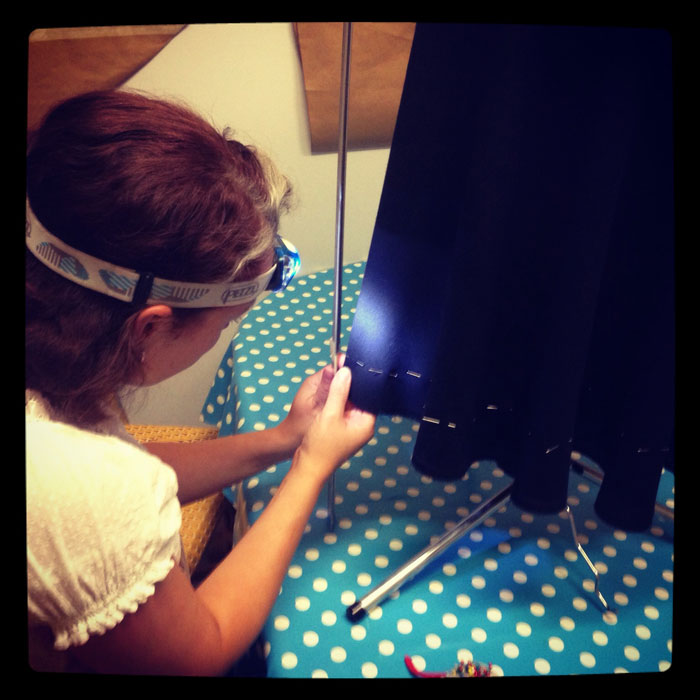
Because thanks to Bhavini and her brilliant suggestion, Mr Ooobop’s head torch worked a treat. I could now see what I was doing, without a care that I looked like a complete fool, and that self same evening, my perfectly levelled half-circle skirt was finished.

working with head torch

I’m not sure if you’ve ever had the displeasure of a bias-stretched hem – honestly, two and a half unnecessary inches longer at the front more than the sides! – but I will never ever wing it again.

To get it right, I first measured the length I wanted with a tape measure from the waist, down the side seam to the hem and placed a pin. I then measured up from the bottom to the hemline, using a metal rule and continued pinning the new hemline all round. I rotated the whole dress-form instead of twisting it on the pole this time!

I then marked with tailors chalk, 1.5 cm all round, below the pins and once I’d double checked the markings, I cut off the offending excess.

I used black bias tape to complete the hem. Worked a treat!

I don’t have a shot of the finished skirt to show you as yet – I’m hoping to persuade my trusty photographer to take some at the weekend. But I do have a handy new device in my sewing box… hoorah!

Vintage western shirt #2… the flowery kind

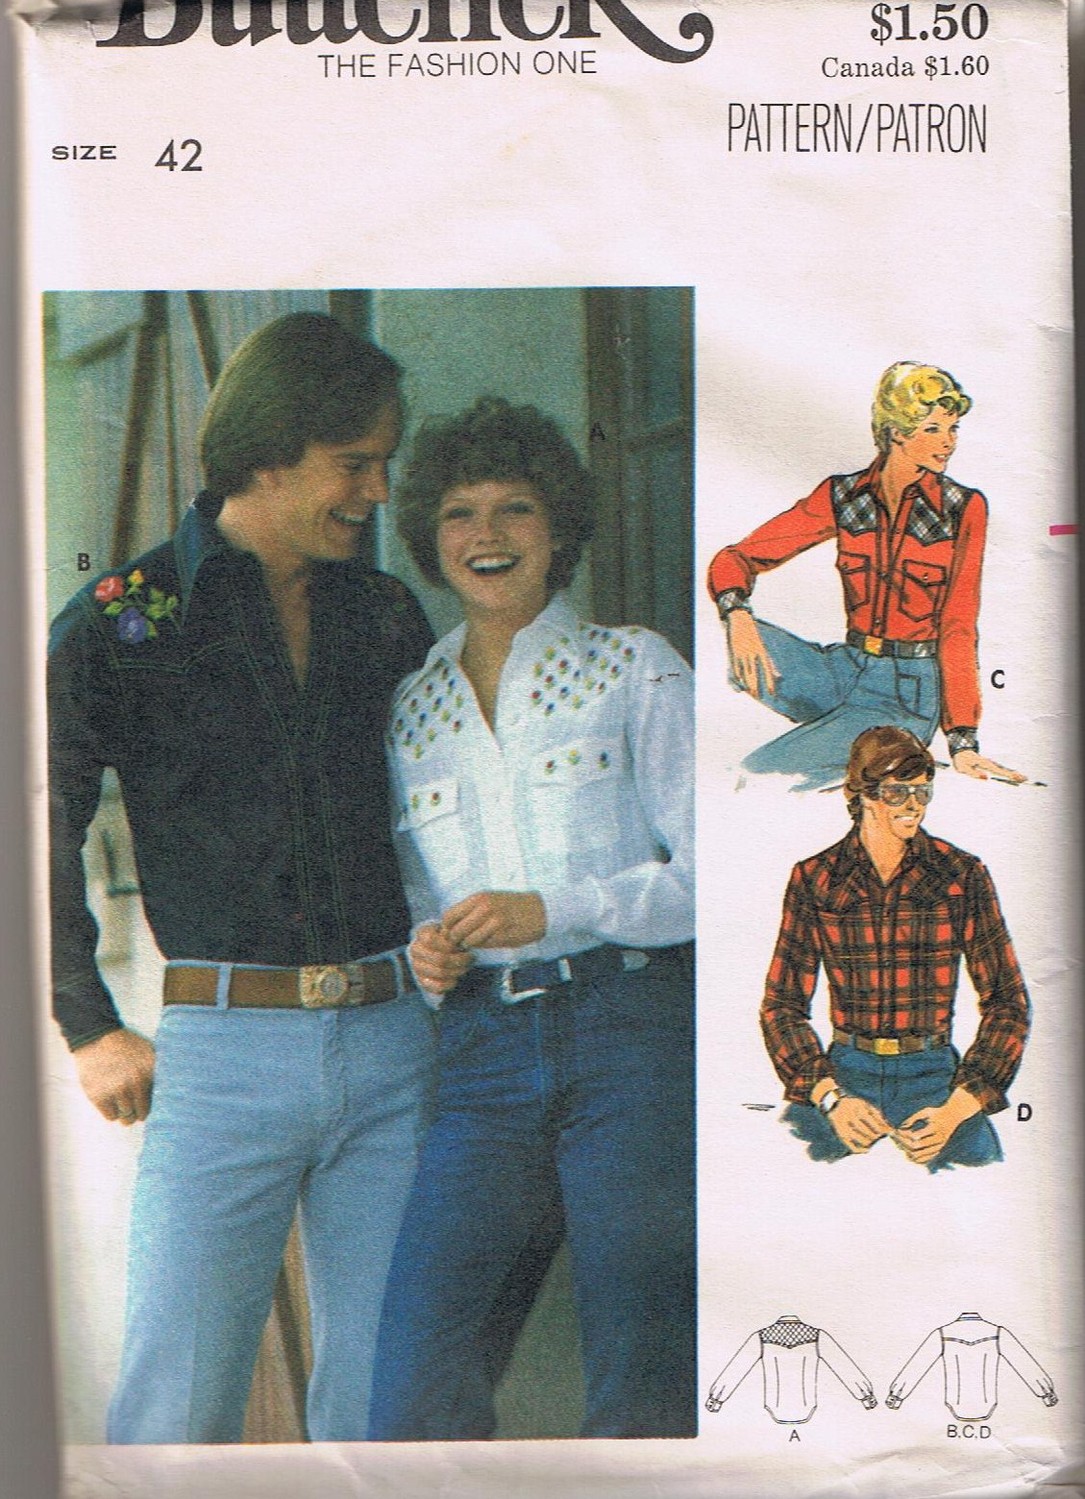
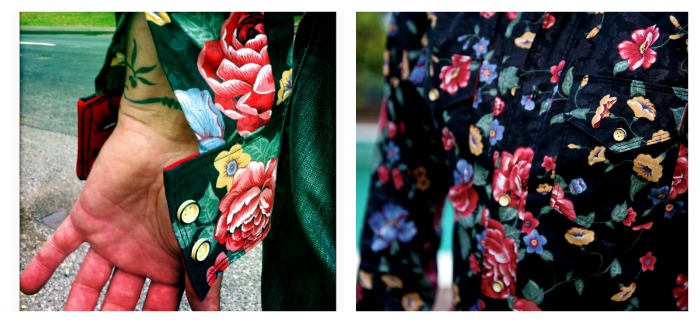
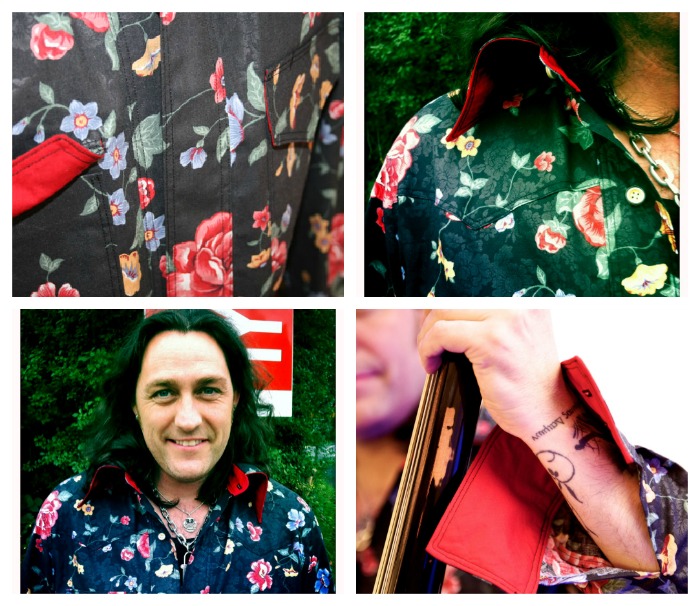
Flowery vintage western shirtAs promised, here is the finished shirt. It is a revisit to the same shirt I made for Mr Ooobop! almost a year ago. On first inspection I thought it must be 70s, given the flappy collars and slim fit. But one reader clocked the hairstyles on the pattern envelope and said it was probably more 1980s. Either way, its another vintage make that has been a valuable learning curve and keeps the old chap happy at the same time… double whammy!

Butterick 5007

I made some brave adjustments to the pattern this time. (Well, brave for me, that is!) Namely to the chest, shoulders and sleeve length. Of course there is a knock on effect for each change, given the many different pieces to this pattern, so I had to keep on my toes!

I have said it before, and I am very conscious of blowing Mr. Ooobop’s trumpet, but he is very good at knowing what fabric suits and especially good at choosing buttons. Check these out…

yellow buttons with black outline

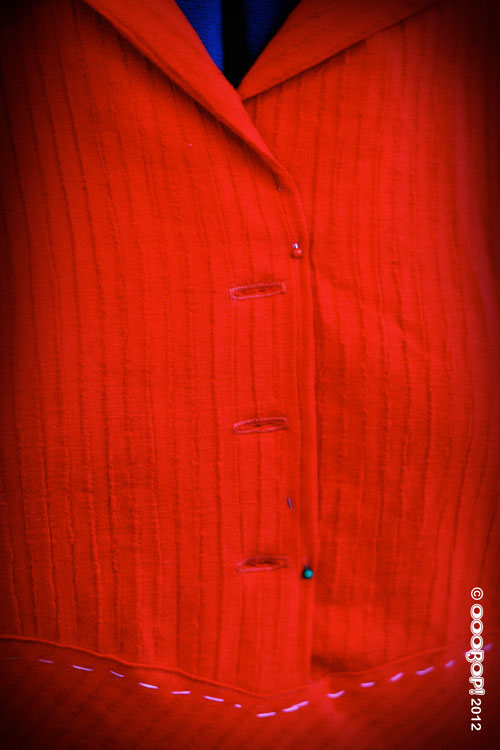
They are little chunky white buttons with a yellow fill and a black outline. They are indeed a trifle camouflaged here but I can’t imagine any other button being better on this shirt. I have mastered buttonholes, which is a good thing seeing as there were 13 of the damned things to make, but I did get a bit over confident and had to unpick two of them because they weren’t perfectly centred in the placket. I really don’t want to be doing that on a regular basis. Took as much time to unpick 2 buttonholes as it did to sew 13 of them AND hand sew on all of the buttons!

I couldn’t resist adding a couple of new features to this one. I underlined the collar, the collar stand and the under flaps of the pockets in a plain red cotton…

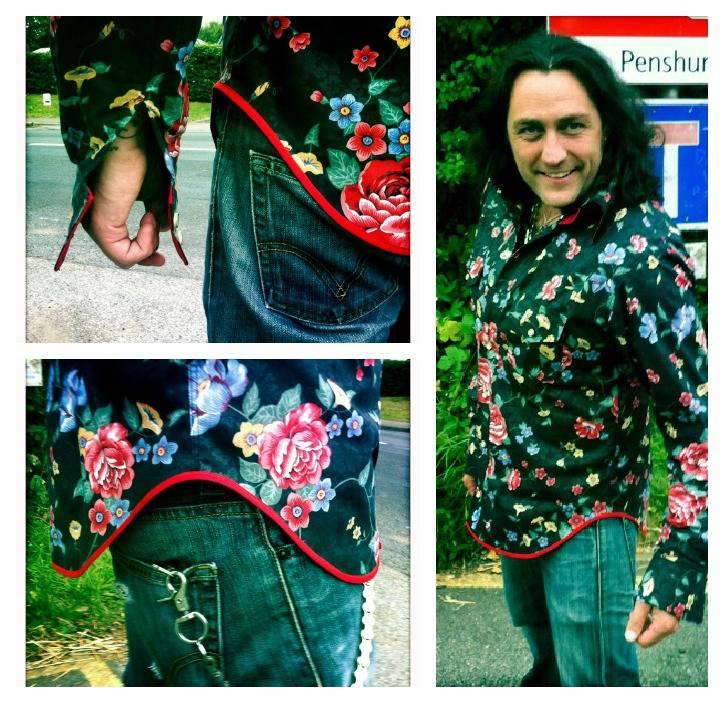
collar cuffs and pockets with red contrast lining… and I added some bias trim to the curved shirt hem. Mostly because Mr. Ooobop! wanted to preserve the length. It was an obvious solution but I think it makes for a lovely finish too, highlighting the shirt-tails!

bound hem

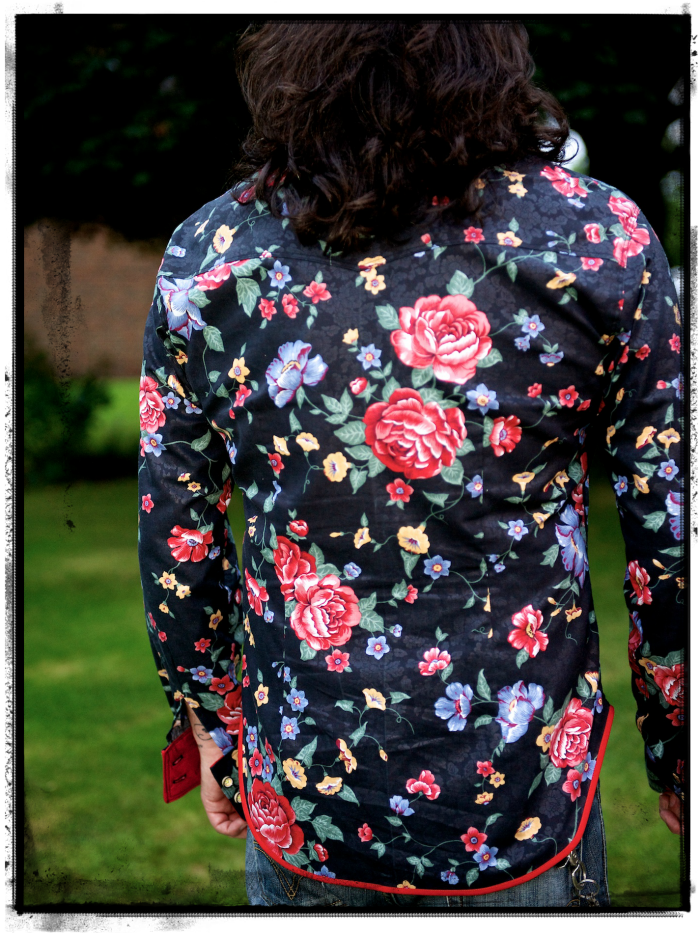
I am really happy with the fit on this one.

vintage western shirt back

Mr Oobop! got a fair few comments when he turned up at his last gig.

Mr Ooobop playing double bass

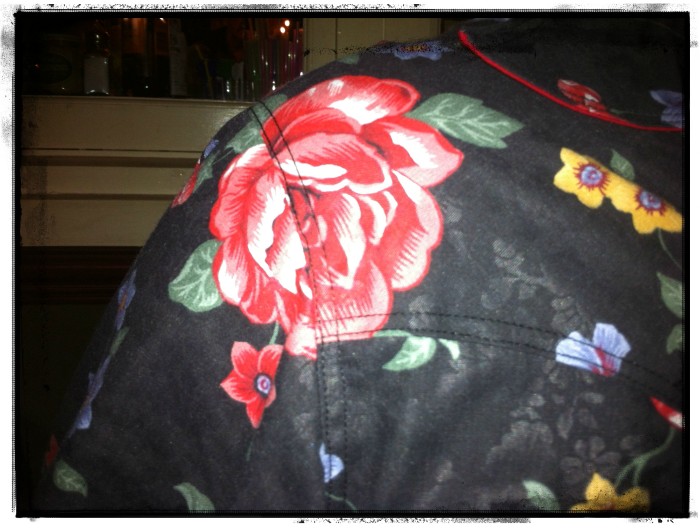
The finishing on this shirt – all the topstitching and flat felled seams –  was the time consuming bit. but imagine how long it took me to match that rose on the shoulder?! (wink, wink, nudge, nudge 😉 )

matching up the pattern on the shoulderSpecial thanks to George, Tom and Cat of The Redfords for the fabulous photography.

Horizontal or vertical buttonholes?

horizontal buttonholes

I’m in the process of making a second version of the 1940s shirt dress I made in May, and I’ve been prompted into wondering (ie arguing with Mr Ooobop!) whether it is usual to make horizontal or vertical buttonholes on a garment. I couldn’t bear the quandary any longer!

So I did a little research and came up with the following…

  • Horizontal ones allow for a little more expansion. The button can slide along the opening without distorting the buttonhole as much as a vertical one.
  • It’s easier to sew buttons in position, following a column of vertical buttonholes as there is a little  more room for manoeuvre, but you have to sew them on more accurately to meet the positions of the end points of horizontal buttonholes.
  • Horizontal buttonholes generally can’t be placed on a shirt placket band as there is not enough room for them to sit comfortably and so vertical ones are used.
  • Exceptions include the collar and cuffs where there is more stress, then you will find a horizontal one. And in the case of more expensive shirts, the bottommost button too!
  • Horizontal buttonholes take a bit longer to create as the foot needs to be repositioned and position measured each time, whereas its easier to shift the position down each time for vertical ones. I’m thinking this is a reason for mass produced garments having vertical ones.
  • Horizontal buttonholes stay buttoned more securely. Any stress across the garment opening, pulls the button into the the end of the buttonhole, where the button stops.
  • It is a little less-fiddly to button up with vertical buttonholes.
  • Most vintage patterns are marked for the buttonholes to be created horizontally.

So there you have it… fascinating, hey?! It doesn’t prove much except that you can seemingly create them however you like… so long as it works for you and your choice of garment!

I’m going with horizontal ones and now feel much happier about doing so. Apart from the fact that it makes me feel a bit rebellious, (and that I won the argument) I like that it’s a little bit of authenticity for this little 40s number.

Which way round do you sew your buttonholes? Any reason different from the above?

I’m hoping to have said dress all finished and blogged by the weekend so bring on the sunshine so Mr Ooobop! can take some sunny shots!

easy peasy spotty top

new look 6753 top

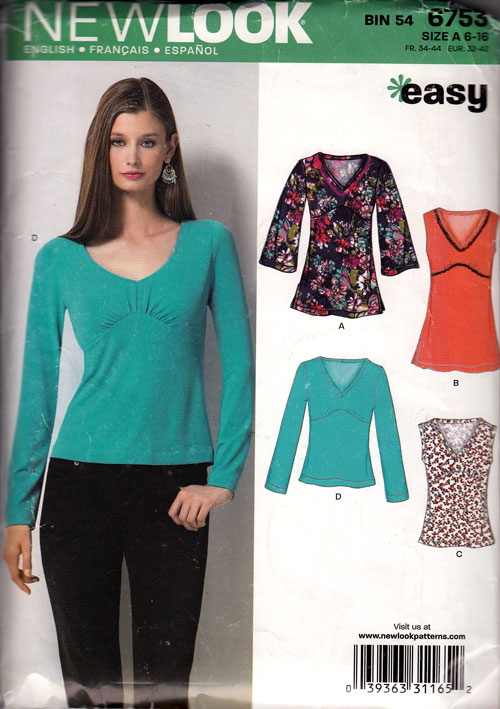
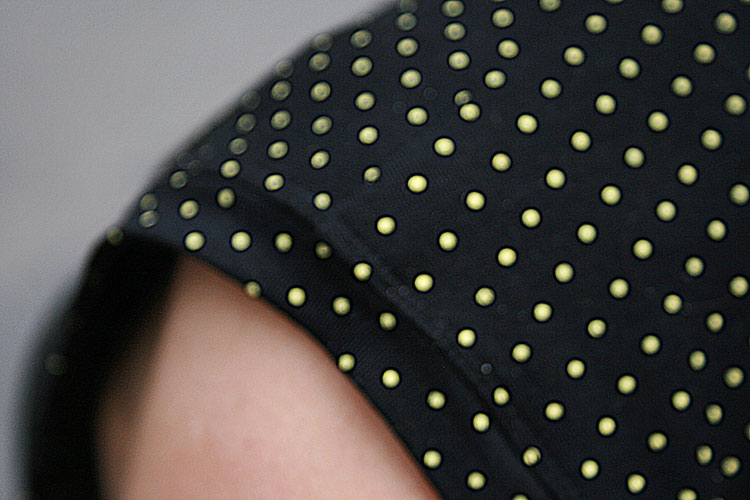
Despite sewing at every available opportunity, my wardrobe is still lacking in basics. Tops mostly. And particularly ones that go with everything. I spotted this pin dot jersey in a remnant box for 99p and imagined it as a top right there and then. I’m still quite scared of sewing with stretchy fabric but only because I don’t do it enough, and that is probably why I have a serious shortage of go-to tops. But I have to say, this pattern: New Look 6753 really was as ‘easy’ as it said on the packet.

new look 6753 sewing pattern

I remembered to use a ball point needle and set the stretch stitch and a couple of hours later it was ready to go. No notions, no sleeves, no lining… just the ticket for a brain addled by a weekend of pure self-indulgence!

The binding on the armholes and neckline looked to be a bit tricky from the instructions, mostly because I hadn’t done this before but it was painless, I can assure you. The binding strips are cut on the cross grain and not on the bias because, hey!… it’s stretchy already! The strips are seamed with right sides together on the short ends to make a loop and then pressed, long edges and wrong sides together. The binding is sewn, raw edges and right sides together and then the seam is pressed down towards the garment and a row of stitching made close to the seam from the right side, to stop the binding from rolling out.

new look 6753 armhole binding

To retain the ‘v’ shape neckline, before the binding is attached a small snip is made at the point of the raw edge of the ‘v’ and opened up to sew the binding on. When seamed and top stitched, a little dart is sewn on the wrong side of the binding to pinch the shape back into the neckline. All clever stuff!

new look 6753 neckline

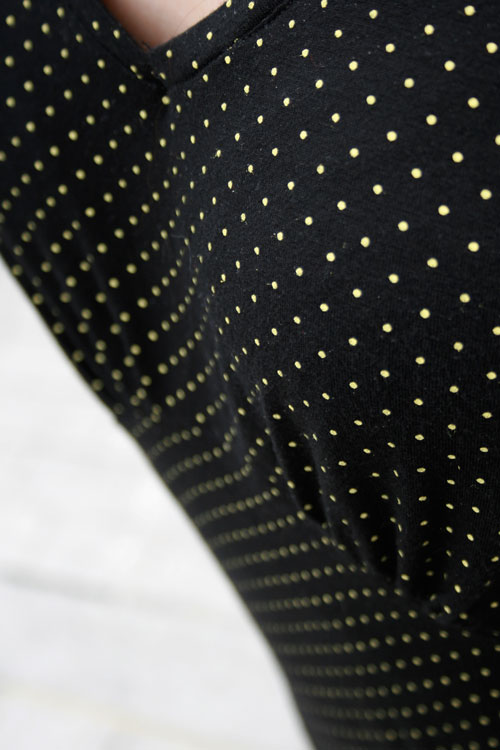
As you can see from the picture above there is a top and a bottom bodice section. The top is subtly gathered to give some shape and create a bit of detail. This particular jersey fabric is very fine. Not sure of its content but I’m sure the shaping would have worked better on a sturdier stretch fabric. Not complaining at all for 99p though. This was a fabulous outcome for what really was a test drive.

I’m also sure that it is possible to go down 2 sizes in this style. I went down one size and it is still very roomy, though to be fair I haven’t washed it yet and if there is any amount of cotton present it is bound to shrink a bit, I hope!

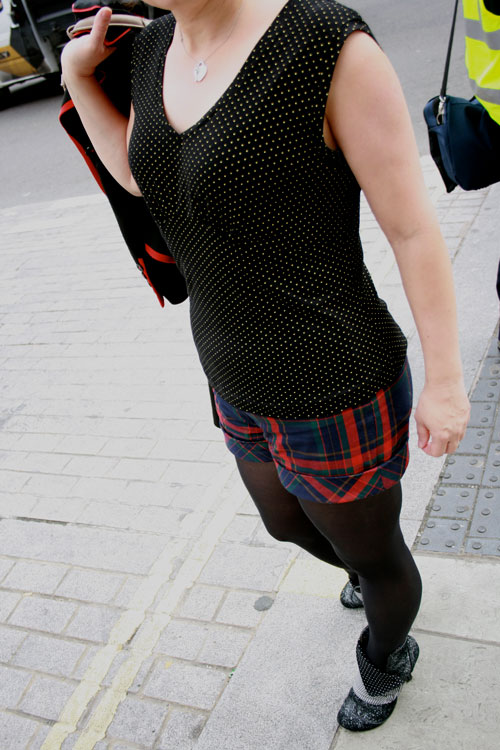
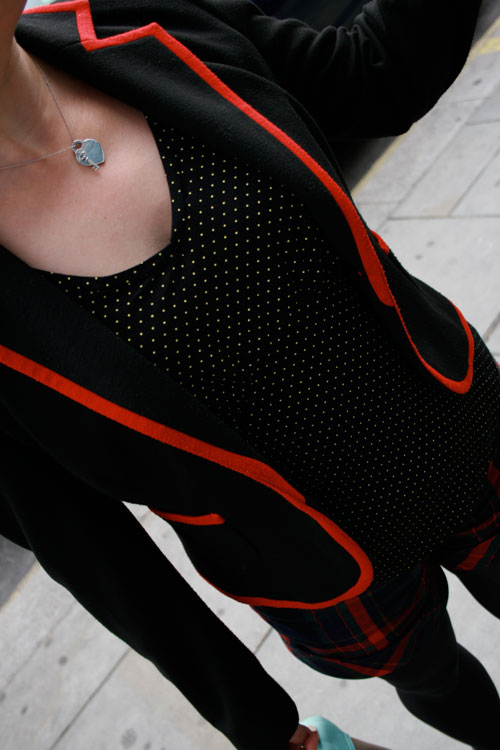
I wore it today with my shorts which incidentally didn’t coordinate at all! Ironically, it appears I don’t have anything at all to go with this top so I now have some plain skirts to add to the project list. I did however have a snazzy M&S jacket to pick out the red of the shorts. Should have worn the blue shoes too I guess… doh!

new look 6753 top with jacket

A certain night-attire ‘party’ sewalong!

I’m sure most of you will know what I’m talking about but I’m having to be slightly cryptic as my ‘thingies’ are a surprise gift… and I won’t be able to reveal them in all their glory until the end of May.

I wasn’t going to post any progress reports, mainly because I didn’t know how, without giving the game away, but to be honest, if a certain person endeavours to follow these clues I should be impressed that he shares an incredible interest in what I love to do! Either that or he is bloomin’ nosey!

But the main reason for this post, not only to let the lovely Karen know that I found a window to jump on board, but I made another amazing discovery about my sewing machine. It serges! Well, of a fashion, I’m sure! There I was, head cupped in hands, eyebrows raised in awe and jealousness at Karen’s beautiful serged seams when… ping! I remembered a strange mechanical foot among my machines accessories and reference in the manual to a ‘side-cutter’! Oh the joy, the joy!! I WILL have beautiful 5mm seams too!

side cutter foot

Took a bit of getting used to though, as you can imagine! And I’m sure I can get a better-looking, tighter stitch with a bit more fiddling. But the needle kept falling out! I checked and double checked that I had attached the foot properly, mainly because it does’t sit firmly in position. It is such a clumsy attachment and it kind of wobbles around.

needle falling out

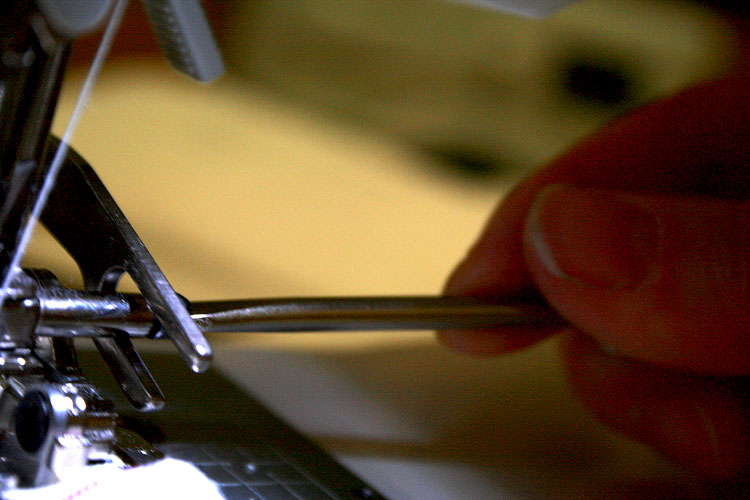
But according to the manual, I had, and there was no reference to this problem in the troubleshooting section either. So I just used the little screwdriver to really tighten the needle clamp screw. Perhaps I ought to be doing this anyway, whenever I replace a needle. I just usually tighten it with my fingers but clearly it needs to be tighter when the fork attachment of the side-cutter is hooked over it.

tightening needle clamp

Anyhows… I am as happy as some Larry’s and quietly confident I will make the party on the 28th once I figure out my disguise!