Retro Butterick 5880 in red leopard print

B5880 dress

Big thanks to Marie @stitchoddyssey and Kerry @kestrelmakes for their great insta challenge, #sewvintageseptember, without which this dress would still be in tissue form, in its little envelope, nestled with the other hopefuls! The challenge encouraged us to sew up our neglected vintage patterns, something I’ve been meaning to do for such a long time. Plus it presented so many inspiring posts as everyone uploaded their gorgeous creations. I’m late to the finishing post but I’m so jolly glad I got there!

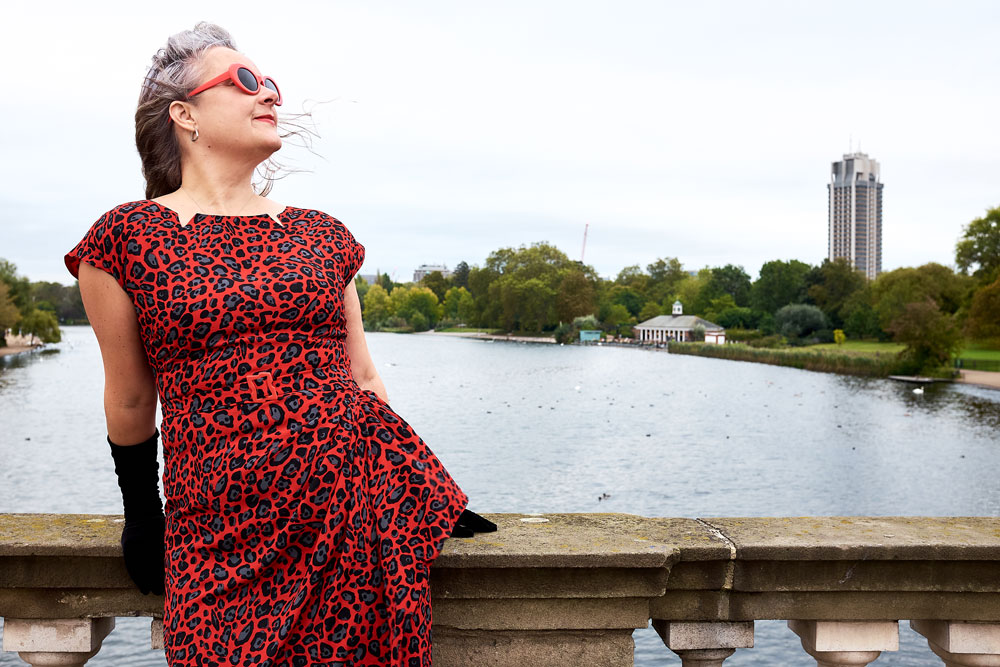
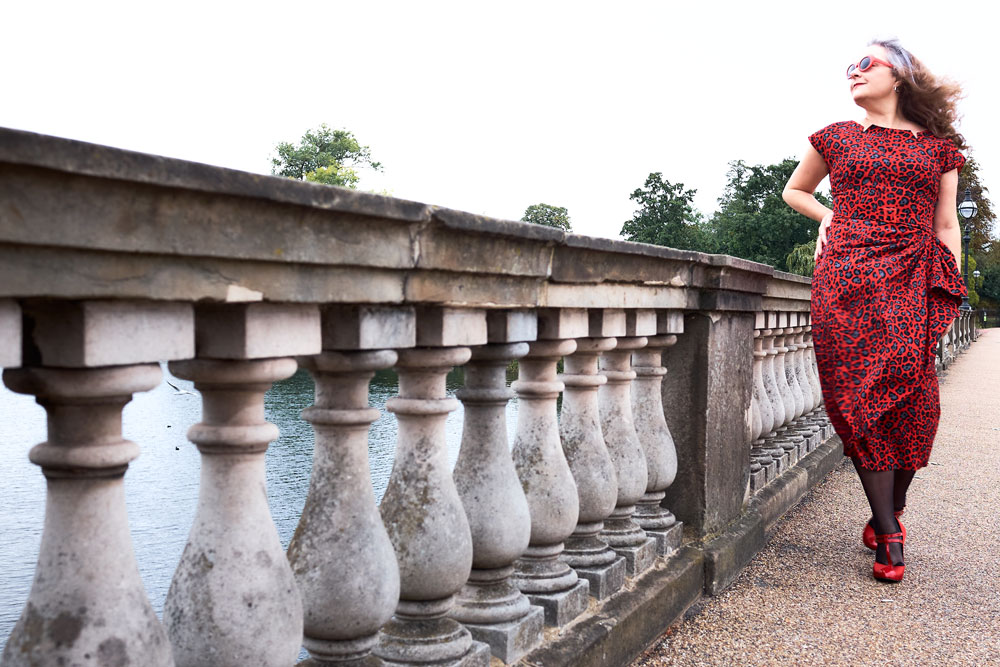
B5880 on the Serpentine bridge

I used to sew so many more vintage dresses than I do of late. When I first began sewing I inherited (read stole) a few from my mum’s collection – just basic skirts and tops. And then my love for them grew so much that years later I found myself bidding silly money for 40s and 50s patterns online. I loved the cover art, the pre-cut pieces, the prompts to hand finish and the unfailing elegance of the times.  I learned how to style the finished garment without conforming to an entire vintage look (totally ignoring the wails of the purists!) and made them my own. I’ve included links to some of my faves at the end of this post.

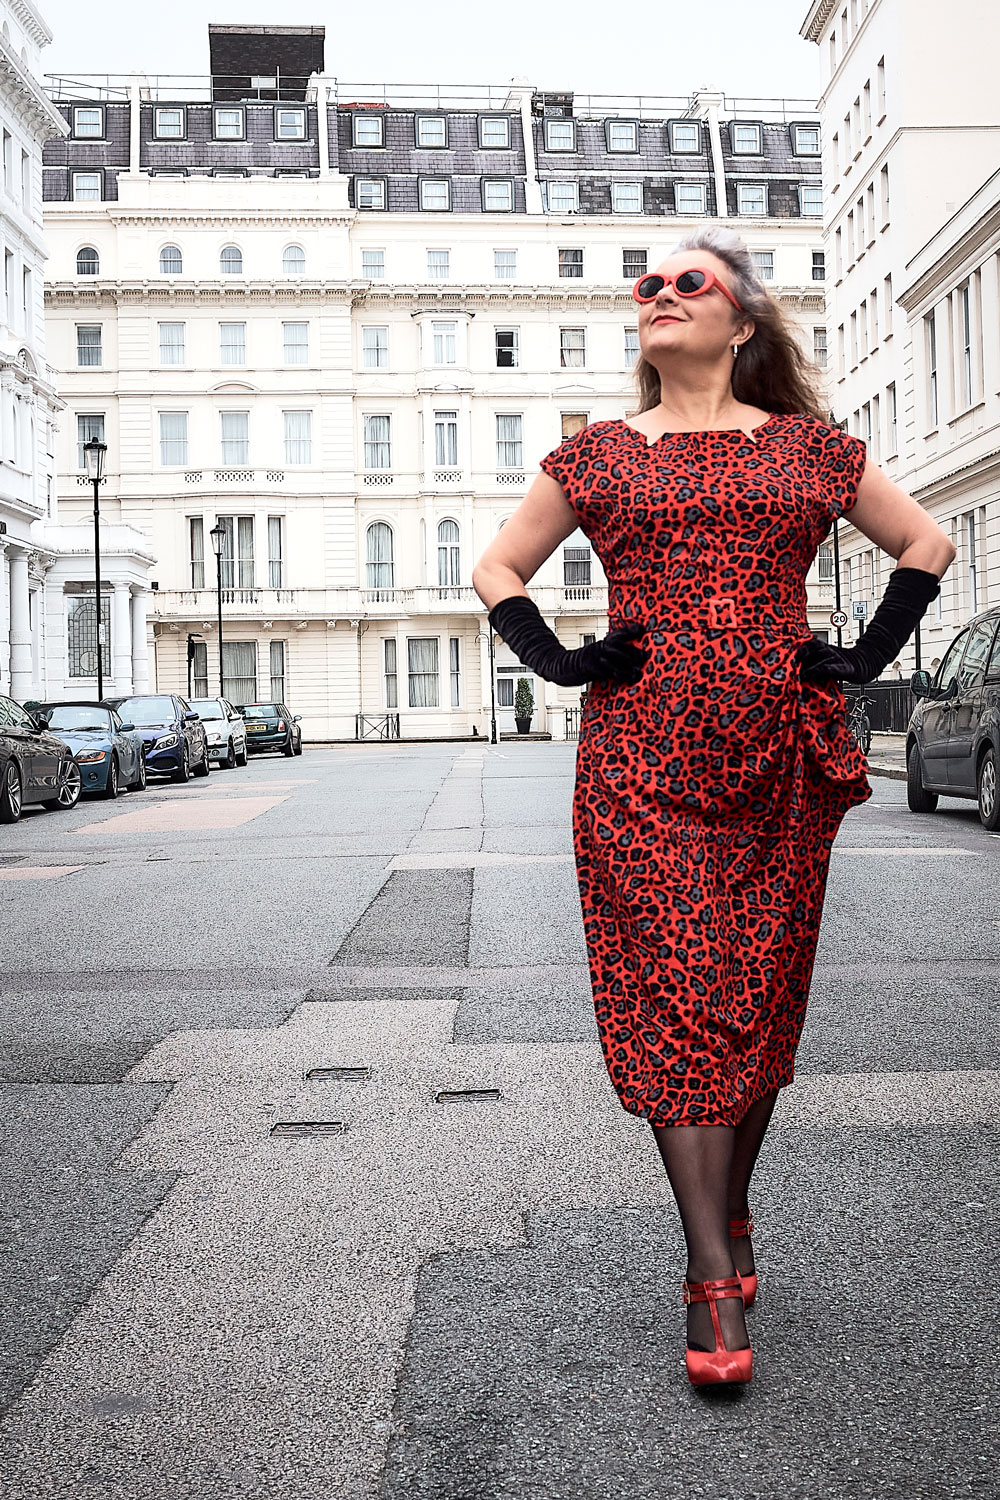
B5880 retro Butterick dress

So what happened? Why don’t I sew vintage so much any more? Well basically, I discovered indie patterns. And later learned to draft patterns myself. And those vintage pattern boxes have since remained closed owing to the rip-off number of hours in a day! That said, I have left a couple of patterns, loose on the top of the pattern box tower, just in case I get a miracle few hours spare to schedule them in!

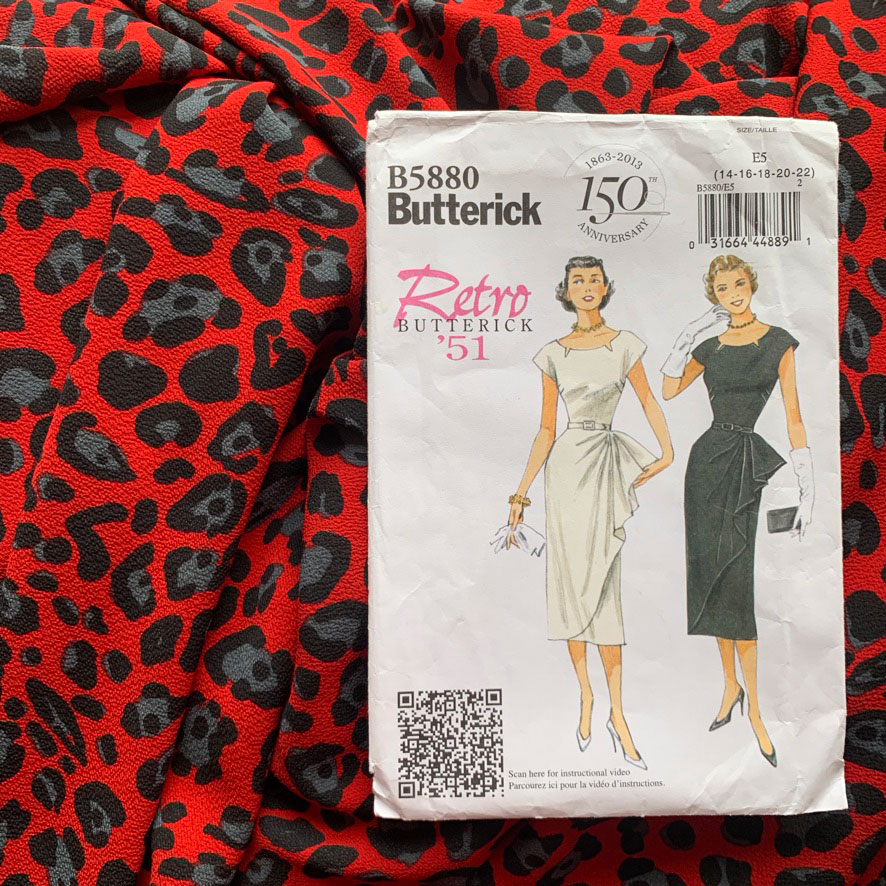
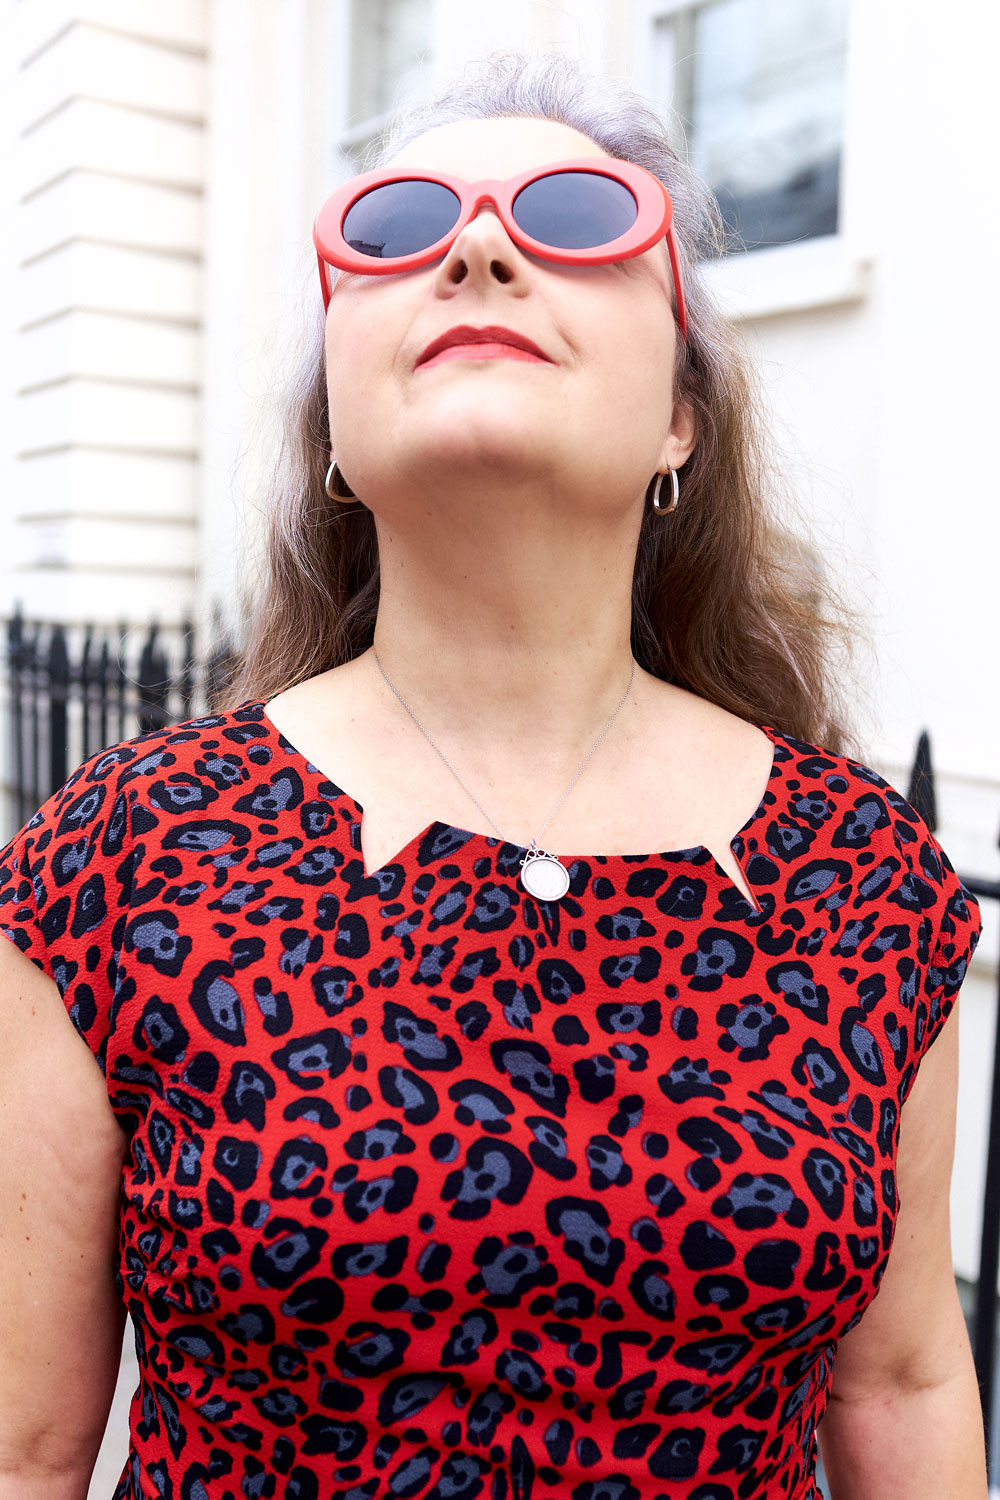
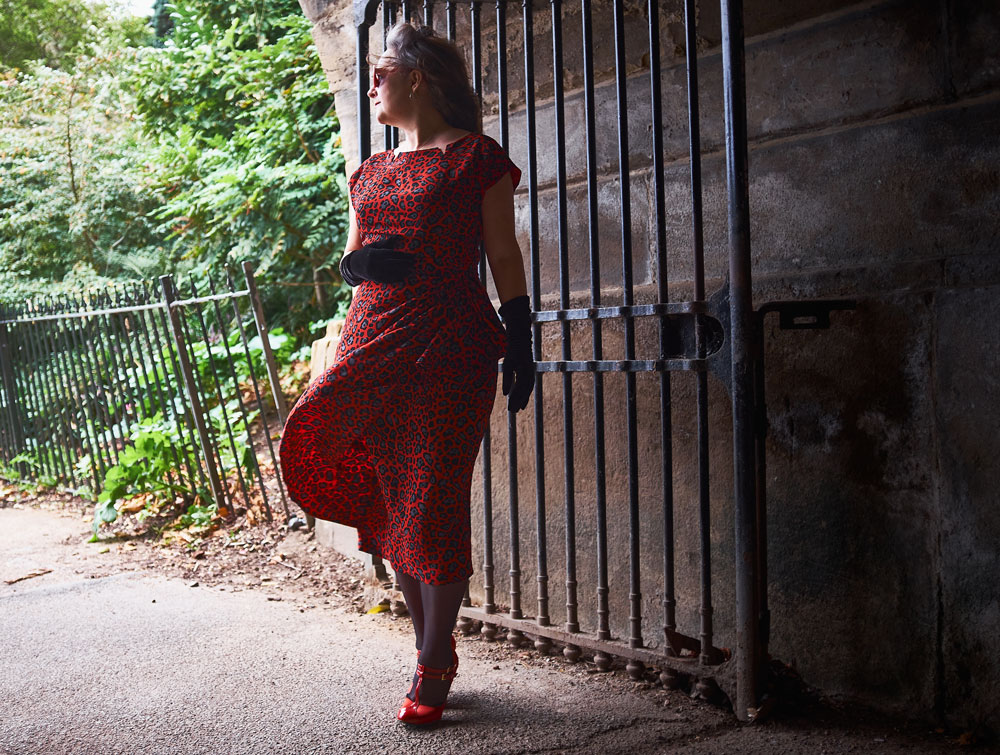
The pattern I used for this dress is Butterick 5880. A retro reproduction from 1951. I love the sarong-style side drape and the neckline with its little fang-like indents!

Retro Butterick 5880 pattern envelope

It screamed leopard-print at me from the off. But I can never find the perfect scale print in a perfect colour way, let alone the actual perfect fabric weight.

I asked in pretty much all the stores along the Goldhawk Road with not an ounce of success. A block colour probs would have worked fine and that was my next plan and was just deciding on red or black (of course) until I spotted this red, black and grey print in Classic Textiles. It was definitely an Hallellujah moment!

B5880 dress modelled on the Serpentine bridge

So my vision of Rockabilly chic was restored and off I skipped with some cheaper poly for the toile – I always try to mock up in as close a fabric as poss to get best fit – and some anti-static fabric from the little shop next to A-One (never can remember it’s name but the owner is always so friendly and kind). I paid £6.50 a metre for the lining. Pretty much the same as the main fabric because I didn’t want cling or spiky static stuff going on. It ironed like a dream and feels so silky to the touch – red of course!

I only mocked up the bodice. Knowing exactly what the issue was going to be – pooling at the back! The back piece is cut on the fold so to get round this I traced and cut the piece in two, adding seam allowance and taking 2 inches of ease out but cutting and slashing on a line drawn from a third of the way up from the bottom of the armhole, across to the centre back.

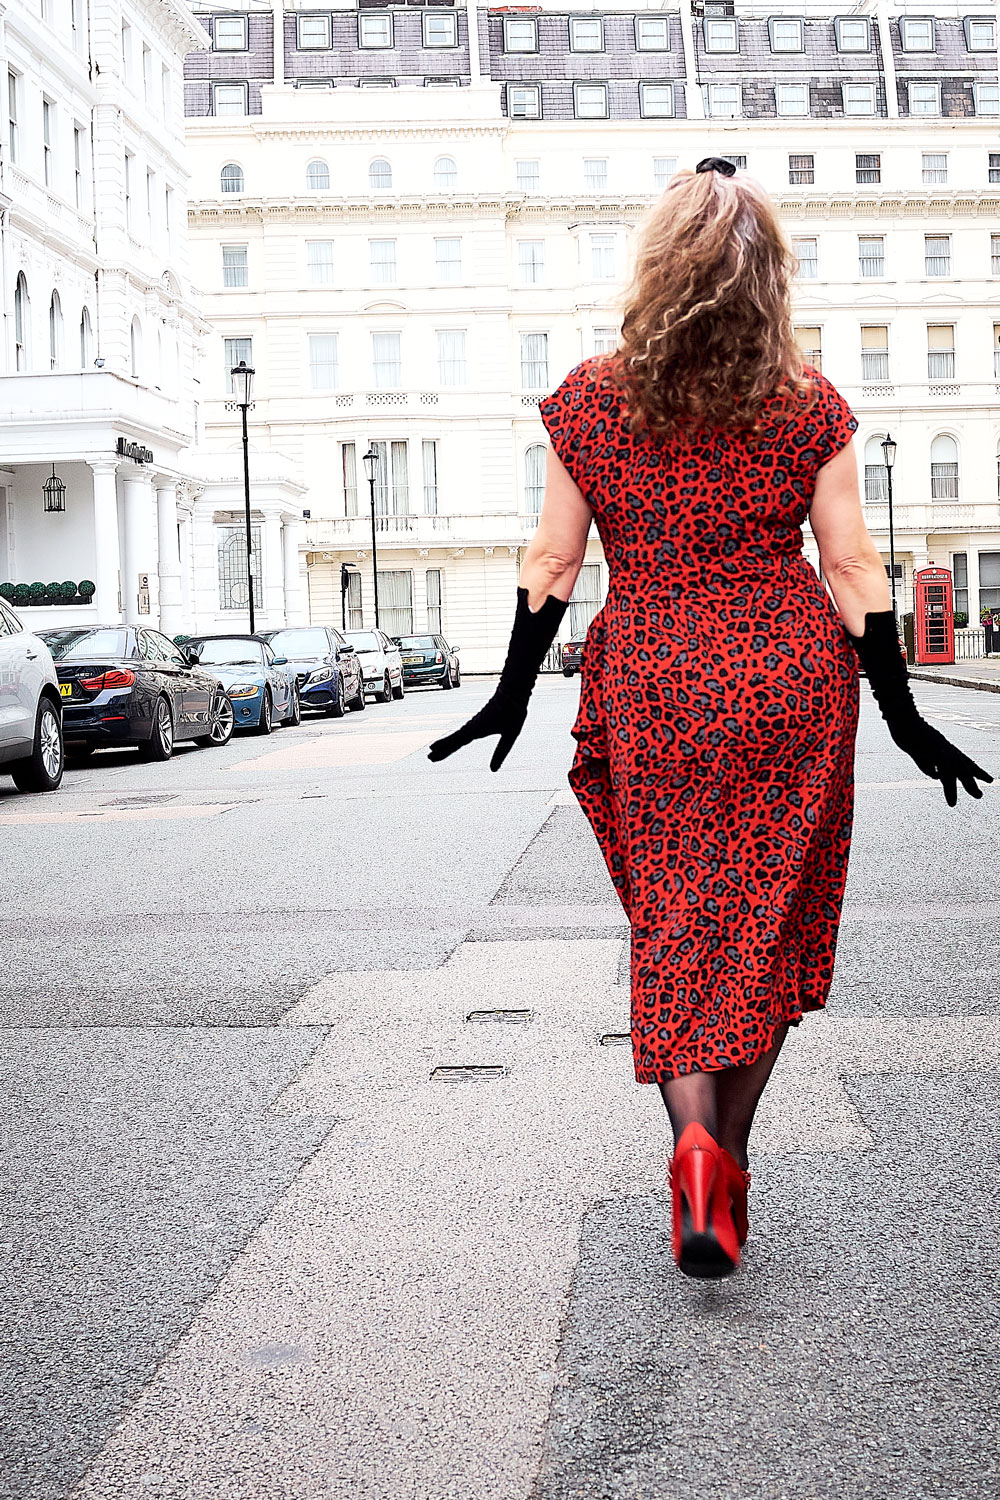
B5880 back view

I sewed out a dart on the mock up to check it worked before cutting out my main pieces.

And here is where the fun started. That wrap piece is huge and because I wanted to keep the entire length of the skirt (I know right… where has Janene gone!) I had no chance of cutting out on my tiny kitchen table. I remember thinking laminate flooring would be a great idea in the living room so I could cut larger pieces. And it is mostly. But wiggling crepe and shiny scissors meant I was crawling around on the floor for aeons! Getting up and straightening up afterwards was an insight into being a hundred years old!

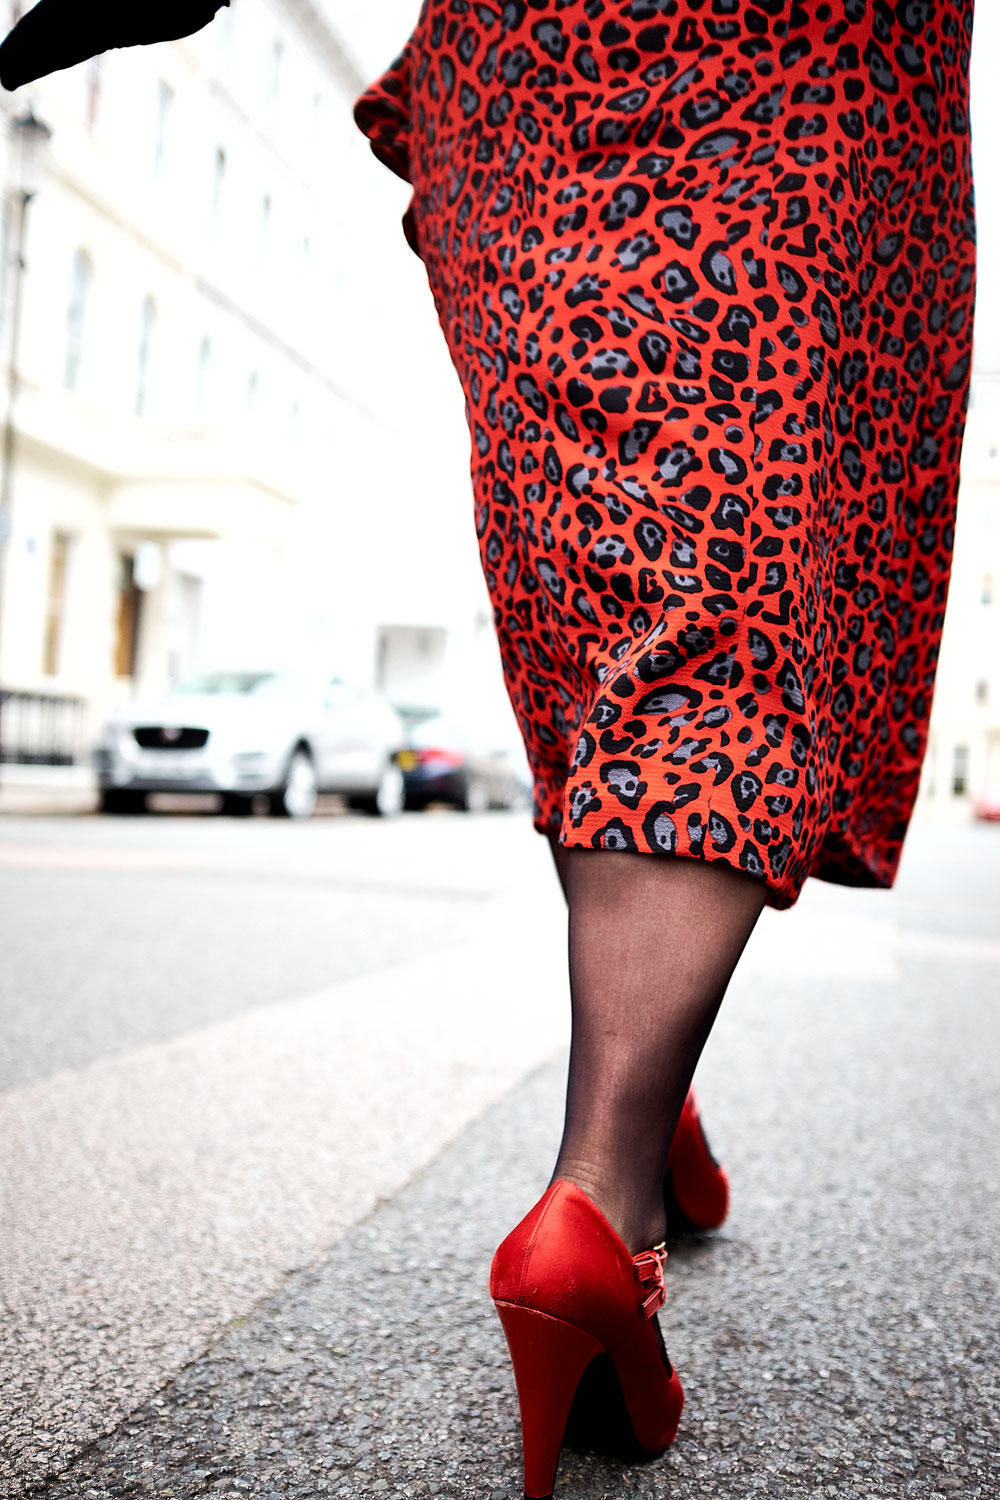
Back view of skirt and heels

And just as I’d finished I had to cut the lining, too. All the moaning and groaning that day – you’d never have guessed it was my favourite thing to do!

The bodice came together pretty swiftly. I’m always a bit scared to clip so close to the point of a ‘V’. And you can see a smidge of the lining as a result. But I’d rather that, knowing its stronger as there will be some stress on those points at times. But kudos to the Vilene G710 Light Woven Iron On Fusible Interfacing I got from Minerva Crafts. It was such good quality and it was definitely key for providing just enough structure so that neckline doesn’t roll out.

B5880 retro butterick dress neckline

I pinked the seam edges and the lining edges. Mostly so there would be no additional bulk on pressing. But also because it’s fun!

The main skirt pieces are dead simple to assemble too though I did overlock those seams. The bodice seams are enclosed and it felt safe to pink but when this dress ultimately gets tossed around with a wash load of other stuff, I worried the skirt seams would be more vulnerable and susceptible to fraying. And I didn’t want that after all the effort invested.

Now let’s talk wrap! All I can say is that I’m jolly grateful for that QR code bottom left of the pattern cover, that links to a very good tutorial by Professor Pincushion. I read the instructions included with the pattern about 50 times over and still couldn’t work it out. But the video was instrumental in working out those pleats.

B5880 retro butterick dress shot in a tunnel

I had assumed the wrap was a singular piece. And it would probably work just as well assuming ones fabric is double sided. But I like how much neater it’s finished by being faced. It adds a fair bit of weight though, and there’s quite a bit of stress where that pleated section joins the waist seam so will have to keep an eye on that. The full lining adds even more weight to this dress but its not a bad thing. It slides on with ease, helps the dress to hang better, prevents any show through and feels so special to wear.

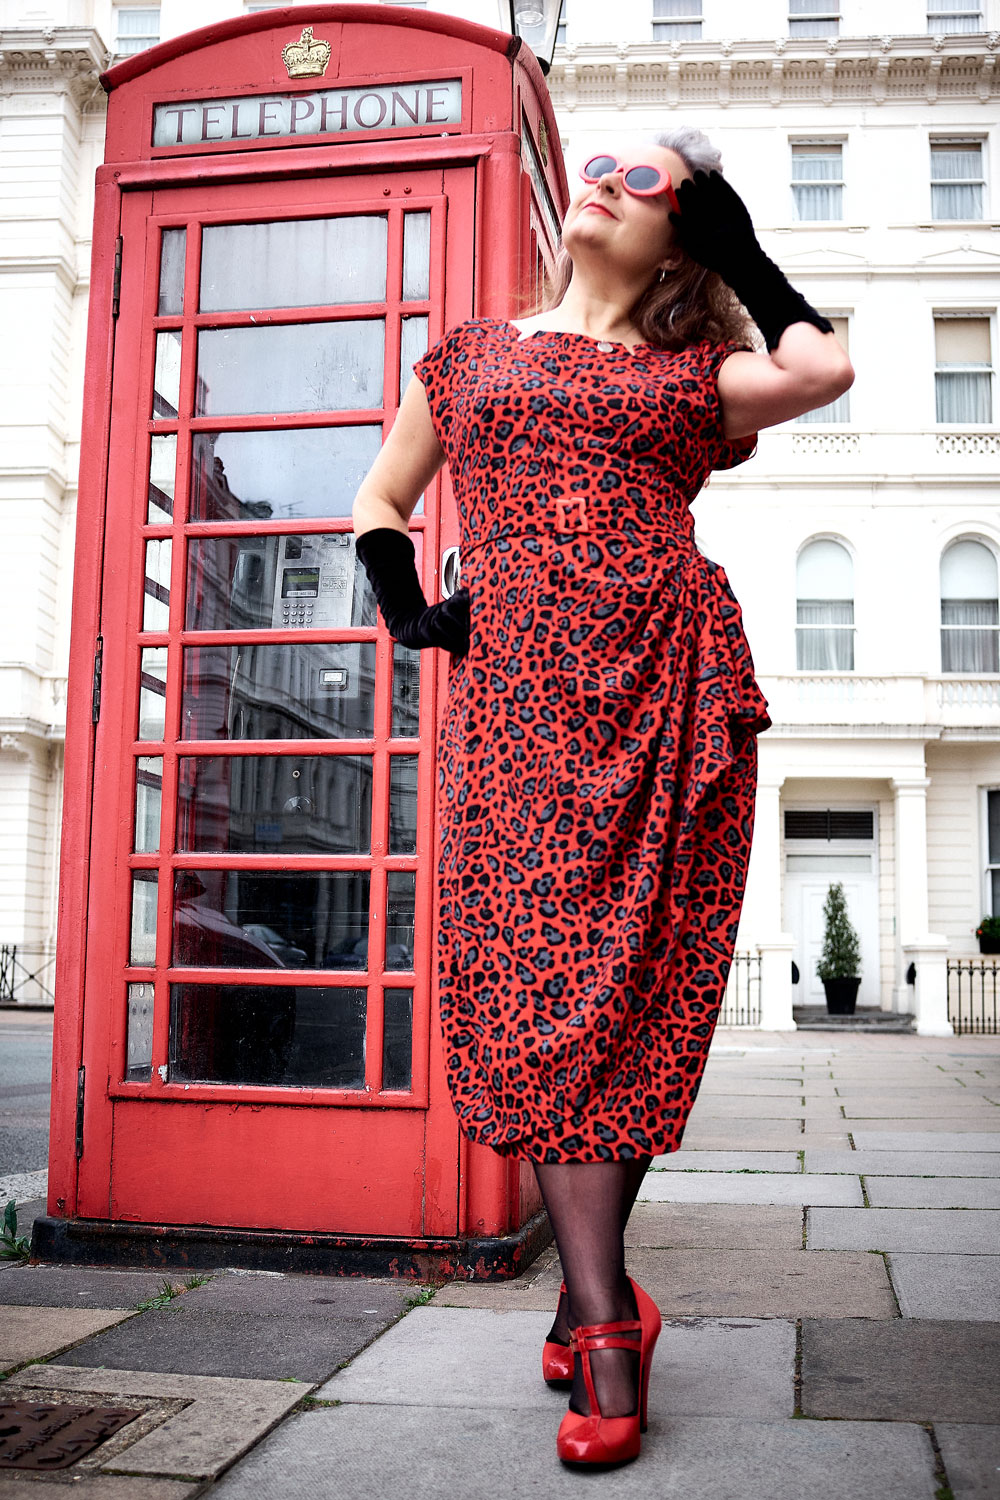
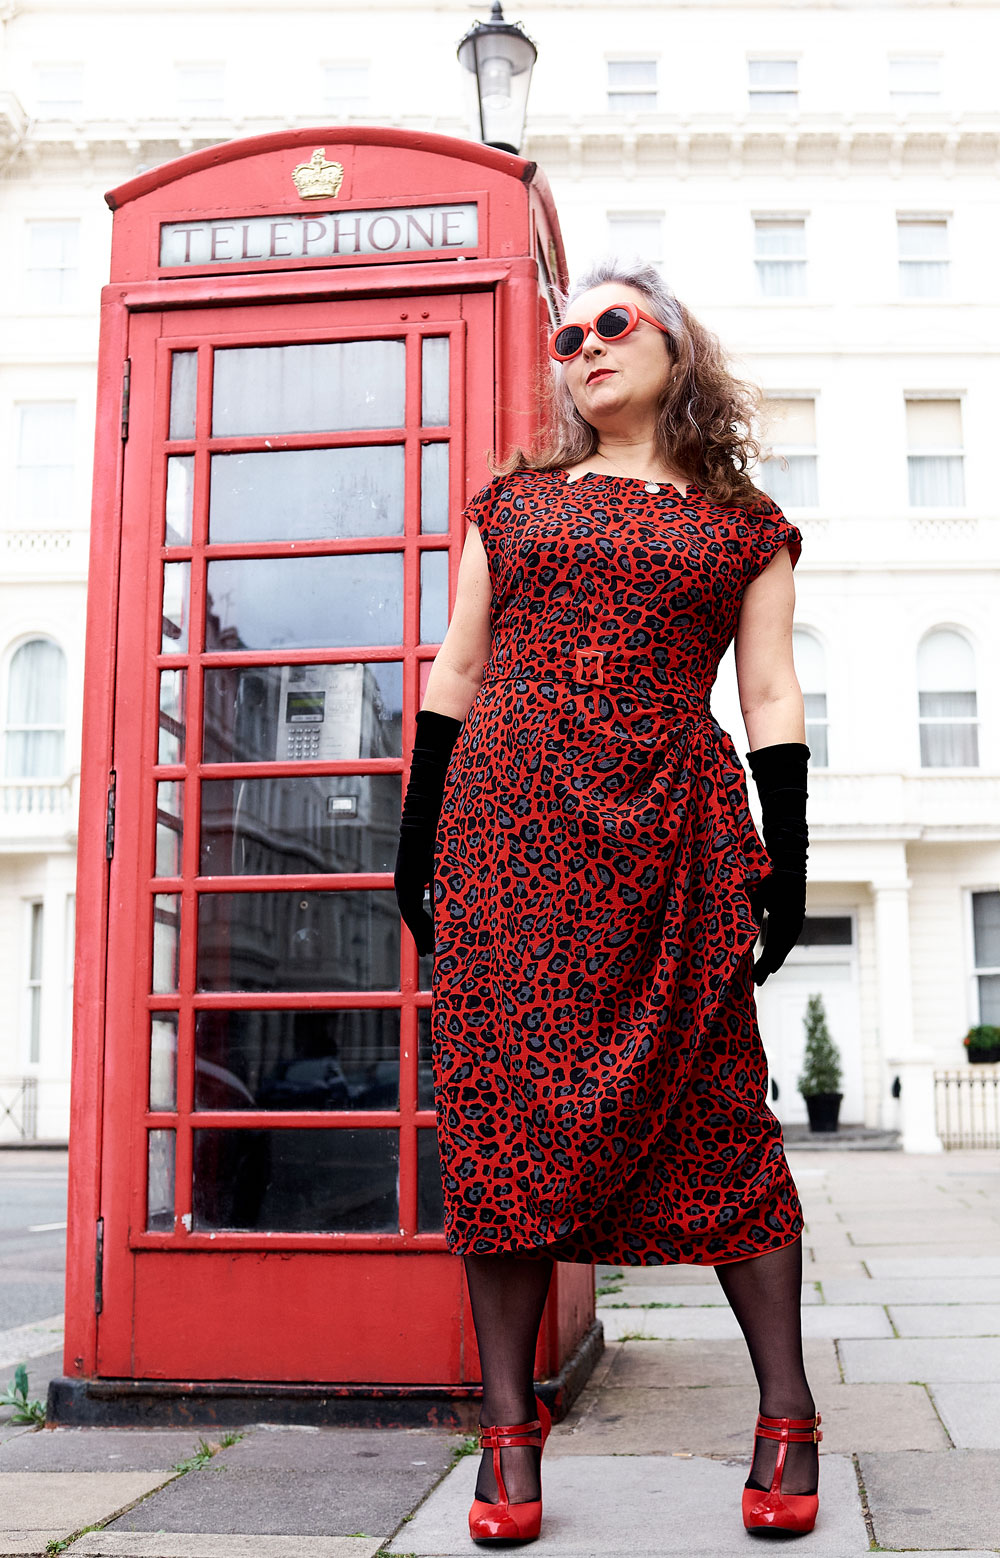
B5880 dress and London telephone box

Following the marathon hand finishing session (shoulder seams of lining, joining bodice lining at waist, hemming, French tacks) I almost forgot about the belt! That was pretty simple to whip up though. It’s basically an interfaced tube, sewn, trimmed and turned. Though the turning was not fun at all! Once pressed, the flat end is folded over the central bar of the buckle and hand stitched down. Luckily I had a small collection of vintage buckles to choose from – the asymmetric red one was a clear winner.

Although this is clearly a 50s dress design, it could so easily pass as 80s and be dressed down with Doc Martens and a denim jacket but for the purposes of our shoot on Sunday, I felt the need for glam – heels, care of Shelter Charity shop, Long velvet gloves from British Heart Foundation charity shop and Sunglasses, a lucky find in Cancer Research charity shop. Stockings bought from What Katie Did.

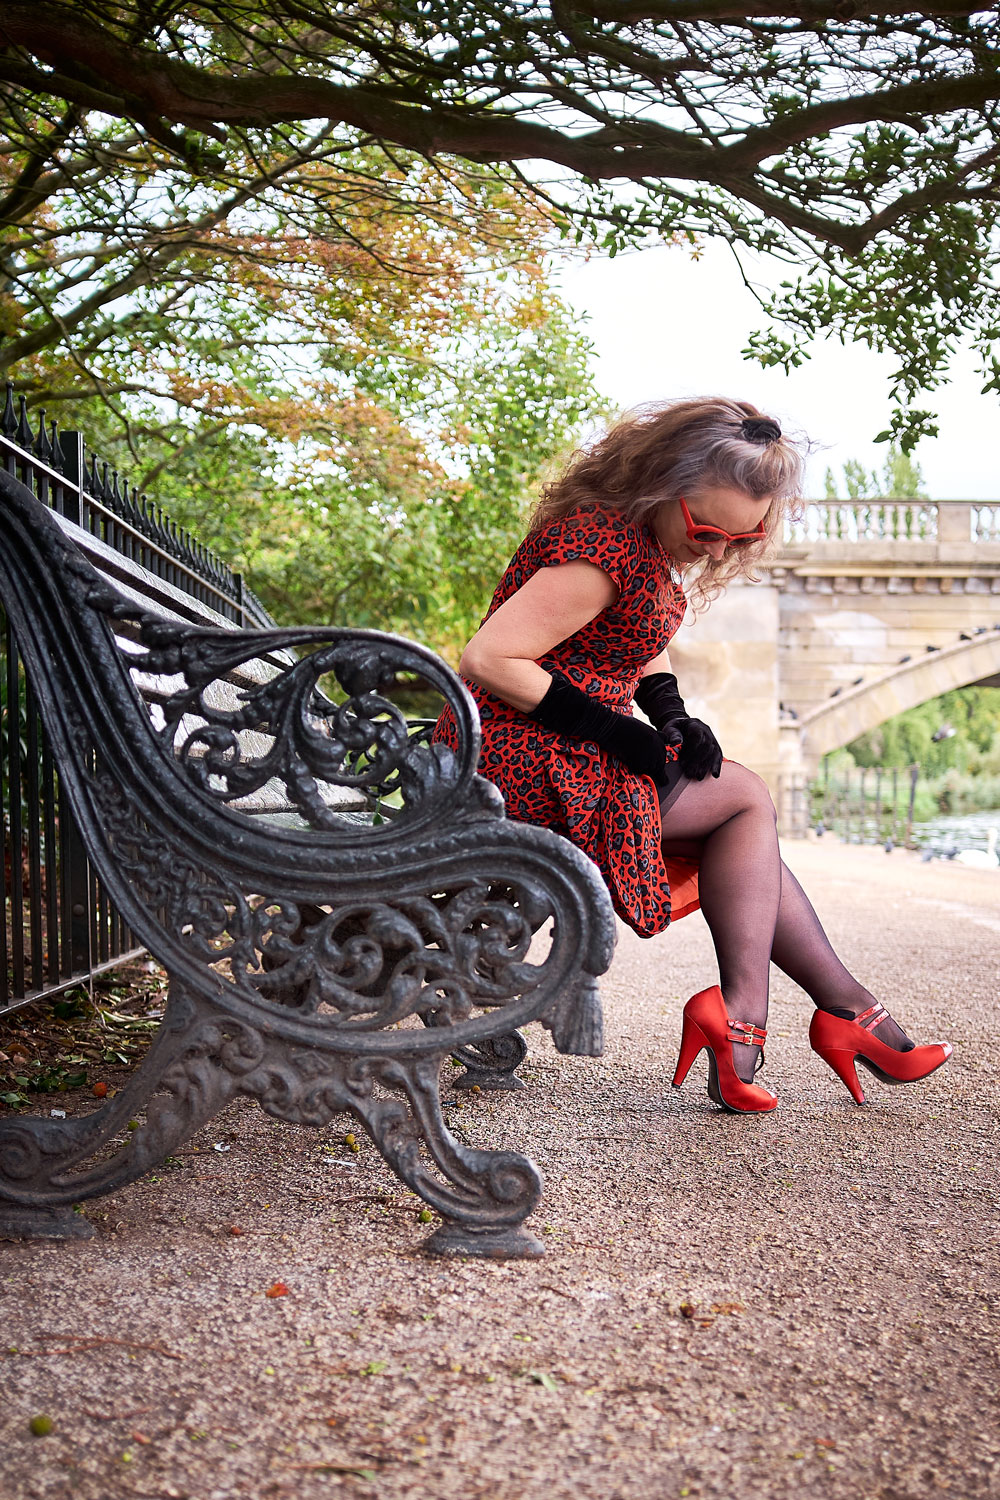
Adjusting stockings on a bench by the Serpentine, London

And yes, actual stockings! I’m so out of practice and really nervous of them pinging loose and ending up round my ankles. But they felt so good to wear with a dress of an ‘appropriate’ length and added to the feel good factor.

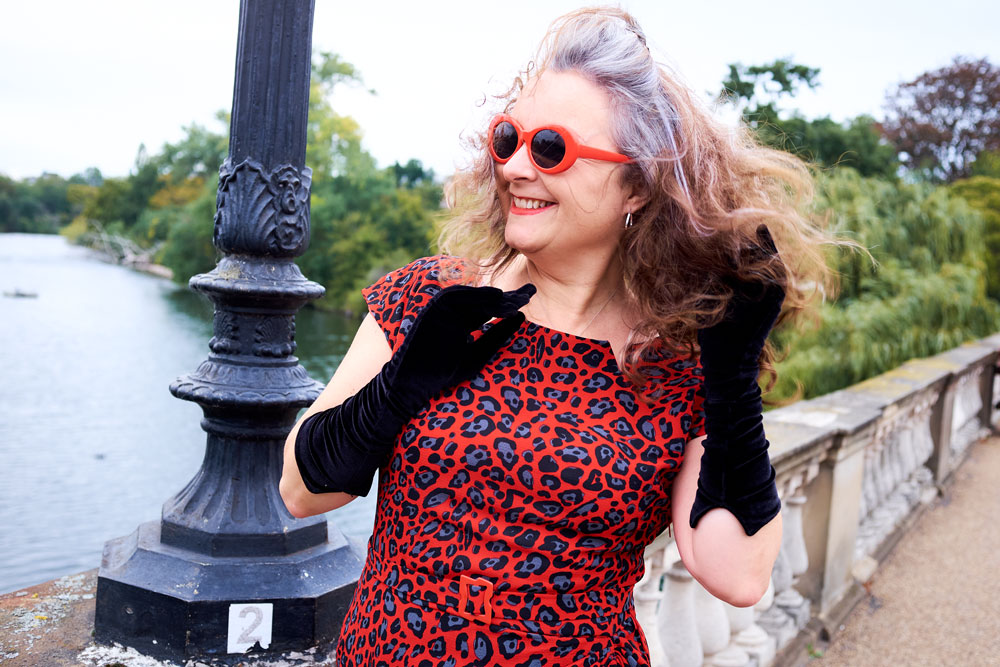
The weather wasn’t the least bit inspiring at the weekend but Dan was so keen to shoot with his new camera insisting that there’s no such thing as bad weather as far as photography is concerned. He’s mostly right of course, especially looking back at these photos, and I’m so pleased his eagerness helped me to meet the challenge deadline, but I might argue that wind is the exception to his rule!

 Windy day and wild hair

Some of my other favourite vintage makes:

Photography by Daniel Selway
Vintage Simplicity 6772 shirtdress revisited

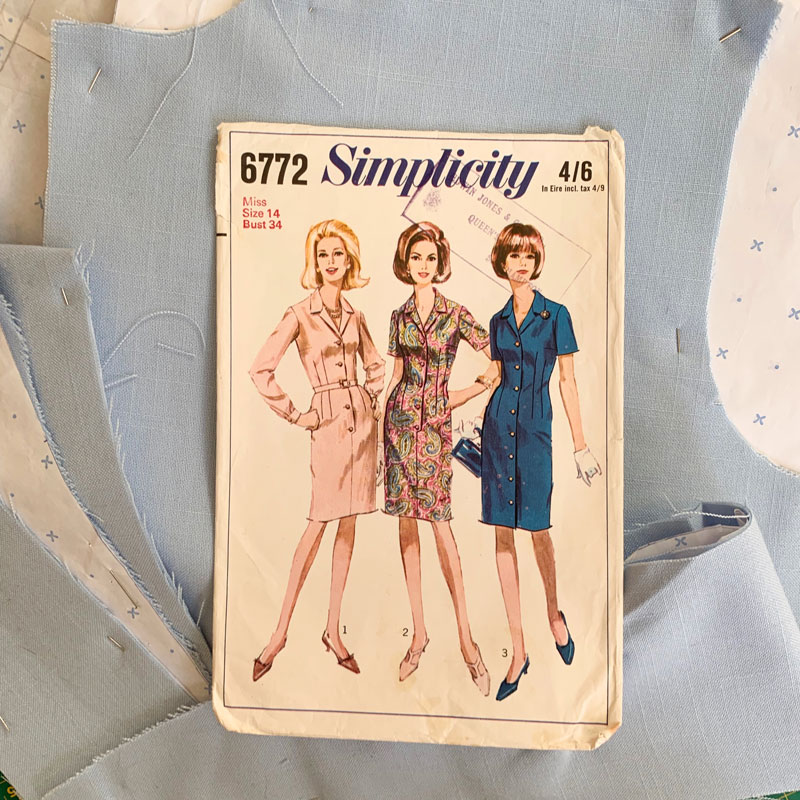
simplicity 6772 vintage shirt dress

There is joy to be had when you revisit a pattern that you know only needs a couple of tweaks. Even more joyous when the pieces have been sat in a basket, all cut out and are ready for a simple sew-together.

I’d almost forgotten about it. Though to be honest, the main reason for it sitting pretty was that I was unsure about the colour. I liked the pale blue, linen-like fabric when I scored it cheap all that time back from a closing-dowm sale in Ealing, but I just didn’t have a plan and so it took up residency in stash mountain for a very long time before it’s destiny was decided.

A little burst of consciousness about the wastefulness of my impulse buying spurred me into action to finish any WIPs before buying any more fabric and so I paired it with vintage Simplicity 6772 – one of my favourite vintage shirt dress patterns.

simplicity 6772 sewing pattern

I used this pattern first in 2015 from suiting fabric – my worky shirtdress – which is perfect for an Autumnal wardrobe and it gets a lot of work-wear. This next version was going to be great for those warmer months.

It sewed up beautifully. I took a smidge out of the ease of the sleeve head; shortened the hemline a little and I just loved the way it shaped up with all those darts. I used to hate sewing them but it really doesn’t bother me now especially when on realising how important they are for a great fit. It comes together pretty quickly, with no lining, and precious little hand sewing except for the hem and attaching the under-collar to the neckline.

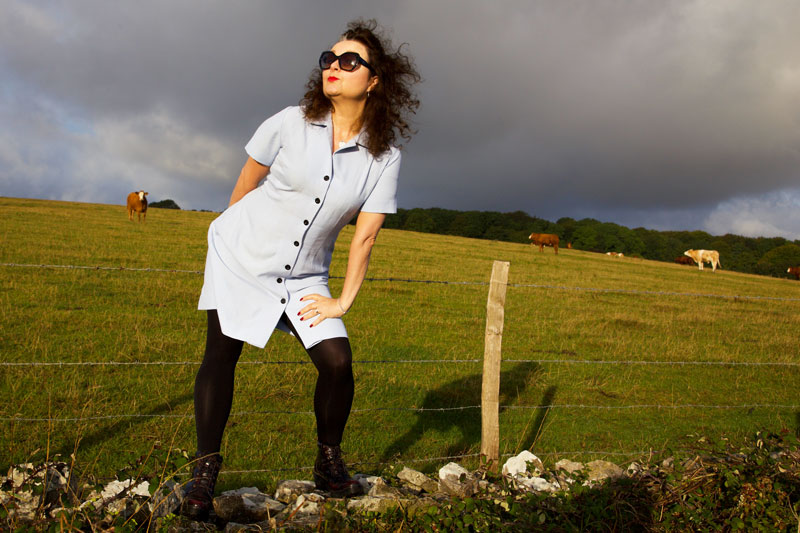
simplicity 6772 handmade shirtdress

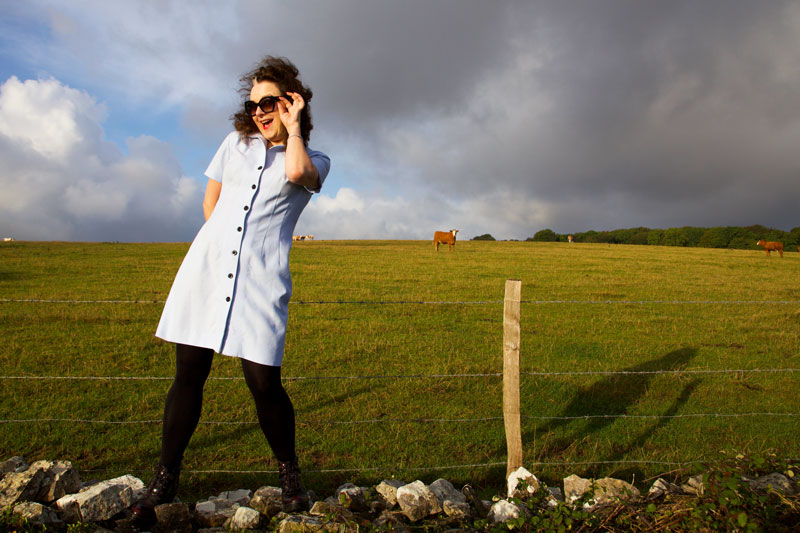
The only thing that bothered me with this pattern and fabric combo was that it looked a little ‘nursey’! I’m so not used to wearing light colours – my usual palette very much centres around red and black – and it was going to take a bit of getting used to, so I added some black buttons to subtract some of the ‘clinical’!

And I’ve been very happy wearing it until a ‘friend’ jokingly asked why I was dressed like a nurse. The cheek of it! Really struck a nerve and I was not best amused!

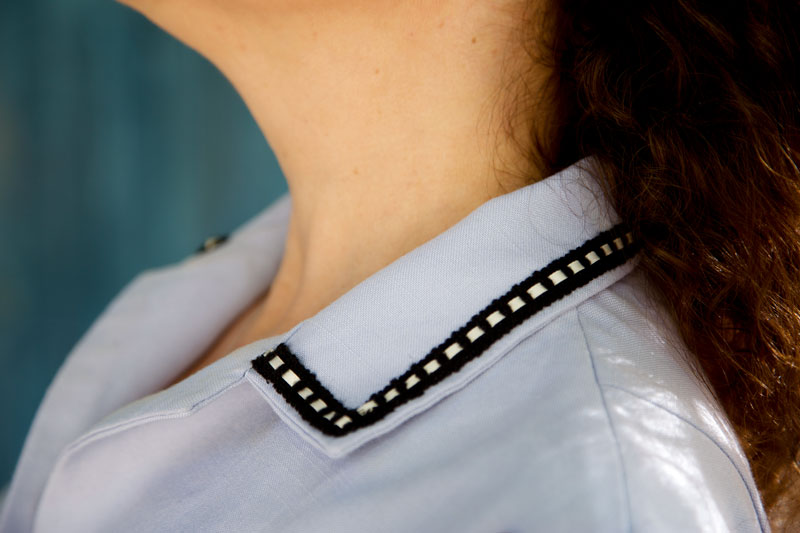
So, not to be defeated, I had a little rummage in the trim box and found some lovely ribbon-insert braid – just enough to edge the collar and sleeves.

I’ve just spent a lovely long weekend away in Devon with Mr O (hence the random poses in fields of cows) and this was a great little hand-sewing project to complete in the hotel room when those ominous black clouds did their thing outside.

ribbon-insert trim on collar

And I’m really happy with the results. I think it’s a little less ‘care-worker’ and much more ’50’s diner waitress’ now. But that’s ok. I can live with that!

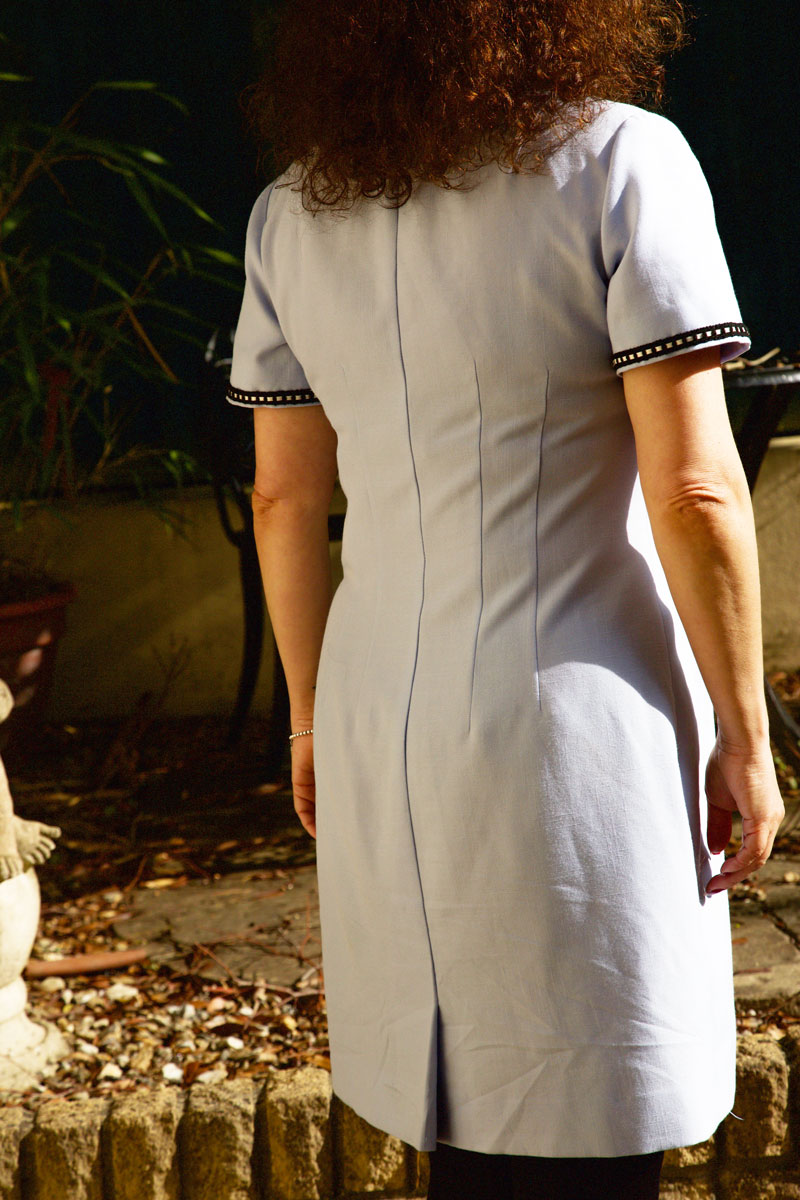
simplicity 6772 trimmed collar and sleeves

I’ve got more love for it now. Which is a good thing because this dress is so easy to wear and so flattering, IMHO! All thanks to some great pattern drafting and lots of perfectly placed darts.

back view of simplicity 6772

The journey of this dress definitely provoked some thinking about my buying habits. My bad, bad buying habits where I’m swayed by a bargain and the belief that a cheap length of fabric will have an ideal use at some point. Unless it’s of fairly good quality and at the very least within my preferred range of colours, it’s not going to be put to use without compromise. And I don’t want compromise. It won’t feel right and that in itself will not be a fair exchange for all the hours of work invested. And also, I’m so over that ugly box tower of fabrics looming over my bed. Lesson learned… I hope!

Photos by Daniel James Photographic

Vintage Blackmore 8194 dress

Blackmore 8194 vintage dress

I needed a dress for a wedding. Not just any old wedding but a beautiful Indian wedding where I couldn’t hope to compete with the finery of silks and saris. No pressure, then! I rifled through every kind of fabric and bored all the Goldhawk Road shop owners senseless with my dilemma, during the weeks leading up to the big day.

Blackmore 40s dress

I diligently visited a roll of paisley brocade in A-One Fabrics, three days on the trot, properly umming and arrring out loud. But it wasn’t quite right. I ordered some gorgeous cotton satin roseprint from Minerva thinking … actually who knows what I was thinking. It was all wrong until I spied a roll of drapey green fabric at the back of the shop. 100% polyester it transpires. My inner snob rose to the fore but I bashed it back down when I handled the weight and the smooth silky texture and noted the lack of crease when I screwed it into a ball. And oh the colour! Not to mention the price tag of £4.00 a metre. I wasn’t arguing at all!

I already had this pattern in mind: Blackmore 8194. It’s not dated but I’m guessing late 40s. Vintage Patterns Wikia has it down as 1950s but also claims that Blackmore published paper patterns between 1845 and 1940, so that doesn’t add up!

Blackmore 8194 sewing pattern

I was sold on the waist and hip detail, the softly gathered side fronts that fall from the hip and that cheeky little key hole detail with the bow tie feature.

Blackmore 8194 dress keyhole detail

Incidentally the bow tie itself is some vintage liberty homemade bias binding that I inherited.

I made a quick bodice toile in the original size, half knowing it was too small, but wanting to test the pattern without sleeves. Inevitably I changed my mind and graded the pattern up a size. Redrawing the pattern allowed me to add the seam allowance on too. Something this pattern didn’t allow for which also shows it’s age a bit, I think.

Blackmore 8194 vintage dress

I’m quite used to vintage patterns without markings or seam allowances but one thing that struck me as a bit odd with this one, was an instruction to “Make darts in the back bodice where shown by dotted lines in diagram”. Quite literally the diagram which is the tiny pattern layout illustration on the back of the packet. So it’s anyone’s guess, really!

Inserting the gathered panels into that front skirt panel was a bit tricky but quilting skills have taught me how to clip and pivot at a point, so it wasn’t too terrifying. Again, the instructions are loose: “Gather upper edge of side fronts to fit hip yoke of front as in sketch and stitch together matching VV to VV.” Simples, lol!

Blackmore 8194 inserted panels

I’m pretty pleased with the outcome. And it worked well for a wedding where colour was the order of the day. But there are niggles: I forgot to add seam allowance to the sleeves which actually doesn’t appear to make much difference but I did sew them on back to front! How much difference that makes will show in the next version which I’d like to make soon while it’s all fresh in my head; The waistline could do with a bit of ease. I like how it’s nipped in but it’s not that comfortable! And although the fabric is nice and drapey, I’d like to try it in a lawn or a lightweight cotton so that the neckline and the darts press sharper. I also neglected to do my usual adjustment to take out the excess fabric from the back bodice. I cheated instead by removing the zip and trimming the centre back seam… not very well!

Blackmore 8194 vintage dress back view

Considering I pretty much sewed this up the day before and was hemming on the morning of the wedding, I think it turned out pretty well. The niggles can so easily be sorted next time round. And to get change from a tenner is such the ‘Brucey bonus’ that I feel it prudent to reward myself with some lovely lawn!

I don’t have any of the official pictures from the day to share as yet but I’m sure you can imagine how stunning all the ladies looked, as did the men in their exquisite flocked and braided coats. I can’t begin to tell you how gorgeous my friend the bride looked. But I did shed actual tears – in a good way – when she walked into the room. Such an honour to have been invited to such a special day. And I’m so glad I went to the bother of making a dress, especially.

Blackmore 1940s dress

Photos by the wonderful Daniel Selway
Location: St Pauls, London
Shoes: Lola Ramona
Handbag: vintage from local Fara Charity Shop

Vintage Simplicity 4687 to the rescue!

simplicity 4687 vintage dress

The look on Mr O’s face was a picture following my little I’ve-got-absolutely-nothing-to-wear tantrum on Friday evening. The undulating range of handmade dresses strewn across the floor and the bed said otherwise. It was Rachel’s hen night on Saturday. To be attended by various gorgeous sewing bloggers who would all be adorned with their own spectacular creations.

“So make one, then” was the ridiculous response.
“Er… It’s Friday. The hen do is tomorrow?” I replied, teenage-style, deepened yet rising in intonation.

A roll of the eyes. No sympathy. A simple shift dress appears in my head. Some crazy tropical fabric follows in the next mind scene. Mission Ooobop-new-dress are go!

I run upstairs dig out Simplicity 4687 from the neatly labelled ‘vintage 1950s’ box of sewing patterns (believe that and you’ll believe anything!) and following an exhausting rummage, retrieve said fabric from stash. I pinned and cut it out right there and then. Winging it. No adjustments. No time.

simplicity sewing pattern 4687

Saturday morning and I’m all over it like a nettle rash. One front, two backs, 3 facings 10 darts(!) and Bob was my uncle! Walkaway dress, eat your heart out!

"simplicityLack of lining, overlocker on form and an invisible zipper foot all helped to speed up the process. And thanks to the ample ease that Simplicity ensures, the only alteration I had to make was to loose a few inches on the bust. I took them out at the side seams just under the armhole. Next time I’ll be sure to grade it properly.

simplicity 4687 vintage dress

Incidentally this is the first time I’ve used my invisible zipper foot and I won’t be looking back as unanimously claimed by many a Twitter follower when I put the question of ‘was it worth it’ out for debate! I mostly referred to the price tag of £13 which seemed a bit hefty for a little foot. But boy does it make zip insertion a breeze. So quick and so neat. You’d never see any evidence at all if it wasn’t for lack of pattern matching! Certainly no time for that!

invisible zip

The hen do was a roaring success, thanks to the brilliant and selfless organising skills of the amazing Miss Demeanour. And Rachel looked amazing as evs as she boogied the night away, totally unfazed by us all wearing our Rachel masks and assuming the ‘Rachel signature pose’ at every given opportunity. I can assure you it was terrifying!

rachel hen night

As you can imagine, any photos taken last night of me in my new dress, would at best have been blurry but mostly ungainly so Mr O has come to my rescue by rustling up these photos today. I can tell you that the sunglasses are a necessary accessory!
simplicity 4687 vintage dressSo thank you to Daniel, not only for the photos but for raising that red rag to this bull and ensuring I had something to wear after all! 😉