I like that there’s never a strict order of process. Often I pick a pattern and go looking for the right fabric. Sometimes the other way round. Driven by need or pure desire but in this case it got changed up a bit more.
Diane from @Dreamcutsew was kindly giving away some fabric on Instagram and I just couldn’t pass up her wonderful piece of cable knit jersey. I didn’t have a Scooby what I was going to do with it – I didn’t even know this kind of fabric existed till then!

I considered a cushion cover, a hat, some gloves – even some slippers! (I still have a small piece left so this could still be an option) But it sat for sometime, perched on the top of my own stash until I had a flash of inspiration. And then it came – in the shape of a hashtag challenge: #magamsewalong (Make a Garment a Month) hosted by @suestoney and @sewing_in_spain. This month the theme #naturalnovember was set by guest host @gigi_made_it, and that really got the ball rolling.
I loved how free-range the brief was;
☑️ Make something from a natural fibre
Now I’m pretty sure there wasn’t a speck of natural fibre in that cable knit but I did have a raggedy moth-eaten merino wool jumper which met its demise in an accidental hot wash. I’ve no idea why I kept it but I’m jolly glad I did because I decided to add some black detail. I generally stick to the safety of any colour palette that involves black!
☑️ Choose a make reflecting the weather and rhythms of the season where you live
The weather was definitely a factor in my need for a jumper. I don’t have nearly enough and I can never find any I like that I can actually afford!
☑️ Make something in a nature-inspired print
I figured stars are pretty nature-inspired, aren’t they? And an appliqué is an acceptable swap out for a print.
☑️ Use earth-friendly, sustainable materials in your make
So the main fabric was a leftover piece from another sewist, the appliquéd bits were upcycled from an old jumper. The gold thread was a few leftover strands from a previous project and the only additional notion was the cuffing/ribbing that I bought from Minerva.com
☑️ Make something that totally expresses your natural true self, unconstrained by cultural norms or trends
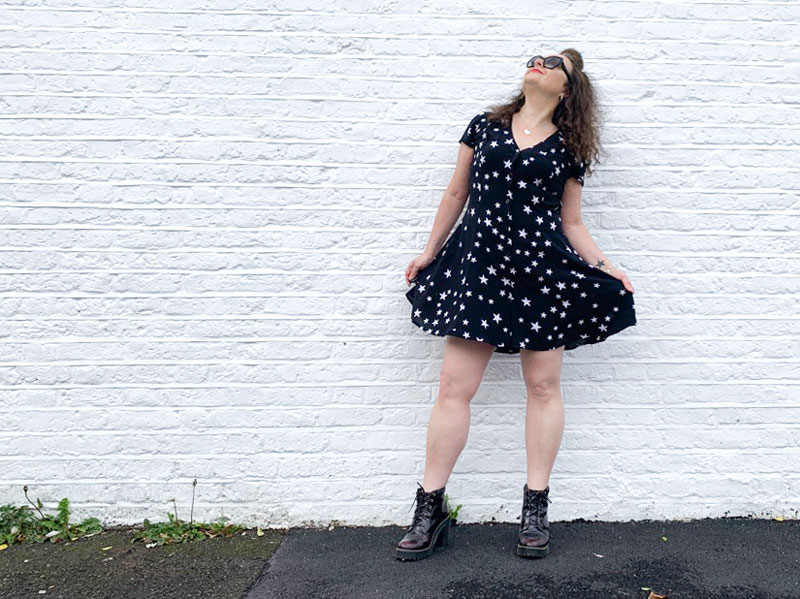
I’ve been so wanting to make something that does just that. It harks back to my 80s days where I was probably the most experimental with my clothing. Big batwings and balloon skirts the lot! I actually had puffball shorts too!
☑️ A make that occurs without (much) effort. As always, interpret creatively and be natural
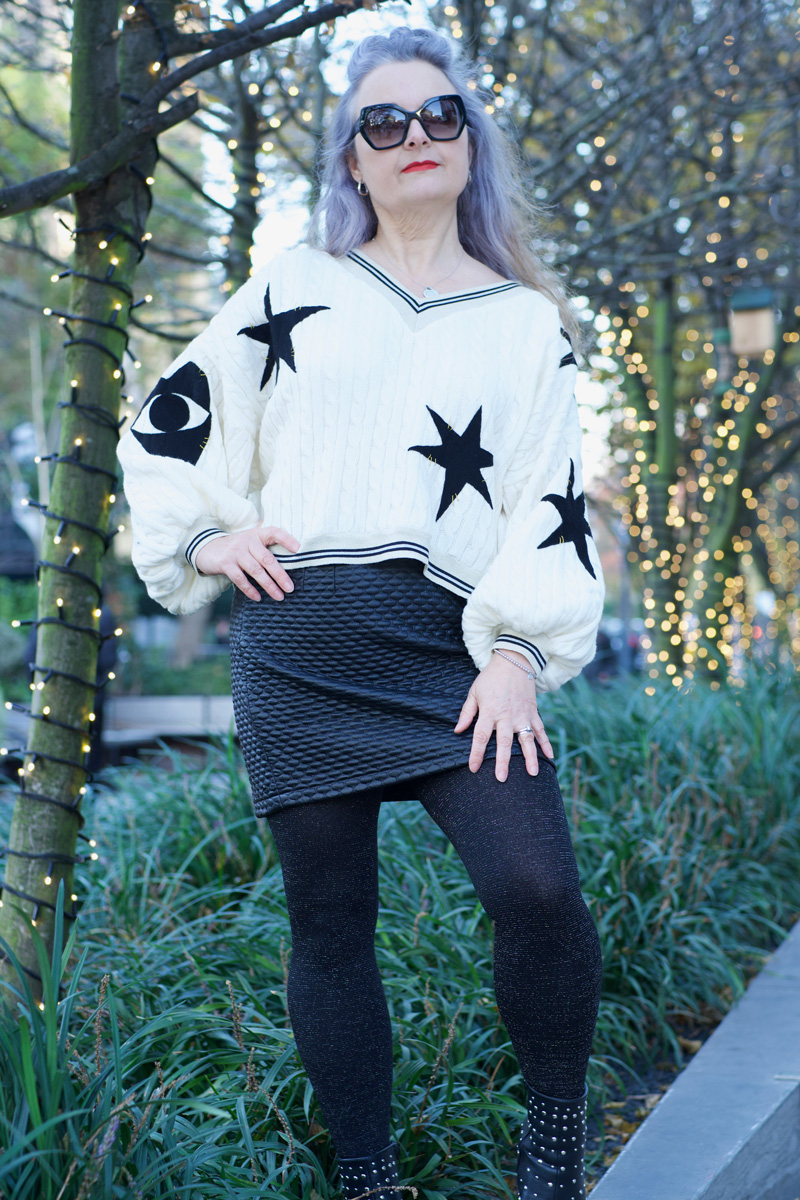
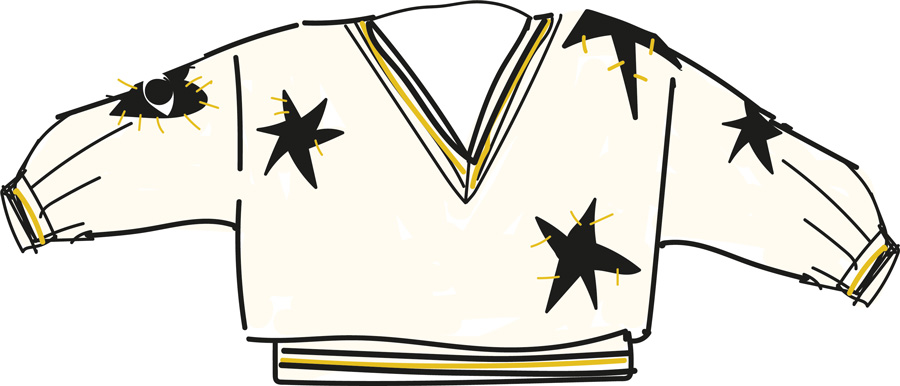
I freestyled the pattern. Based on a RTW jumper I already own and simplified further. No shaping for armholes and rectangles for sleeves gathered in at the cuff. That meant less waste too! I shaped the shoulders slightly and cut a V neck but the back piece is fundamentally a rectangle also.
The project began with a very rough sketch! Please do not judge my Adobe Illustrator skills on this sketch alone – I might never work again!
Once the main pieces were cut out, I began by stabilising the shoulder seams. Even though it was going to have a relaxed drop shoulder I still didn’t want it to stretch out. After sewing the front to the back along the shoulders I added the cuffing along the neckline. Incidentally I used a wide shallow zigzag stitch on my regular machine throughout and then overlocked the edges for a smaller neater finished edge.
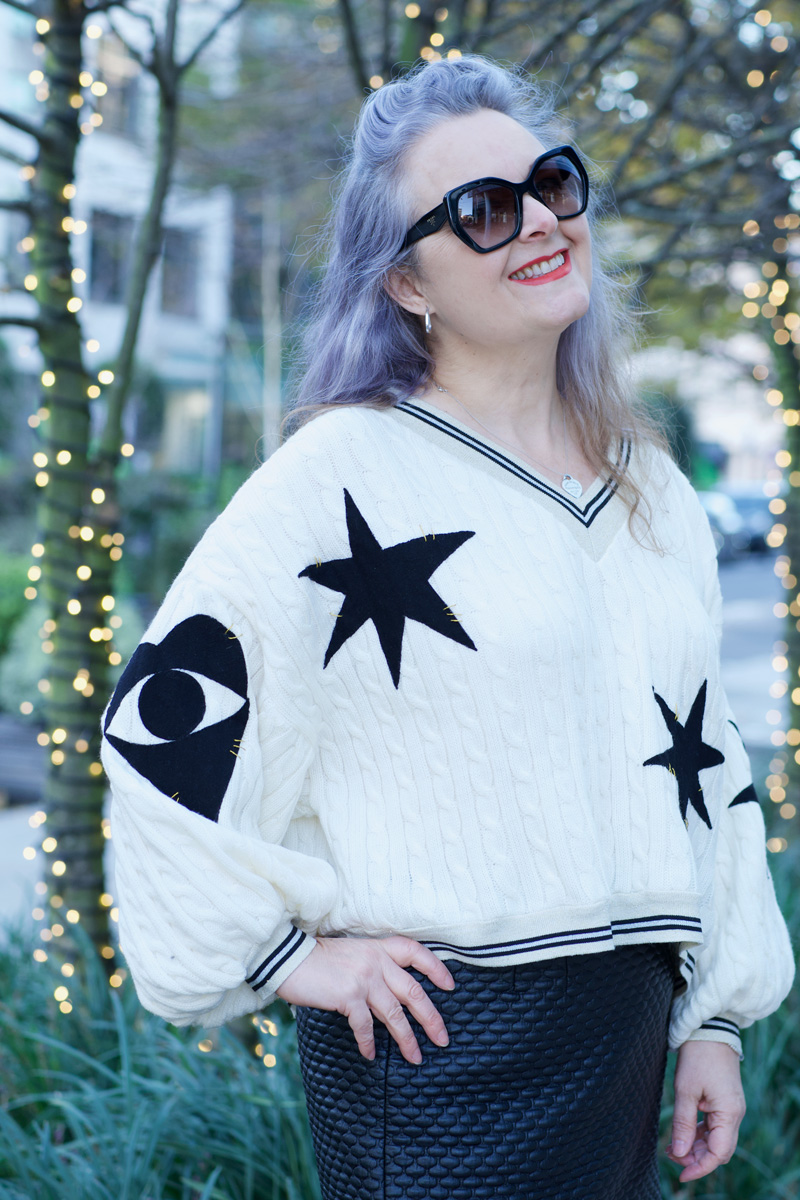
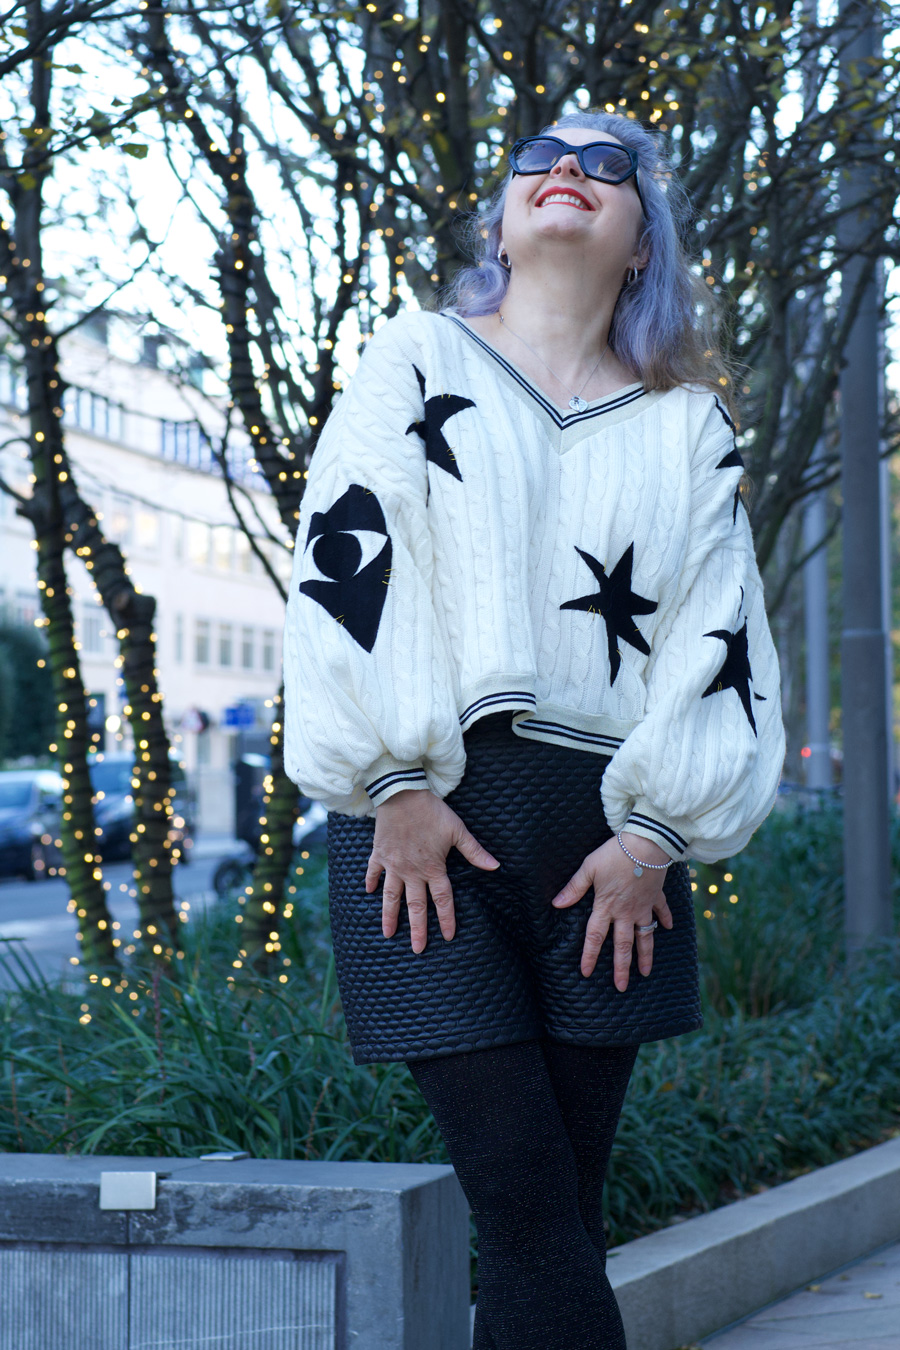
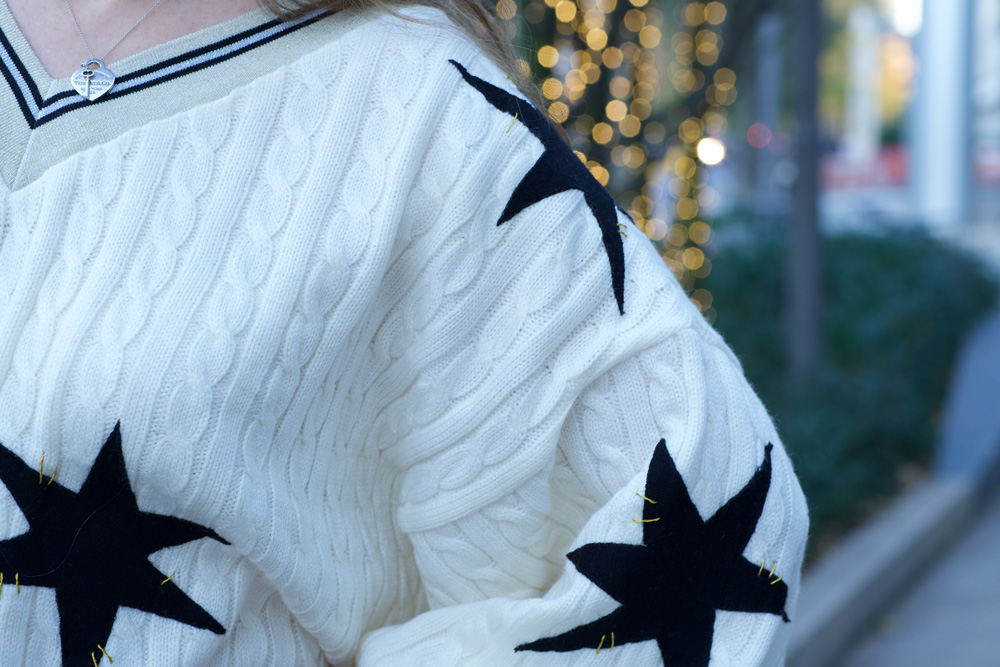
To make the appliqué shapes I first fused some doublesided fusible stabilizer to the black jumper pieces (sans moth holes) and then cut the shapes. I ironed the pieces to the front of the jumper and to the sleeves while they were flat. I then handstitched all round with a tiny blanket stitch. I’m still not entirely sure how the points of the stars will hold up over time but we’ll see. The big gold stitches are purely for decoration and to complement the glittery gold stripe of the ribbing.
When all the pieces were in place, I closed up the underarm and side seams. I gathered the wrists of the sleeves by hand with reasonably big stitches and then stretched the cuffing to fit, sewing right sides together. I did worry that it might be a bit bulky but it doesn’t feel uncomfortable at all. Just extra warm… and that’s totally fine with me. I can’t stand the cold!
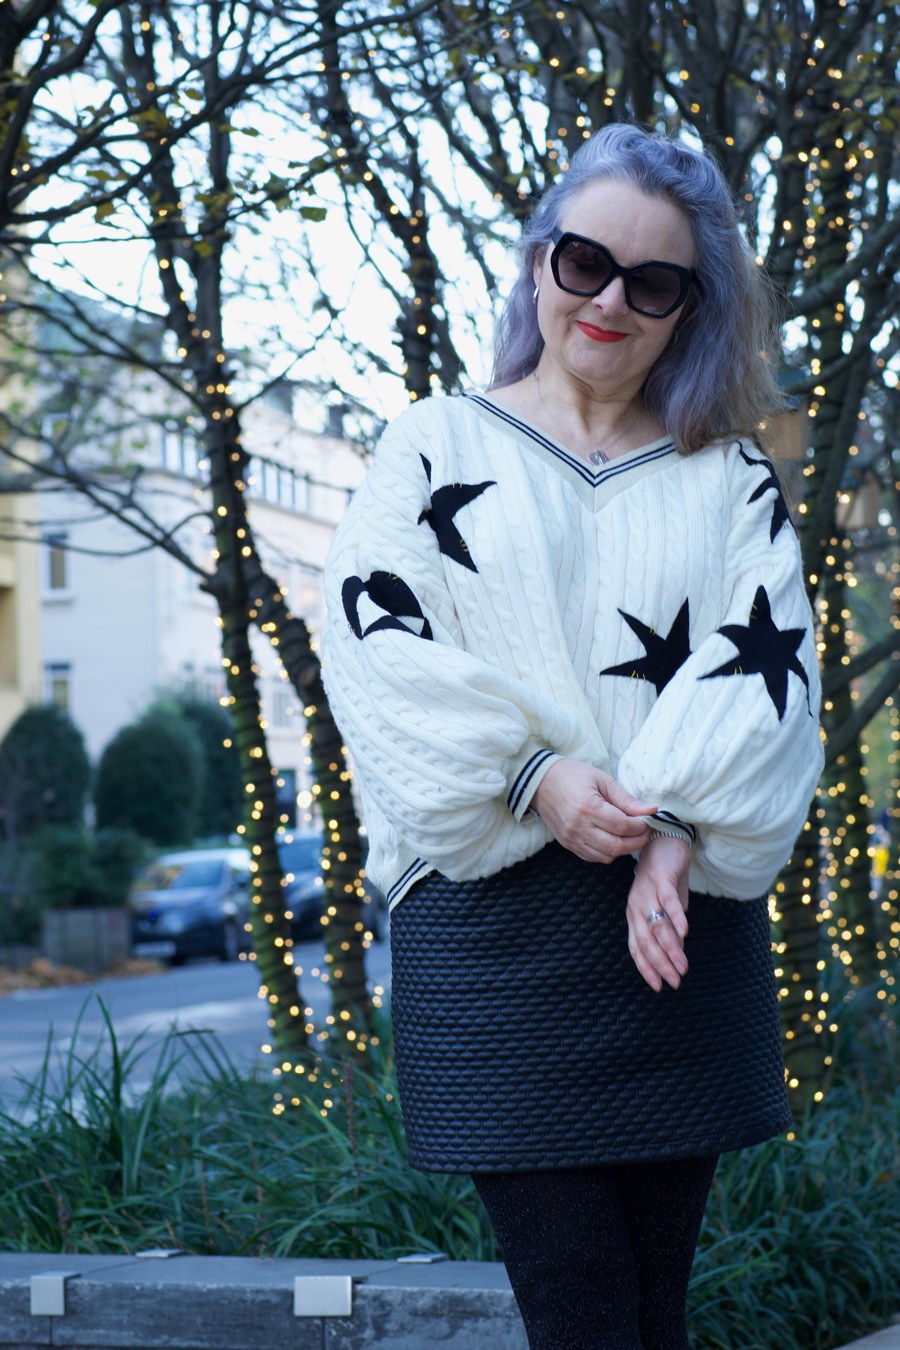
The final step was to add the ribbing to the hem. I really like the contrast of the stripe and the added glitter just makes it pop!
I really loved the whole process from hatching the idea to wearing the finished jumper! It feels so great to be wearing something that is totally unique and totally me. And all thanks to my Insta fam.
I’d like to say this is my new way of working. I’d so love to get even more creative and original about all that I make and I will, in time, but I’ve already got an indie pattern in mind for my next dress. One I’ve never tried before. Watch this space to find out more!
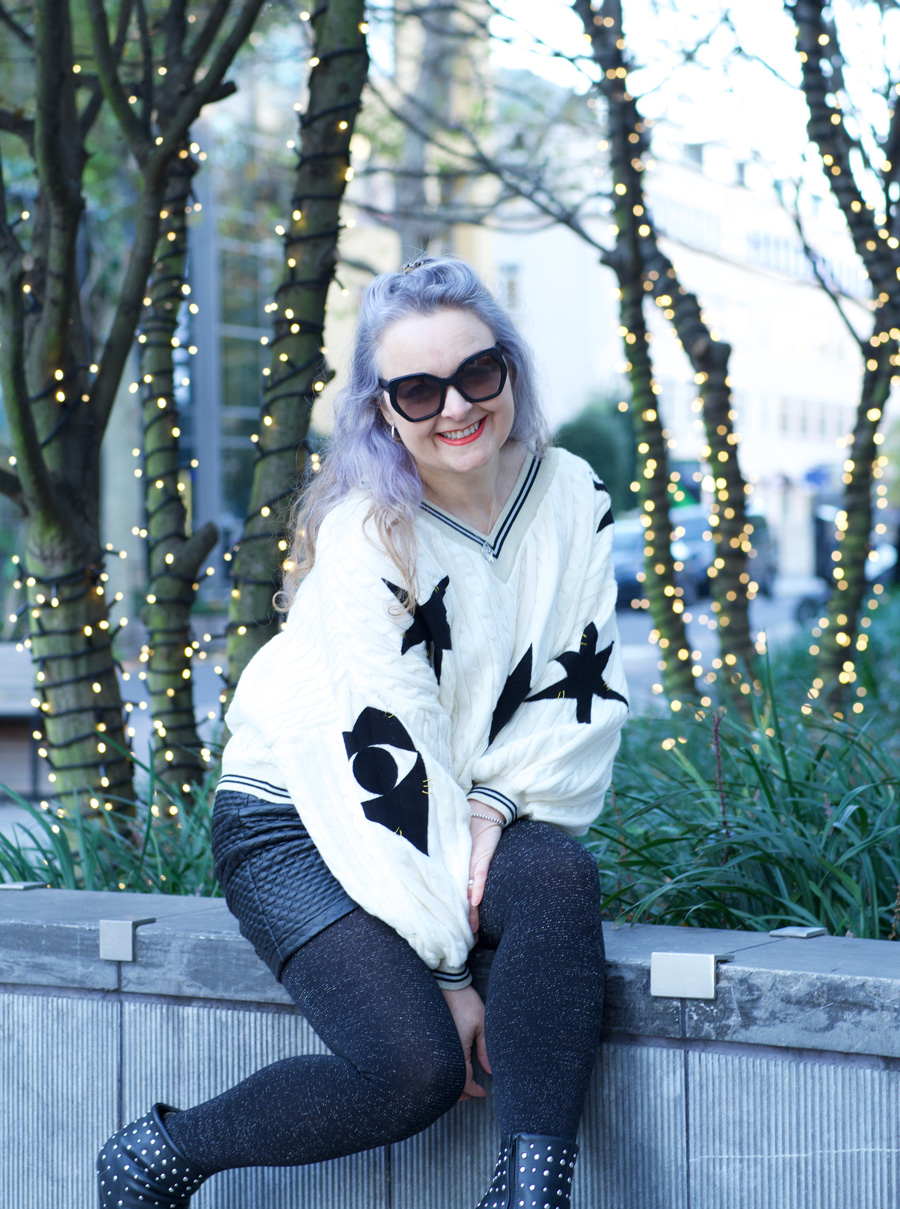
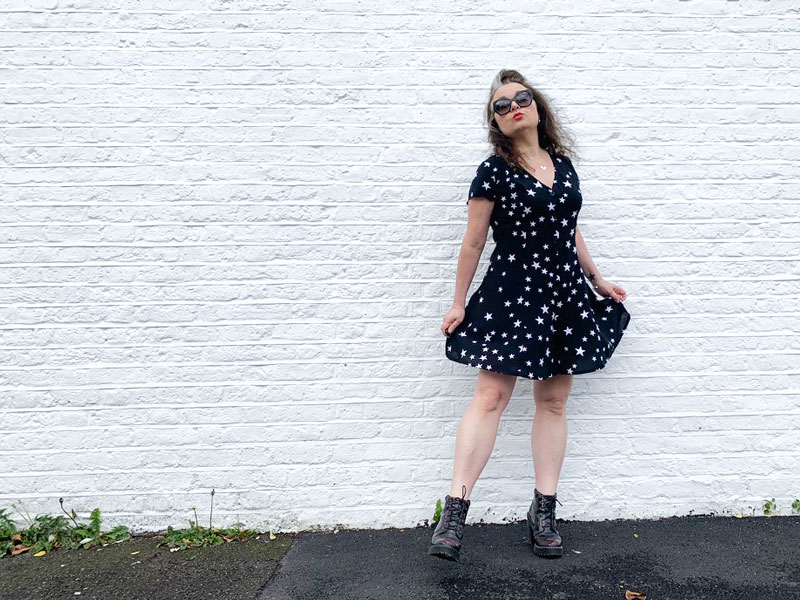
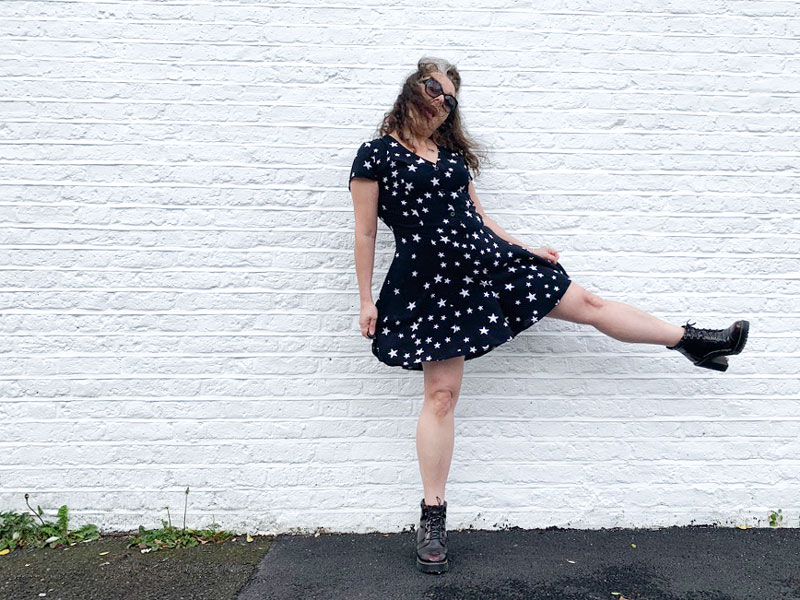
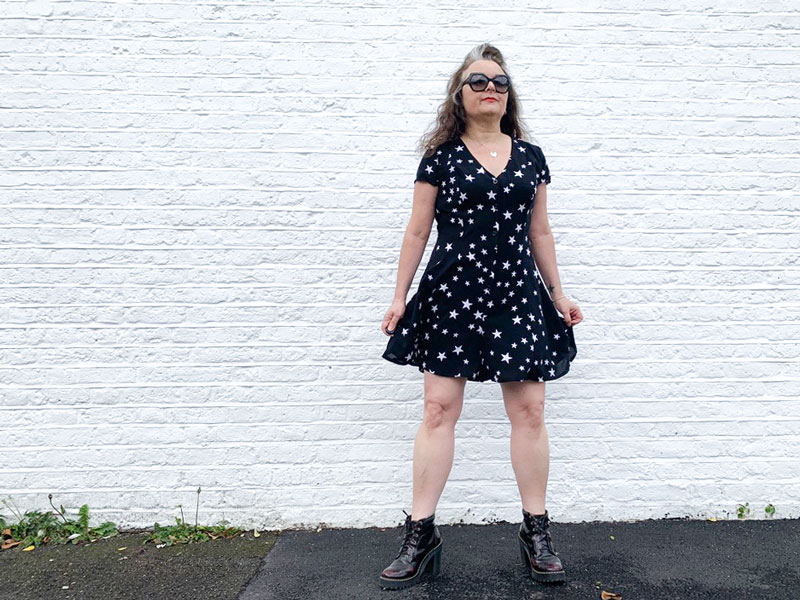
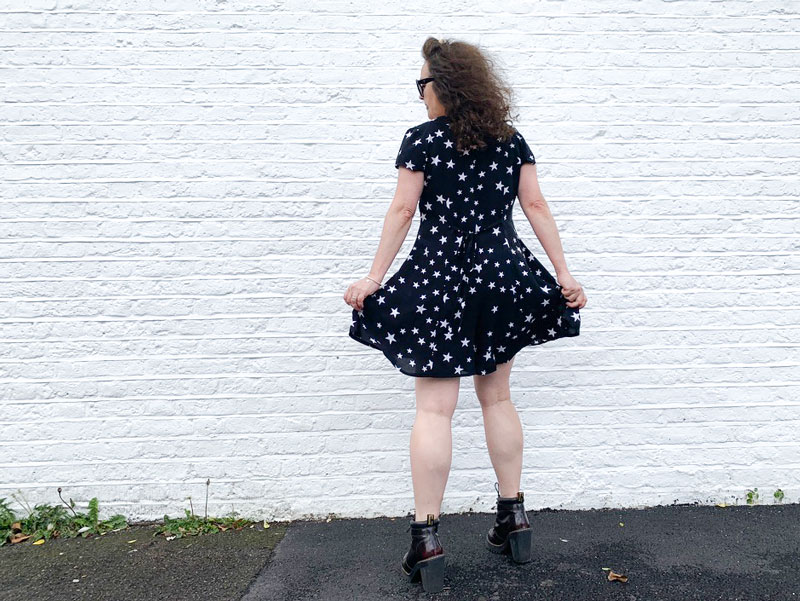
Dan of course is behind the lens of these super shots… we took a 5 minute walk up the road where he’d already planned to factor in some twinkly lights. He is so very good at this and I’m so grateful but also aware that he’s getting more photography gigs of late, so I better keep that leash tight!!
Happy weekend everyone!