Simplicity 6772 shirtdress on fire for the #sewvintageseptember challenge

I love it when sewing stars align. Like when Minerva sends a call out to promote their new fabric ranges, and the ideal fabric screams to be made up from my go-to 60s shirtdress pattern during a month when one of my favourite annual Instagram challenges inspires me to dust off those vintage pattern boxes.

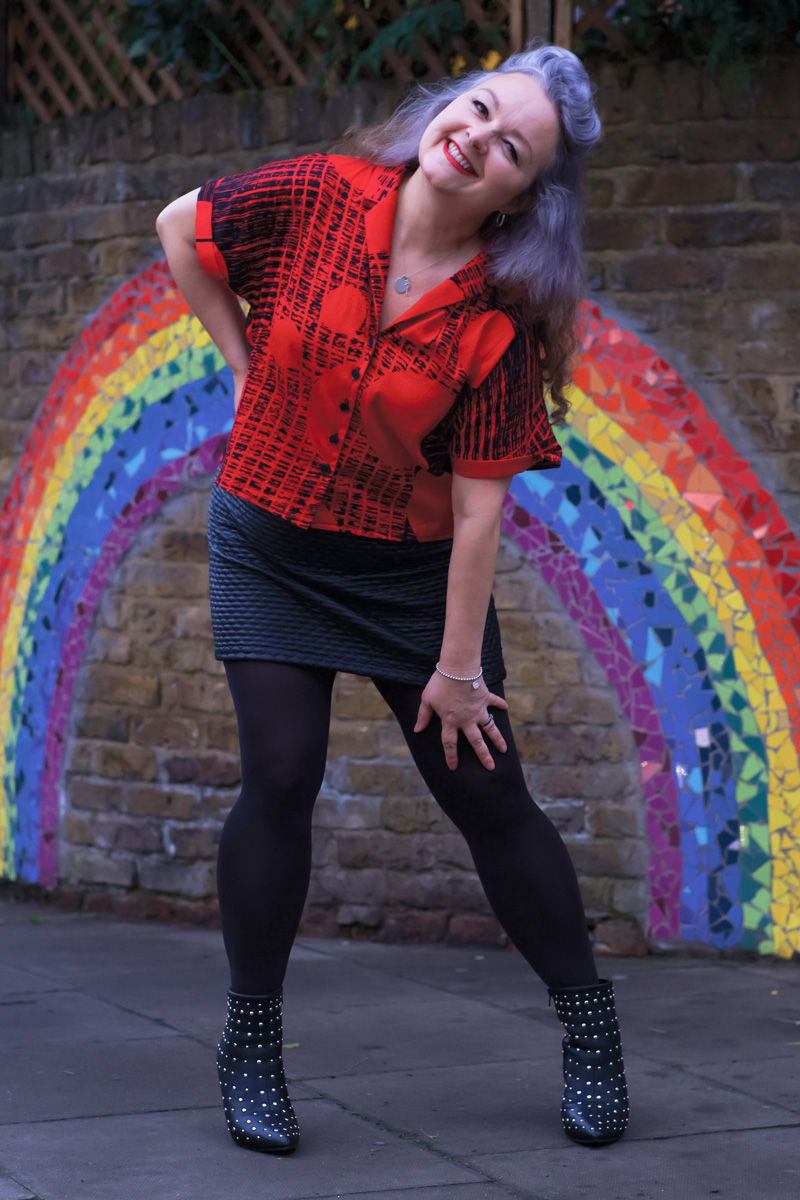
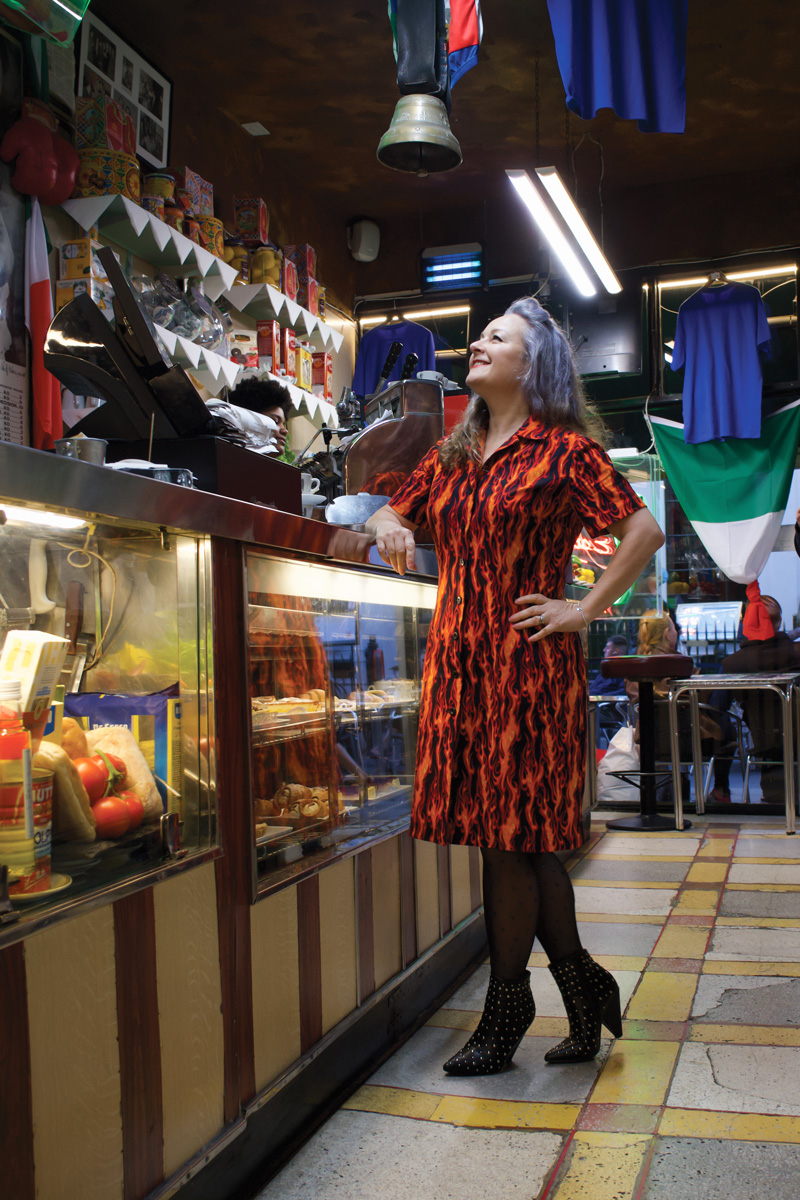
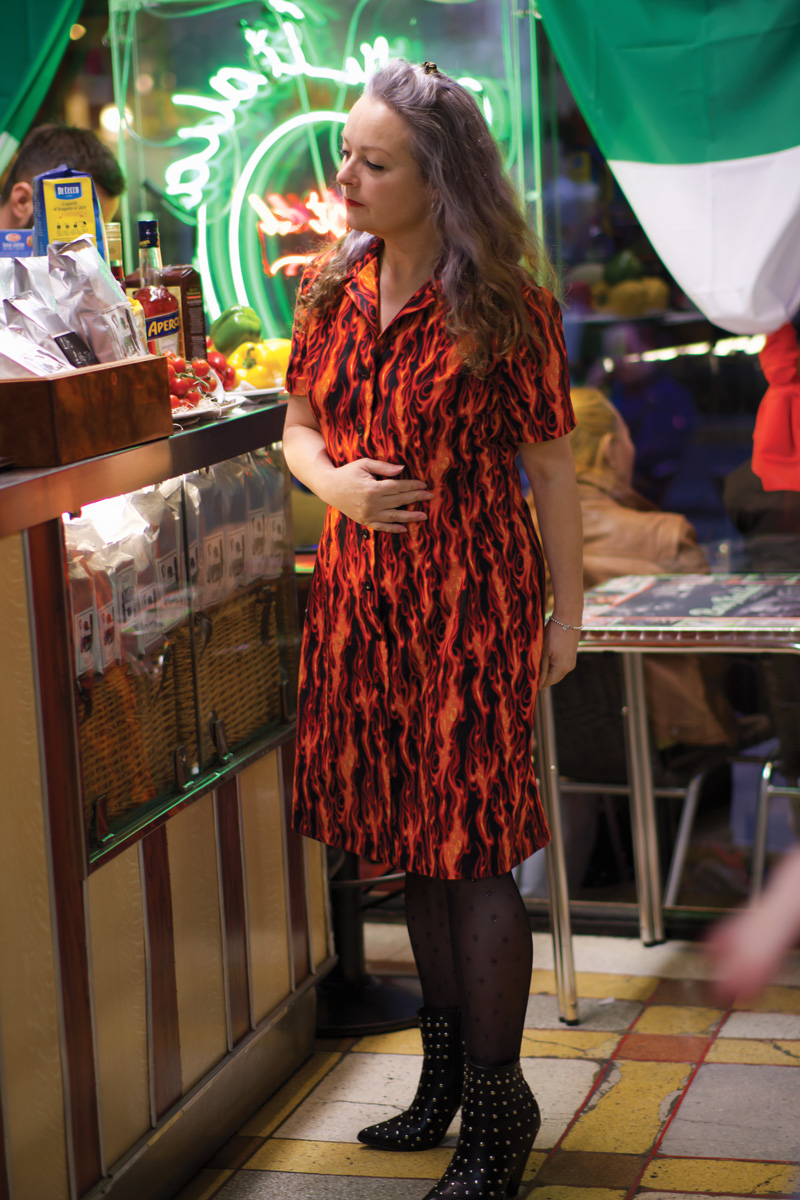
Well those flames spelled out the obvious, to me. A retro Rockabilly shirtdress.

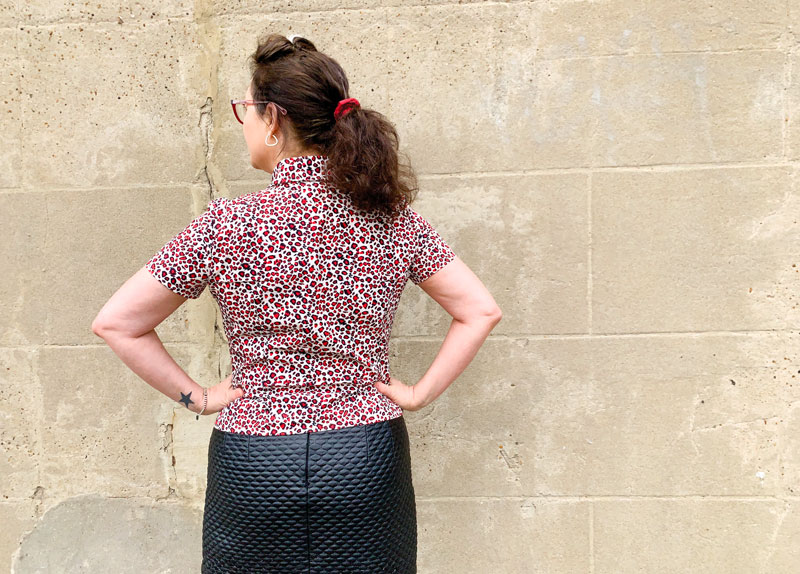
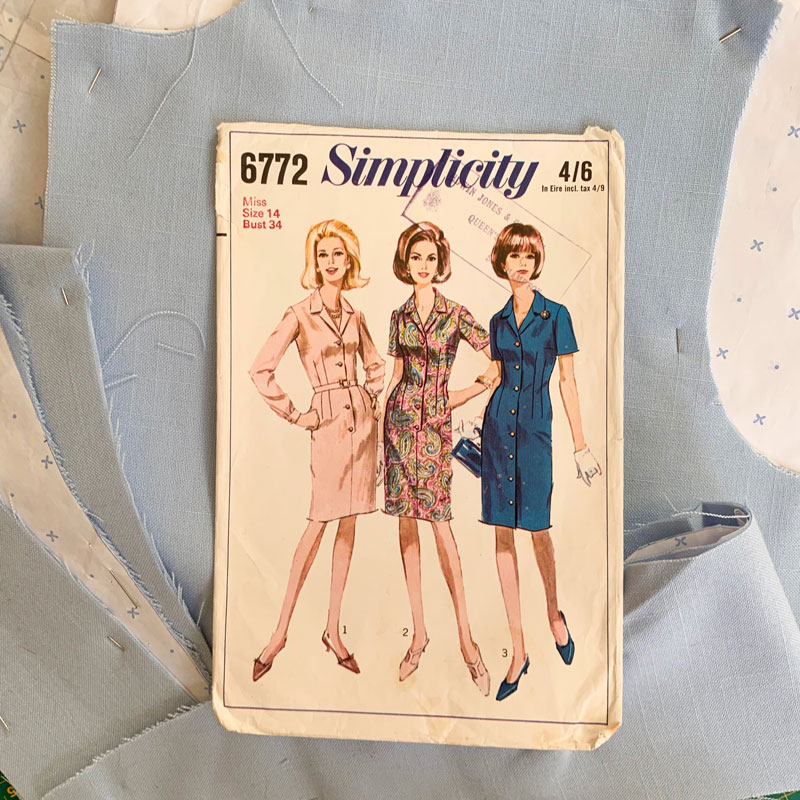
The pattern is vintage Simplicity 6772 from 1966. And a perfect project for sewing up in between busy work shifts. I’ve sewn it up twice before – in dogtooth and in blue – and that gave me confidence to forego any toiling though I did make a few fitting adjustments, namely extending the bodice length by quarter of an inch and lowering the bust and top points of the waist darts. There are 12 darts to this dress: 4 diamond waist darts on the front, 4 on the back, 2 bust darts and 2 shoulder darts which seems very excessive but actually this is very commonplace to vintage patterns and all the better for shaping.

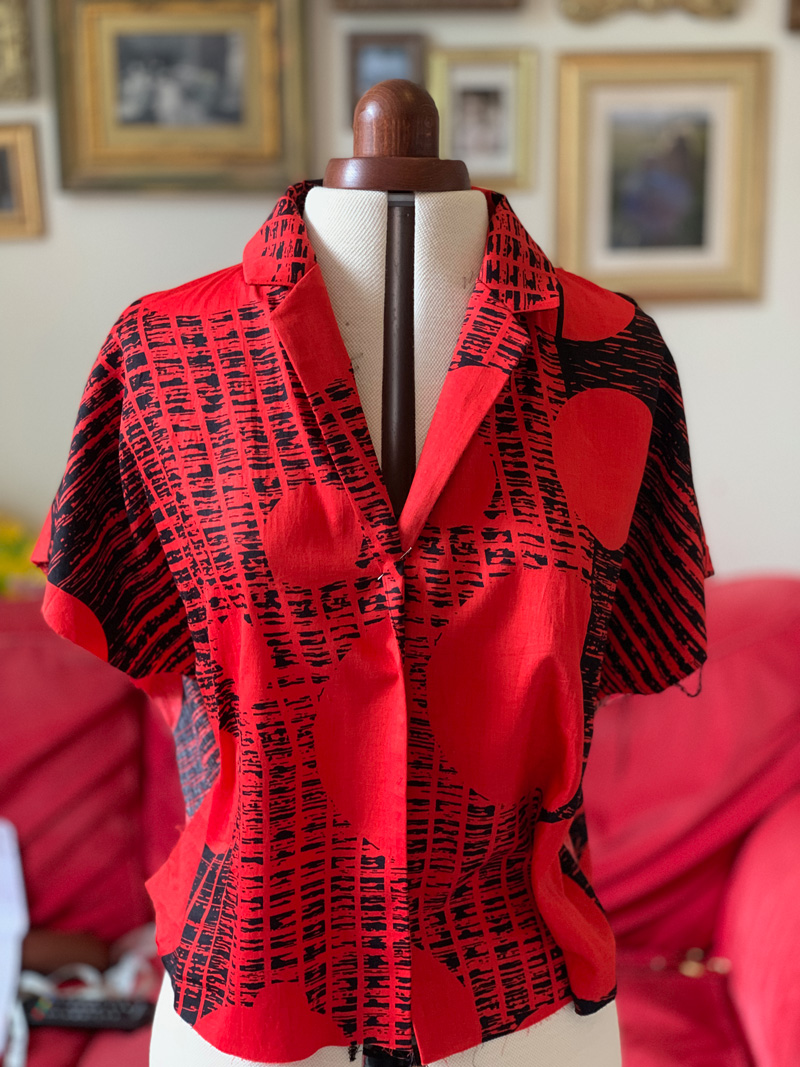
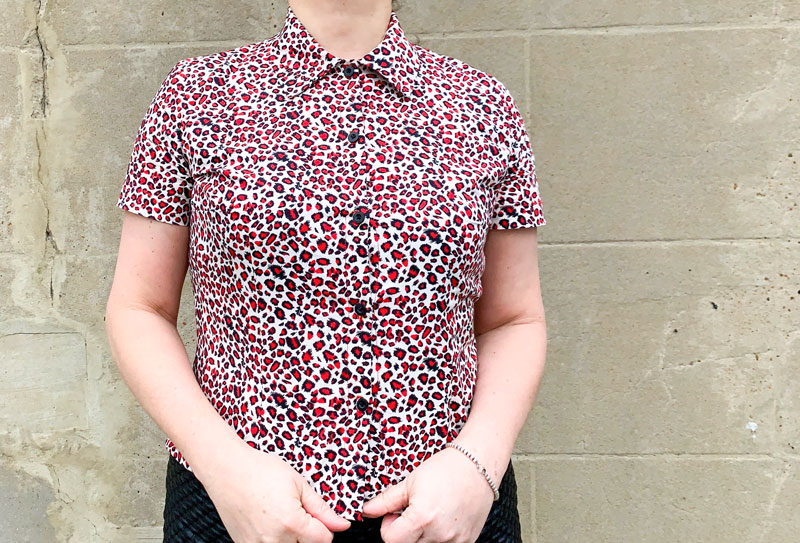
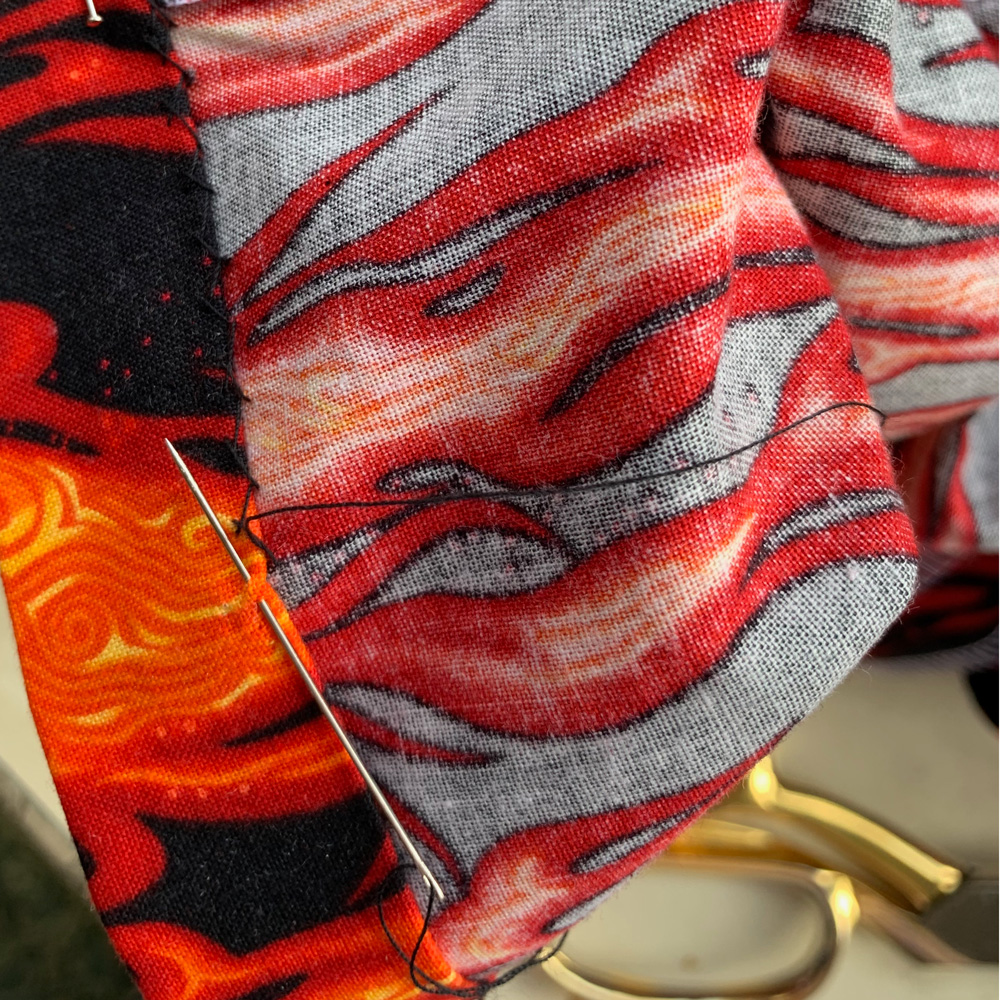
The fabric is a Robert Kaufman cotton poplin which I received as part of the Minerva Ambassador programme. I’ve used poplin only once before, for my self-drafted sundress but cannot fault the quality. It is such a lovely genuine medium weight, imho – not too light and not too heavy. The weave is such that it’s an absolute joy to hand finish the hems – so easy to pick up a single thread for a catch-stitch and it presses so effortlessly too.

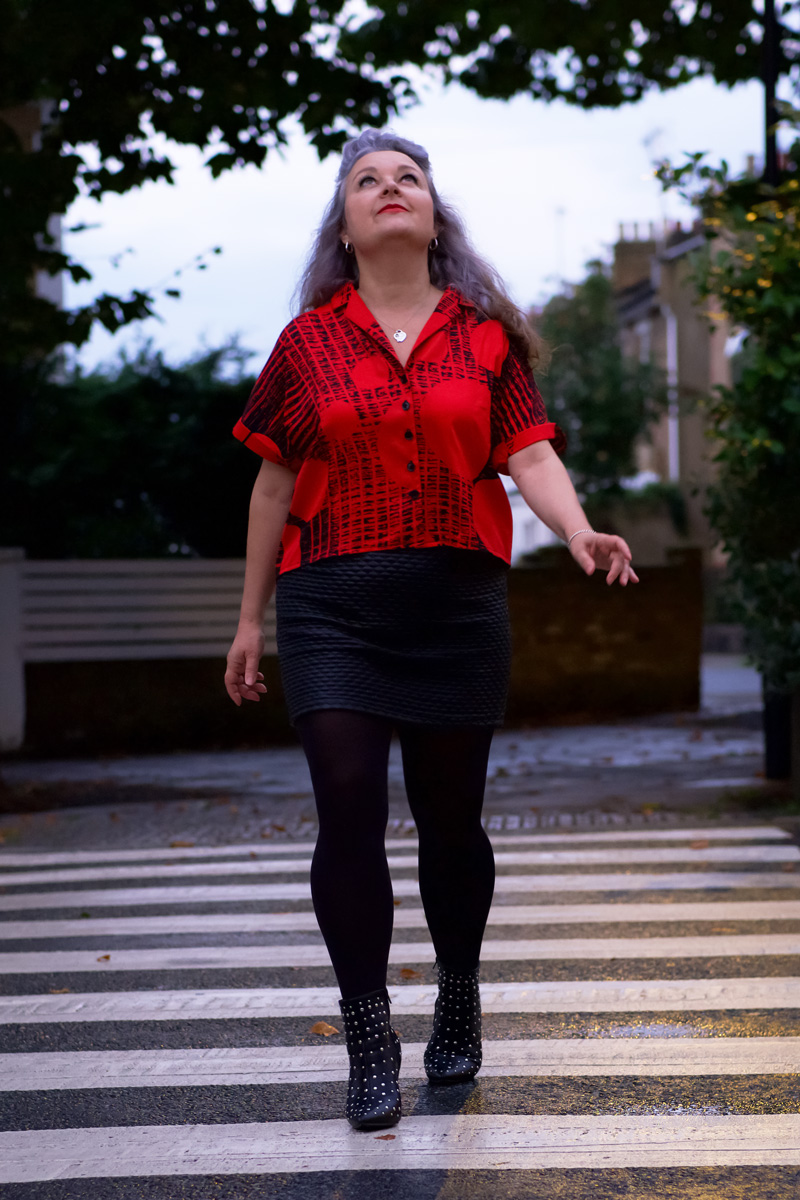
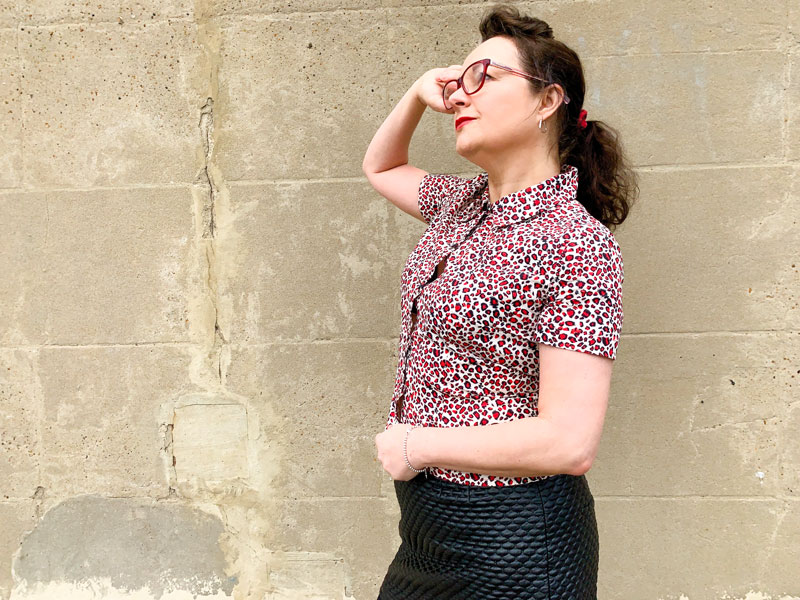
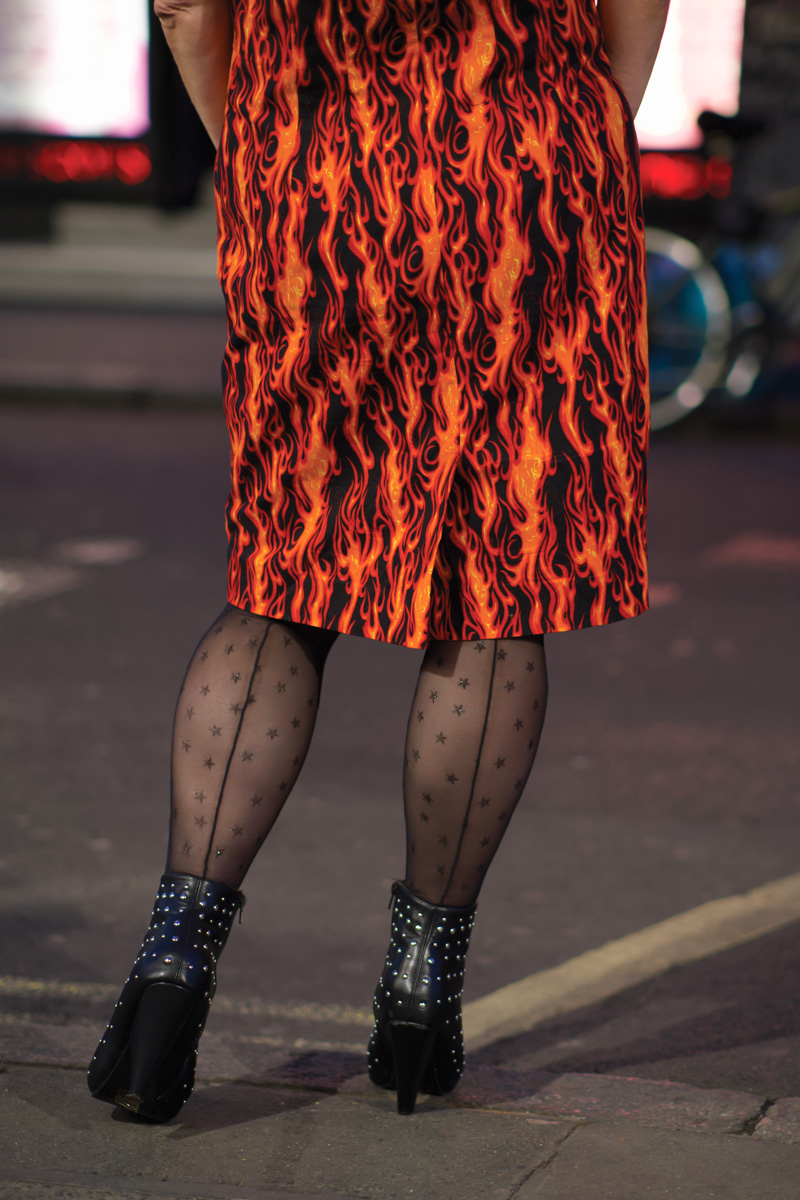
Another advantage is that it doesn’t crease as easily as regular shirting cotton. Prior to taking these shots I’d been walking around in this dress and sitting down for a couple of hours and it still looked pretty neat.

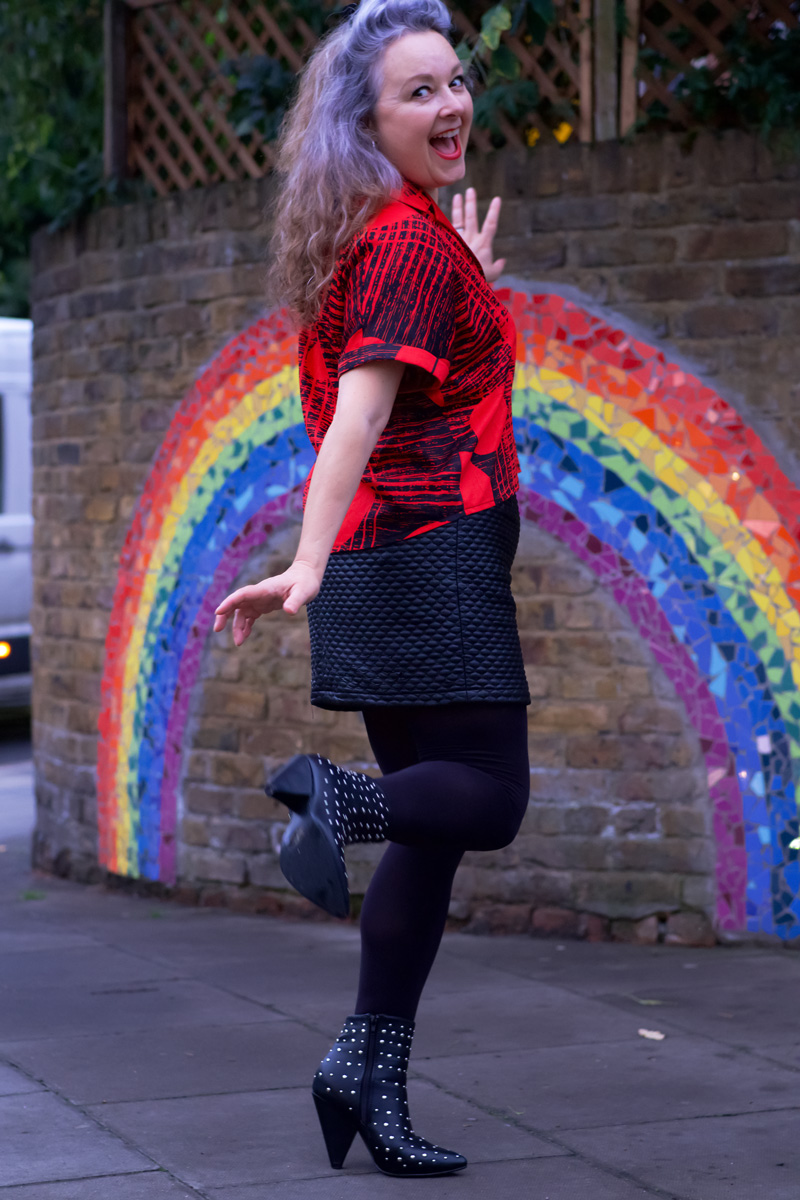
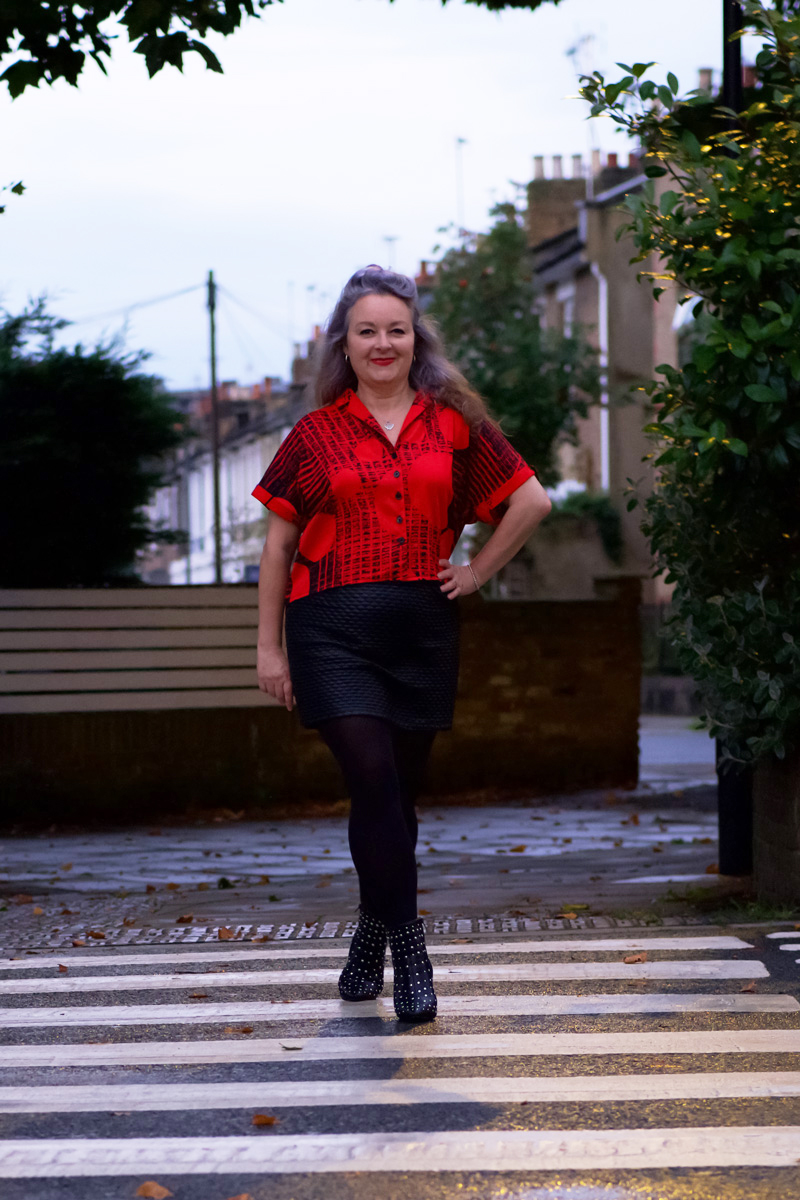
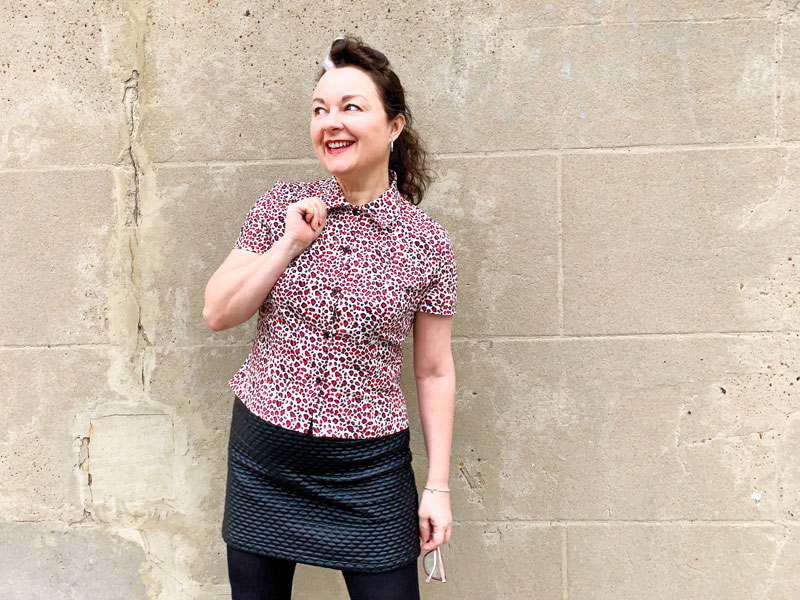
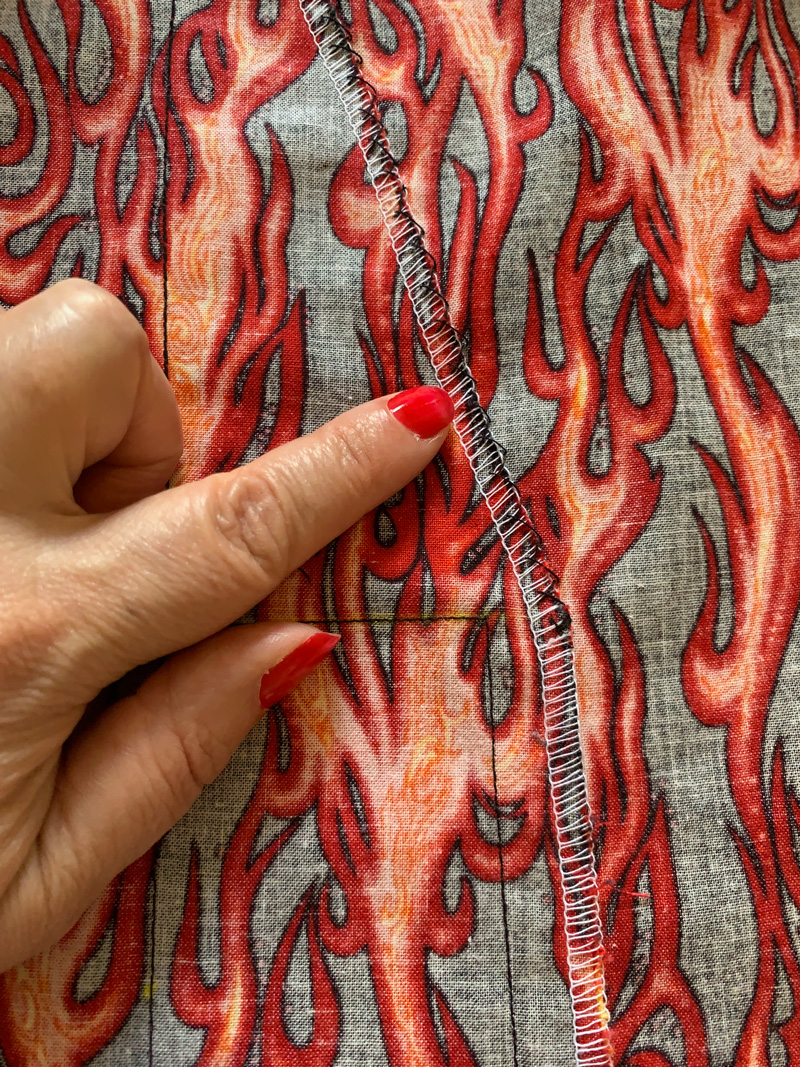
My dresses usually get shorter as the months get colder but this time I opted for a to-the-knee rather than an above-the-knee hemline for a change. The actual pattern suggestion is quite a bit longer but I think I’ve hit the sweet spot. And the little kick pleat at the back looks more sensible when it’s longer in any case.

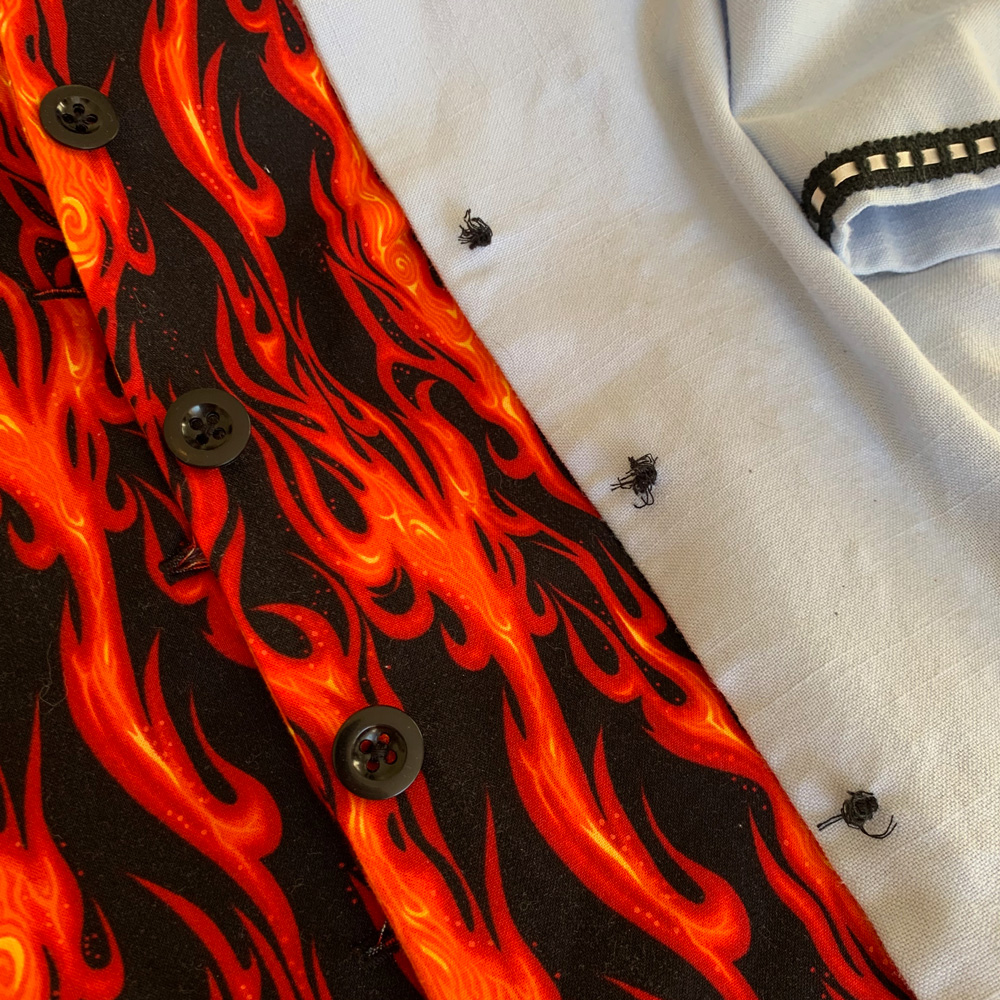
In order to keep that kick pleat nice and flat and in position, I stitched it down with with a few catch-stitches inside. I think you can tell how much I enjoyed hand stitching this fabric!

It’s amazing how a quality fabric can make so much difference to the whole sewing experience. For instance, pressing as I’ve mentioned before but also for turning nice sharp points on the collar sections and the corners of the front facings. Setting in the sleeves was a breeze, too.

I decided the buttons had to be plain. I’ve exhausted my stash of black buttons and so I robbed some off a previous dress that won’t get any wear over the next six months at least, on account of it being too summery. So I have plenty of time to replace them!

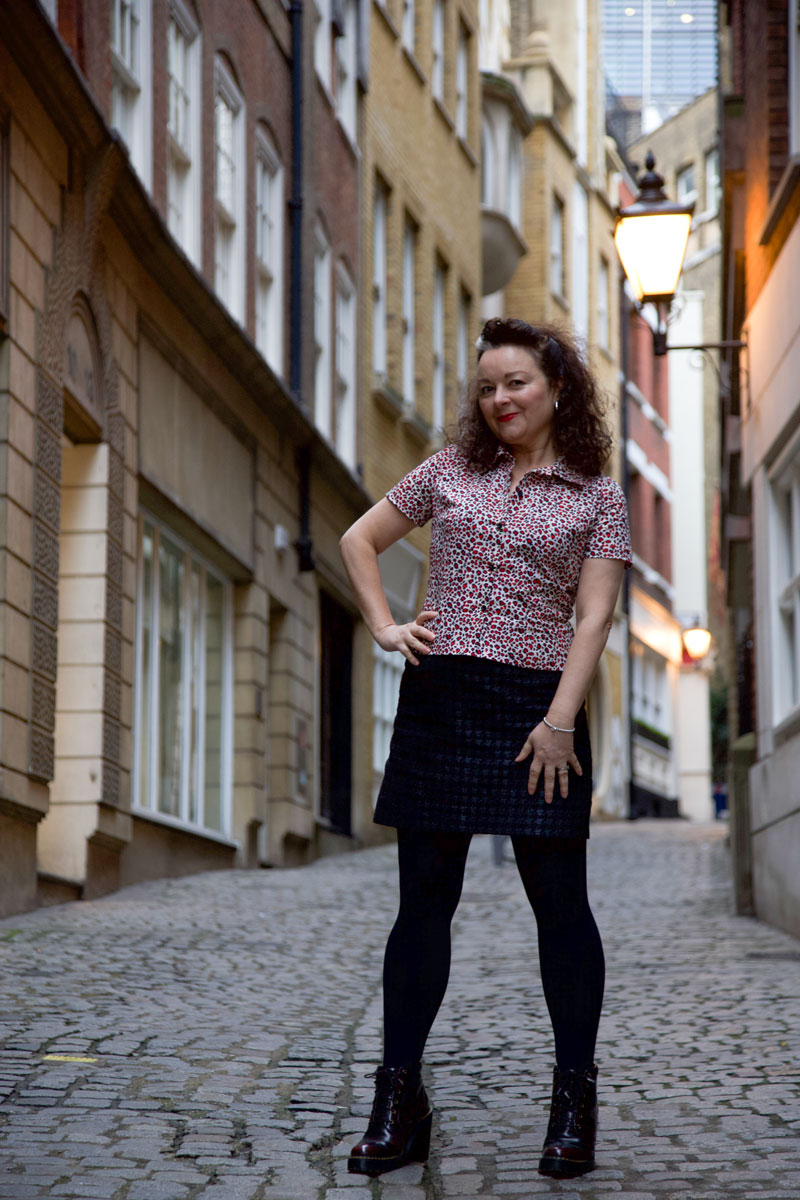
It was fun to take this dress out for it’s maiden stroll around Soho and stop for a coffee in Bar Italia. I used to hang out here a lot in my clubbing days. A pit stop after dancing the night away when you weren’t quite ready to go home – a quality hit of caffeine and always someone interesting to yabber away to. Some things never change!

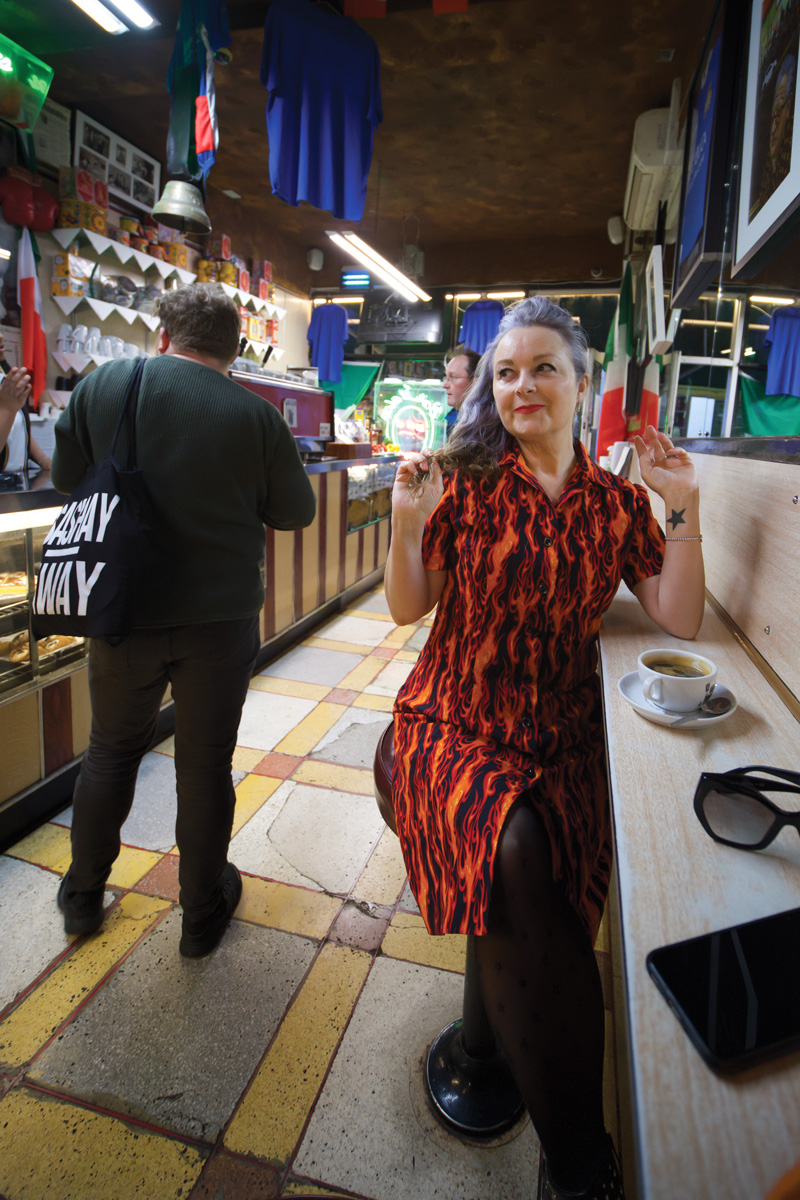
Fab photos by Daniel James Photographic

Theres a lot to love about a Libby Shirt

I’ve already had people ask if the fabric I used for this shirt was leftover from my latest sheath dress. I’m clearly set in my colour palette ways!

It isn’t, but its a close contender I found it on a pile of Ankara bundles when I was looking for pyjama fabric. And was pleasantly surprised by the light-weightness of it and of the lovely sheen. The shop owner told me it was cotton satin – I didn’t realise that Ankara prints came in any other weight other than the usual medium/heavy structured cotton. Definitely keeping eyes peeled now for different kinds.

And I did have a plan for a lovely lightweight pair of pjs until I saw all the lovely Libby shirts on Insta and that instantly changed things up. I bought, downloaded the pdf pattern, printed and cracked on with tiling the pages together that same evening.

I’ve only ever made one Sew Over It pattern before – the Joan dress – which Im still in love with. If only I could squeeze myself back into it… It was a tough enough wiggle from the outset!

And because of that, I made sure I was being totally realistic about my choice of size this time. Yes I have been known to cheat myself! But to be fair, it does state on the instruction booklet that “Sew Over It patterns tend to have less ease than other patterns as most of the designs are intended to have a closer fit.”

This time ironically it appears I’ve erred on the bigger size! But it really doesn’t matter as it’s so lovely and cool to wear on a humid day. No touching underarm seams and a slight blouson back which really keeps it all nice and airy.

There was nothing complicated about the construction. Though I took time to make sure all the little circles and notches were clearly marked on my fabric pieces. Especially as far as the collar pieces were concerned. And they fitted together a real treat. The fabric pressed nice and sharp too as you’d expect from a quality cotton and a bit of hot steam. And I marvelled at the results. for some time before carrying on with the rest!

I had just about enough fabric to make this shirt and not an iota of thought was given to pattern matching. It would have been very difficult in any case with the design being so random and all. It was looking to be a nasty mismatch at the centre front with the half circle meeting the full circle but I think I’ve got round that by disturbing the design with some black button holes and buttons. I’ll just keep telling myself that!

This image has an empty alt attribute

I cut the longer length version so that I could make up my mind if the cropped length was going to suit me or not. Before I hemmed, I tried it on and cropped was definitely the way forward so I just overlaid the front pattern piece onto the shirt and trimmed to the line. I did however go back to check If there was one back piece for both versions as I wasn’t sure if it was quite right for the back to stay longer. There isn’t and it doesn’t matter. I’d just assumed the back would be cropped too.

I love how the finishes are considered in the instructions for each seam. It comes together so neatly that you are prompted to stand back and admire your progress at each stage. The cuffs in particular are a great way to bind the sleeve hems. And the facings do a great job of housing the overlocked hemline at the centre fronts too.

I would definitely make this shirt again, perhaps in a slightly more draping fabric next time. Maybe a viscose or liquid-like silk satin for a posher version!

I love the style of this shirt, the cropped length option and the cut-on sleeves. Such a timeless vintage vibe. And a very easy fit.

All I’ve got to do is make some bottoms to wear with them, haha. I’m forever in need of simple black skirts or shorts but I just can’t bear to make something that boring. Needs must though!

Photography by Daniel James Photographic

Thanks to Dan for taking these shots under really difficult circumstances. Nagging wife and failing light is never a winning combination. But I love them!

Camp collar shirt

selfdrafted camp collar shirt

Did I imagine that Christmas and New Year break? Feels like it happened a lifetime ago… can I scroll back a few weeks pleeeease – it’s all a bit too much already! Any one else feeling the same?

I know I mustn’t complain. Too much work is the least of concerns for a freelancer. I’m just craving a sewing project soooo much! There’s so many in my head I’m literally going to burst if I don’t get to make at least one of them soon.

front view of shirt

But it’s dark now… and I’m exhausted – story of my life. So I’ll just settle for a little fix from blogging a recently-made shirt for now.

I already had this animal print cotton fabric in stash and it was just enough to rehearse a new self-drafted design. One of the upsides of designing my patterns digitally is that I can test a pattern layout on computer screen to see how much fabric I’ll be needing. And also plan the positioning of pieces for minimum waste without having to crawl around the living room floor ‘playing giant Tetris’ while the fam barks at me to get out of the way of the telly – I don’t have a proper cutting table, see.

Side view of camp collar shirt

My recent self-drafted adventures have included a 70s style dress with flared sleeves and a Christmas Dress with bishop sleeves. Both of which use the same bodice block and knowing it worked both times meant I just had to add a bit of extra ease, add a button extension and lengthen to the hipline for a great fitting shirt. The sleeves would be simpler than both trialled before, and I found a great video tutorial on Bluprint to draft a one-piece collar. So what could go wrong?

Well this is where I classically mess up because I try and run before I can walk. I’ve never actually made up a straightforward self-drafted sleeve for myself yet. Just flared ones in both cases. So there was never any trouble with fit. But as my block stands, it’s too tight. Luckily I had my suspicions and made one sleeve up in calico to check first. Lord knows where I went wrong. But I seriously must have got lucky previously! To rectify (badly) I have slashed and spread to the sleeve cap. And it works, kind of. But it is still a bit snug. In fact it’s a bit too tight under the pits too so I need a revisit to this pattern before I make another.

Back view of shirt

I’m going to lower the underarm point and redraft that sleeve with less haste (read less excitement) and less speed! Because I’ve got more plans going forward and I’m going to need those pattern pieces spot on!

The collar worked out perfectly. It’s a camp or Hawaiian collar, so Suzy Furer told me on the Bluprint video tutorial. Basically a collar and stand, all in one. I did check out another tutorial on YouTube for the construction. It was kind of obvious but I just needed some reassurance.

hawaiian collar

Suzy advised to ditch the waist darts front and back but I really quite like the fitted aspect of it and I’m convinced that if I lower the armscye by half an inch or so more and sort the sleeves out it will be a much more comfortable fit.

So the consensus is that it’s not the greatest self-drafted shirt in the world but it’s a great starting point and I’m looking forward to a new and improved one. Might have to buy some new fabric though… I’m feeling stripes!

Have you kicked off the New Year with a new project yet? Pray tell. I’ll do my best not to get too jealous!