I’ve been toying with the idea of making everyone a hand made Christmas present, like forever! And I never get it together in time. But this year I made two!: The secret santa gold pleather bag for Emmie, and now this Linen Tilda rabbit for a special baby boy who’s name I can’t declare lest I give the surprise away!
I forgot how much fun these are to make. I made the last two so far back, the post has sadly gone missing. But here’s a picture of them at least:
And here’s a link to the chicken I made from the same book which is called Crafting Springtime Gifts.
I’d dutifully traced the patterns on to some cereal box card so I simply had to draw round the pieces on the linen, sew along the lines and then cut out with a small seam allowance.
I got a nice plump bag of polyester toy stuffing from the market. It’s amazing how much you need for just one wee bunnie!
The eyes are drawn on with a laundry marker which is always a scary thing to do as it’s the last thing you do once its all sewn up. I was pre-planning a bunnie with shades just in case my hand shook to much and screwed up the eyes!
The nose is embroidered. I didn’t have any pink embroidery thread so I sewed with 4 regular pink threads and achieved the same. Little bit on the wonk but all part of the handmade charm!
This time round I used pink satin for the inner ears. What child doesn’t like to feel a bit of ‘silky’ when they are nodding off to sleep?!
I also left the buttons off and replaced with some embroidered crosses on the straps instead. Don’t want to be the cause of a terrible choking incident!
I have visions of this little fella being dragged around by one arm or leg in true old fashioned childlike stylee. And ending up pale and threadbare in his later years. That’s if baby approves and doesn’t banish him to the toy box forever!
I love sewing with linen and I love having the chance to employ a decorative stitch! Goodness knows why I only reserve it for toys though!
In other news. I’m thinking of making a new hat. Not sure I’ll get that done before Christmas though. That would be one massive miracle!
And that just leaves me to say, thank you so much for your continuing support and wonderful comments. Have a fabulous Christmas one and all, wishing you lots of love and good health for the coming year. xxx
I think I have kept you all in suspense for quite long enough. This evening is Jessica and Tom’s leavers prom and so I am allowed to reveal the dress I have been working on for the last few weeks.
I was feeling a bit poorly today so Mr Ooobop, like the knight in shining armour he is, set off with his new birthday camera without sparing the horses. The following photos are some of the loveliest he has taken. And I think you will agree that the beautiful subjects contribute somewhat to the awesomeness too.
Meet Jessica. The most wonderful 16 year old daughter of my friend Tina. Can you now picture the pressure that was to create her a prom dress fitting for such a beautiful princess?!
Jessica having hair styled
Tayla Harris was in-house hairdresser for the evening and styled Jessie’s hair beautifully. Complete with little jewels to match her necklace.
Hair jewels
And ooo… look. A cheeky first glance of the bodice! Such a tease, I know!
Hair styled with jewels to match necklace
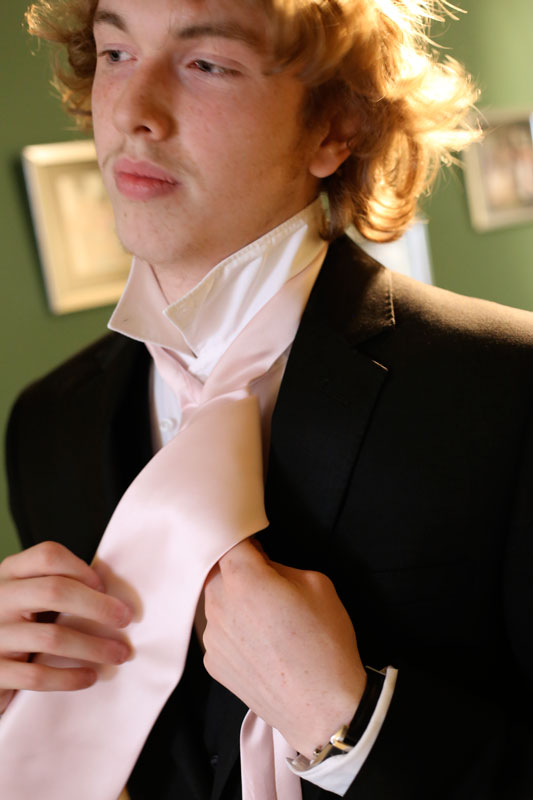
With make-up, hair and outfit complete, enter Jessie’s Prince Charming – the lovely Tom. I’m so pleased he liked his tie. He didn’t really have much choice in the matter, bless him. It was delivered seconds before this photo was taken. I only finished it this morning! And here we also have a side view of the prom dress. I’m getting there, honest!
Tom’s arrival and receiving the tie
The tie was made to match Jessie’s sash as you can see. And Tom did a much better job of tying it than I did!
Tom putting on his tieTom looking more like Prince Charming every minute!
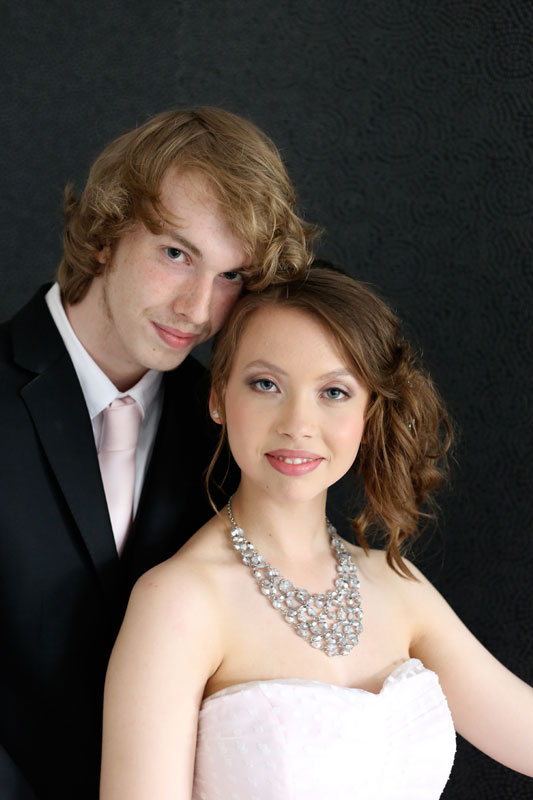
So now they were both dressed to impress, Mr O worked his magic and took some awesome shots of them together. Don’t they look adorable?
Jessica and TomA beautiful portrait of the prom Princess and her Prince
I would love to be a fly on the wall tonight and take a picture of them dancing together. The dress is a circle skirt underneath 10 layers of gathered polkadot tulle so you can imagine just how twirly and frothy it would be.
A little dance to limber up!
Jessie came to me with a firm idea of what she wanted and luckily for me there was a very similar pattern in one of my old Burda magazines. I’ve got quite a hefty collection now. It’s always a joy to go through back issues and see patterns you didn’t notice first time round. But this one was on the money! The only thing I had to do, knowing how standard the sizing works, was to do an FBA. And I had to learn how to do it pretty quick!
Thankfully for me, and for Jess, I had recently come across a great set of instructions on the By Hand London site. These totally took the fear factor out of the whole process. And I learned so much. Not least of all to come down 2 sizes for Jessies petite body and then doing an FBA. It took just 4 fittings to get it right but oh it was so worth it.
Side view of the dress
The strapless bodice section of the dress is boned. For good reason! This was a first for me too. Though I did discover some fantastic boning in my local haberdashery department that sold pre-cased boning. I just had to sew it directly onto the open seams.
The front and back have rouched tulle stretched across 2 panels
The front and back have rouched tulle stretched taught across 2 panels. I love the way they ‘butterfly’ out from the centre seam. And I love how classic and timeless they both look here. Reminiscent of the 1950s.
Full skirt. 3 layers.
The tulle overlay is ivory in colour and works so well to soften the pink. Kind of like a frothy strawberry milkshake, don’t ya think?! Of all the techniques involved in making this dress, funnily (or not so funnily) the most tricksy part was gathering all those 10 metres into a 27 inch waist. I even made several gathering threads to avoid breakage but it was still a nightmare. I ended up gathering small sections at a time and pinning it on the underskirt, on the mannequin and then hand tacked it all together before I even thought of taking it to the machine!
The bodice and skirt are lined in full with a slightly darker pink lining. That was one of the easier bits! Unlike the Burda instructions, I sewed the circle skirt lining to the waist seam and then once the bodice lining was seamed at the top, I turned under and hand-stiched the waist seam of the lining over the raw edge of the skirt lining.
Oh yes! How could I forget? The shoes!! Check out these amazing Kurt Geiger shoes that Jessie snapped up in the sale for a mere £29! Pink patent leather with bows and bling!
Kurt Geiger shoes: Pink patent leather with bows and bling!
Have you got loveliness overload yet? I think I have. But hang on I forgot to show you the back. Pretty bow sash and all
back view of the dress
And so the ‘royals’, unfazed by their impromptu photoshoot, bade their farewells and headed off to the prom.
En route to the prom
I would so love to have seen everyone’s faces as they walked in together.
Outside the venue
A massively big thank you to Mr Ooobop for these amazingly professional photos. I would never have got these together myself. I also have to thank Tina for asking me to make this dress for her beautiful princess. It has been such a huge learning curve for me. I don’t deny there was a fear factor involved. I had no choice but to get it right. But that’s how we learn fast, right?!
And last but not least for the ever obliging Jessica and Tom. You make just the perfect models and have brought such beauty to my blog! I am being totally honest when I say that these pictures brought a tear to my eye. I hope you guys had the time of your life! x
A few months ago I was asked if I’d make a prom dress for my friend’s daughter. Of course I was delighted to oblige, and honoured and scared but it happened. By some amazing miracle it happened. But I can’t show you just yet. Jessica’s prom is tonight and Fulham’s best kept secret can’t be revealed until she’s all dolled up and ready to rock. Mr Ooobop is at the ready with his camera, don’t you worry!
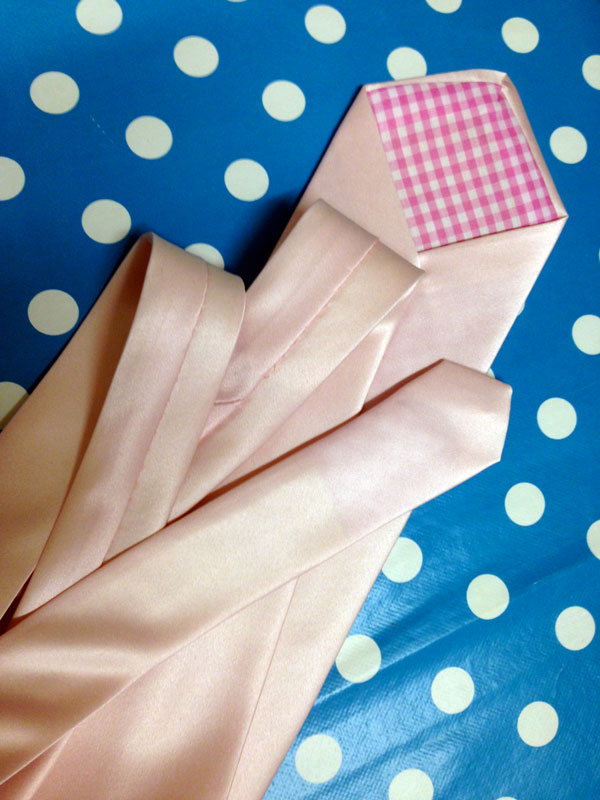
But what I can show you is the tie I made for princess Jessica’s prince charming. I hope he won’t mind. In fact I hope he likes it. Prince Tom hasn’t seen it yet but I hope it’s a relief and fair competition for all the designer ties he went in search for;-) Designer sort is Tom, by all accounts. He likes his labels. But all the Ralph Laurens and the Guccis of the world couldn’t match the gown. Shame I don’t have an ‘ooobop!’ label at the ready, I’m sure that would have sold him sweeter!
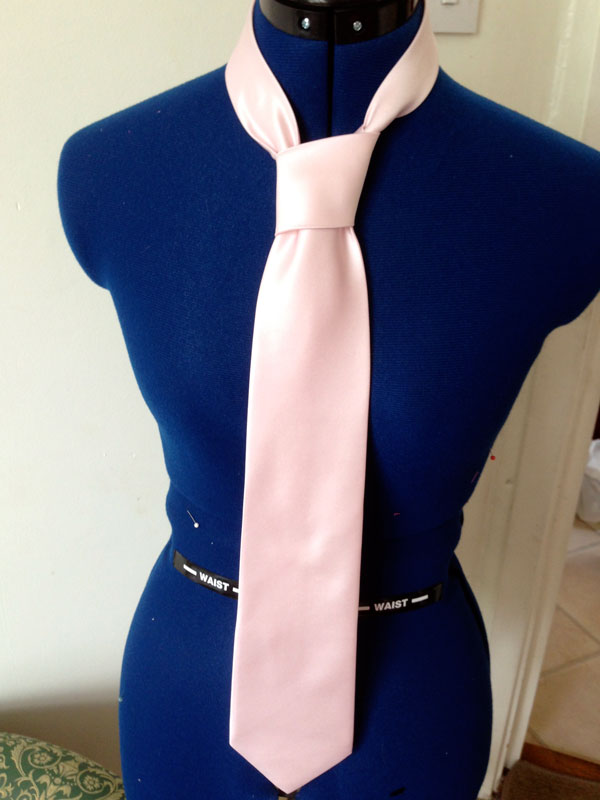
Pink satin tie with pink gingham lining
I only had a couple of evenings to research, cut and sew the tie. Sailing close to the wind, I know! So my first point of panic call was to all my wonderful Twitter followers. And they came up trumps immediately.
Angela from Sew Mental Mama was straight in there with a link to a FREE tie pattern and tutorial from Collette Patterns. And here’s a link to the fabulous ties she made for her son and her husband using Simplicity 1745. (wow! that pattern cover is creepy!)
Rachel from My Messings tweeted with a link to Unique Schmuck who had made one here. No hard sell on the hand sewing. In fact no sell at all. But that’s ok because I’m a weirdo and I quite like it!
And then Tom came along with some fantastic words of encouragement which gave me all the confidence I needed to get started!
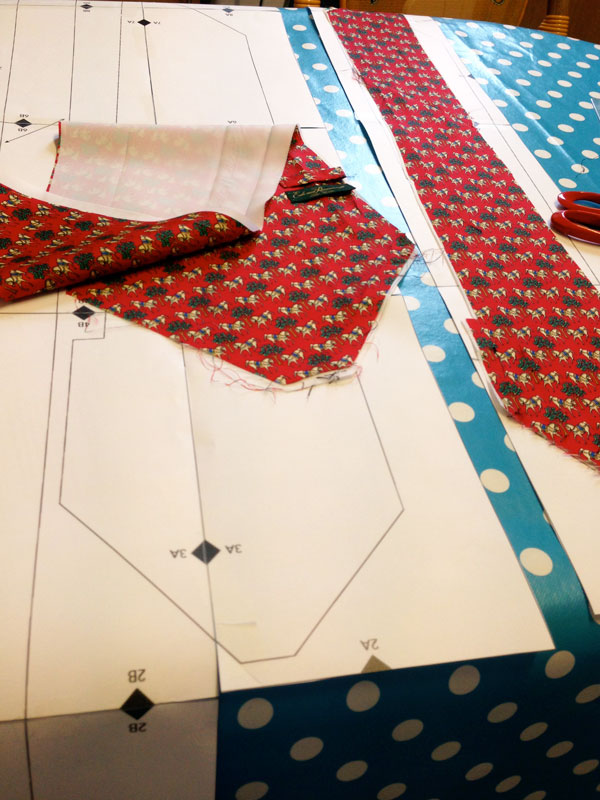
Laura After Midnight confirmed it as an easy one too, so I duly printed out and pieced together the Collette tie pattern, having unpicked one of Mr Ooobop’s ties to compare. I realised that though the paper pattern was probably the best place to start, it was very slim and actually tapered differently from the ready-made one I had unpicked. Wouldn’t normally have been an issue except for one major factor. The only interlining I had was from the unpicked tie. Shops were shut and I had nothing similar in the stash, save from some white felt which, even when cut on the bias has no elasticity.
Carefully unpicked tie!Comparing pattern with existing tie
I was a bit nervous of using the existing one as a template as it was so difficult to position straight, being cut on the bias and all. It didn’t appear that it had been cut accurately to start with so I was off to a wobbly start. But after a bit of bullet biting, it was full steam ahead.
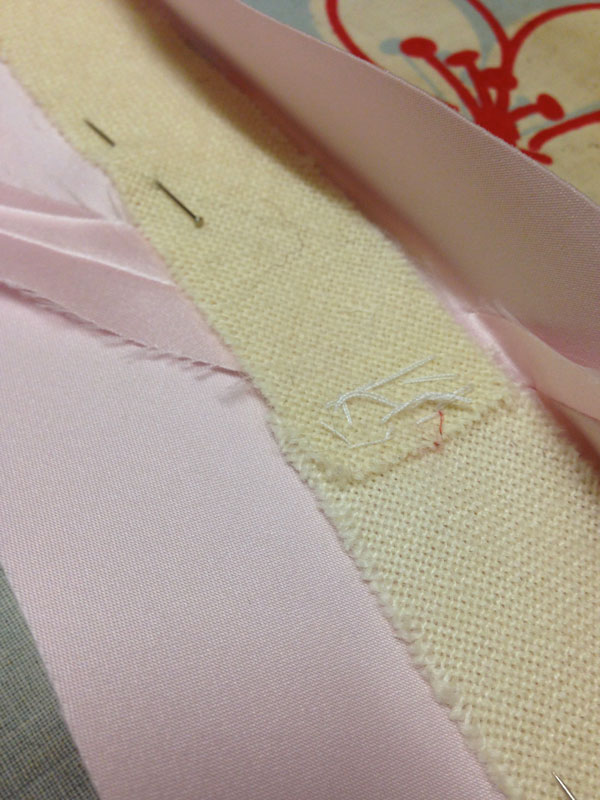
Interlining from ready-made tie
I did use the Collette Patterns instructions however. And without these I would not have achieved the point or the lining inset that was required on each end.
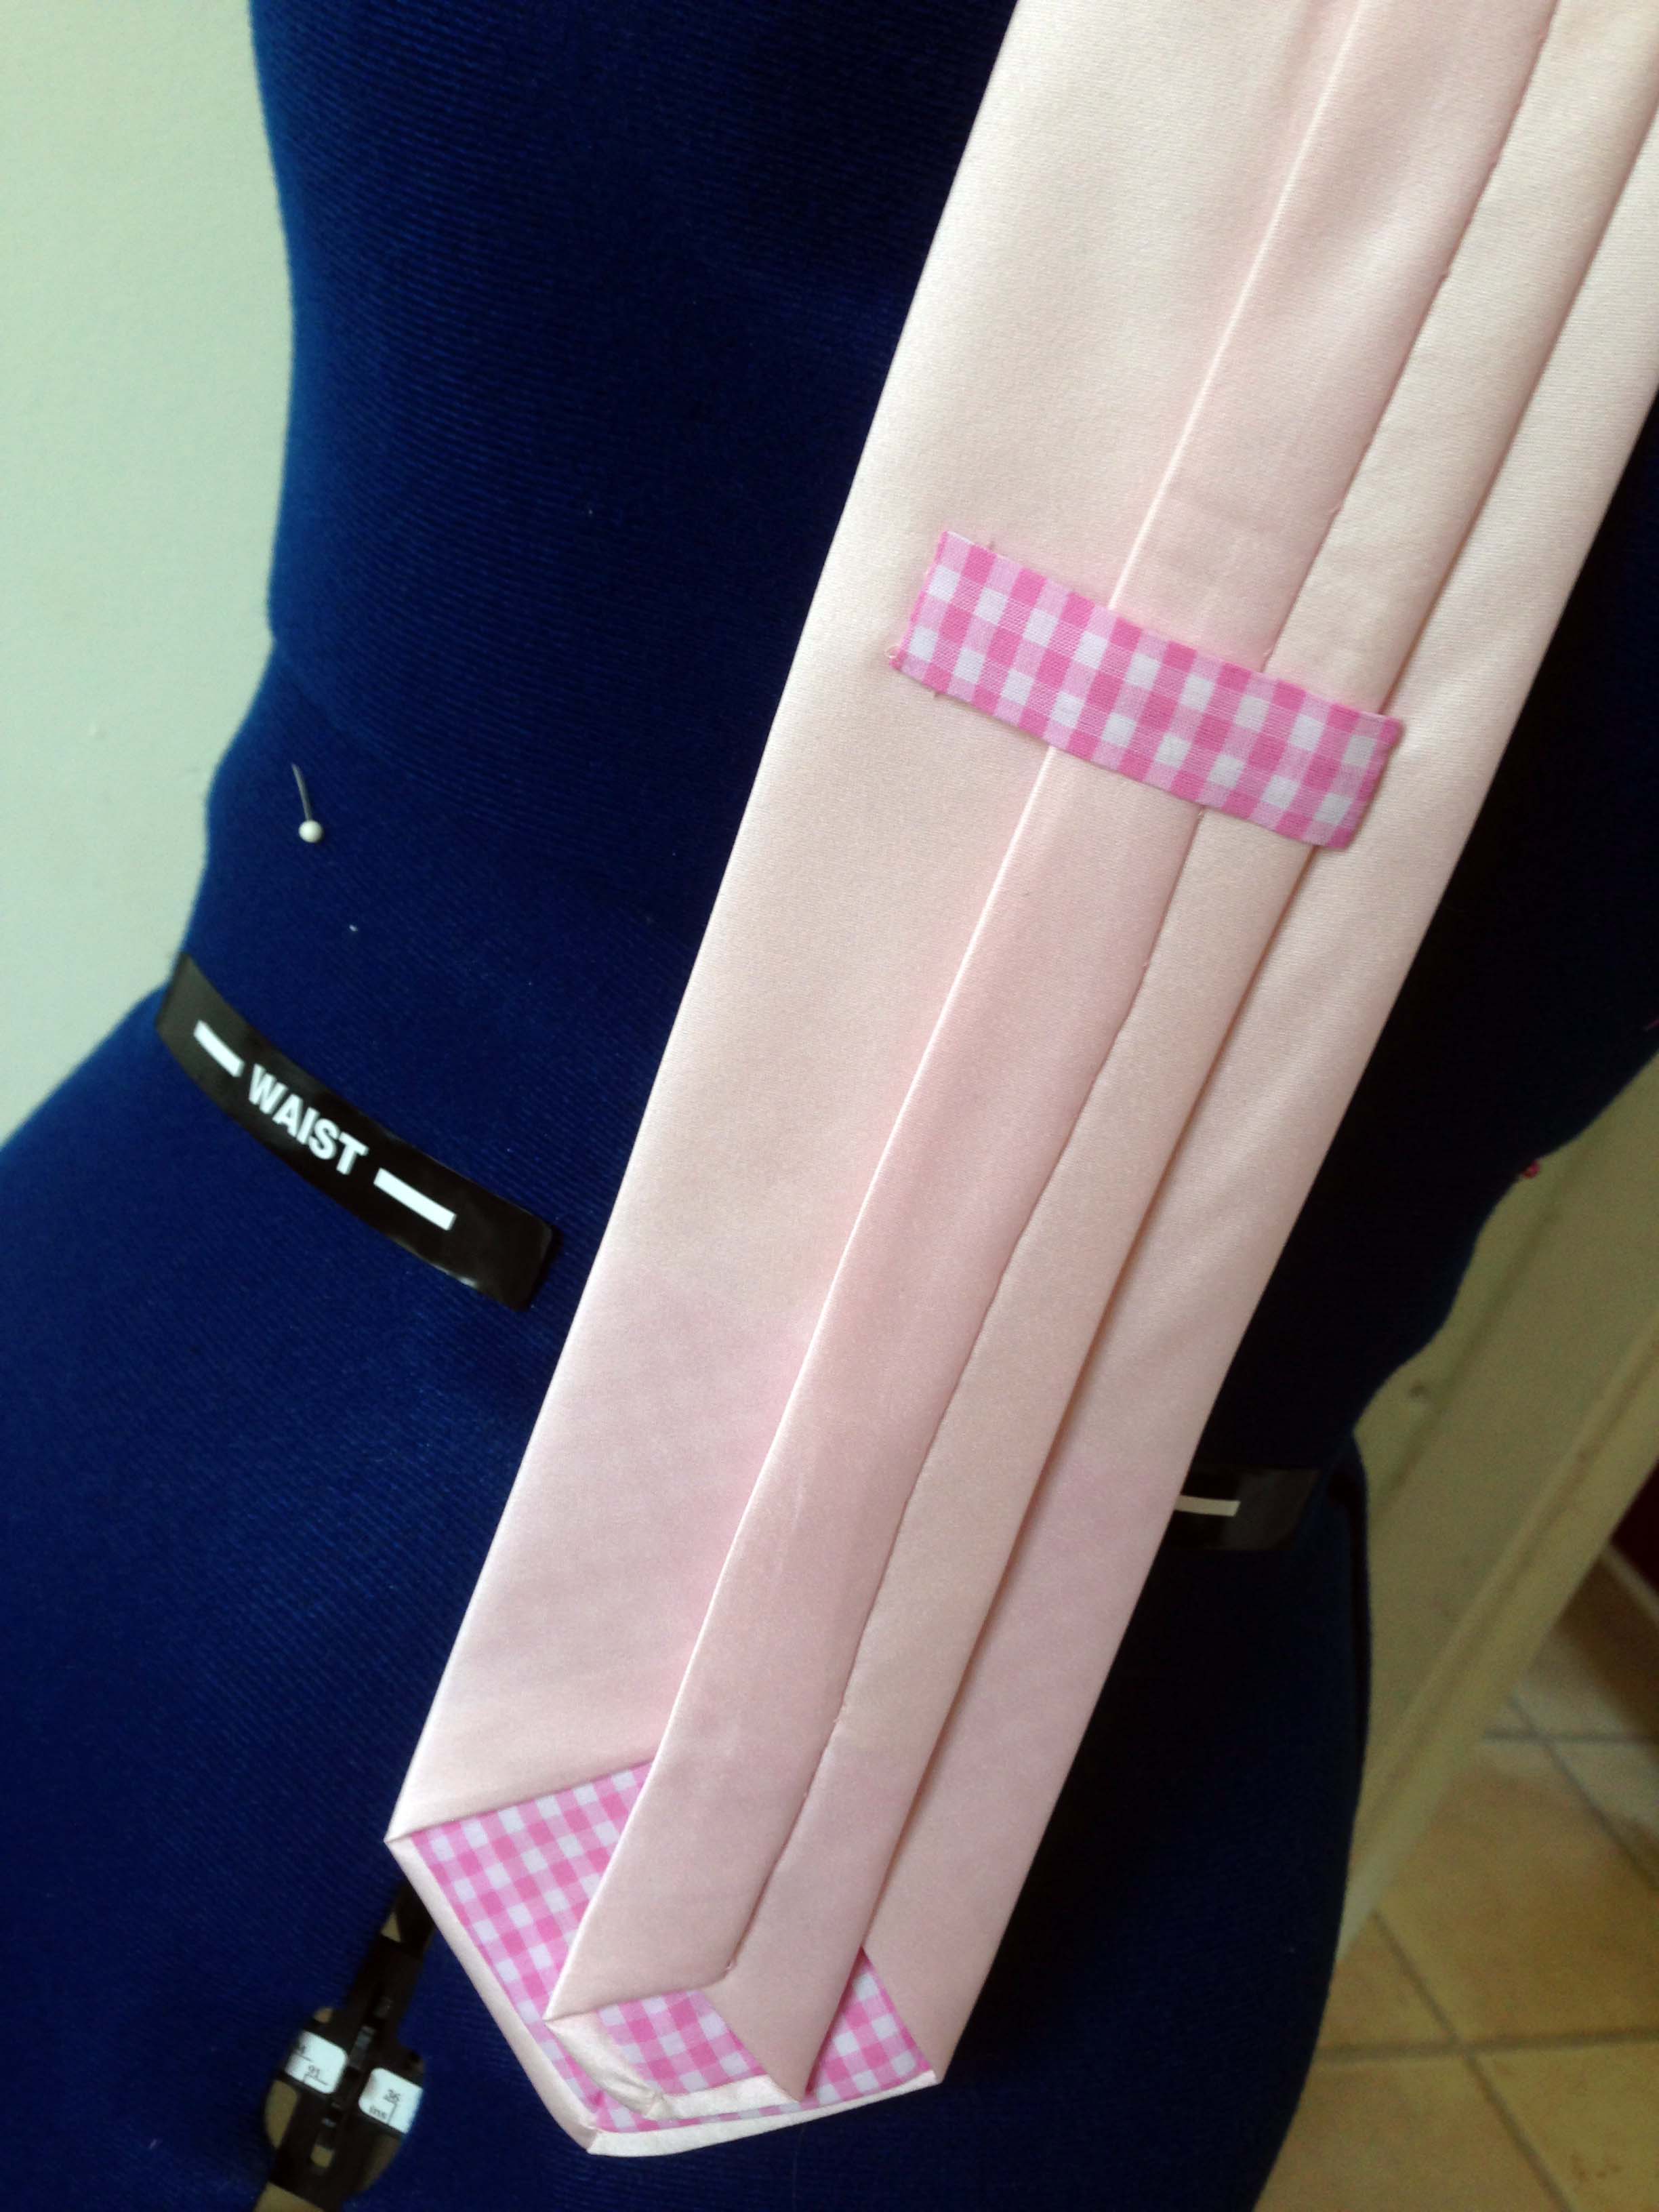
With no ooobop! labels at the ready I was determined to put an ooobop! slant on this otherwise very conservative tie. So I added some pink gingham lining. It made sense to make the loop in matching gingham too. There. Happy now!
Detail at back of tie
There was a fair bit of hand-stitching, it’s true. But on the whole a very satisfying project indeed. I now have a couple of hours before delivering it and seeing the gorgeous couple in all their gorgeousness.