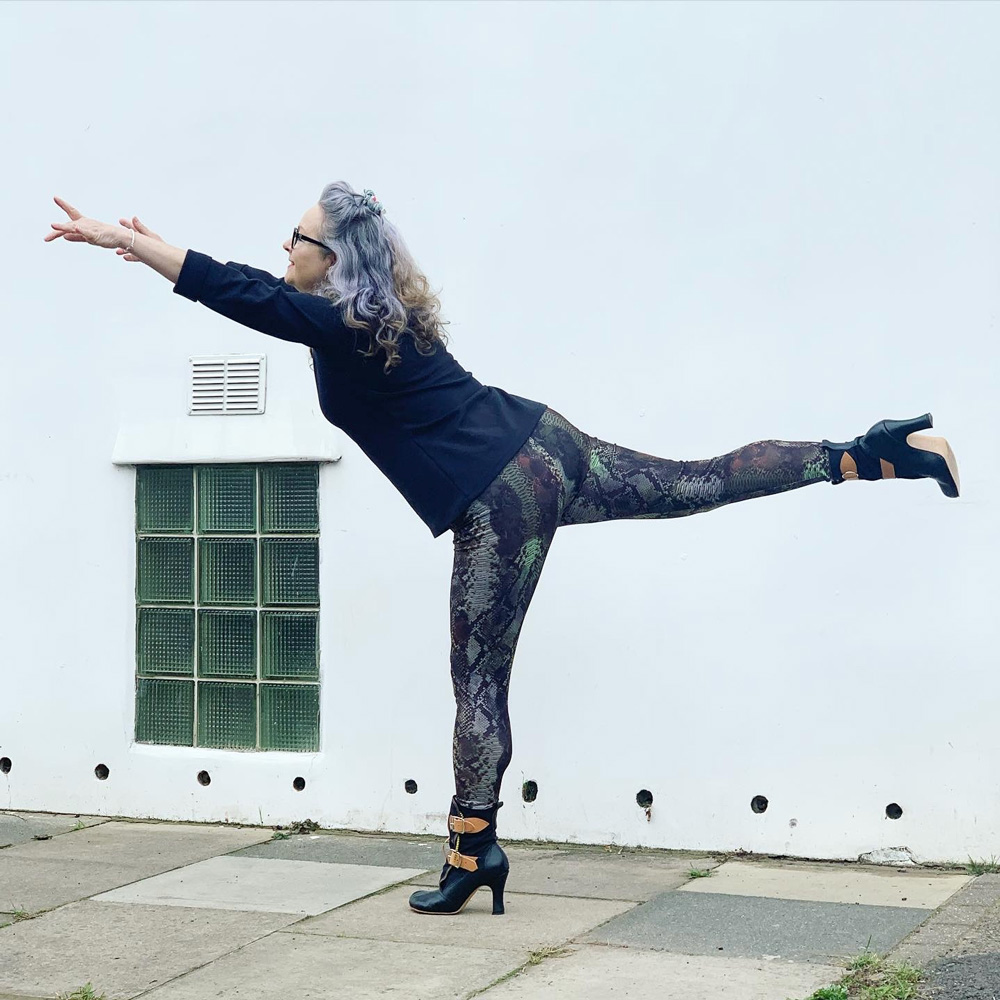
Putting my self-drafted leggings to the test

Janene is posing sideways, standing on one leg with the other leg straight out and arms forward. She is wearing her snakeskin print leggings with high heel boots and a black rollneck top

I remember quite plainly saying I did not see the point in making my own activewear. Where’s the fun? It’s just boring and functional. And let’s face it, there are plenty more interesting and fun things to be sewing up!

But never say never! I did a rain-check on the RTW pieces I already own – after one pair pretty much disolved, despite various fixing attempts – and realised not one single pair of bottoms actually fit me properly. Mostly the rise is the problem but also the waist elasticity.

I spent the best part of an afternoon perusing patterns online. There are heaps! And I’m sure most of them would work a treat. But I would undoubtedly have had to make adjustments to said patterns and so I figured I may as well draft my own if it wasn’t going to work straight out the packet. 

I followed instructions from Winifred Aldrich’s Metric Pattern Cutting for Women’s Wear – a firm fave in the sewing community. And it didn’t take long at all to draft the one single basic pattern piece.
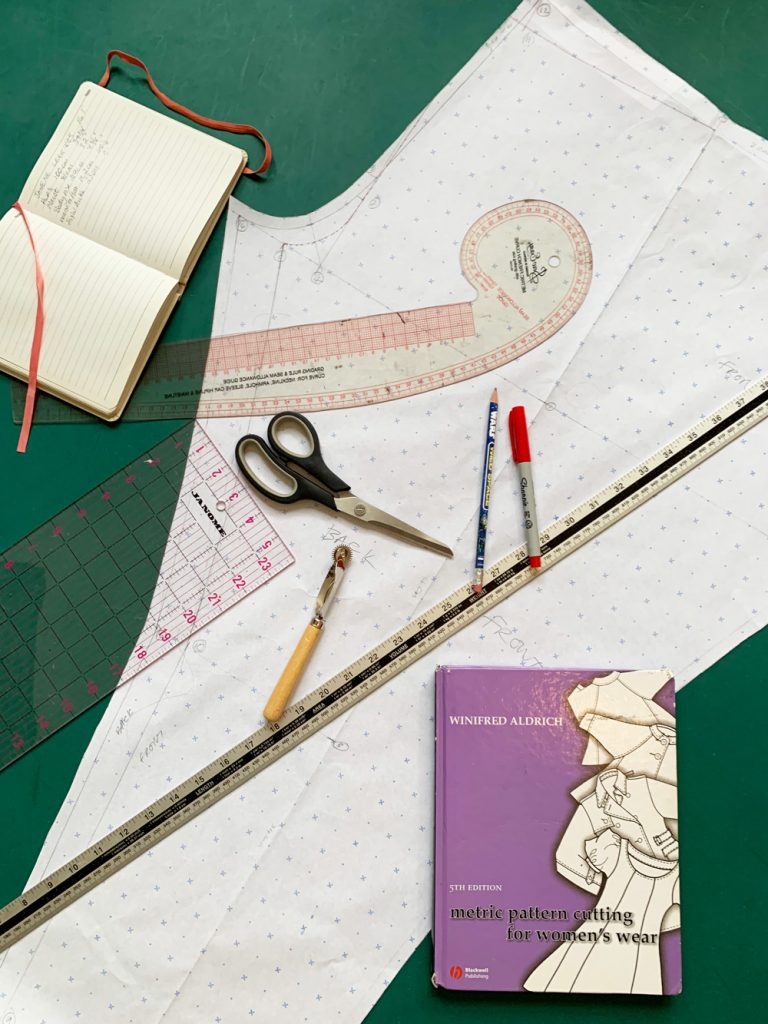
Flatlay of drafted leggings pattern piece, drafting tools, note book and pattern drafting book

In fact it took longer for me to decide how to finish the waistband!

I sewed up the leggings in a lightish weight very stretchy lycra. Took minutes on the overlocker with 4 threads. I didn’t even need to substitute stretch needles.
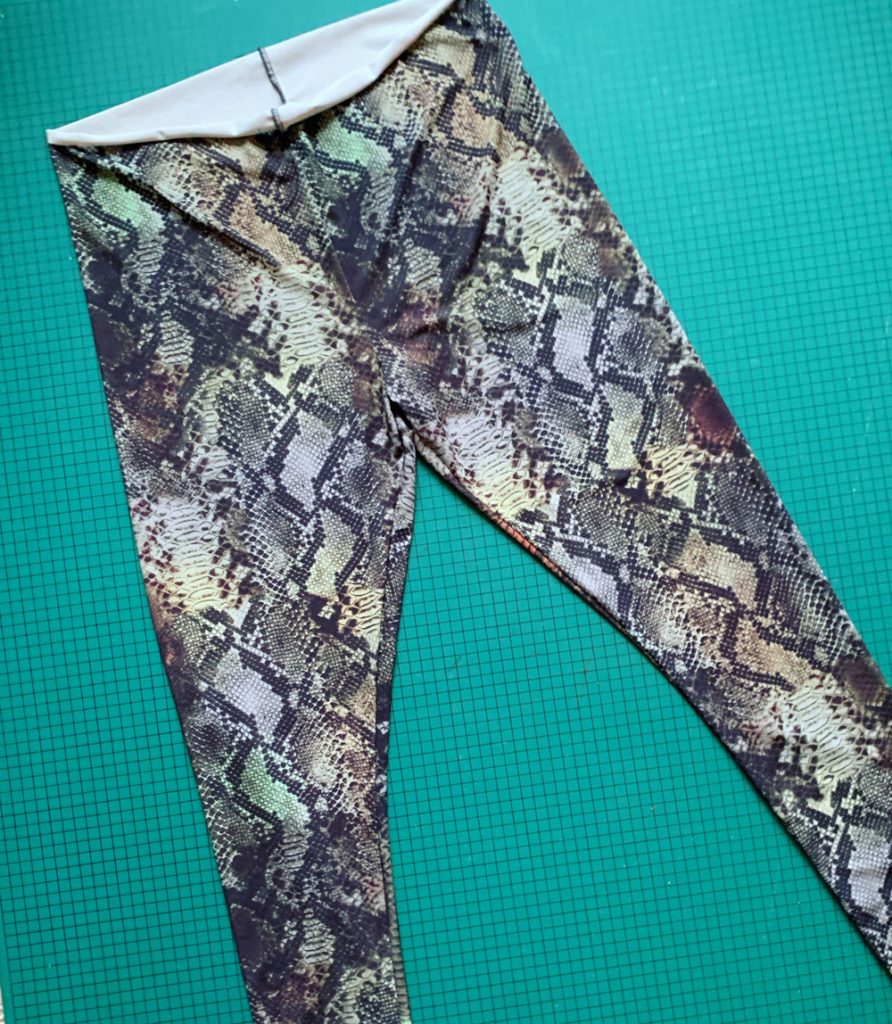
flatlay of partially finished leggings. Just awaiting the waistband.

A quick try-on confirmed the fit was OK apart from quite a lot of ease at the waist – the back waist in particular. I didn’t really clock the excess at the thigh at this point. I was poised to take the waist in, before making a casing and threading elastic through – that totally would have been the quickest waistband solution – but then I visualised some gathering at the waist where the elastic waistband would have cinched it all in. I didn’t like how it looked (in my head!). So I set about another solution.

I measured the depth of the waistband from one of my existing pairs (10cm) and then measured the circumference of the leggings, 10cm down from the natural waistband. I halved that measurement to make a rectangular pattern piece that would ultimately be cut on the fold of the fabric.

I marked top edge, fold and side seam on the pattern piece.

To avoid all the gathering at the waistline I marked 10 equidistant slash lines from top to bottom and closed up the top edge until the top now-curved edge measured approximately 80% of the bottom curve.

I then traced the now-curved rectancle onto another piece of paper to add 1cm seam allowance all round apart from the fold edge.
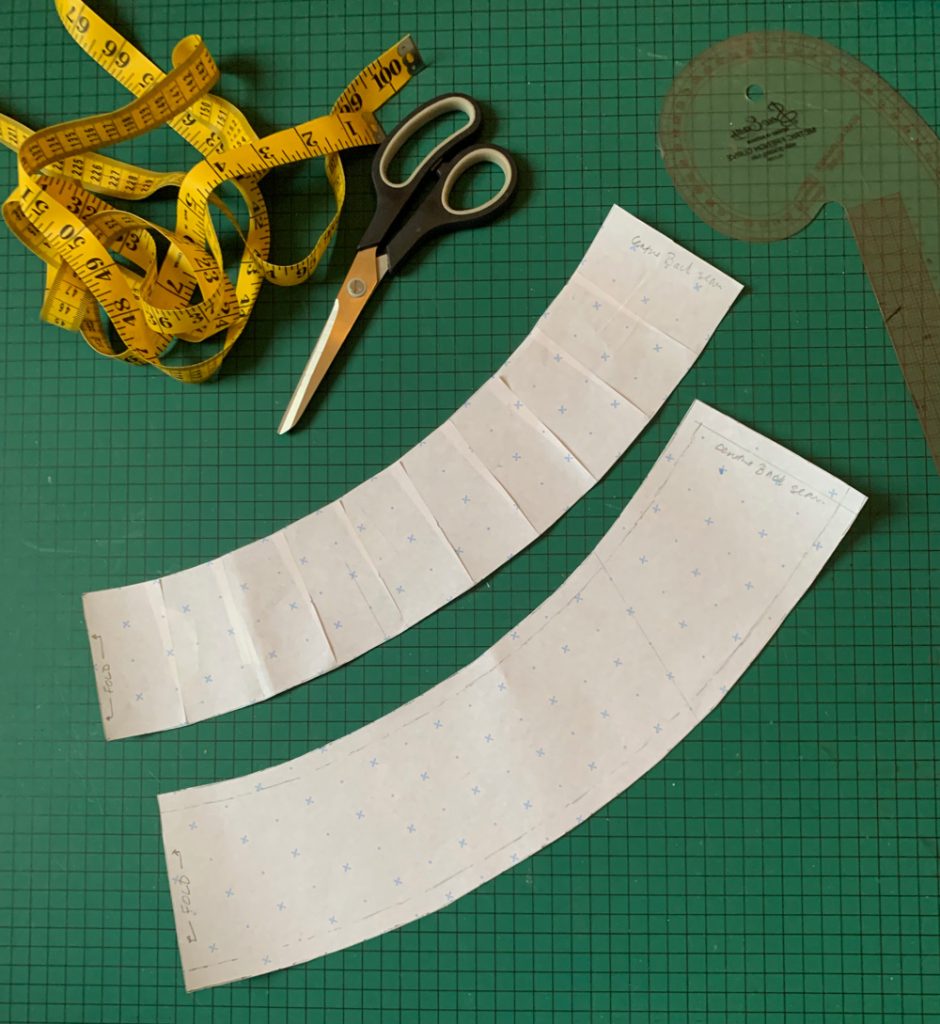
Flatlay of the drafted pattern pieces, one with and one without seam allowance, for the waistband. a tape measure and a pair of scissors are positioned next to the pattern pieces.

I pinned the pattern to the folded fabric and cut 2 fabric pieces. With each piece right sides together, stitched the short edges to make 2 circular bands.

I placed one band inside the other, right sides facing, and stitched along the top (inwardly curved) edge.

I remeasured the top seamed edge of the waistband and cut some narrow (7mm) elastic to that same measurement with no overlap allowed so it would be a wee bit tighter still.

I then overlapped the elastic by 1cm and sewed the ends together to form a circle. I made quarter point markings along the finished top edge of the waistband. And with corresponding marks made on the elastic, I pinned and lightly stretched to fit as I zigzagged the elastic to the seam, making sure the edge of the elastic didn’t go past the actual seam line.

I trimmed 9cm down from the top of the natural waistline of the leggings (to leave 1cm seam allowance) ready to attach the waistband.

Before attaching I gave a quick press to the waistband, right sides out, to shrink the elastic a bit and make sure both pieces were aligned accurately. Then I attached the bottom two edges of the waistband to the top of the right side of the leggings (right sides together). I aligned the seam of the waistband with the centre back seam and clipped the band all round the top of the leggings. There was no need to stretch to fit this time because both measurements were the same. The clips worked a treat by the way, because the pins kept catching on the fabric.
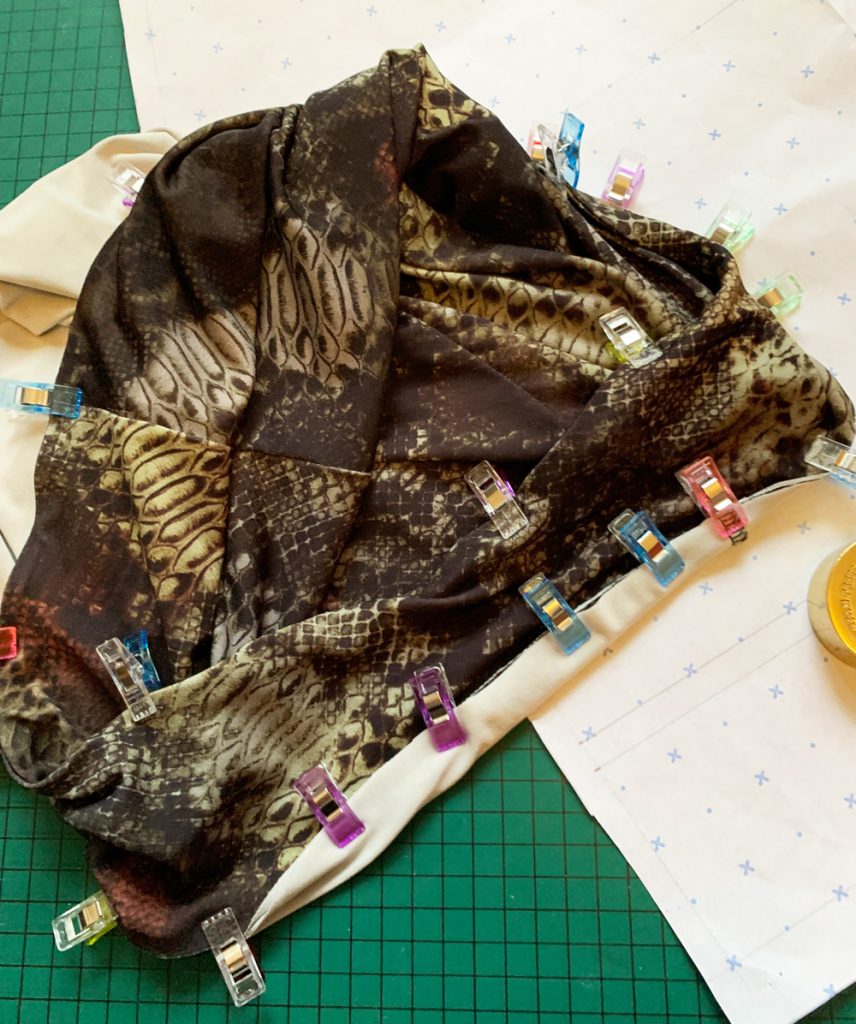
The waistband of the leggings is clipped in position with some colourful plastic clips.

A quick zoom round on the overlocker, and it was clear that all that care taken for accurate positioning paid off.

Now I wouldn’t normally volunteer a photo of my rear end, but I’m so chuffed how those two centre back seams lined up and how nicely that deep waistband hugs my hips and dips into the small of my back!
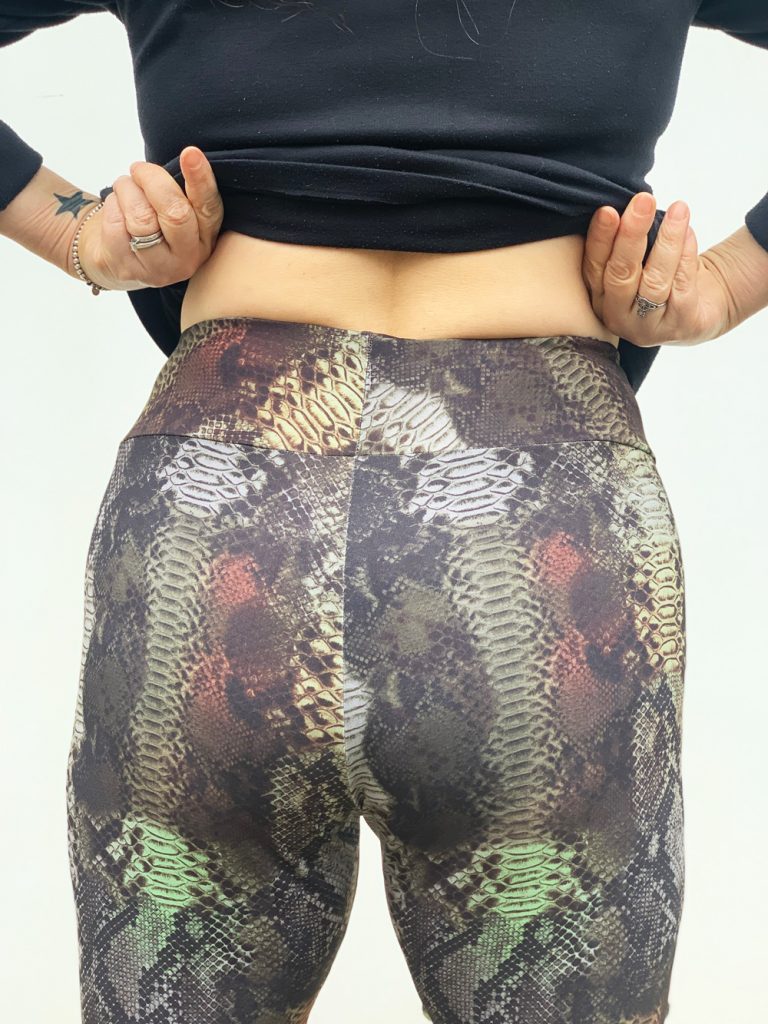
View of Janene's bottom! She is holding up her top a few inches to reveal the back of the waistband and show how it fits very snugly.

The last thing to do was hemming. Believe it or not I found this bit the most tricky! With everything else going to plan and so quickly, I decided to get the twin needle out and do it properly rather than employ my usual lazy zigzag treatment.

I dug out my barely used Millward stretch twin needle and rehearsed a twin stretch stitch on a scrap piece of the fabric. Took a while to perfect before I sewed for real. But then it messed up before I finished the first round. Sooo annoying! I dug out the manual to see if I’d set it up wrongly and the only thing I did was not to use the needle supplied with the machine, doh!

So I changed up the stretch twin for a regular Brother twin needle and tried again on some scraps. Again, seemed ok until I went to sew the real hem and the same thing happened again. It just got jammed and sucked into the feed dog with the bobbin threads all tangled under. I unpicked and managed to re-sew over the last bit but still, sooo annoying!! I’m totally sticking to zig-zagging next time!
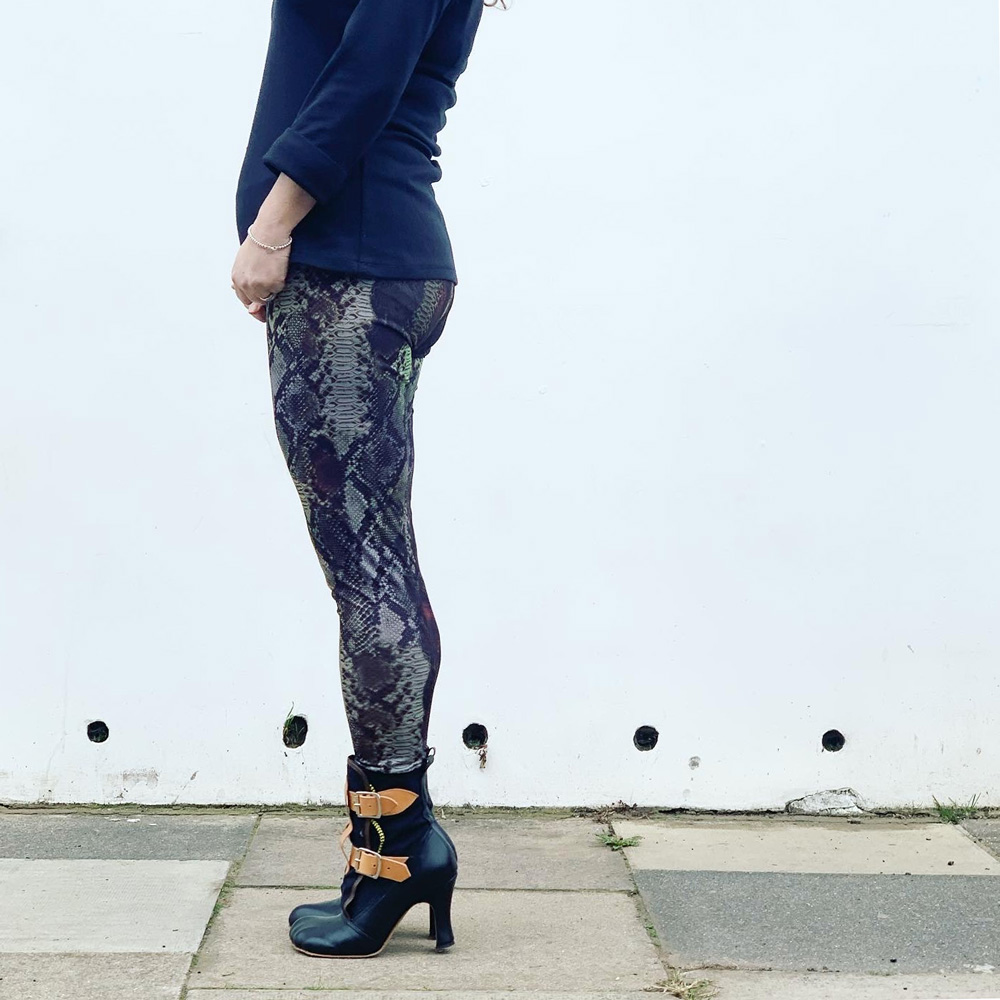
Side view of Janene wearing her handmade snakeskin print leggings and high heel boots. Her head is cropped out of the image.

First test of the finished leggings was at my Zumba class. And I was so chuffed that they didn’t end up round my ankles. However I could feel how loose they were from the knee up the inner thigh and I really didn’t like the wobble factor as I was dancing! I’m so much more used to sturdier fabrics holding me in place!

I’m going to take them in but decided to shoot them as general day wear with heels as inspired by @paulalovestosew! They are entirely fine as… well, tights really!
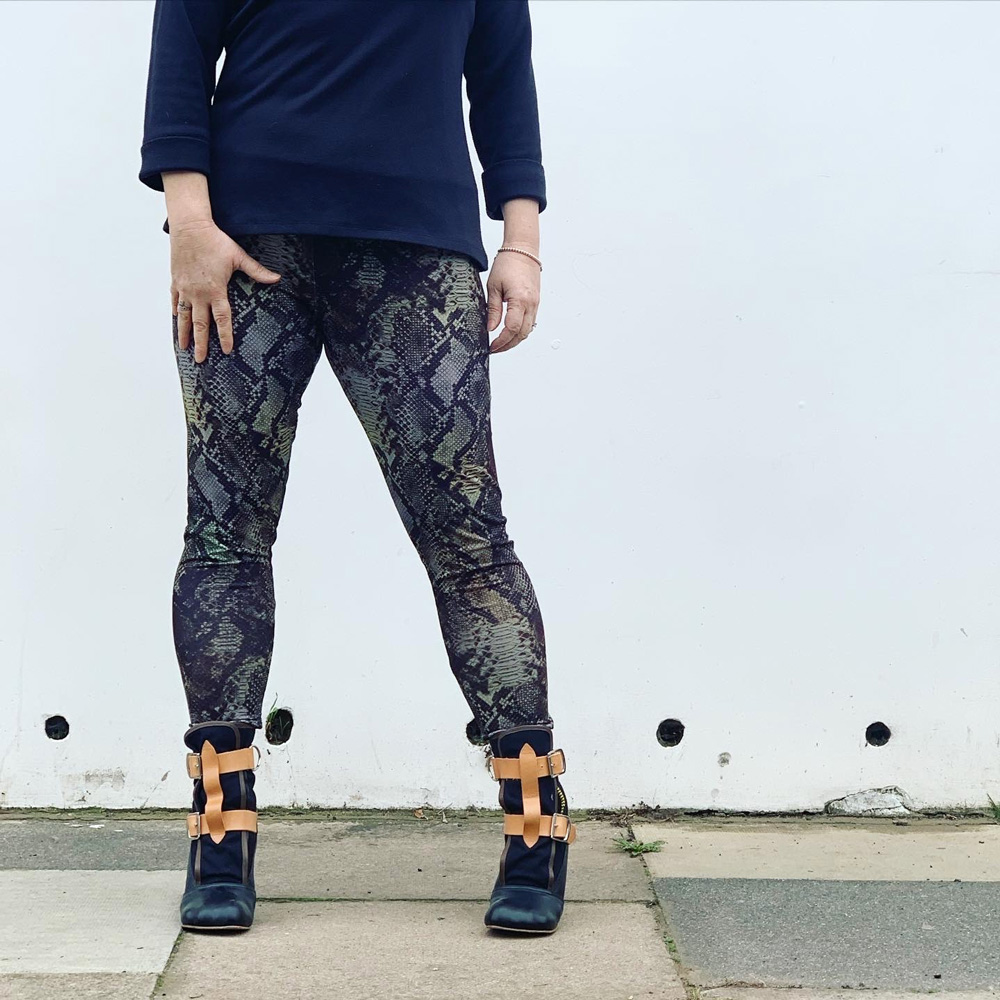
Front view of Janene wearing her handmade snakeskin leggings. Her feet are slightly apart. There are some small wrinkles on the knees.

And now I am on the hunt for some heavier stretch fabric. Thank you to everyone who have given some brilliant suggestions. I now appear to have too much choice!!

From not wanting to ‘waste time’ making my own, I can see how making these will quickly become addictive. So… absolutely… never say never!
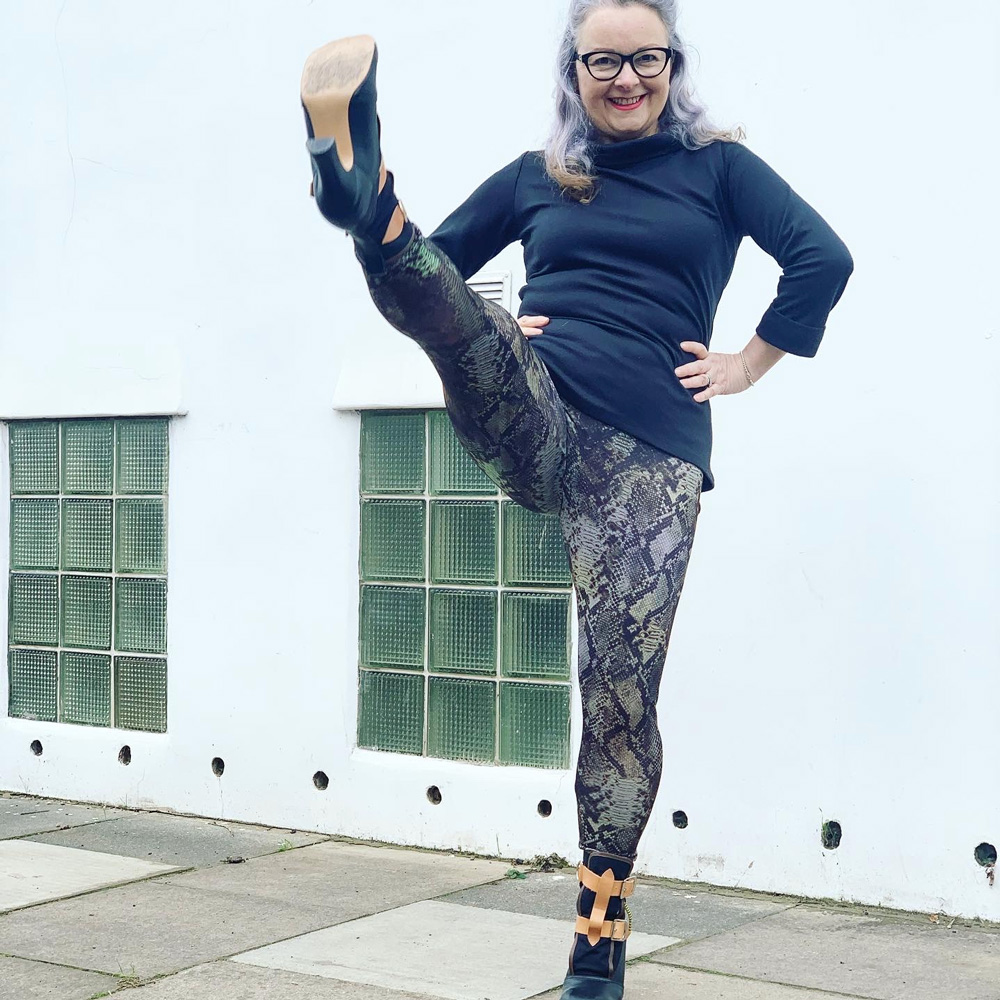
Image of Janene doing a high kick in her handmade snakeskin leggings. She is also wearing high heel boots, a black rollneck top and a pair of black rimmed glasses.

Posed photos by Daniel James

Self drafted Turtleneck knit top

black rib knit top worn with plaid shorts

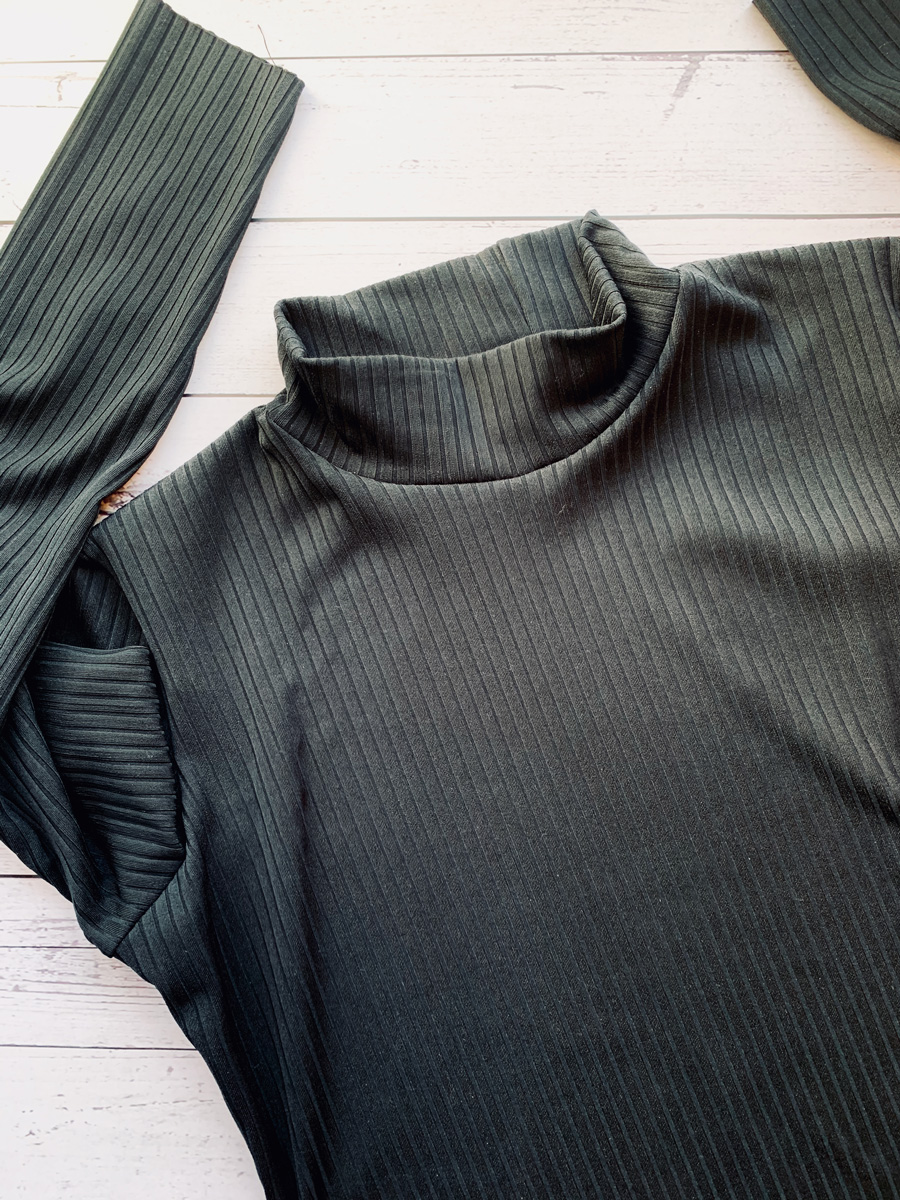
The last thing I made was this turtleneck rib knit top. Most probably up there with some of the most boring things I’ve made, but actually a top that ticks a lot of boxes.

I self drafted it for one and learned something new in the process. I’ve self drafted a fair few patterns for woven fabric to date, like this Liberty Lawn summer dress, a few shift dresses like this batik one, and more recently my handkerchief hem dress  to name a few. But I’ve never thought to self draft a knit pattern. Why would I? Its akin to reinventing the wheel as there’s so many great basic knit patterns out there. But I do love a challenge. And also have another agenda in the shape of some very special stretch fabric that is still waiting to be made into a well fitting dress so if I master a moulage in knit then I’ll be one step closer to designing a knit dress, right?

Black ribbed knit top flatlay

The process was actually very simple. In a nutshell removing the darts and any ease to create a close fitting shell that stretches around the curves of the body. I used my self-drafted woven moulage as a starting point and made the adjustments from there. I found a great lesson on Craftsy, by Suzy Furer and also referred to my favourite sewing book: Patternmaking for Fashion Design by Joseph Armstrong.

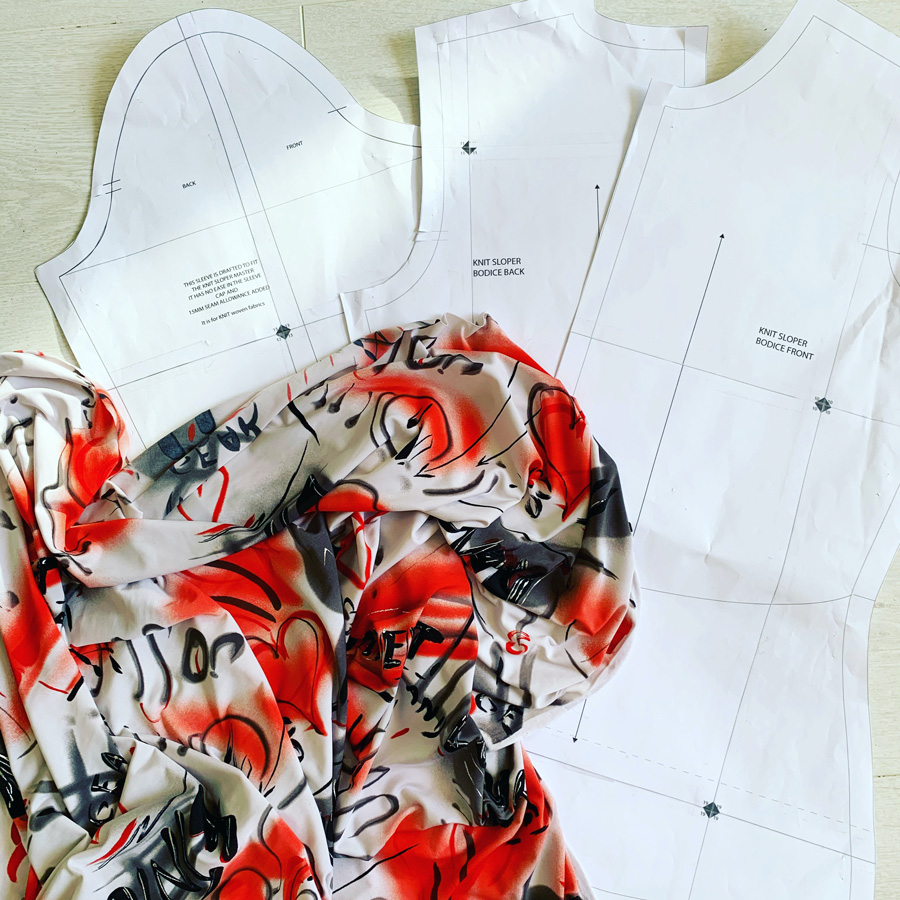
knit sloper pattern pieces

I tested it first on some nasty nylon fabric. To be fair I don’t know what the fibre content is but I’m certain there’s not an ounce of natural anything in it! Looks kinda cool with its graffiti design though. But I messed up royally on the turtle neck itself. Such a stoopid mistake. I made it 10% smaller than the neck opening which was fine. Sewed it in a circle to check it would go over my head which was fine too. Then stretched it as I sewed in place, much as I would sew a binding on a scooped neckline. Realising I had excess (as a result of over stretching) I cut off about an inch and a half, maybe even 2 inches more to make it fit. And that was where I went so wrong. I can just about get it over my head but its akin to being slowly strangled if I’m wearing it for more than half an hour!

toile of knit top in a synthetic graffiti print fabric

Everything else was just fine, though. Just made a massive note to self to not mess with the collar piece!

I especially loved that it was all sewn on the overlocker save for the hemming, so was super quick to whip up. One very important thing gleaned from sewing knit tops before is to stabilise the shoulder seam to stop it stretching out. I used some Prym iron on stay tape (aff. link) for the first time and it was so easy to apply in a straight line. Its been subject to a few 40 degree washes since and it’s still totally intact. Definitely no going back to sew-in tape now.

So then I made the black one with ribbed knit I bought in the Minerva sale for a snip! And I love it. Its so versatile – goes with all my skirts and shorts and also is a great under-layer for some of my self-drafted dresses, on a chillier days. Topped with a cardi for an extra layer its a definite win win win!

It’s just so classic, with a nod to retro too and has already had soooo much wear that it will probably wind up being the most sustainable item of clothing in my wardrobe for that reason alone.

I’d love a couple more of these. A leopard print one for sure and perhaps a red one … predictable much! But first I have to make something a bit more exciting. And I’ll tell you all about that real soon.

In the meantime, here’s to boring practical clothes that go with absolutely everything and for a quick sew fix too!

Are you sewing much over lock down? I’m struggling to get as much sew time due to work pressures – everything is taking so much longer so I feel like I’ve lost so many hours in my day. But all things considered, it could certainly be much worse!

Wishing you all well in any case.

Janene x

Operation Christmas Dress complete!

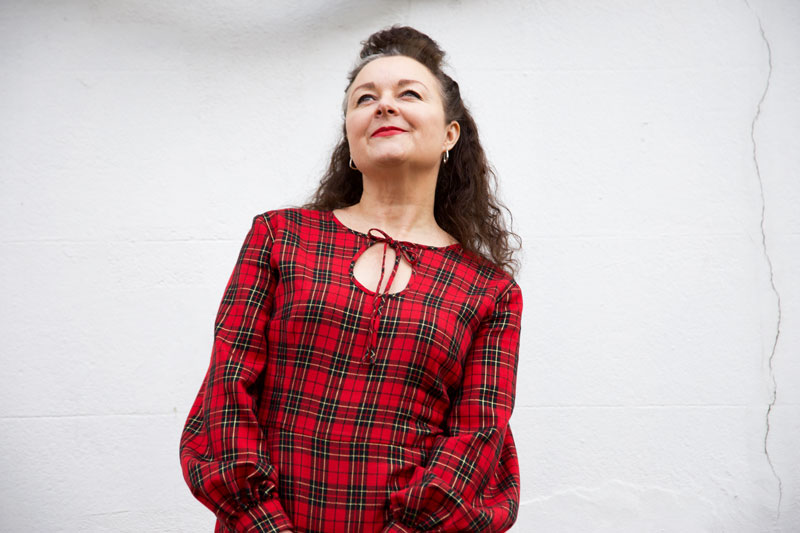
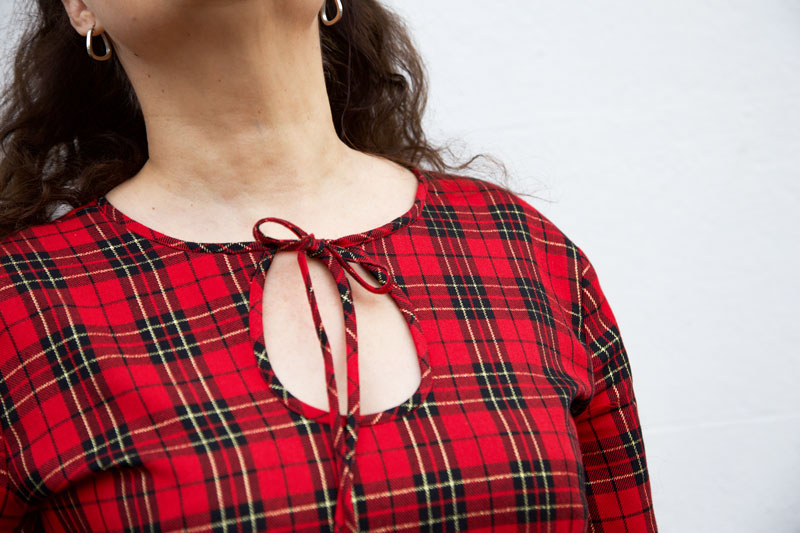
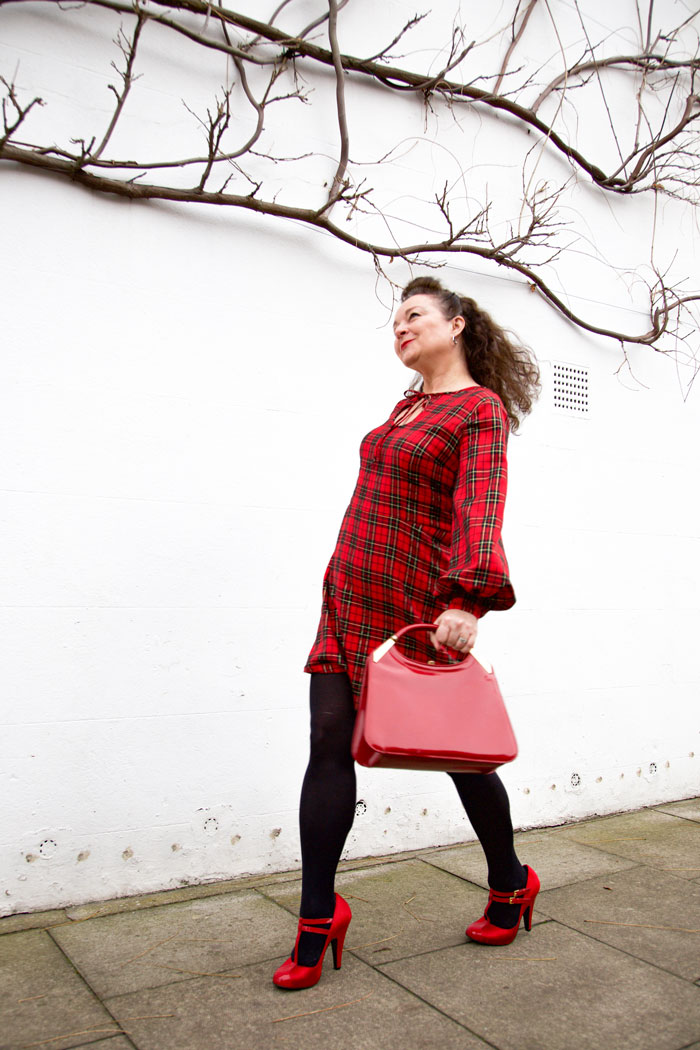
handmade tartan dress with teardrop opening

Hopes were fading to get this dress finished on time for Christmas Day. But the sewing gods were looking down on me, somewhat favourably and I sewed them cuff poppers on quite literally at the stroke of midnight on Christmas Eve.

Oh how I love ‘the night before Christmas’ – When all the shops are shut and there’s nothing more to be got. The street outside is quiet; the Christmas tree lights twinkle at their brightest and that sweet little shot of sherry slips slowly down the hatch! Perfect time of year to have some hand sewing going on in front of a festive telly-box movie, too!

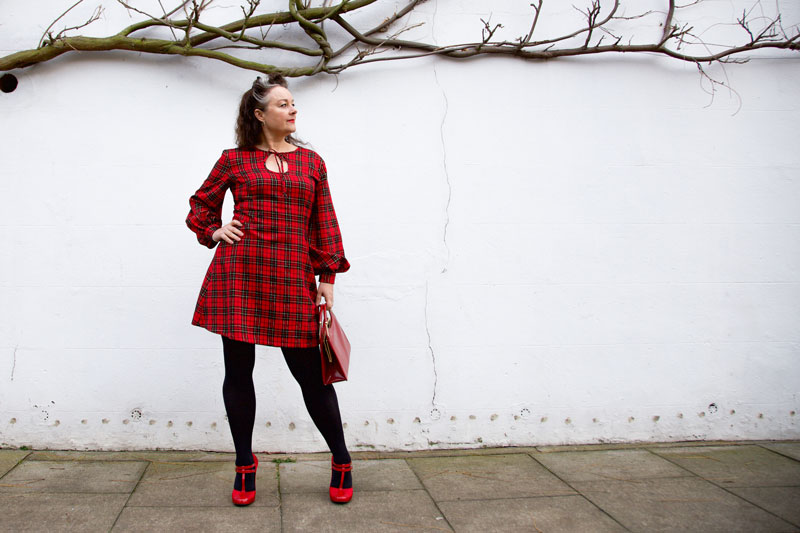
Tartan Christmas dress front

This dress is most definitely worthy of an ooobop original issue number 2. The turtle neck dress I recently made almost had a tear drop neckline but in an effort to walk before I could run, I saved it for this time.

The process was exactly the same:

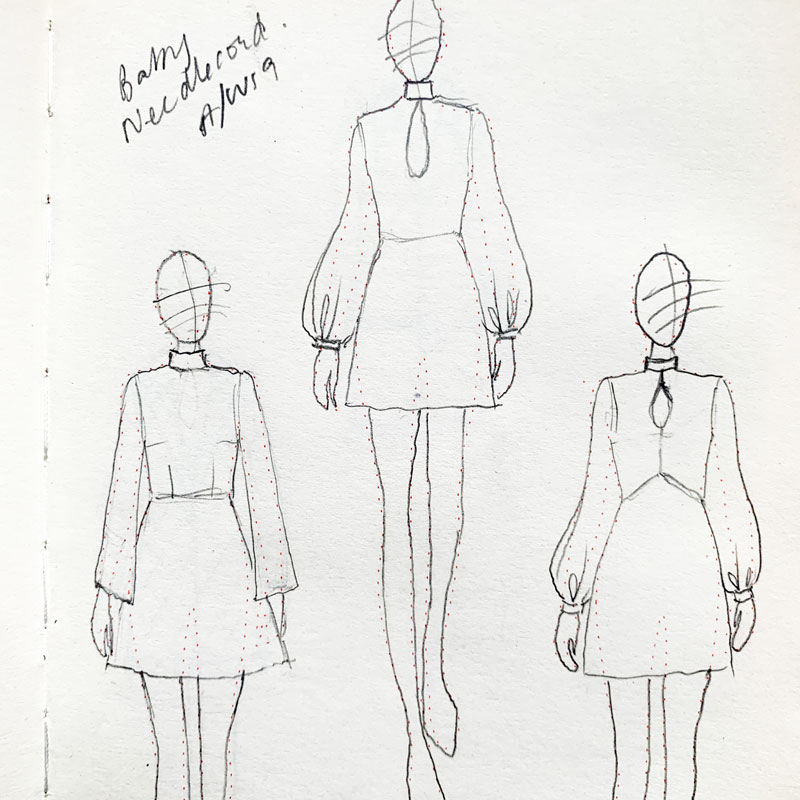
  • I dreamt the design
  • I drew it in my Fashionary sketch book
  • I self-drafted the pieces from my previously created blocks, using Adobe Illustrator
  • Printed and tiled the pattern pieces
  • And sewed up the finished article.

This is proving to be my favourite method of dressmaking to date! That said, I’ve got so much still to learn and I’m anticipating some frustrating times ahead so I’ll still be checking out Indi and vintage sewing patterns when I need some respite!

To edge the teardrop – thus avoid lining or facing – I dug out and dusted off the bias tape maker. To be fair I don’t think its much quicker than the manual ironing method but it’s a bit more fun… when it works!

Close up detail of teardrop opening

I’ve messed up many a time binding edges so this time I knew to start with sewing the right side of the binding to the wrong side of edge of the teardrop opening. I used my quarter inch foot for a consistent seam and took it real slow. Any unevenness is corrected when the binding is pressed in position to the front. (It doesn’t matter if it’s a bit wonky on the back because it won’t be seen. The entire reason for starting on the back!) I then clipped the seam in the curved areas before slowly and carefully top-stitching close to the edge on the right side to finish the binding, where it does matter! That final press is so satisfying.

I then used two more folded bias strips to bind the neckline from back to front, concealing the top edges of the teardrop, and continuing the topstitch to the ends to form the ties. I sewed across the ends of the ties to prevent too much fraying. I’m happy for it to fray a little.

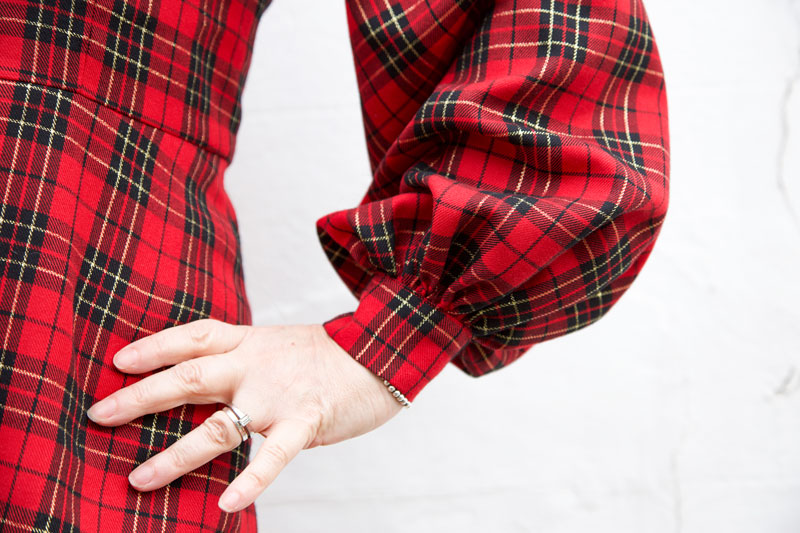
Now lets talk bishop sleeves – Lovely big billowy bishop sleeves! They’re a bit trendy at the moment but to be fair they’ve never been out of favour in my fashion world!

close up of sleeve and cuff

I took my sleeve block piece and similarly to how I flared it last time, created 4 slash points and spread the pieces till the width was a little more than thrice my cuff measurement. I didn’t deduct the length of the cuff from the sleeve as I wanted the fullness to overlap the cuff which it kind of does but the structure in the fabric doesn’t really make it perform as it did in my head!

The cuff is sewn akin to the binding to hide the seam and there’s a small overlap for the poppers.

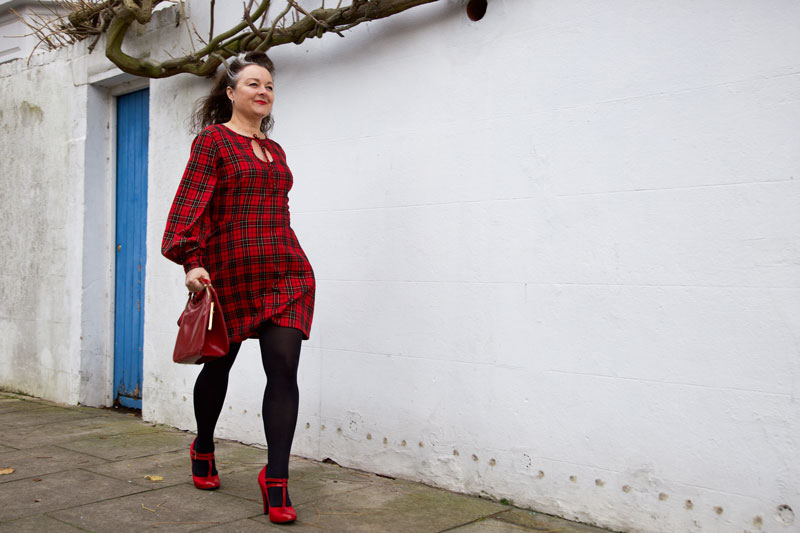
Walking in my new dress

I really want to rehearse another, even more fuller bishop sleeve on a blouse made with a lighter viscose. Just to see how differently it behaves. I really want to add some lovely button loops and buttons to the cuffs too which I didn’t do here mostly because of time restraints, hence the poppers!

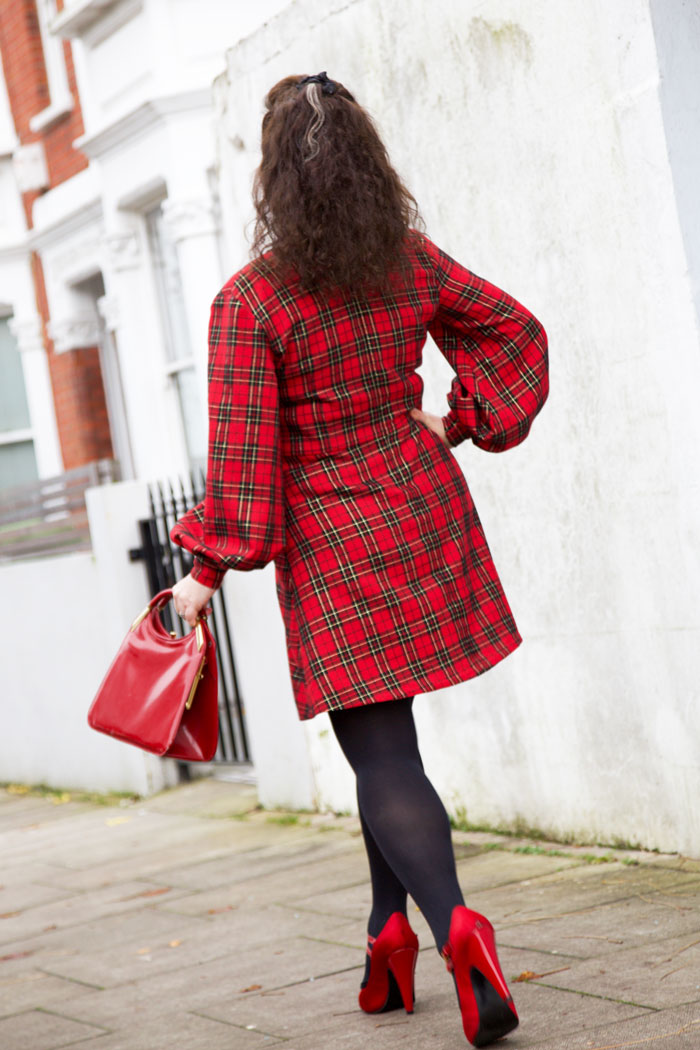
The rest of the dress is constructed the same as the turtle neck one: inserting an invisible zip in the back. And I must add how chuffed I was at just how invisible it turned out with all those checks matching up either side.

Back view of dress

After all that work I didn’t wear it on Christmas Day. I decided to spare it from the cooking splashes and wine spillages and wore it out on Boxing Day instead. Despite it’s festive feel, I will be wearing this dress at every other time of the year and occasion for when tights and sleeves are necessary. The fabric is 100% cotton except for the metallic gold thread and is so comfy to wear. Not surprising that I debated using the fabric for PJs initially!

striding out in my new tartan dress

It carries a lovely little memory too as I purchased the fabric on a sewing blogger meet up organised by @ClaireSews for when @liblib came to visit all the way from Austraila. We chatted over coffee and shopped our little hearts out in the Goldhawk Road. I wasn’t supposed to be buying more but @ella_yvonne convinced me it had my name on it! Always such a treat to meet like-minded sewists IRL.

I’m not holding much hope for completing anything new before New Year so I’ll take this opportunity to wish you all a fabulous, creative and healthy 2020.

All the very best of wishes and lots of love from Janene xxx

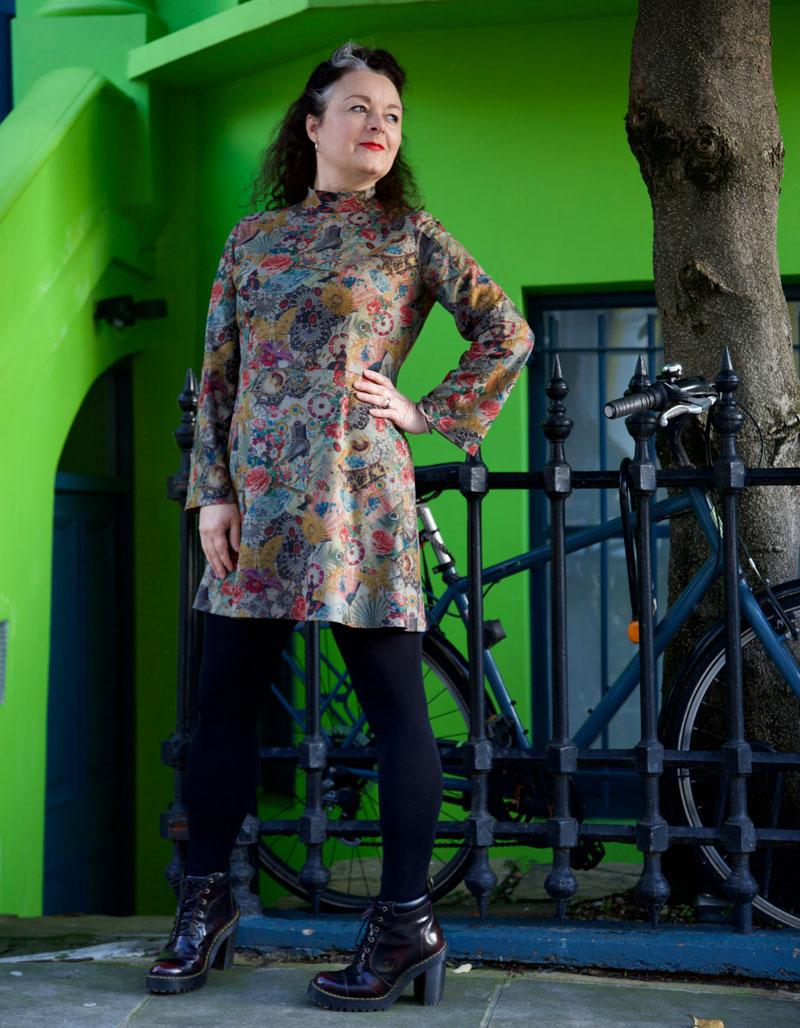
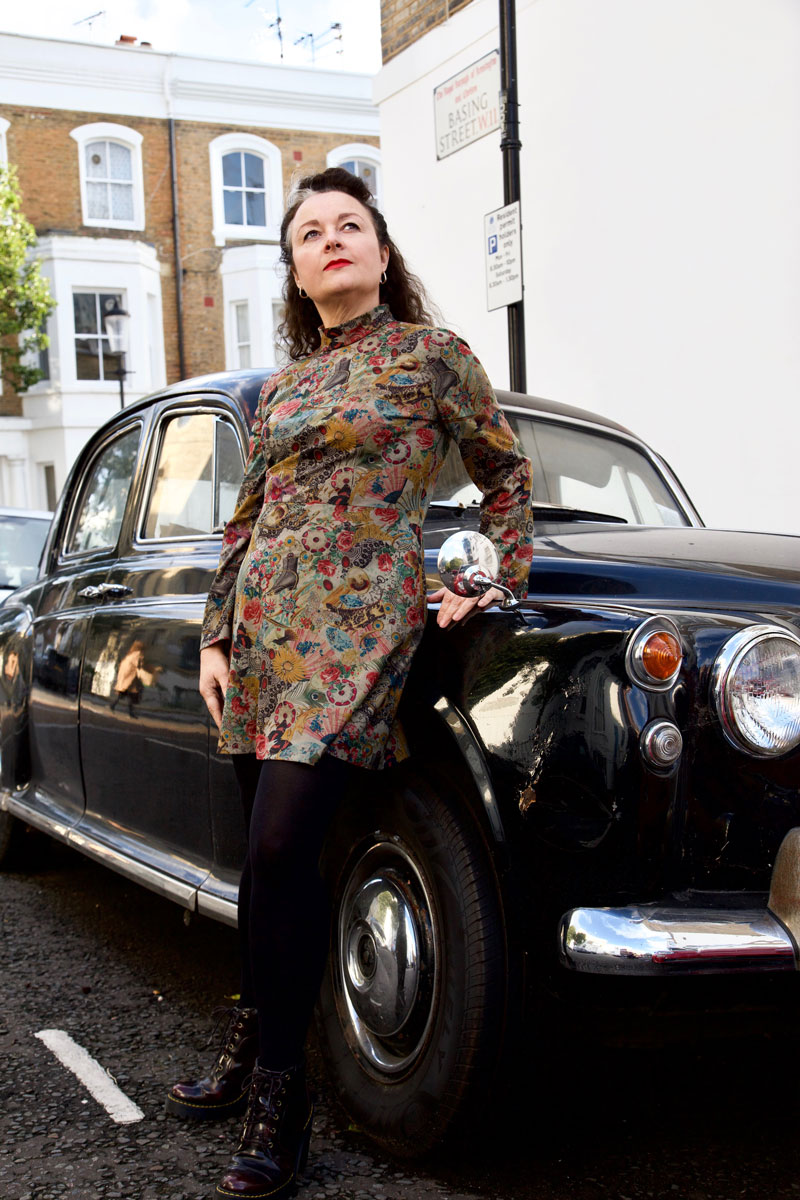
Ooobop original 70s style dress

ooobop original 70s style dress

The thing I love most about sewing is the eternal learning curve. I will always be on a joyful journey of discovery because there is no chance I will ever learn it all in my lifetime but with every little milestone I reach I get a little buzz of excitement which propels me to the next level and this little dress is prime example of my progress.

It might not be the most ground-breaking, couture class garment you’ve ever seen but its mine, all mine – an ooobop original

I dreamt it, I drew it, I drafted it, I sewed it.

sketches of the dress
Love drawing the possibilites in my Fashionary sketchbook

For sure, I’ve sewed and drafted for other people but never as successfully for myself. I’ve been bouncing between lessons on Craftsy’s Blueprint and instructions from various pattern-making books but it transpires the reason it took me longer to fit myself was my own dishonesty. Denial of my actual measurements. Reluctance to accept the differing pattern shapes to the examples given. Even cheating my measurements knowing it would look better if I nipped in certain stats. Desperate. IKR!

wearing ooobop original 70s style dress
Striking a pose in Notting Hill

And it just goes to show that you can’t cheat at maths. On the fourth attempt at a moulage (a close fitting blue print from which one adds ease to create a master sloper ) it bloody worked! I was so happy . Literally danced around the room in nowt but a pair of pants and the moulage for a good half hour. And then it dawned on me all the possibilities.

Classic pose with a classic car

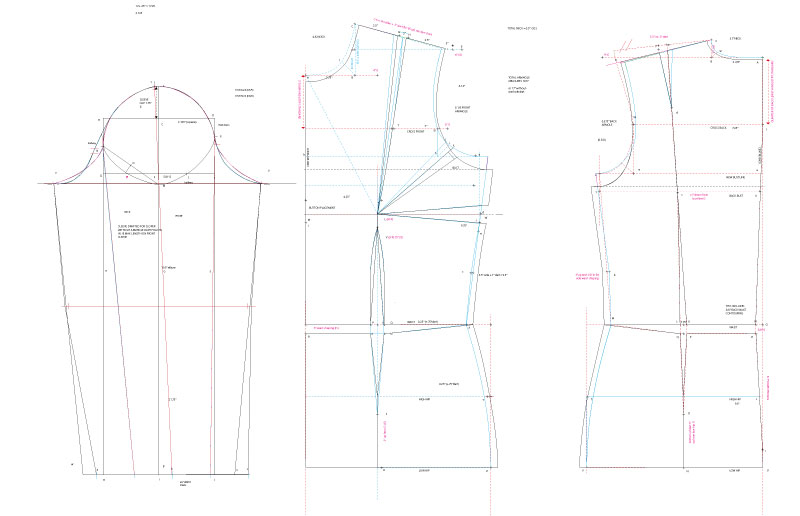
But first I had to add ease to create the sloper. Another milestone reached as I’m getting much quicker and more efficient at drafting in Adobe Illustrator. Luckily I use this programme for my job as a graphic designer and can justify the substantial Adobe Creative Suite subscription. But it makes it all the more satisfying that I am getting untold extra benefits from its use. My space is so limited at home and the prospect of getting out and putting away all the giant drafting materials is exhausting in itself, before I’ve even put pencil to paper. Drawing patterns using my laptop and being able to store them digitally thereafter is literally life changing, for me!

Sloper created using Adobe Illustrator

Once I’d drafted the sloper, the only other piece left to draft was the turtle-neck collar. That was a case of simply measuring the neckline and cutting a bias rectangle piece to that length and 6″ wide. It was sewn like a bias binding around the neckline. I left the back edges open to insert a zipper to the top of the neckline then folded the facing part of the collar to the inside and finished by hand.

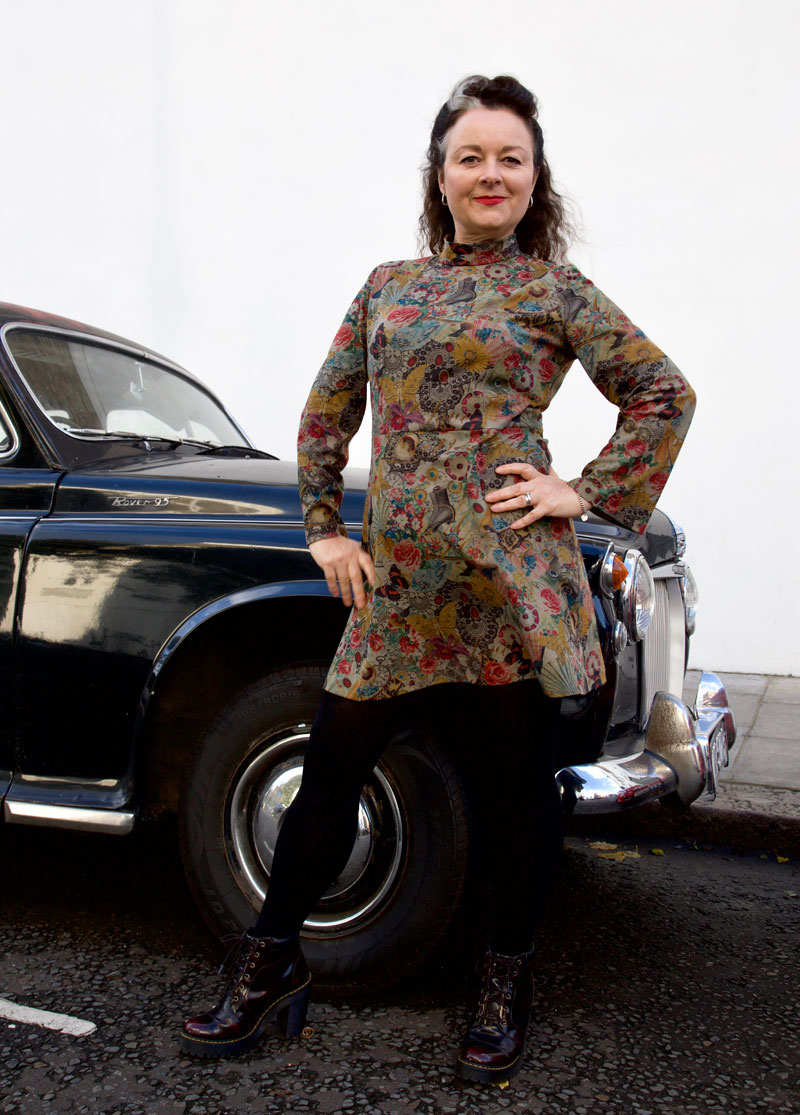
Striking a different pose with the classic car. Loving the silhouette
I do love the simple silhouette of this dress

I had originally planned an extravagant bishop-style sleeve but I didn’t think I’d have enough fabric for such indulgence, so I settled on a slightly flared sleeve instead – slashing and spreading my sleeve sloper from wrist to sleeve cap.

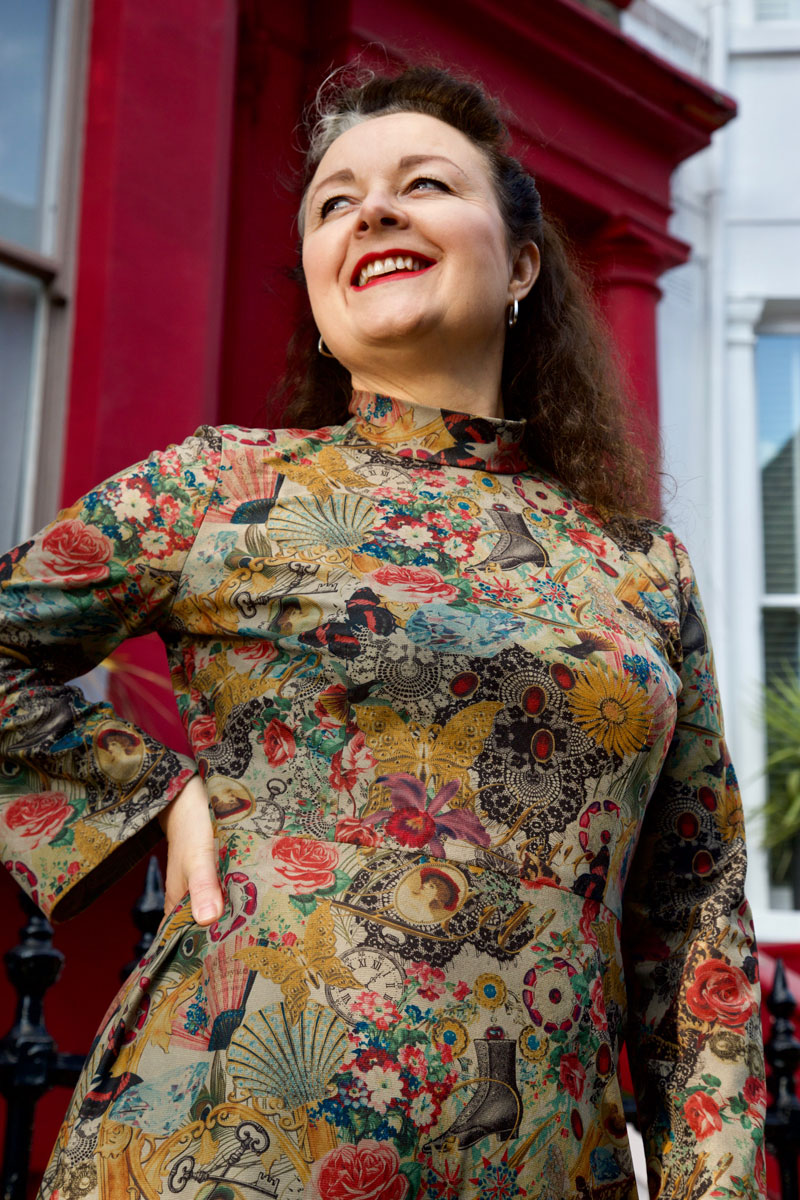
And while on the subject of fabric, let me tell you how I came by such a perfectly suited piece. Every now and then I venture out on a little sewing people meet-up. One of my favourites is  organised the London Stitchers Meet Up.  The last one I attended was held at The Blue Boat in Fulham and involved a fabric swap. Such a great idea to downsize that stash and to swap a piece or two that might not have plan attached, for something that triggers an instant course of action. Interestingly enough I had no plans on bringing any fabric back home. I’m trying to use what I have and not buy/acquire anything new but the stars instantaneously aligned when glanced over Giorgia’s shoulder to see it sat wantingly in the corner.  It was a beautifully soft baby needlecord (I think) with a vintage style montage print. I always maintain I’m more about texture than print but there are always exceptions to the rule. Thanks so much to Lauriane Loves Sewing for bringing it to the table. I do hope I’ve done it justice.

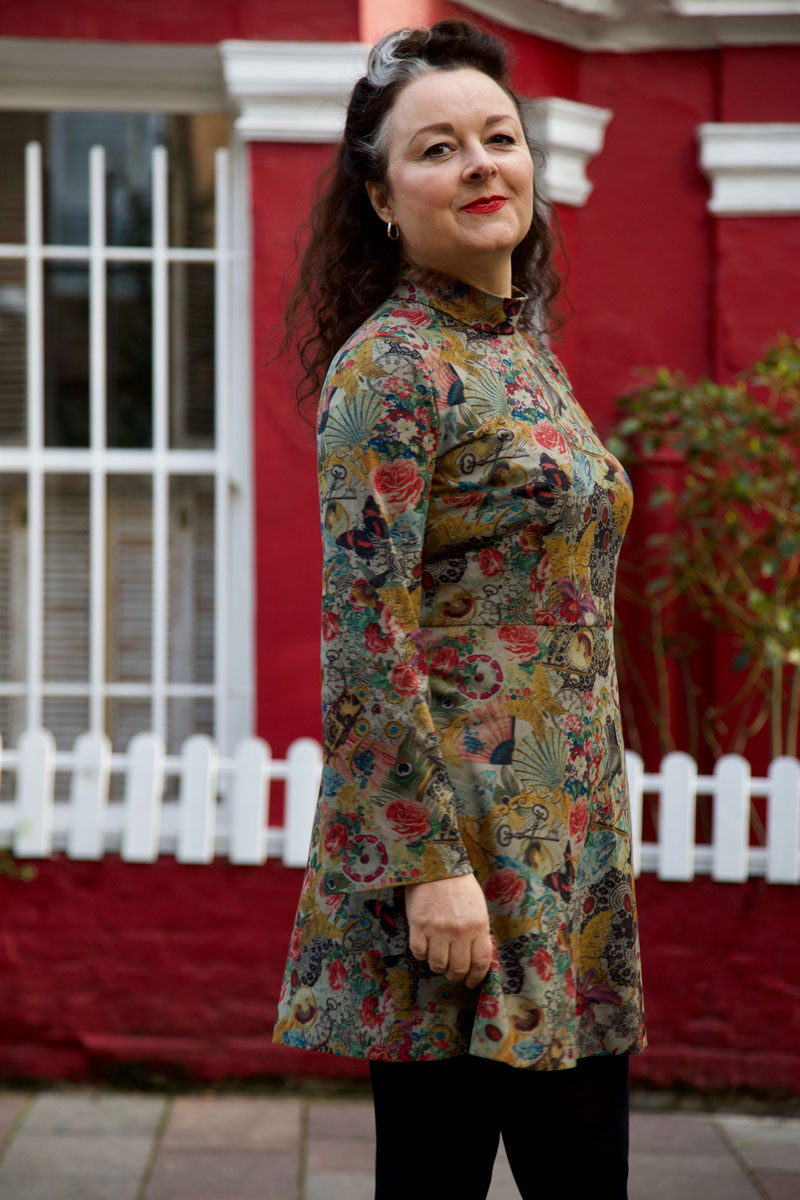
ooobop original 70s style dress

So why am I creating so much more work for myself when there are plenty nuff awesome patterns in the world? Each stage of sewing this dress confirmed what I good idea it was. The notches aligned perfectly. The bust darts hit where they were supposed to, the shoulders finished on my shoulder line. And I confess I stood and I stroked and I marvelled at how well they did, for quite some time.  No puckers, nuffink.

Marvelling at the inset of my sleeve caps

Add to that the waist sitting where it is meant to, no pooling in the small of my back and Bob is definitely my lobster! Gotta love it when an invisible zip becomes super evasive too!

Back view of dress with no pooling

Well I think that’s just enough of me blowing my own trumpet and time for me to big up the talents of my super lovely, supportive husband, Daniel. I’m always the first to run out of steam, just knowing there’ll be a hundred good shots even if I am pulling a stupid face in 50 percent of the contact sheet. But he always want’s just one more. And its always for good reason and I thank him from the bottom of my heart.

Lying on some steps in my 70s style dress
In response to ‘Just one More’!

And he’s available for booking. He loves an event. So good at capturing those  off the cuff, journalistic poses. So if you have an upcoming event and in need of a trusty photographer please do check out his portfolio here or contact him at danieljamesphotographic@gmail.com.

Thanks for swinging by. Your readership and comments mean the world to me and add so much to my journey. Wishing you all a gloriously productive weekend. xxx

Previous attempts at self-drafting:

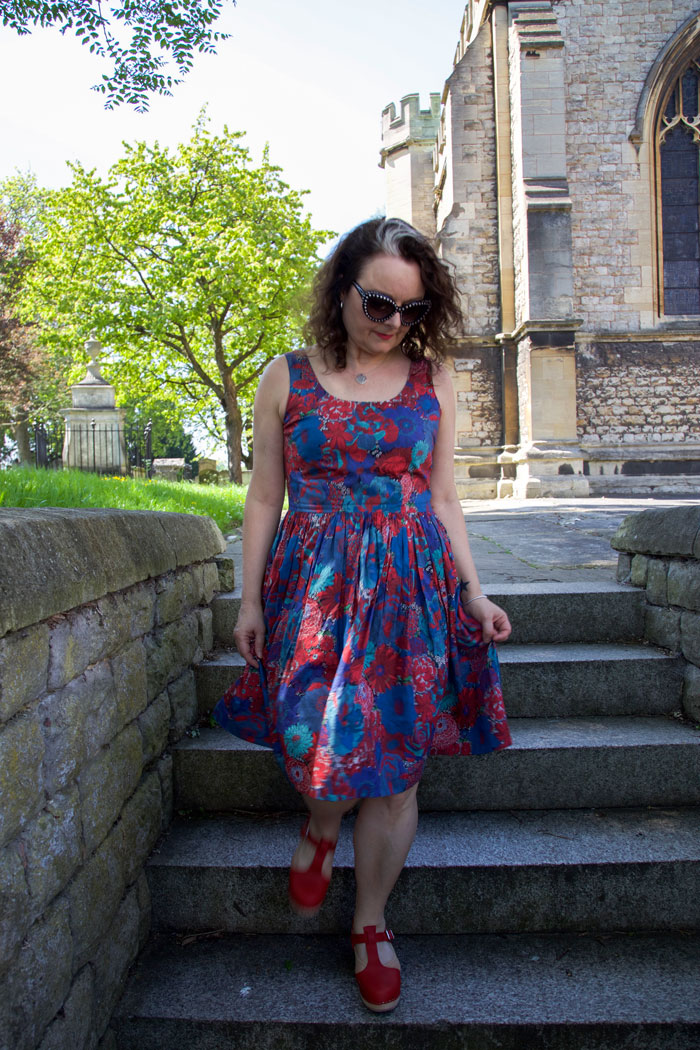
Self-drafted Liberty lawn dress

Liberty Lawn dress by ooobop

What a glorious weekend. Unlike almost everyone I know, I didn’t make any plans and for a while I was fighting the fomo as I scrolled through hundreds of family getaway posts. But today I am glad. Not only have I ticked off a few niggly household jobs but I’ve had lots of me time to stop and think and evaluate. Those kind of days are as rare as hen’s teeth despite a generalistic view of ones freelance ‘flexibility’.

self drafted dress by ooobop

I did however manage to squeeze in a lovely river walk with Mr O who kindly took some photos for this blog post. He’s so busy with plans for a new show (a very exciting show that I will tell you about soon) that it’s quite difficult to sync a weekend together. But we managed a trot from Hammersmith to Barnes and back and talked and laughed… a lot!


Liberty lawn dress by ooobop

I’m wearing another self-drafted dress. I don’t self-draft nearly often enough, mostly because it’s a time-hungry process but every time I do I’m reminded of how much more satisfying it is to make a dress that is totally bespoke.

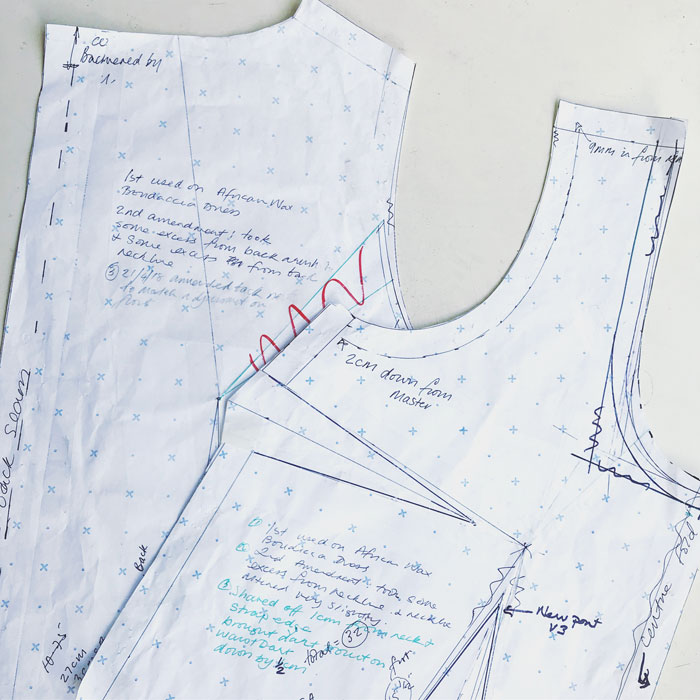
Now it’s not the most original or ground-breaking in design… that comes later (lol)… but it fits. Because I made it fit following various stages of tweaks. My pattern pieces look such a mess with all the scribbles and notes but they are truly important scribbles and notes which tell the story of the journey of fit each time they have been used.

self drafted bodice pattern ooobop

My first fitting was practised on a retro-style top in 2014. The next time I used the pattern was for this wax-print dress – same bodice but a half-circle skirt. I had minor issues with the neckline and corrected it for the third fitting: my skulls and roses dress.


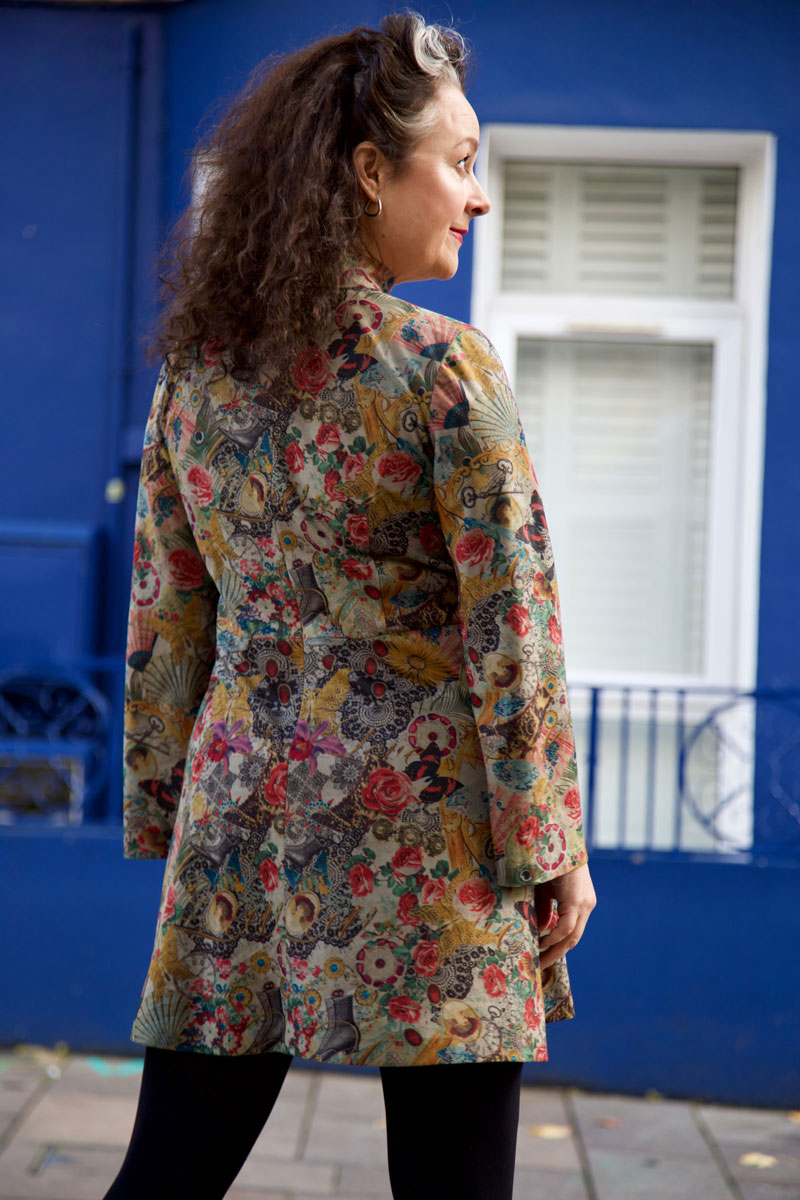
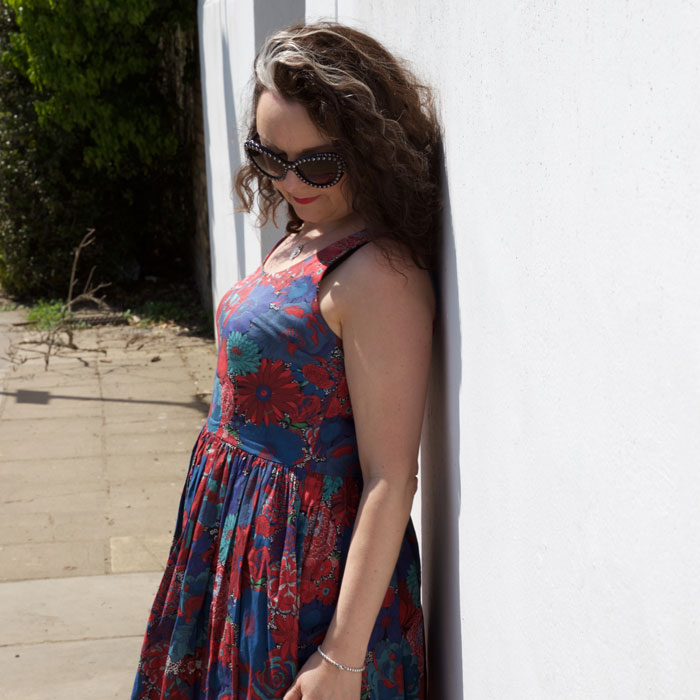
The beautiful fabric is of course a luscious Liberty Lawn. It was a birthday present from a very thoughtful friend. I had 2 metres and didn’t want to waste any of it. The bodice is self lined which feels so good against my skin and was perfectly breathable for a hot sunny stroll. I drafted the armholes to cover that squidgy boob-fat bit (is that the technical term?) and so that the straps don’t fall off my shoulders. That combination involves a fine balance as my shoulders are quite slopy. There is a zip in the left hand side –vintage-style –  so that I didn’t have to split the fabric on the back piece.

Dress design by ooobop

For the skirt section, I took the whole 60″ width to make a dirndl. For anyone who’s tried – I’m sure you’ll share my appreciation of how damned satisfying it is to gather lawn. And out of respect for such a beautiful fine fabric, I hand- sewed the hem. Not only does this fabric gather beautifully but there’s a pleasure in pressing it too. It just stays and makes the whole hand stitching thing a breeze.

Dress designed by ooobop

I give small leftover scraps to my local primary school for them to use in their craft projects and I’m sure they’ll be delighted with the quality this month. I’m certainly glad that I didn’t have to bin them. I absolutely could not have brought myself to have even put my foot on the bin pedal!

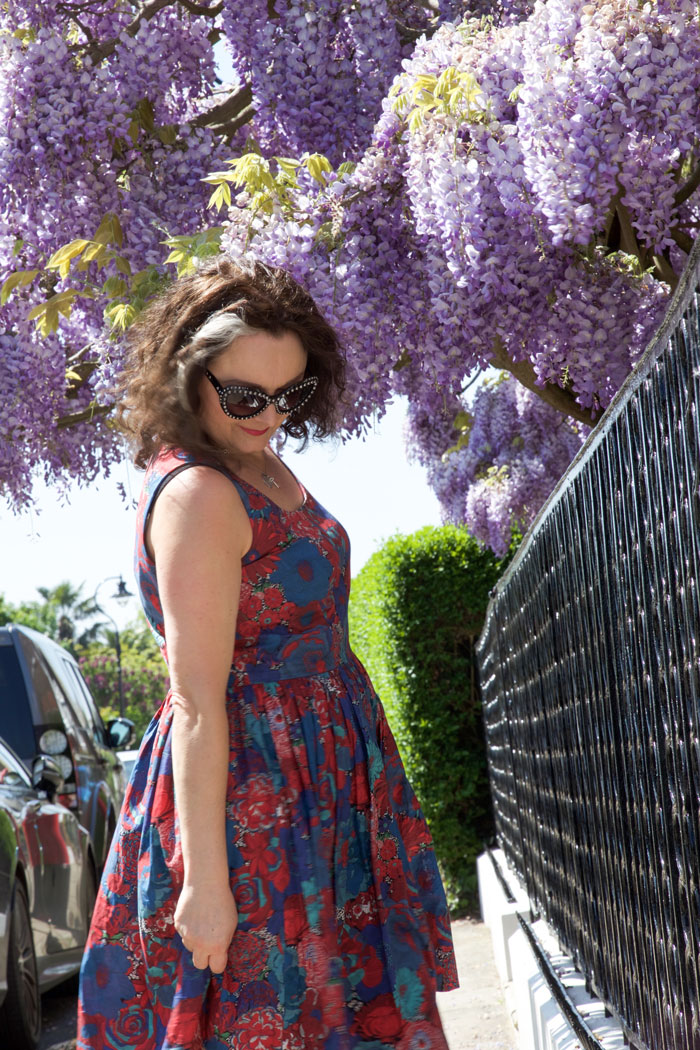
Our walk was lovely. The air was filled with warm wisteria  perfume. Not too dissimilar to doughnuts I think. Or is that just me?

Liberty lawn dress with wisteria

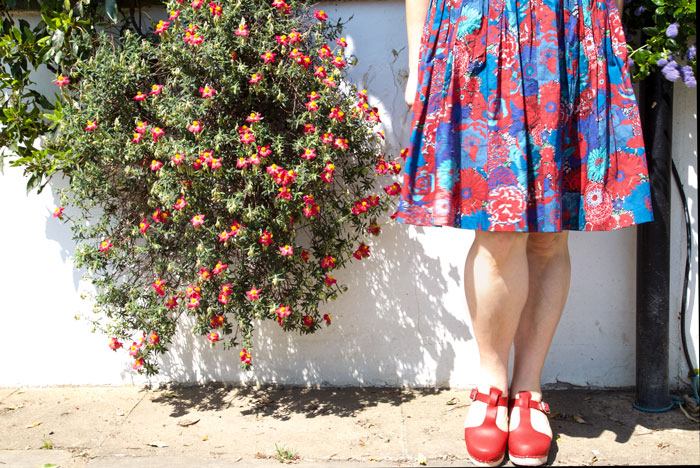
And can I just mention my shoes. Quite a step away from my usual heels and platforms. They are Lotta from Stockholm Clogs. Handmade and verified well made! And they come in all sorts of styles and colours. Go check them out! I’m not sponsored by them. I’m just very happy to pass on a good find.

Handmade dress by ooobop and Lotta from Stockholm clogs


Skirt-shorts (not skorts, ok?)

stripy skirt shorts

Anyone with a nine year old daughter will completely understand how increasingly hard it becomes to appease one’s little darling in the wardrobe department. My offers of handmade dresses and skirts are still mostly being politely refused but I’m ok with that because it keeps the project list nice and selfish!

skirt shorts

But every now and then she gets a bee in her bonnet about a must-have item of clothing that even Primani just can’t deliver. This weekend it was a pair of skirt-shorts. Not skorts, you understand. There is a difference apparently. I could see the little foot-stamp brewing when I Googled pictures of skorts and it was a while before the penny dropped. The rolling eyes of a nine year-old are a picture I can tell you!

stripy skirt shorts

Getting the picture was one thing. Getting the pattern was another. Only one thing for it. Had to self-draft. I’m not quite ready to share my winging-ways until I’ve perfected it. But suffice to say it worked, kind of. Well totally if you judge by the response of the recipient!

I’ve had this stripy jersey in stash for some time. Yes! Can you believe it? Another piece of stash successfully busted! Doesn’t appear to have reduced the pile any though.

stripy skirt shorts

I used the side-cutter attachment on my Brother Innovis to create some faux overlocked seams and I used a regular zig-zag stitch for the hem and the elastic casing.

The ‘brief’ was to create shorts that looked totally like a skirt. Mission accomplished though I think perhaps I made them a little too full – the waistband is really tightly gathered. Little Miss O assures me they are comfortable enough but I think they could do with a little less volume.

stripy skirt shorts

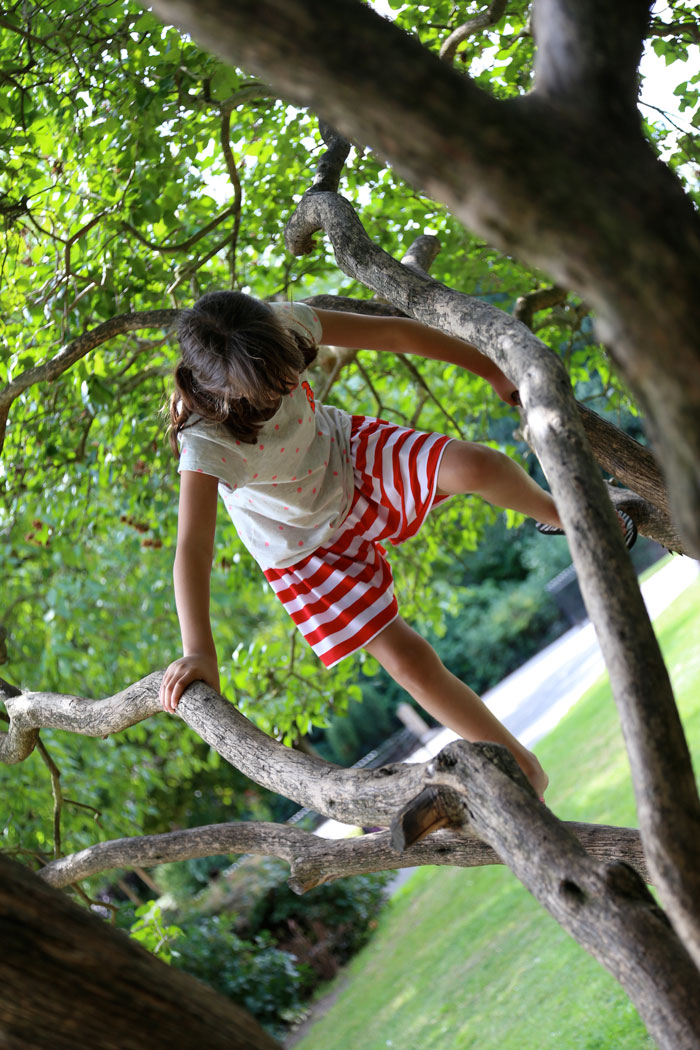
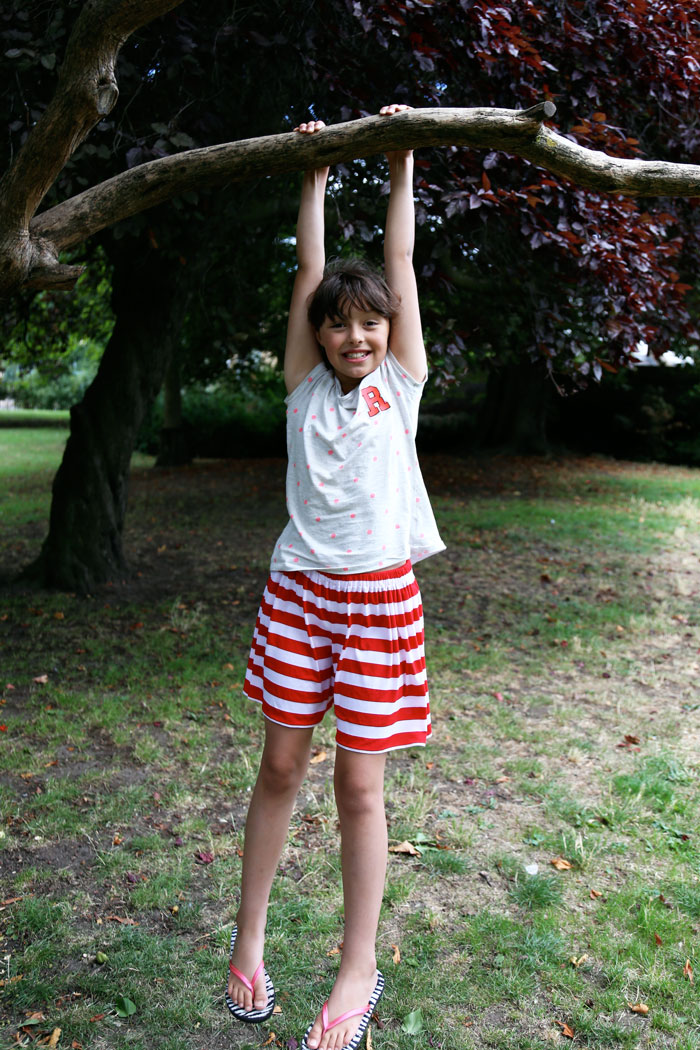
Who would have guessed that a pair of skirt-shorts would encourage such climbing skills? Making them was easy enough. Getting them off her to put them in the wash might be an entirely different matter!

stripy skirt shorts
Beautiful photos as always by my very talented fella, Daniel Selway.