Working on the bias: My first Sicily slip dress

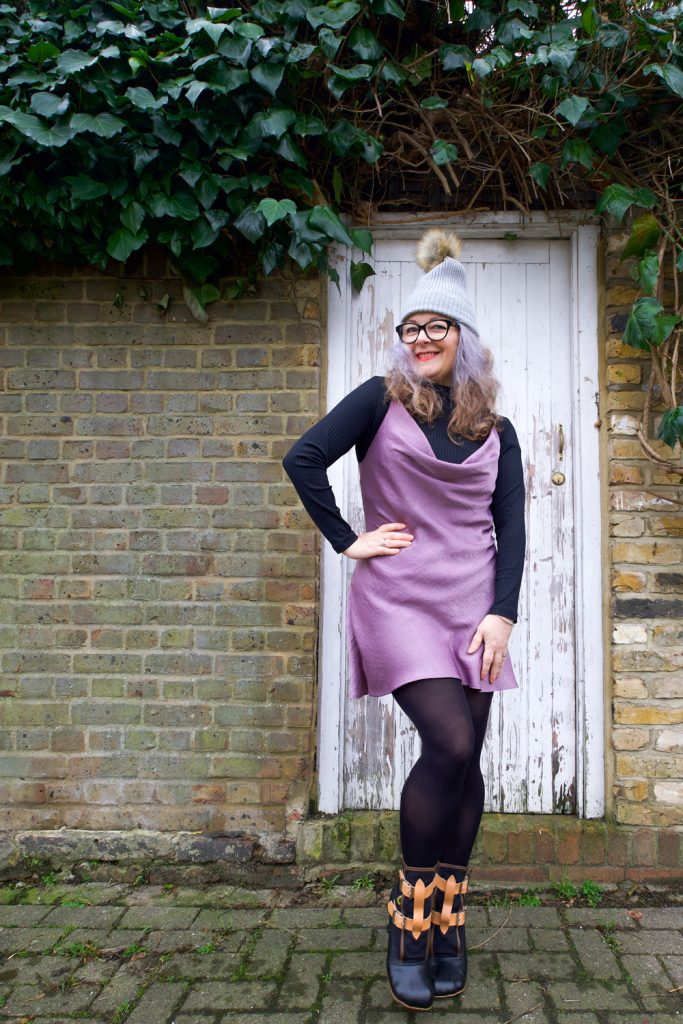
Janene is wearing her handmade Sicily slip dress and is posing with one hand on hip in front on a white door surrounded by brickwork and ivy overhead. She is wearing a self-drafted black turtleneck top, grey bobble hat, black rimmed glasses and Vivienne Westwood Bondage Boots.

I’ve been admiring all the Masin Sicily slips since I saw the very first one, with the same thought in mind each time ~ could I pull it off?!

It’s a very clingy nowhere-to-hide kinda dress and I’ve never been ok with putting my belly out there but I figured I’d never know the level of exposure until I tried!

But why the lilac Janene? Haha, I thought I’d get in there before anyone else does! Because to be fair I don’t often break out of my red and black palette. (I’ll be running back to safety after this post, don’t you chicken curry about that!)
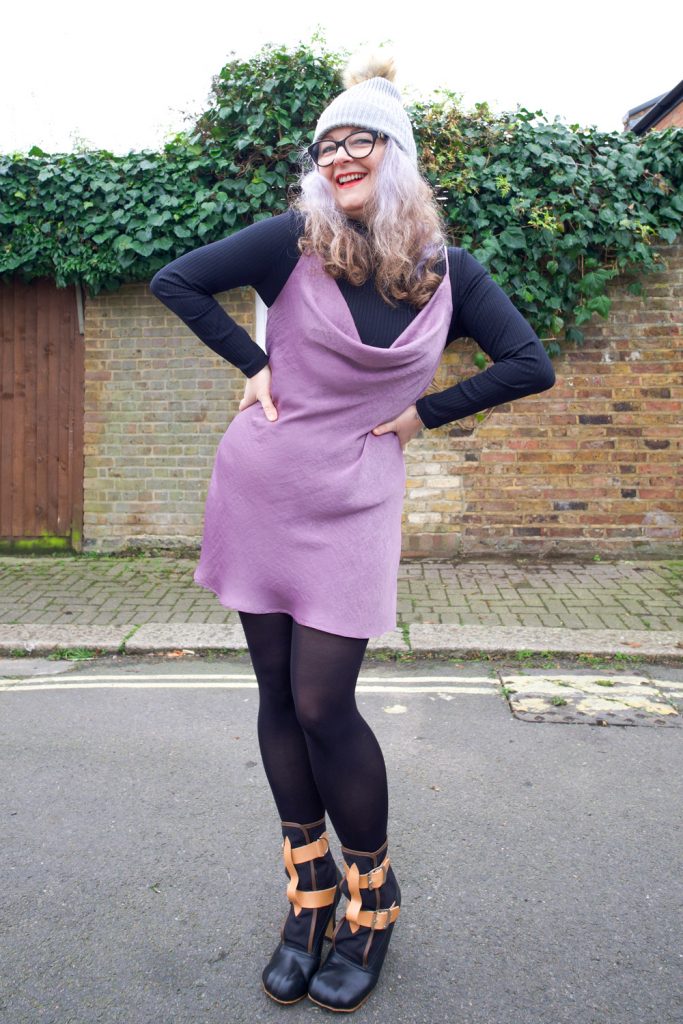
Janene is wearing her handmade Sicily slip dress and is posing with both hands on hips in front on a white door surrounded by brickwork and ivy overhead. She is wearing a self-drafted black turtleneck top, grey bobble hat, black rimmed glasses and Vivienne Westwood Bondage Boots.

Truth be told there was a lilac lovers party going on and fomo got the better of me! Hosted by Cut One Pair and Pigeon Wishes and to celebrate the collaborative button collection this is the second time in the space of a few weeks that an Instagram challenge has given me a push out of my comfy zone. My first being my now favourite jumper!

I have never sewn a bias cut dress. Save a bias cut skirt section of the BHL Jenna dress which I just realized I never blogged (doh!). And I can’t actually remember the last time I sewed a cowl neckline so I was really looking forward to (read, super apprehensive about) making this dress!
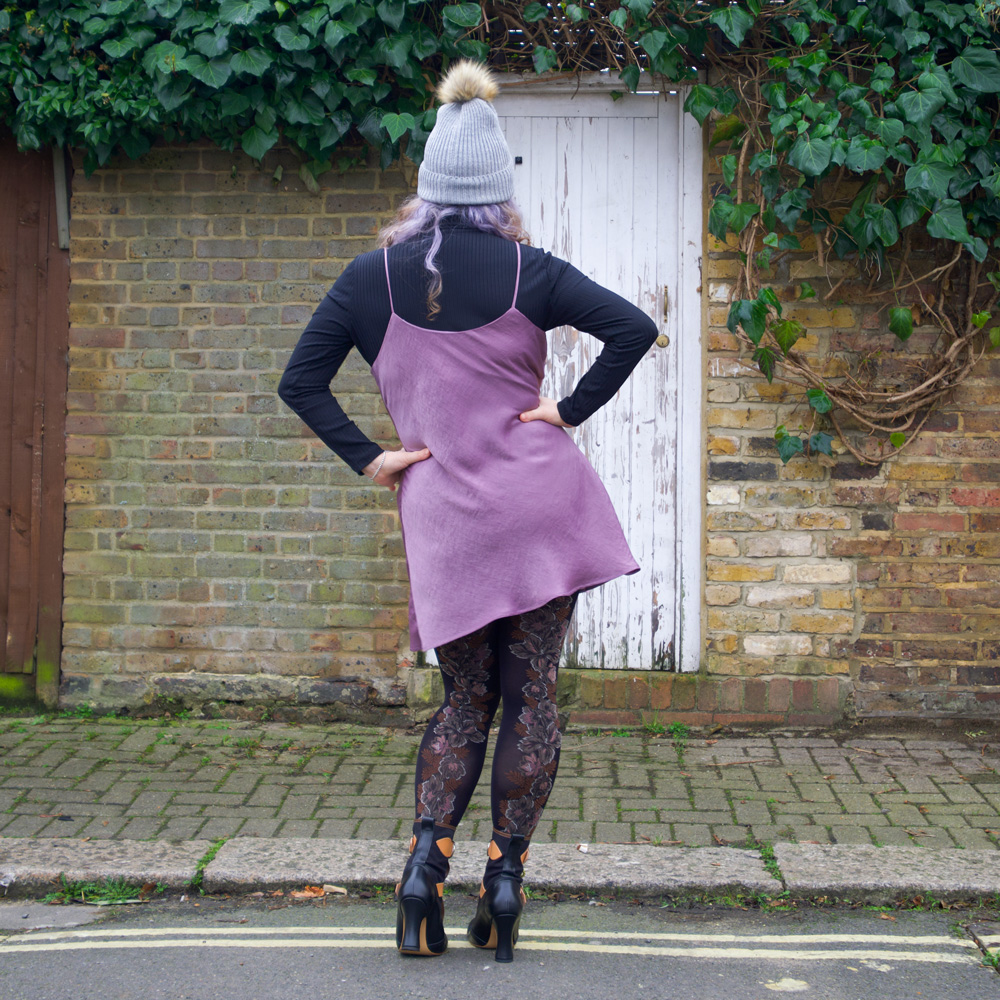
Back vew of Janene wearing her handmade Sicily slip dress. She is posing with both hands on hips in front on a white door surrounded by brickwork and ivy overhead. She is wearing a self-drafted black turtleneck top, grey bobble hat and Vivienne Westwood Bondage Boots.

Now for clarity (and first note to self) I have to say that putting together 50-odd sheets of A4 pattern pieces nearly drove me over the edge. And not for the first time. I don’t know why I put myself through this. Rewatching The Crown while I was doing it eased a bit of the pain but I so don’t want to do that again for a very long time!! Took me an age to get back up off the floor, if nothing else!

The next issue I had was cutting it out. I invested in an A0 cutting mat (Affiliate link) some time ago. It was quite pricey but equally worth every penny. I quickly learned that cutting slippery fabrics with scissors was not the best way forward the first time I tried! So I had both mat and rotary cutter lined up but still, working on the floor was a bit of a nightmare. I had to roll the rug back on the living room floor to pin the pattern to fabric and then roughly cut around each piece so they would fit on the mat to then be cut out more accurately.
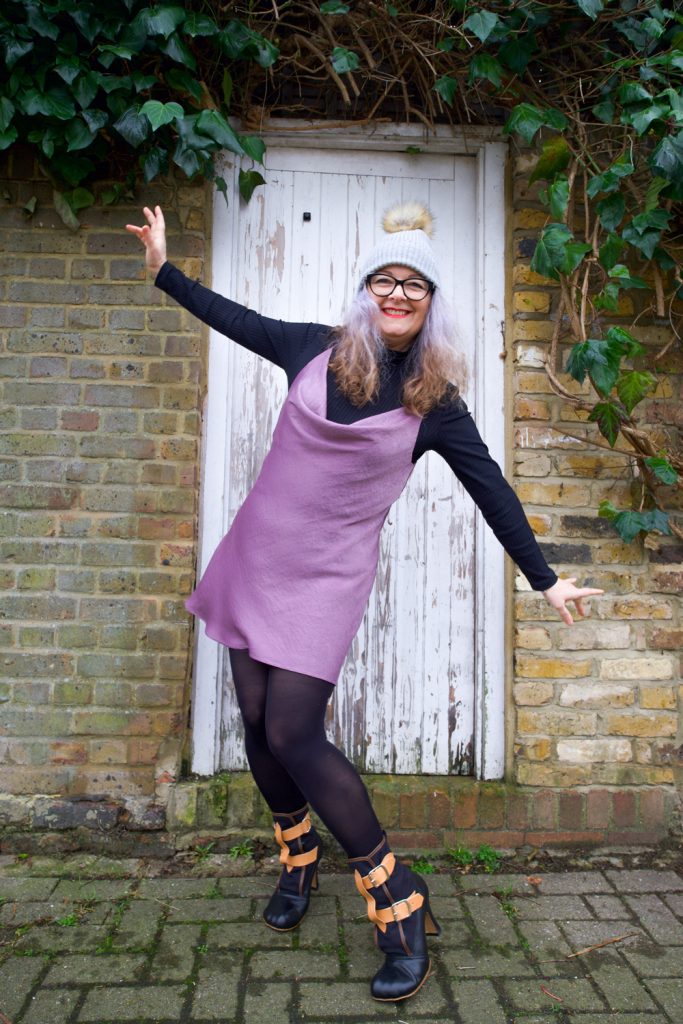
Janene is wearing her handmade Sicily slip dress and is posing with arms outstretched in front of a white door surrounded by brickwork and ivy overhead. She is wearing a self-drafted black turtleneck top, grey bobble hat, black rimmed glasses and Vivienne Westwood Bondage Boots.

It was better than I expected but the pinning and shifting of pieces was a little detrimental, I’m sure, and I’d have much rather have used pattern weights and cut on a large sturdy eye-level purpose built cutting table. Excuse me while I dream the sewing studio dream… again!

This is the first time I have used a sewing pattern by Masin and I have to say I found the instructions beautifully laid out, concise and super helpful. There’s a clear explanation of bias grain behaviour and how to pick the correct size. Having said that I still managed to pick a size too big because my hips are bigger proportionally than my bust (so I made the wrong choice instead of grading). And I think that is why my cowl neckline appears rather more dramatic than most. I’m still deciding if I’m comfortable with it. It’s perfectly fine layered with an undergarment but I’ve got a whole pack of tit tape at the ready for when I dare to wear it on its own!

waist up image of Janene, wearing Masin Sicily slip dress. She is holding 3 lilac colour carnations with both hands to the bottom of the frame. She is wearing black rimmed glasses and her head is back, laughing.

I was surprised that this view A with the skinny straps was suggested as the easiest version to sew. It’s taken me years to master those spaghetti rouleaus! But I have to say now that I’ve grasped it, I actually quite enjoy making them. I recently posted a little tutorial here if you are interested:  Rouleau Loops Made Simple

There are very few pattern pieces for view A – like front, front facing, back with facing, and strap – and no closures; so the rest of the instructions were super plain sailing BUT… and quite a big BUT…

I think I made a boo boo by stay stitching the bias side edges with a straight stitch. I’m not entirely sure because I could have stretched out the seams when it hung over the edge of the table as I sewed, or perhaps as I was sewing the actual seams. I did use a small wide zigzag stitch to French seam the sides but of course that was like closing the stable door after the horse has bolted! While the dress is hanging, the bias cut fabric is going to stretch more but the stay-stitching is going to… well, STAY! (Second note to self: try zigzag stay-stitching too!)
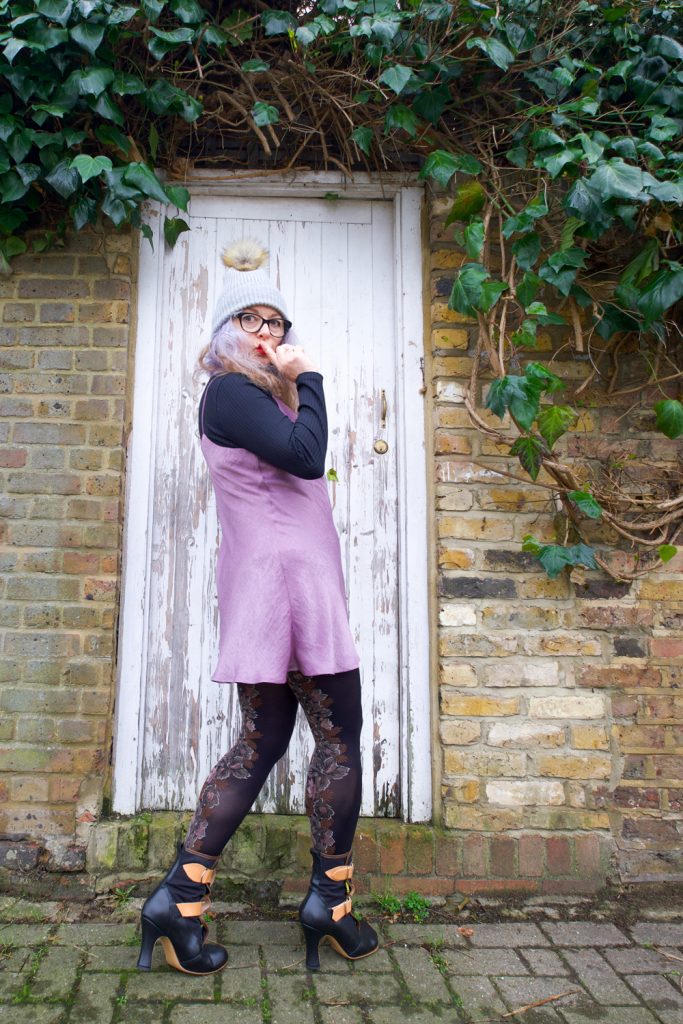
Side view of Janene wearing her handmade Sicily slip dress and is posing with right index finger on lip in front on a white door surrounded by brickwork and ivy overhead. She is wearing a self-drafted black turtleneck top, grey bobble hat, black rimmed glasses and Vivienne Westwood Bondage Boots.

All was not lost though. The worst of the puckering was near to the hemline and I had been mulling over a choice of midi and mini length at the start. So decision was made when I realised I could crop off the worst areas by going for a mini length!

I’m pretty pleased with my hemming too. I sewed a quarter inch away from the cut line and pressed as instructed and then sewed close to the second fold. Even though this velvet touch poly is totally synthetic I was amazed that it pressed so beautifully.
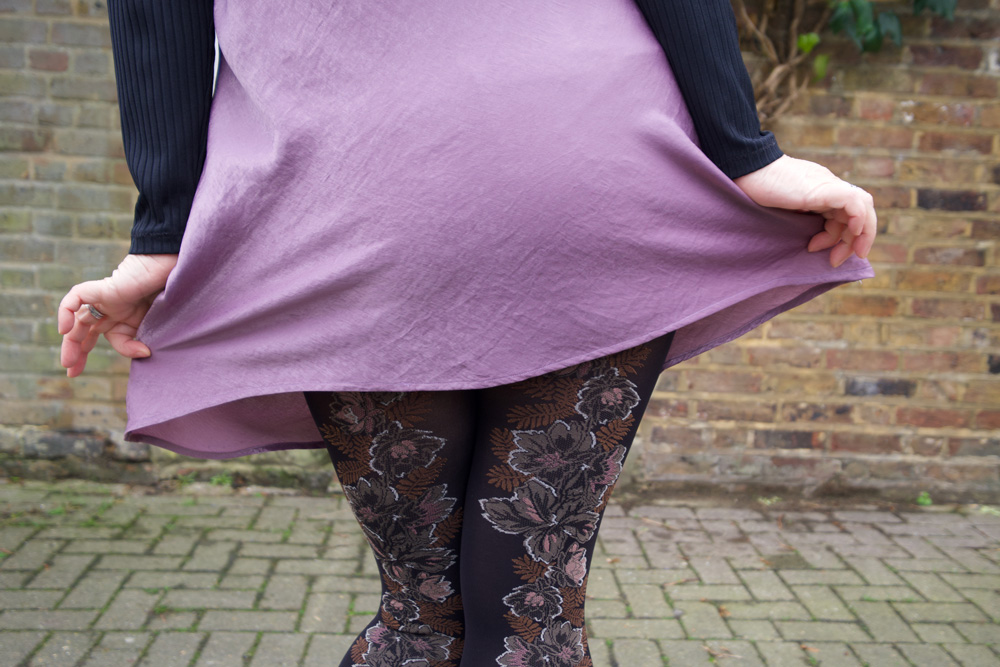
Detail of small hem on dress. Cropped image of hands holding out skirt to sides

Once again I have learned new things. Testing things but valuable lessons all the same and nowhere near testing enough to put me off trying again – the absolute best thing about sewing adventures!

All in all I am delighted with the outcome and I will be revisiting this pattern again. Leopard print satin is already prewashed and sitting patiently atop the stash! So if anyone has any thoughts about stay-stitching bias dress side seams before I crack on, please let me know in the comments below. And I will love you forever!
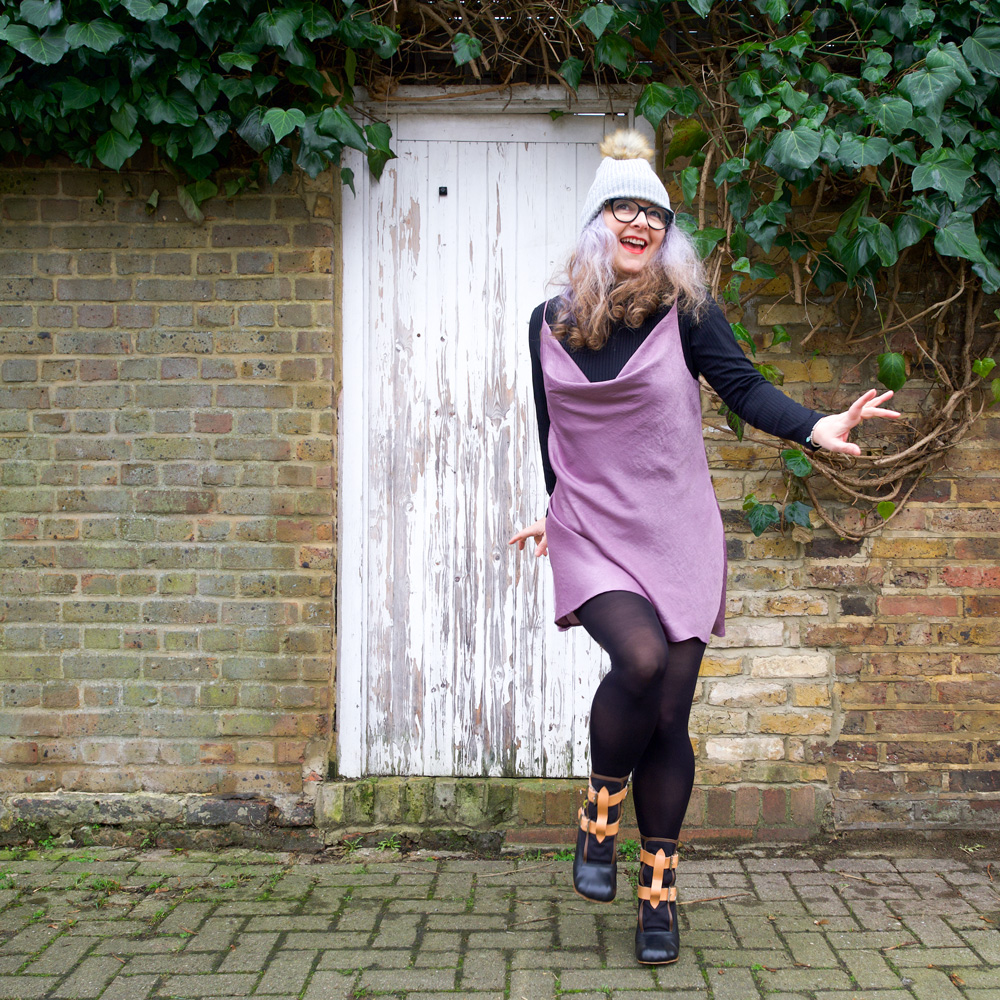
Janene is wearing her handmade Sicily slip dress and is skipping towards the lens in front on a white door surrounded by brickwork and ivy overhead. She is wearing a self-drafted black turtleneck top, grey bobble hat, black rimmed glasses and Vivienne Westwood Bondage Boots.

Lovely photos by Daniel James Photographic

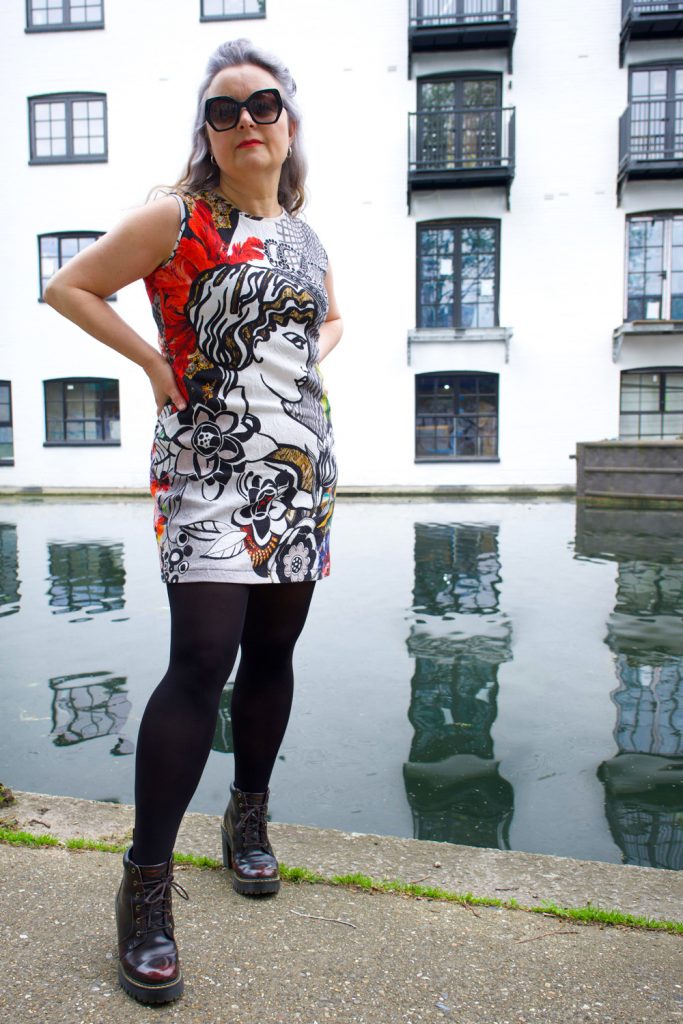
So much love for the self-drafted Dolce dress of dreams

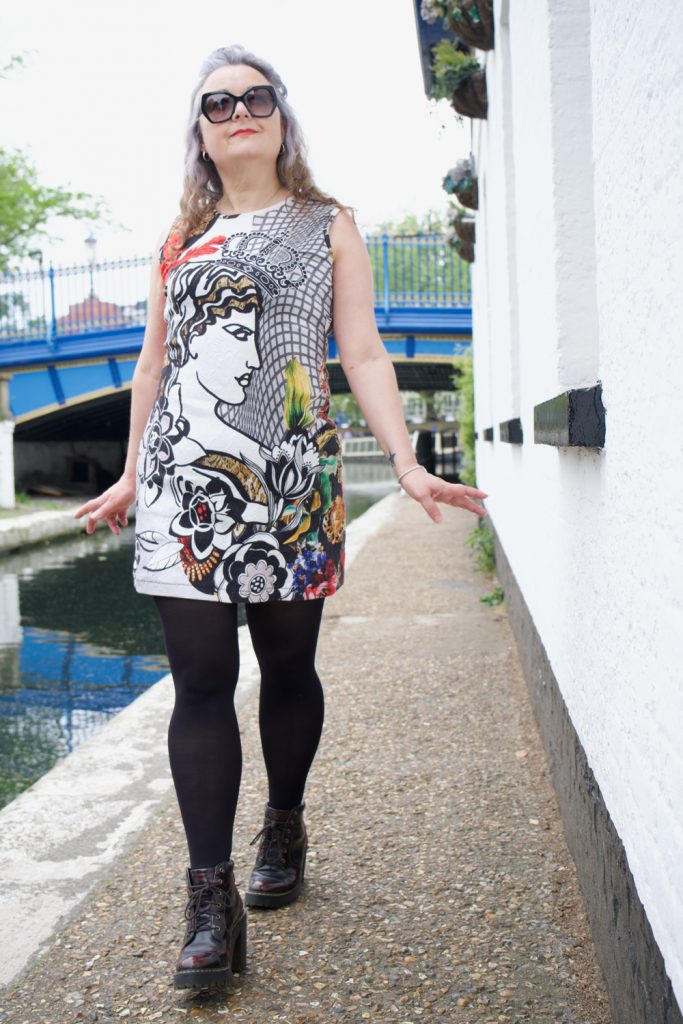
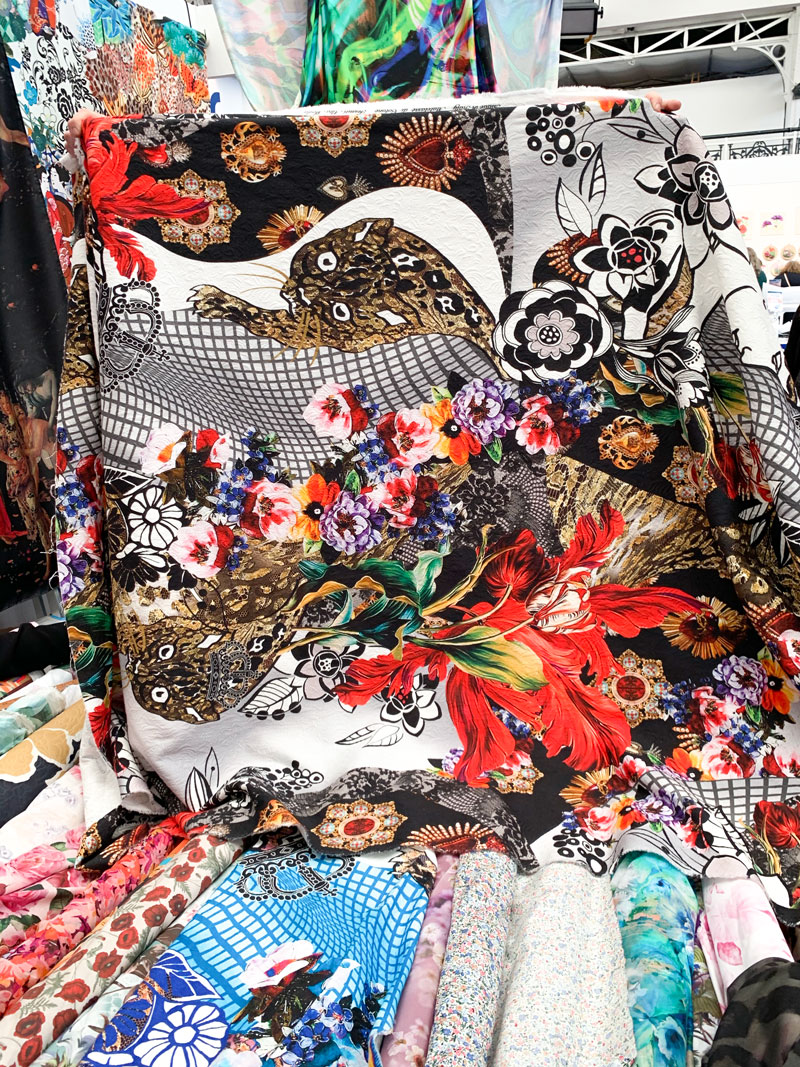
Remember that divine Dolce fabric I was compelled to buy, back at The Stitch Festival 2020? Well it just got stitched up. And boy oh boy it didn’t disappoint. 

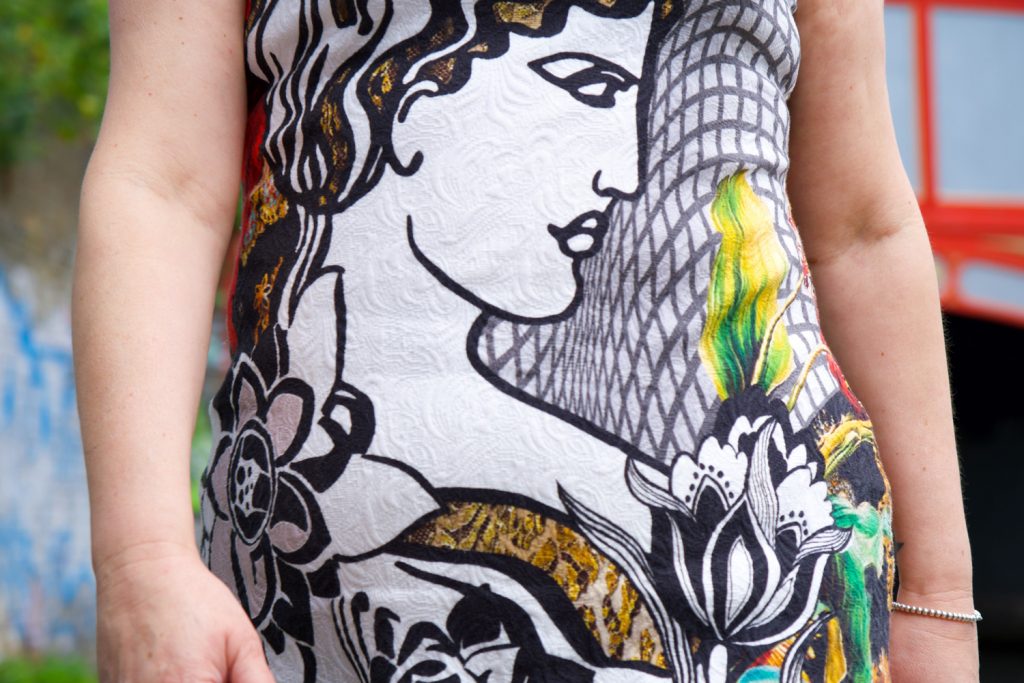
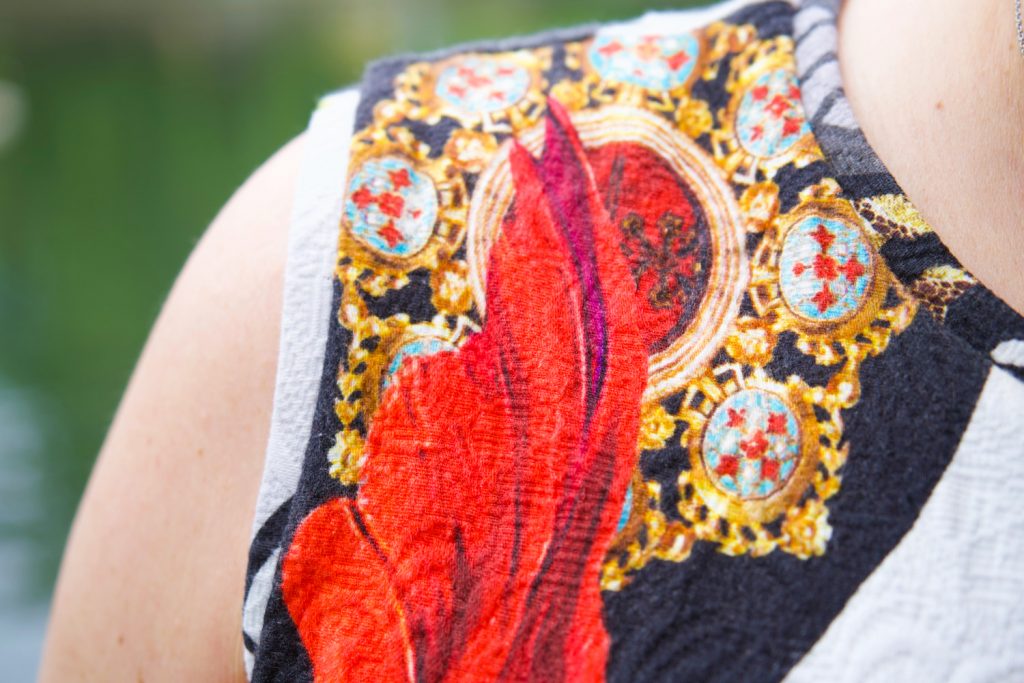
I had absolutely no idea what I was going to do with it at the time. But I knew it was going to be fabulous, even if I simply draped and cinched with a belt! It’s an Italian cotton metalassé according to the selvedge – a cotton and lycra Jacquard according to M. Rosenberg’s web listing. But all the same a quality weighty, textured stretch fabric of dreams. BTW, I pre-washed at 40 degrees and those colours still popped! And heads up, there are 3 singular metres left remaining on their site if you’re a sucker for a crazy-ass in-yer-face designer print as much as me!

Despite the try-hard distraction of the print, the texture of the metalassé holds it’s own

Ultimately, I decided to let the design speak for itself. Any clever design lines were going to get lost and I wasn’t going to jeopardise one bit of that amazing artwork if I could help it. That meant no darts, no pleats, no tucks, no waist seam. Mmmmm. A full length maxi dress for ultimate impact. That is the end goal. But first to trial a short sheath to test the fit. I bought enough to have a long and a short version, psychically of course!

I’ve drafted a few woven dresses in the past, for me and others, but I’ve only recently worked a knit sloper. So earlier this year I practised on some turtle neck rib-knit tops to test the fit – see black one here, and red one there. All I had to do was extend the bodice pieces to a dress length and omit the sleeves. I didn’t want a turtleneck but I did want a jewel neckline so I didn’t alter that much either.

Though I was happy with the results I knew that the template might not translate in this weightier stretch. Comparatively, the rib-knit was light weight and had way more stretch. I should really have trialled a sleeveless version too but impatient me couldn’t wait any more and I just went for it.

The pattern pieces simply consist of a back a front and some self binding for the neckline and the armholes. And cutting it out was a joy. Not only because is was dead quick with a rotary cutter and all, but it was so satisfying – no slippage, no stretching… just a lovely little satisfying crunch as that blade sliced through!

I first sewed the shoulder seams, after applying my favourite iron-on stabilising tape [aff-link] to limit any stretching, then I sewed the side seams using my overlocker. The first try-on highlighted a bit too much ease in the armholes so I nipped 1cm (so 2cm in total) off the end of the shoulder and graduated to zero at the neckline. 

Happy with the rest of the fit I pondered the effect of facings over bindings. I have a love-hate relationship with separate facings – they always flap around and need ironing flat. The only ironing I don’t begrudge is pre-cutting out, and not post assembly! I much prefer an all in one neck and armhole facing that curves over or under bust. But this fabric is quite heavy and I feared the result would be too chunky.

So I decided on bindings which would mean trimming the seam allowances back a bit to allow for the additional 1cm wide strips to sit comfortably.

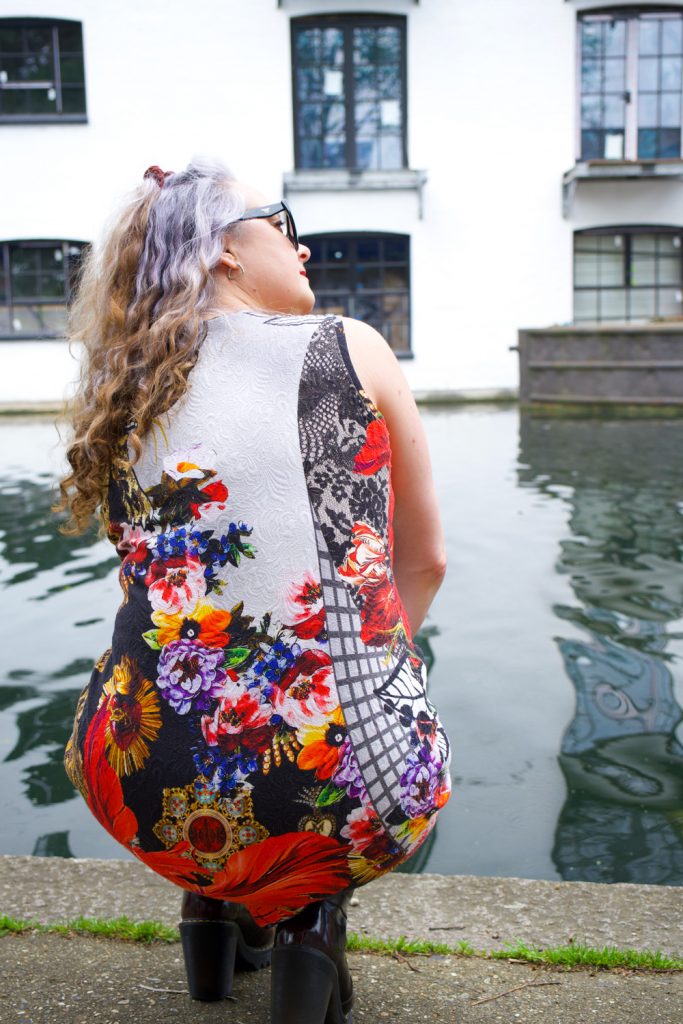
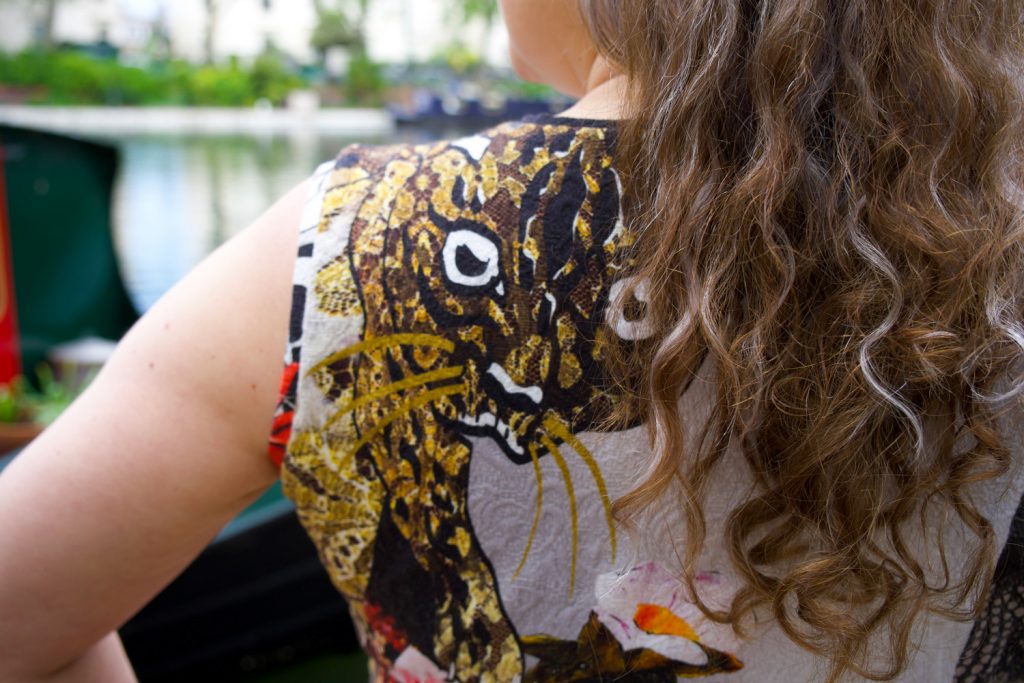
Looking at the back I can see that  I would need to lower the armscyce next time. It’s comfortable and all but the knock on effect of taking out the ease on the shoulder has raised the underarm. Not a biggie though. That leopard over my shoulder is a dammed fine distraction!

As you might imagine, the thing that took the longest with this dress was consideration of placement. Both back and front are good. Like stupendously good! There was no pattern matching necessary. It was just plain choice. Well, and the want to not decapitate the chap on the front! I decided I didn’t like the idea of someone on my back but I did like the possibility of the back side being prettier than the front. So that’s the way the cookie crumbled.

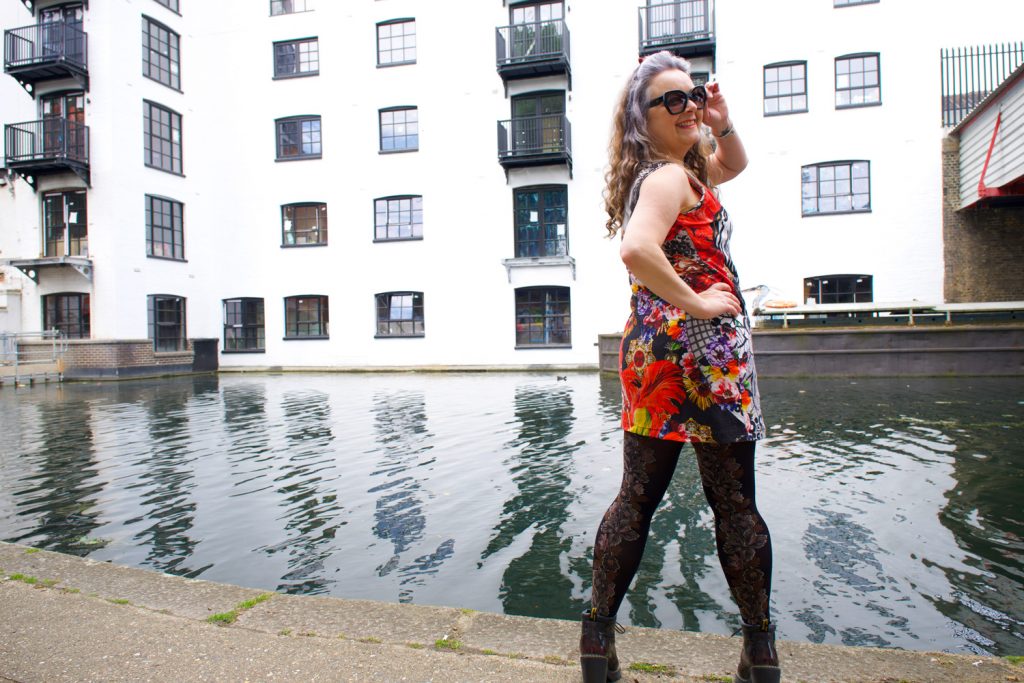
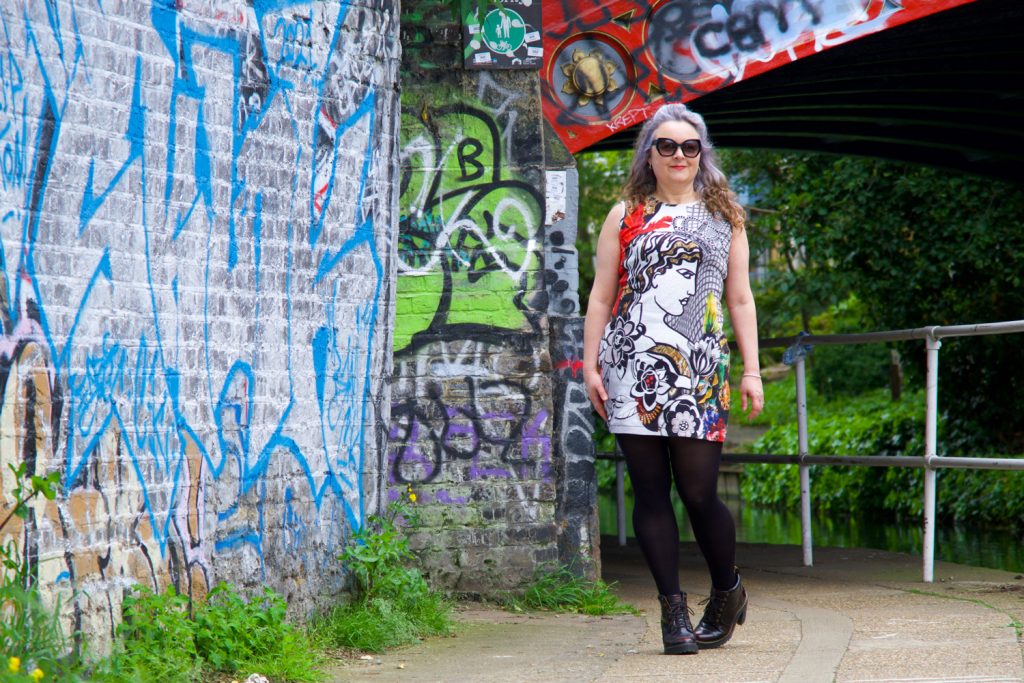
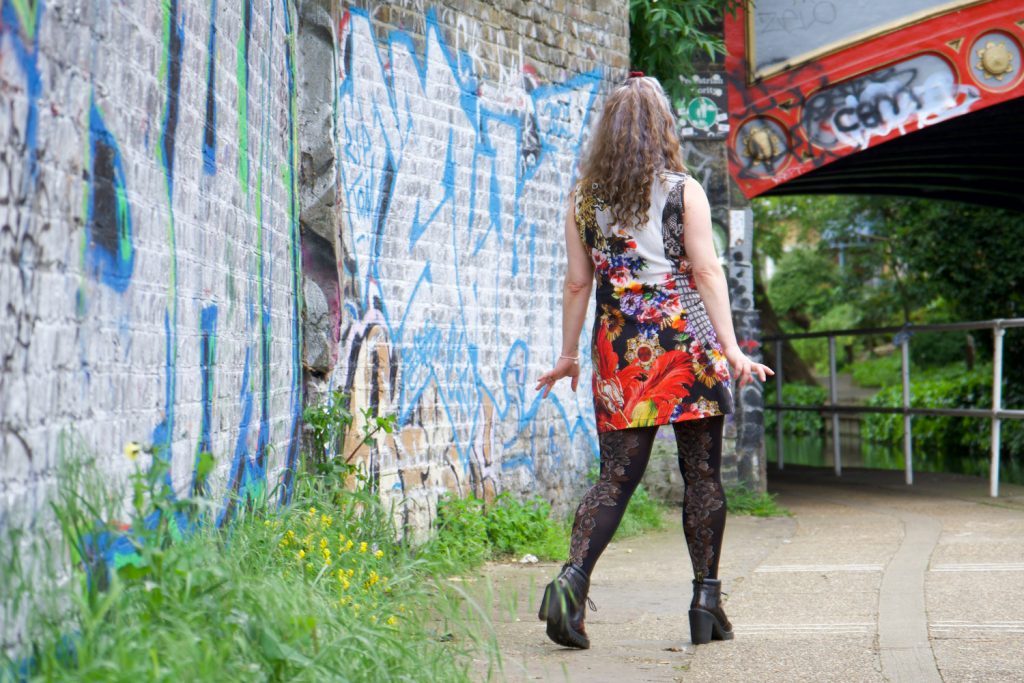
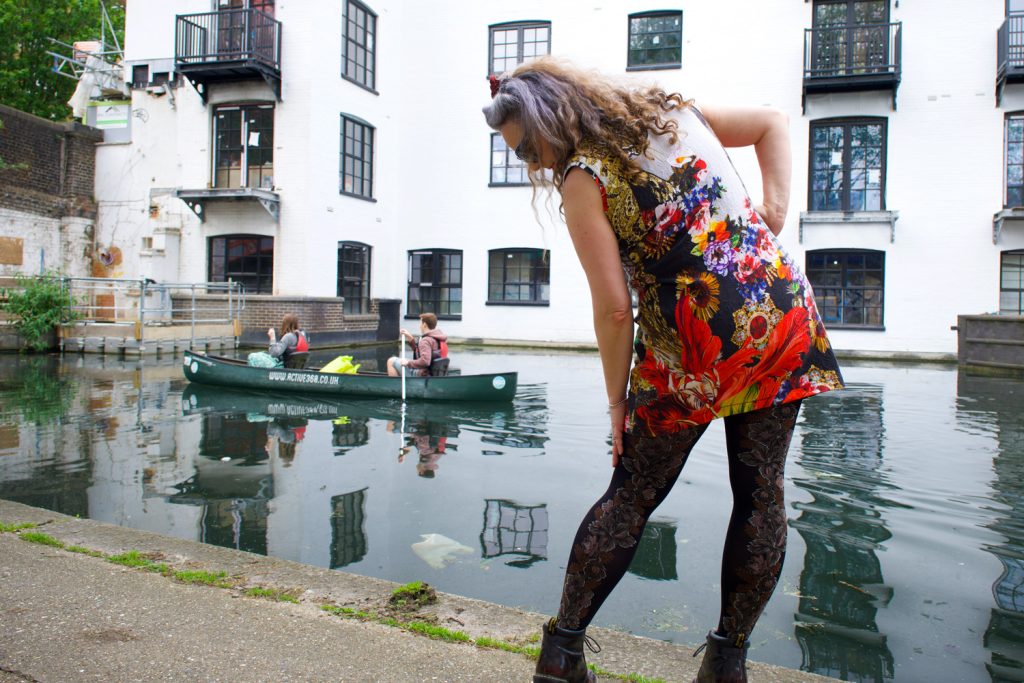
We had such fun taking these shots yesterday. Dan had recently been on a walk shooting birds along the Grand Union canal and suggested it might throw up some lovely backgrounds for the shoot. He wasn’t wrong and I was very humbled by all the wonderful comments from passing strangers, about my dress. It’s so effortless to wear. Though not quite the weather to wear without tights yet. No-one needs to be blinded by the intensity of my pale pins so soon into the year! In any case. It’s very short. I’m sure the world isn’t ready for my pants either!

More is more, when it comes to tights!

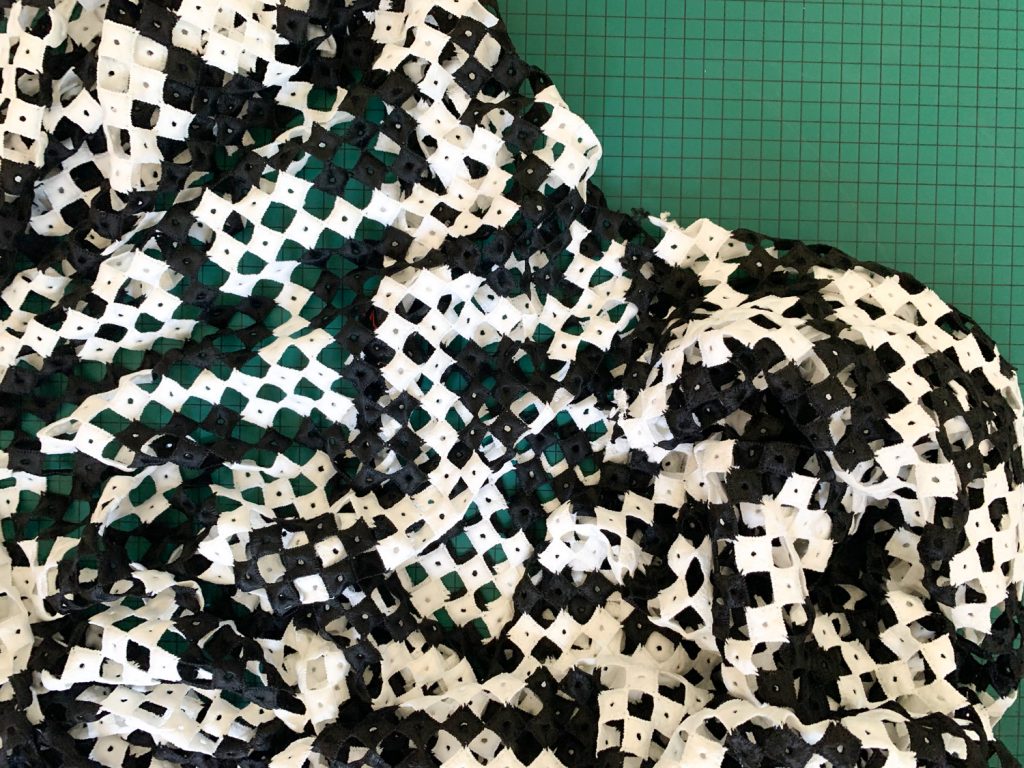
We walked to Westbourne Park, with a cheeky peek at some market stalls in Portobello along the way. Couldn’t resist this odd fabric from a vintage stall. Anyone want to hazard a guess as to what this is?!

If you can bear to watch this space for another year or so, who knows what kind of crazy dress this will turn into!

And there we started our walk, all the way to Paddington basin where we sat for a lovely lunch and a cheeky beer or two in a beautiful Victorian pub. 

A bus ride back through the remnants of a demonstration in Hyde Park was quite exciting. A few more beers and a takeaway to round off a fabulous day of doing what we both love. Bring on the sunshine – we want more London days like this!

So a gazillion thanks to Daniel James Photographic and not forgetting Dibs who blogs at Dibs and the Machine , sells incredible designer fabric at Selvedge and Bolts and who was instrumental in making me buy this fabric in the first place!
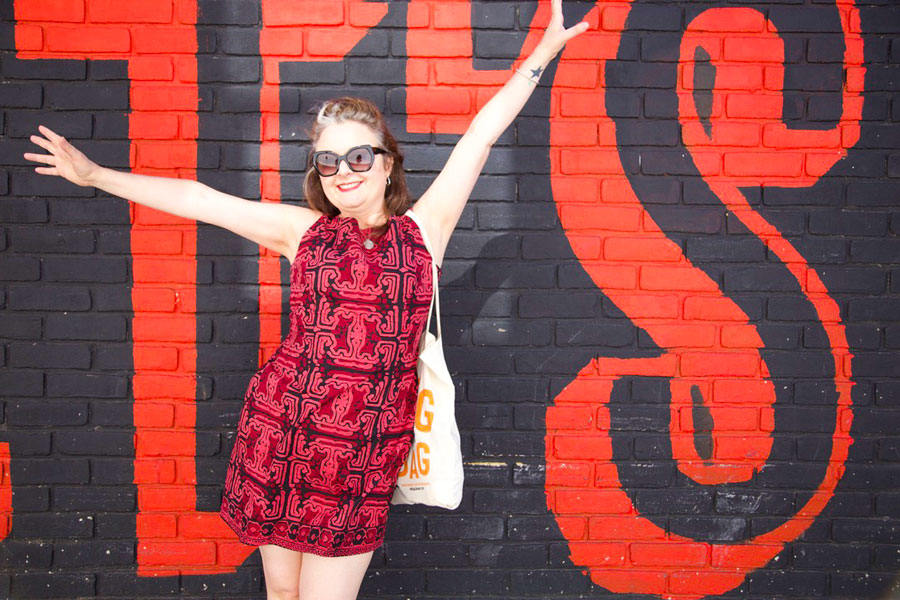
Shift in the right direction!

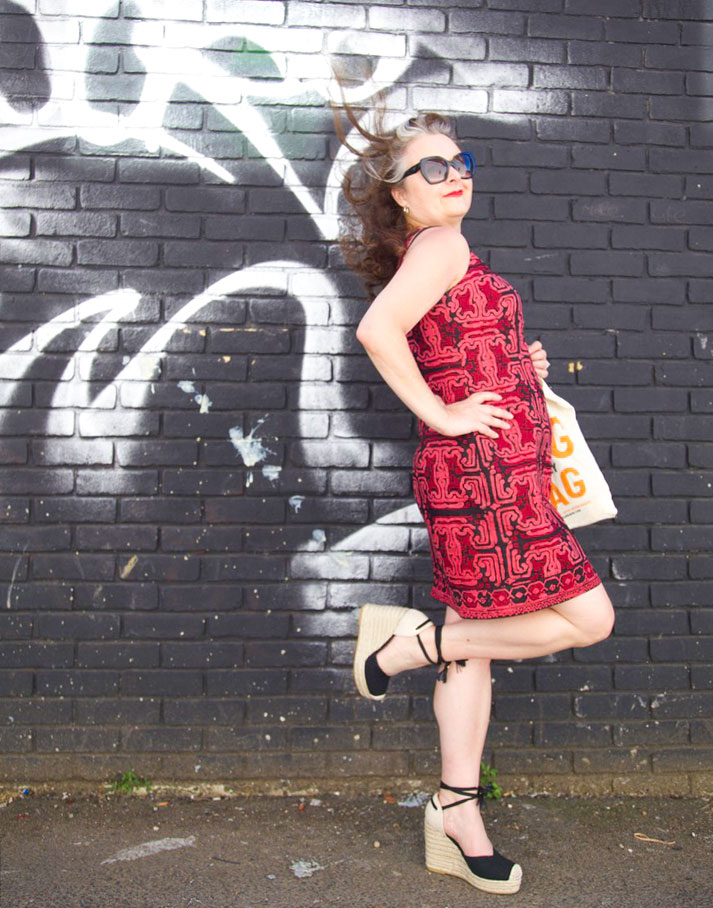
ooobop self-drafted shift dress

I’m so happy right now. Doesn’t take much – just a shed load of sunshine, some quality time with the fam and success at last with the fit of my shift dress.

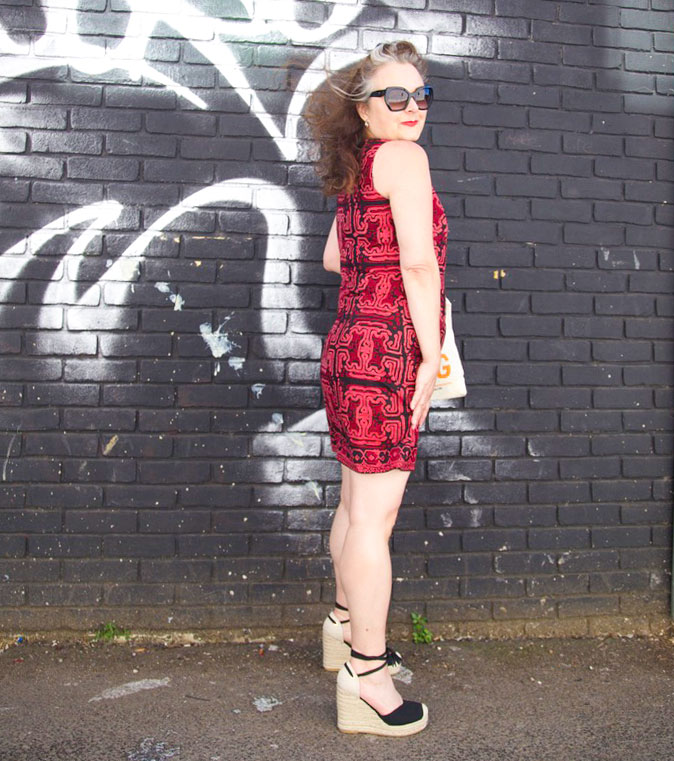
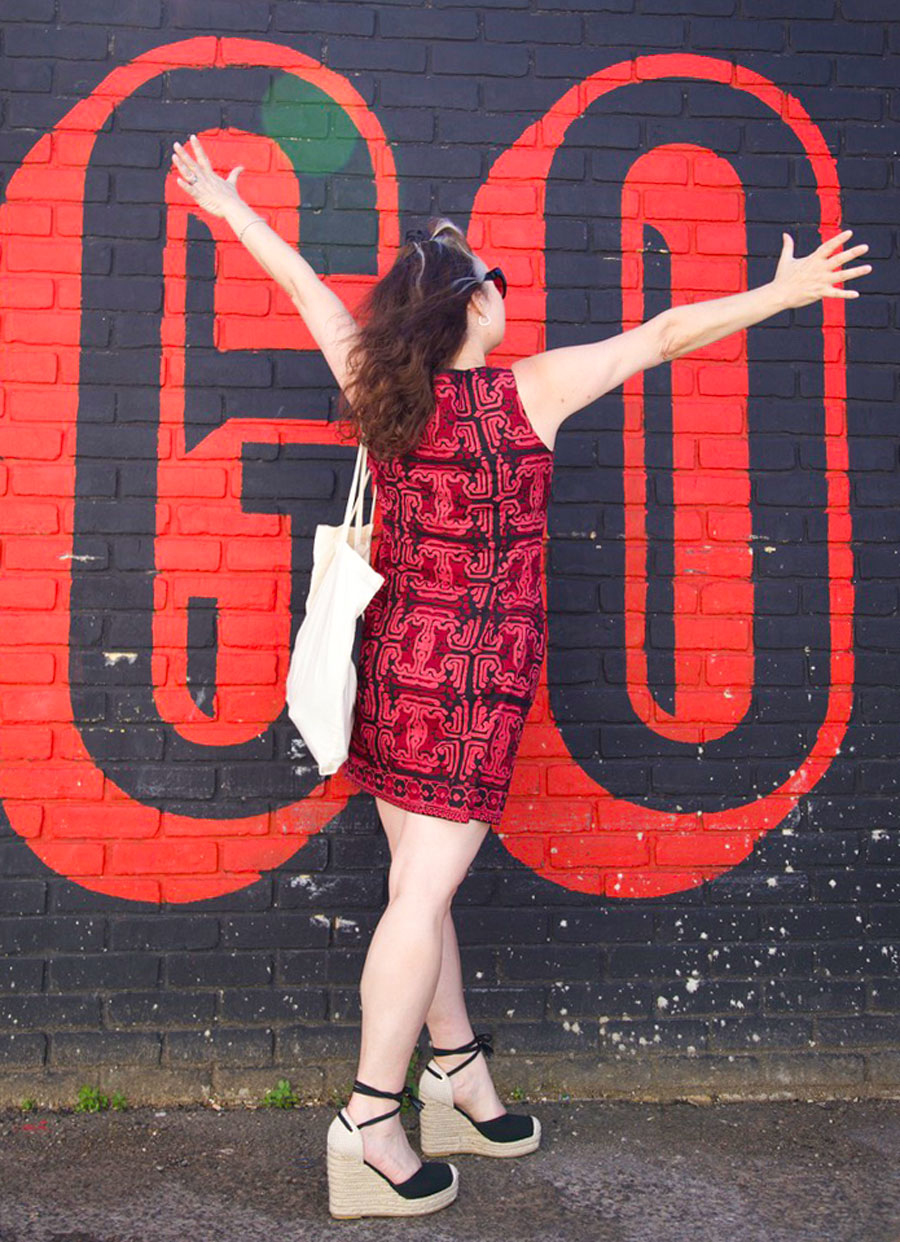
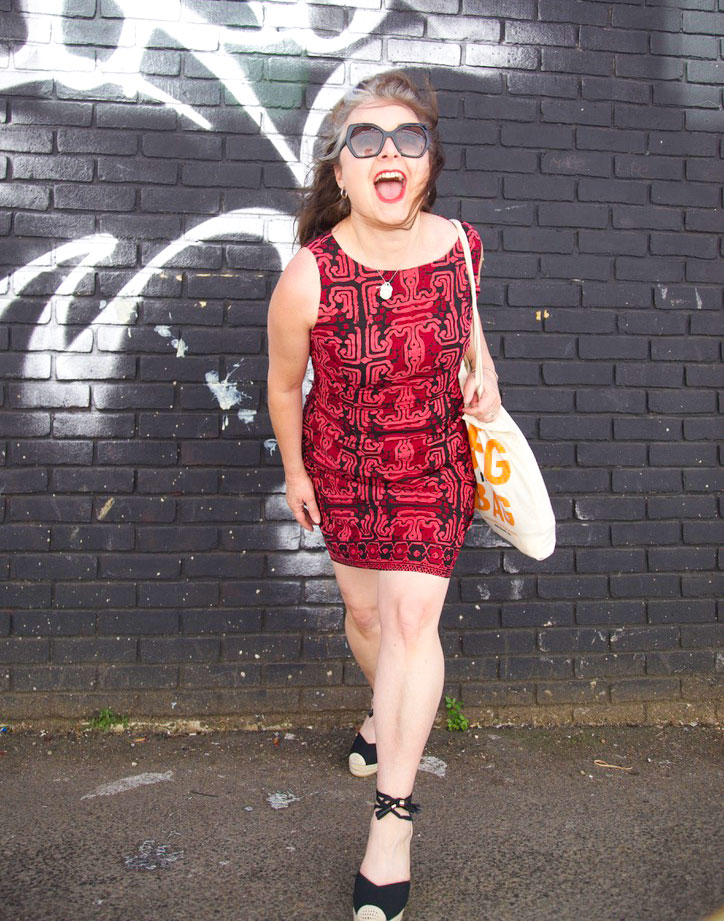
In case you’ve missed any part of me whittling on about this process, my mission has been to achieve the best fit I can using my own dress pattern with minimal seam lines – ie a darted dress with both front and back pieces cut on the fold – so as not to disturb the print of a very boldly designed fabric that I have in mind to sew next!

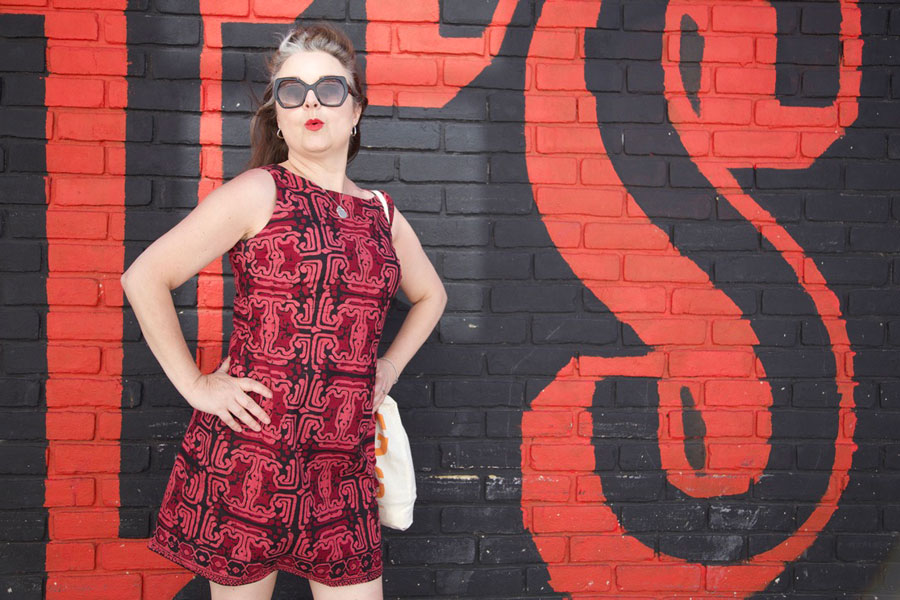
self-drafted shift dress in a vintage batik fabric

The fabric I used here was the best test so far because it too required careful pattern placement. You can see the first version I made here and I just realised I didn’t even get round to blogging the second so here is an actual shot, instead!

Self-drafted dogtooth shift dress

I was gifted the gorgeous batik fabric a few years back, by a lovely friend who had inherited it from her parents. When she saw it featured in my instagram post she was so happy to see it again and so pleased that it was being put to good use. I kinda felt duty bound as I remember her telling me that her parents used to travel for to Thailand and Indonesia  quite a lot in the 60s and 70s for work and that they always returned with gorgeous authentic fabrics. Proper sentimental value and vintage, too!

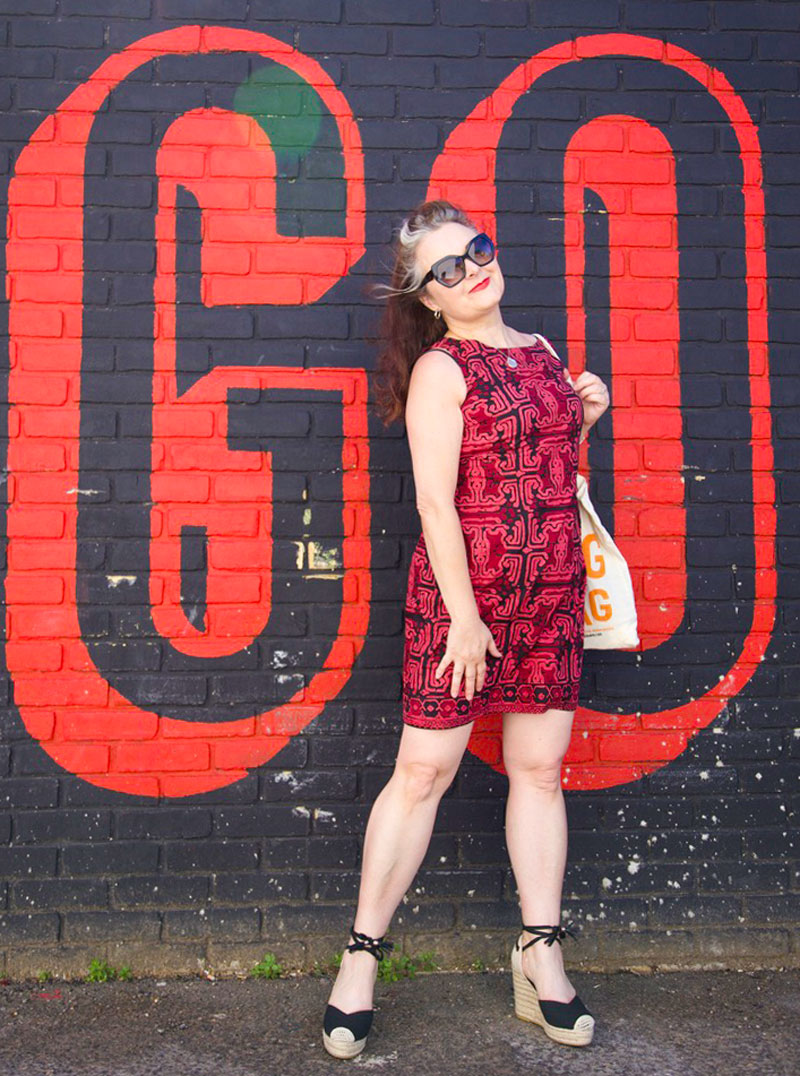
ooobop self-drafted batik shift dress

This piece in particular is undoubtedly a hand-blocked batik. Though this is based purely on my own research and I could be wrong so please correct me if you think different.

It wasn’t very wide but I knew it would be perfect for the third trial of my shift dress, knowing I was very nearly there with the fit. I wouldn’t have risked it otherwise!

It’s such a fine quality cotton. Actually feels so natural against my skin, which is an odd thing to say but I have worn cotton before that doesn’t feel nearly as good. And it completely stood up to a stroll in 24° of Shepherds Bush sunshine today.

ooobop self-drafted batik shift dress

I was intrigued by the selvedge of this fabric. Why would it have just one edge of border decoration? I put out to the wonderful, ever obliging sewing community on Instagram and the very clever Meg from @cookinandcraftin suggested it was very likely to be used for a hemline and a centre front detail for a sarong when wrapped. I loved knowing this and was determined not to waste this detail so I set about cutting my pieces on the cross grain in order to make the best use of the design.

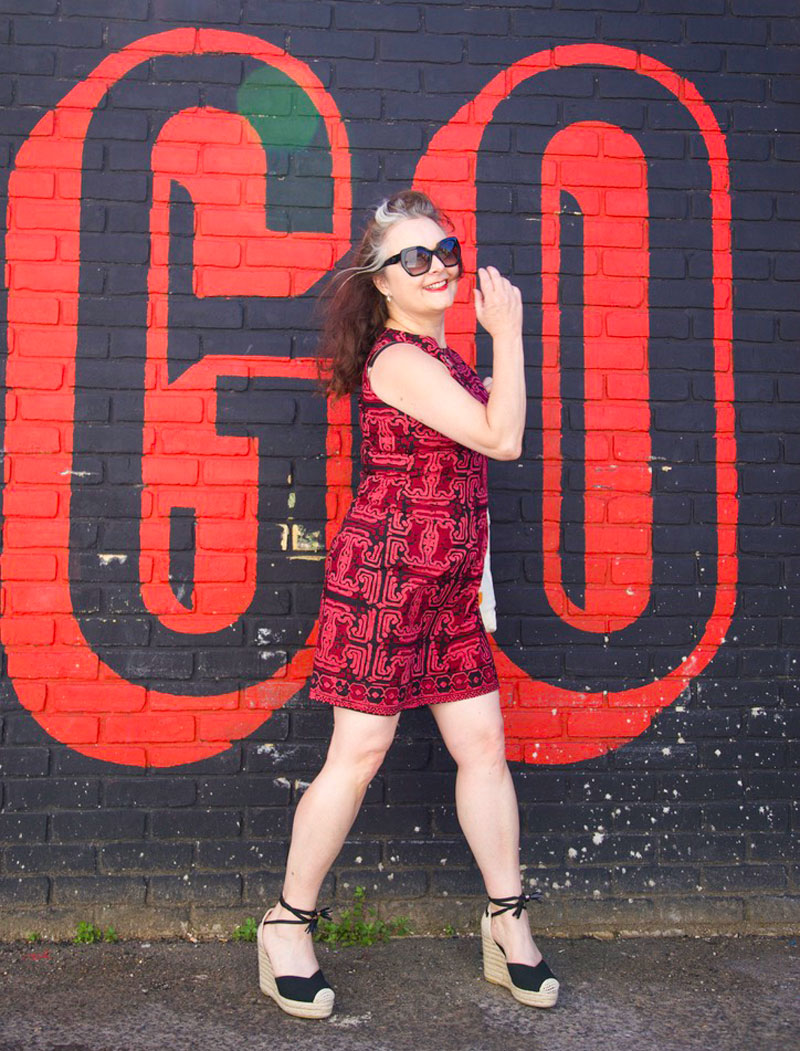
ooobop_self-drafted shift dress in batik

But I hit a snag and realised just in time that the cross grain had absolutely no give at all, and considering the style and fit, it could have been a disastrous move. So I cut on the long grain, as I have trialled twice before (if it ain’t broke and all that) and cut the border separately to seam along the hemline with a generous seam allowance which is overlocked and pressed down on the wrong side. It actually helps to add a bit of weight to the bottom of the dress too.

ooobop shift dress and shades

I made a few other tweaks to the pattern since version 2:

  1. I widened the shoulder straps by 1cm having struggled to pull the dress through the facing during construction, as per the ‘burrito-method’! The fabric I am going to use for the next one is much thicker and I don’t want to risk damaging it or pulling out any stitches in the process.
  2. There was still an element of pooling at the back (swayback issues as usual). And even though I added a quarter of an inch more at the hips since last time – with some improvement – it didn’t seem to solve the issue as much as I’d like.
  3. Then, just this morning, I saw that Cortney from @s.is.for.sew on Insta detailed how she lengthened her back darts to resolve a similar issue. So I moved the bottom point of the diamond dart down 2.25″ and continued the widest part down longer before tapering off. It worked a bloody treat!

ooobop self-drafted batik shift dress

ooobop batik shift dress

And so I do believe I’m ready to cut into that prize D&G fabric that I got from The Stitch Festival 2020 – only dilemma now being, how the hell do I choose my favourite placement of the design? I anticipate this being the longest part of the process!

Dolce and Gabbana fabric at M Rosenberg's stall
Dolce and Gabbana fabric at M Rosenberg’s stall

Thank you as always to Daniel for these amazing shots down the alley of the Laundry Yard in Shepherds Bush, London. For anyone who knows, you’ll know what a brave move this was!

Self-drafted Batik shift dress by ooobop