Vintage pattern treat time!

I know, I know, I know… I have enough patterns to sink a battleship. Well that’s what I’m contantly being told. But it’s not strictly true, is it? I would need quite a few more, actually, to really make that happen! Plus, I haven’t bought any in aaaages!

Truth is, I really (honestly) didn’t have many cool blouse and top patterns. But now I have!!

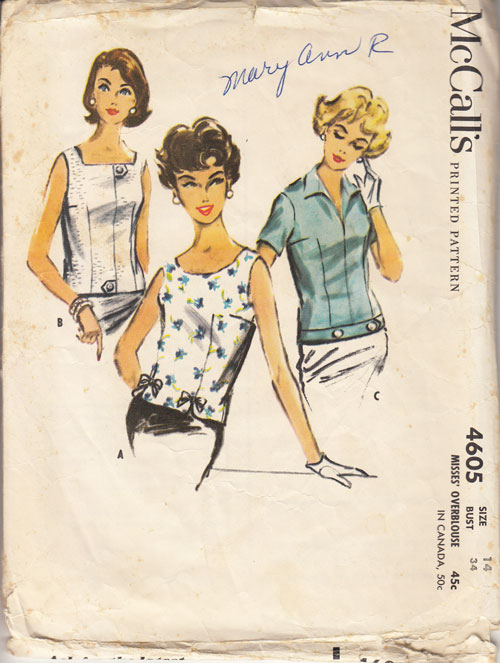
McCalls 5605 vintage pattern tops

Somplicity 2195 vintage blouse pattern

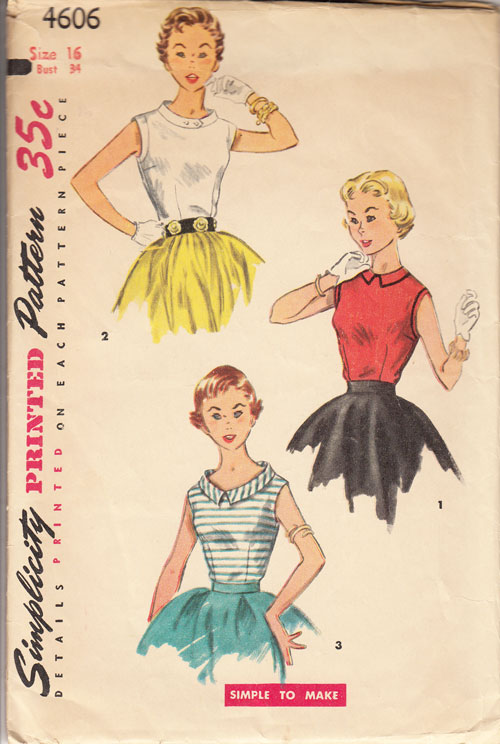
Simplicity 4606 vintage blouse pattern

I’m hoping these vintage top patterns will transform into a lovely collection of go-to tops for those panic mornings when I’ve come flying out the shower to find an outfit in 5 minutes for work! They all call for polka dots, stripes and gingham and I will find it hard to go outside of those boxes but will have fun trying!

Oh and this little 40s dress was just waiting to be ‘saved’ by me. Would have been plain rude not to!

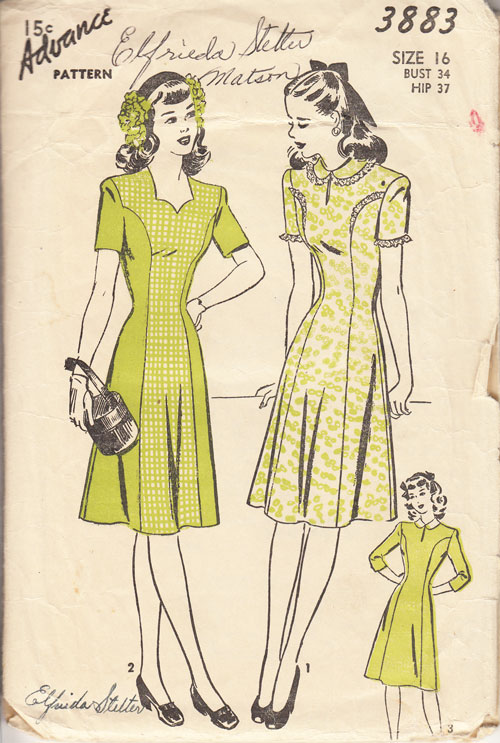
Advance 3883 40s dress pattern

1940s dress styles are fast becoming my favourite and my best! I love how fitting they are without being too saucy!  I have only made this one to date but it happens to be the most comfortable and flattering dress and always gets lovely compliments. I am currently working on another version in a solid colour and I am also reminded how simple the pattern is too, thank goodness!

What is your favourite era for patterns? Or do you prefer modern ones?

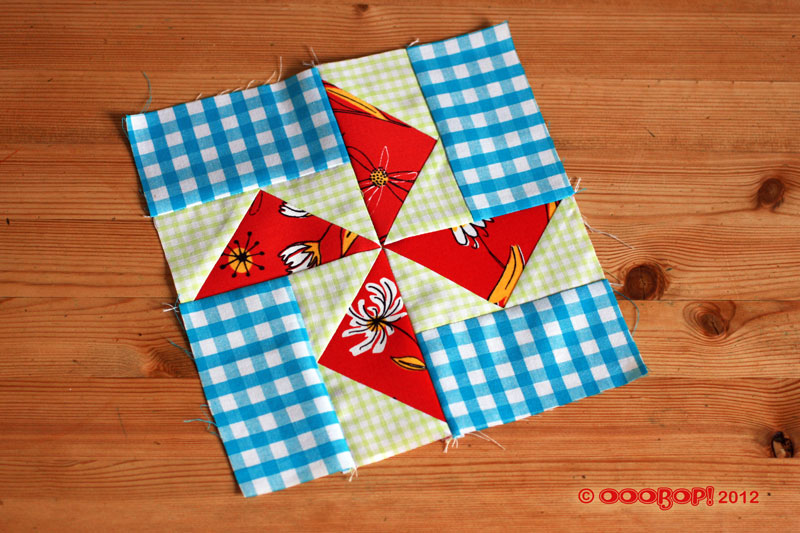
Susannah quilt block

quilt block susannah

Say hello to Susannah, my latest quilt block from issue 15 ‘Art of Quilting’. She looked to be a little complicated from the instructions but as with most things it made sense when the pieces were cut and under the foot!

This was another opportunity to practice those set-in seams. To begin with, the green gingham rectangles and the red floral tapered rectangles were joined in pairs to make the four double patches that occupy the corners. The first double patch was sewn to one side of the orange central square. Then the next double patch is sewn to the first, and again to the central square.

Before sewing I marked the 6mm seam line on the wrong side of the central square to ensure that the set in seams started and finished from the point of seamlines crossing and not the edge of the fabric like the other seams.

All went swimmingly until the last and final seam, which simply didn’t match up. Took me a while to figure but it was easily resolved by unpicking a couple of stitches and restitching to fit. I’d over stepped the corner seam and it had thrown out the position of the last piece!

This seemed like such an easy one from the start, and it is, really, but a lot of care is needed to make it work accurately.

Block Facts:

Name: Susannah
History: This is a variation of a block known as ‘Oh Susannah’, the popular song which was first published in America in 1848.
Level: Set in seams require experience.
No. of pieces: 9

Progress report:

Block 1: The Double Four Patch
Block 2: The Whirlwind
Block 3: The Sailboat
Block 4: The Shoo-fly
Block 5: The Trafalgar
Block 6: The Windmill
Block 7: The Chequer Square
Block 8: The Diamond Square
Block 9: The Cactus Pot
Block 10: The Sawtooth Star
Block 11: To come!
Block 12: The Windmill Sails block
Block 13: The Basket of Flowers block
Block 14: Susannah

Basket of Flowers quilt block

basket of flowers quilt block

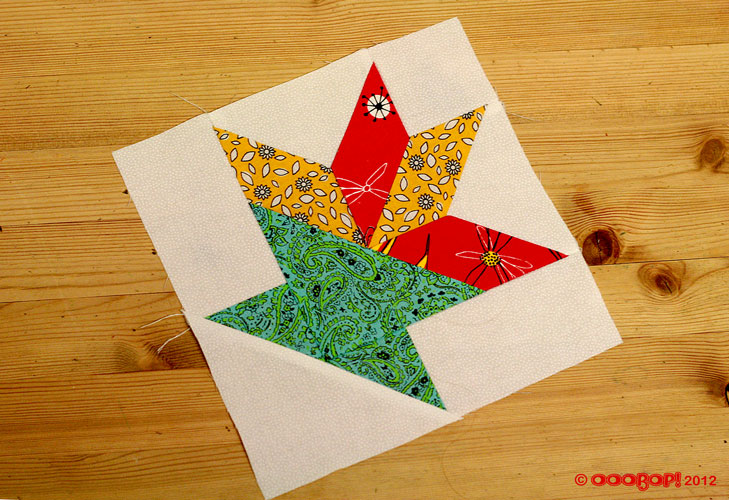
Introducing the Basket of Flowers block, from issue 14 ‘Art of Quilting’. And what a little trickster this was! Just when you get the hang of ‘chaining’ and running seams from top to bottom, this little bunch of pieces involved set-in seams, meaning the seams meet at the same point rather than the lines of stitching crossing over.

Though my quarter inch foot is still my best friend when it comes to quilting, in this instance it is also advisable to draw on the seam lines so you can accurately pin point where the seams will meet.

The red flower diamond shape and the orange daisy diamond shape are seamed together, starting and ending at the seam points. This is repeated for the second set.

The small white triangles are then positioned between the diamond pairs, and each side sewn from edge to seam point.

These two sets are then joined along the long edges of the diamonds from seam point to edge.

The white square then is inserted between the two sets, being careful to meet at the seam points.

Then it starts to get a little easier as the big green paisley triangle is sewn along the long edge. No seam points to meet just edge to edge seam.

The little green paisley triangles are then seamed to the white rectangles and seamed to each side.

One last big white triangle to sew across the bottom… a good old press … et voilà!

This one did take a little more time than the others but it was still a pleasure to make and its a lovely one to add to the set.

Block Facts:

Name: ‘Basket of Flowers’ or ‘Lily Basket’ or ‘Flower Basket’
History: This design was ideally suited to the dress and feedsack prints of 1930s America, where it was a particular favourite
Level: Set in seams require experience.
No. of pieces:13

Progress report:

Block 1: The Double Four Patch
Block 2: The Whirlwind
Block 3: The Sailboat
Block 4: The Shoo-fly
Block 5: The Trafalgar
Block 6: The Windmill
Block 7: The Chequer Square
Block 8: The Diamond Square
Block 9: The Cactus Pot
Block 10: The Sawtooth Star
Block 11: To come!
Block 12: The Windmill Sails block
Block 13: The Basket of Flowers block

The Windmill Sails block

Windmill sails quilt block

Quilt block number 12, the Windmill Sails block, from issue 13 ‘Art of Quilting’. I appear to have mislaid issue 12 but there’s no real urgency… I’ve still got 69 others to do!

I totally recognised the order of piecing this time, purposefully not looking at the instructions to test how much I have learned so far. I think in fairness, even though there are a fair few pieces, it was a pretty easy one to work out:

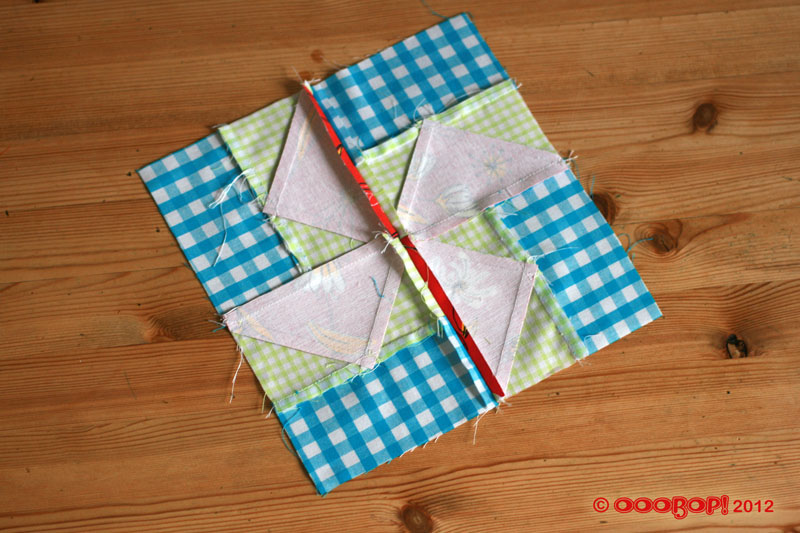
The 2 smaller triangles were sewn to the diagonals of the larger red triangles to make 4 rectangles. The blue gingham then sewn to the side of the red fabric point to make a small block. Then the four blocks sewn together. I thought I was going to have to seek reference on which way to press the seams but even that seemed pretty natural, until I got to the last centre seam where I had to check to find out that it must be pressed open to get it to lay flat.

windmill sails block reverse

I had a bit of a mare with the blue gingham though. The grain of the fabric wasn’t in tune with the checks and I had to decide whether to go for straight grain or straight pattern. I opted for the first even though it is hugely annoying that the pattern isn’t totally straight and I think I did the right thing because when I pressed it at the end it made for a perfect square. Might have been a different story if I’d have gone against the grain. Oh my! I really didn’t think these little things would have me thinking so much!

Block Facts:

Name: ‘Windmill sails’ or ‘Louisiana’
History: Each of the fifty states that make up the USA has its own embematic quilt block. This represents the southern state of Louisiana
Level: Some experience needed to make the centre seams converge neatly.
No. of pieces:16

Progress report:

Block 1: The Double Four Patch
Block 2: The Whirlwind
Block 3: The Sailboat
Block 4: The Shoo-fly
Block 5: The Trafalgar
Block 6: The Windmill
Block 7: The Chequer Square
Block 8: The Diamond Square
Block 9: The Cactus Pot
Block 10: The Sawtooth Star
Block 11: To come!
Block 12: The Windmill Sails block

ooobop! gypsy top #2

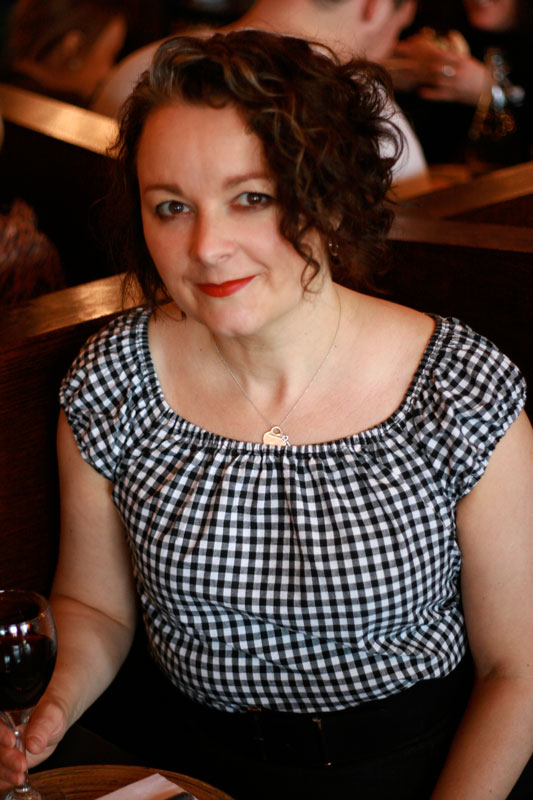
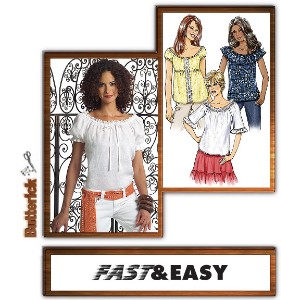
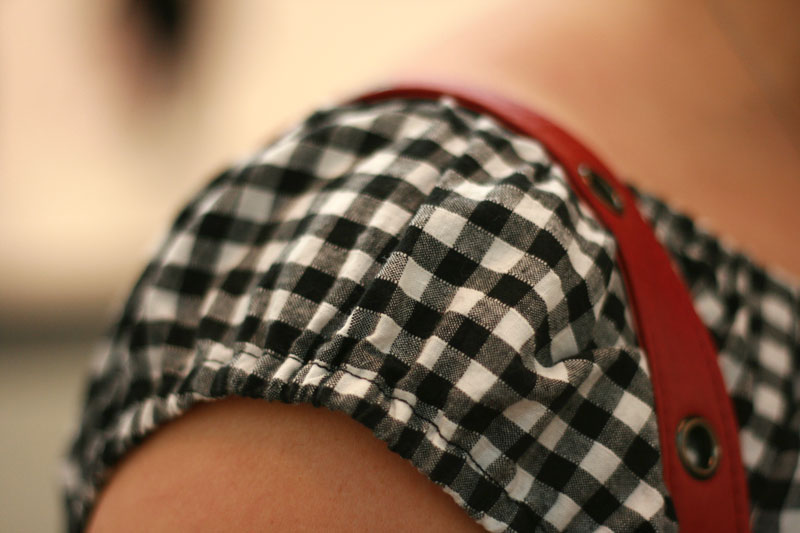
gypsy top frontThere is something quite comforting about visiting an old pattern. I made my first gypsy top almost a year ago and not only have I had great use out of it, it made a great addition to Dorothy’s ensemble too! Once again I used Butterick B4685, Fast and Easy… and indeed it was.

butterick b4685 sewing pattern

I used view D this time but omitted the front lace panel. I did originally include the underbust elastic but when I tried it on, tucked in a skirt, which is mostly how I intend to wear it, I looked a little (more) like the Michelin Man! So out came the elastic, quicker than when it went in!

I used a remnant of cotton gingham that I picked up from Oxfam, and used every last bit of it! So very satisfying especially as I’ve since found that 100% cotton gingham isn’t that easy to get hold of. Well not in a choice of colours. Despite my local plethora of fabric shops, they all stock poly cotton gingham, for the demand of school dresses, apparently. It looks just as pretty for sure but pure cotton feels so much nicer against my skin.

I prefer the sleeves and the simplicity of this style. Its less fussy and so quick to make up. I am going to make a few more, lined up for summer, and my eldest daughter has put an order in for one too.

gypsy top sleeve detail

It also made sense to enter this into Made by Rae’s Spring Top Sewalong 2012, just as I did last time round. Its not nearly up to the standards of most of the beautiful tops over there but I’m liking the annual inspiration of creating a new tops for Spring all the same! You can see this and all the other entries over at Flickr. My entry has been successful so I will keep you posted when it is time to vote! 😉

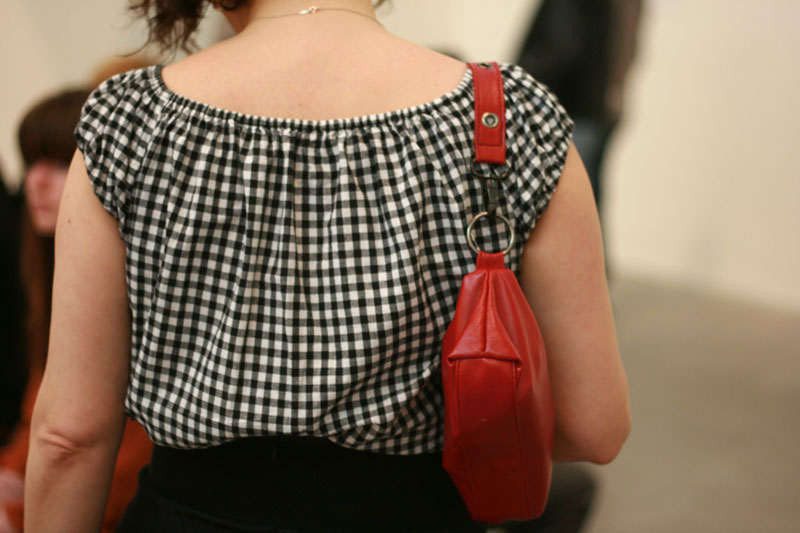
gypsy top back view

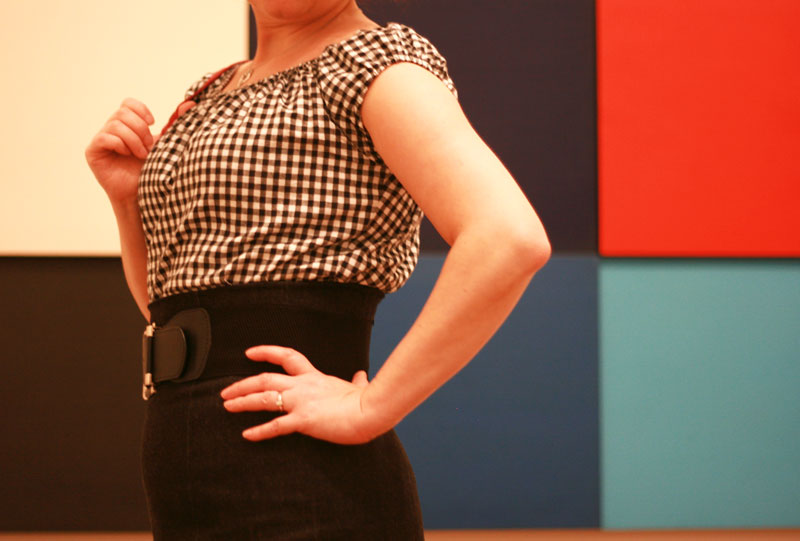
I wore it out to a trip to the Tate Modern yesterday with Mr and Little Miss Ooobop! and I have to say it is perfect gallery wear. It’s always soooo hot and stuffy in the galleries. The artwork made for a choice back drop too!

gypsy top side view

Hope you are all having a wonderful Easter break 🙂

B4320 Dorothy dress for World Book Day

B4320 dorothy dress
B4320 Dorothy dress

World Book Day was last Friday but as luck would have it, Little Miss Ooobop’s school had to delay the fun by a week which gave me 10 days to get my act together. She had already decided upon Dorothy from the Wizard of Oz and I was quite relieved to be honest! The aim was not to overcomplicate issues this time! Well that was the thought.

Butterick B4320 comes with a hundred miles of tissue pattern for each of the 5 very different costumes. It was bulging at the seams when factory folded so you can imagine me trying to stuff it all back in after I’d wrestled with it on the living room floor. Needless to say, the Dorothy pieces have been separated out into their own envelope for easy retrieval… if there is a next time!

B4320_Butterick_childrens_costumes

Though pretty easy to follow, this pinafore dress is incredibly well thought-out and is not throwaway costume stuff. The waistband is cut on the bias which gives a good, comfortable fit as are the straps and the top band of the bib. Each of those pieces are interfaced and faced and the inside facings are hand-stitched for a really neat finish inside. The back of the skirt has a zip in the back centre seam. Its been a while since I sewed anything but an invisible one but I quite like sewing in the ‘visible’ ones too! The straps cross over at the back and button on the inside though to be honest the buttons would have been a nice feature on the back too. This was a first time using the buttonhole stitch on the Brother machine and it sewed like a dream.  The two white buttons on the front waist band are for decorative purposes only but I think they are really cute!

The only tricky thing about making this was when I ironed the fusible interfacing to the waistband. The iron was too hot, on steam setting and I managed to stretch it out two inches bigger than it was supposed to be! Easily recified though. (Rather than cut another one…) I just put the waistband facing on top and trimmed the excess!

The fabric was a timely find in a charity shop. I had seen it the week before, thinking it would make a lovely blouse. Its 100% cotton. but held back with stash mountain in mind. So when LMO brought up the subject of Dorothy I made it my first point of call the next day and the fact that it was still there was amazing! £2 for a proper Dorothy pinafore dress is pretty good going methinks, even though its not proper gingham but ‘mum’s the word’!

You may have noticed I didn’t go the whole hog and make the underdress too. I was up ’til midnight on the pinafore… I wasn’t about to do another shift for the underdress… I’ve got a jacket to finish, don’t you know?! And so, did you recognise the little top underneath? It’s actually my peasant top I made last April 2011. I just pulled up the elastic round the neck and ‘hey presto’, it fits a 7 year old…kind of! I’ve just knotted the elastic so if I ever get it back I can still get wear out of it this summer. ‘Refashioned me-mades’ … oh how I have moved on!

Big thank yous to the lovely Little Miss Ooobop! who makes a fabulous model and to the gorgeous Mr Ooobop! for his amazing photography skills.