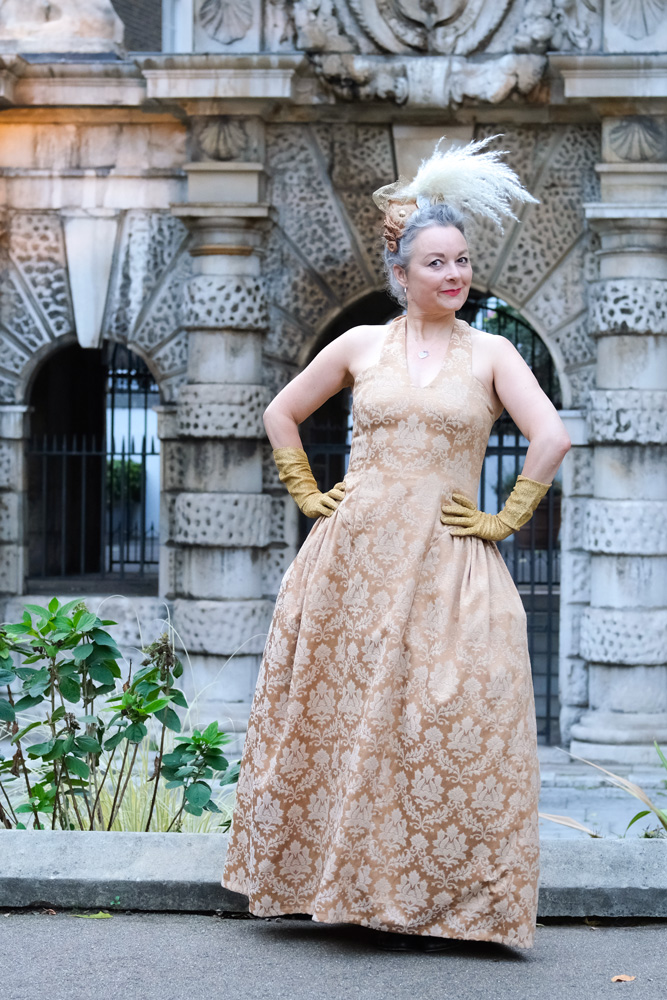
The Dressmaker’s Ball is an amazing annual event hosted by Crafty Sew and So in Leicester and presents a perfect opportunity to sew and wear whatever you damn like.
A free brief is pretty much unheard of in my work as a graphic designer. There are always rules – a style guide and house styles to abide by at the very least and so it is very refreshing indeed to be granted such freedom to create. Until of course, you start weighing up the possibilities which are endless!
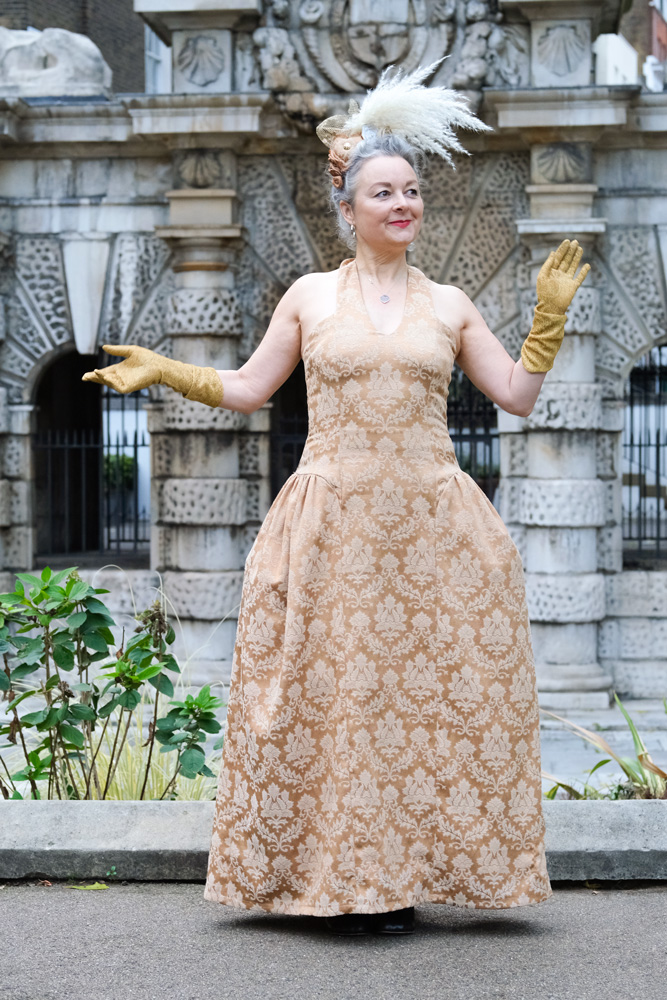
One thing I was sure of was that mine was going to be self-drafted. I decided earlier this year that if I’m ever to get really good at designing and pattern-drafting, I would need to practise it a lot more – figures, right?! So that narrowed things down a bit (not)! Secondly, knowing the chances of me going to another ball quite so soon after, or even wanting to wear the same dress twice in any chase, were pretty slim, I wanted to make sure my fabric choice was a sustainable one.
Weirdly enough as I sketched out my design, I did imagine a damask curtaining of sorts. I just didn’t know I was literally going to strike gold in my local charity shop!
One pair of vintage gold damask curtains = £6 – Just enough fabric for a ball gown it transpires!
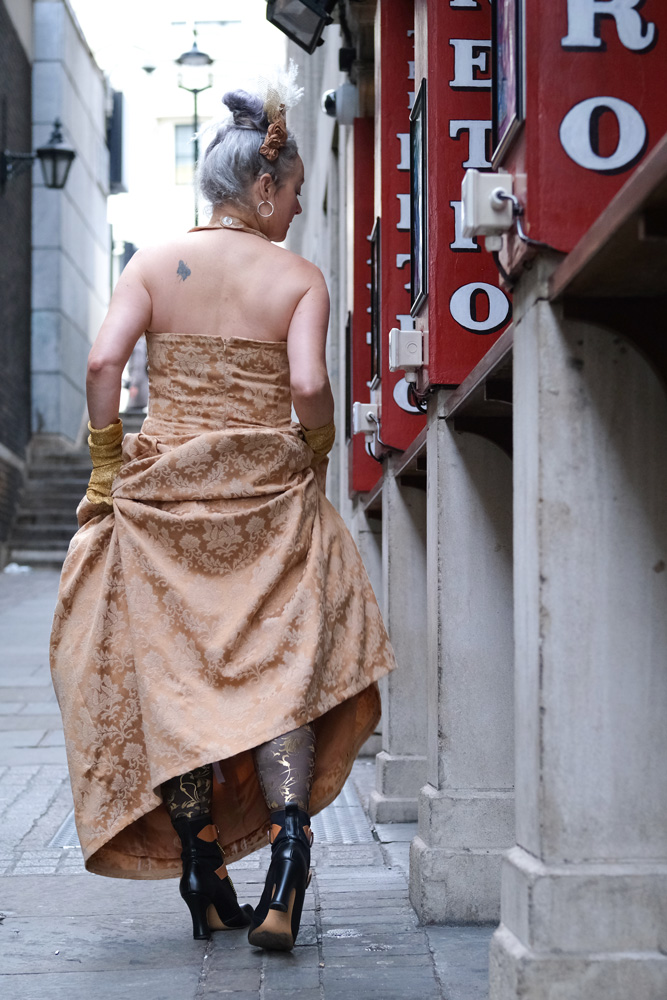
The design started out as a summer halter neck dress which I designed and made last year. I basically hacked the hip sections to create a silhouette similar to dresses of the 1700s. I can’t tell you why. I just did! Although if there was ever a wardrobe I could covet, it would most definitely belong to Marie Antoinette!
The styling of the dress was nailed quite soon and sewing it up was a relatively simple task, too but it was evident I needed some ‘scaffolding’ of sorts to make great shapes. There’s a lot of weight hinging on that halter neck and from past experience wearing my summer version, the back sags with its lack of support. So I created boning channels on the back and side seams to help it stay upright. I used plastic coated steel bones for no other reason other than I wanted to try something other than Rigilene. And I think I made totally the right choice. It felt very grown up to be cutting and filing them and sliding them in place. And I’m sure I’ll be finding more excuses to use them again soon.
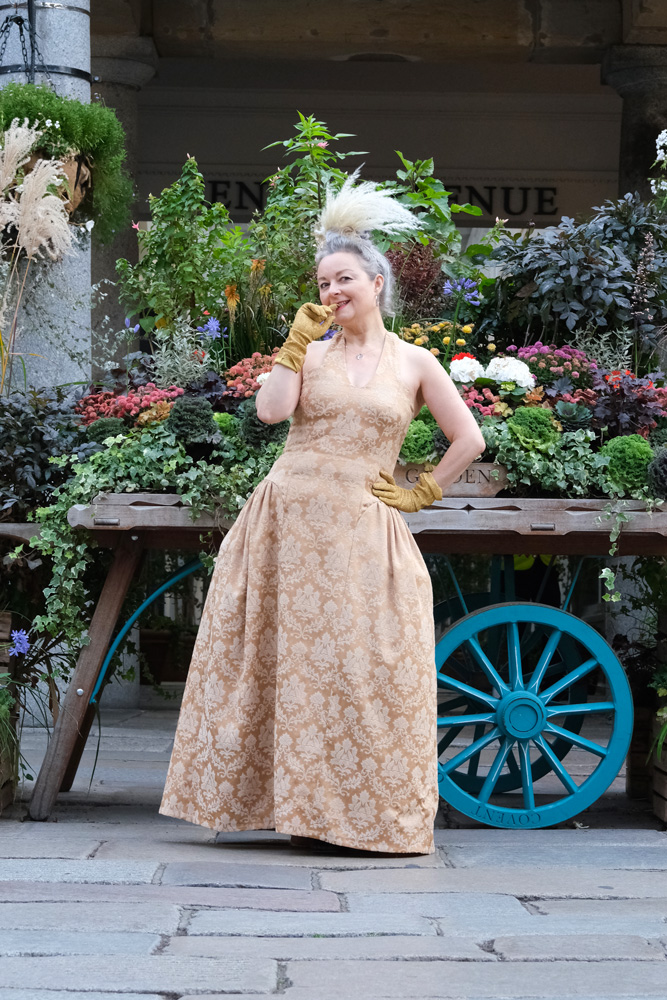
And then of course I had to find a way to give some body to those hip sections!
I first tried to gather some doubled-over strips of double organza and sewed to the curved upper seam, in a similar way that I did with the puffed sleeves on my Alice in Wonderland dress. I didn’t get round to blogging that but here’s a link to my Insta reel which explains it a little. This method gave a little boost but ultimately, the weight of the curtain fabric just flattened it down.
The second experiment was very nearly the one I settled on, which was to use sections of crinoline. I found it in Classic Textiles in Goldhawk Road – I had no idea you could buy it by the metre. And I wasn’t entirely sure this was what it was for, but I tried to make gathered side panels again to sew along that top curved edge of the side sections. It was in need of boning too.
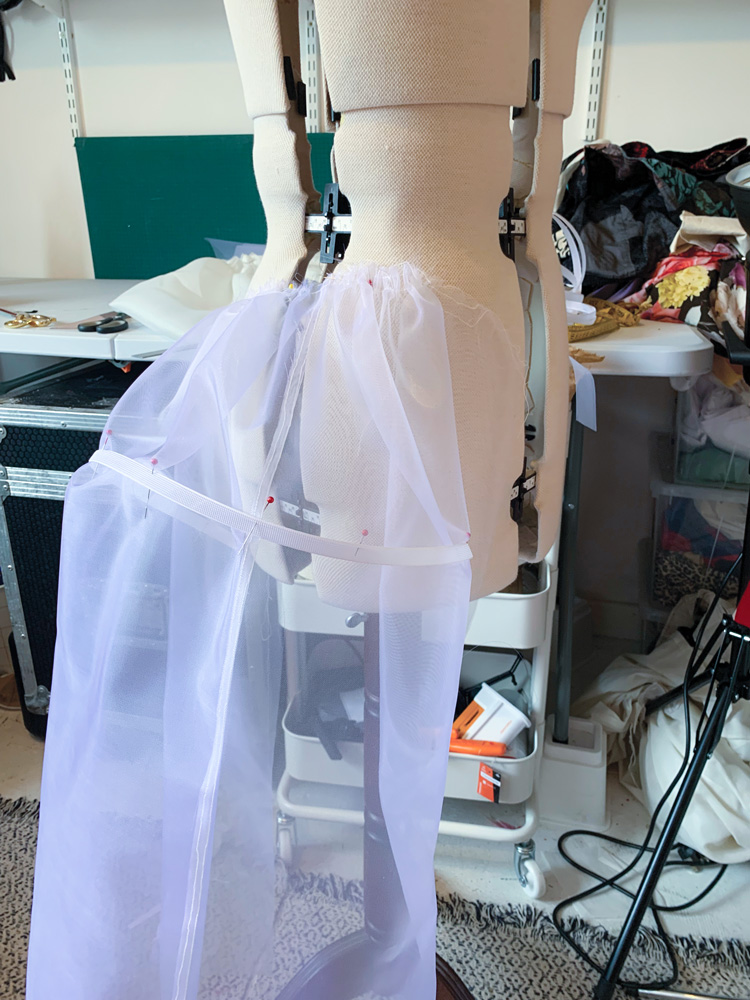
I mean it was ok but made the dress very difficult to fold without hard-creasing the crin. Plus, it was very scratchy and would need another layer of lining at least. I just knew I could do better. There had to be a way. And then the penny dropped that I just had to go trad with full on 18th century panniers!
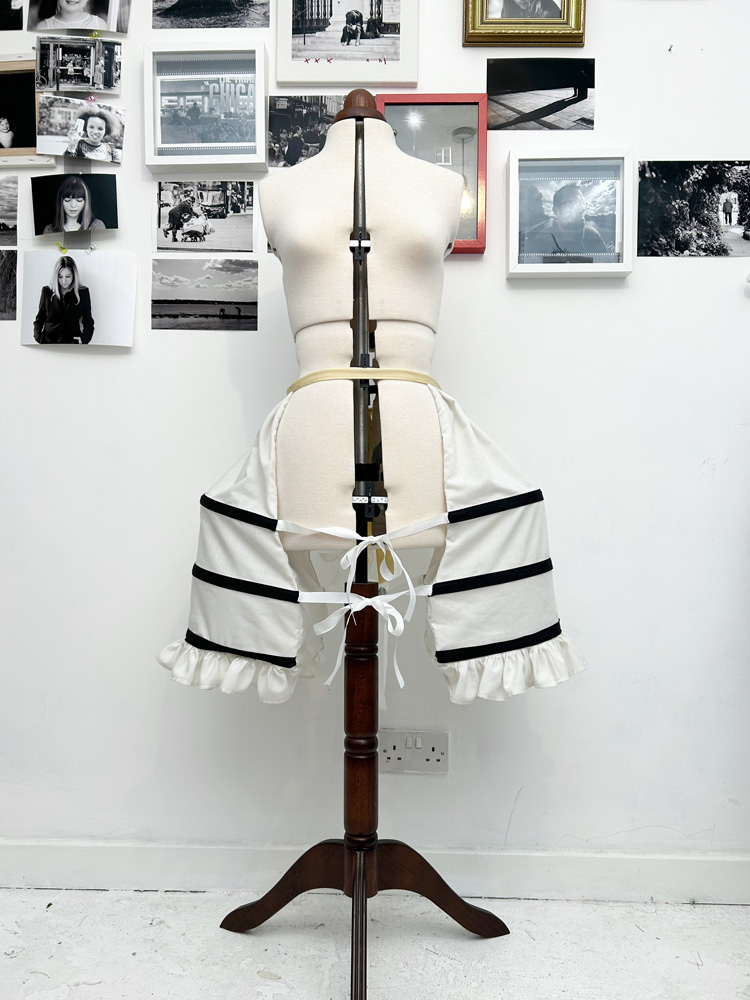
I Googled and YouTubed until I’d gleaned enough know-how to draft and sew a pair of pannier pockets from the leftover lining of the curtains. I already had some black bias binding, some white ribbon and some herringbone tape in stash so I thankfully didn’t have to fork out for any more materials. Not that I spent much on the curtains anyway!
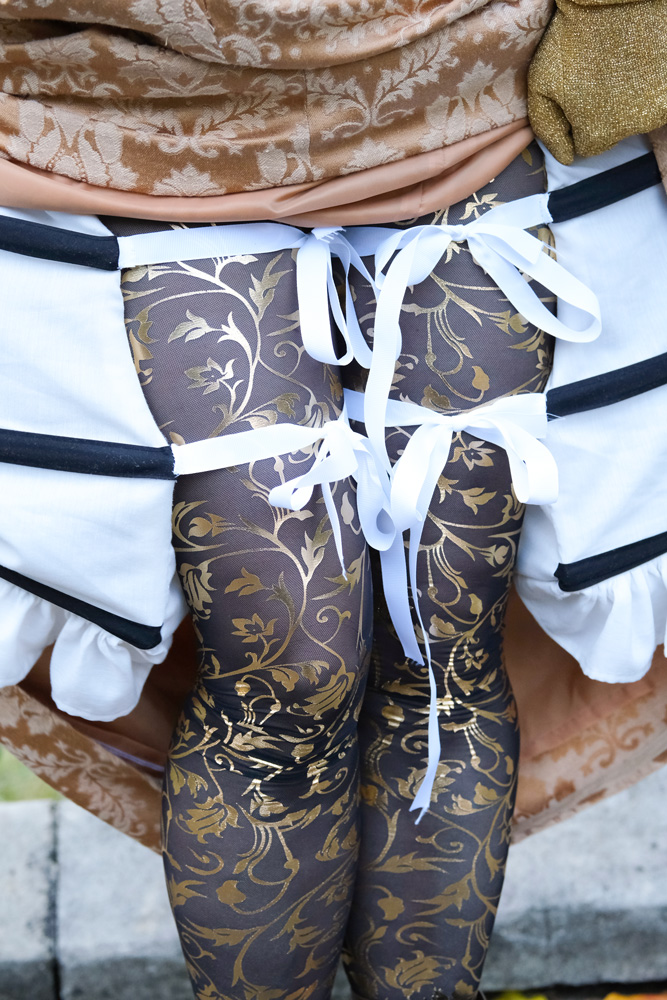
There are three horizontal boning channels formed by the black tape, the top one is slightly shorter to create a gradual slope up to the hip and the whole ‘device’ ties around my waist and around each leg. Well, to be fair, it was Dan who suggested I tie the ribbons round my legs because for the do itself, I tied the front ones in front and the back ones in the back and it worked fine but restricted movement a little, especially going up and down the stairs but toilet trips were infinitely easier with this method!
I did end up lining the skirt section. And Im glad I did because it created a little buffer between the understructure and the fabric, smoothing out some lines and also made it feel more special to swoosh about in. I attached the section seams of the lining to the main fabric with French tacks to keep it from twisting round. That was a fun thing to do in the hotel room earlier in the day!
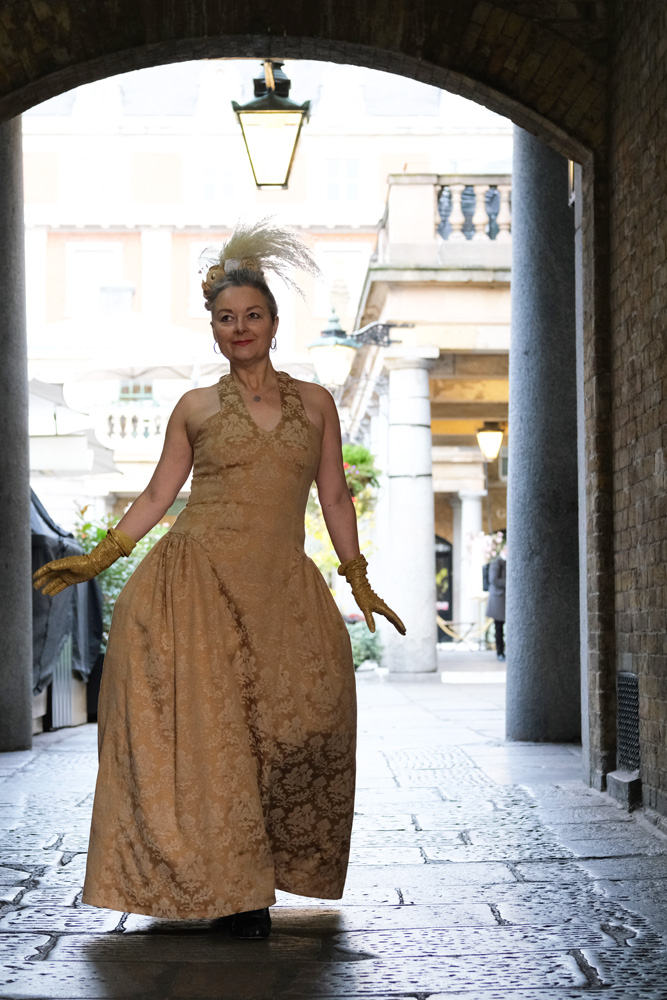
The panniers are collapsible by the way, and fold flat which made for easy transportation to the ball and the dress itself didn’t even need an iron when I took it out of the case
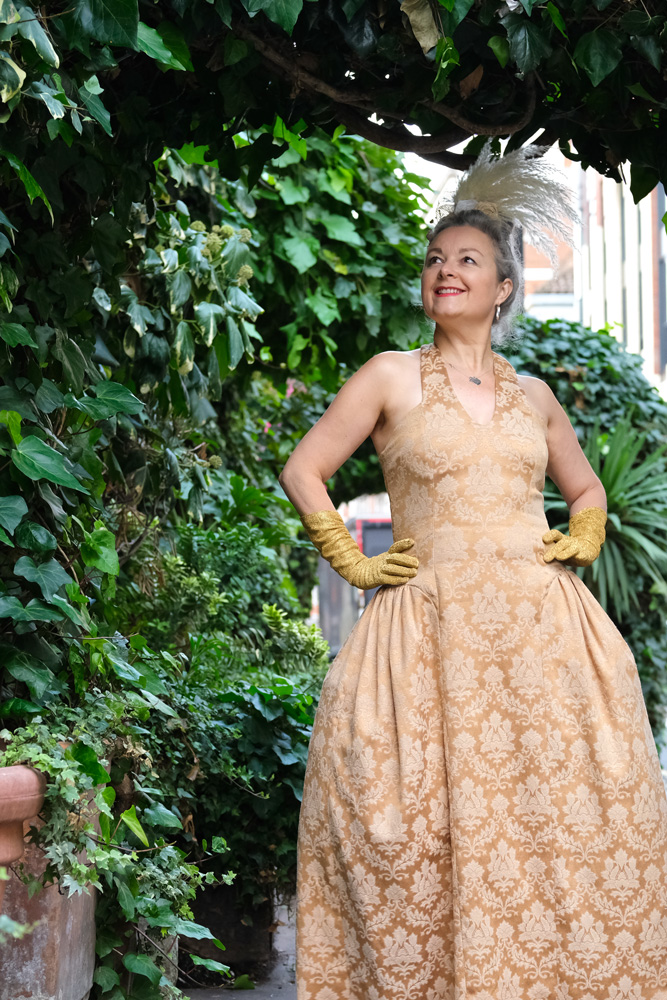
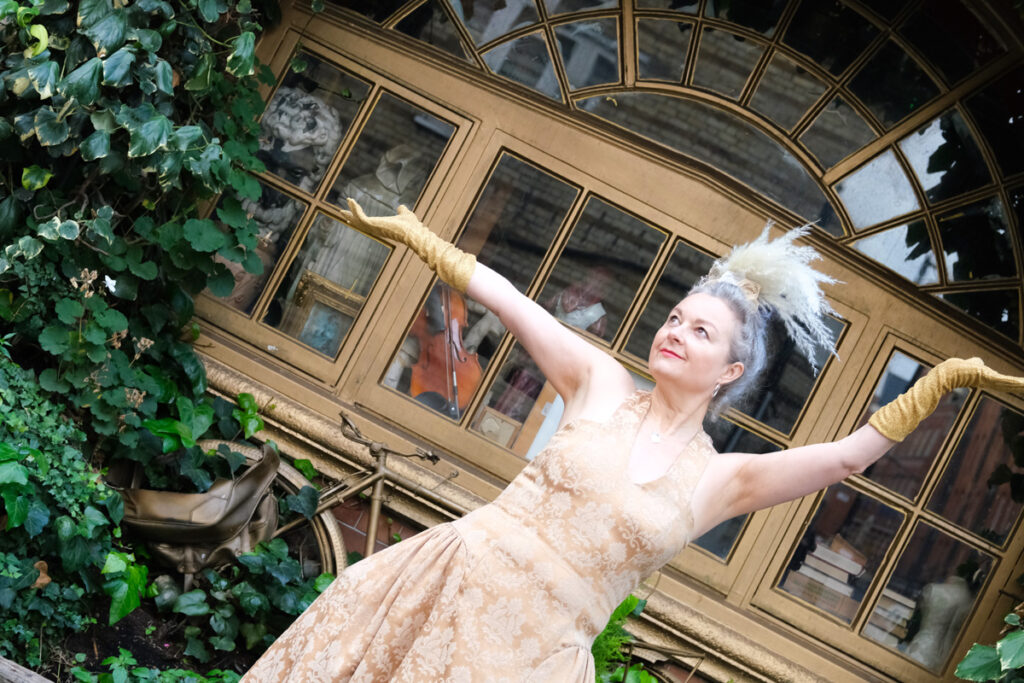
I’ve shown a few in situ photos on insta and I’m sure the official event shots will be ready soon but I so wanted `Dan to do a separate London Shoot and I’m so pleased I manage to grab him for a session before he went away for work again and we are so very lucky that London presents so many wonderful locations for us to choose from. It turned out to be quite the history lesson too!
The first location was in front of York Watergate, once the river entrance to the Duke of Buckingham’s London mansion, and now stranded some distance from the water in Victoria Embankment Gardens. The impressive watergate is just a short walk into the gardens from Embankment tube station and was built in 1626.
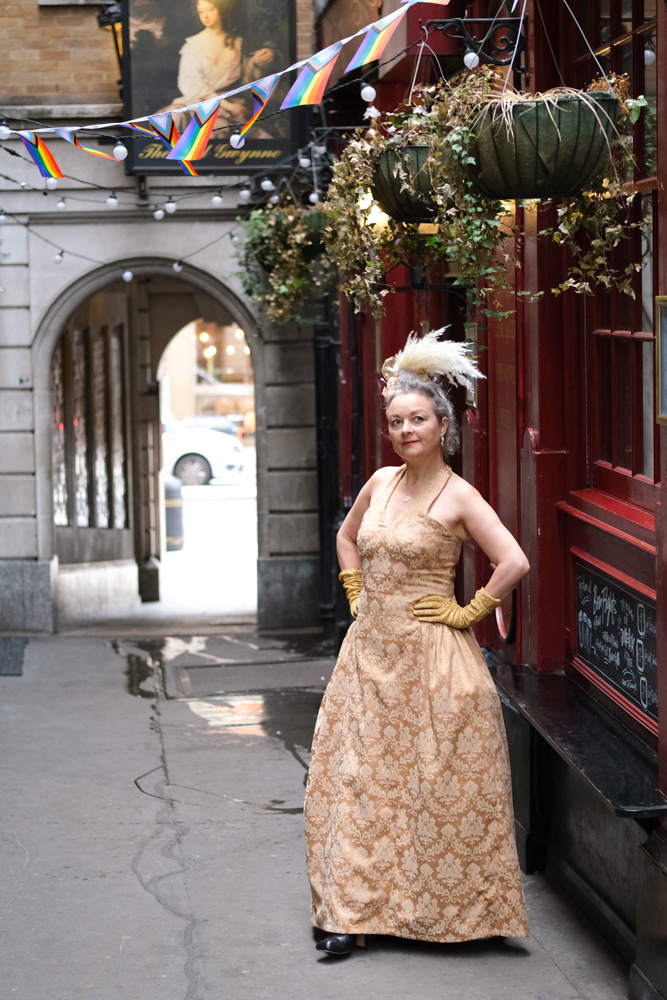
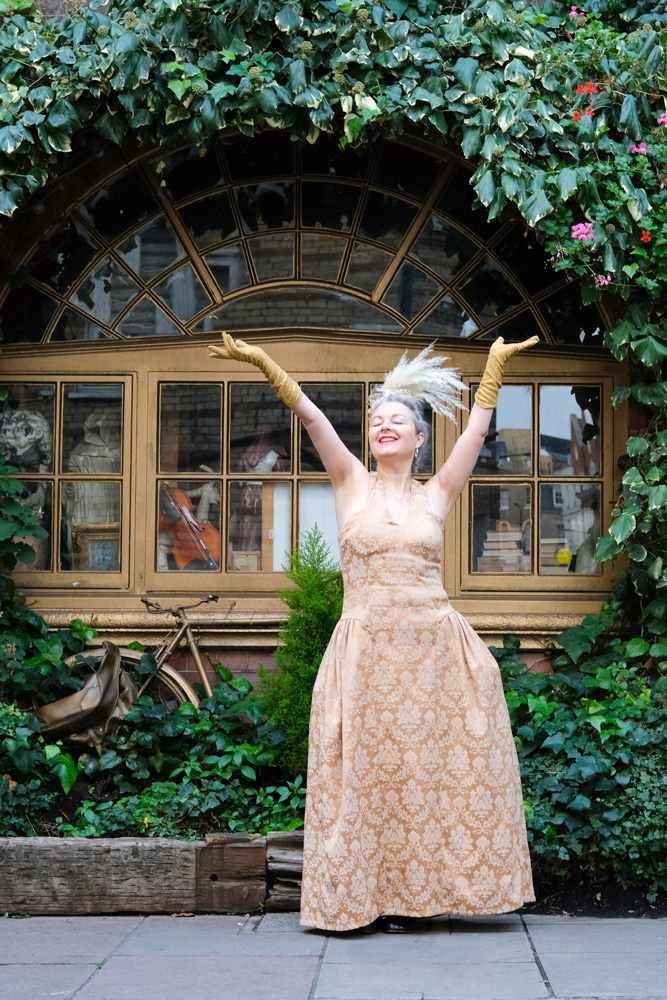
The second, outside the Nell Gwynne Tavern: Built on the site of the Old Bull Inn, It was named after the infamous mistress of Charles II. Nell, born and raised in the locality at St Martin in the Fields, sold fruit in the nearby Covent Garden market before gaining fame as an actress on the Drury Lane stage. Samuel Pepys describes seeing “the mighty pretty Nell” on his way to the Strand in 1667.
Next we went to Covent Garden which has been in existence since the early 1600s too!
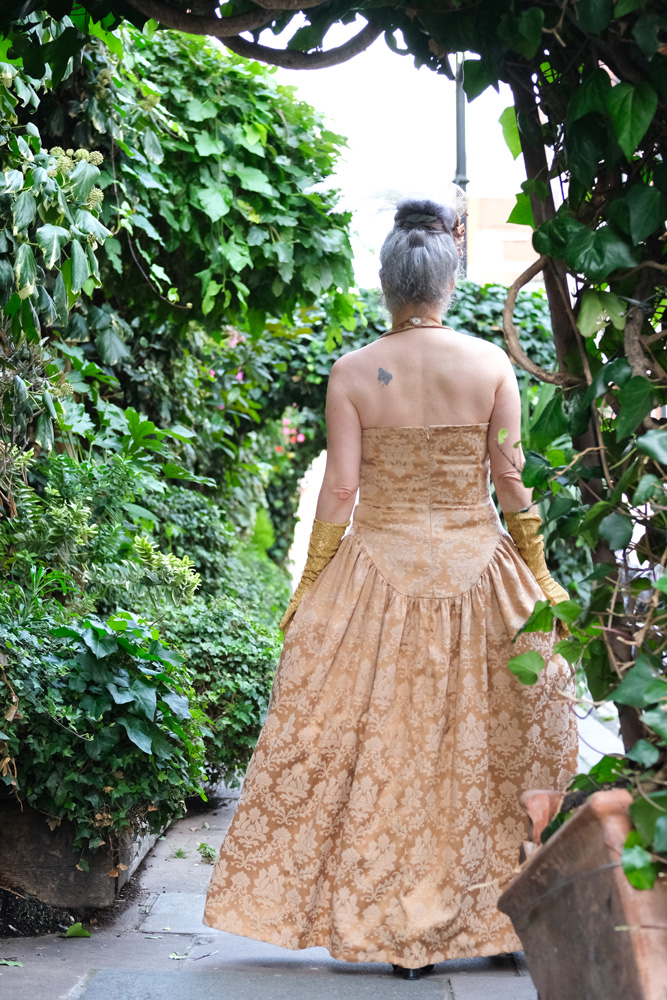
The leafy shots above were taken outside Sarastro restaurant in Drury Lane. I went there years ago and it was an amazing feast for the eyes! Outside presents curiosity shop styled windows, framed in gold. Inside is the stuff of theatre dreams!
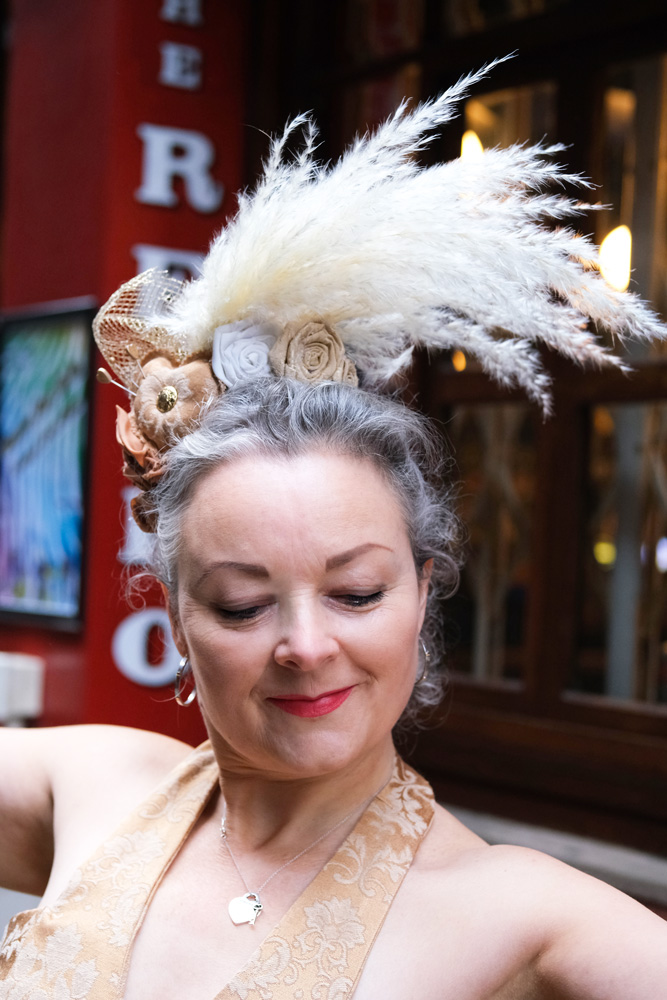
Before I sign off I must also mention my headpeice, hat, fascinator… I still don’t know the correct way to adddress it. But I made it. And I’m proud of it. And it was also formed from materials I already had to hand, ticking that sustainability box once more!

The plume is actually a piece of Pampass grass that I snaffled from the studio garden! The heart shaped pincushion is made from the leftover scraps of the dress, stuffed with overlocked offcuts and adorned with a gold lonesome vintage button from stash. I sprayed the pin heads gold, of course. The remaining flowers are made from scraps of the dress and lining fabric and the gold netting is also reclaimed.
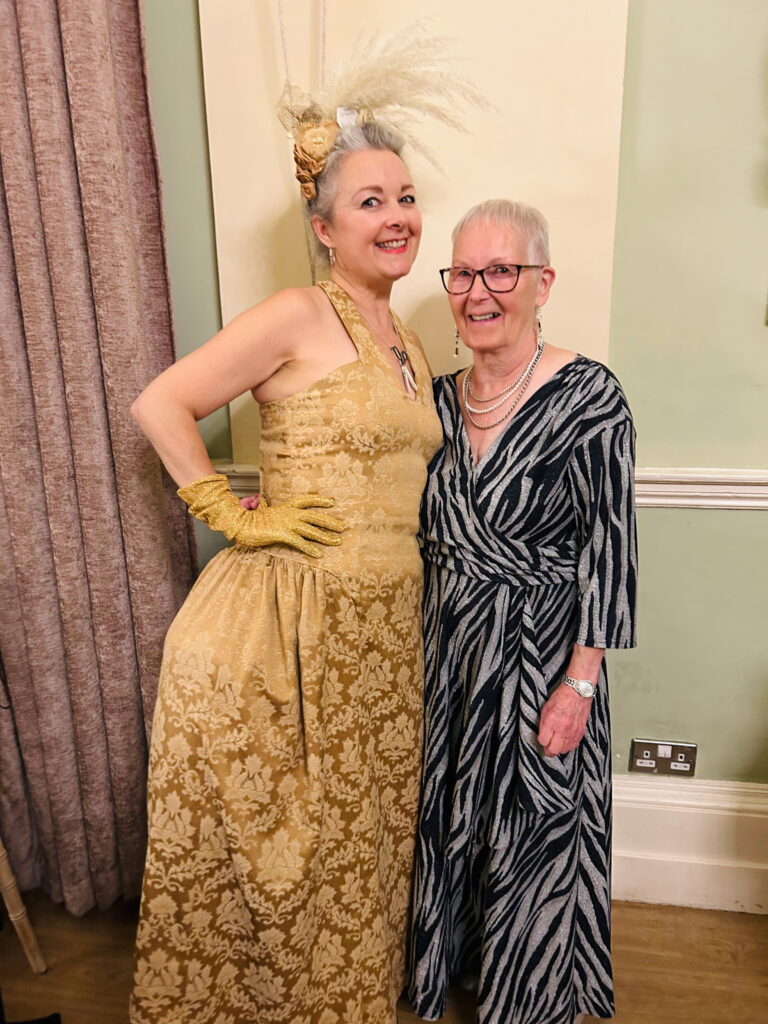
I must also include this photo of me and my mum, taken at the ball. She is the reason I sew. I’m so privileged to have inherited so many skills from her and I’m so proud that at 80 years young she is still sewing and finally took some time out of making for everyone else to make herself a gorgeous gown too.
And all that remains to be said is thank you. If indeed you reached the end of this marathon post. Or even if you didn’t, I totally appreciate your time and support. If you have any thoughts or questions please leave them in the comment box below and I will very happily get back to you. I can talk about this outfit till the cows come home. Just in case you didn’t gather that already!
