Did I imagine that Christmas and New Year break? Feels like it happened a lifetime ago… can I scroll back a few weeks pleeeease – it’s all a bit too much already! Any one else feeling the same?
I know I mustn’t complain. Too much work is the least of concerns for a freelancer. I’m just craving a sewing project soooo much! There’s so many in my head I’m literally going to burst if I don’t get to make at least one of them soon.
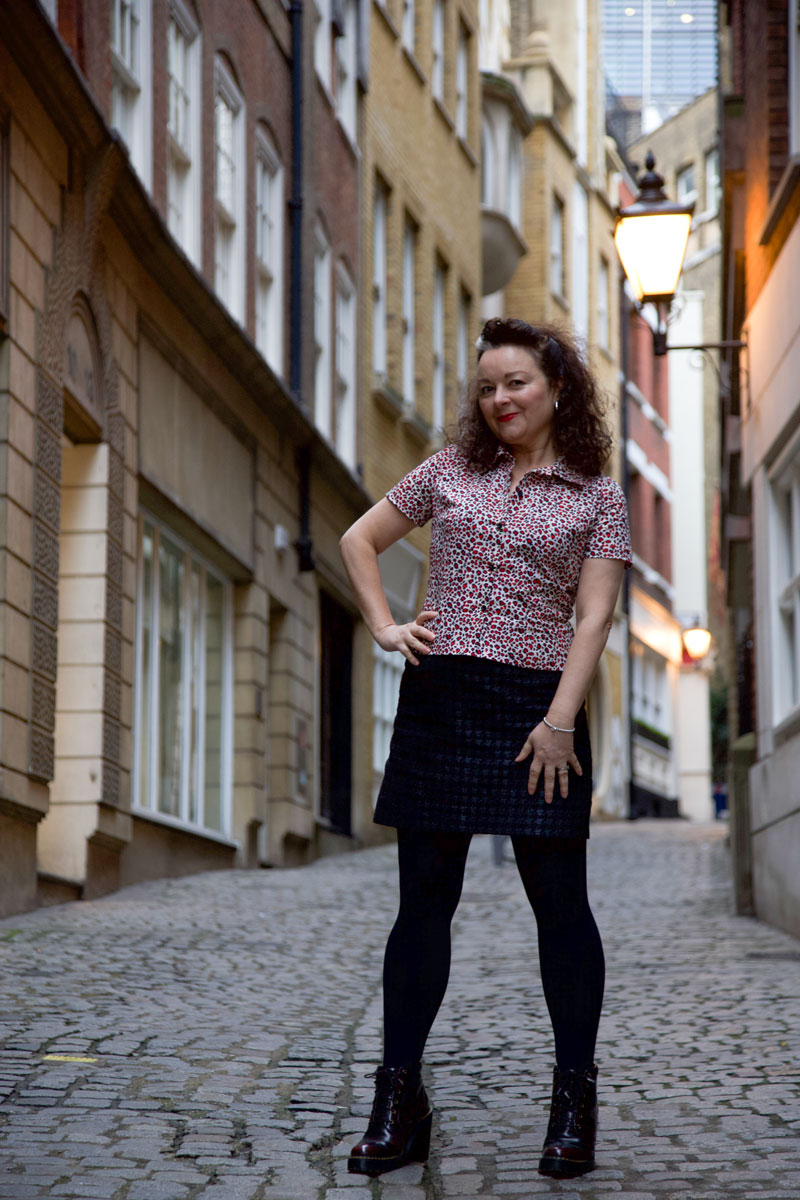
But it’s dark now… and I’m exhausted – story of my life. So I’ll just settle for a little fix from blogging a recently-made shirt for now.
I already had this animal print cotton fabric in stash and it was just enough to rehearse a new self-drafted design. One of the upsides of designing my patterns digitally is that I can test a pattern layout on computer screen to see how much fabric I’ll be needing. And also plan the positioning of pieces for minimum waste without having to crawl around the living room floor ‘playing giant Tetris’ while the fam barks at me to get out of the way of the telly – I don’t have a proper cutting table, see.
My recent self-drafted adventures have included a 70s style dress with flared sleeves and a Christmas Dress with bishop sleeves. Both of which use the same bodice block and knowing it worked both times meant I just had to add a bit of extra ease, add a button extension and lengthen to the hipline for a great fitting shirt. The sleeves would be simpler than both trialled before, and I found a great video tutorial on Bluprint to draft a one-piece collar. So what could go wrong?
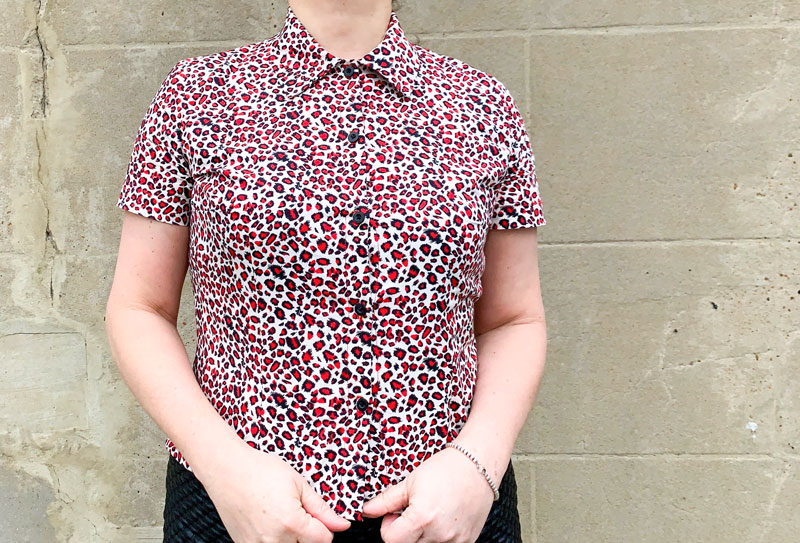
Well this is where I classically mess up because I try and run before I can walk. I’ve never actually made up a straightforward self-drafted sleeve for myself yet. Just flared ones in both cases. So there was never any trouble with fit. But as my block stands, it’s too tight. Luckily I had my suspicions and made one sleeve up in calico to check first. Lord knows where I went wrong. But I seriously must have got lucky previously! To rectify (badly) I have slashed and spread to the sleeve cap. And it works, kind of. But it is still a bit snug. In fact it’s a bit too tight under the pits too so I need a revisit to this pattern before I make another.
I’m going to lower the underarm point and redraft that sleeve with less haste (read less excitement) and less speed! Because I’ve got more plans going forward and I’m going to need those pattern pieces spot on!
The collar worked out perfectly. It’s a camp or Hawaiian collar, so Suzy Furer told me on the Bluprint video tutorial. Basically a collar and stand, all in one. I did check out another tutorial on YouTube for the construction. It was kind of obvious but I just needed some reassurance.
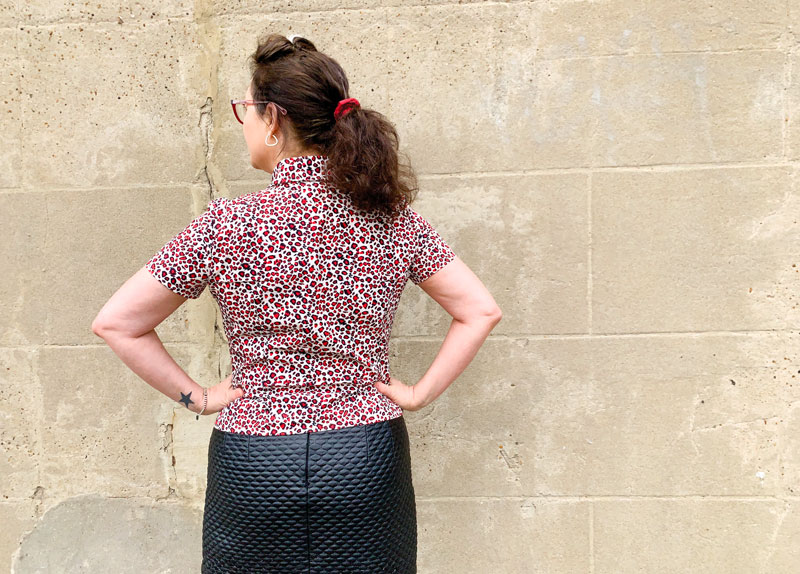
Suzy advised to ditch the waist darts front and back but I really quite like the fitted aspect of it and I’m convinced that if I lower the armscye by half an inch or so more and sort the sleeves out it will be a much more comfortable fit.
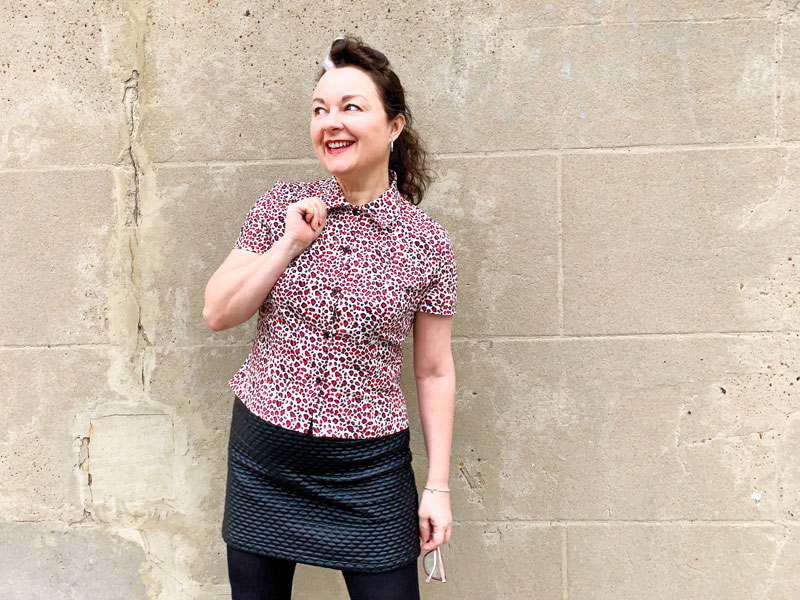
So the consensus is that it’s not the greatest self-drafted shirt in the world but it’s a great starting point and I’m looking forward to a new and improved one. Might have to buy some new fabric though… I’m feeling stripes!
Have you kicked off the New Year with a new project yet? Pray tell. I’ll do my best not to get too jealous!


