All the kisses for the sewing community today. But mostly for The Foldline and their generous Instagram campaign: Random Acts of Kindness and to Amy aka AlmondRock, for tagging me! That in itself presented a fuzzy, warm virtual hug but the prospect of getting to choose a pdf pattern of choice was such an awesome treat!
I was literally that kid in the sweetshop. I don’t know if you’ve visited The Foldline’s pattern store recently but it is mind-blowing. So many super stylish patterns – Indie and Big 4. Put some serious quality browsing time aside before you head on in!
After a delightfully long peruse fuelled with umms and ahhhhhs a-plenty, I decided on the True Bias Shelby pattern. Especially after I spied Patsypoomakes‘ version – which was definitely the deciding factor.
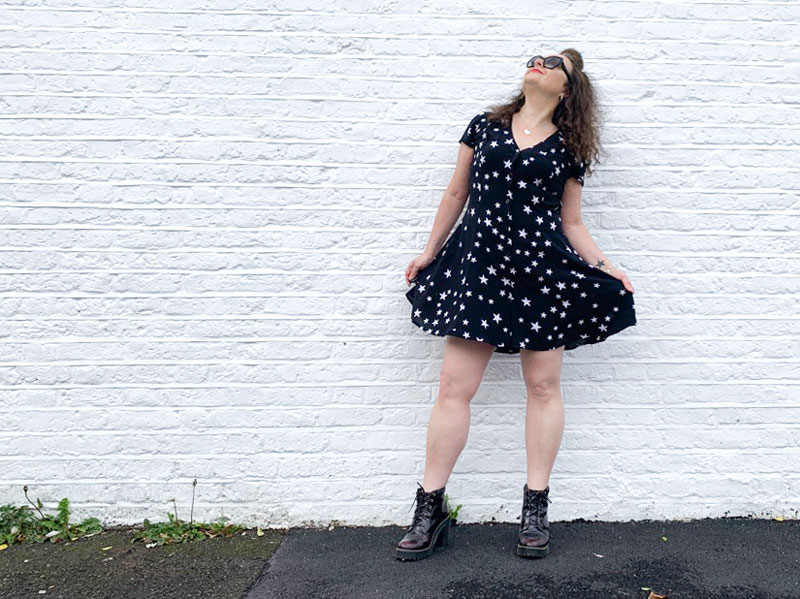
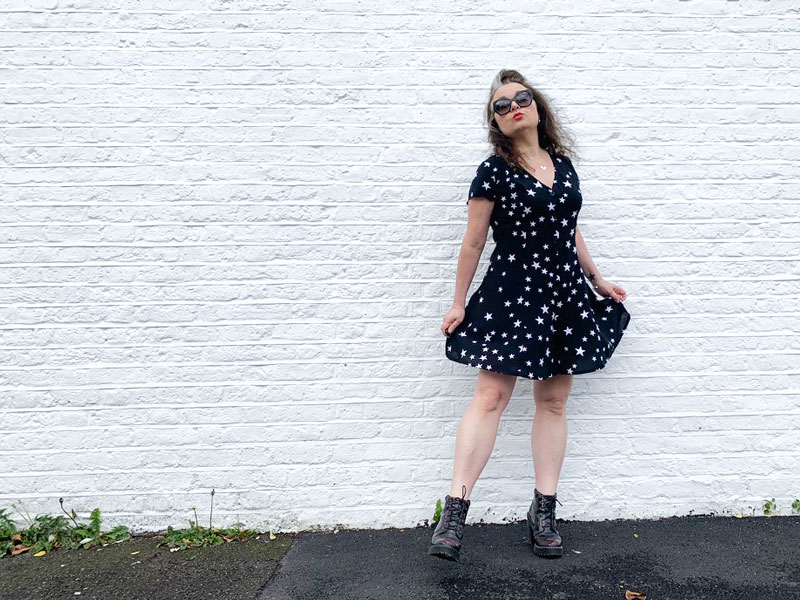
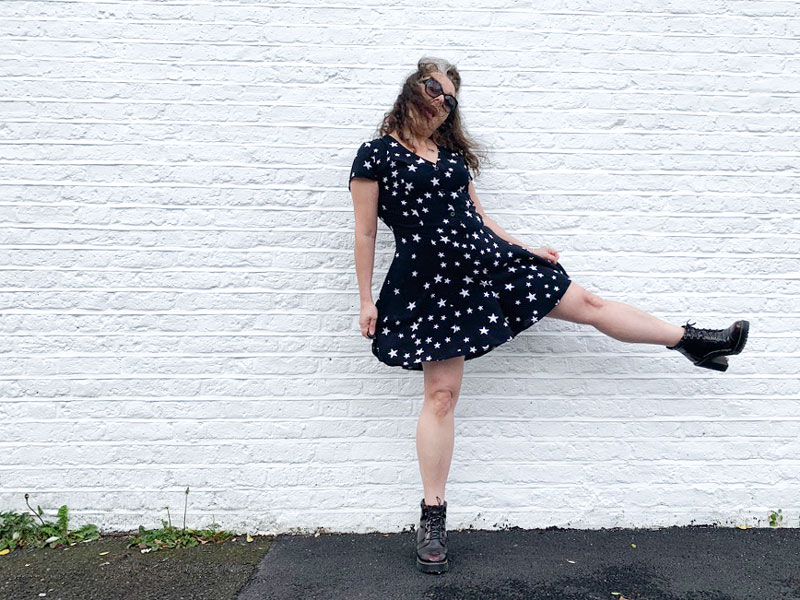
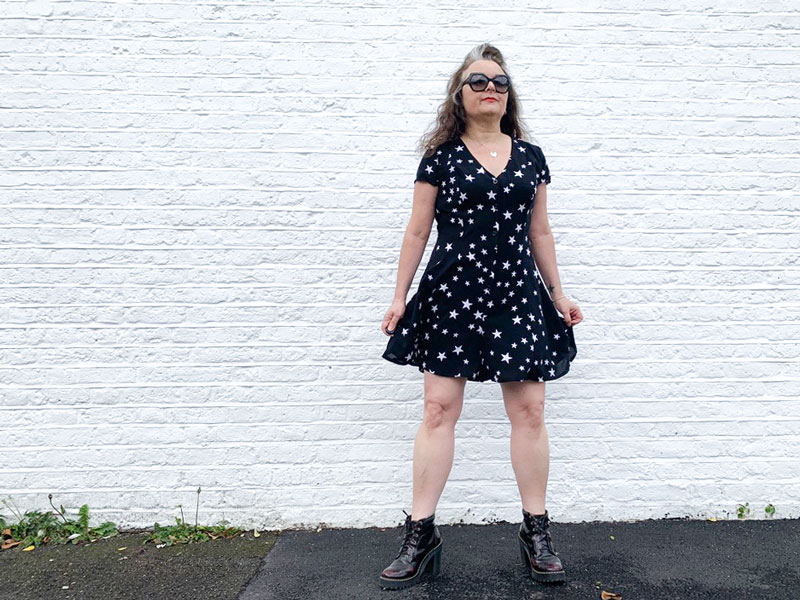
The Shelby is a very versatile design that delivers a v-neck, princess-seamed dress and romper suit in both maxi and mini lengths, with 2 sleeve options.

So reminiscent of my 90s youth – styled with DM’s, lockdown hair and a pair of shades to hide the baggy eyes. Much the same as I would have done thirty-odd years ago except hair probably would have been loaded with half a can of Elnett, crimped and backcombed for added bigness!
I have never used a True Bias pattern before and I really didn’t know what to expect with regards sizing, clarity of instructions, general fit and ease of sewing etc, so I opted for some super drapey stash fabric to toile it. After all what were the chances of a romper fitting in all the right places, first time round and without a ‘hungrybum’ feature?
I didn’t think for one minute that this was going to fit without some inevitable adjusting but I was going to enjoy the process all the same. I clipped and overlocked and pressed all the seams and it brought so much joy to see it taking shape. I diligently followed every step of what is probably the clearest most concise set of instructions I have ever encountered all the while believing this was destined to be a test garment only.
The more I progressed with the sewing the more it became apparent that I wasn’t going to look like a giant baby (I did have some initial doubts) and it was going to be a perfect fit and I was beginning to feel a bit sad that I might not have used the best fabric for it to be actually wearable. It looks pretty decent in the pics because it was a relatively cloudy day today. But it’s really sheer. Like hold-it-up-to-the-light and-see-absolutely-everything sheer!
I am determined not to let these go to waste and so my lightbulb moment came with the discovery of my ever-so-nineties Pineapple Dance Studio cycling shorts! No one would really know in any case, and everyone is saved from seeing my actual butt!
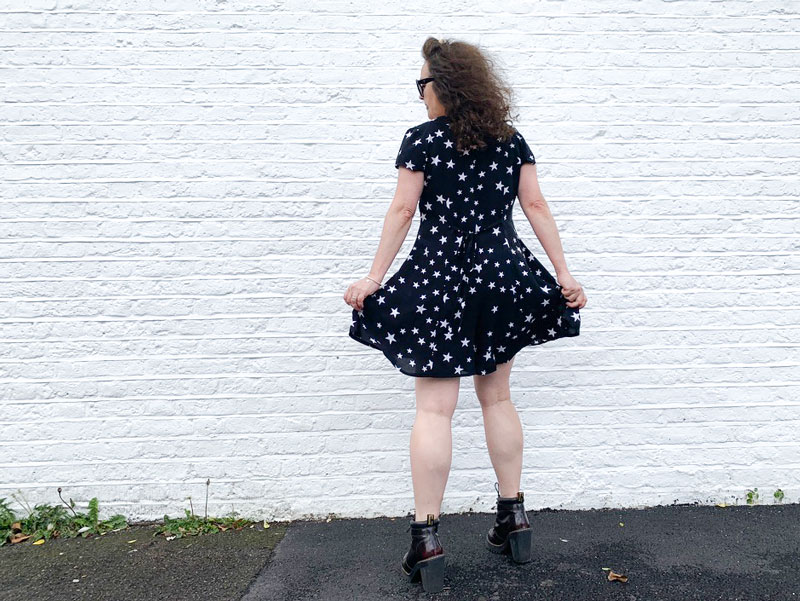
Princess seams always produce the smoothest and flattering lines IMHO but the waist ties at the back cinch in a waist I never knew was there! Creating them was a breeze with my Clover Easy Loop Turner and they are the perfect length and width to effortlessly tie into a cute bow.
You can totally tell how much thought and consideration has been put into drafting this pattern. I had no choice but to work on it in small, often hour-long stints and yet it was so easy to pick back up on where I left off each time. Even at my most tired after a very long working day, the instructions were so clear, the illustrations were brilliantly presented and it sewed up so effortlessly. I couldn’t recommend this pattern more if I tried!